Computer configuration
In this part, we will see how to configure the stations (server and client) so that they come to contact the WSUS server.
In a domain by GPO
The settings in the policy apply at the item level.
Personally, I do not advise you to make a single strategy for your entire fleet, I advise you to do two strategies, one for workstations and one for servers.
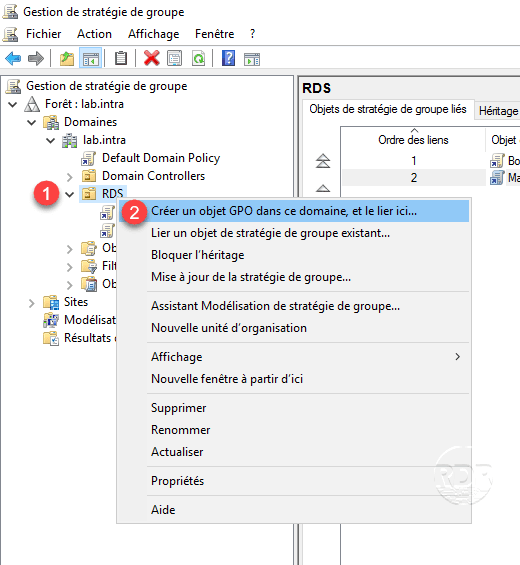
1. Open the Group Policy Management console, right-click on the OR 1 where you want to apply the strategy and click on Create GPO in this area, and link it here 2 .
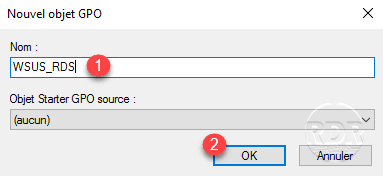
2. Name GPO 1 and click OK 2 .
3. Right click on the created strategy 1 and click on Edit 2 .

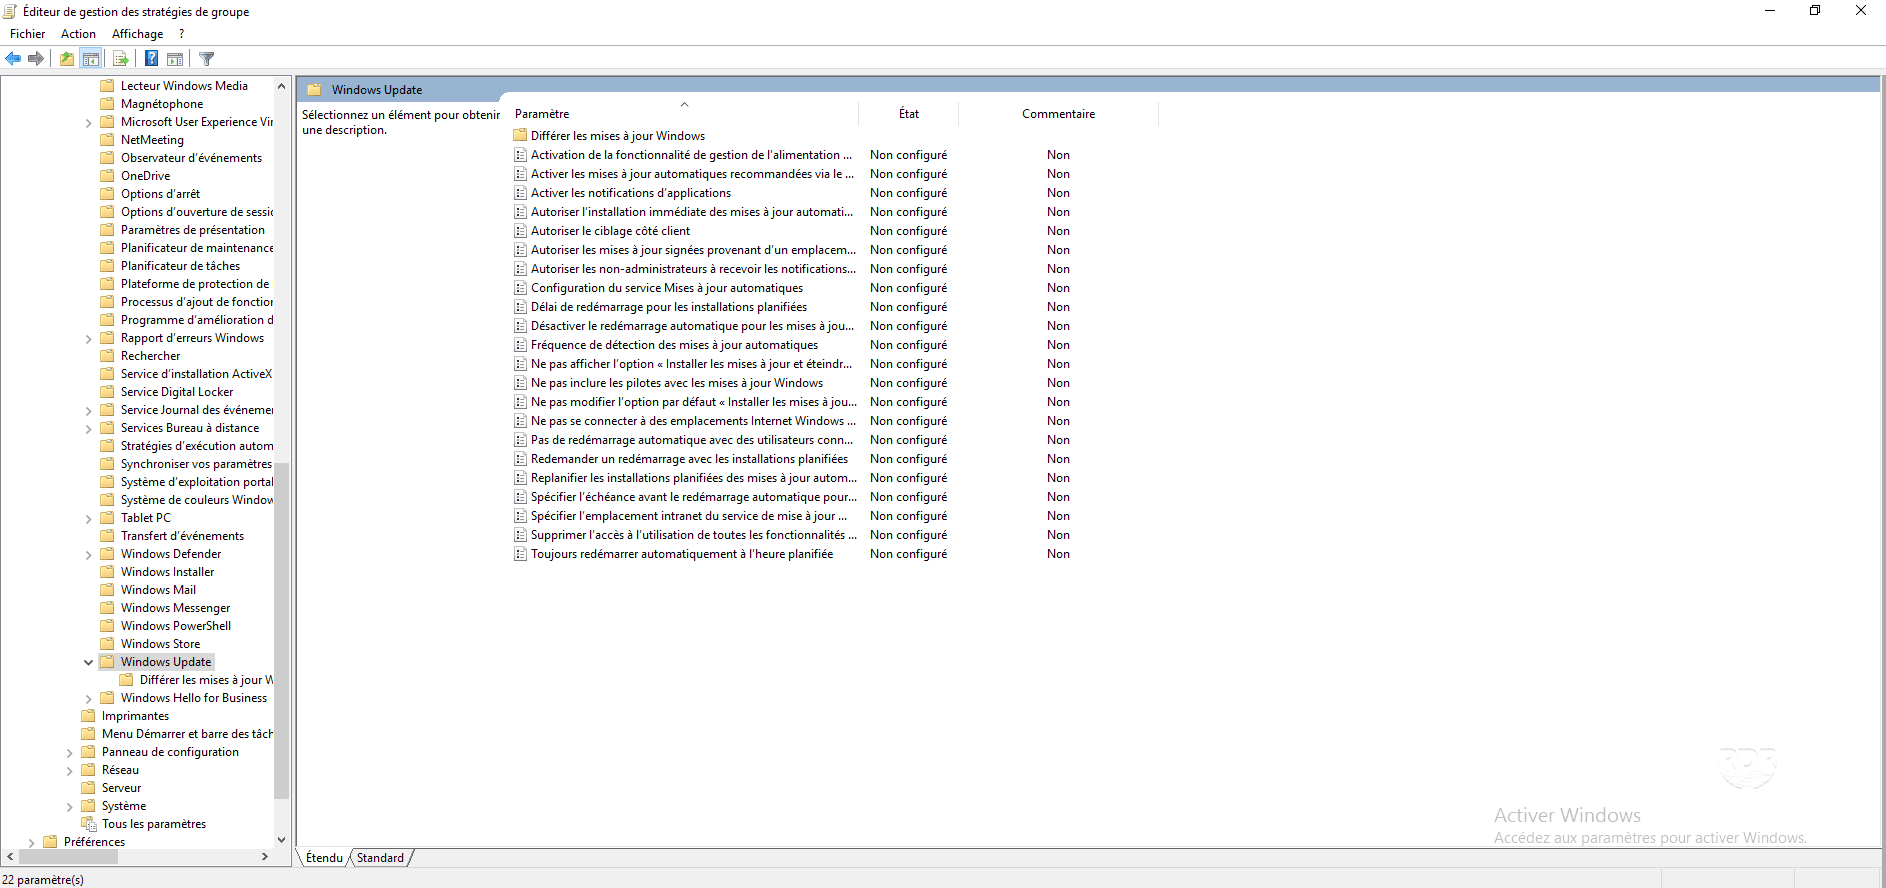
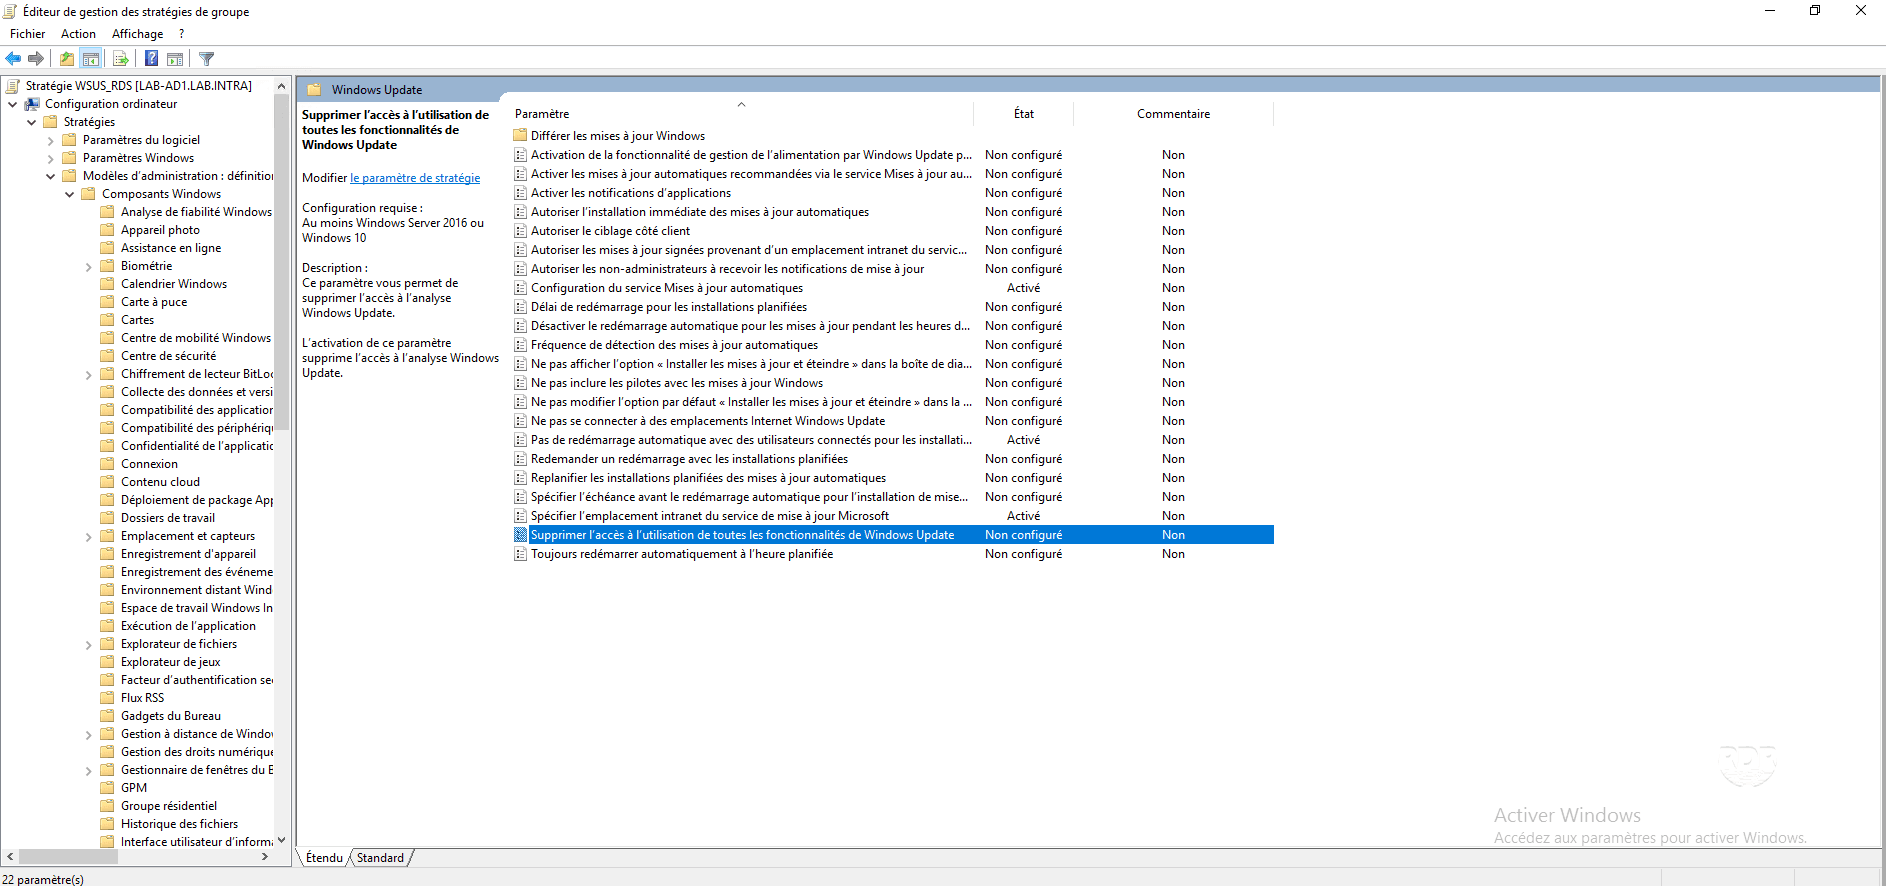
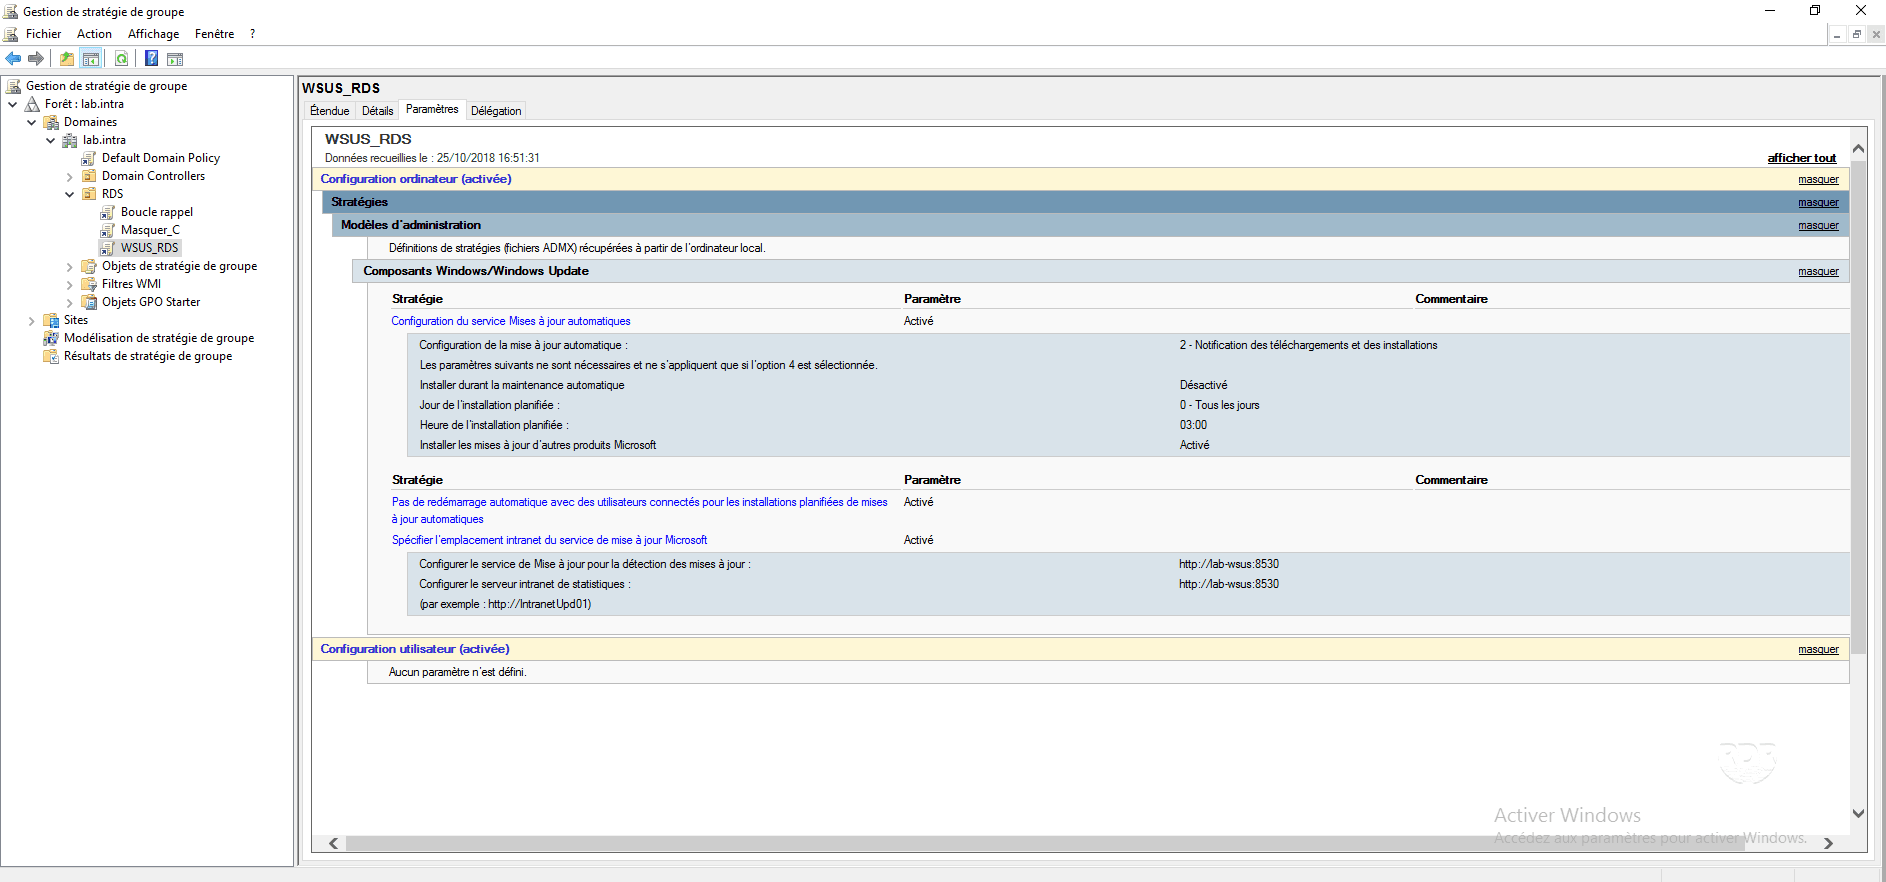
4. Go to the Computer Configuration / Policies / Administrative Templates / Windows Component / Windows Update folder. In this folder is the set of configurable parameters for the behavior of Windows Update.
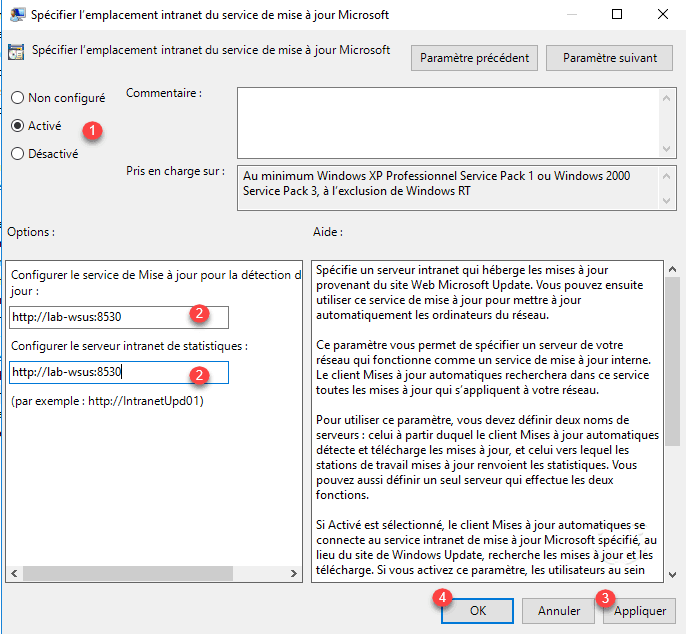
5. Change the setting Specify Microsoft Update Service Intranet Location, Enable 1 , Specify Server URL 2 , and then click Apply 3 and OK 4.
6. Change the setting: Automatic Updates Service Configuration, Enable 1 , configure Windows Update behavior 2 then click Apply 3 and OK 4 .
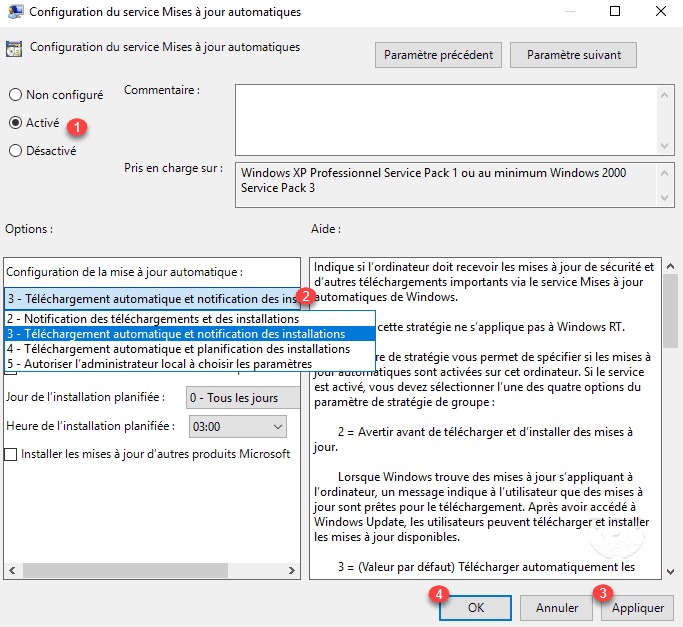
In the Help section you will find explanations of the different behaviors available.
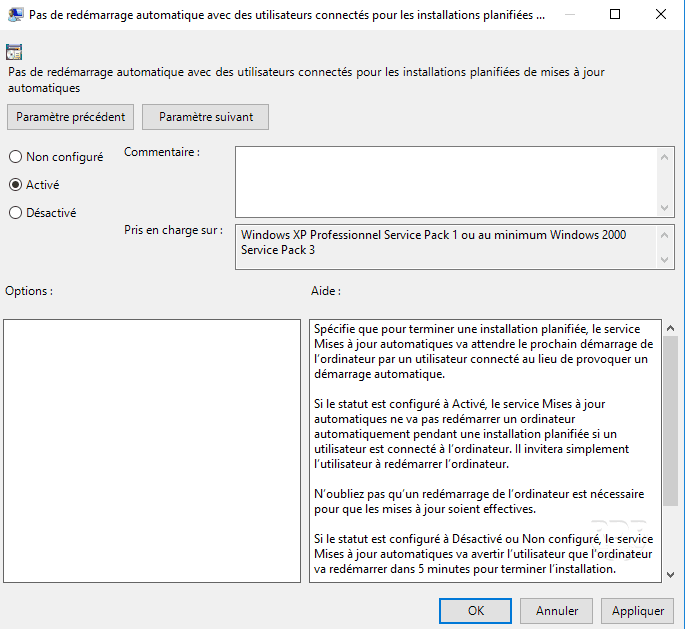
7. (Optional) Enable parameter: No automatic restart with connected users for scheduled installations, this avoids having a machine that restarts automatically when connected to it.
8. The strategy is ready, it must wait until it applies.
Manual configuration
If you have out-of-domain extensions in your network, it is still possible to configure the extensions to use the WSUS server.
1. Download WSUS WORKGROUP and execute the.
2. On the Main tab 1 , configure the WSUS server URL 2 and the behavior of Windows Update 3 .

3. (Optional) Go to the Advanced 1 tab and adjust the parameters according to the desired behavior.
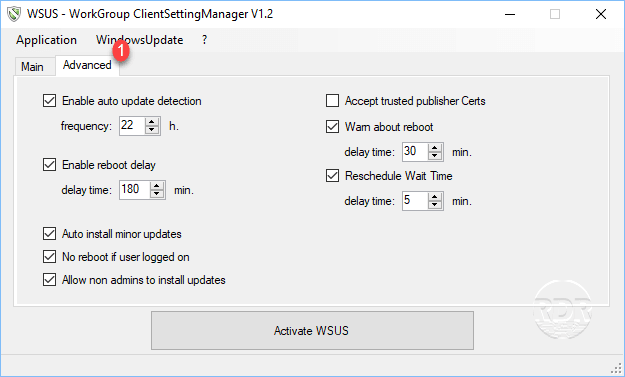
4. Click Activate WSUS button 1 .

5. Confirm the application by clicking Yes 1 .
6. (Optional) The application offers to save the registry before applying the settings, click Save 1 .
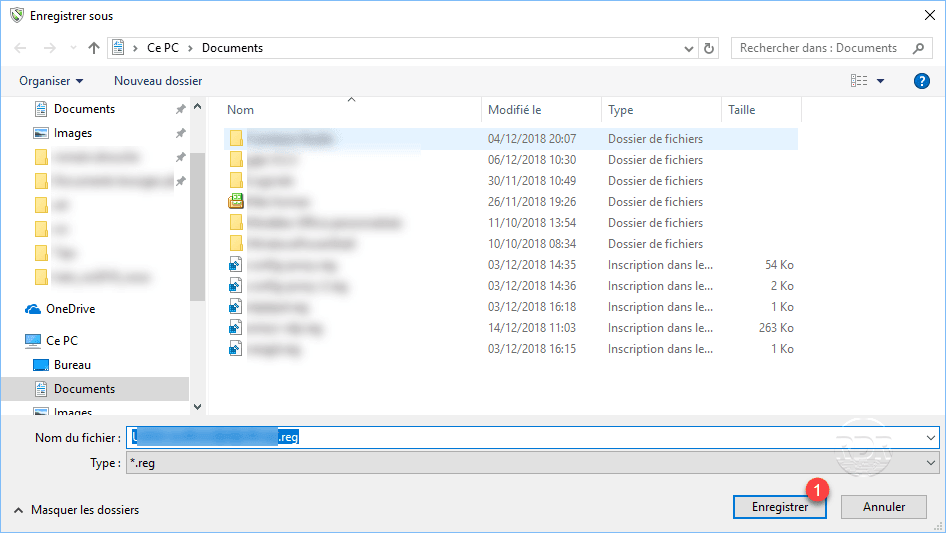
If you do not want to save, click Cancel
7. Click OK 1 to close the information window.
Check the configuration application
1. On the WSUS Administration Console, go to Computers / All Computers / Unattached Computers 1 , the extensions that contact the server should be displayed.
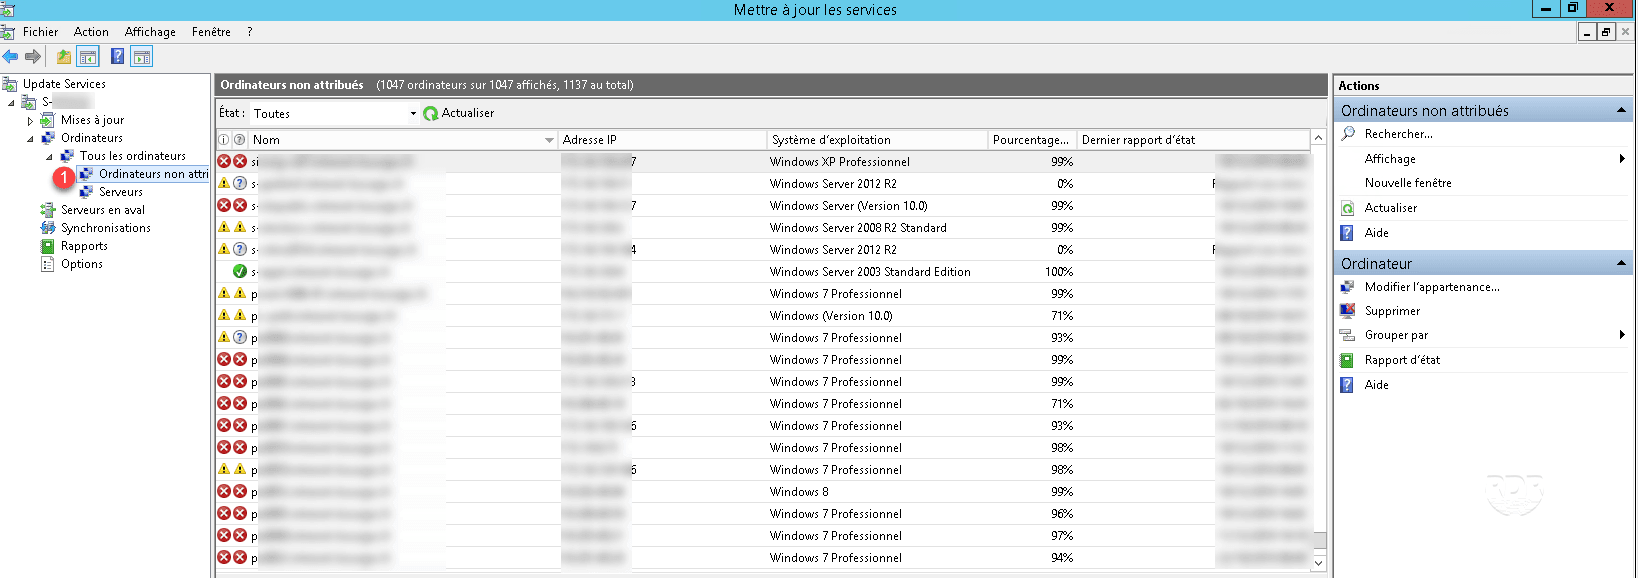
If you have Approve updates for All Computers, the workstations will start downloading updates after sending a first report that will allow the WSUS service to offer the available updates.