
Table of Contents
Introduction
Windows Server Update Service (WSUS) is a built-in role in Windows Server, which enables the implementation of a Microsoft Updates distribution system internally.
The benefits of WSUS:
- Monitoring the deployment of updates
- Reduced internet bandwidth
- Update Installation Report
- Ability to uninstall an update in case of problem.
Prerequisites
- A physical or virtual machine dedicated to WSUS.
- 2CPU
- 4GB of RAM minimum
- 2 OS and DATA hard drives. The DATA volume will depend on the number of products and classification that will be activated. 200 to 300 GB of space is good start.
- An instance of SQL Server (Express) – recommended
The server does not have to be in a domain.
Before you start installing and configuring WSUS, I recommend that you list the Microsoft products you want to update with the service.
The whole catalog of Microsoft products is available, if in your organization, for example, you have a SharePoint server, is it really interesting to store the updates for this product on your WSUS server, it is the same if you have any “Old” Office 2007 / Windows XP type products …
I also advise you to be careful if you enable updates for SQL Server, make sure before your applications are compatible with the service packs
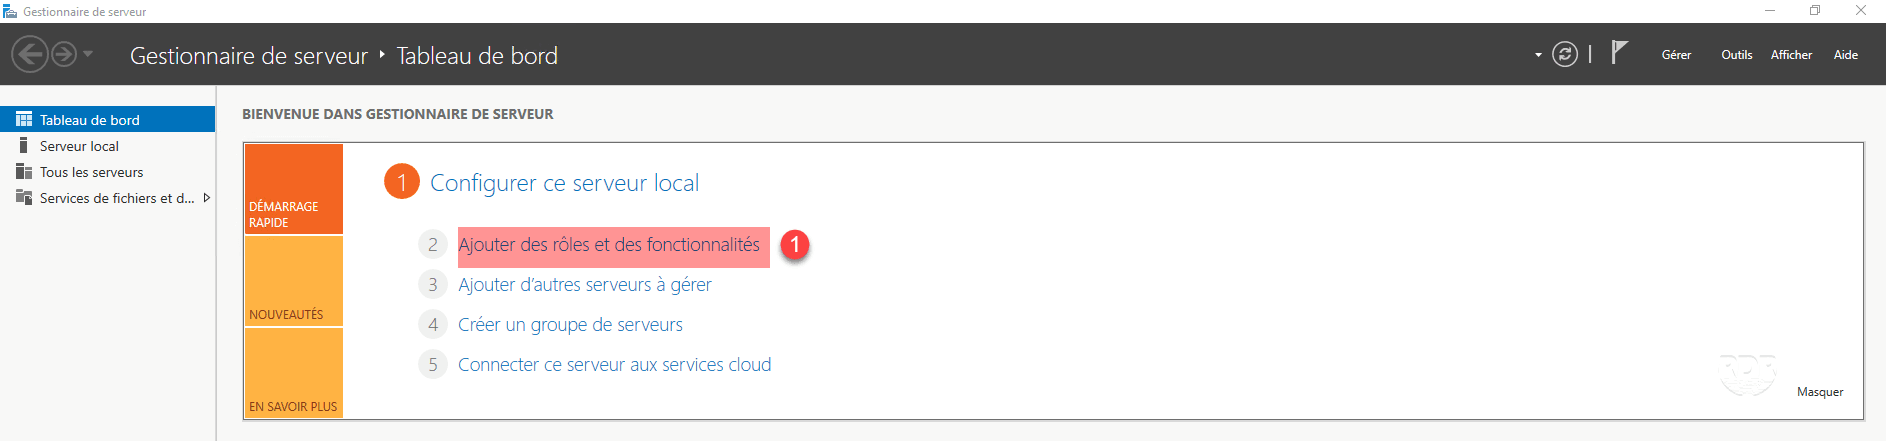
Installing the WSUS role
1. From Server Manager, click Add Roles and Features 1 .
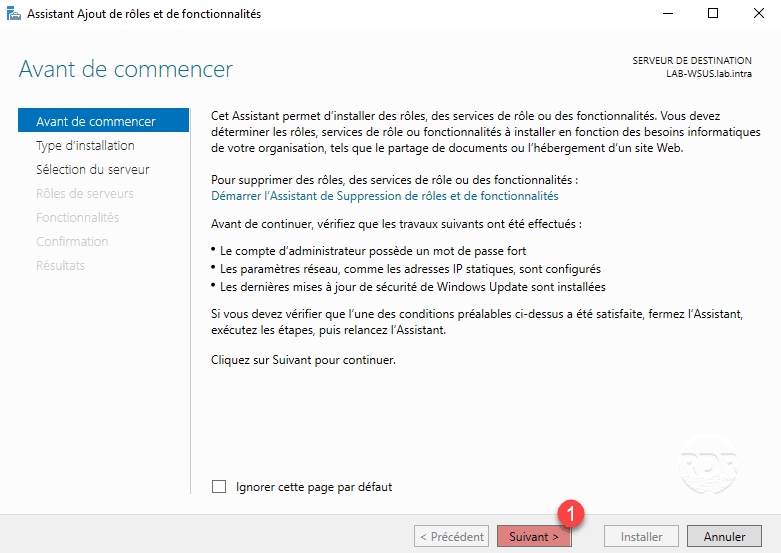
2. When launching the wizard, click Next 1 .
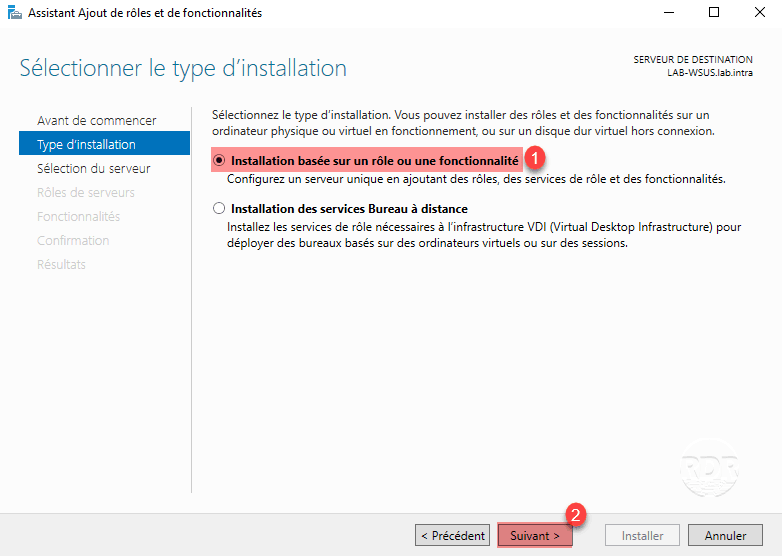
3. Select the Role Based Installation or 1 feature and click Next 2 .
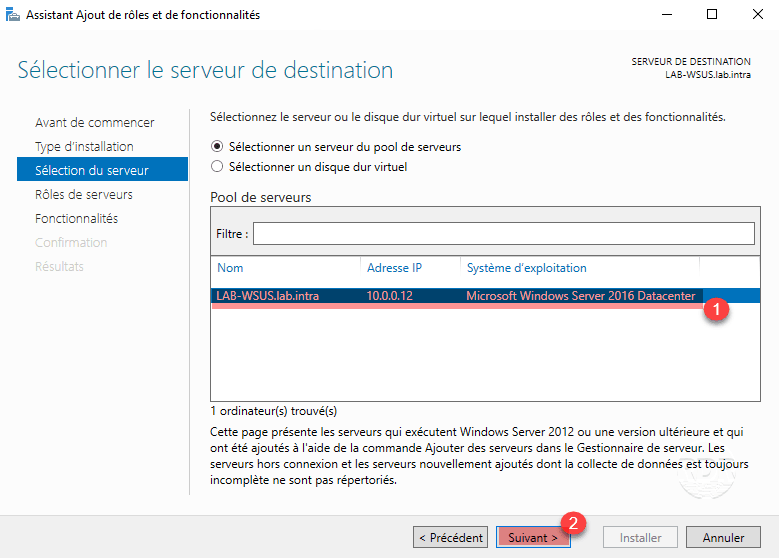
4. Choose the server where the installation is to be done 1 and click Next 2 .
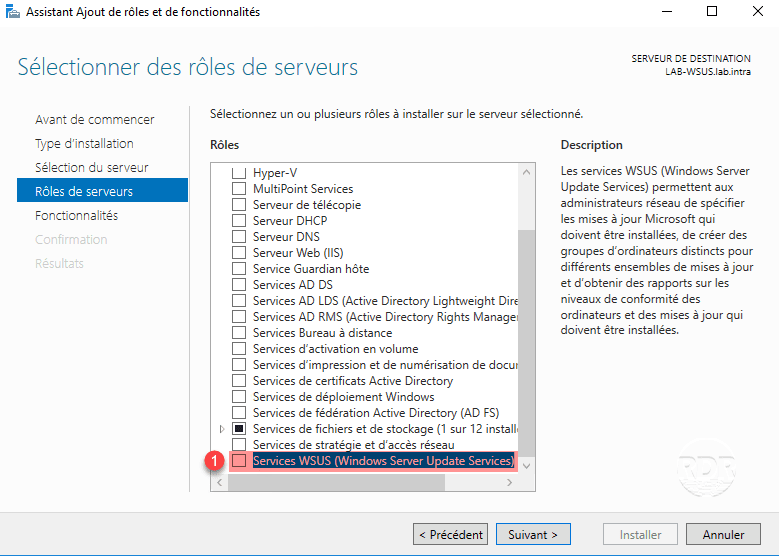
5. In the list of roles, check the box marked 1 WSUS Services (Windows Server Update Services).
6. Validate adding dependencies by clicking Add Features 1 .
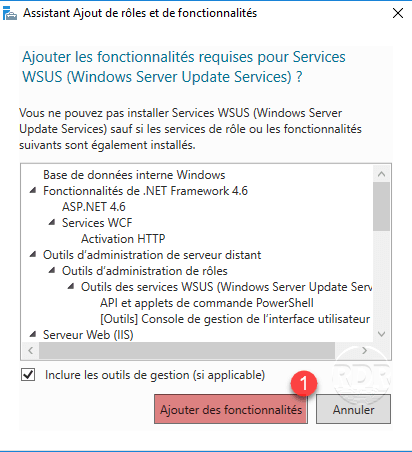
The WSUS roles installs IIS and the Windows Internal Database.
7. Click on Next 1 .

8. Validate the features by clicking Next 1 .

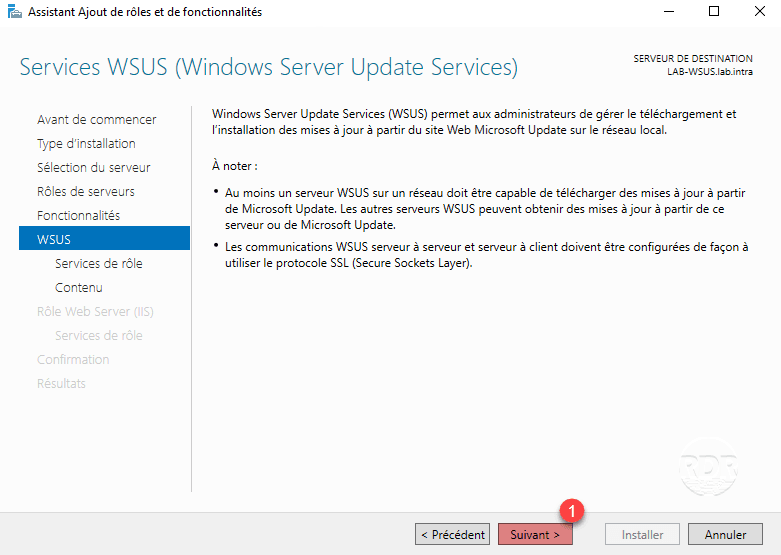
9. Pass the WSUS role summary by clicking Next 1 .
10. Leave the default installation options, click Next 1 .
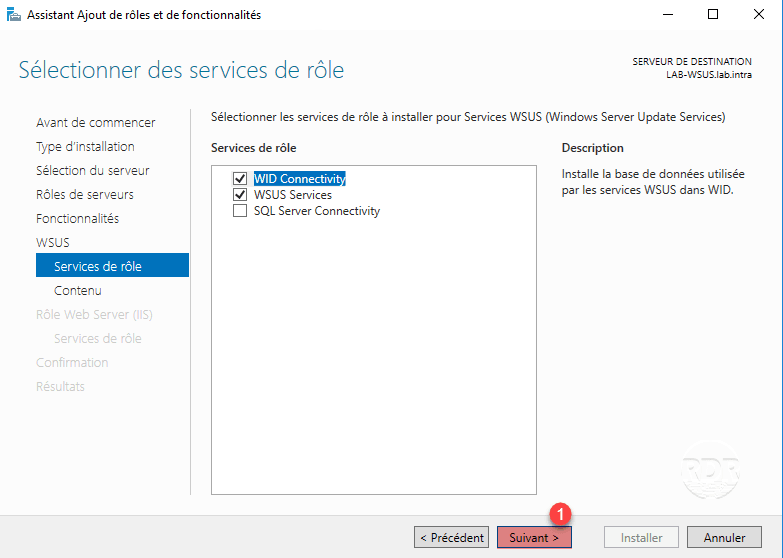
The SQL Server Connectivity option is an option that comes with Windows Server 2016, which allows you to configure the basic use of a SQL Server database as soon as you install it.
11. Specify where the updates are stored on the 1 server and click Next 2 .

In the case of a culprit with SCCM, it is not necessary to store the updates on the WSUS server, they will be stored on the distribution server.
12. Skip the IIS role summary by clicking the Next 1 button.
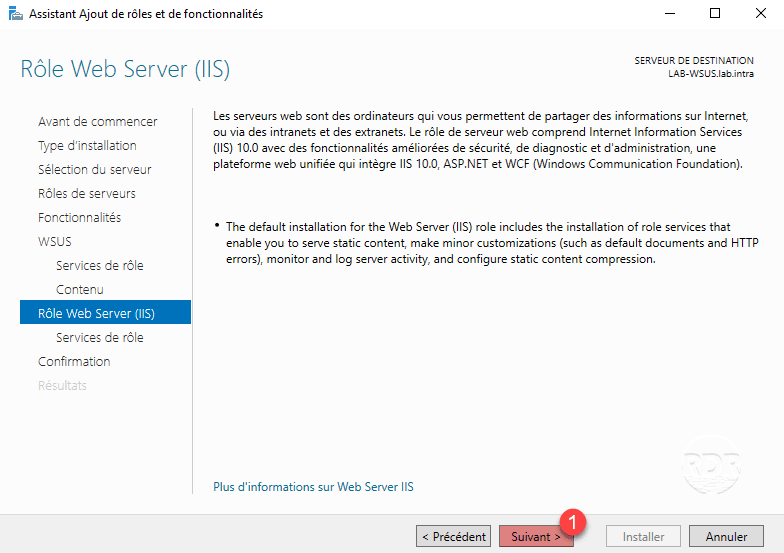
13. Click Next 1 to validate the IIS services to install.

14. Confirm the installation of roles and features by clicking Install 1 .
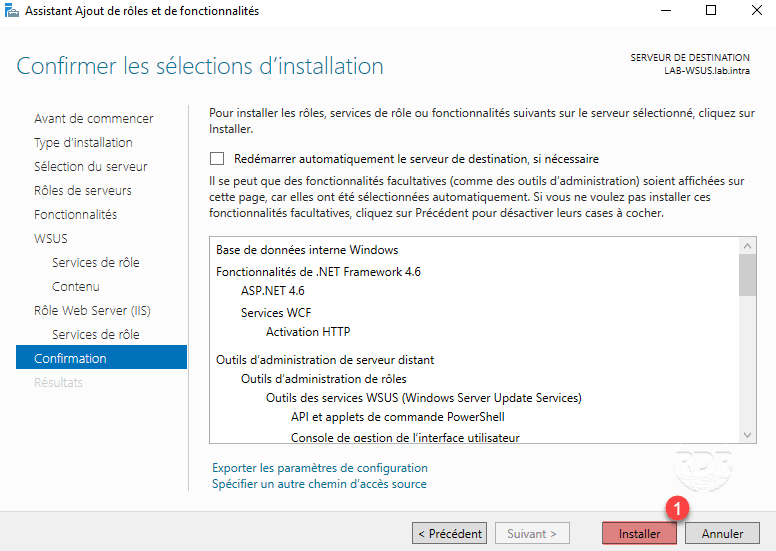
15. Wait during the installation of the different roles …
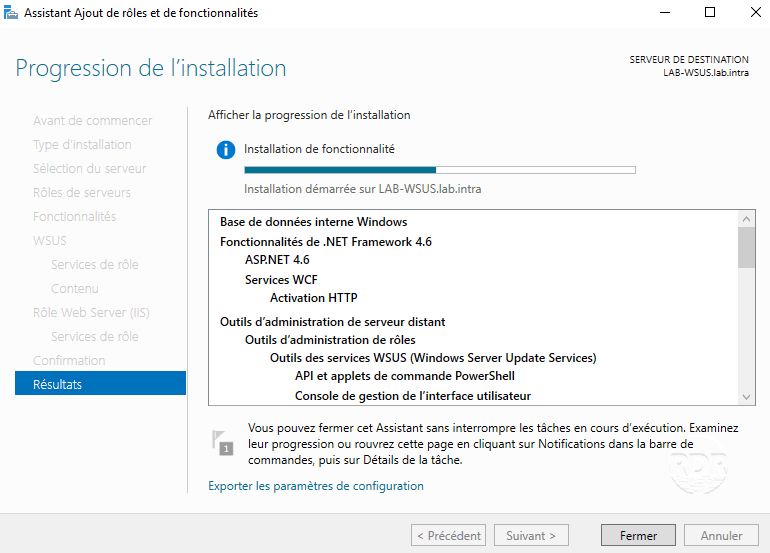
16. When the installation is complete, exit the wizard by clicking Close 1 .
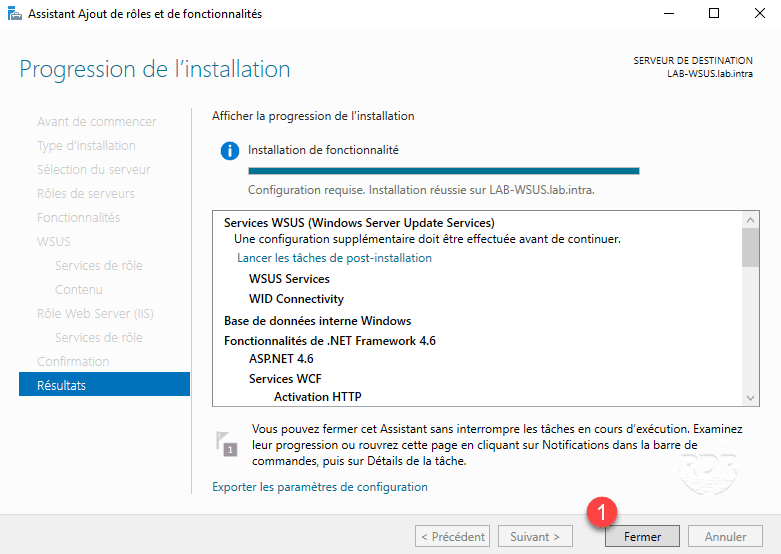
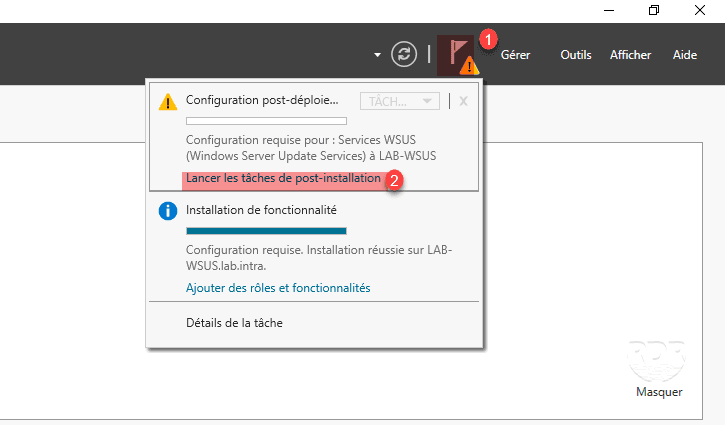
17. From the server manager, click on the notification flag 1 and click on Launch post-installation tasks 2 .
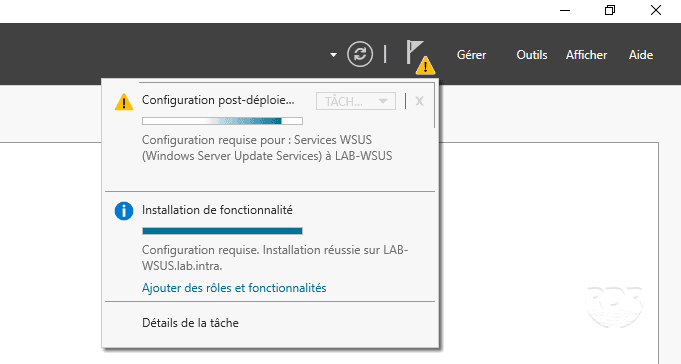
18. Wait while running the Post-Deployment setup …
19. The role is now installed.

Now that the roles necessary for the deployment of WSUS, we will move to the configuration.
WSUS configuration
The WSUS setup wizard starts automatically the first time you open the console.
1. Start the WSUS Service Administration Console.

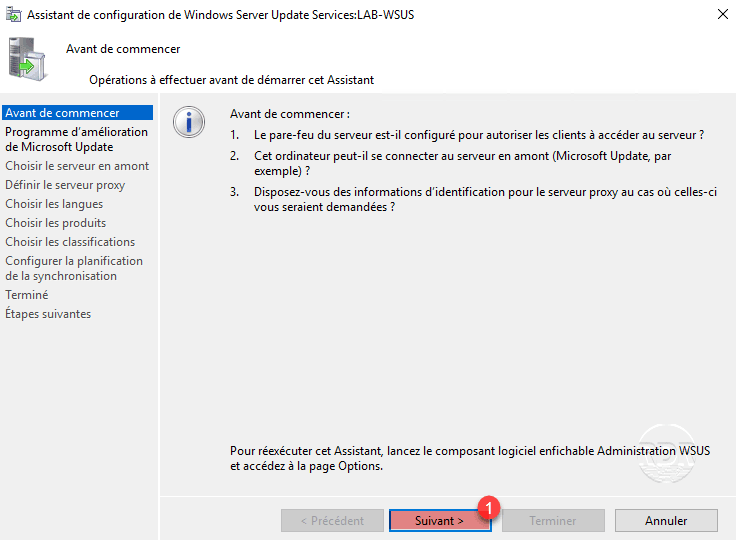
2. When launching the wizard, click Next 1 .
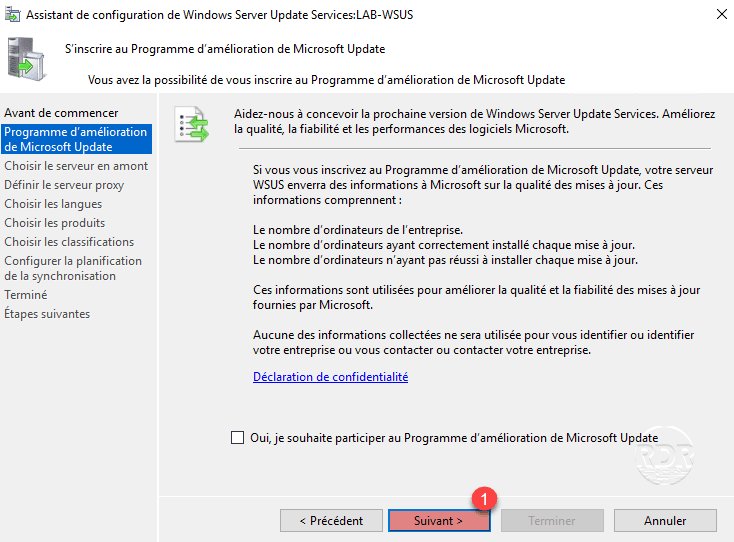
3. Click Next 1 .
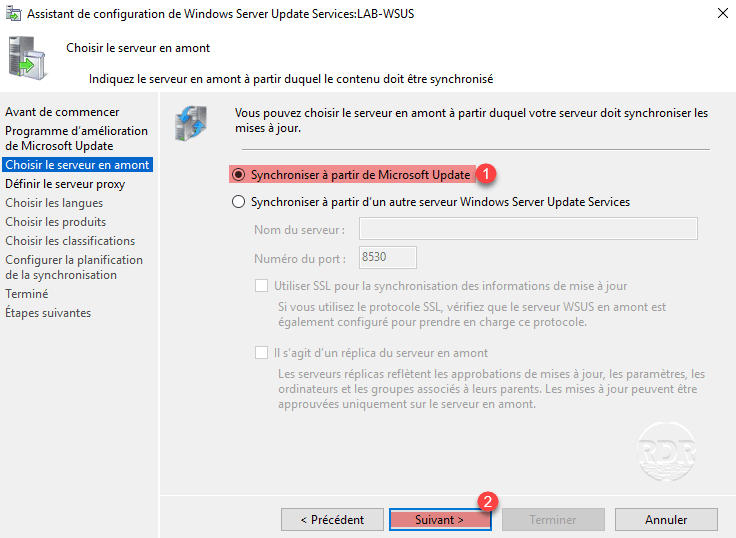
4. Update source, choose Synchronize from Microsoft Update 1 and click Next 2 .
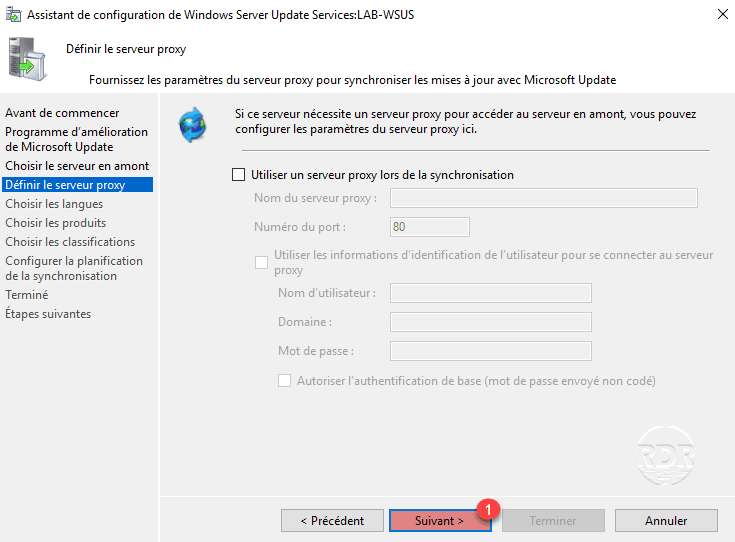
5. If the WSUS server needs a proxy to exit on the Internet, configure it otherwise click Next 1 .
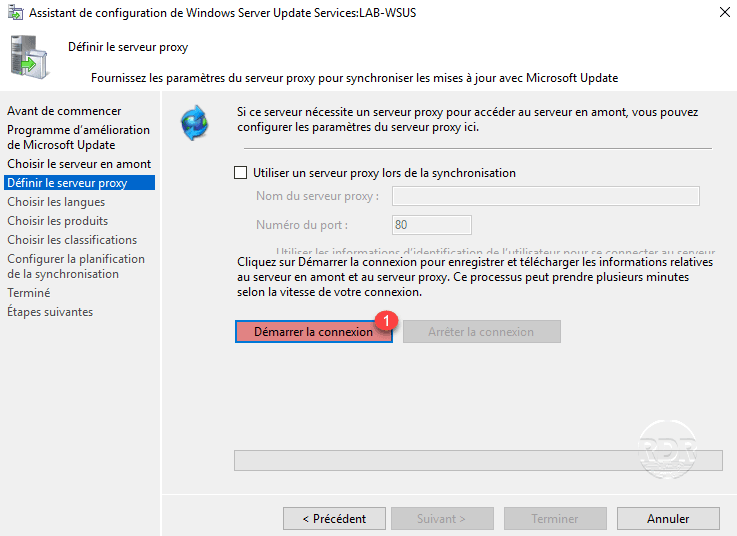
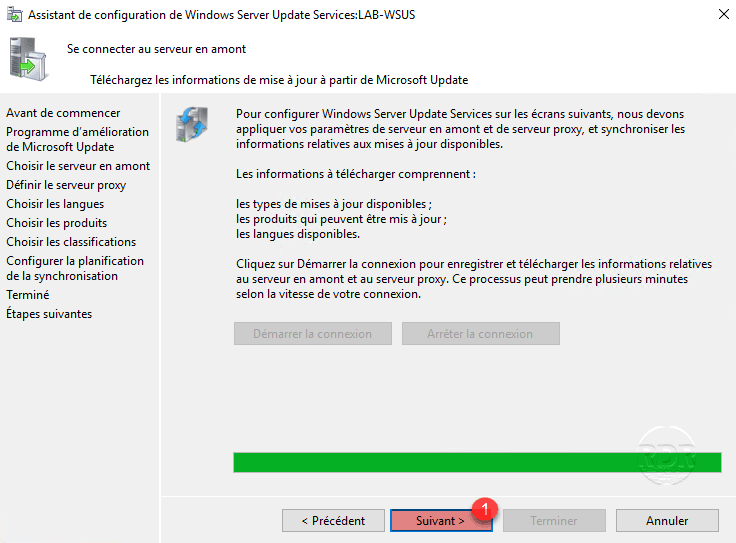
6. Click Start Connection 1 .
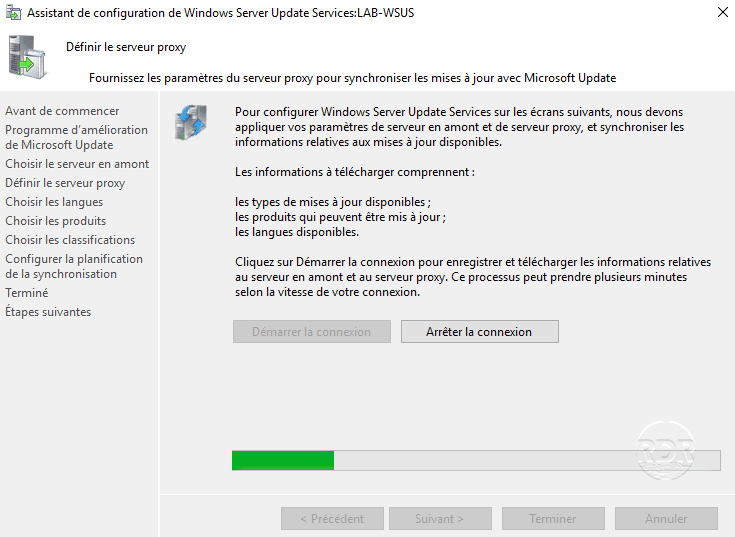
7. Wait while the information is retrieved from Microsoft (5 to 15 minutes).
8. Downloaded information, click Next 1 .
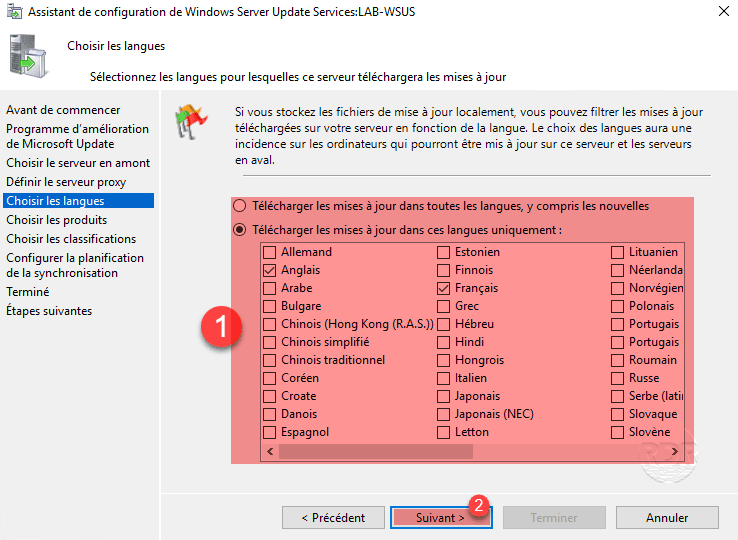
9. Select languages for 1 updates then click Next 2 .
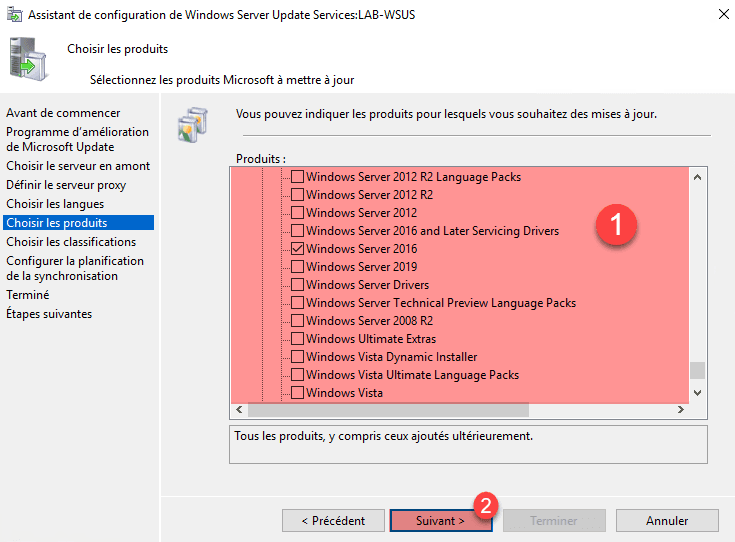
10. Choose the products for which updates are to be downloaded 1 and click Next 2 .
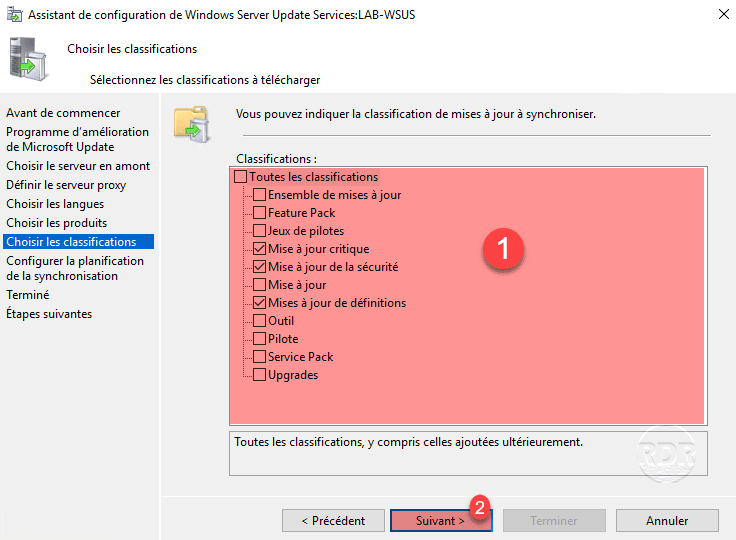
11. Choose the types of updates (classification) 1 for the selected products then click Next 2 .
12. Configure the synchronization schedule 1 to retrieve the list of updates and click Next 2 .
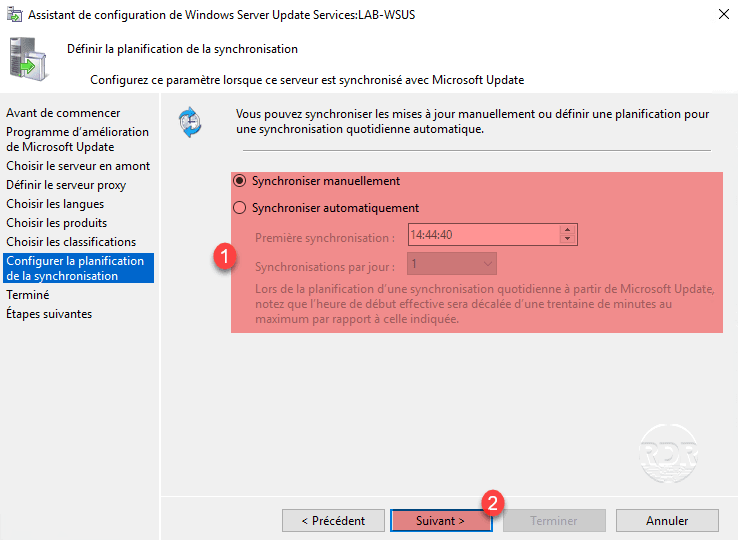
Synchronization does not download update files.
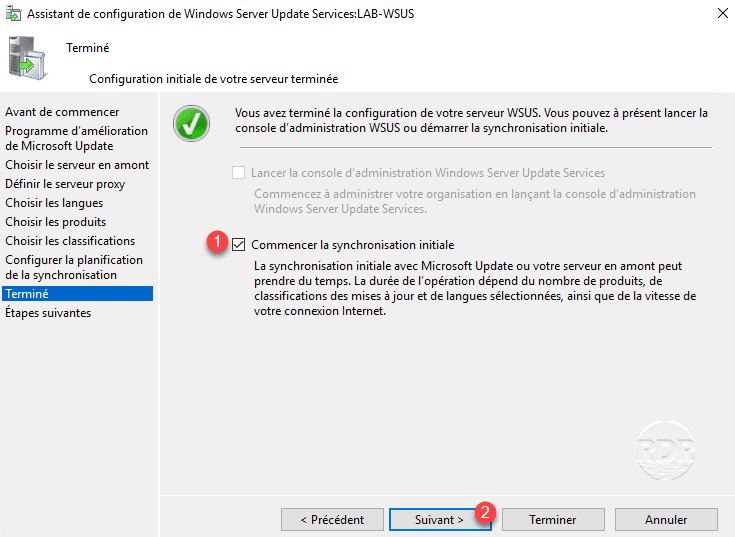
13. Check Start initial synchronization 1 and click on Next2.
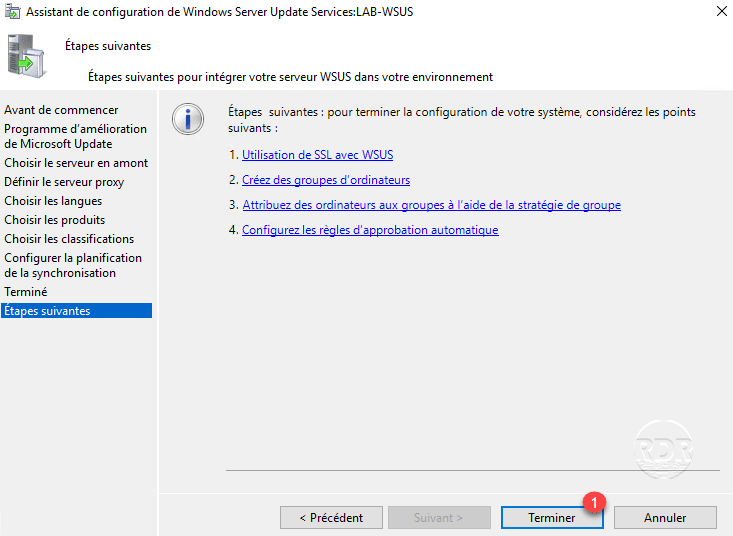
14. The configuration is complete, click on Finish 1 to close the wizard.
15. Open the Administration Console and wait during synchronization.
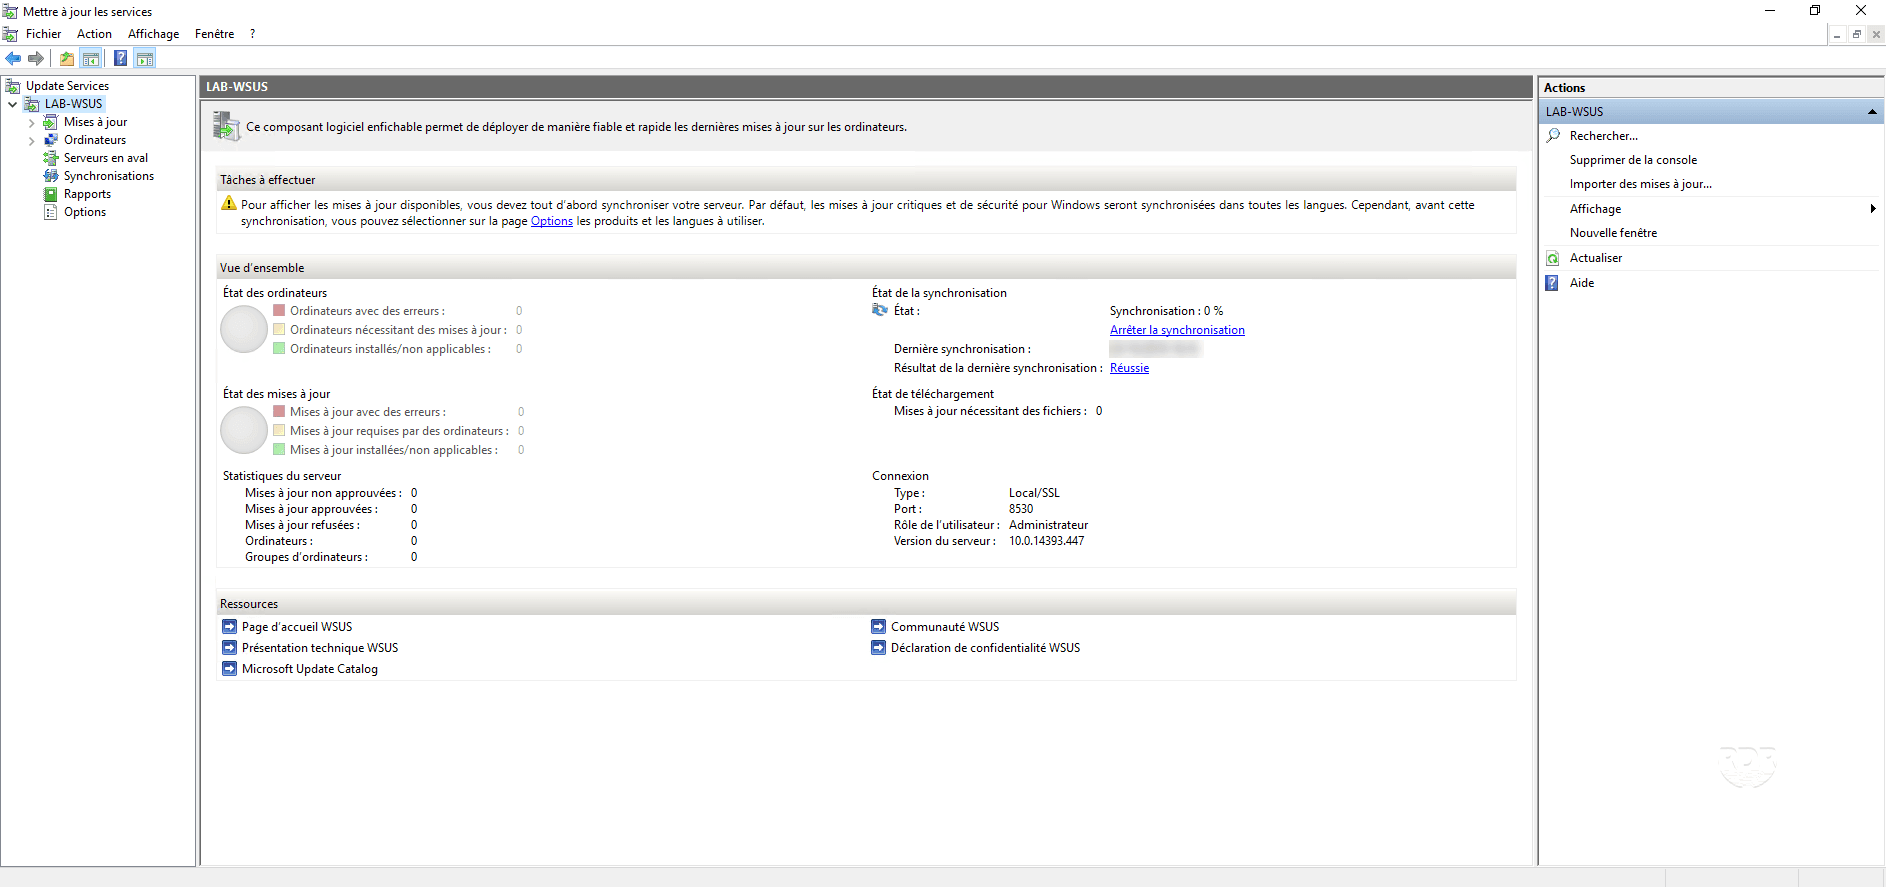
The first synchronization may take several hours.
First step with the WSUS Administration Console
1. In the menu on the left, click on server 1 , a summary of the status of updates and extensions is displayed.
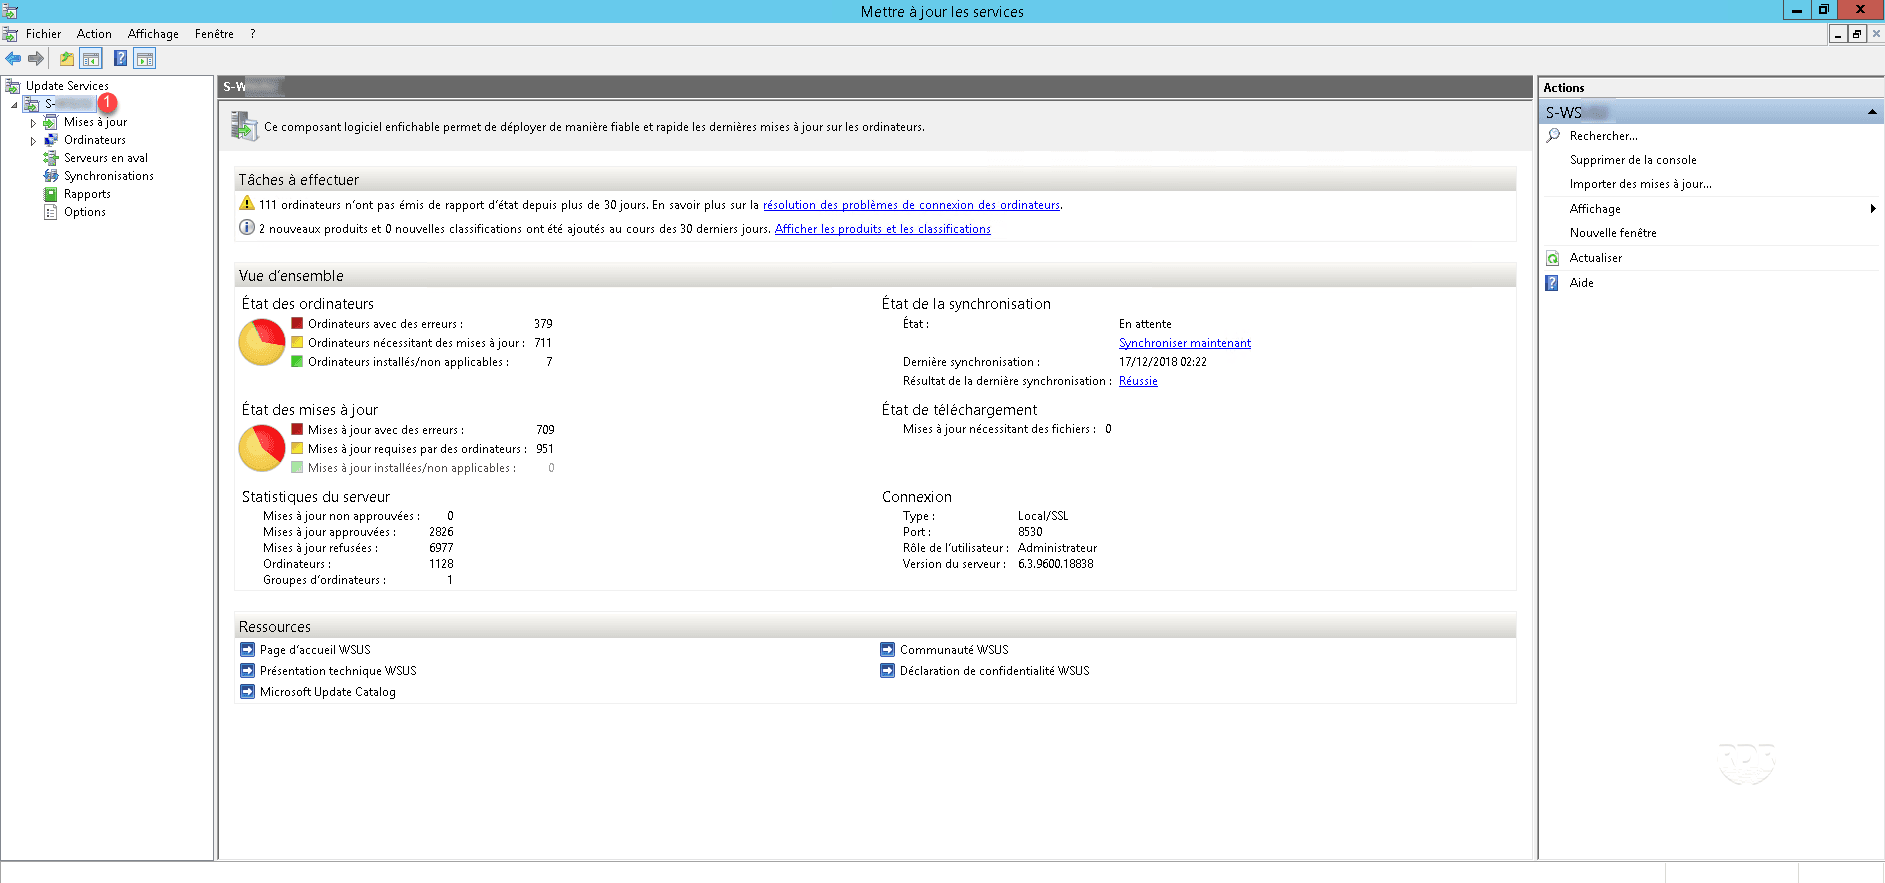
You should not have anything for the moment, since you have just installed WSUS.
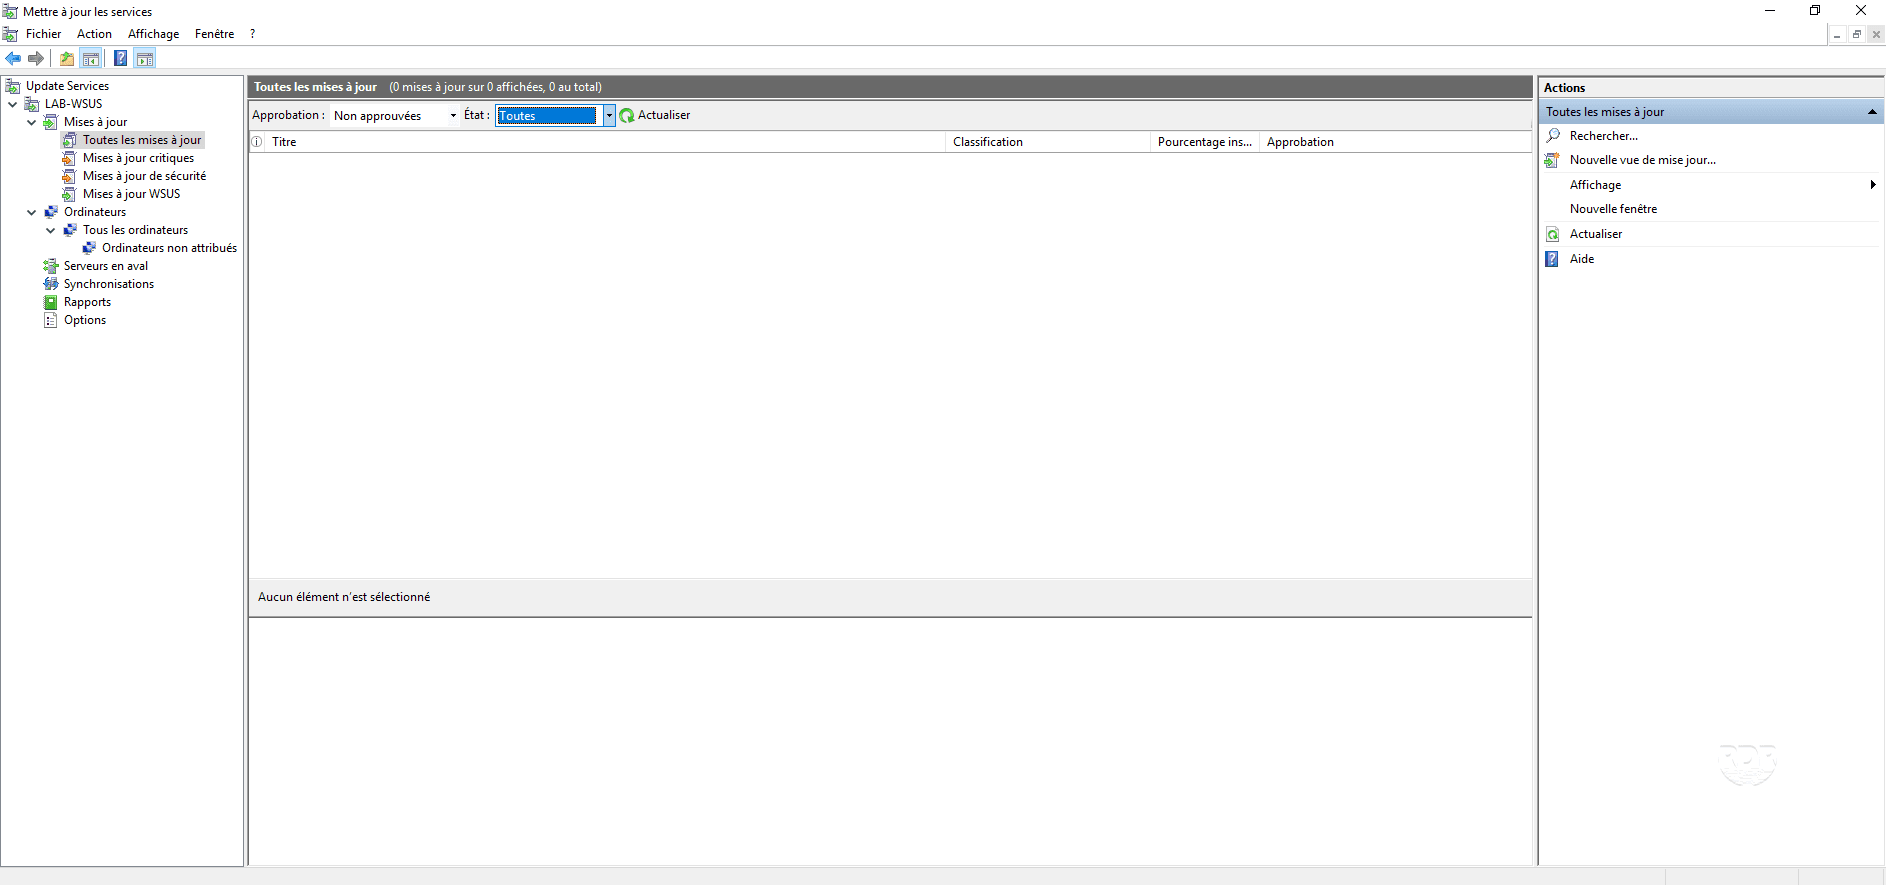
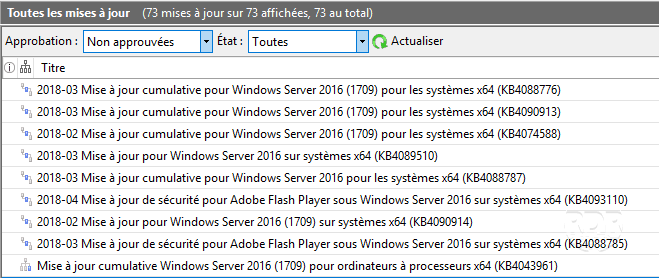
2. In the left menu, expand Updates 1 and click All Updates 2 . Here is the list of updates. It is possible to filter updates according to their Approval.
3. Unfold Computers 1 , in this part the computers that communicate with the WSUS server are displayed. It is possible to create groups and assign computers to these groups.

By default, computers that contact the WSUS server are added to the Unassigned Computer group.
4. The Options part 1 is used to manage the WSUS settings as well as its maintenance.
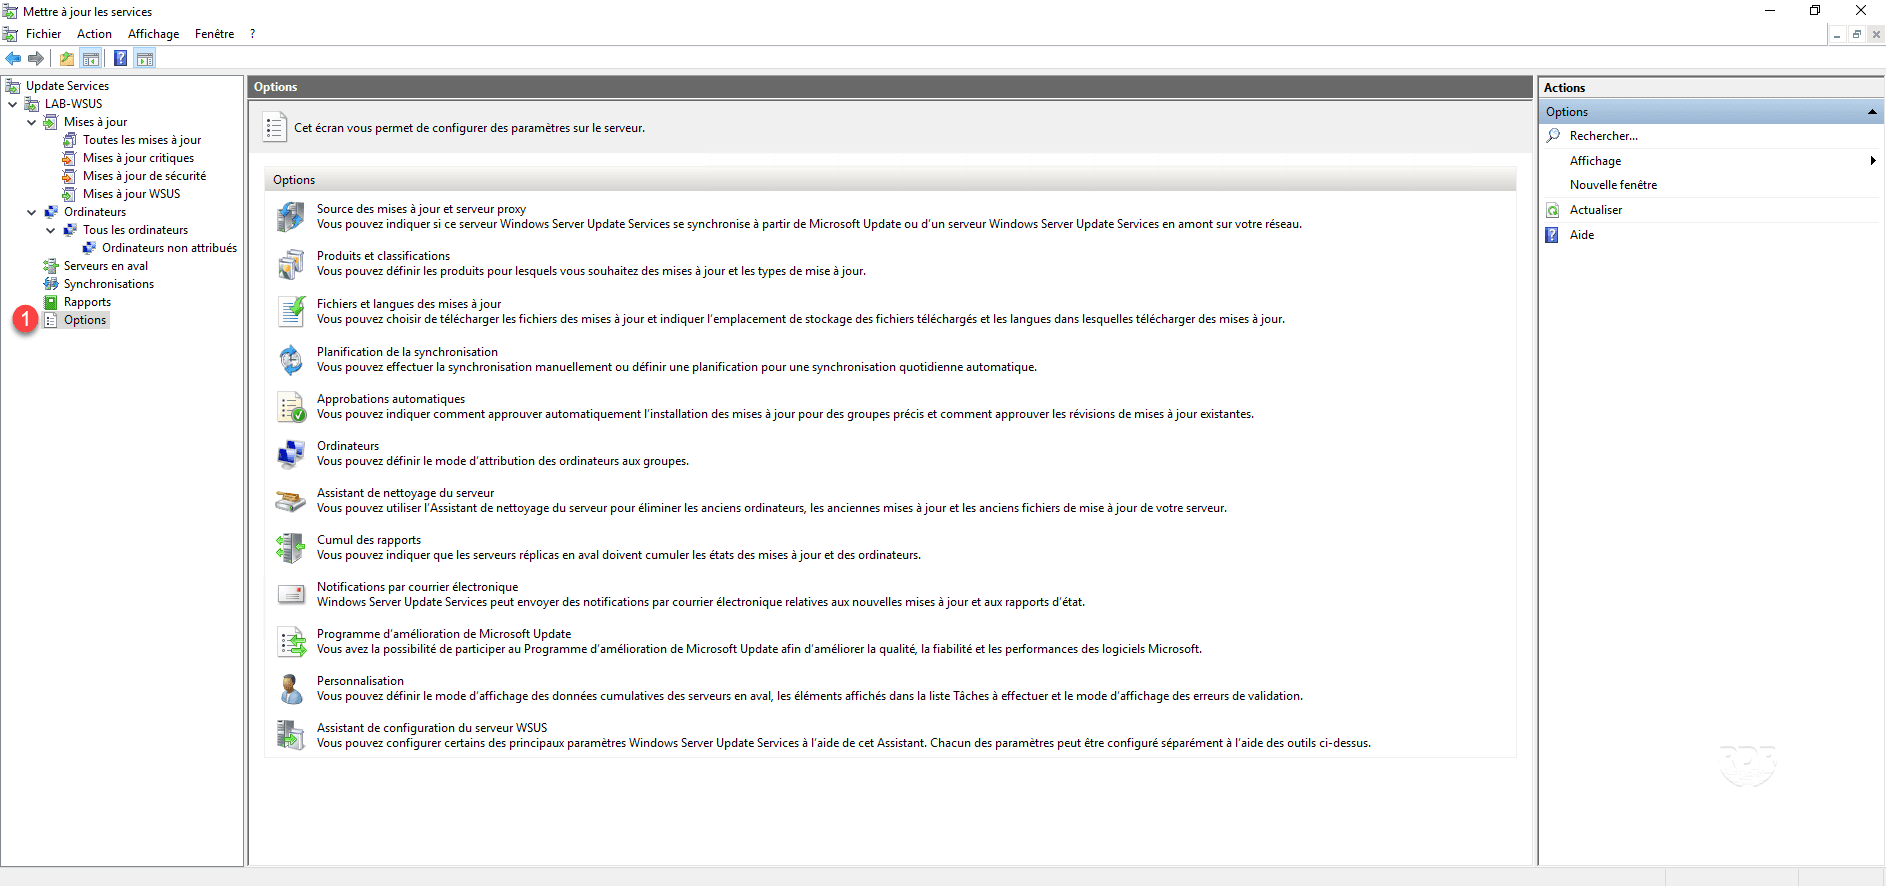
Here you can change the settings made when configuring WSUS.
Update Management
In order to facilitate the administration of the updates, I advise you to display the state of replacement of this one, this makes it possible to avoid to validate and thus to download updates which are replaced by another one.
1. From an update view, right-click on a column header 1 and click on Replace 2 .
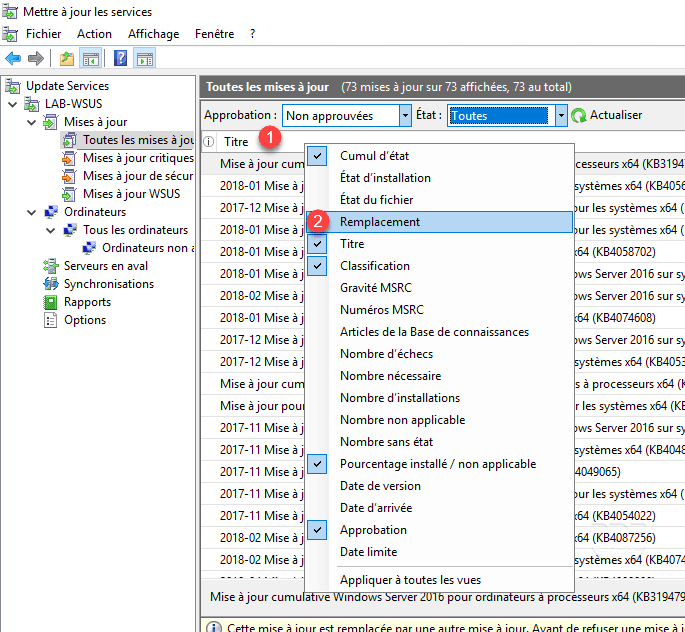
2. This column, or not, displays a pictogram that allows to have the status of replacement of the update.
Updates without pictogram or with this one ![]() can be approved.
can be approved.
Updates with one or the other of the following pictograms ![]()
![]() may be rejected because they are superseded by a more recent update.
may be rejected because they are superseded by a more recent update.
Validate updates
1. Select 1 updates, right click and click Approve 2 .

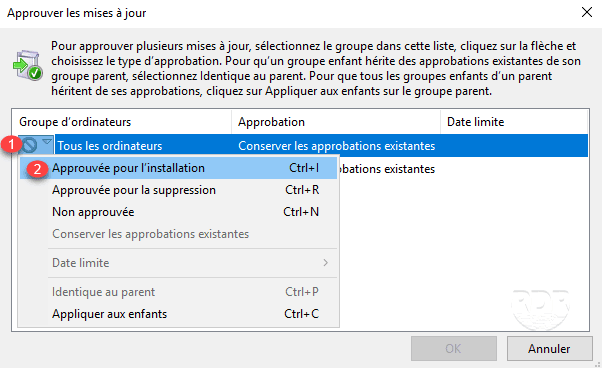
2. Click 1 and then click Approved for installation 2 .
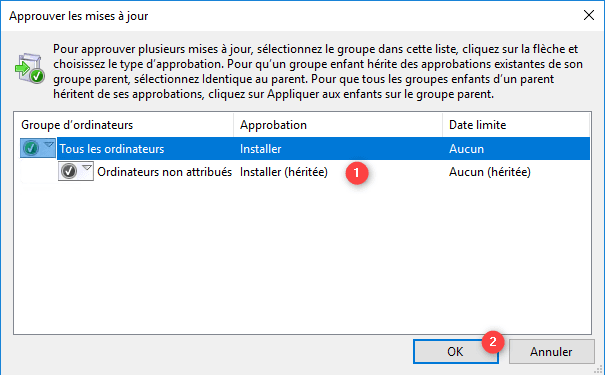
3. Press Crtl + C to apply inheritance 1 otherwise configure each group and click OK 2 .
4. Wait while approving updates.
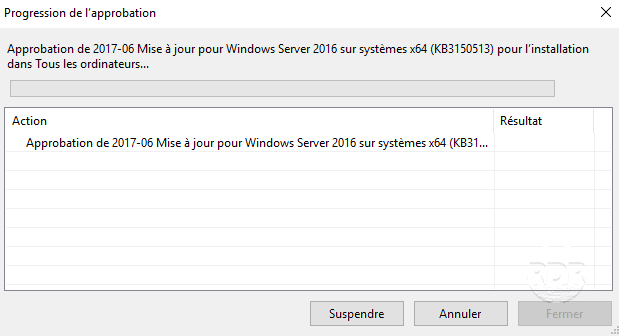
5. When finished, close the window by clicking the 1 button.

6. From the list of updates, the Approval is passed to Installer 1 .
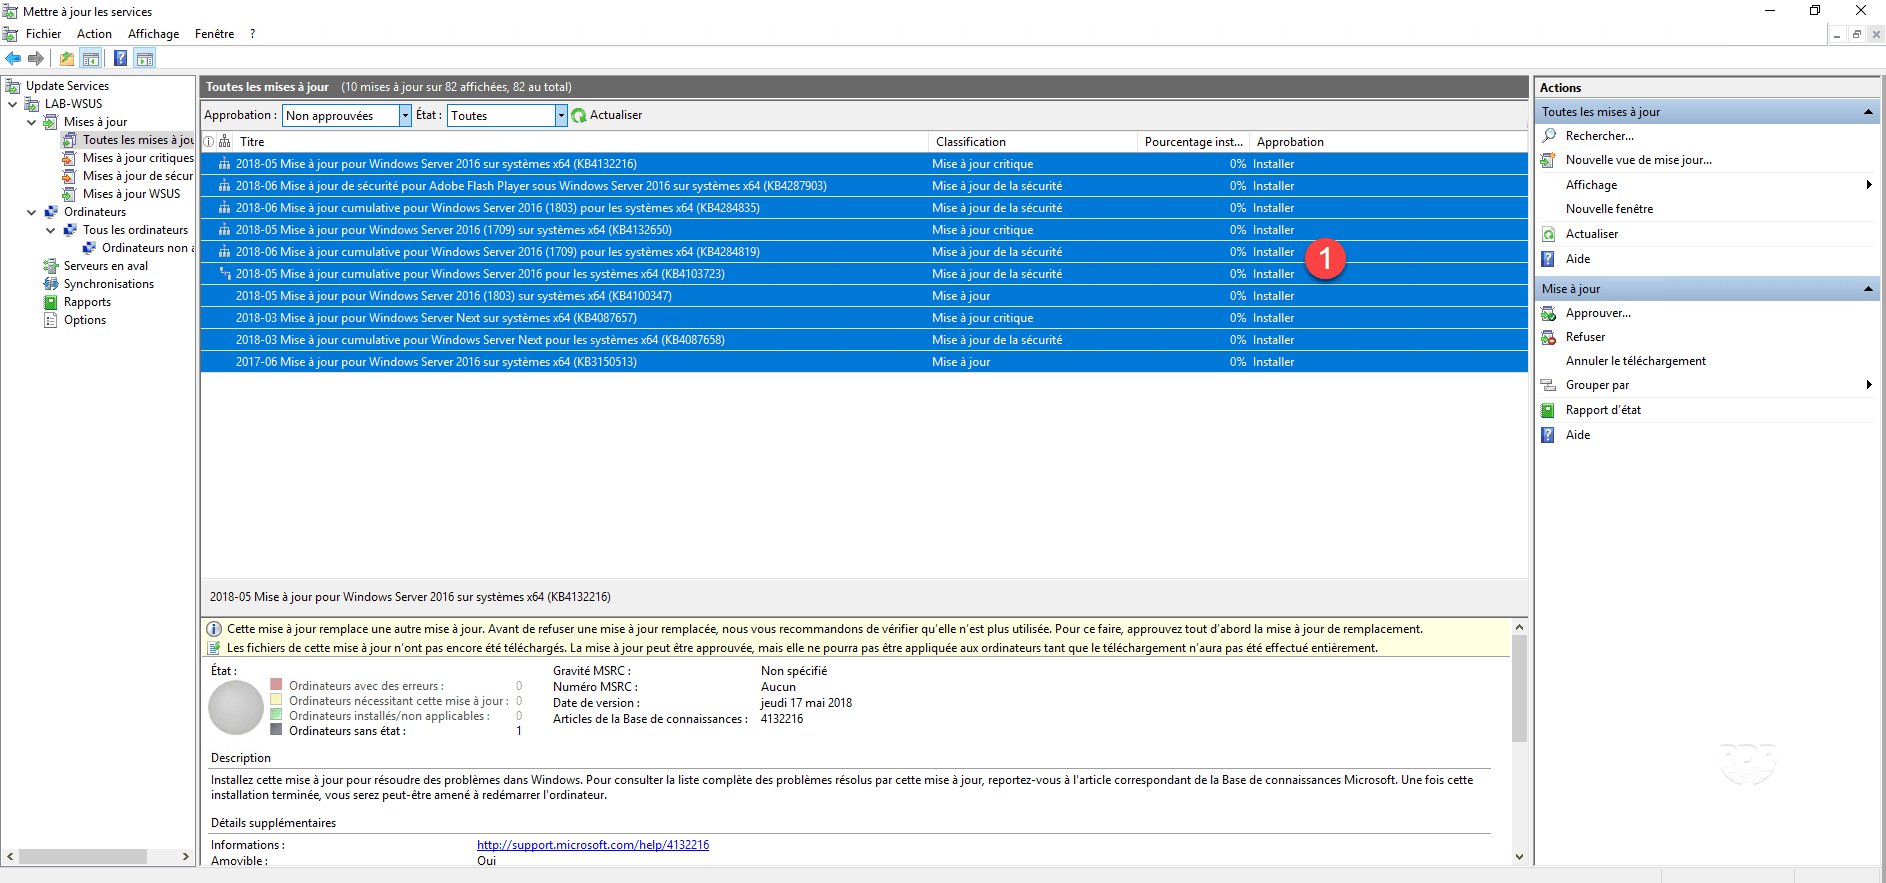
Updating the list of updates will no longer be seen because of the Not Approved on Approval filter.
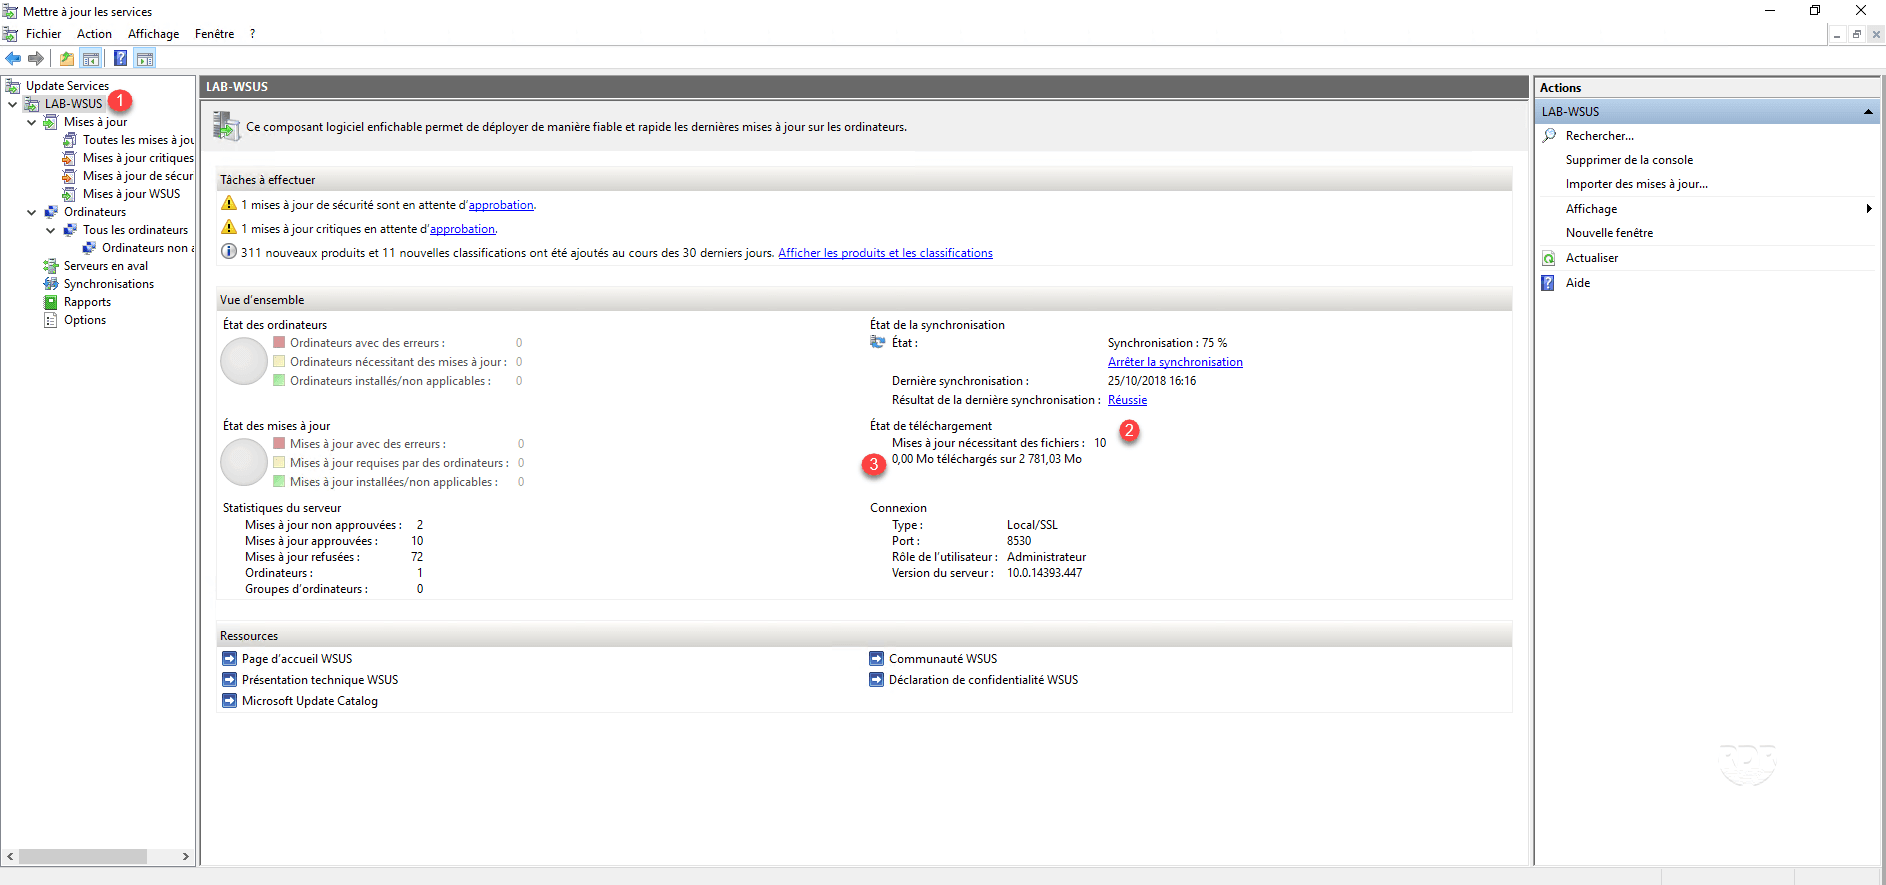
7. On the server status page 1 , we can see the number of updates to download 2 as well as the data volume 3 .
Refuse the updates
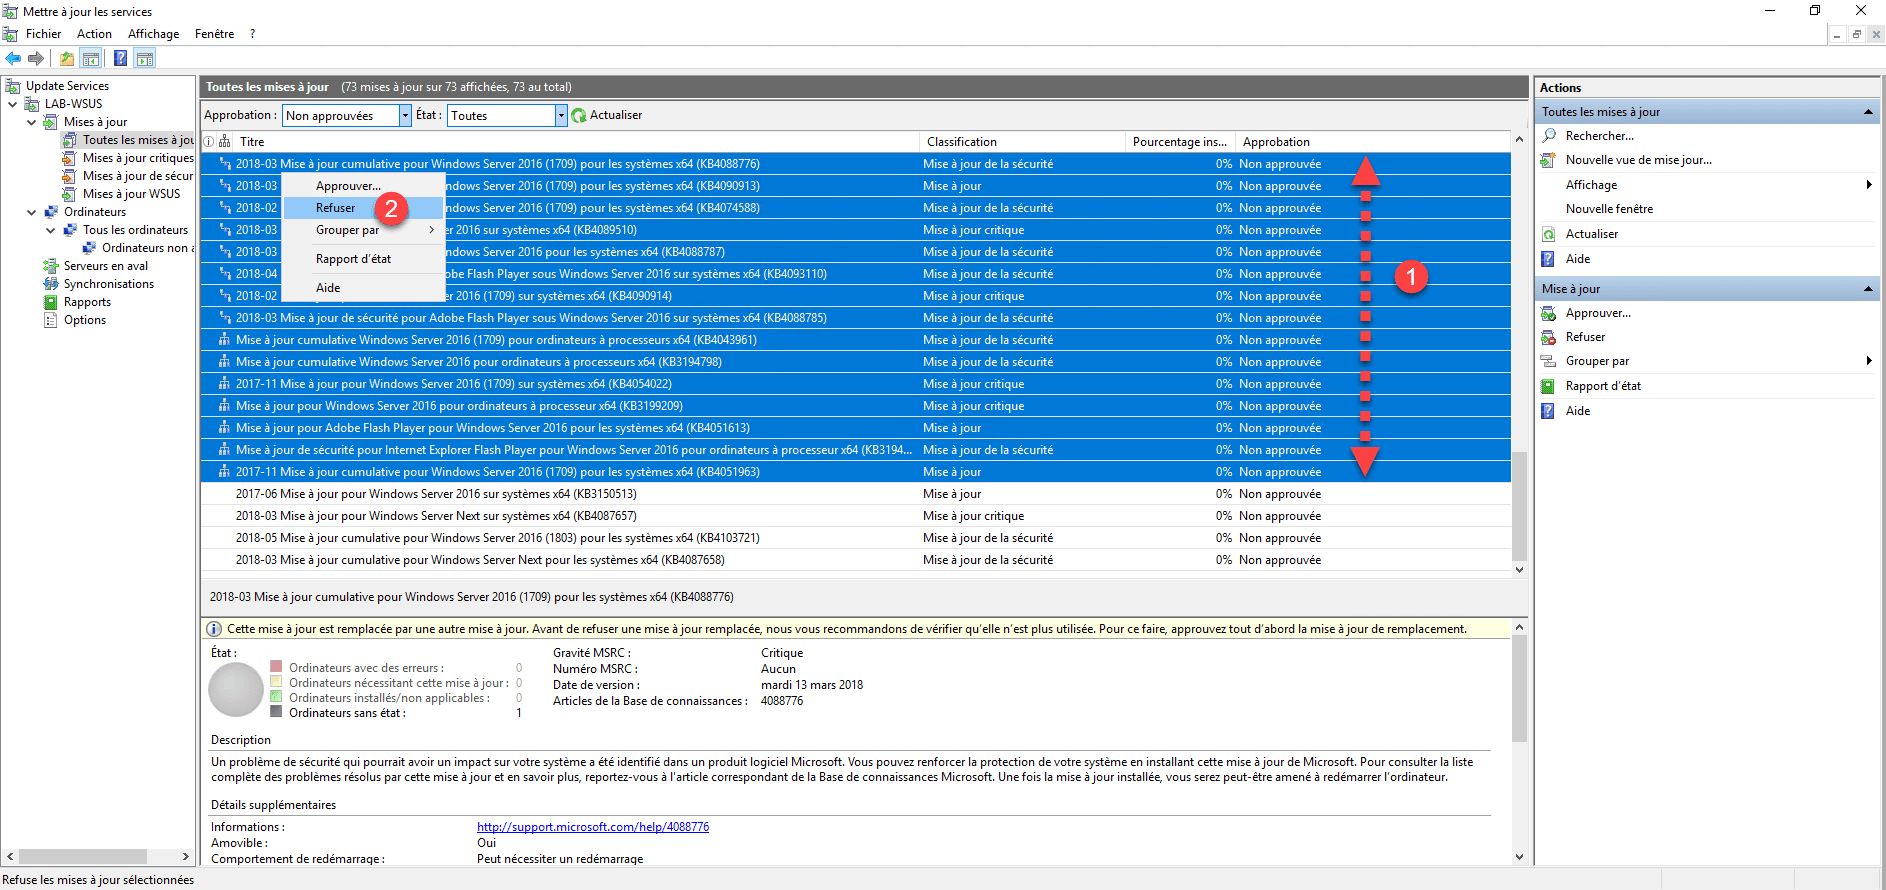
1. Select the 1 updates, right click and click on 2 .
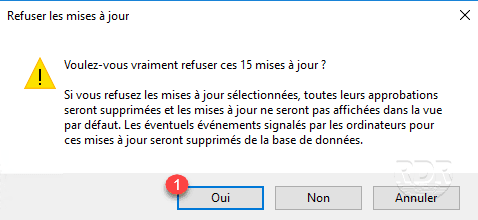
2. Confirm the refusal by clicking Yes 1 >.
3. Updates are denied 1 .

Computer configuration
In this part, we will see how to configure the stations (server and client) so that they come to contact the WSUS server.
In a domain by GPO
The settings in the policy apply at the item level.
Personally, I do not advise you to make a single strategy for your entire fleet, I advise you to do two strategies, one for workstations and one for servers.
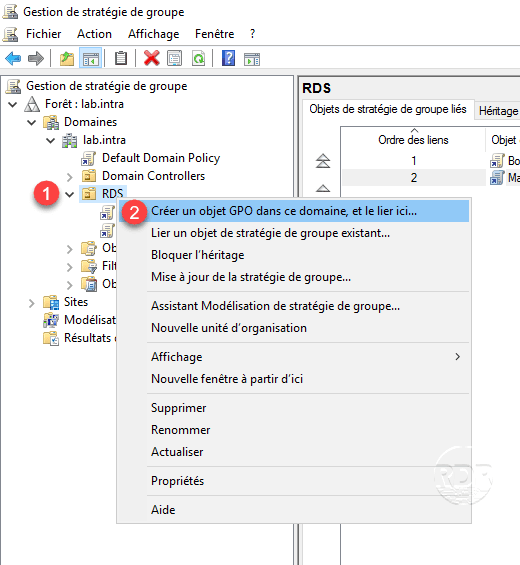
1. Open the Group Policy Management console, right-click on the OR 1 where you want to apply the strategy and click on Create GPO in this area, and link it here 2 .
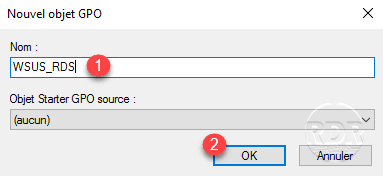
2. Name GPO 1 and click OK 2 .
3. Right click on the created strategy 1 and click on Edit 2 .

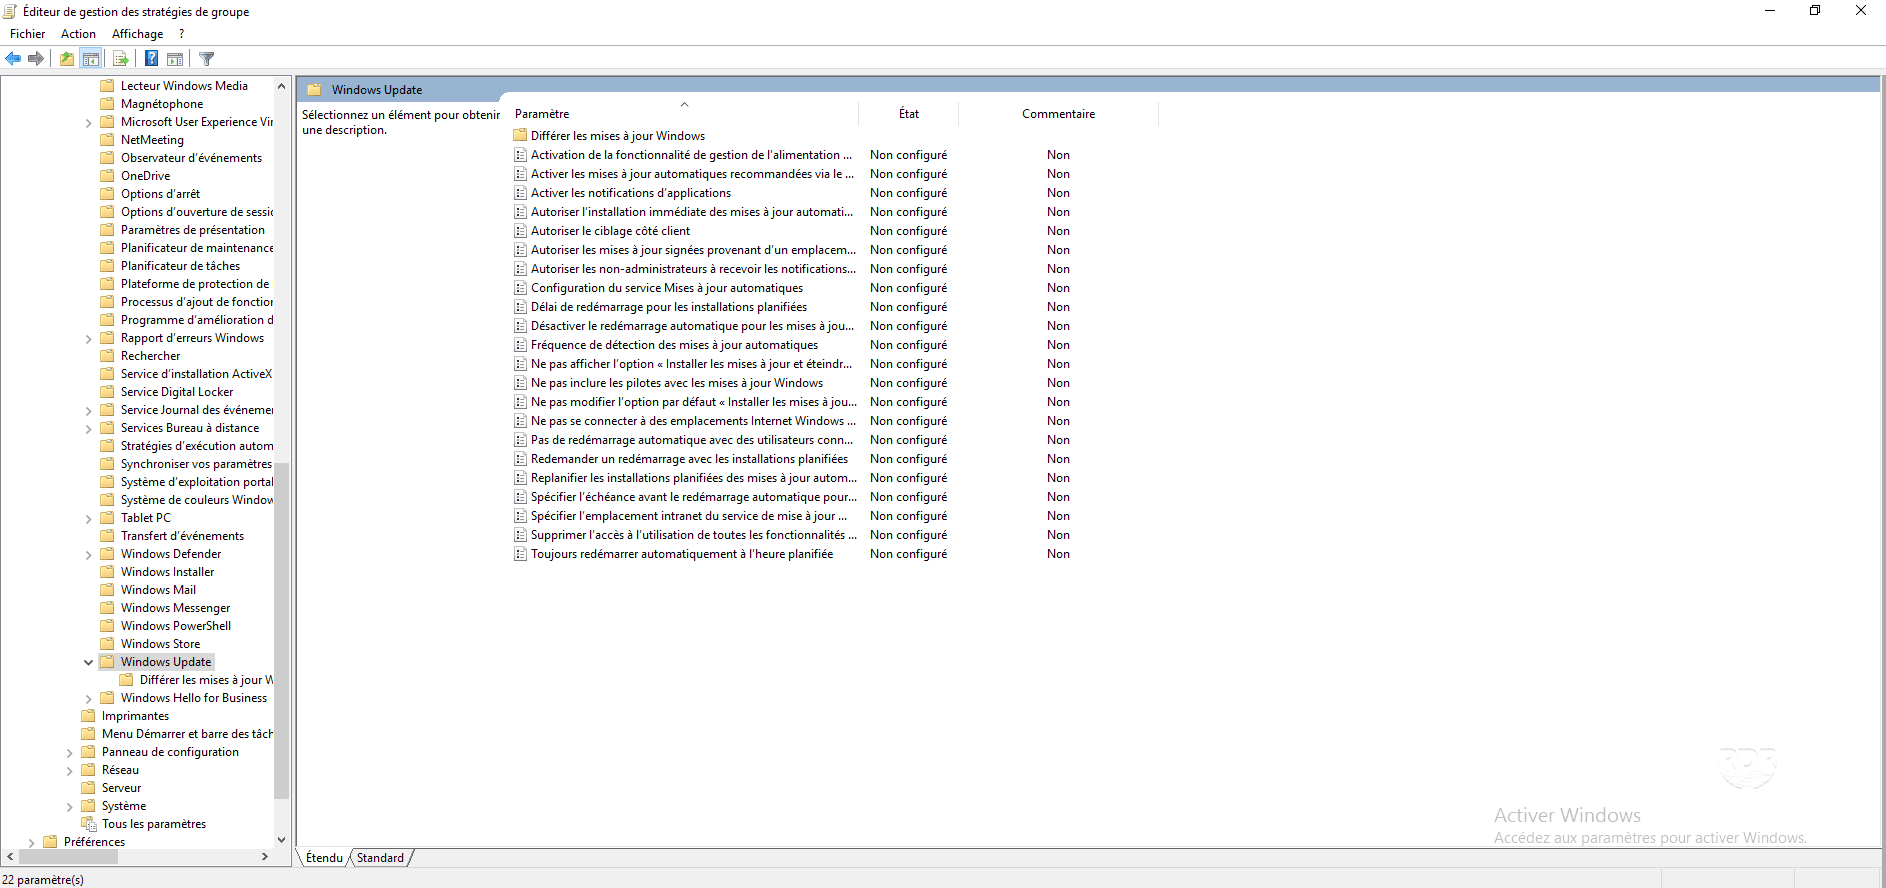
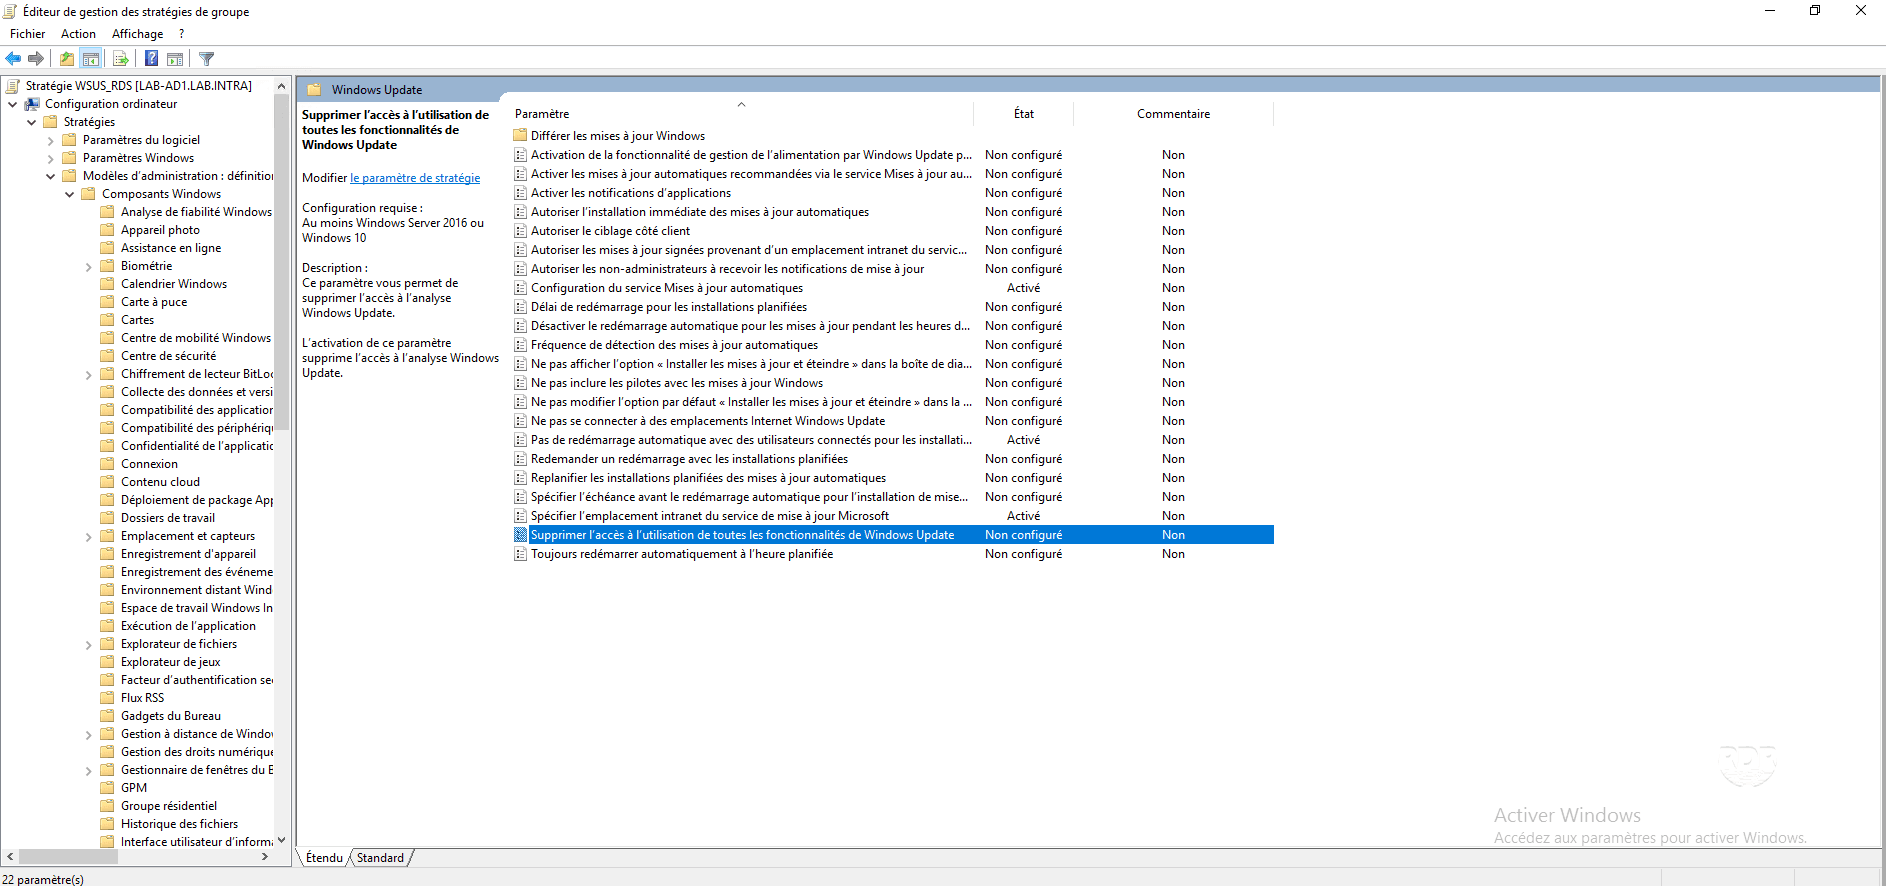
4. Go to the Computer Configuration / Policies / Administrative Templates / Windows Component / Windows Update folder. In this folder is the set of configurable parameters for the behavior of Windows Update.
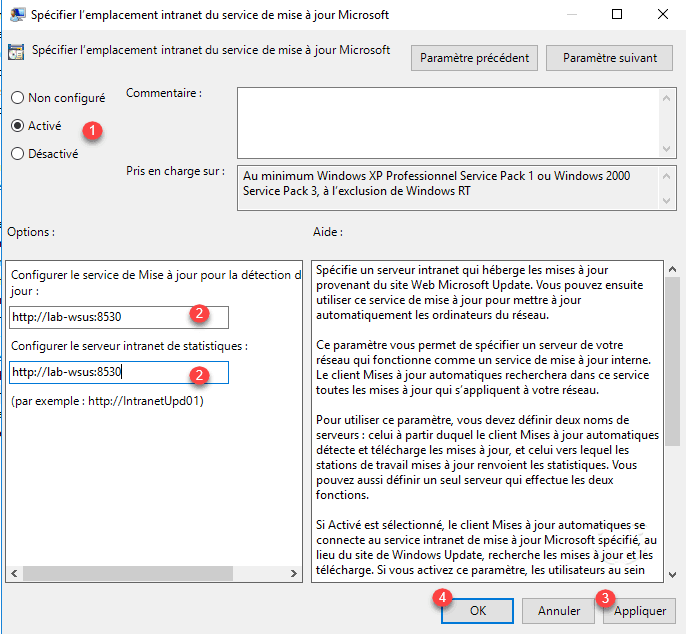
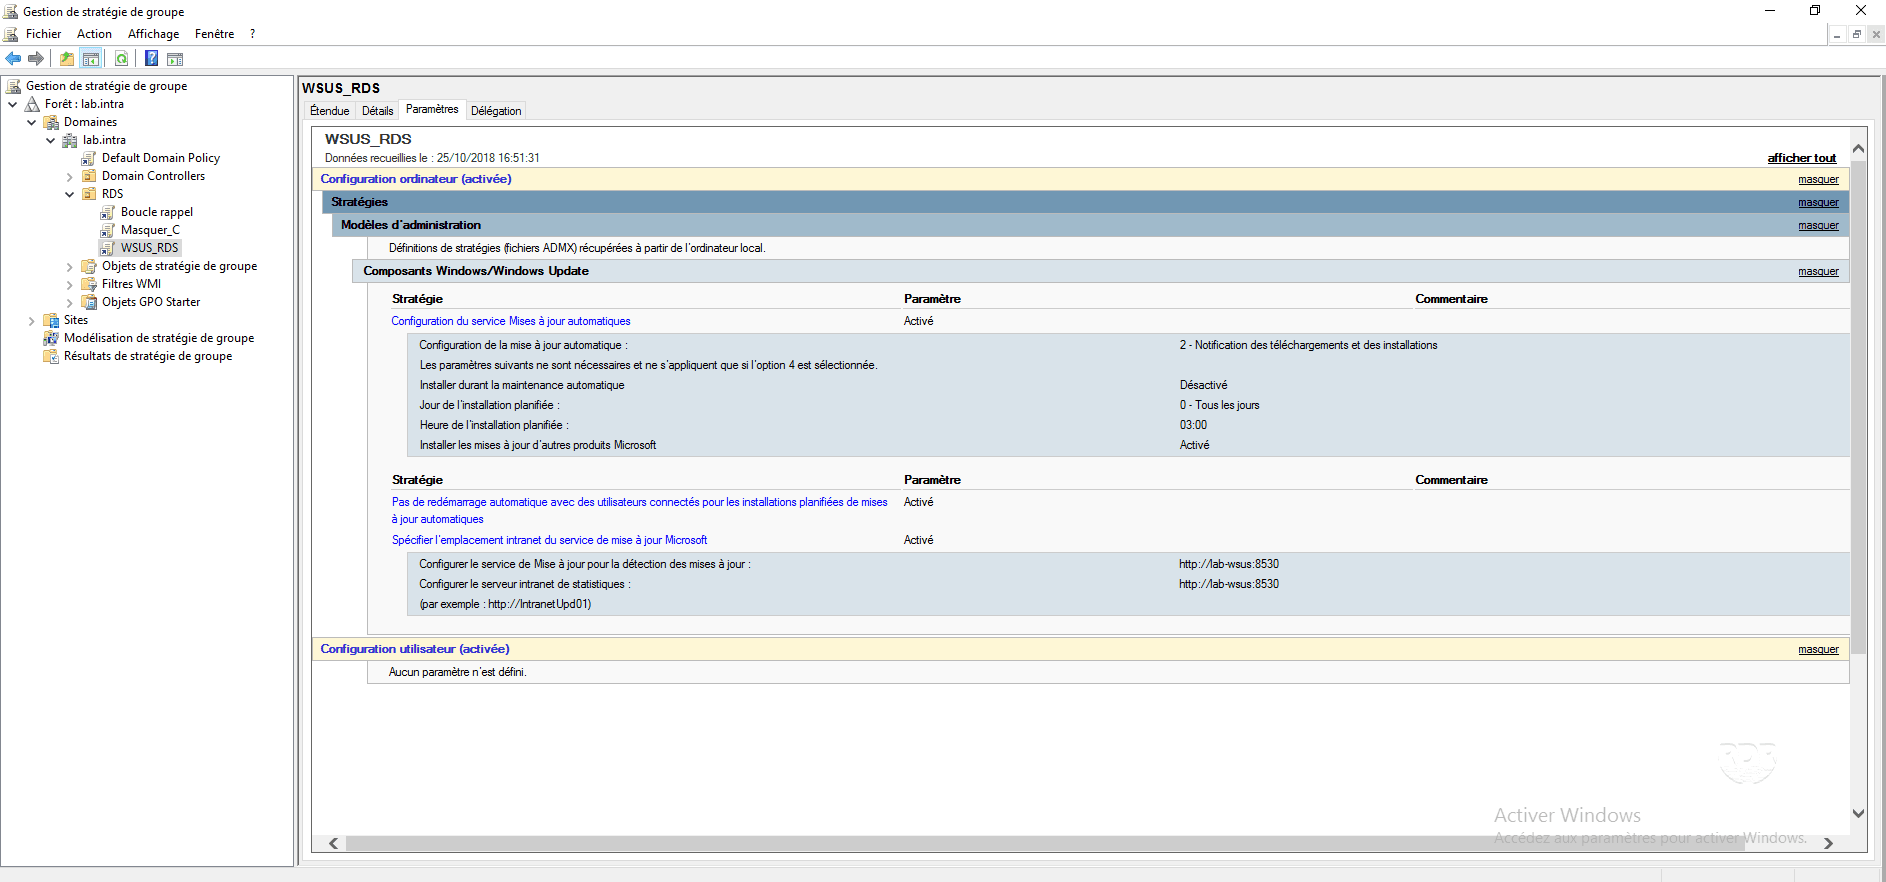
5. Change the setting Specify Microsoft Update Service Intranet Location, Enable 1 , Specify Server URL 2 , and then click Apply 3 and OK 4.
6. Change the setting: Automatic Updates Service Configuration, Enable 1 , configure Windows Update behavior 2 then click Apply 3 and OK 4 .
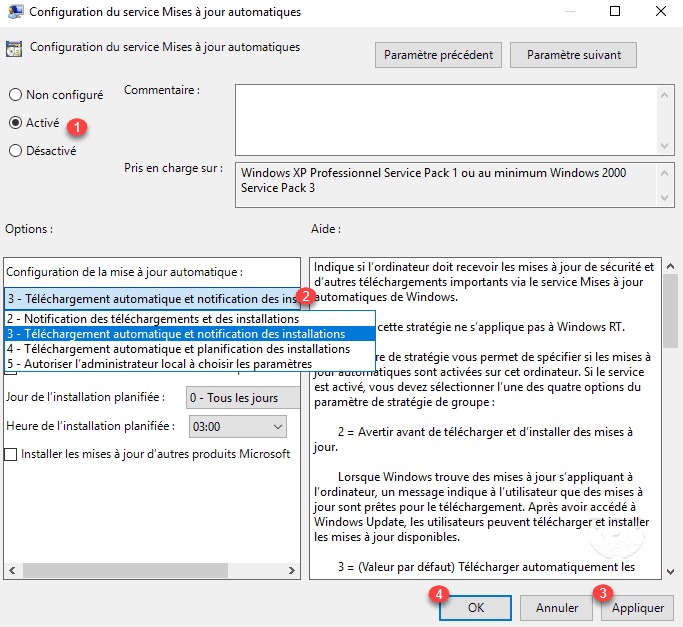
In the Help section you will find explanations of the different behaviors available.
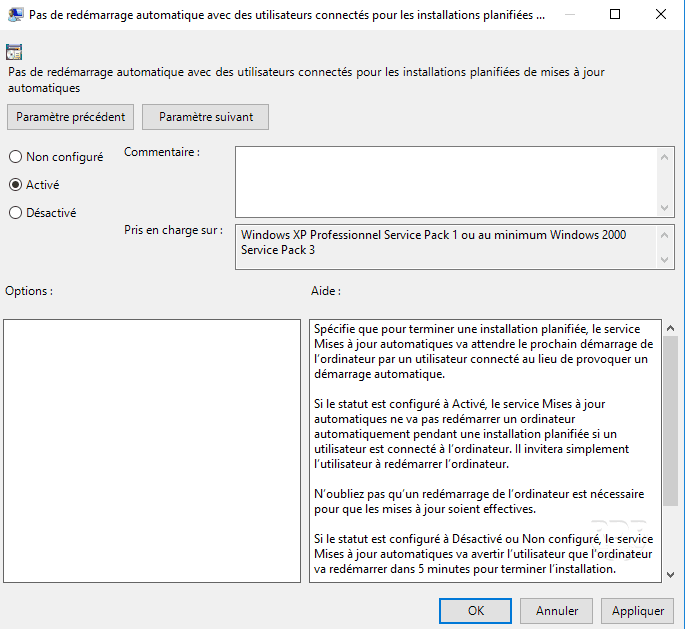
7. (Optional) Enable parameter: No automatic restart with connected users for scheduled installations, this avoids having a machine that restarts automatically when connected to it.
8. The strategy is ready, it must wait until it applies.
Manual configuration
If you have out-of-domain extensions in your network, it is still possible to configure the extensions to use the WSUS server.
1. Download WSUS WORKGROUP and execute the.
2. On the Main tab 1 , configure the WSUS server URL 2 and the behavior of Windows Update 3 .

3. (Optional) Go to the Advanced 1 tab and adjust the parameters according to the desired behavior.
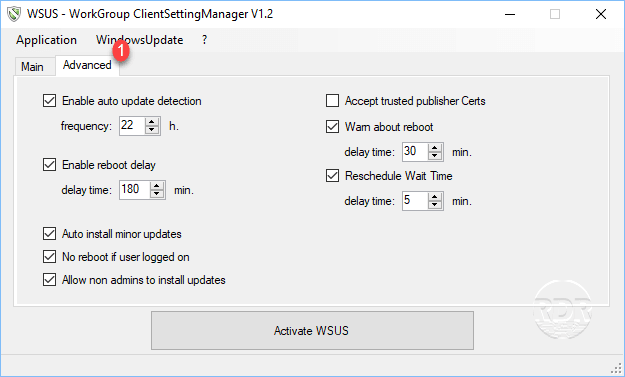
4. Click Activate WSUS button 1 .

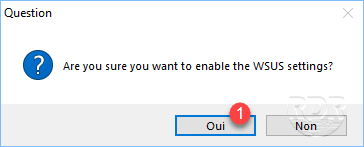
5. Confirm the application by clicking Yes 1 .
6. (Optional) The application offers to save the registry before applying the settings, click Save 1 .
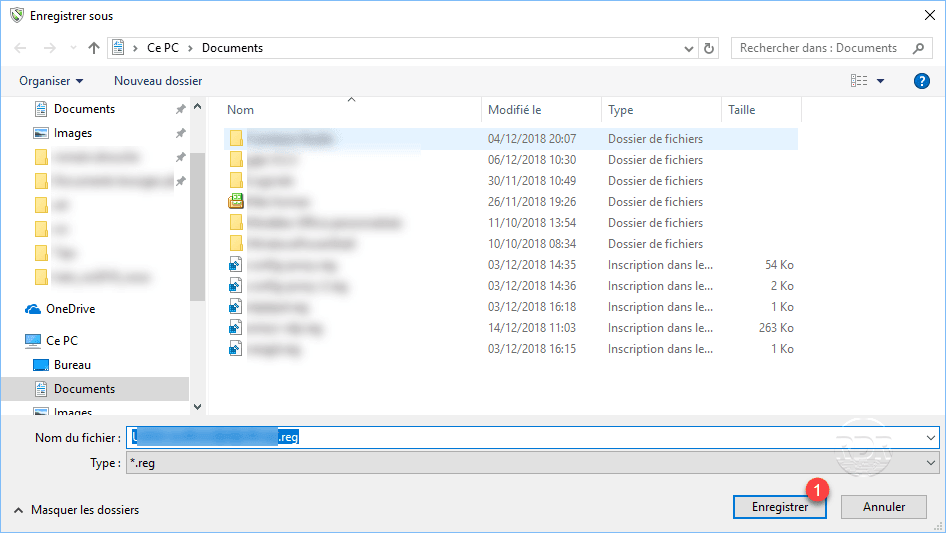
If you do not want to save, click Cancel
7. Click OK 1 to close the information window.
Check the configuration application
1. On the WSUS Administration Console, go to Computers / All Computers / Unattached Computers 1 , the extensions that contact the server should be displayed.
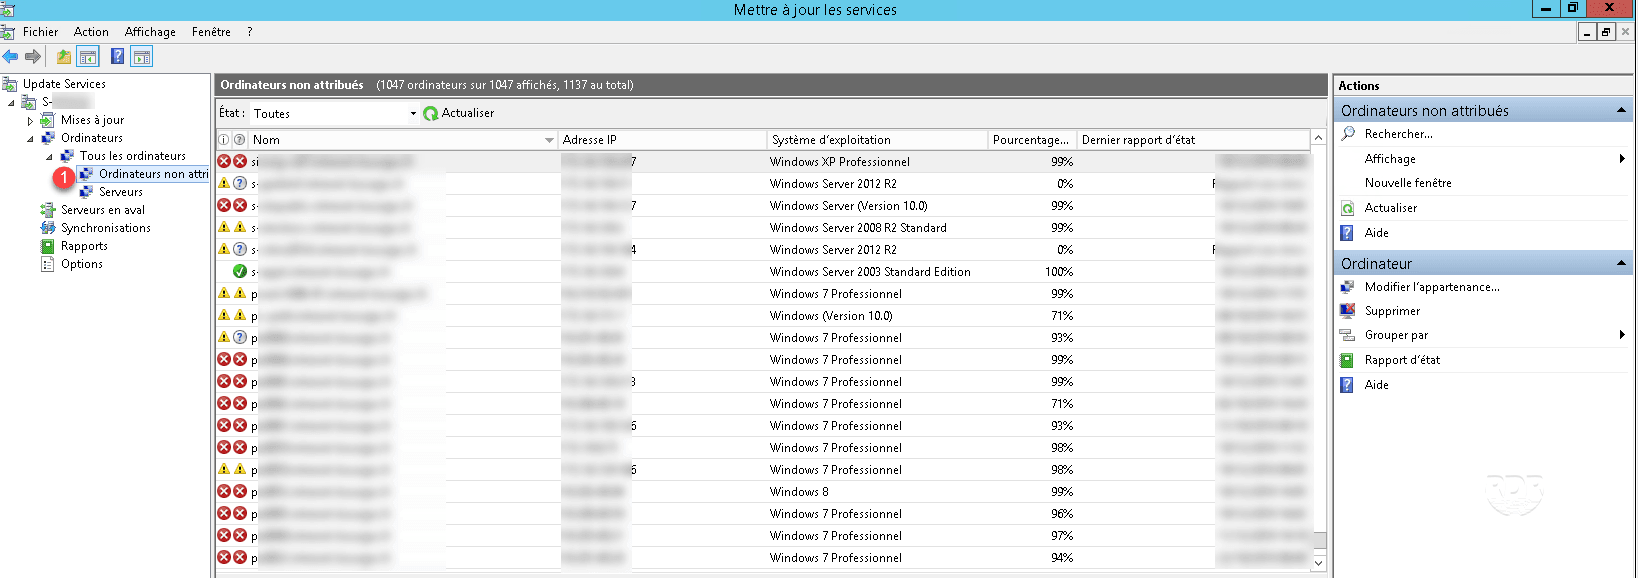
If you have Approve updates for All Computers, the workstations will start downloading updates after sending a first report that will allow the WSUS service to offer the available updates.
More with WSUS
Uninstall an update
If an update is a problem, it can be uninstalled via WSUS.
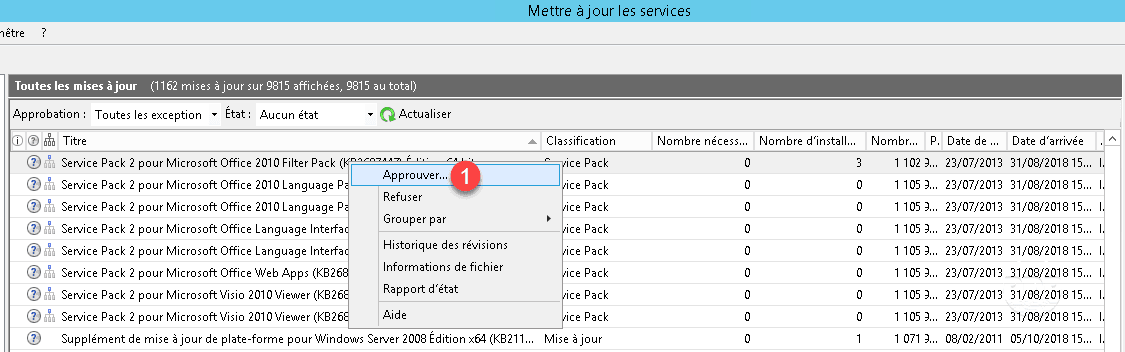
1. Once the update has been identified, right-click on it and click Approve 1 .
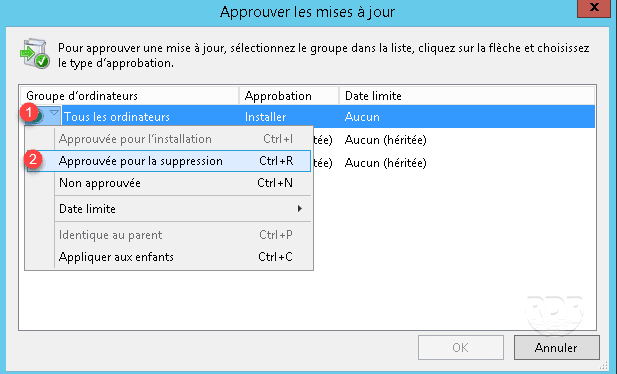
2. Click the 1 icon and then click Approved for deletion 2 .
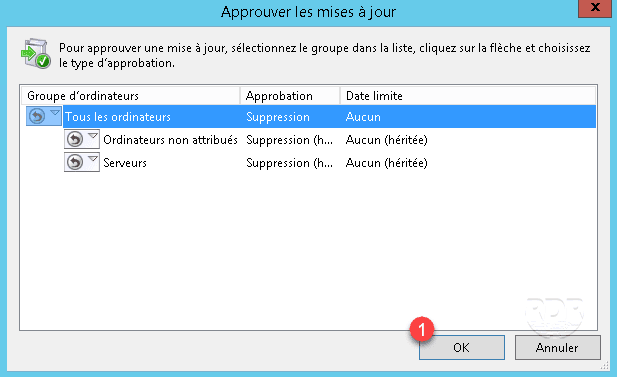
3. Click OK 1 to apply.
Migrate the WID database to SQL Server (express)
If your WSUS service is shutting down regularly, I advise you to migrate the database to a SQL Server instance, this solution will improve the performance of your WSUS. A tutorial is available here.
Automatically declining Itanium and / or ARM64 updates
If you receive updates for Windows XP, Windows 2003 Server, or Windows 2008 Server and you do not have an Itanium system, you can use the script here to refuse them automatically.
If you receive updates for Windows 10 and you do not have an ARM64 system, you can use the script here to reject them automatically.
