Installing the WSUS role
1. From Server Manager, click Add Roles and Features 1 .

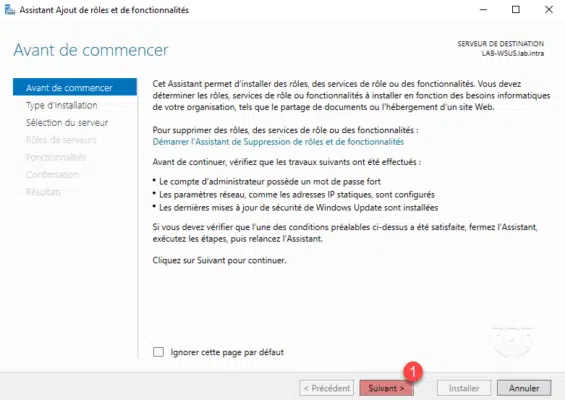
2. When launching the wizard, click Next 1 .
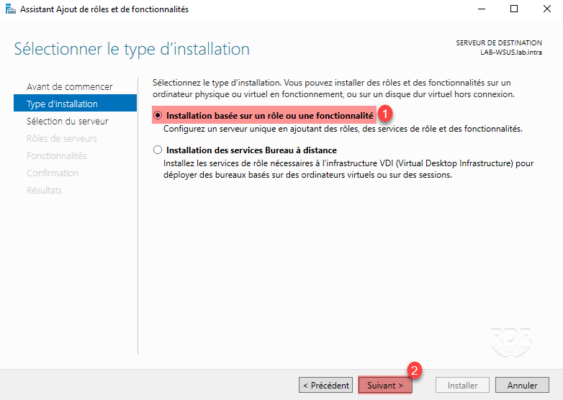
3. Select the Role Based Installation or 1 feature and click Next 2 .
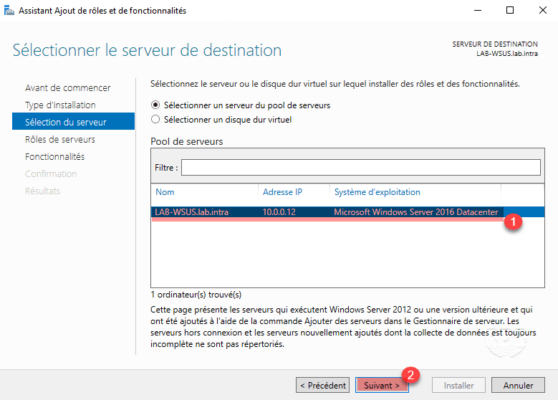
4. Choose the server where the installation is to be done 1 and click Next 2 .
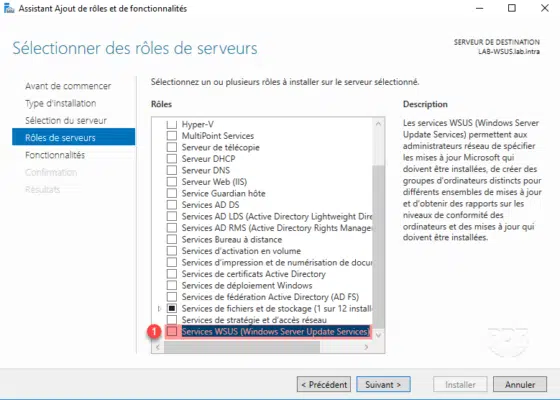
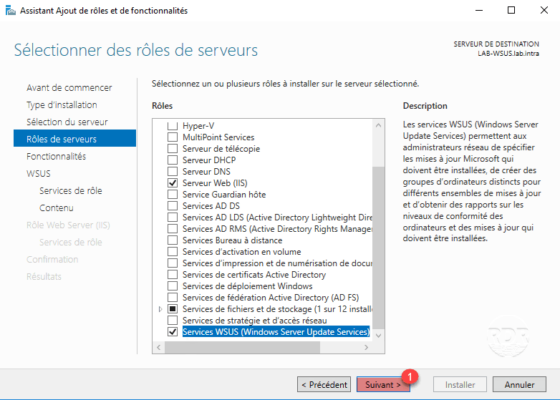
5. In the list of roles, check the box marked 1 WSUS Services (Windows Server Update Services).
6. Validate adding dependencies by clicking Add Features 1 .
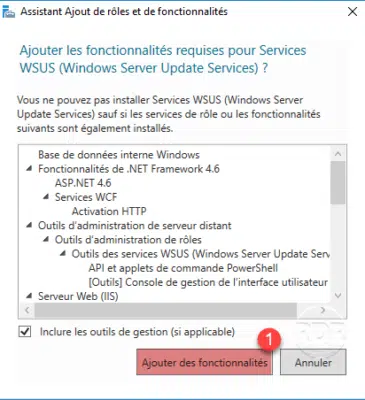
The WSUS roles installs IIS and the Windows Internal Database.
7. Click on Next 1 .
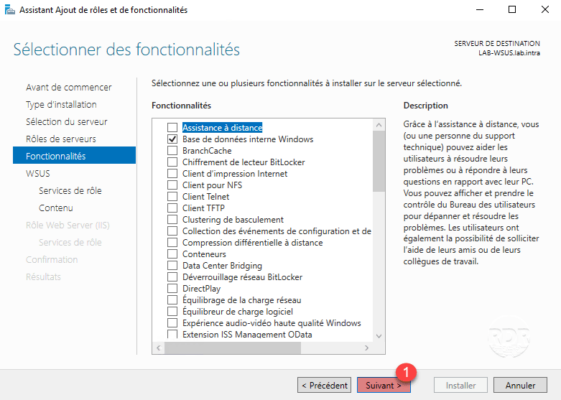
8. Validate the features by clicking Next 1 .
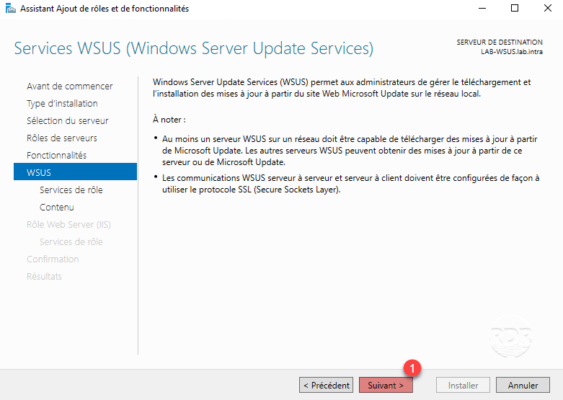
9. Pass the WSUS role summary by clicking Next 1 .
10. Leave the default installation options, click Next 1 .
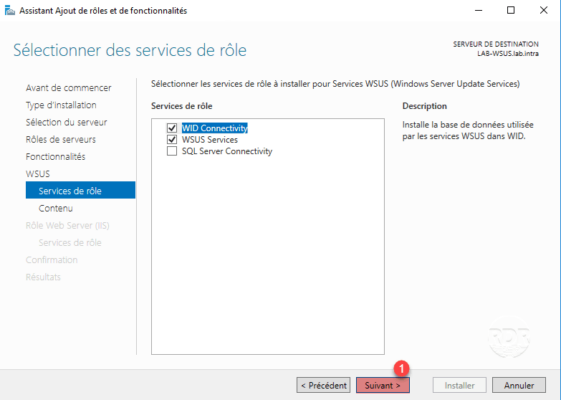
The SQL Server Connectivity option is an option that comes with Windows Server 2016, which allows you to configure the basic use of a SQL Server database as soon as you install it.
11. Specify where the updates are stored on the 1 server and click Next 2 .
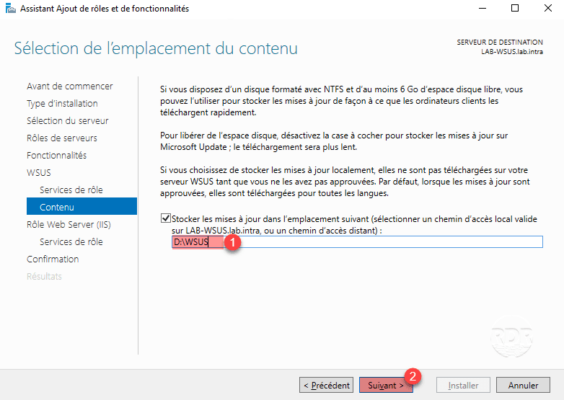
In the case of a culprit with SCCM, it is not necessary to store the updates on the WSUS server, they will be stored on the distribution server.
12. Skip the IIS role summary by clicking the Next 1 button.
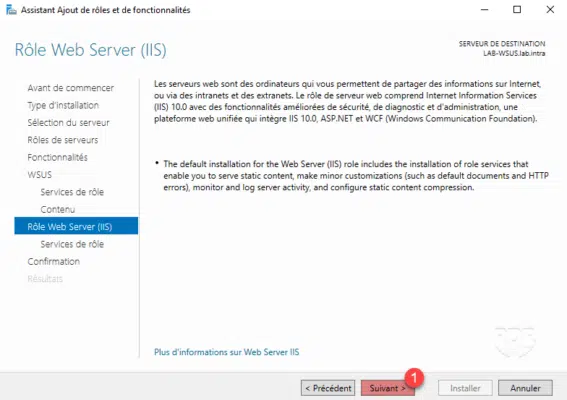
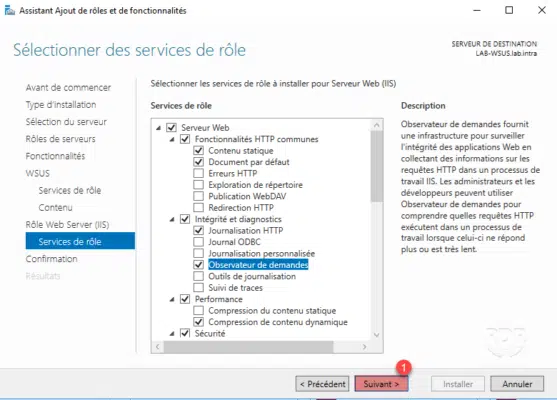
13. Click Next 1 to validate the IIS services to install.
14. Confirm the installation of roles and features by clicking Install 1 .
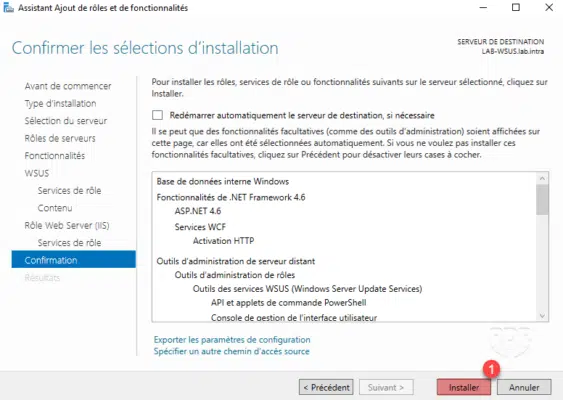
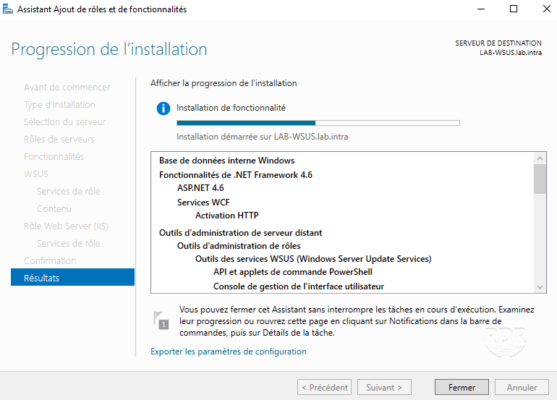
15. Wait during the installation of the different roles …
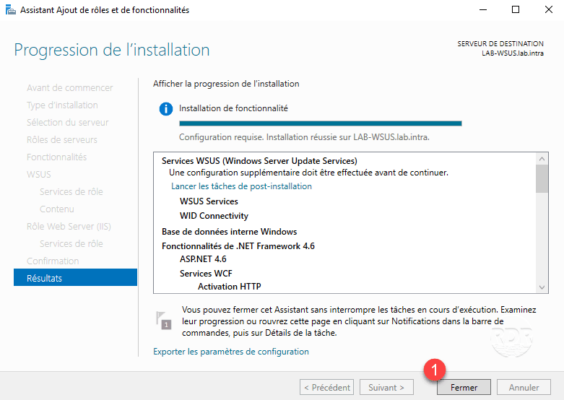
16. When the installation is complete, exit the wizard by clicking Close 1 .
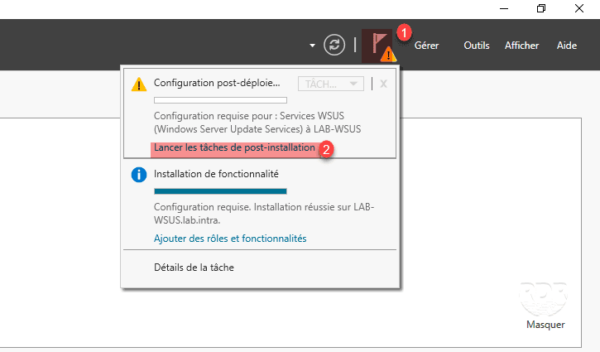
17. From the server manager, click on the notification flag 1 and click on Launch post-installation tasks 2 .
18. Wait while running the Post-Deployment setup …
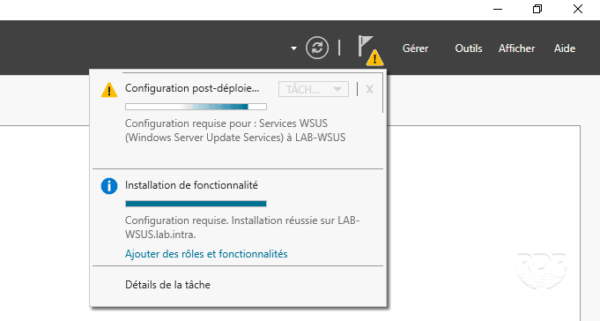
19. The role is now installed.
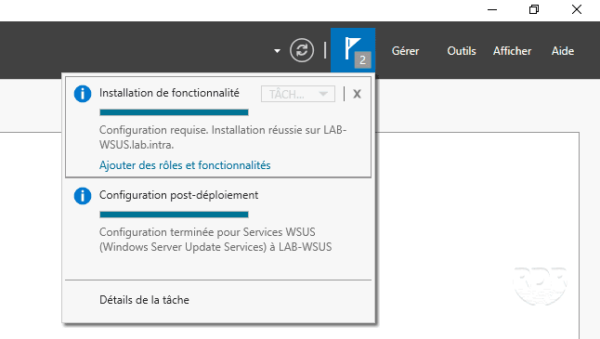
Now that the roles necessary for the deployment of WSUS, we will move to the configuration.


