Table of Contents
Introduction
In this tutorial, we will see how to set up Sharepoint 2013 foundation on Windows 2012R2.
Although this version at the time of writing this article is more than 5 years old, it allows to discover Sharepoint before making its acquisition.
SharePoint is a web portal that allows to set up within a structure a collaborative platform that allows:
- Electronic Document Management (EDM)
- Task Management
- Documentation Center (FAQs, articles …)
- …
In this tutorial, I dedicated a server to Sharepoint with the databases.
Prerequisites
In order to set up Sharepoint you need:
- An Active Directory environment
- A Windows 2012R2 server with two partitions, one of which is dedicated to the SQL Server (Express) instance.
Before you start preparing the server for the Sharepoint installation download the following items to the Sharepoint server in a source folder:
- Sharepoint 2013 SP1 Foundation on the site of Microsoft.
- WCF Data Services 5.6, once the downloaded file rename it in: WcfDataServices56.exe
- Retrieve scripts PowerShell for the installation of the prerequisites.
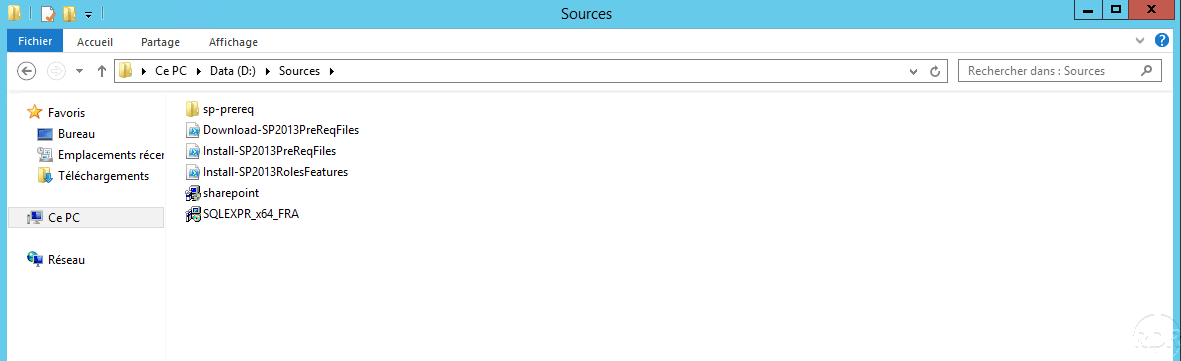
Where you downloaded the scripts create a sp-prereq folder. The Sources folder should look like the catch below:
Installing the prerequisites for Sharepoint 2013
Installing Windows Server Roles
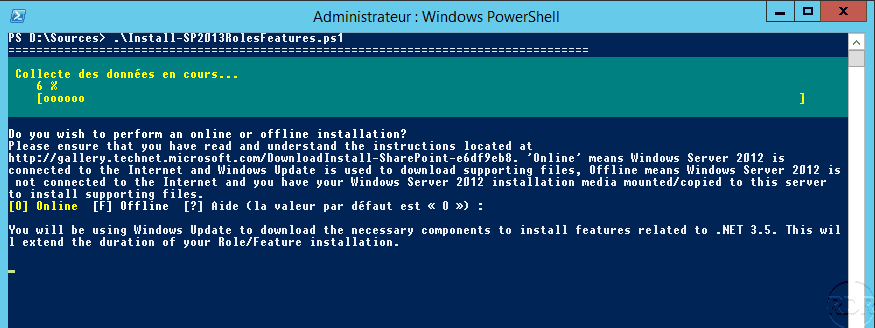
Start a PowerShell command prompt in Administrator and run the Install-SP2013RolesFeatures.ps1 script to install the necessary roles for Sharepoint, confirm the installation with the default choice.

Wait during the installation …
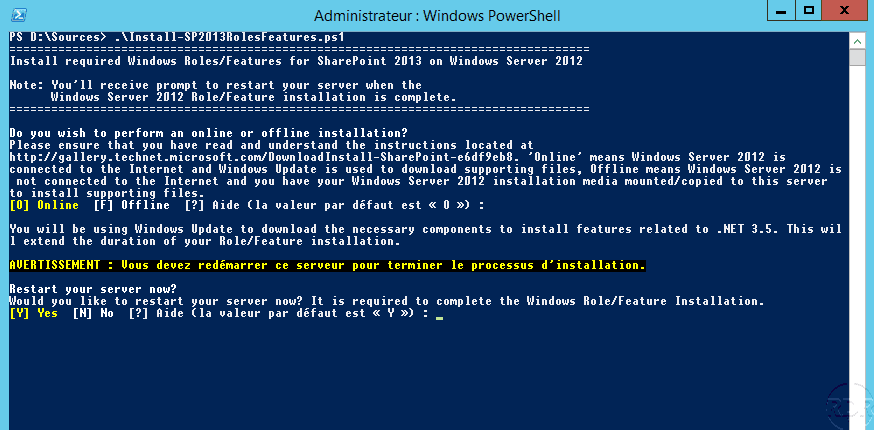
The installation completed, confirm the restart of the server.
Downloading prerequisites
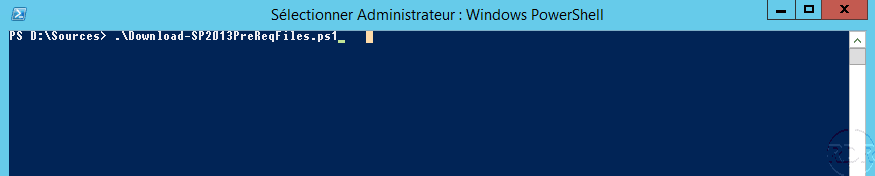
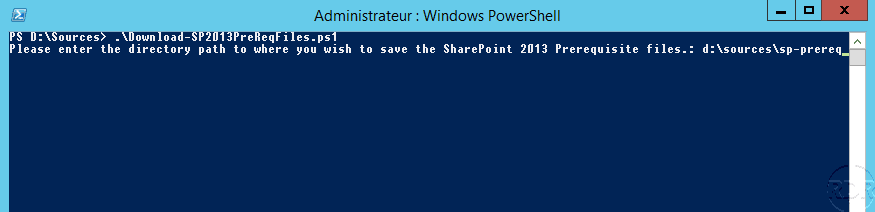
Start a PowerShell command prompt in Administrator and run the Download-SP2013PreReqFiles.ps1 script to download the necessary files.
Indicate the location where the files will be saved.
Wait while downloading the prerequisites …
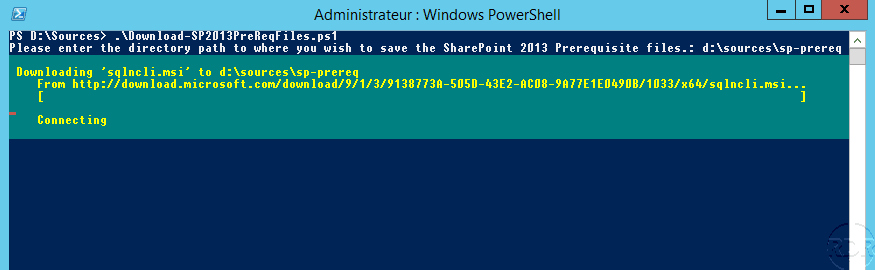
The download of the files is finished.

Preparing to install the prerequisites
In the folder where the files are stored, create a PrerequisiteInstallerFiles folder and then move the downloaded files in by also putting the WcfDataServices56.exe file.
Open the Sharepoint 2013 installation archive with 7zip and extract the prerequisiteinstaller.exe and msvcr100.dll files to the parent folder of PrerequisiteInstallerFiles.

Installation of the prerequisites
During the installation of prerequisites, several reboots are needed
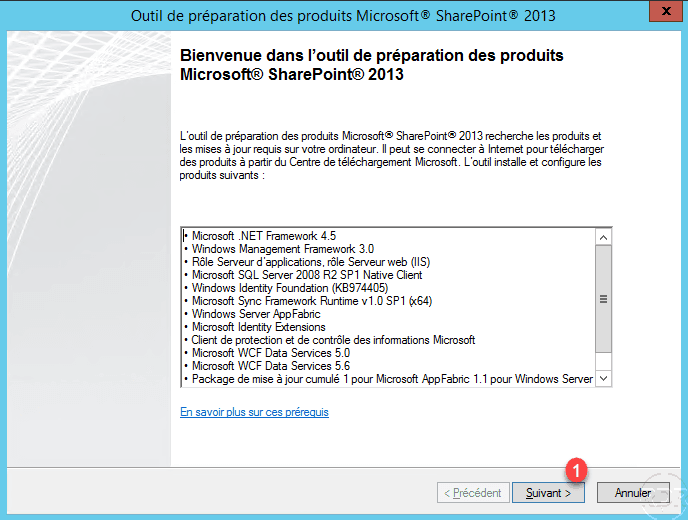
From a PowerShell command prompt to an administrator, run the Install-SP2013PreReqFiles.ps1 file and specify the folder where the prerequisiteinstaller.exe file is located.

The installation wizard starts, click Next 1 .
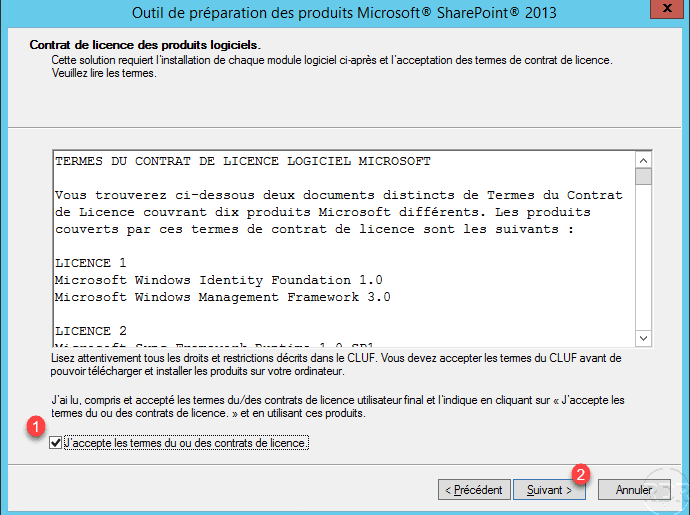
Check the box to accept the 1 license agreements then click Next 2 .
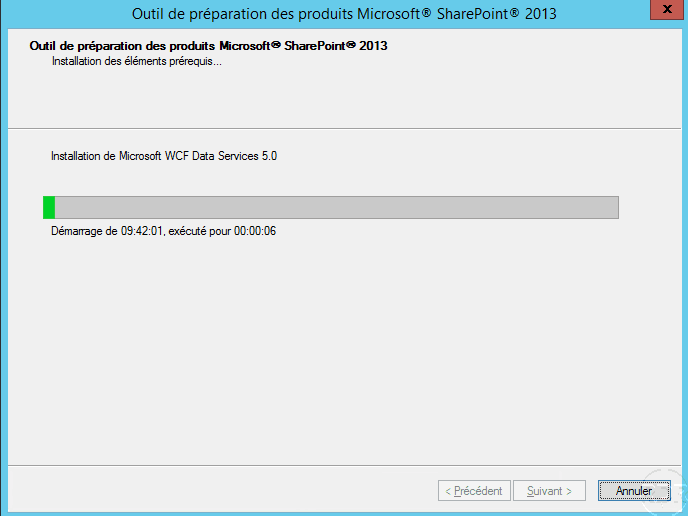
Wait during the installation …
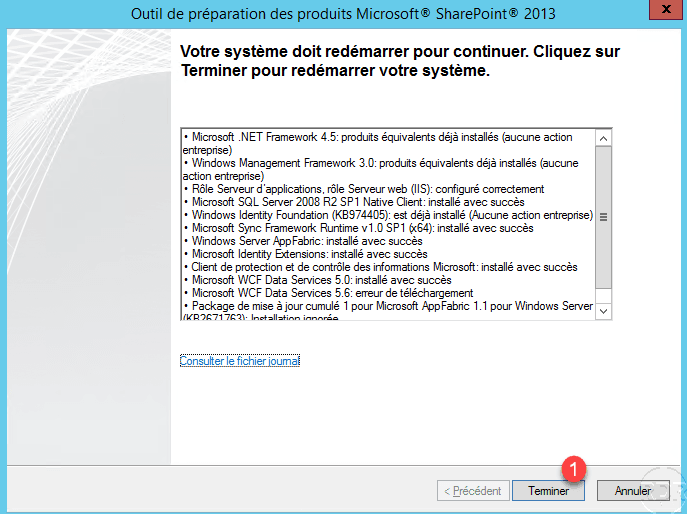
Restart the server by clicking Finish 1 .
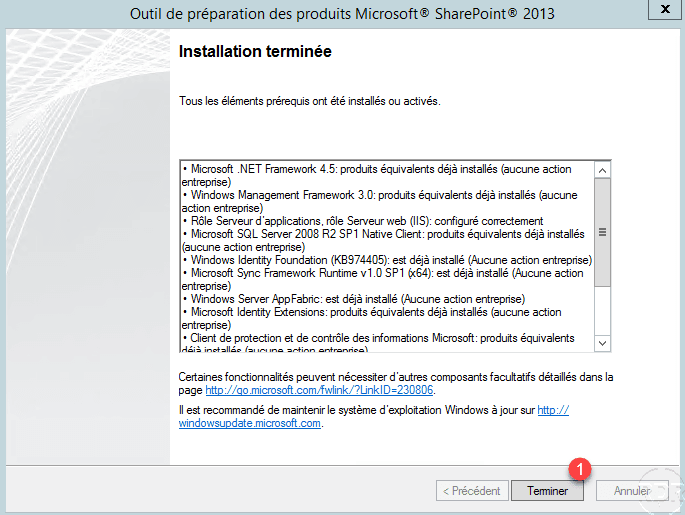
When the installation is complete, close the wizard by clicking Finish 1 .
Sharepoint 2013 installation
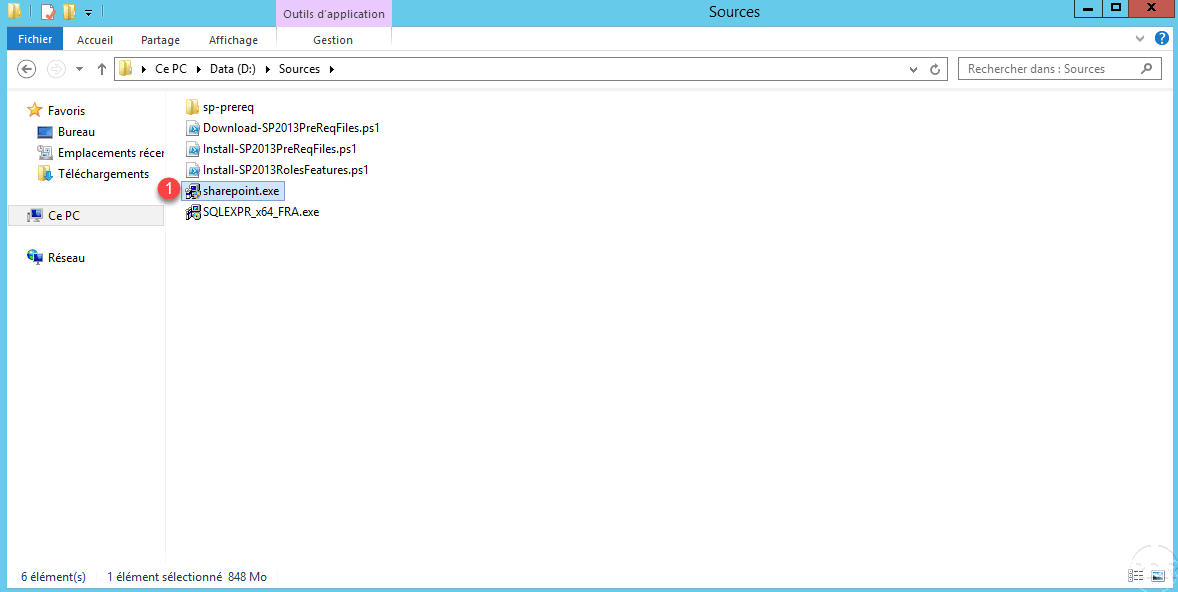
Run the Sharepoint 2013 installation file 1 .
Waiting for the extraction of the files …
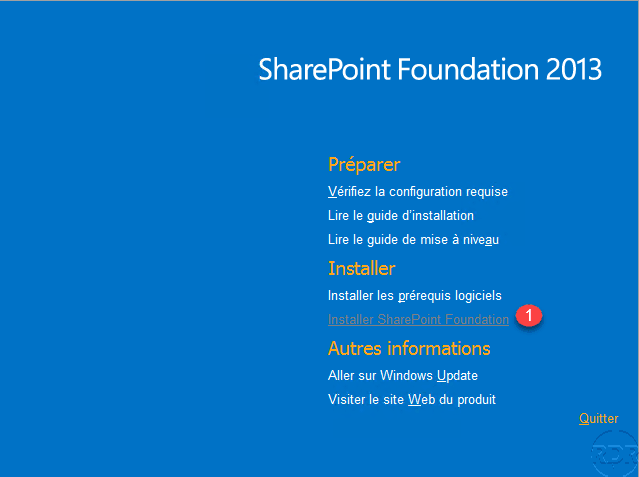
Click Install SharePoint Foundation 1 .
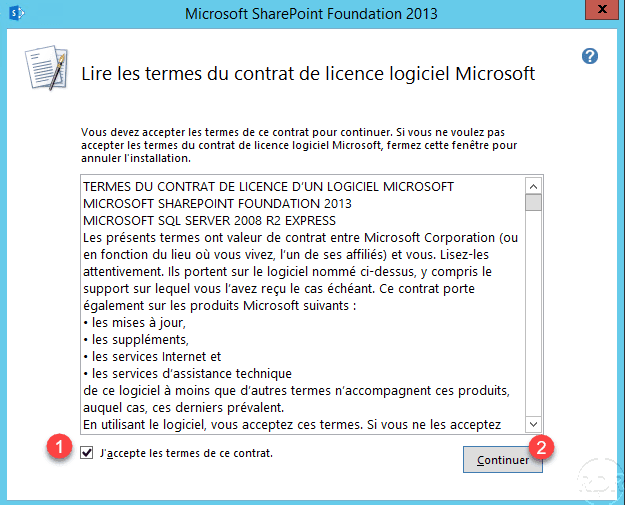
Check the box 1 to accept the license agreement and click Continue 2 .
Choose the option Complete installation 1 and click on the tab Data location 2 .

Indicate the location of the data 1 and click on Install now 2 .

Wait during the installation …
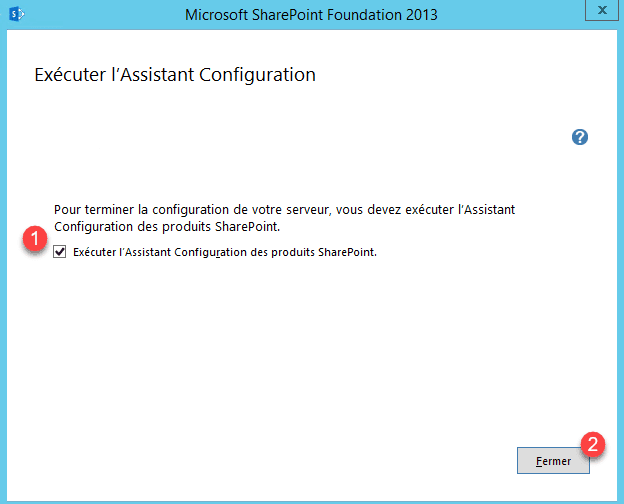
The installation is complete, check box 1 Run the SharePoint Products Configuration Wizard and click Close 2 .
Post-installation configuration of SharePoint 2013
In this part, we will configure the server farm as well as the SQL Server instance for SharePoint.
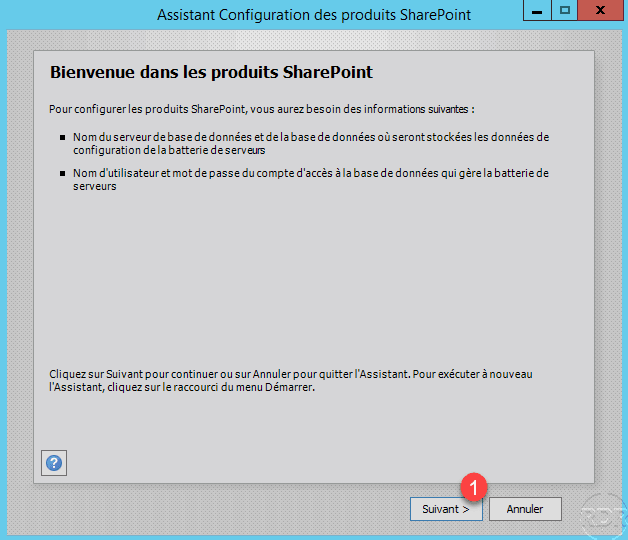
When launching the wizard, click Next 1 .
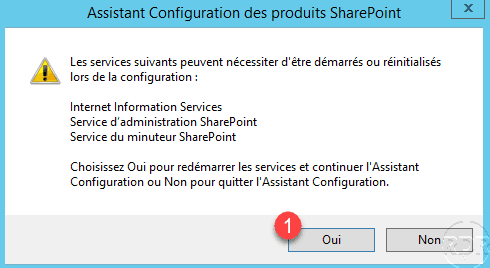
Click Yes 1 to confirm the (re) start of the services needed for Sharepoint 2013.
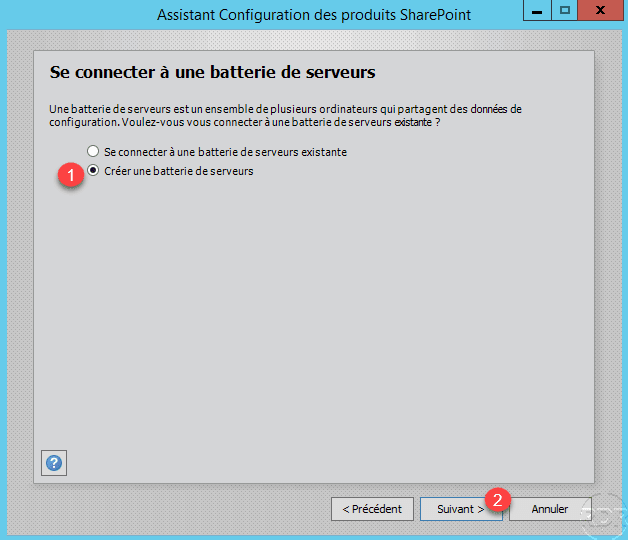
Since this is the first server, select the option Create Server Farm 1 and click Next 2 .
Indicate the 1 SQL server and the identifiers to connect 2 then click Next 3 .
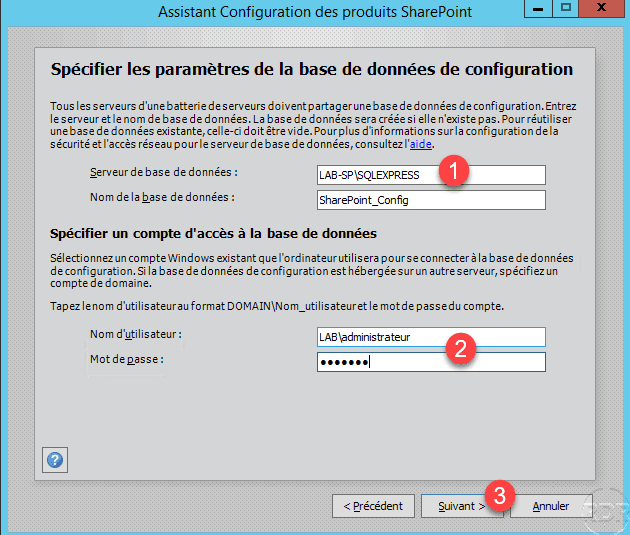
In a production environment, it is recommended to use an account dedicated to SharePoint.
Enter a secret phase 1 then click Next 2 . This sentence will be requested when adding a new server to the farm.

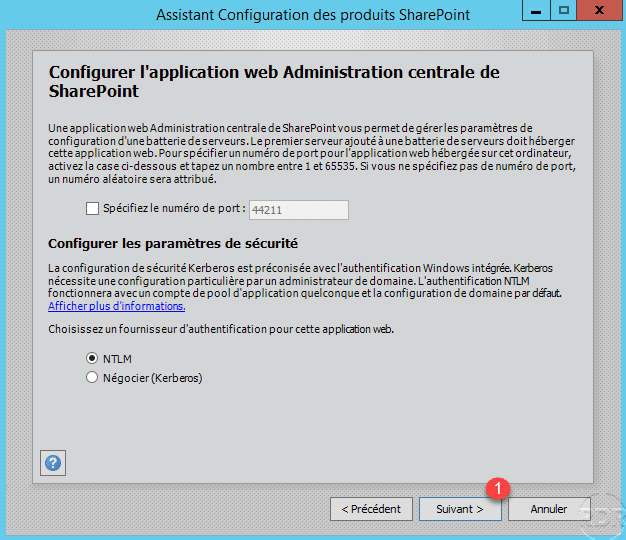
Configure access to the administration interface, if necessary change the proposed port number and the authentication method and click Next 1 .
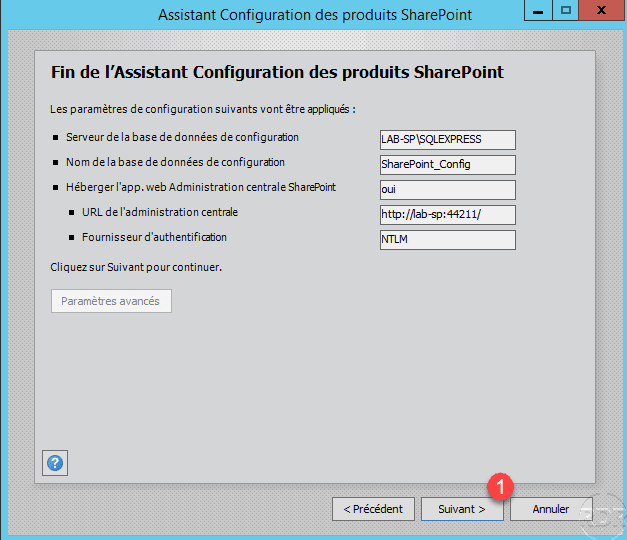
A summary of the configuration is displayed, click Next 1 .
Wait while configuring the SharePoint 2013 server farm …

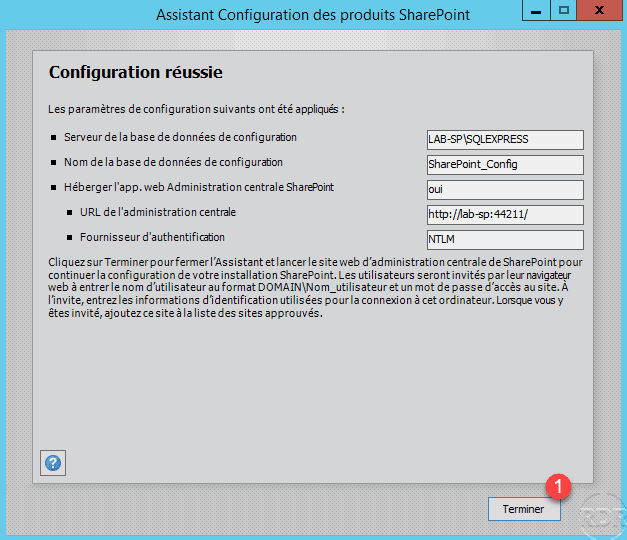
Once the configuration is complete, close the wizard by clicking the Finish 1 button.
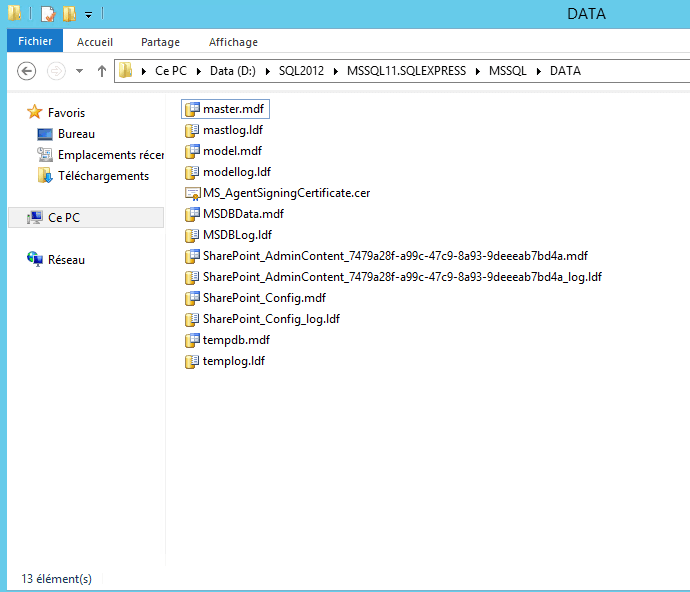
In the DATA folder of SQL Server, we can see that several databases have been created.
SharePoint configuration
Now that the SharePoint 2013 services are installed and configured, you must configure SharePoint itself.
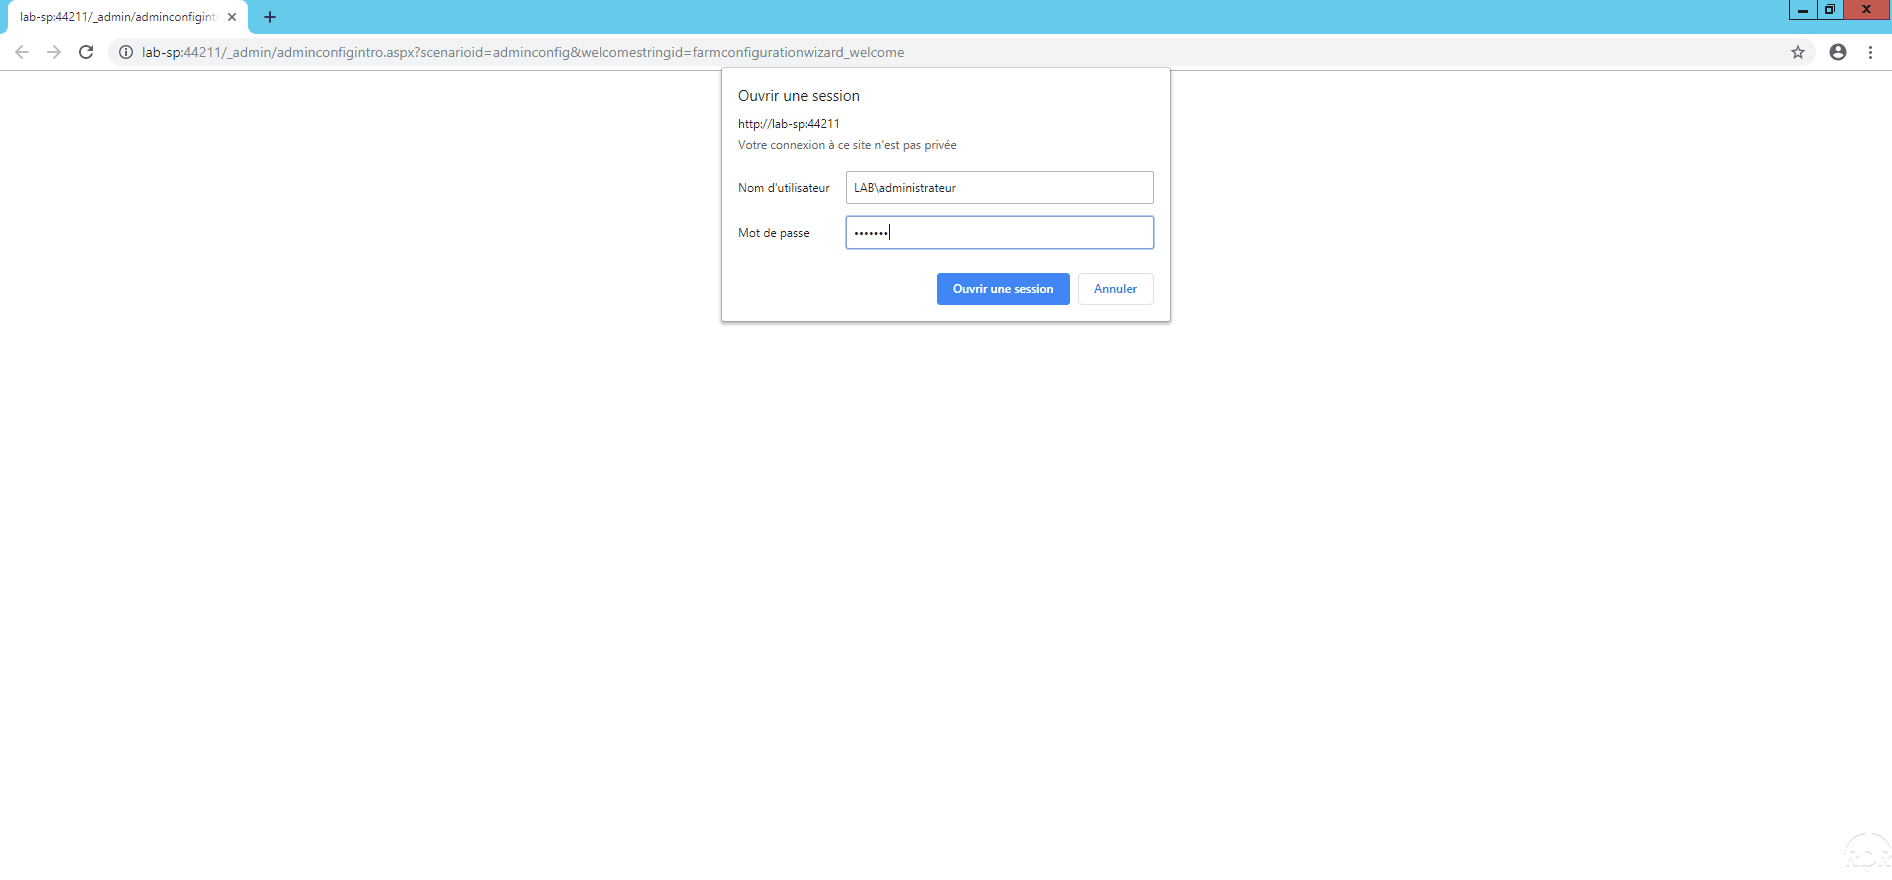
Start an Internet browser and enter the address of the Administration Center, if they are asked to enter identifiers.
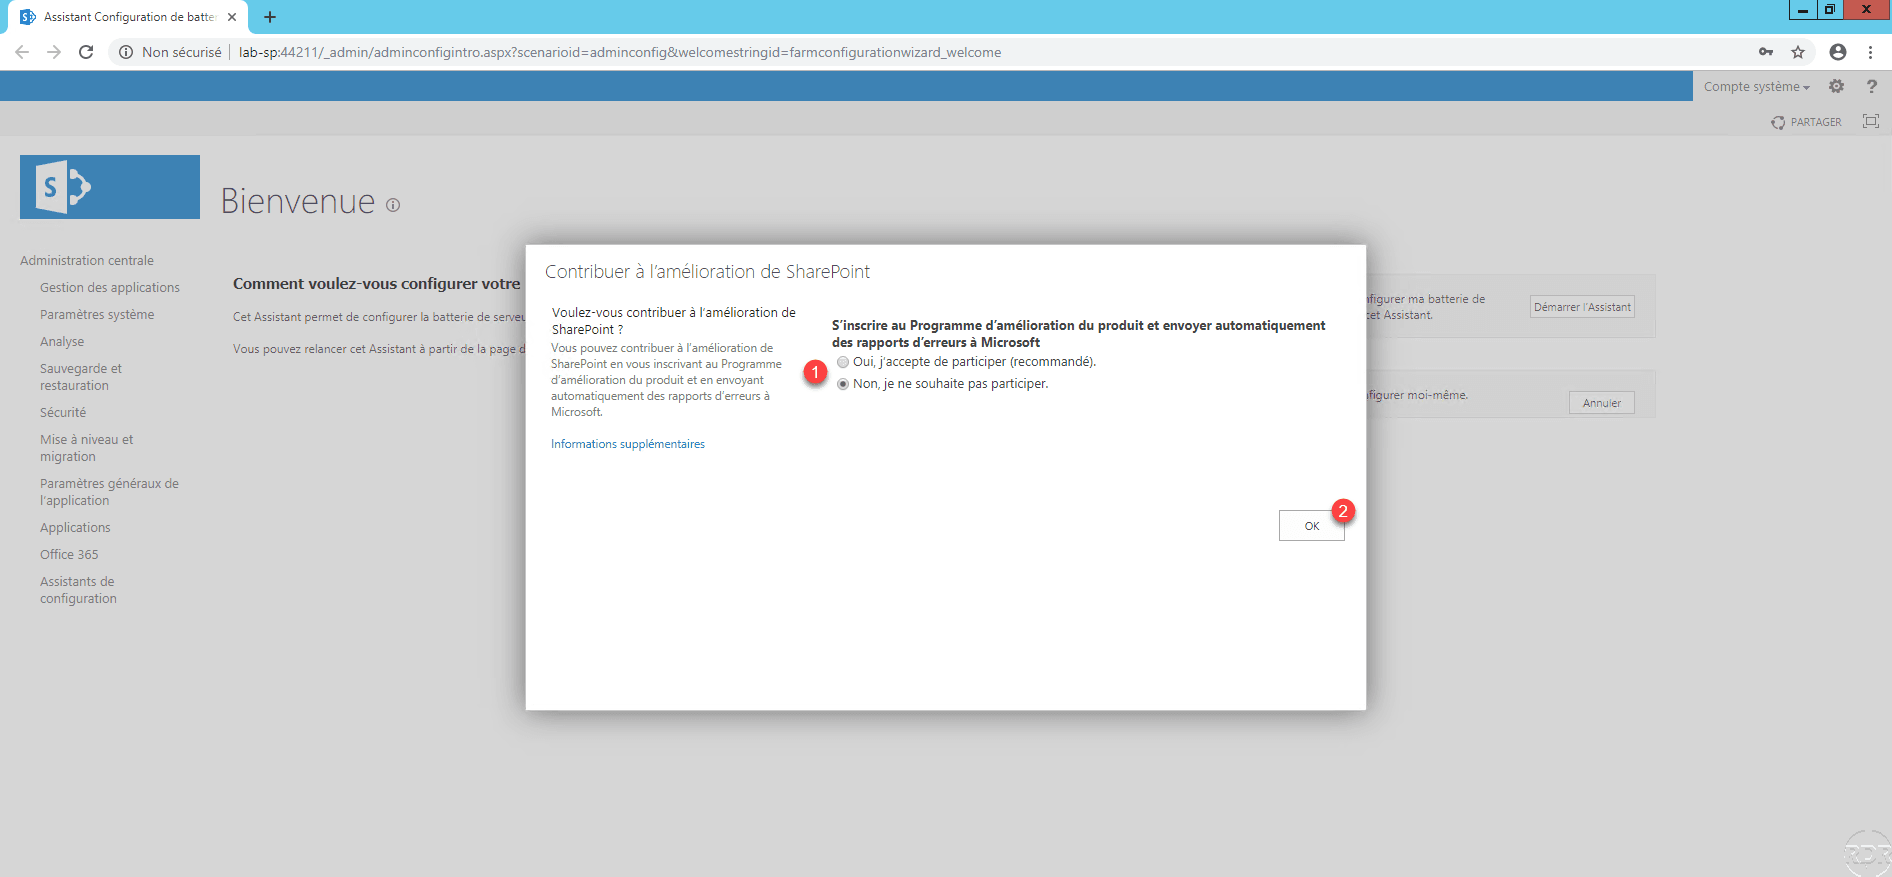
Choose an option for improvement program 1 and click OK 2 .
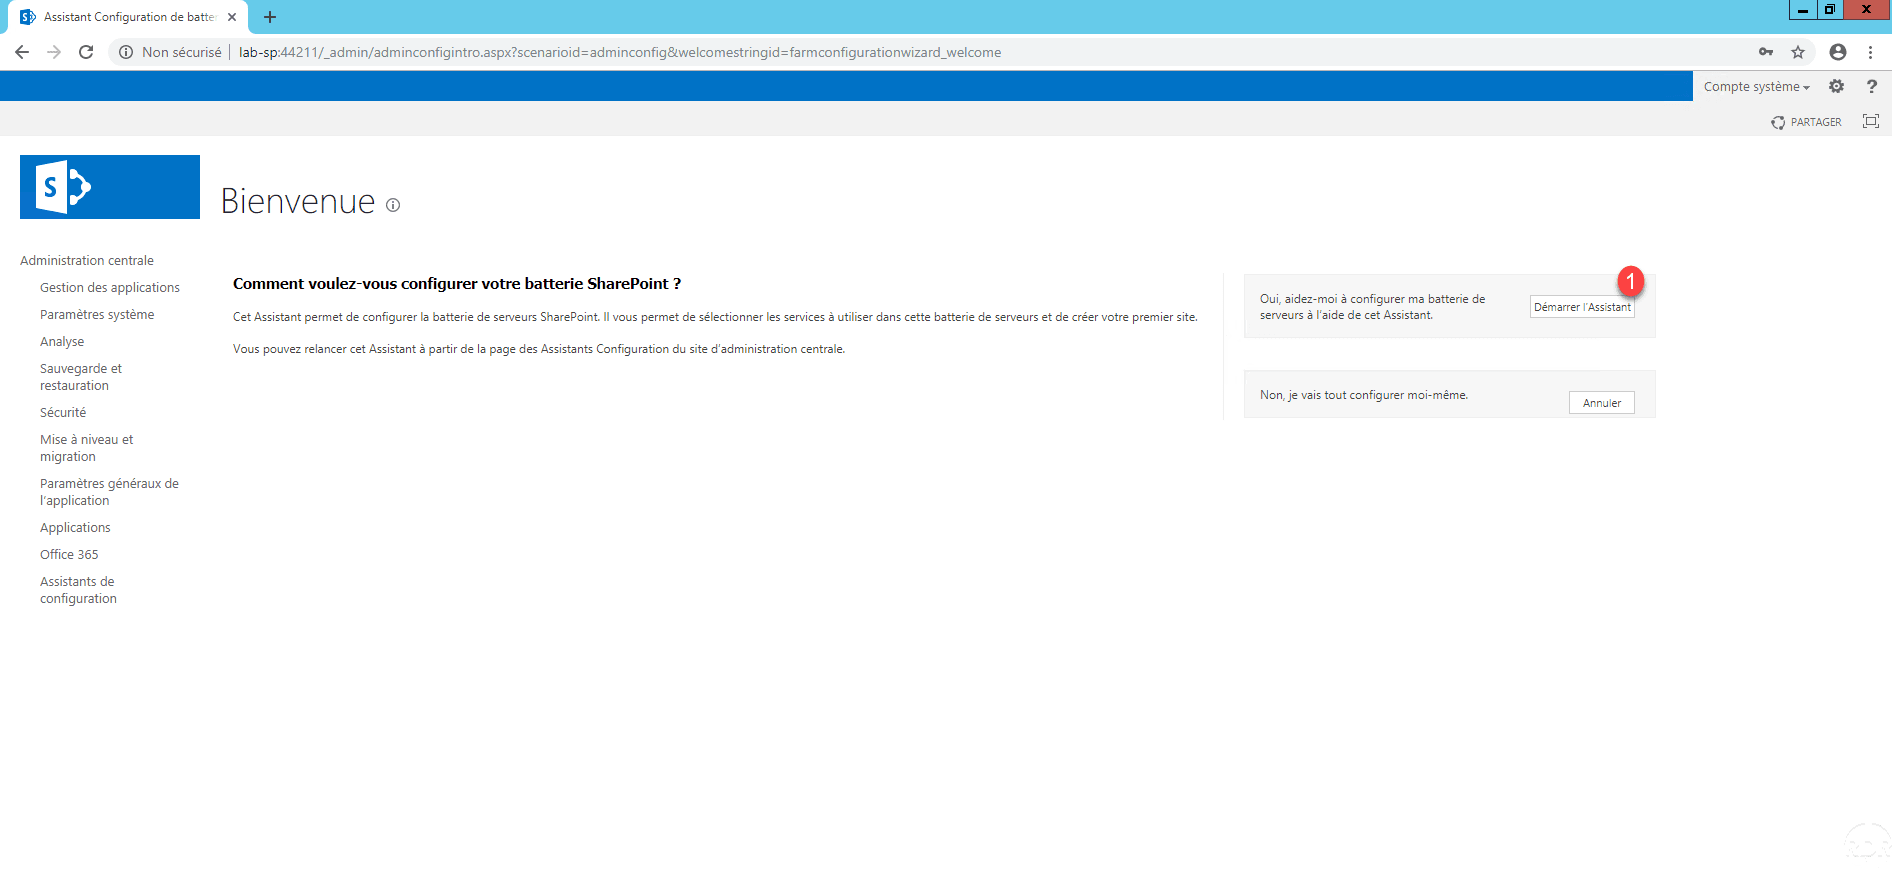
Click the Start Wizard 1 button to configure the server farm and create the first site.
Set up a 1 service account, choose 2 farm services, and click Next 3 .

In production, it is advisable to dedicate an account for SharePoint services.
Wait during configuration …

Set the root site 1 and click OK 2 .

Wait while creating the site …
The configuration is complete, click Finish 1 to return to Central Administration.
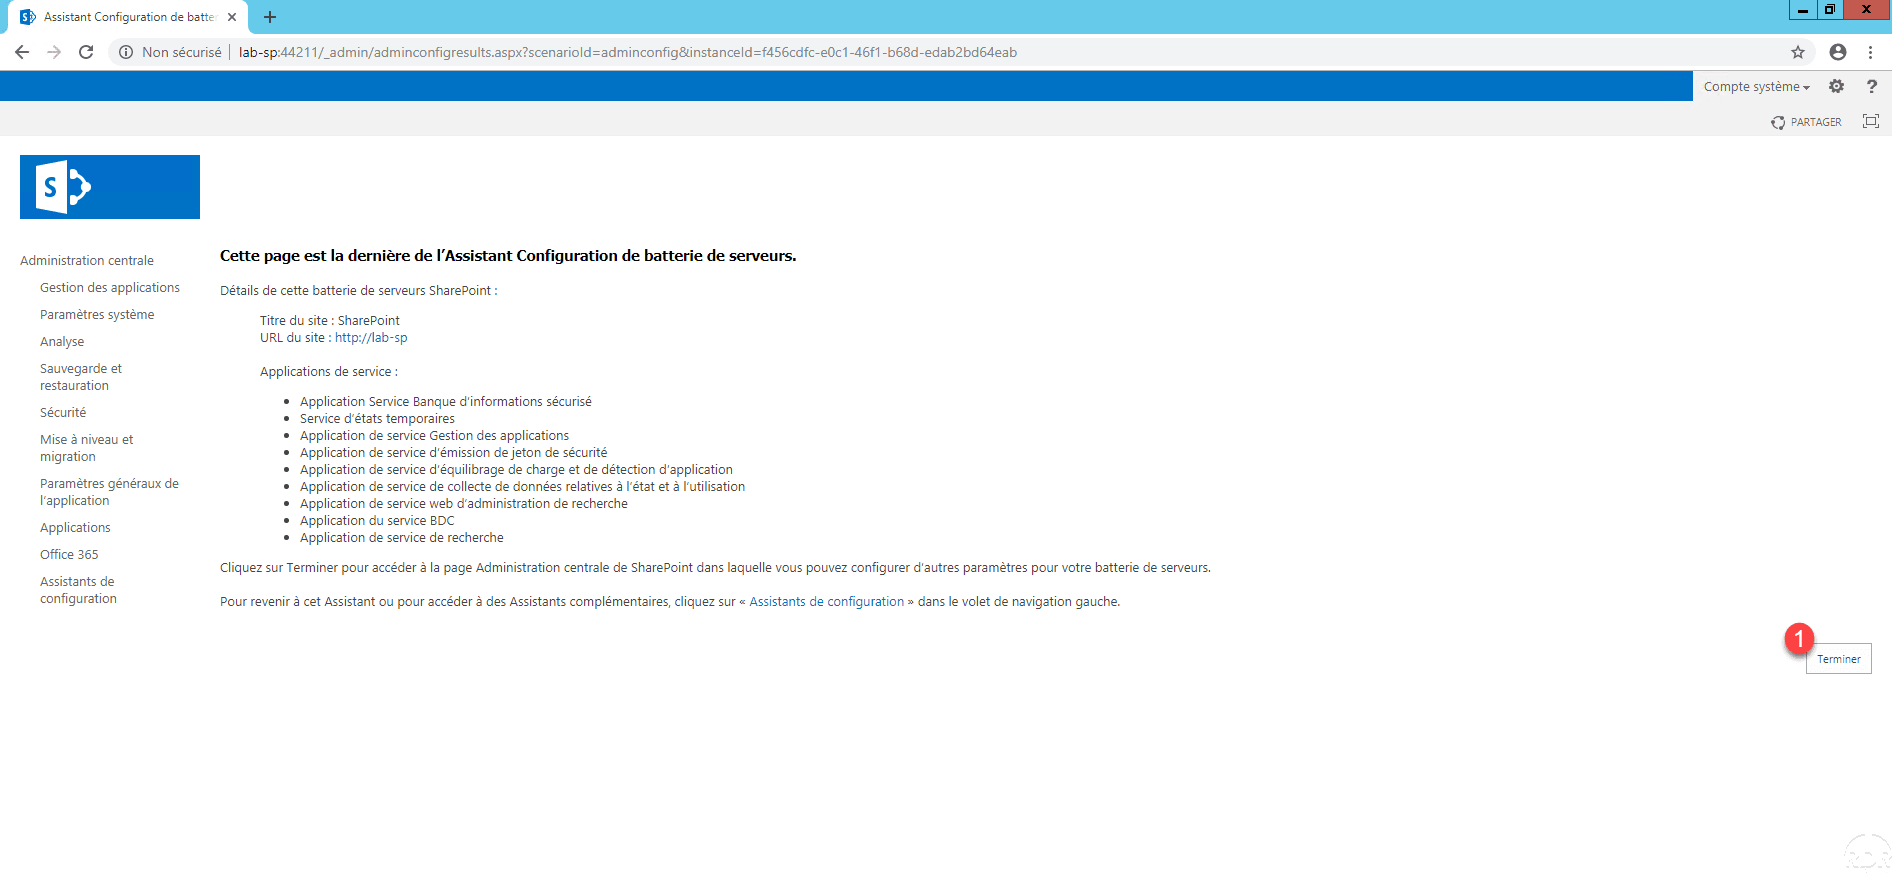
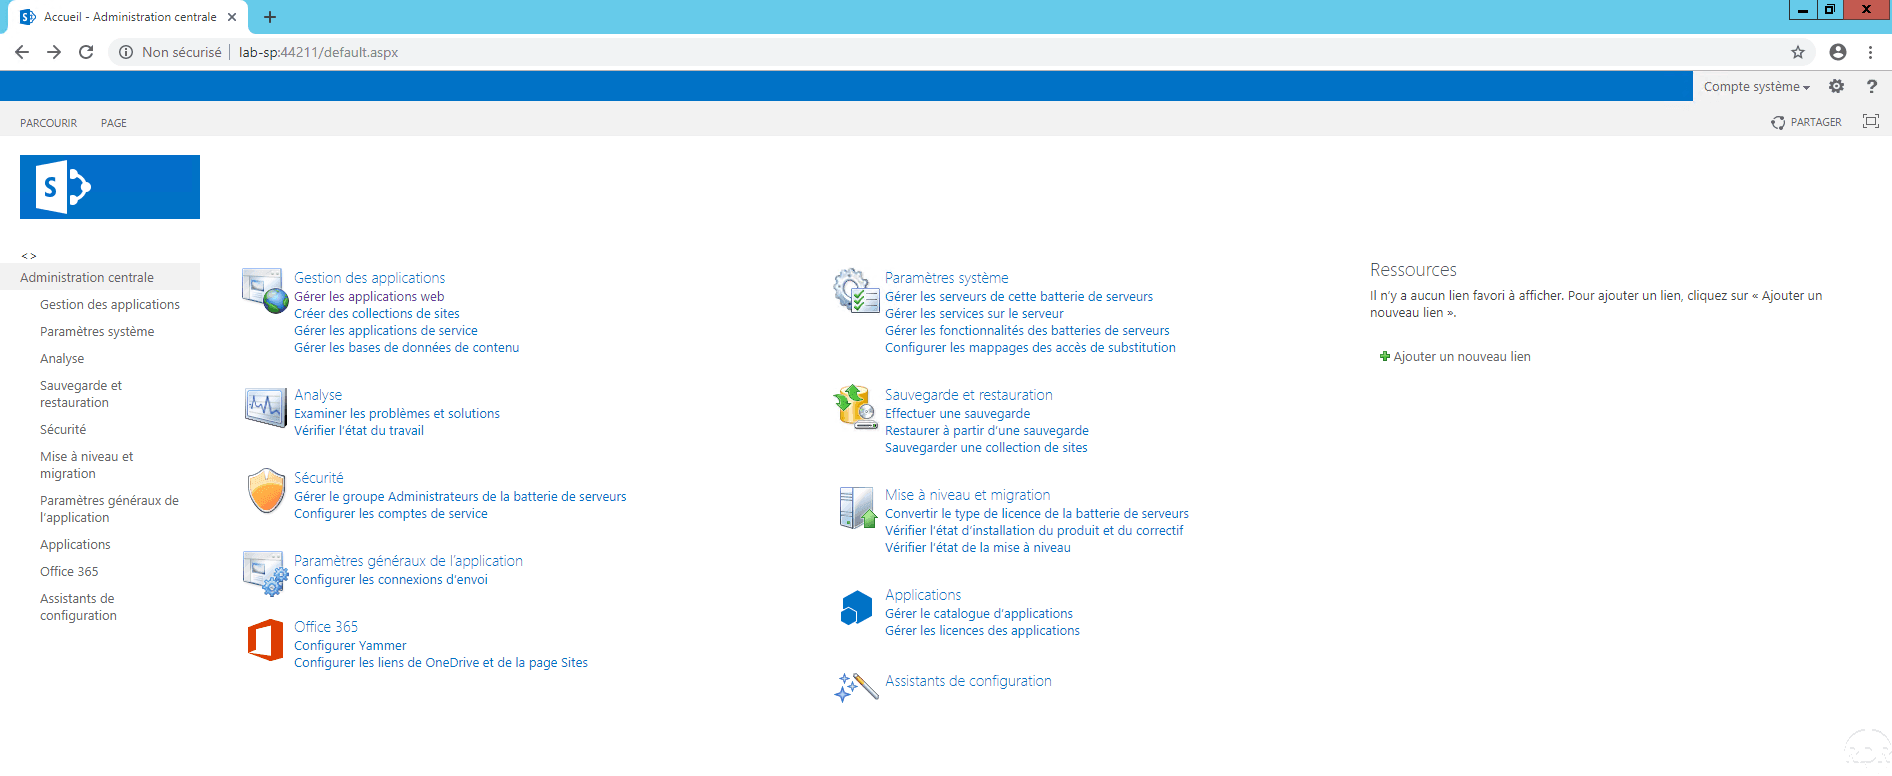
From Central Administration, it is possible to configure all SharePoint 2013 services, create new sites, manage databases …
To access the site just created, go to the root address of the Sharepoint server.
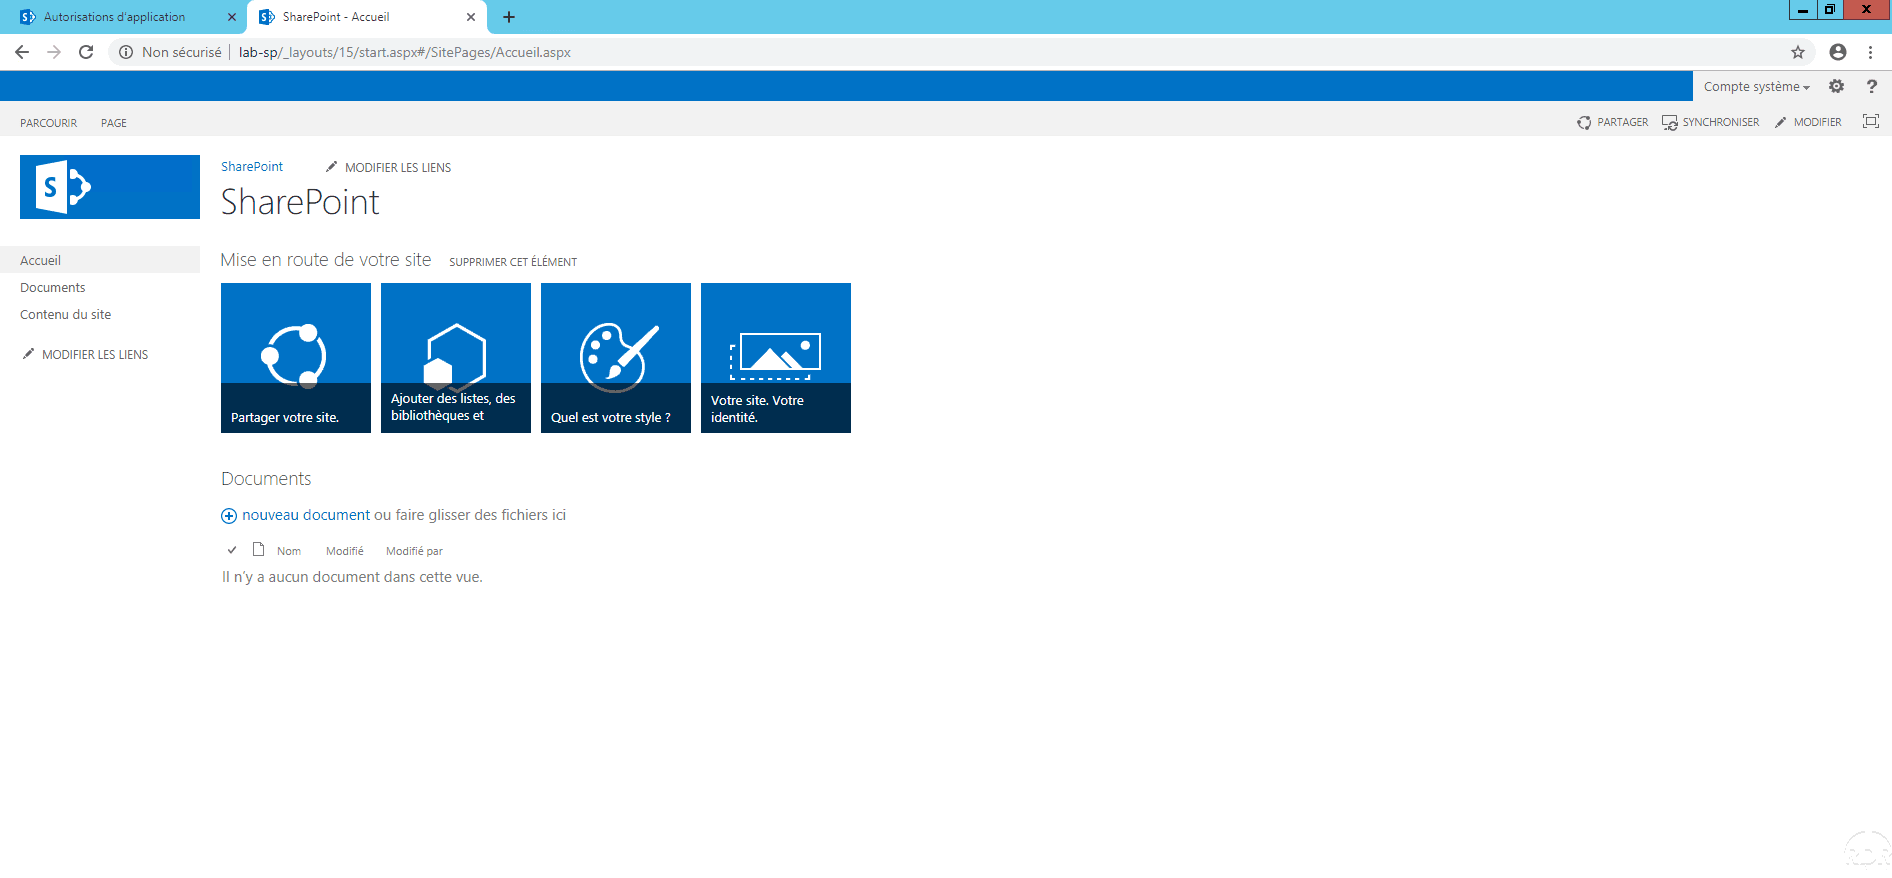
As administrator of the site, it is possible to customize from the different pages that compose it.
The rest of the tutorial will explain:
- how to configure access rights to the site
- add and use a document management.
Setting permissions
Now that we have a SharePoint site, we need to configure permissions, so people can access the site.
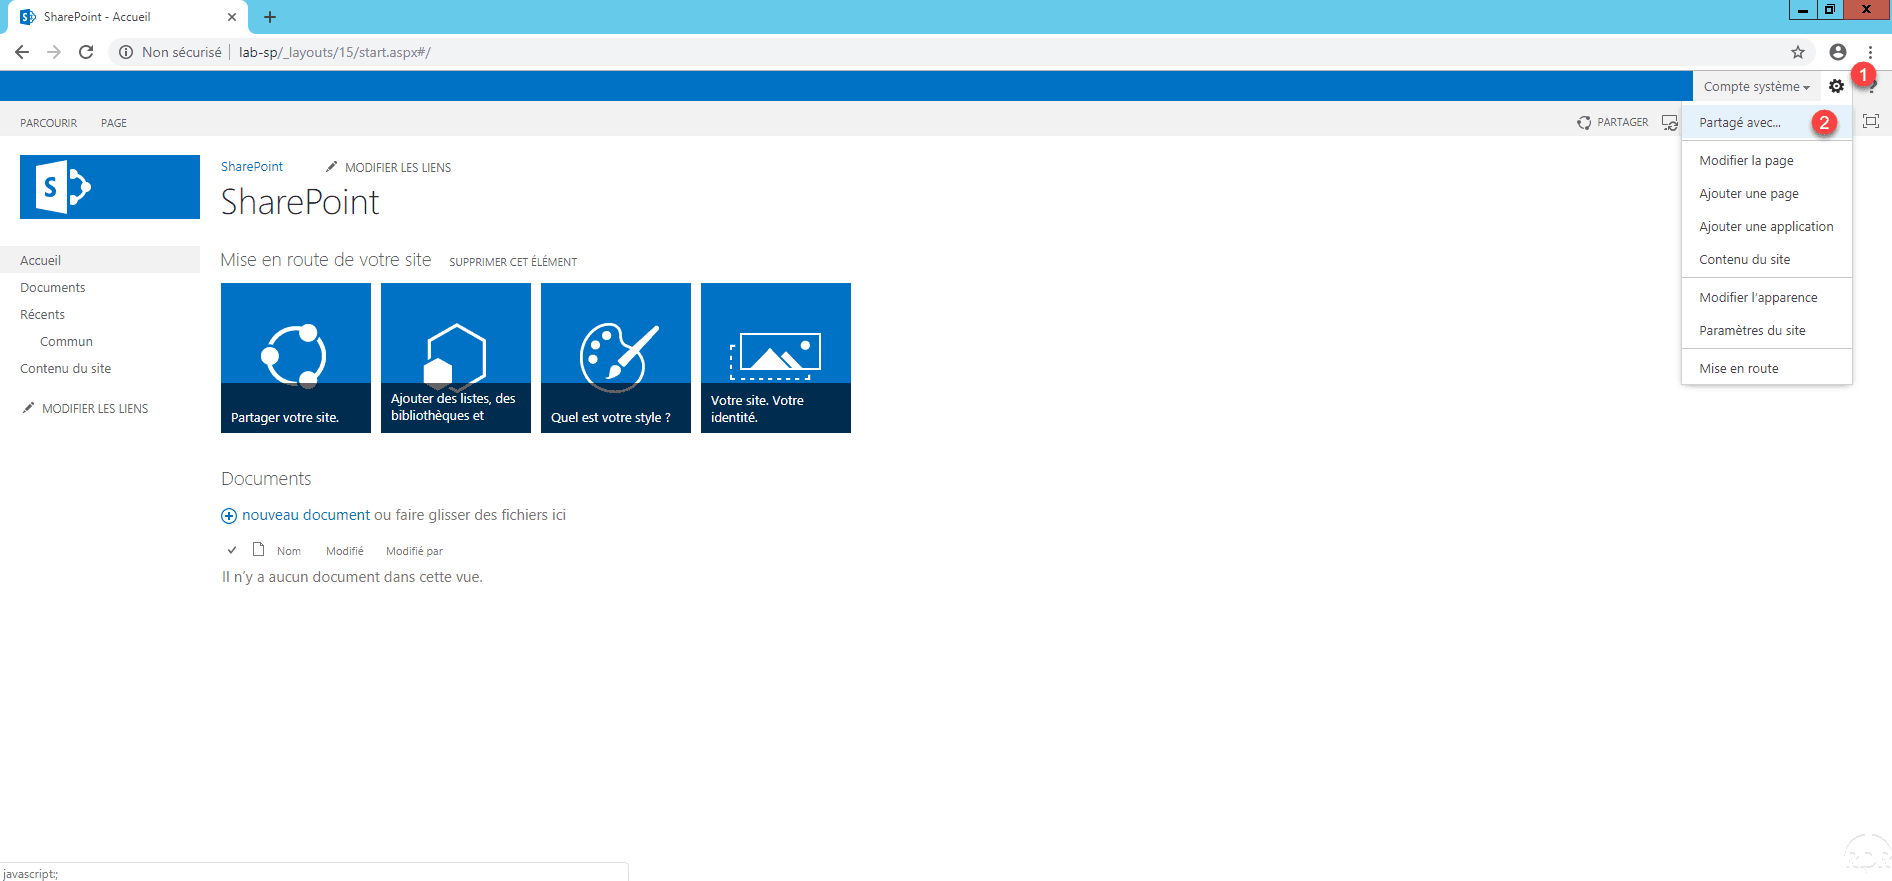
From the homepage of the site, click on the settings icon 1 then on Shared with 2 .
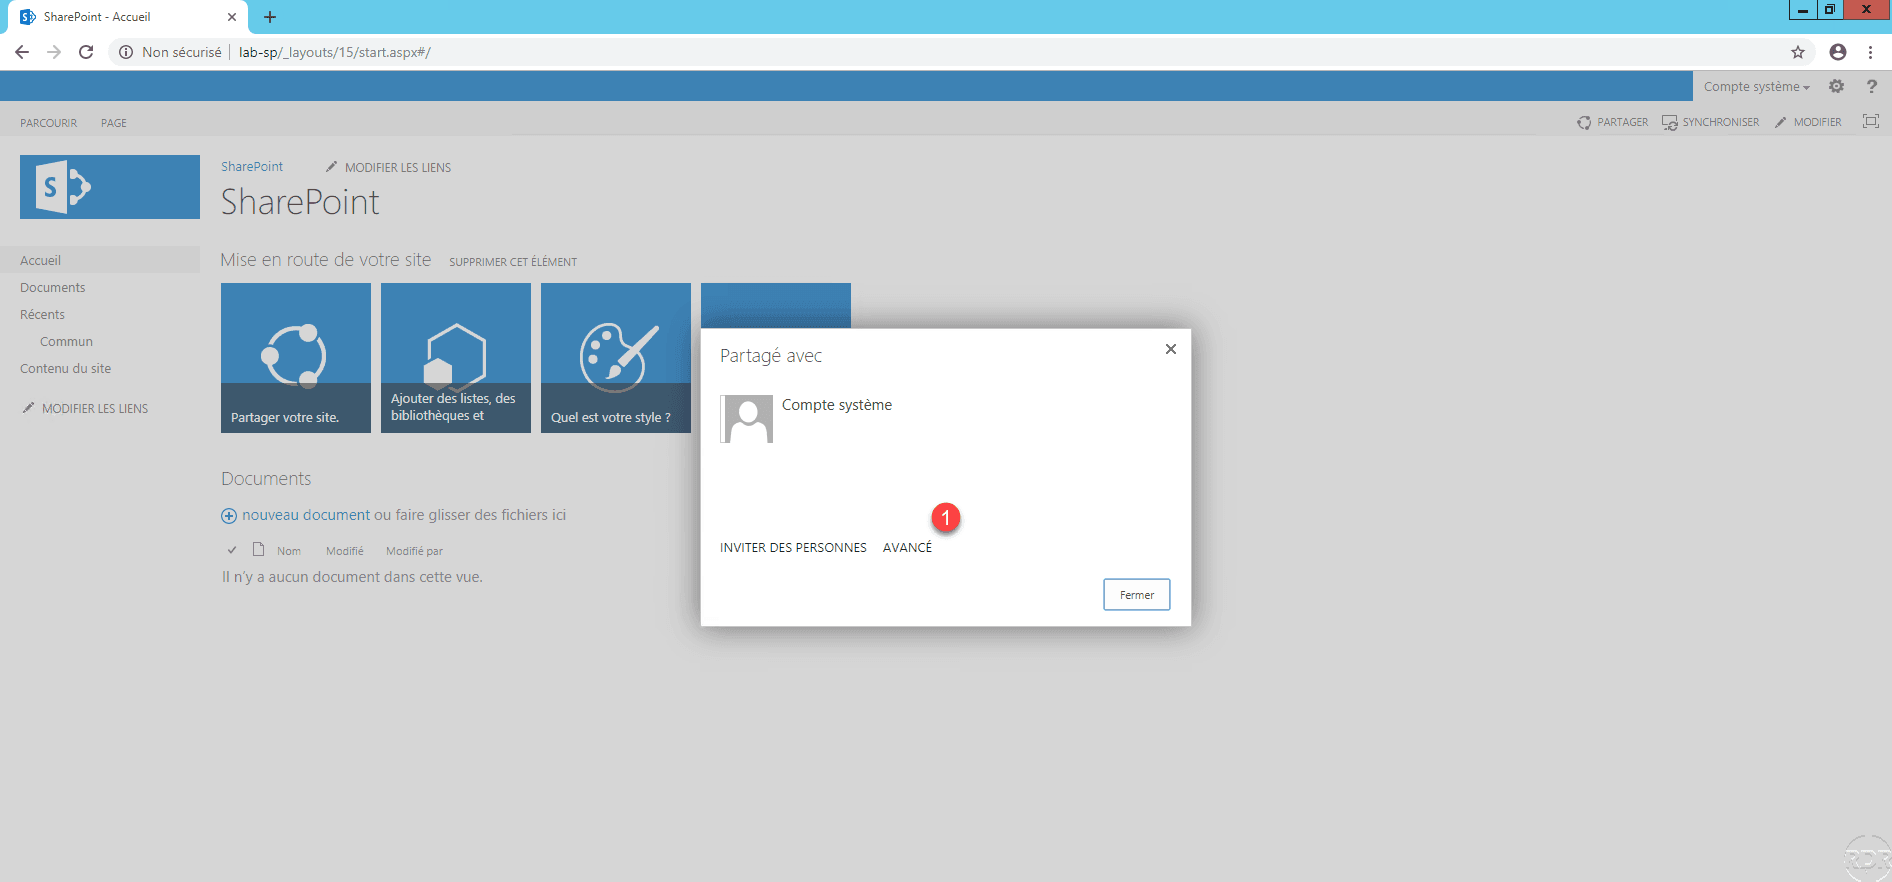
Click on Advanced 1 .
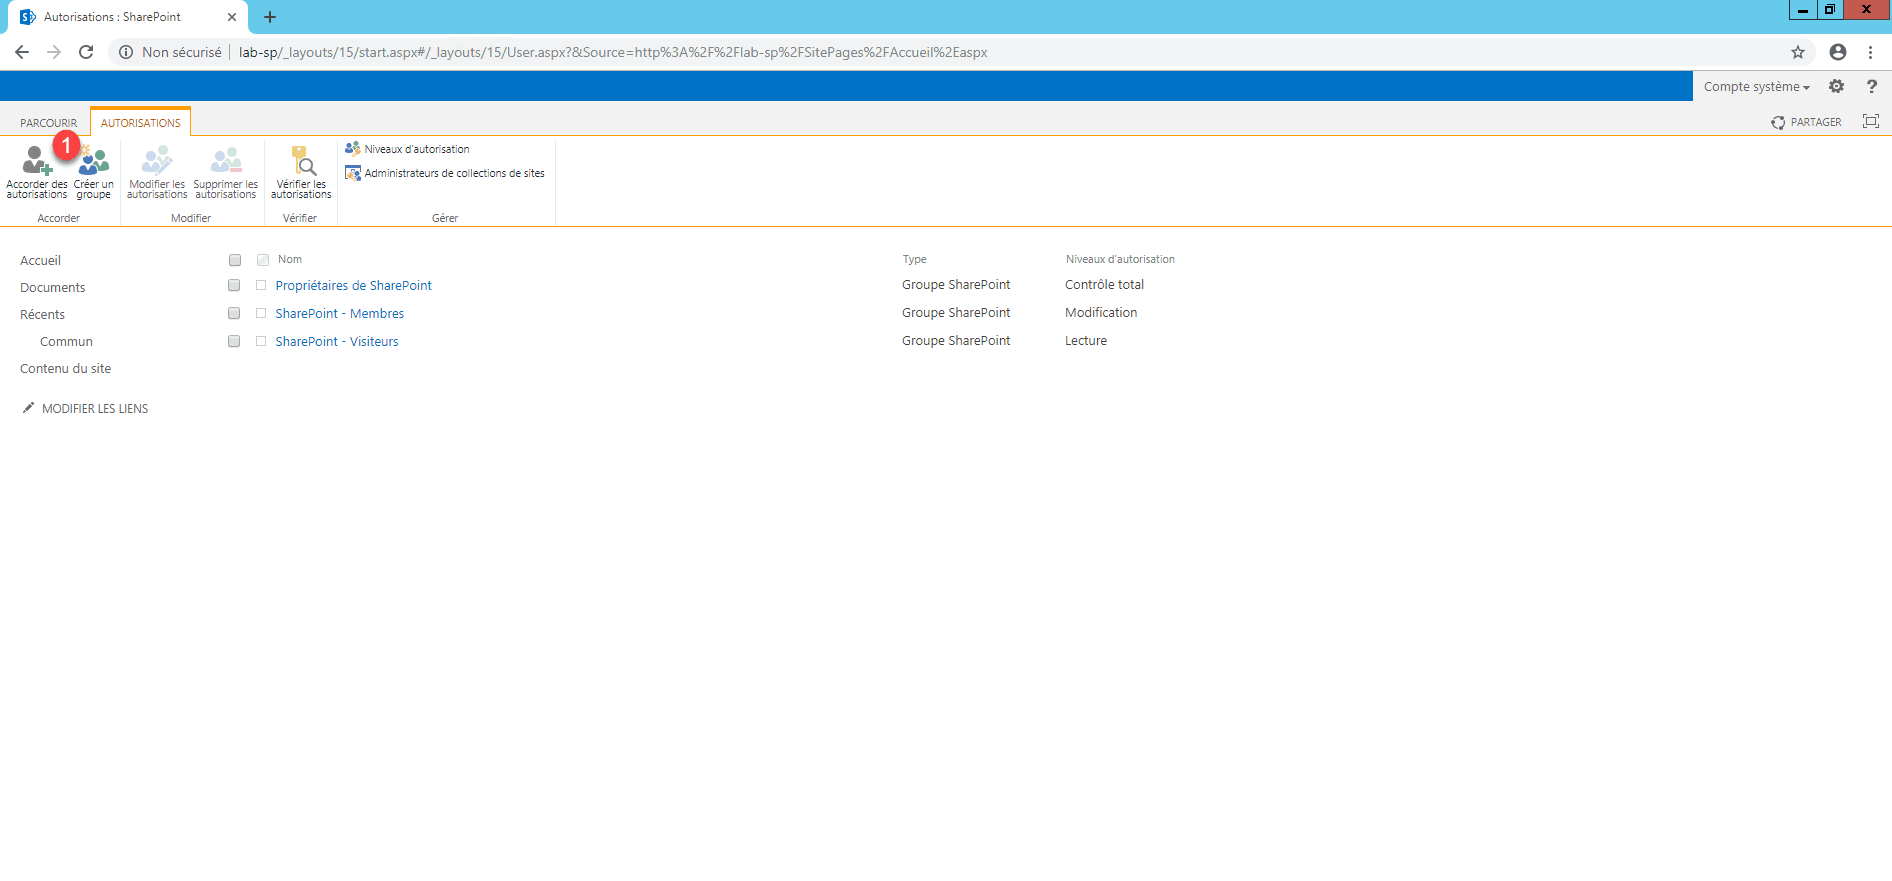
By default 3 groups are predefined. We will add the right of collaboration to Everyone, if we put this group with the permission of Modification (SharePoint – Members), they will be able to modify the pages. Click on Grant permissions 1 .
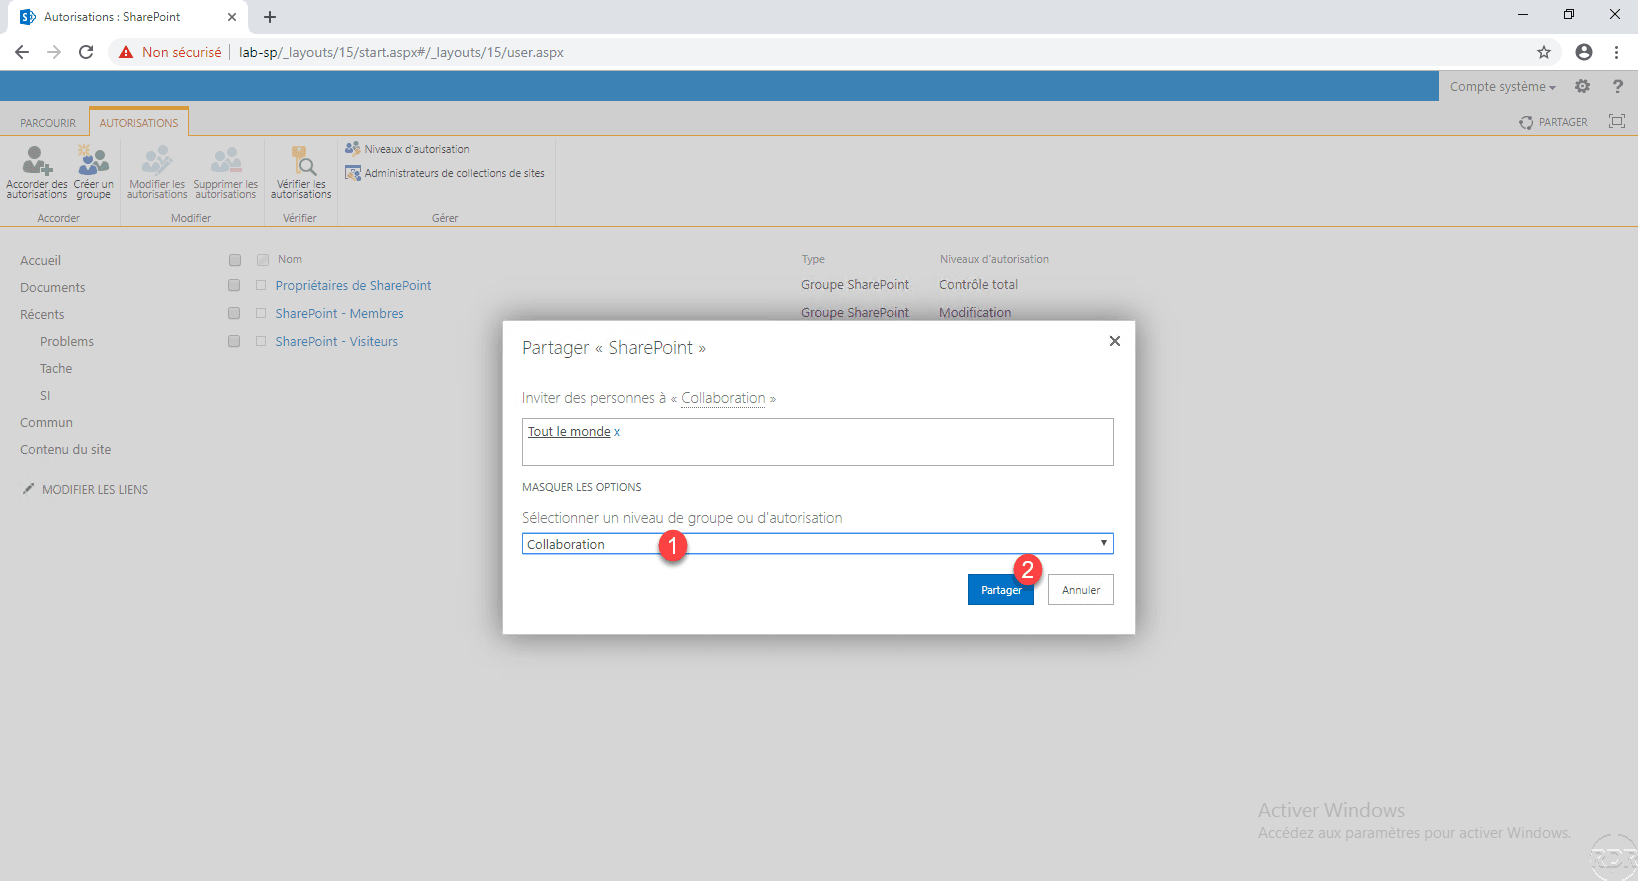
Enter the name of the group 1 and click on Show options 2 .
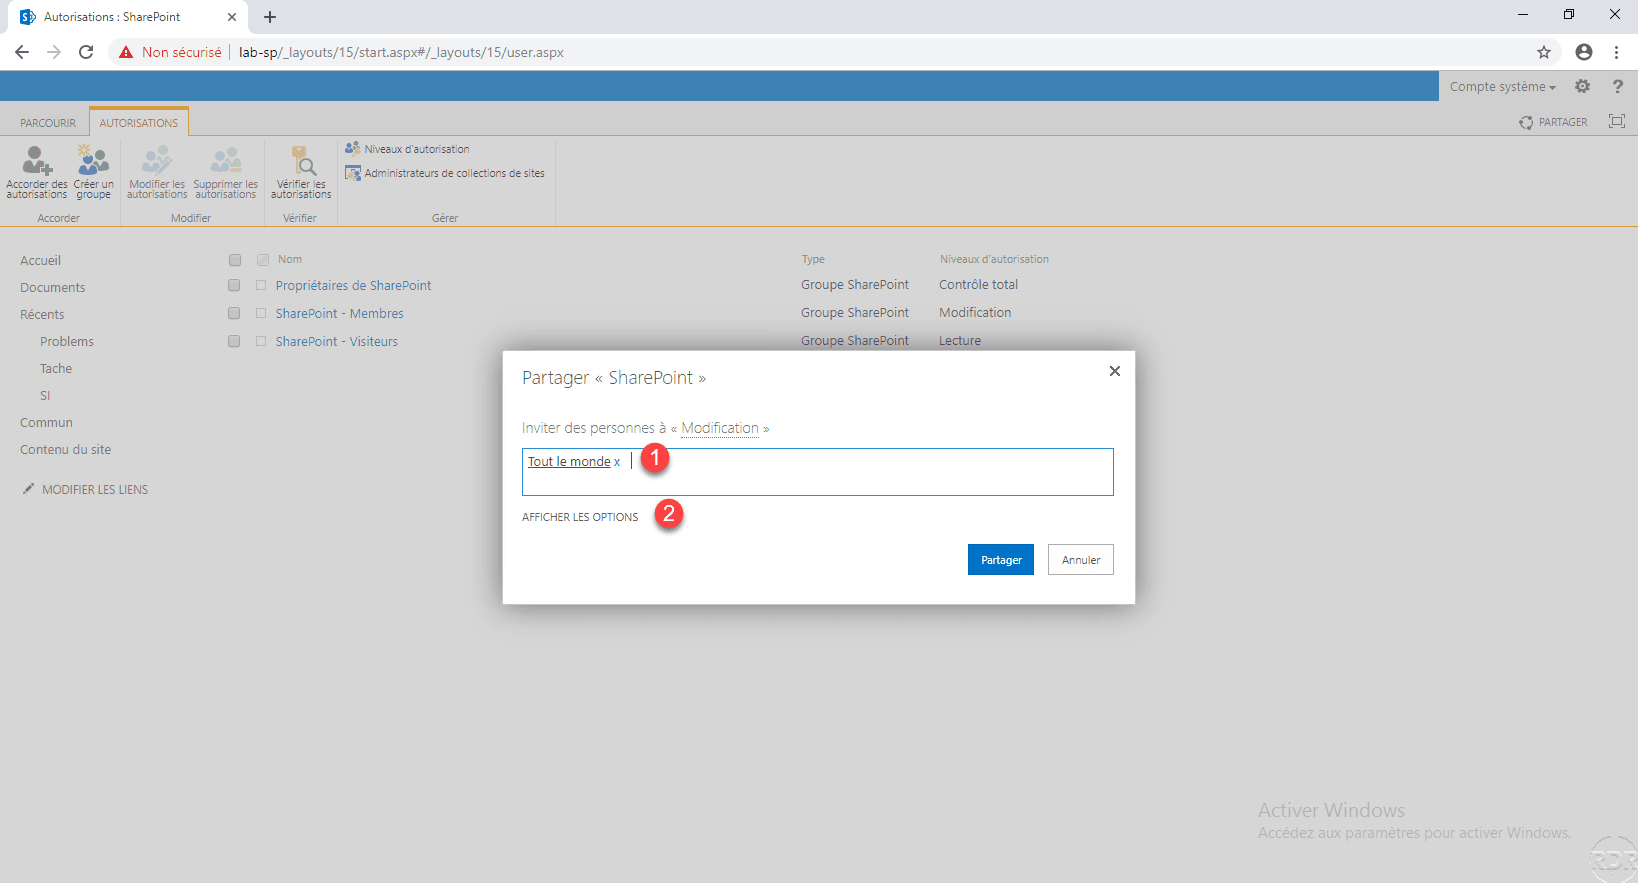
Choose Collaboration 1 and click on Share 2 .
Permissions have been added.

The document library
The document library is SharePoint component, which allows you to create a page on a site similar to a shared folder on a file server. It allows you to group files in a common space, it is also possible to create folders to improve the classification. This component is very popular because the files deposited in it are indexed, which makes it possible to carry out research as well on the name of the file as on its contents. The component also supports the versioning which allows to return to an earlier version of the file.
The other advantage is that you can map computers to the library as a network drive, which makes it possible to centralize documents on SharePoint.
All files stored in the library are stored in the database, if you use a SQL EXPRESS server, the size per base is limited to 10GB. It is possible in SharePoint to create multiple content databases and assign them to different sites.
Add a document library
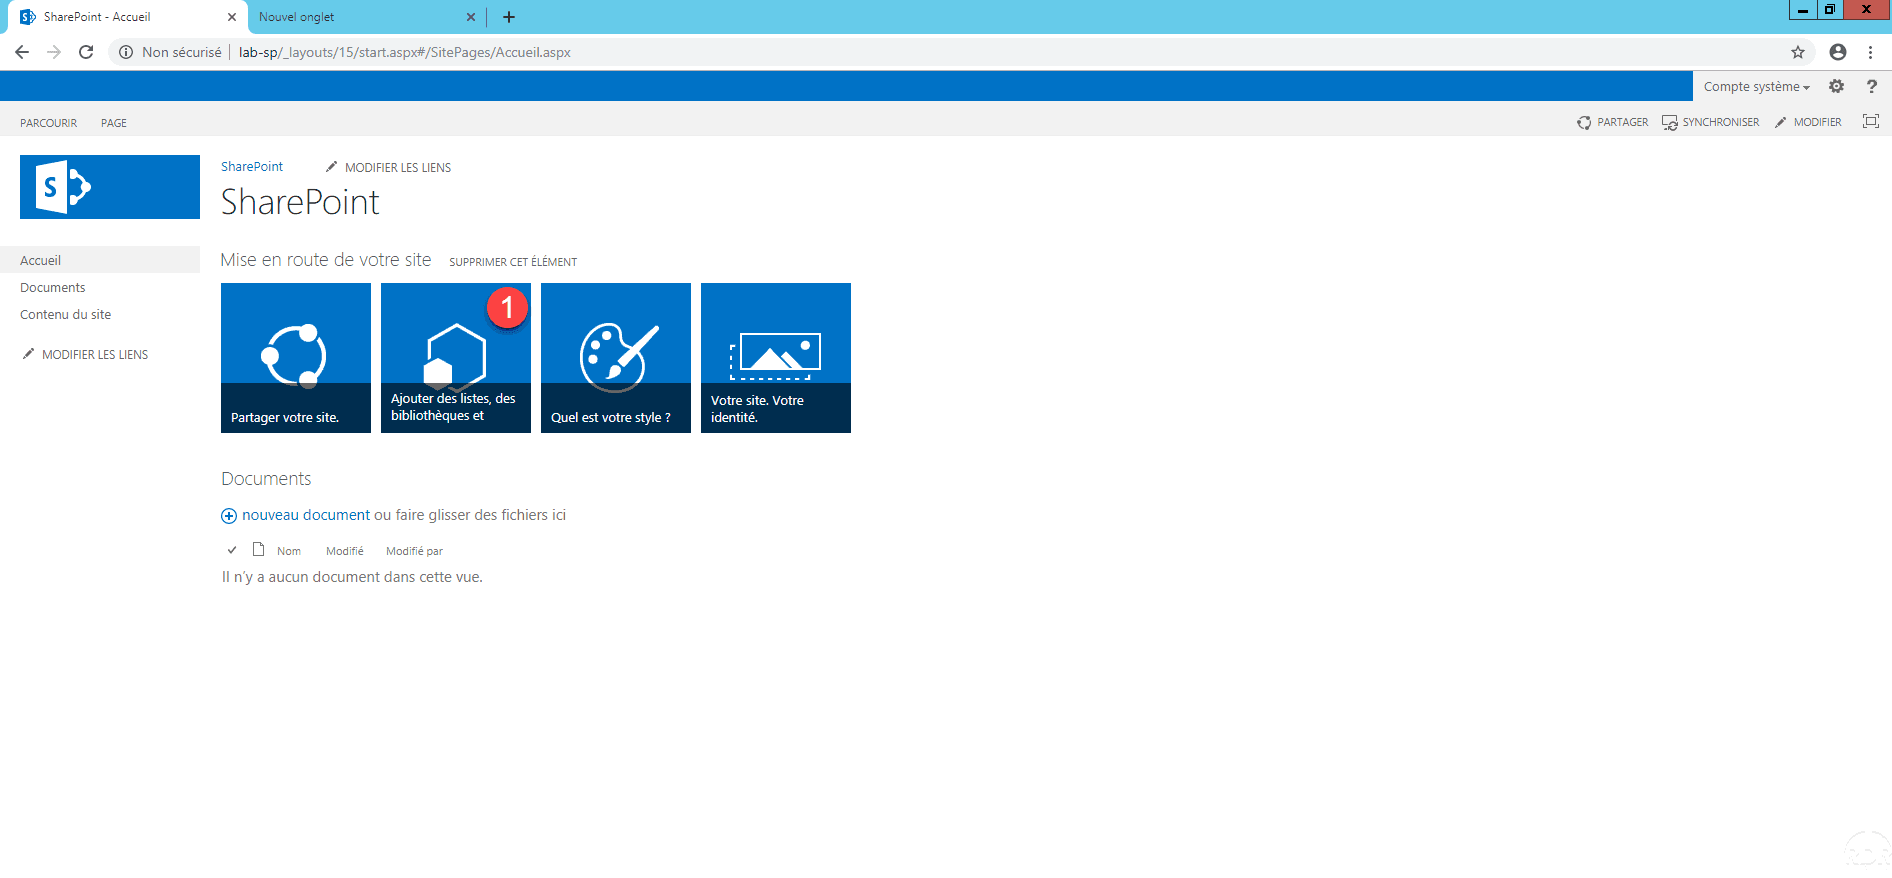
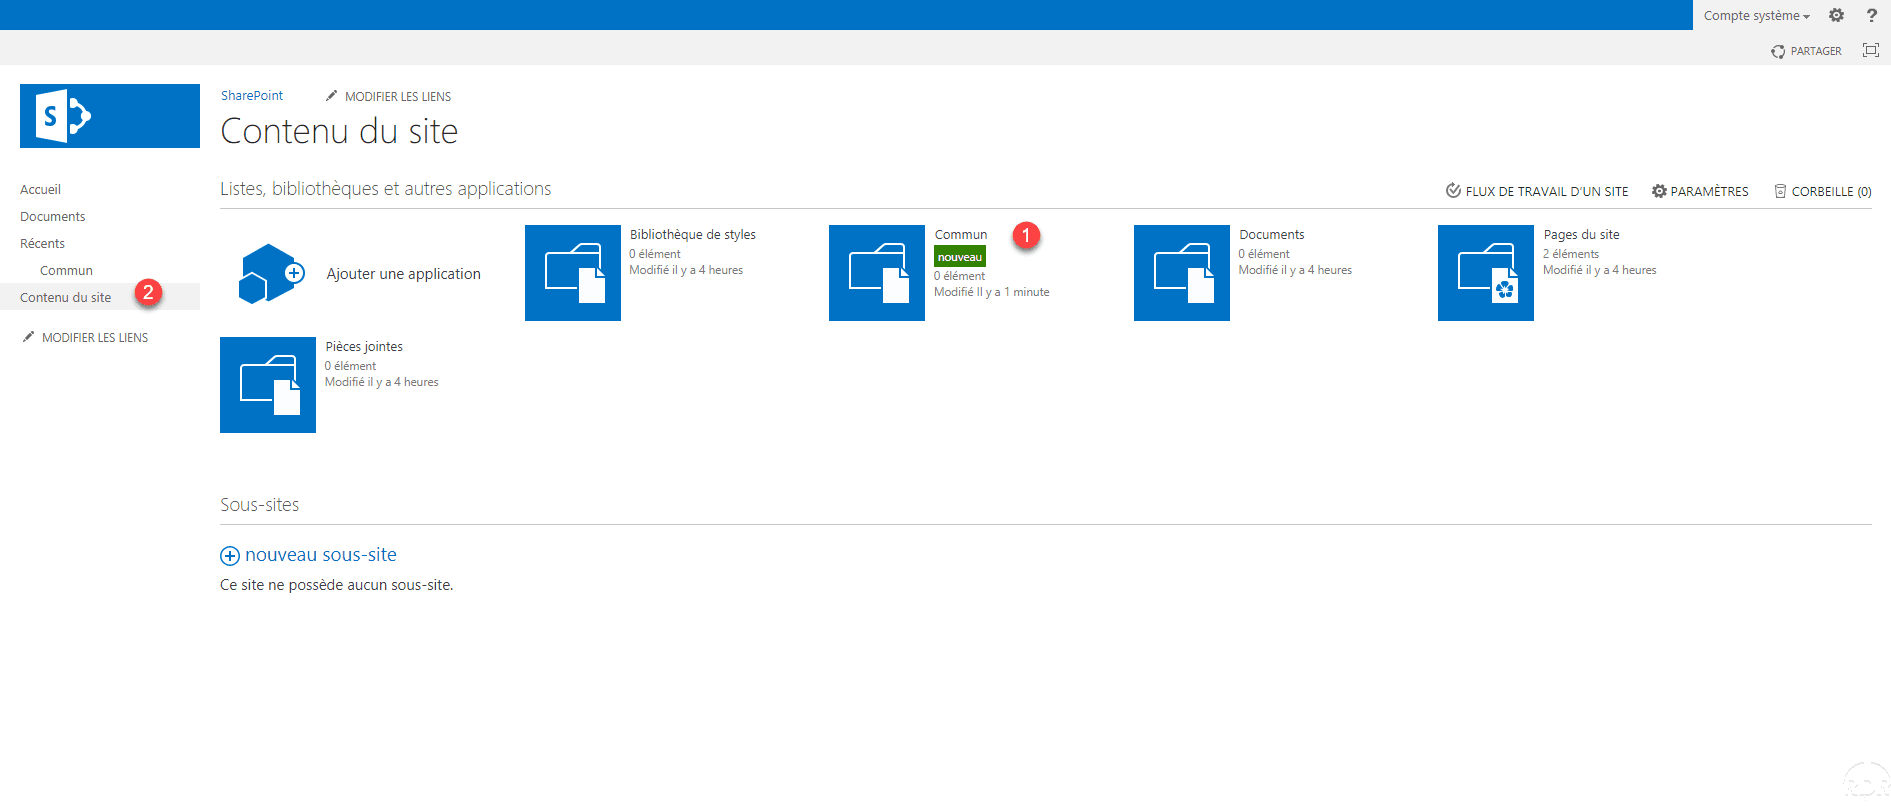
From the home page, click Add Lists, Libraries and 1 .
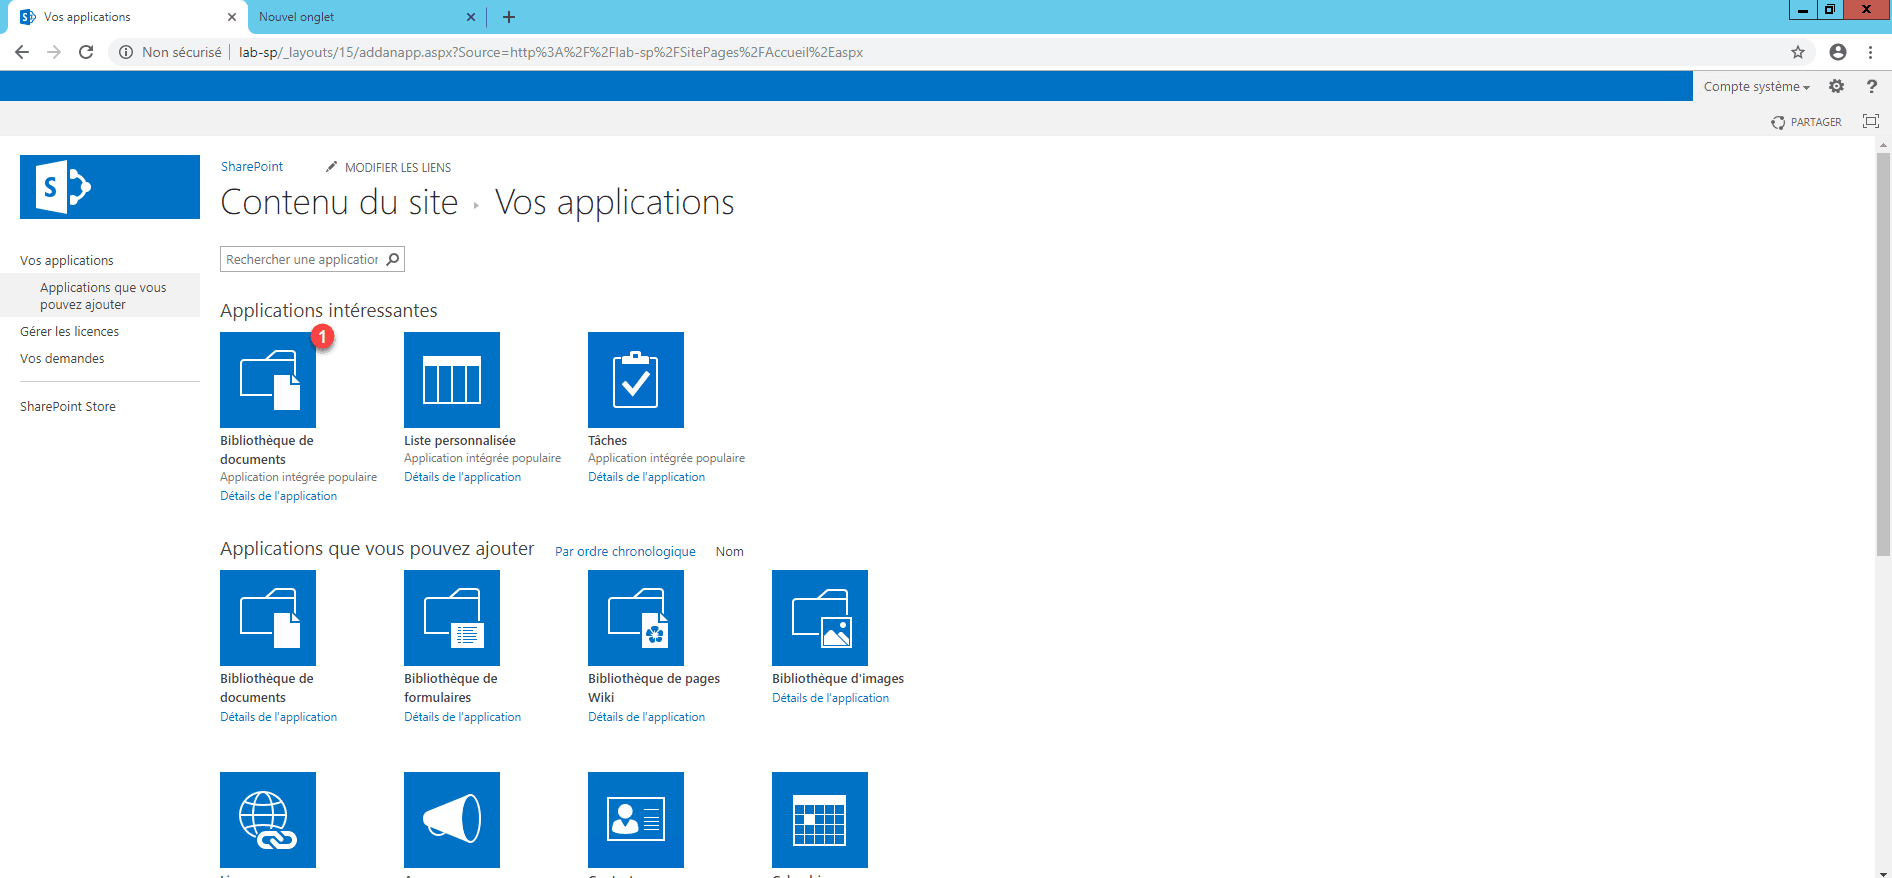
Click on 1 Document Library.
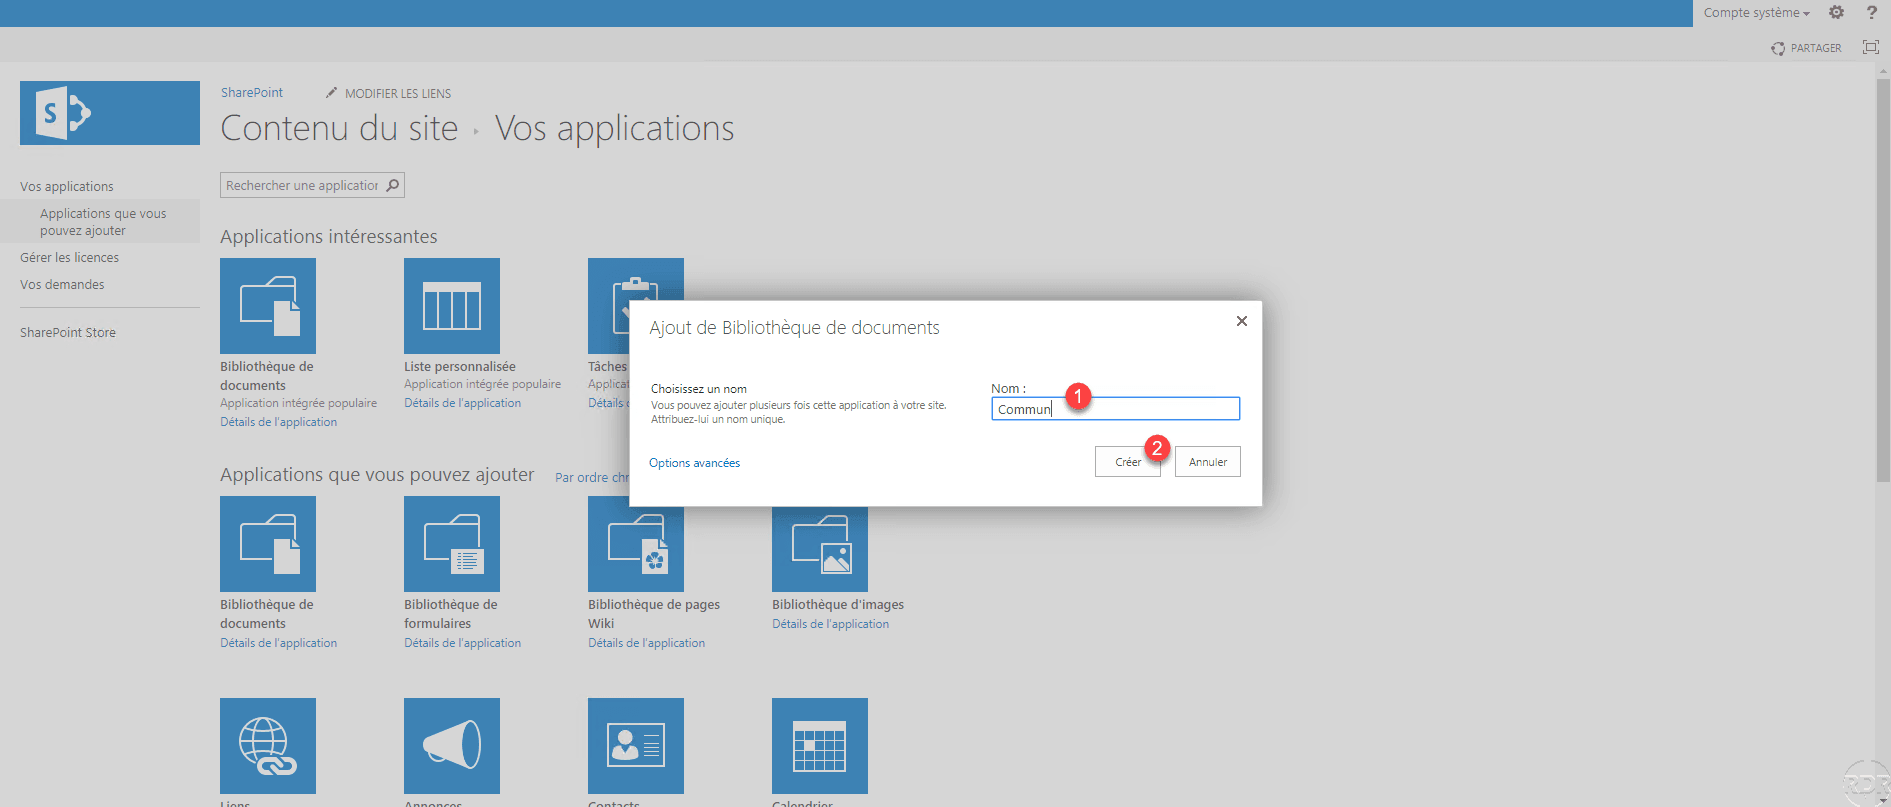
Enter the name 1 of the library then click on Create 2 .
The library is added 1 , click on its name 2 in the navigation menu on the left to open it.
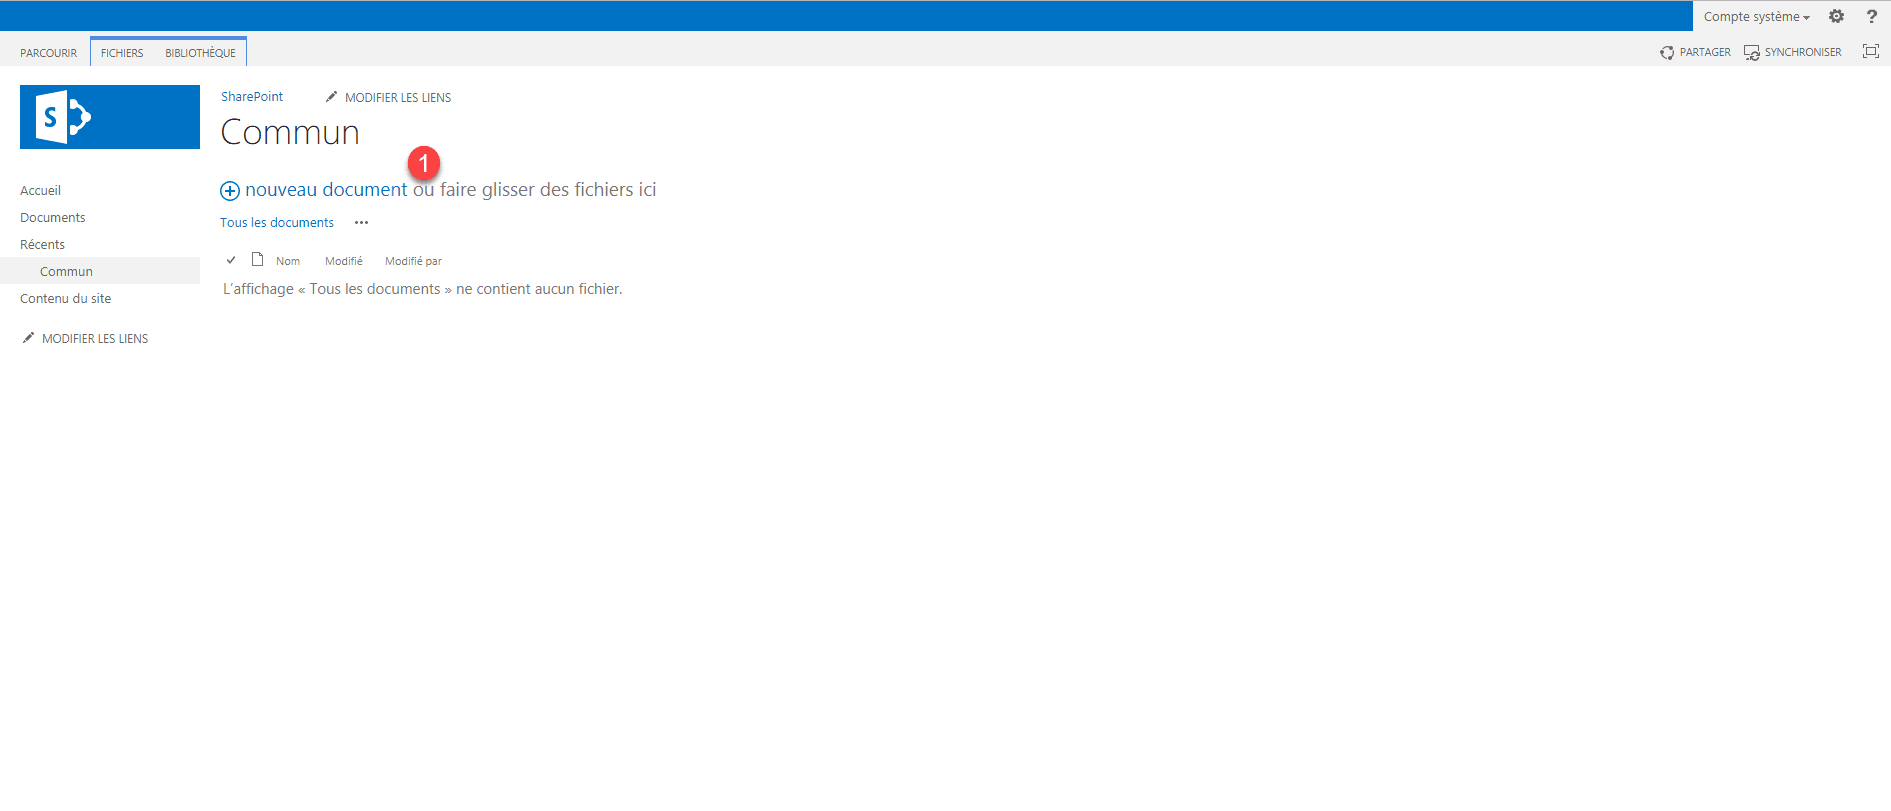
Add a document
To add a document, you can either drag it into the database by drag and drop or click on New Document 1 .
Select file 1 and click OK 2 .
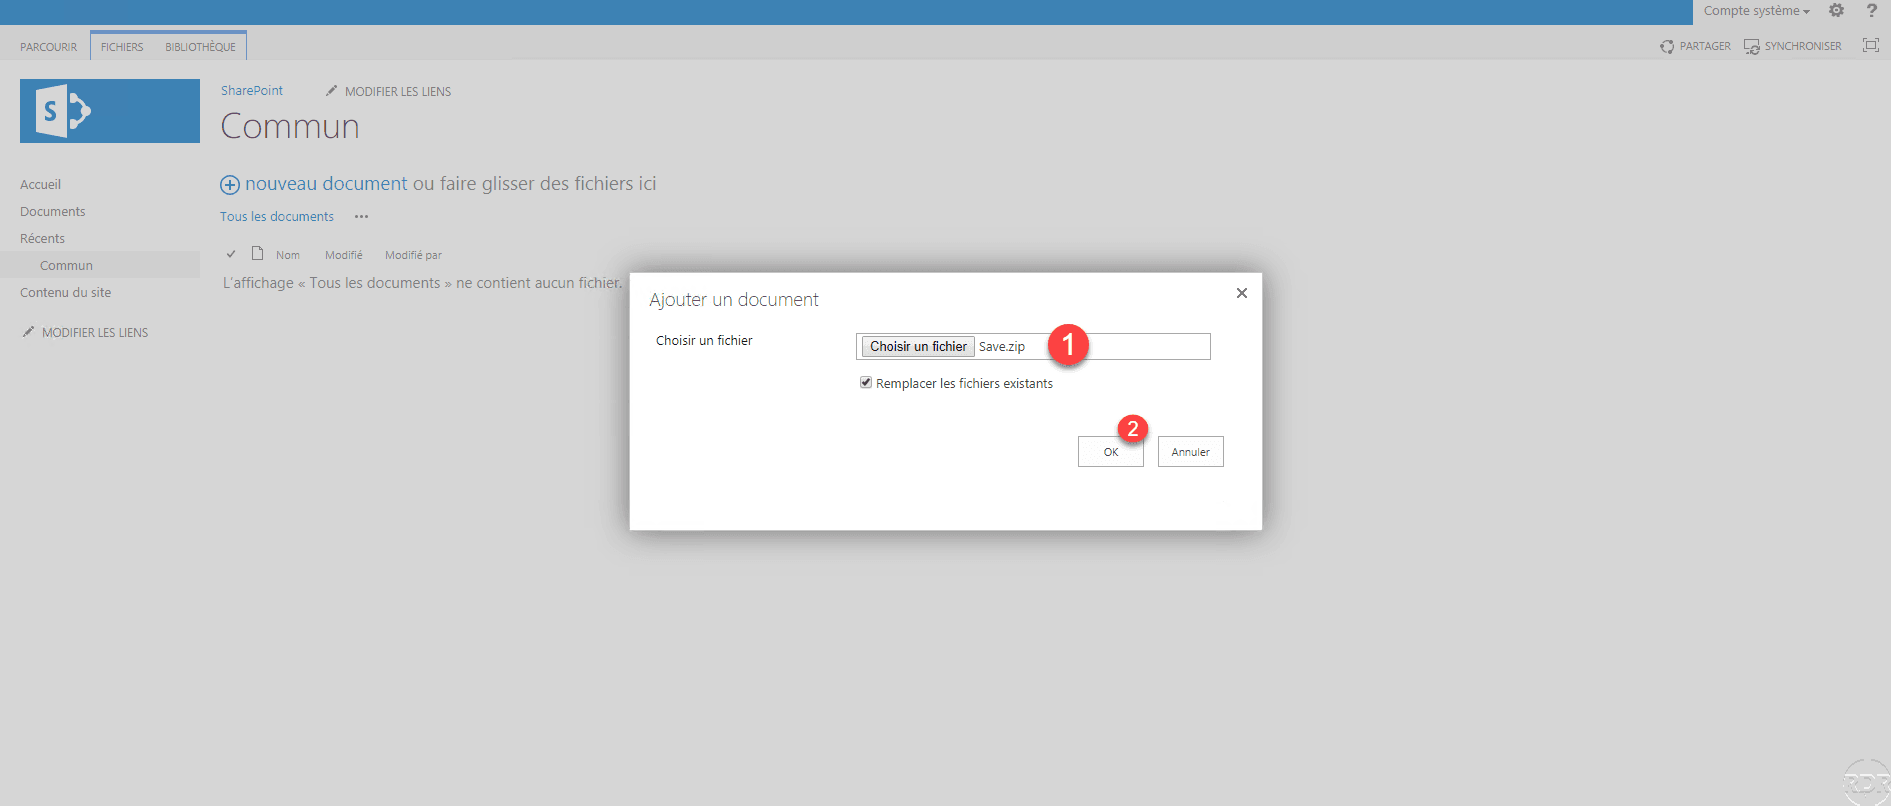
Wait while sending …

The file is added to the library.

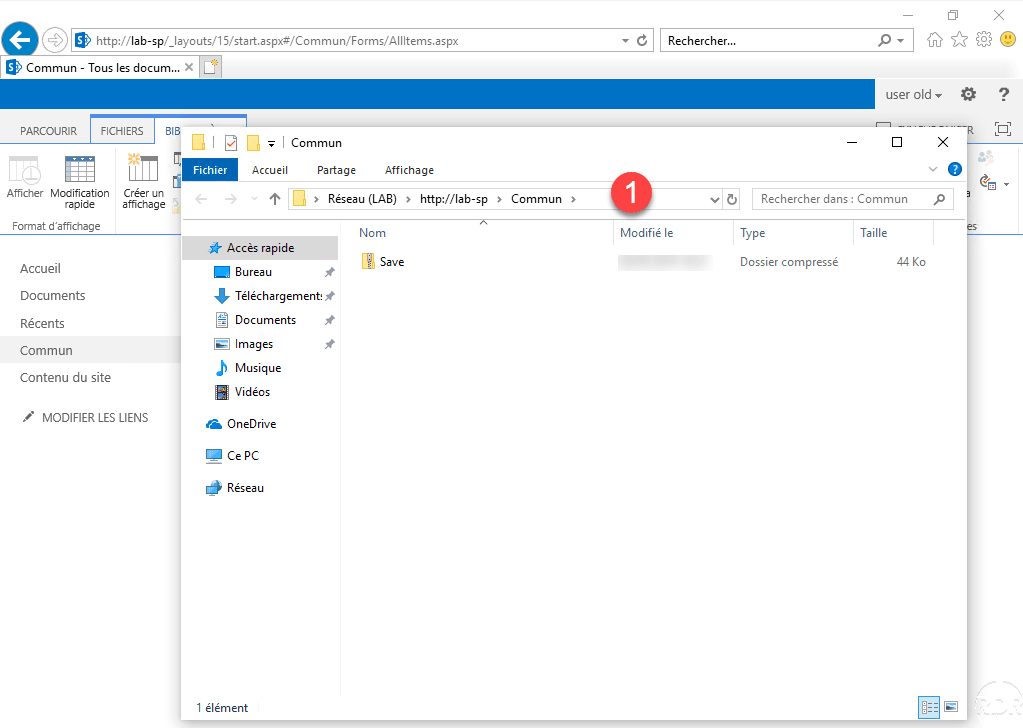
Access the library by the explorer
From the page of this one, in the banner click on Library 1 and click on the corresponding icon 2 .

The library is available from the explorer, note the path of it 1 . It is in the form http: // server / sites / library.
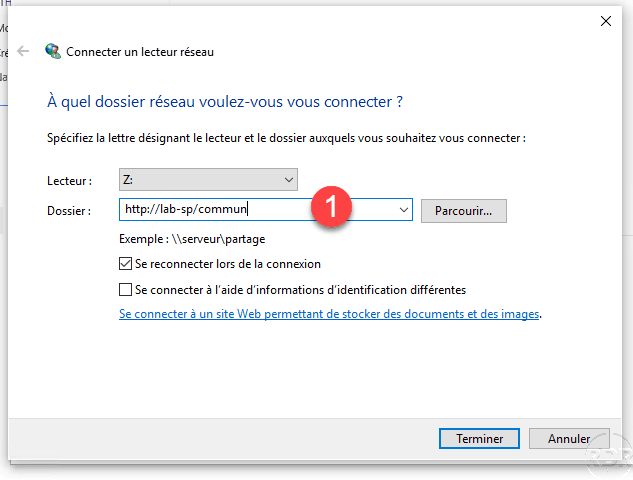
To connect to a network drive, enter the URL 1 in the Folder field.
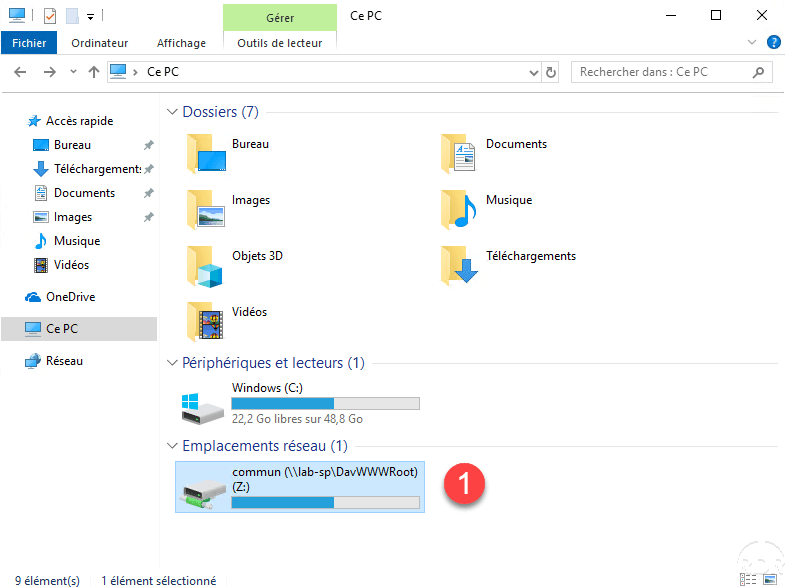
The network drive is mapped to the SharePoint 2013 1 library. It should be possible to map the drive by GPO.
Enable version control
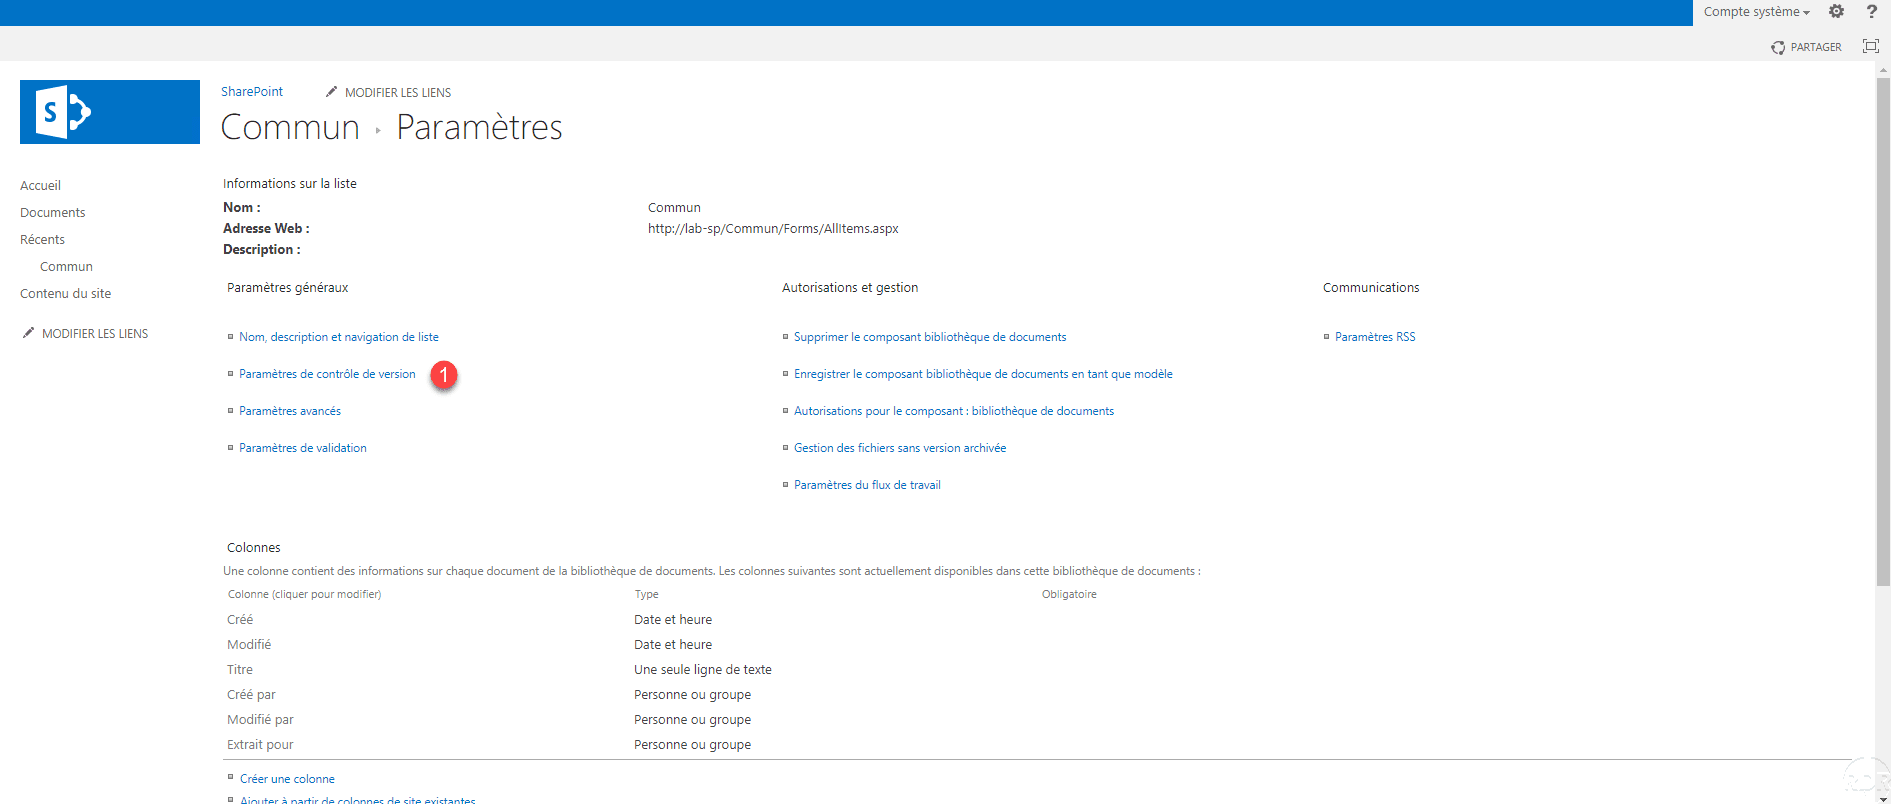
Access the 1 settings of the library.

Click Version Control Settings 1 .
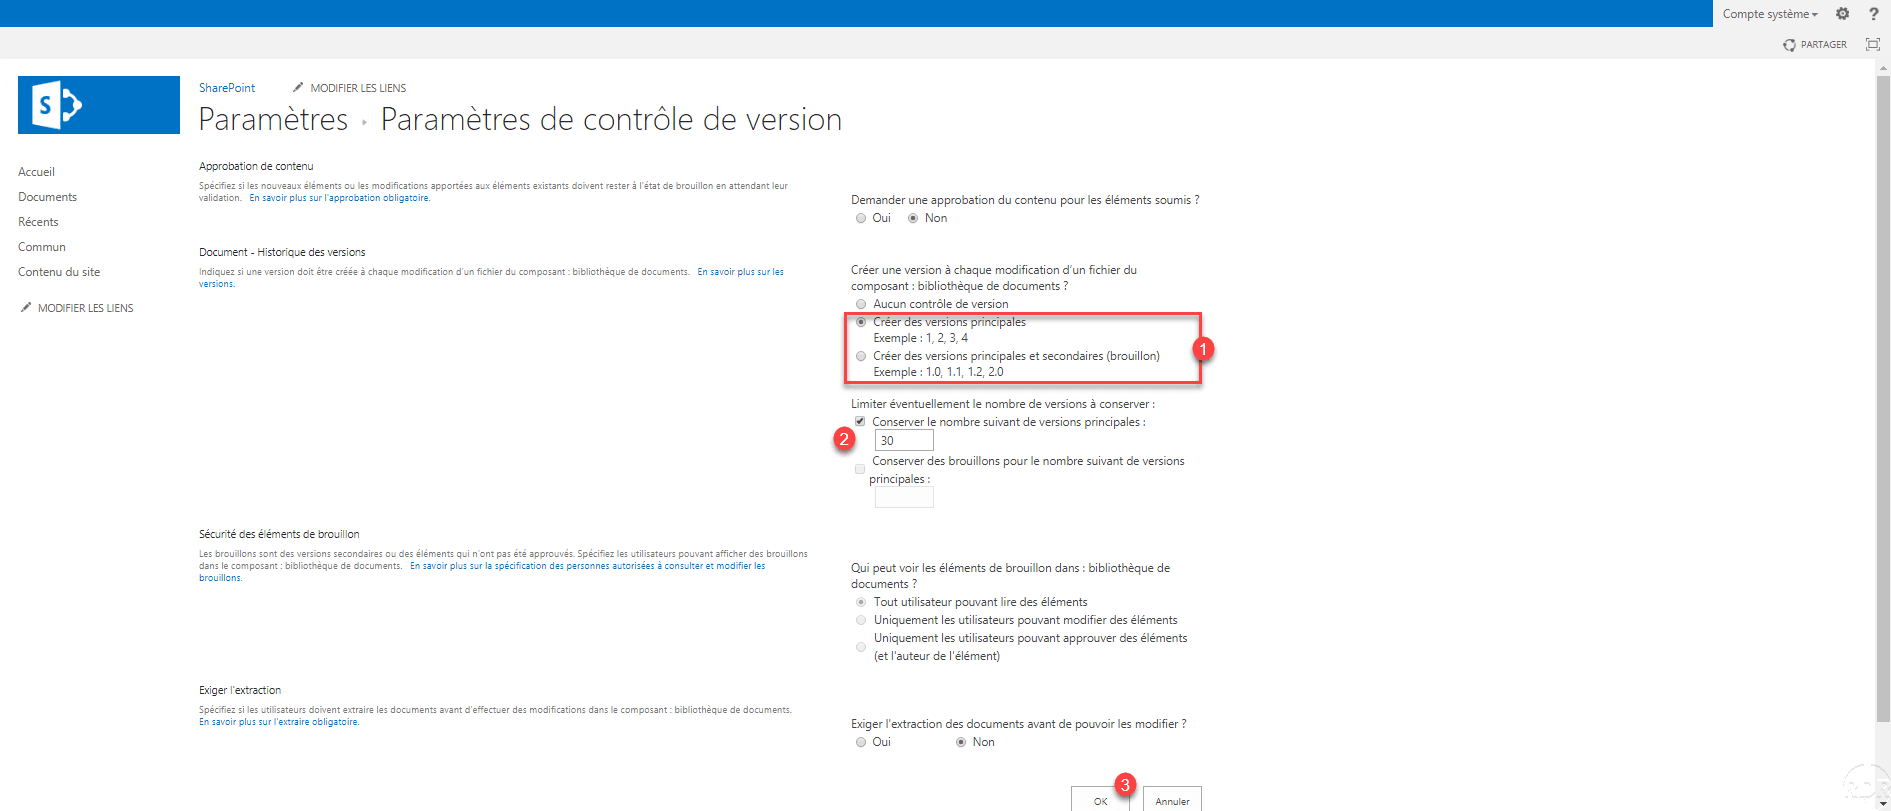
Activate the versions by selecting one of the two options 1 , indicate the number of versions to keep 2 and click on OK 3 .
Version control is now enabled.
Sites in SharePoint
SharePoint makes it possible to create several sites, which makes it possible to cut the collaborative space into service for example. In this part, we will create a site dedicated to the IT department.
Add a site
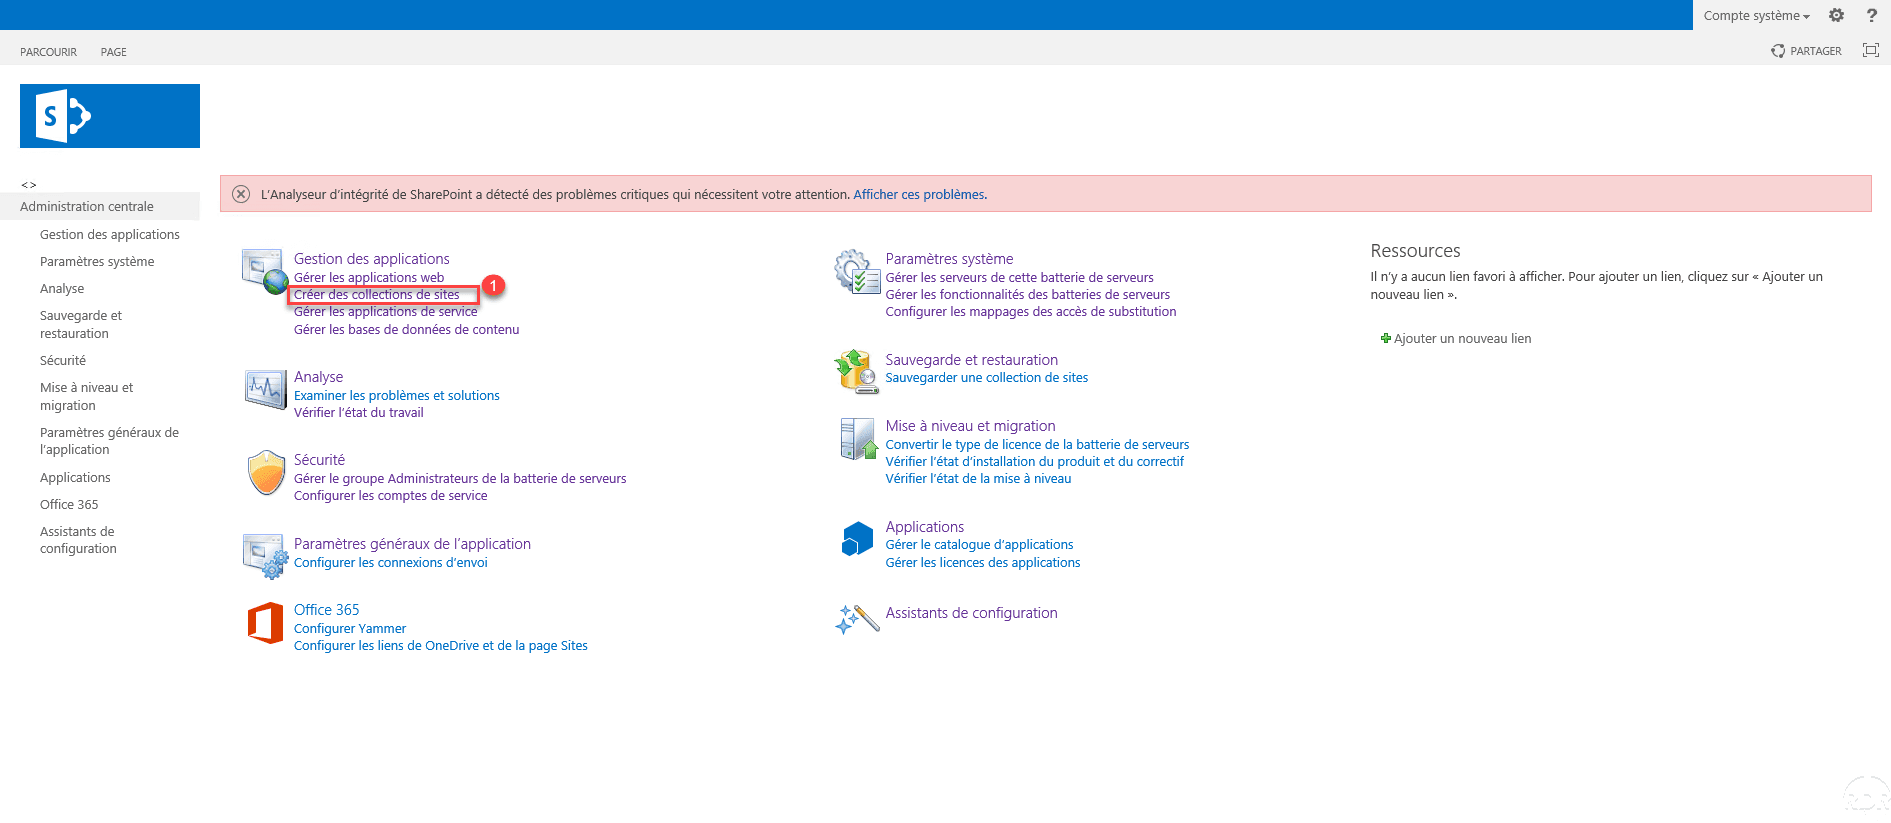
On Central Administration, click Create Site Collections 1 .
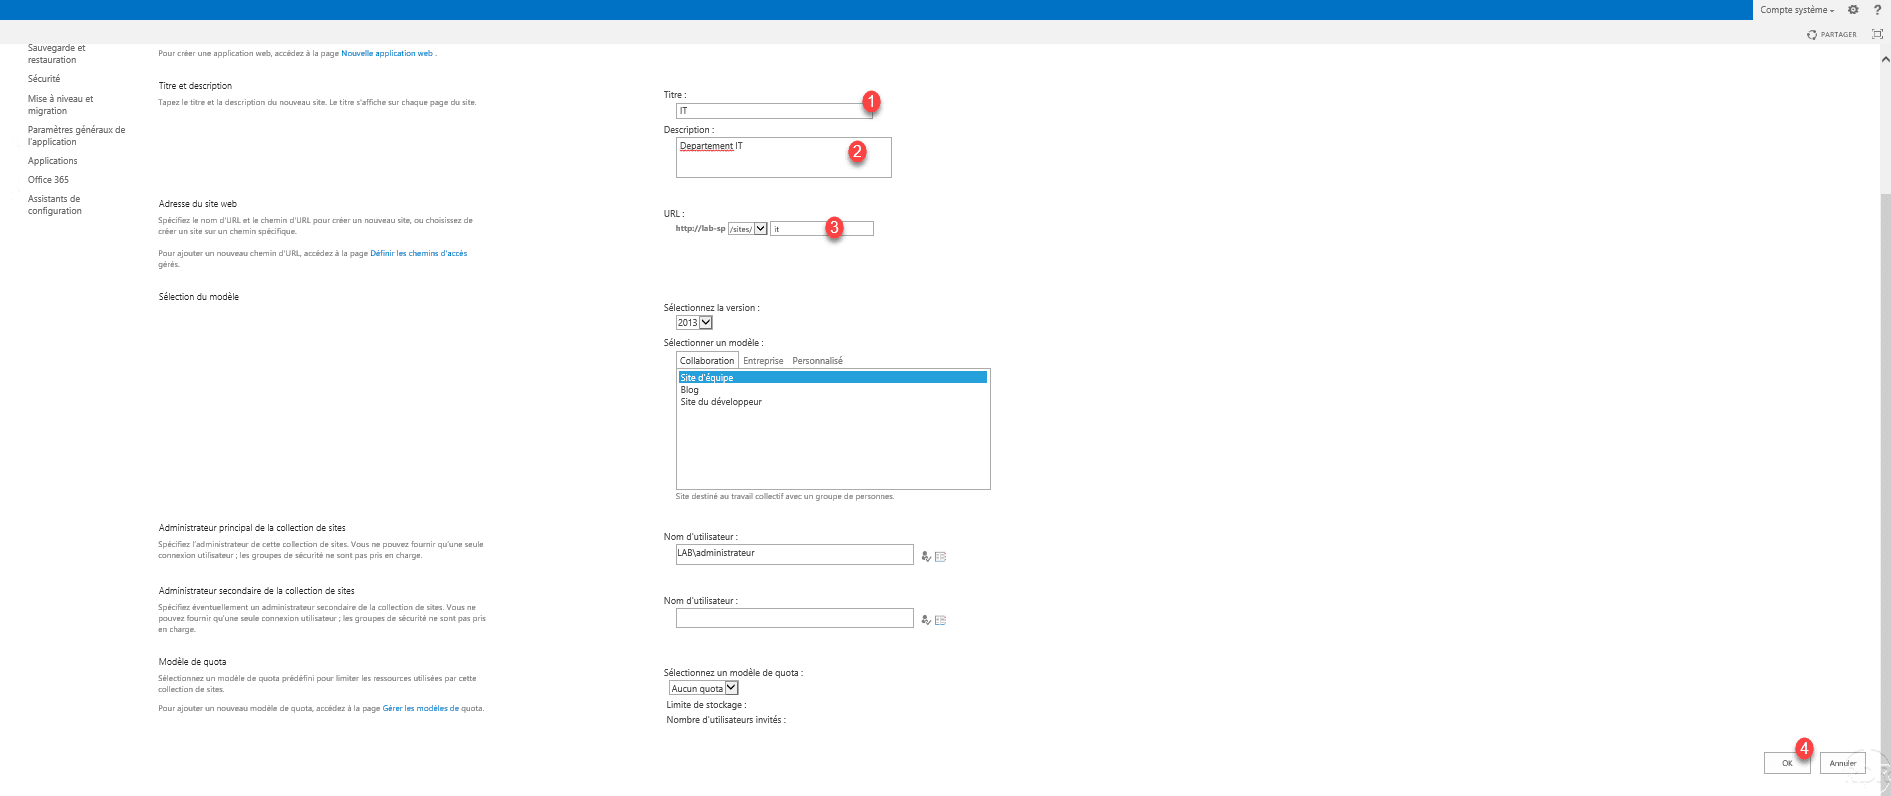
Give a 1 name and description to 2 . Configure the url of the site 3 then click on OK 4 .
Wait while creating …

The new site is created, click on the link 1 to open it.

All that remains is to add components to the sites and configure the permissions.

Add a content database
It is possible to configure multiple content databases in SharePoint and assign a site to it. In terms of now and in case of restoring SharePoint this facilitates operations.
A devious advantage for users of SQL Express is to have multiple sites that do not share the same database and therefore have 10GB of space per site.
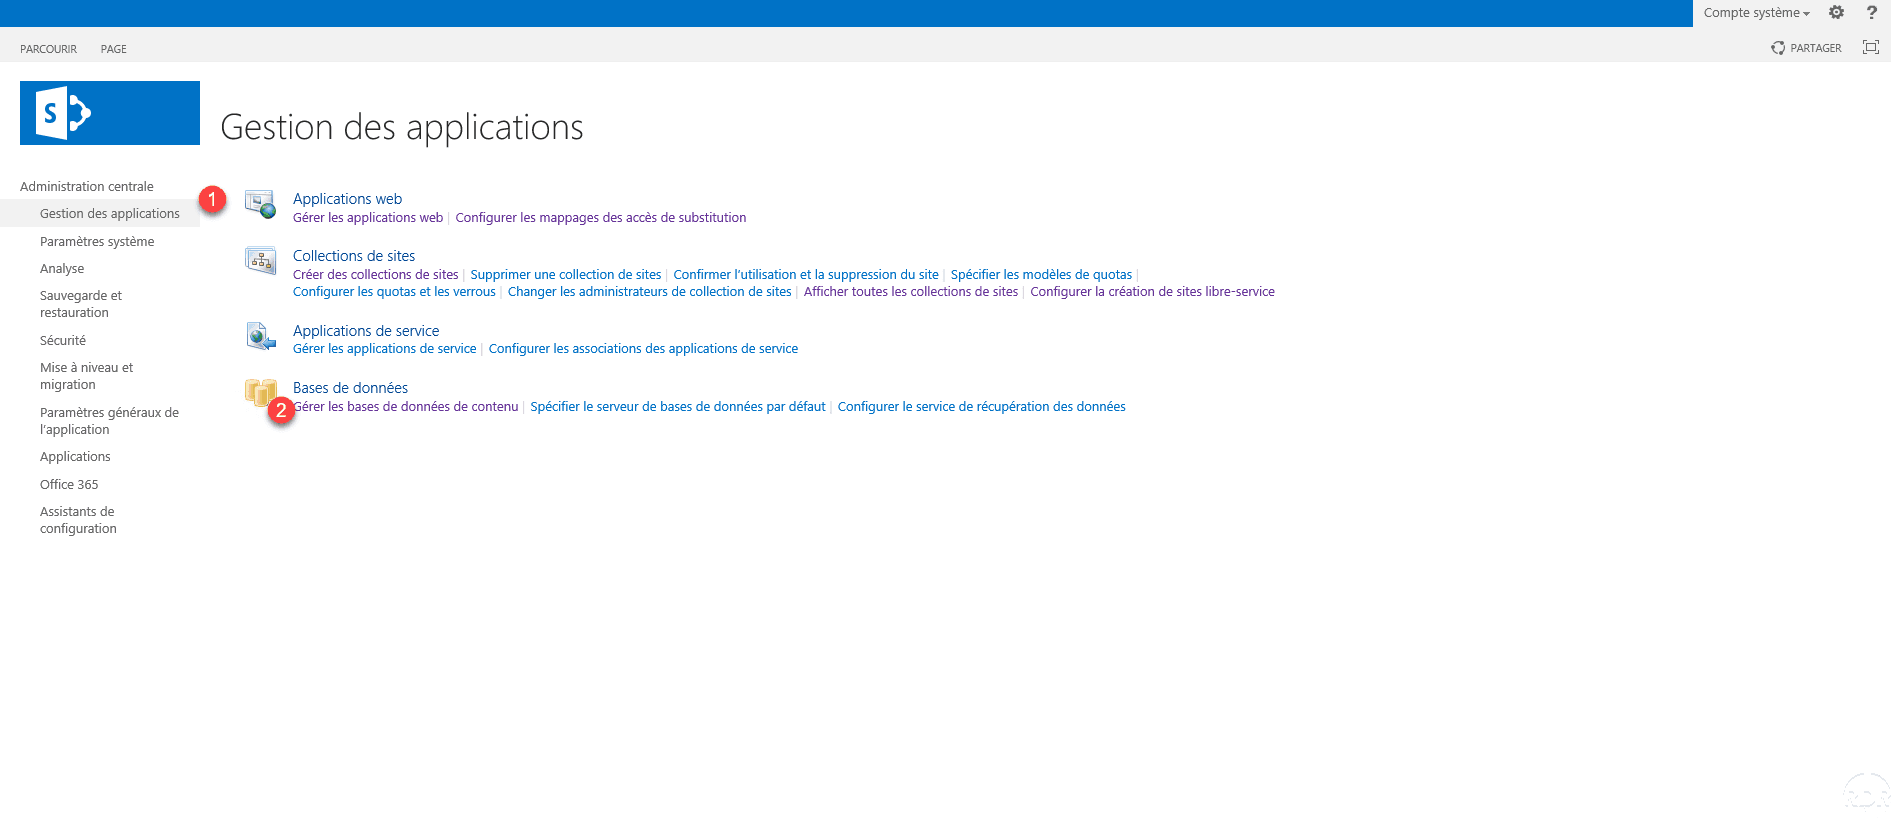
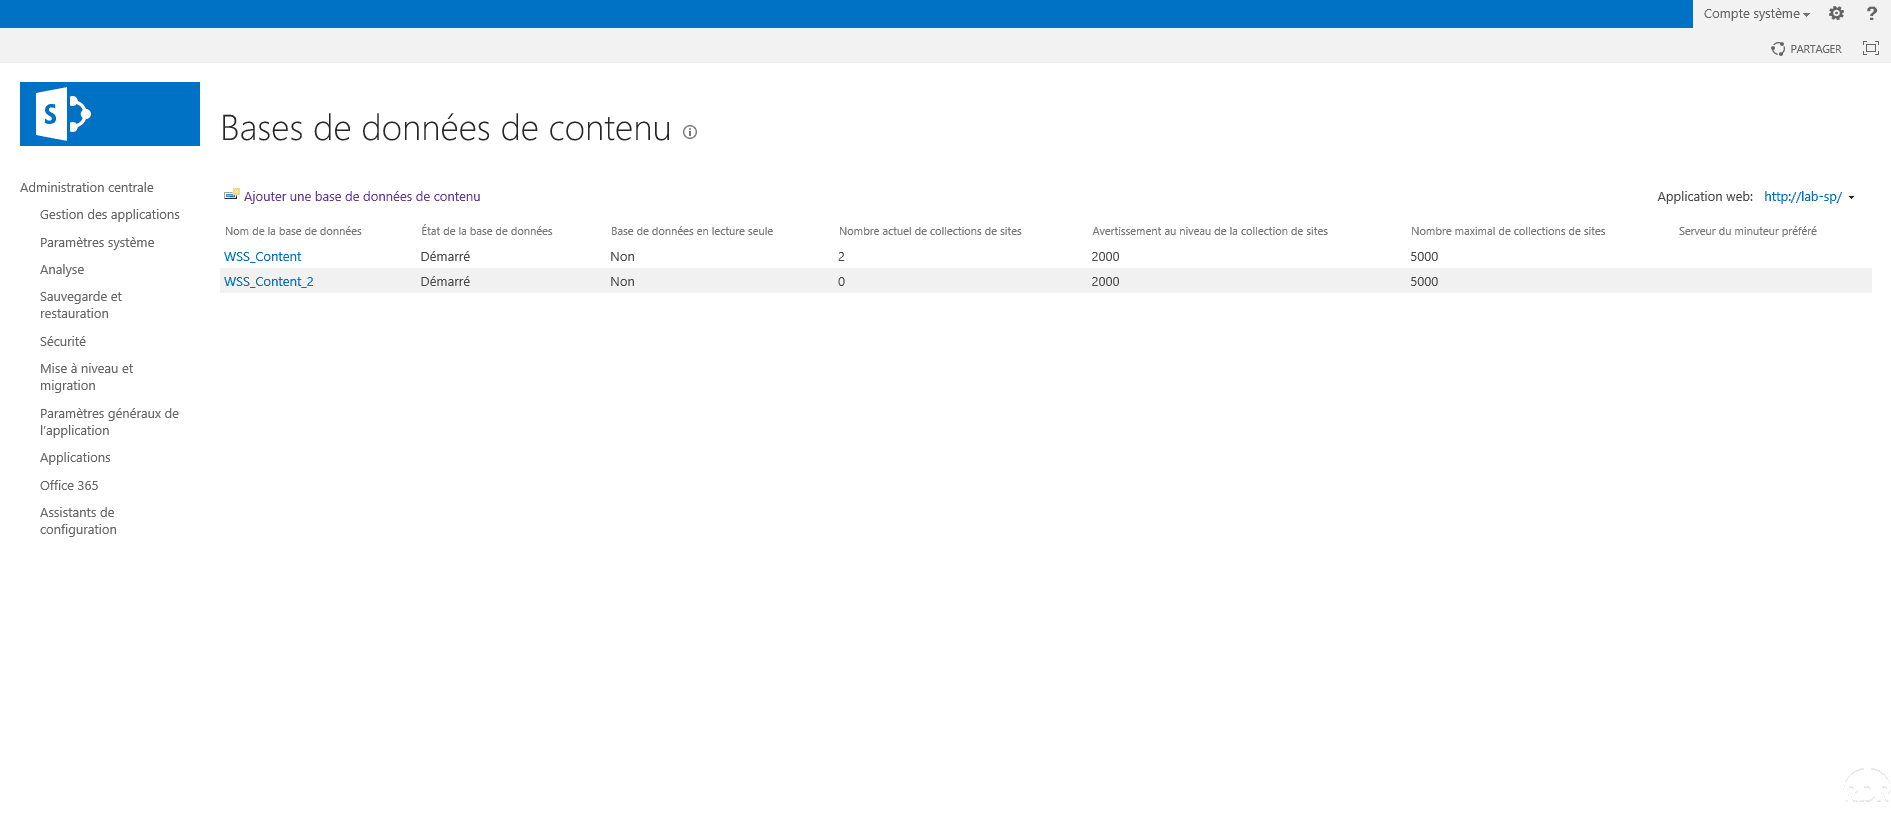
In Central Administration, click on Application Management 1 and then on Manage Content Databases 2 .
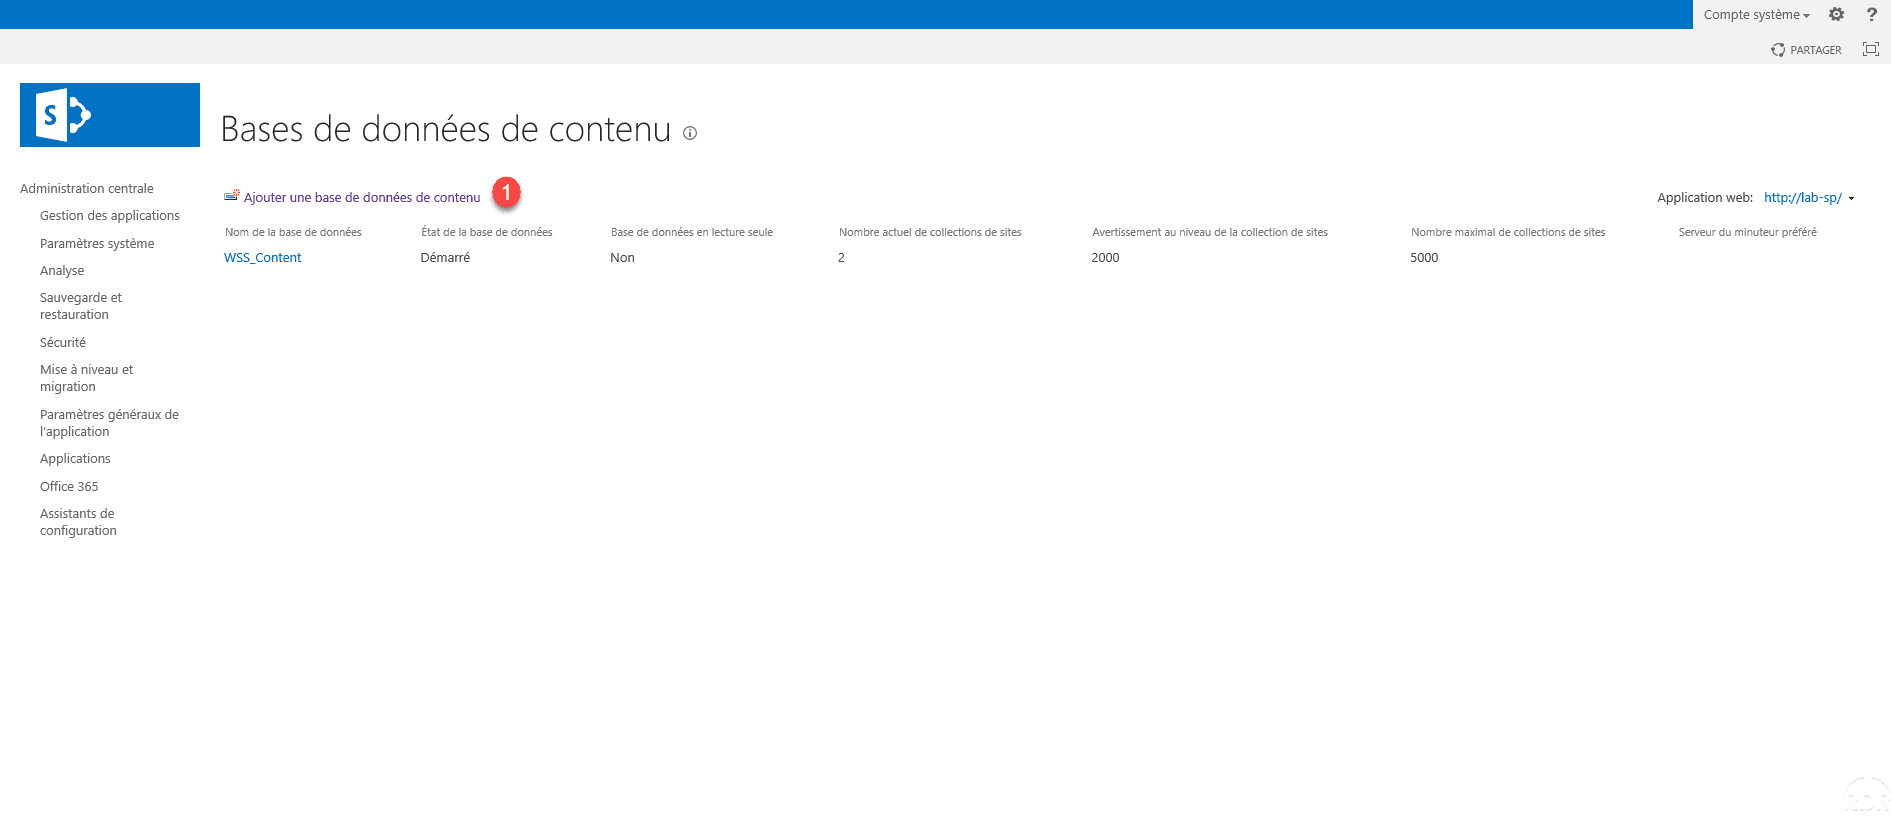
Click Add Content Database 1 .
The parameters are normally filled in, change the database name 1 and click OK 2 .
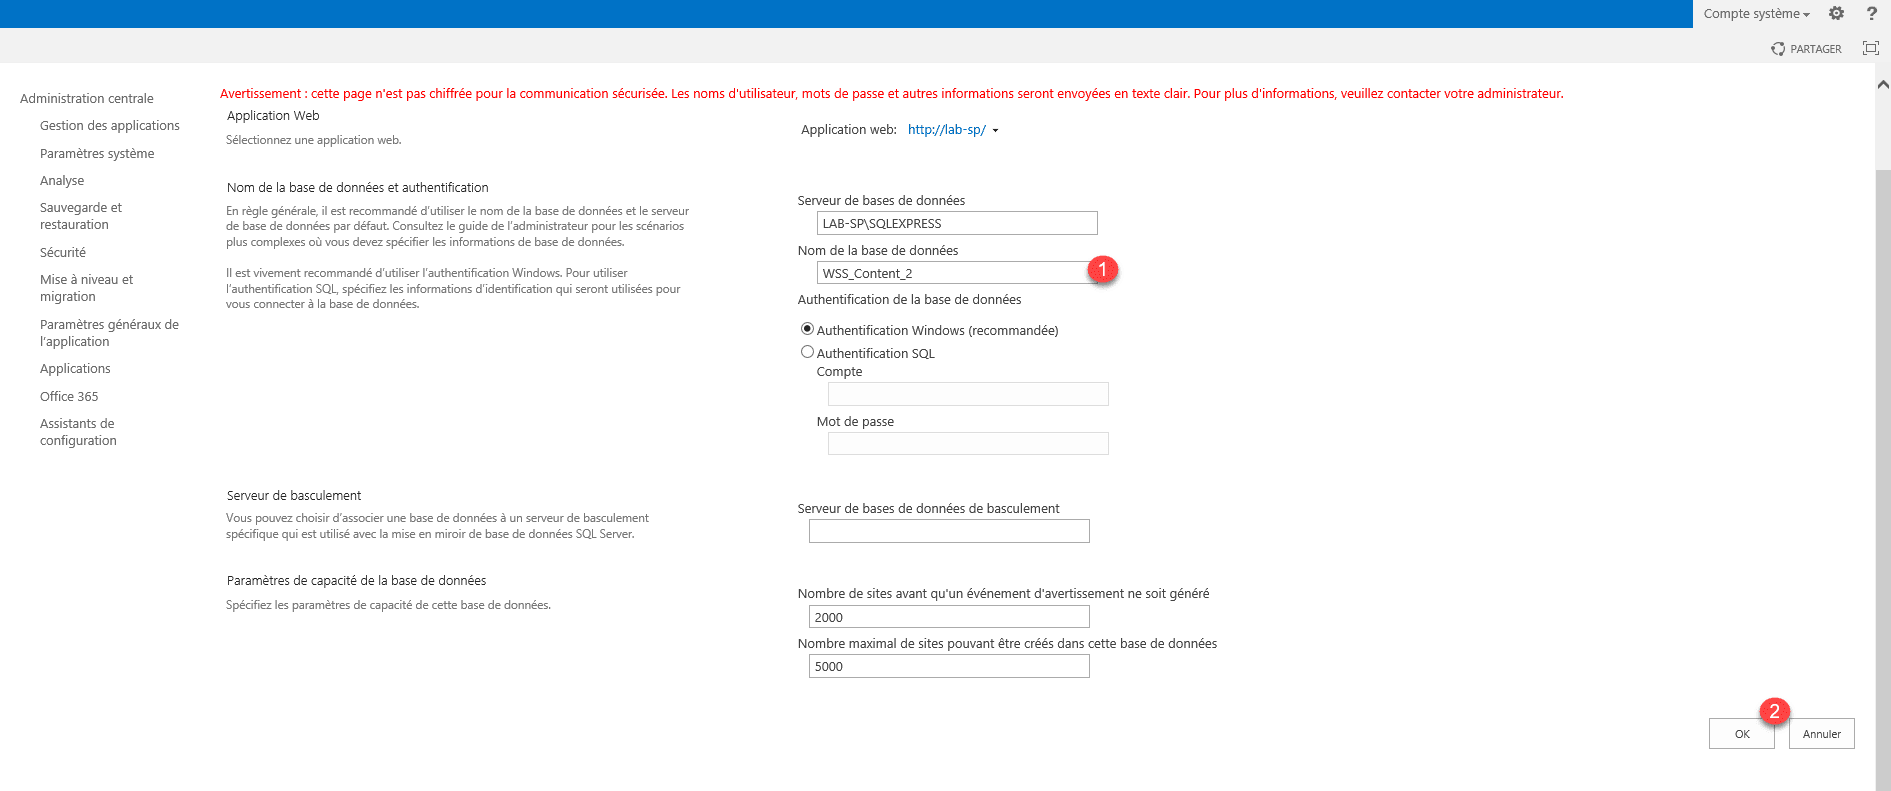
Wait while creating …

The database is created.
You can also check the files in the DATA directory of the SQL SERVER instance.

Change the content database of a site
Open Sharepoint 2013 Management Shell as Administrator and enter the following command to change the database database:
Move-SPSite -DestinationDatabase To move the IT site on the basis of WSS_Content_2:
Move-SPSite http://lab-sp/sites/it -DestinationDatabase WSS_Content_2Confirm the move and once it is finished restart IIS.
It is possible to check the database in Central Administration, by going to Manage Applications / View All Site Collections. Select the site by clicking 1 and check the database 2 in the information.

Conclusion
This tutorial on SharePoint 2013 stops here and I hope it will help you set it up. Other tutorials on SharePoint will follow, because it would be reductive to limit it to document management.
It is a powerful collaborative tool that can help services become more efficient by sharing information and working together.
