Configure the job schedule
Now that we know how to put a job in place, we will modify the first job to schedule it.
Under Jenkins the scheduling is configured with the cron syntax under Linux. The website Crontab Generator can help you generate the syntaxe.
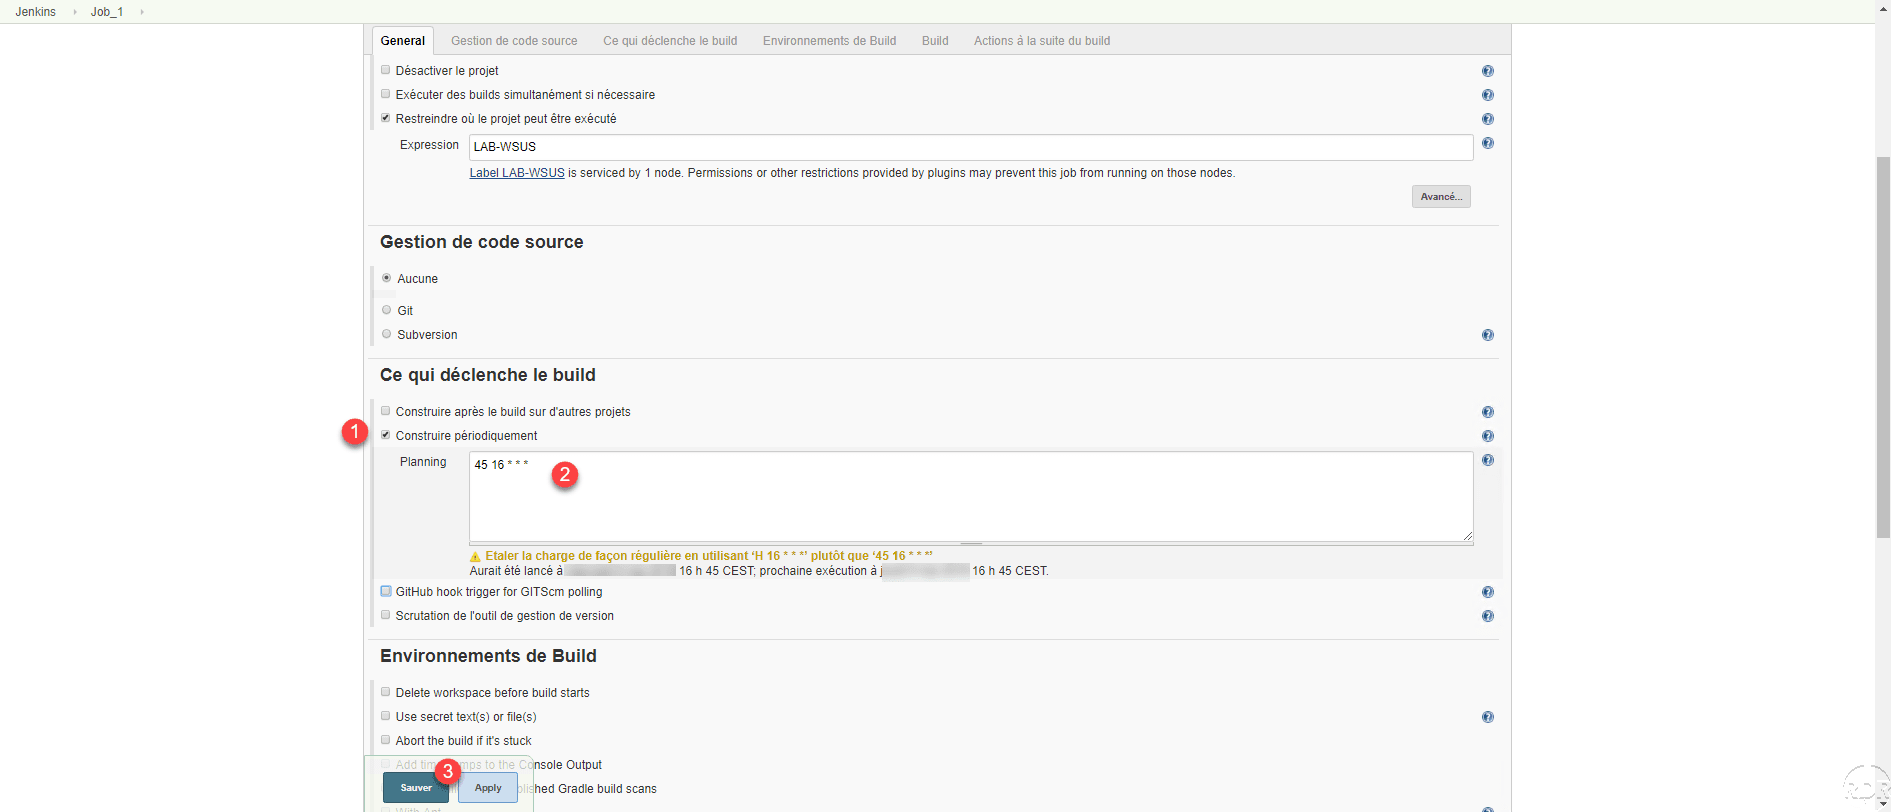
Go to the job configuration in the What triggers the build section, check the periodically Build 1 box then enter the schedule in the Planning 2 field and click Save 3 . When entering the schedule below the field, the date of the previous run as well as the next one is displayed.
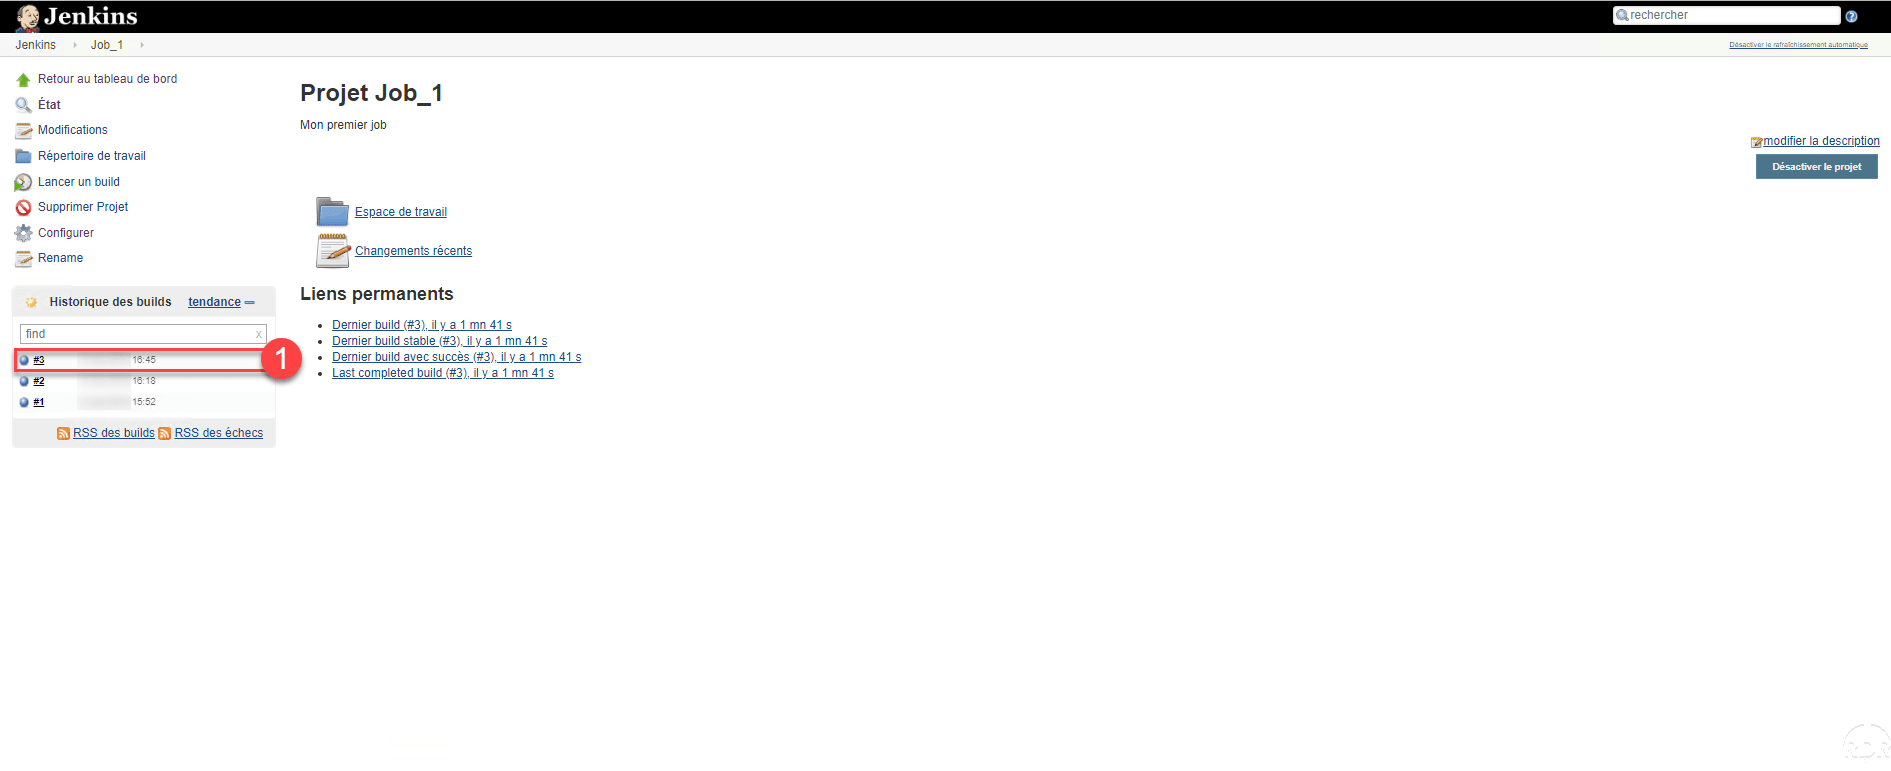
Check that the build is well executed at the scheduled time 1 .
View job calendar
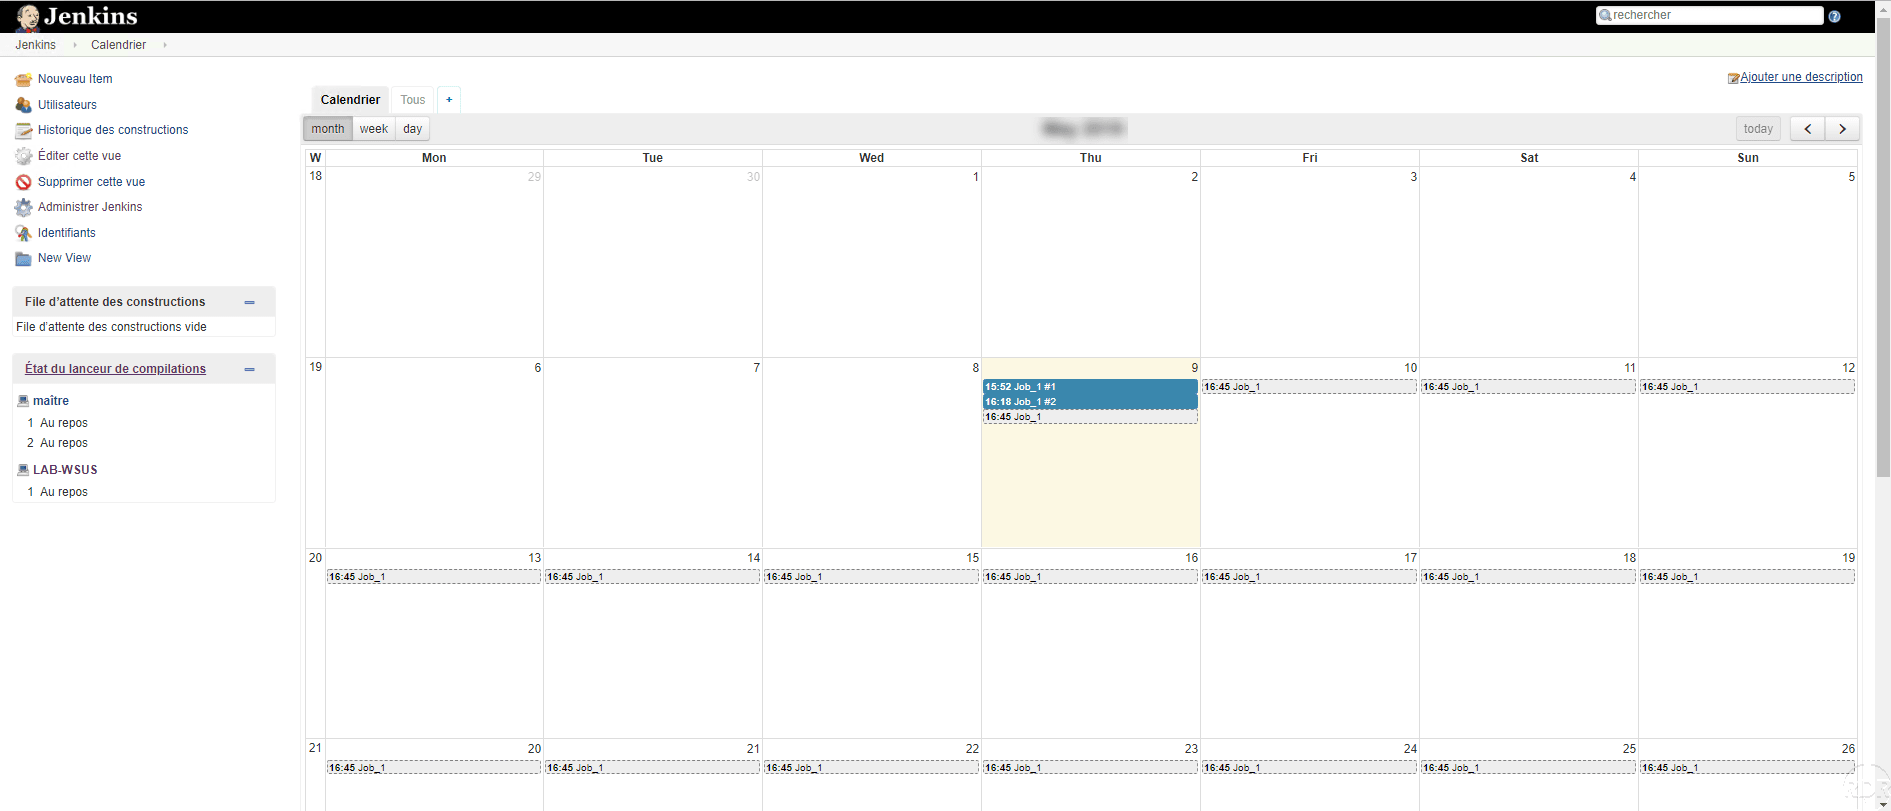
Now that we have the jobs with a schedule, it would be interesting to be able to visualize the whole in a calendar.
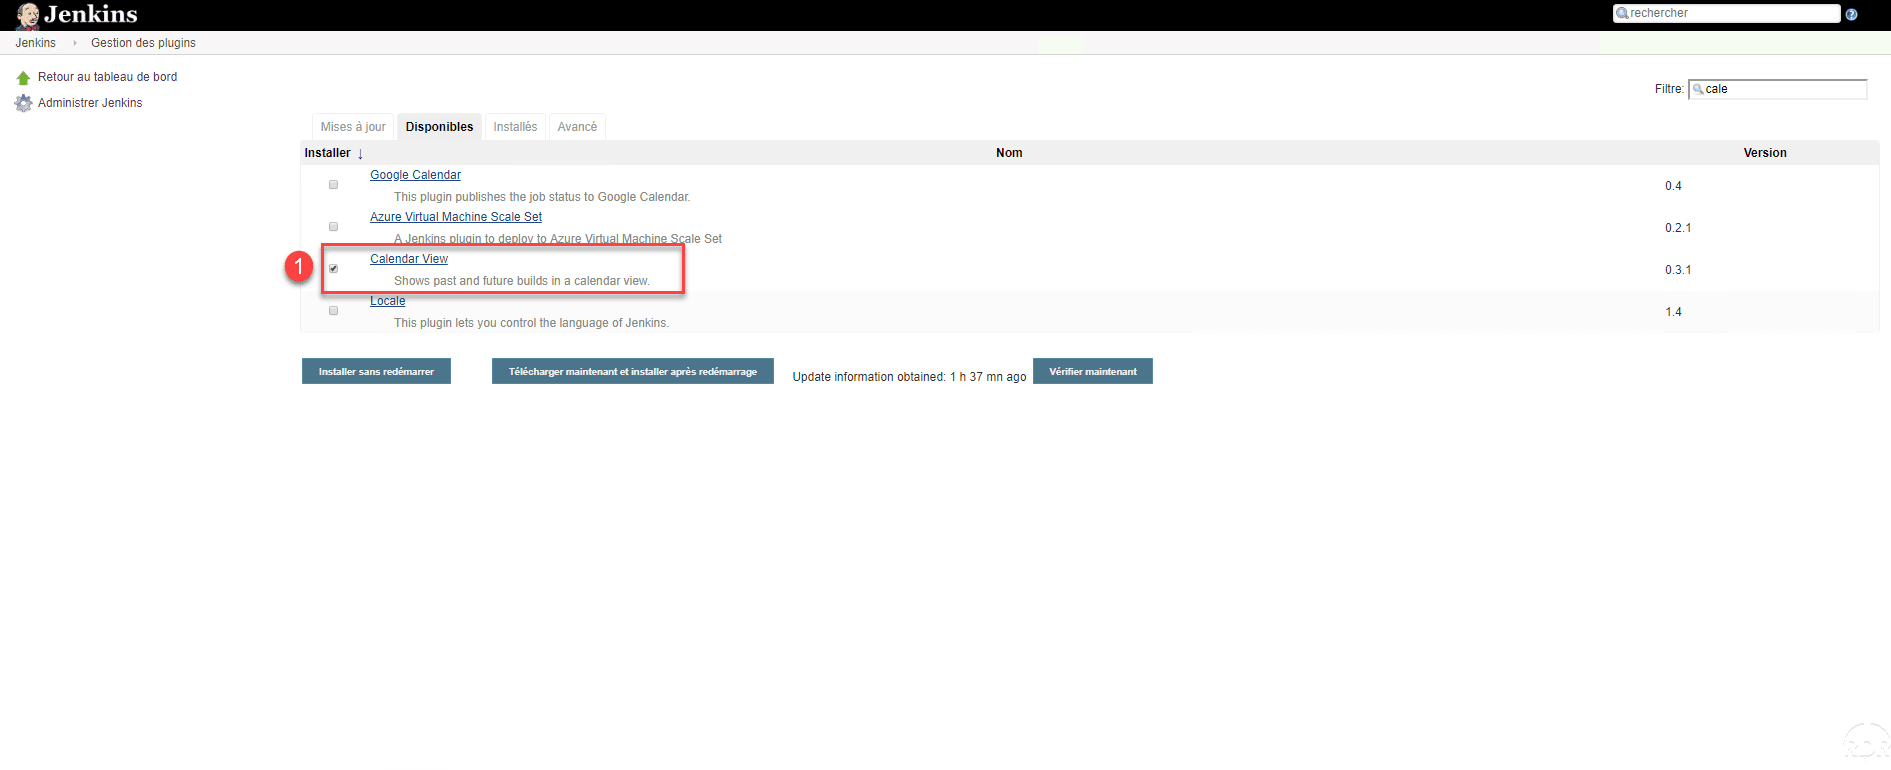
In plugin management, install Calendar View 1 .
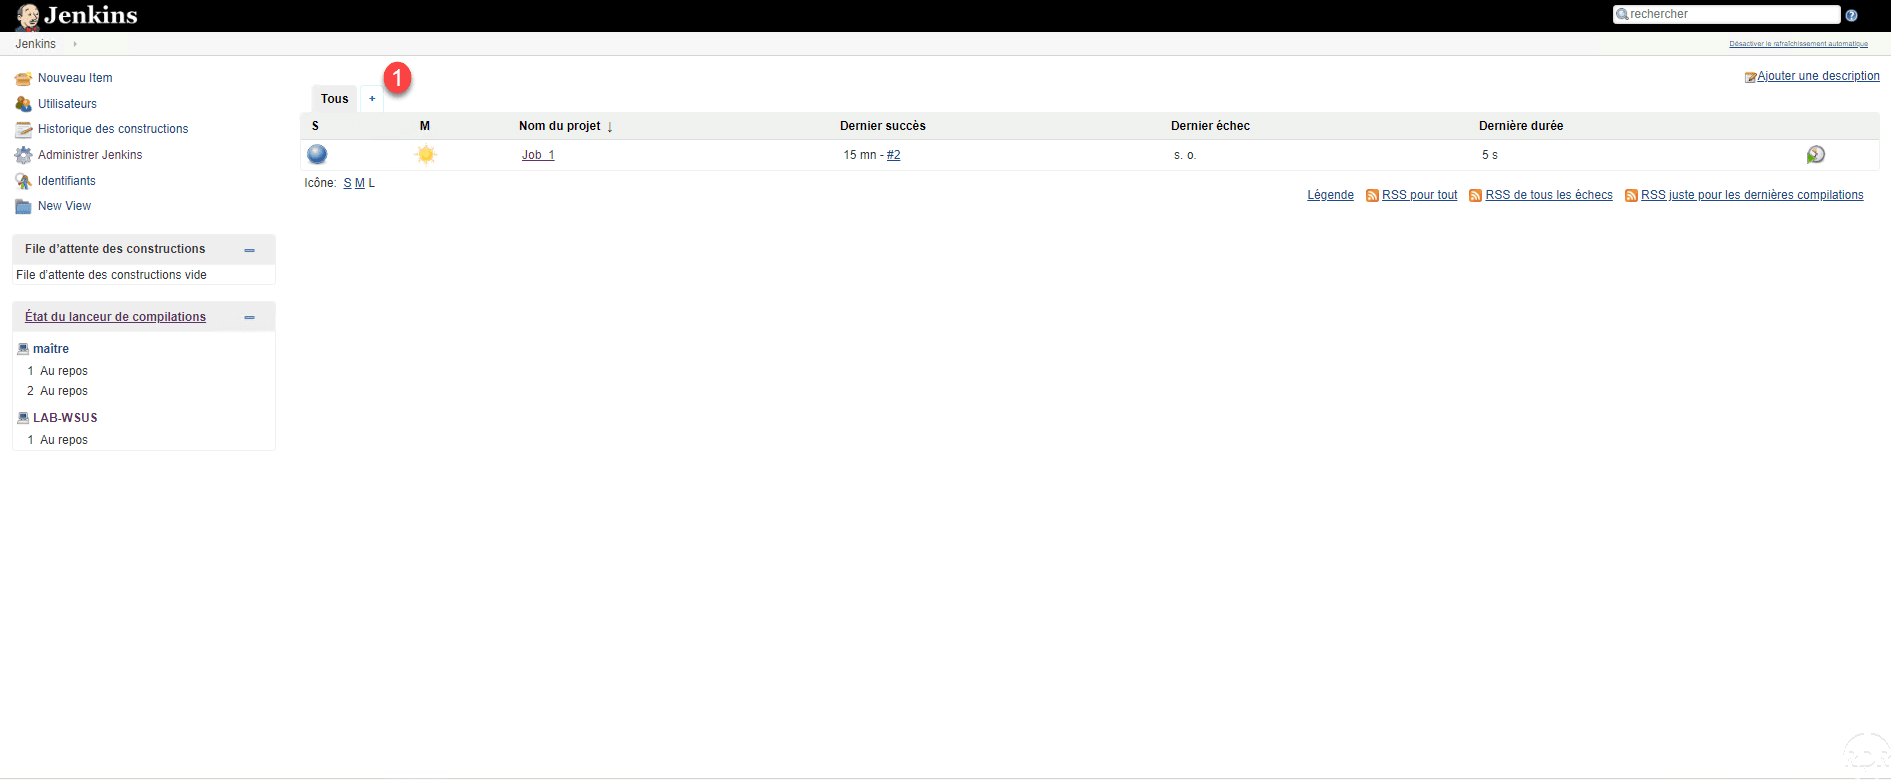
Once the plugin is installed, return to the Jenkins home page and click on the + 1 to add a view.
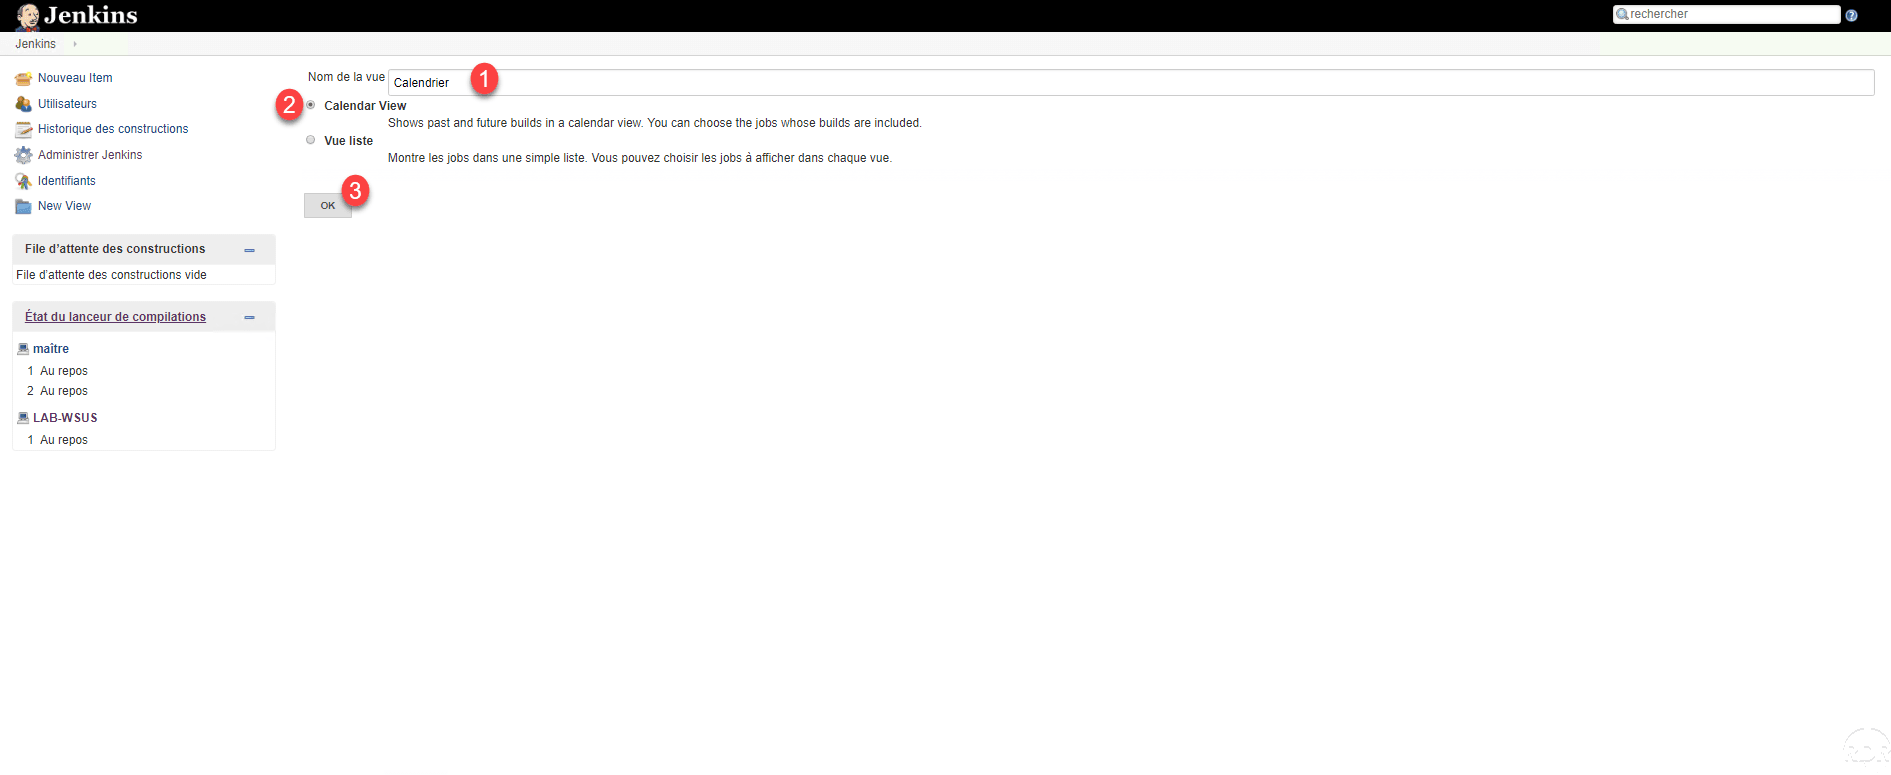
Name view 1 , select Calendar View 2 and click OK 3 .
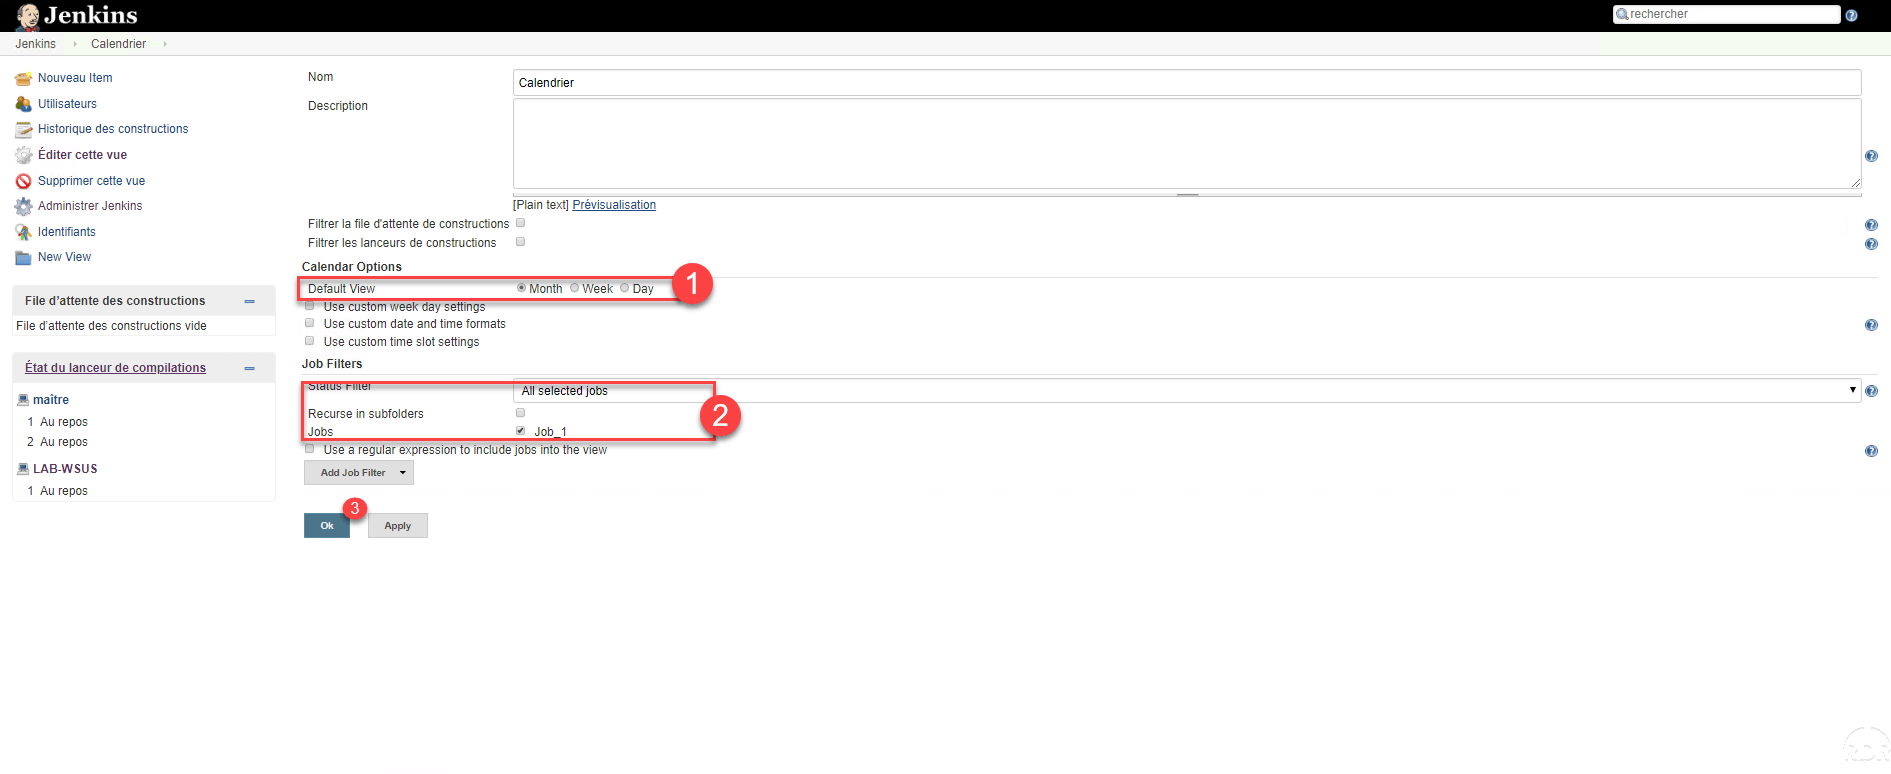
Configure the view according to your needs by selecting the default display 1 , the jobs to display 2 and finishing by clicking OK 3 .
A schedule with job scheduling is displayed.