Creating a job
In this part, we will see how to create our first job, which will execute the IPCONFIG command. Having not yet declared other nodes, the job will be executed on the Jenkins server itself.
The job that will be created in this part will be used later in the other chapters of this tutorial.
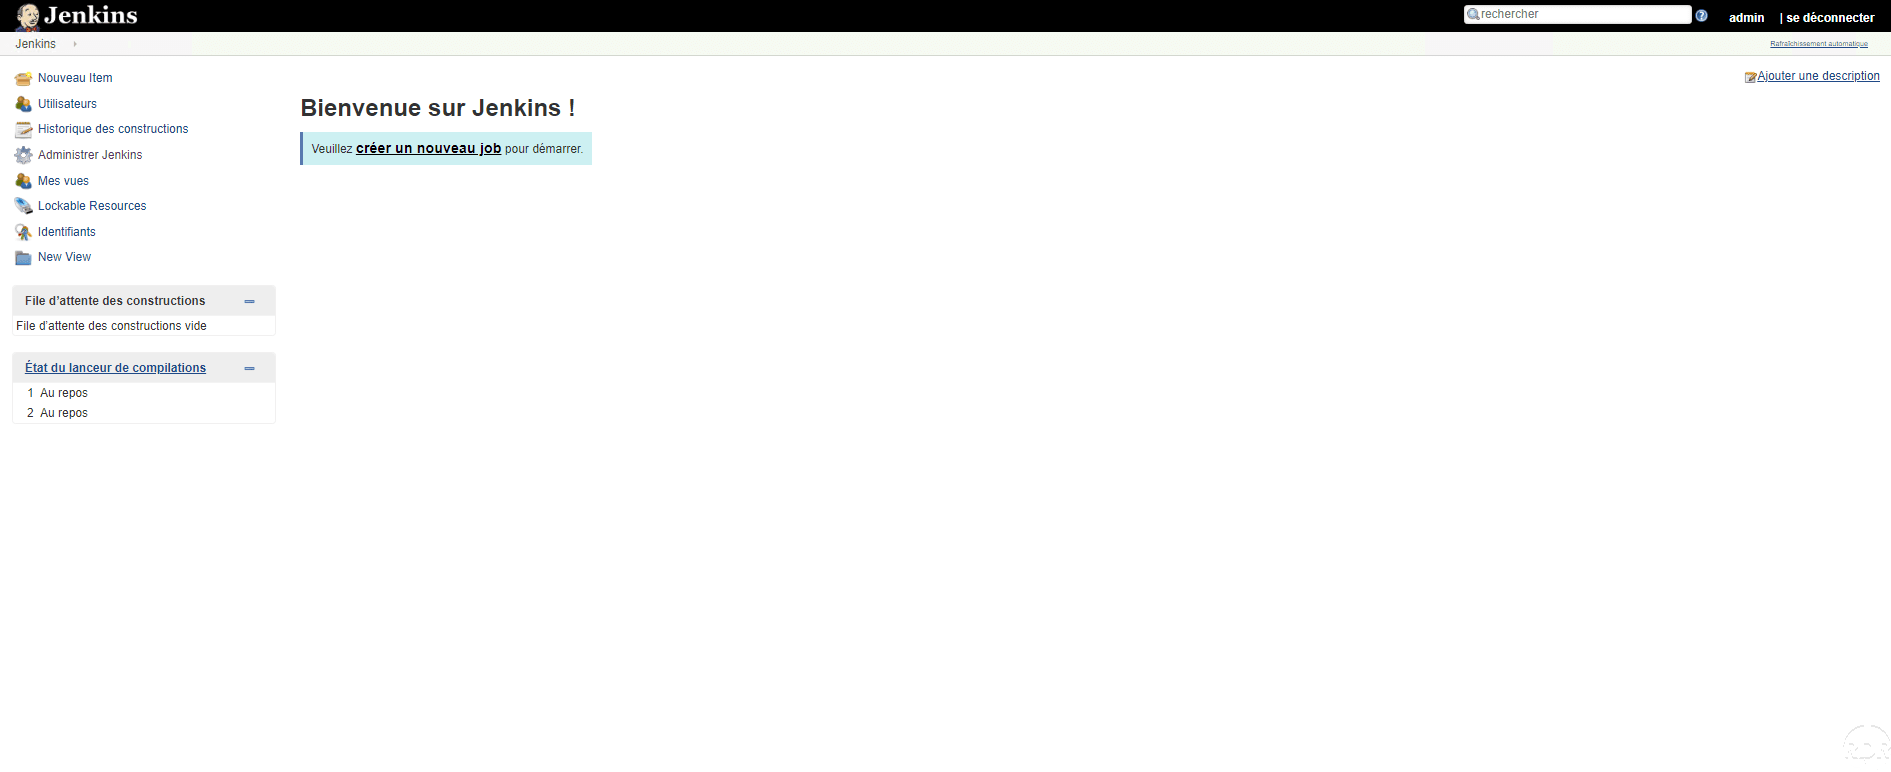
From the home page, click on create a new job 1 .
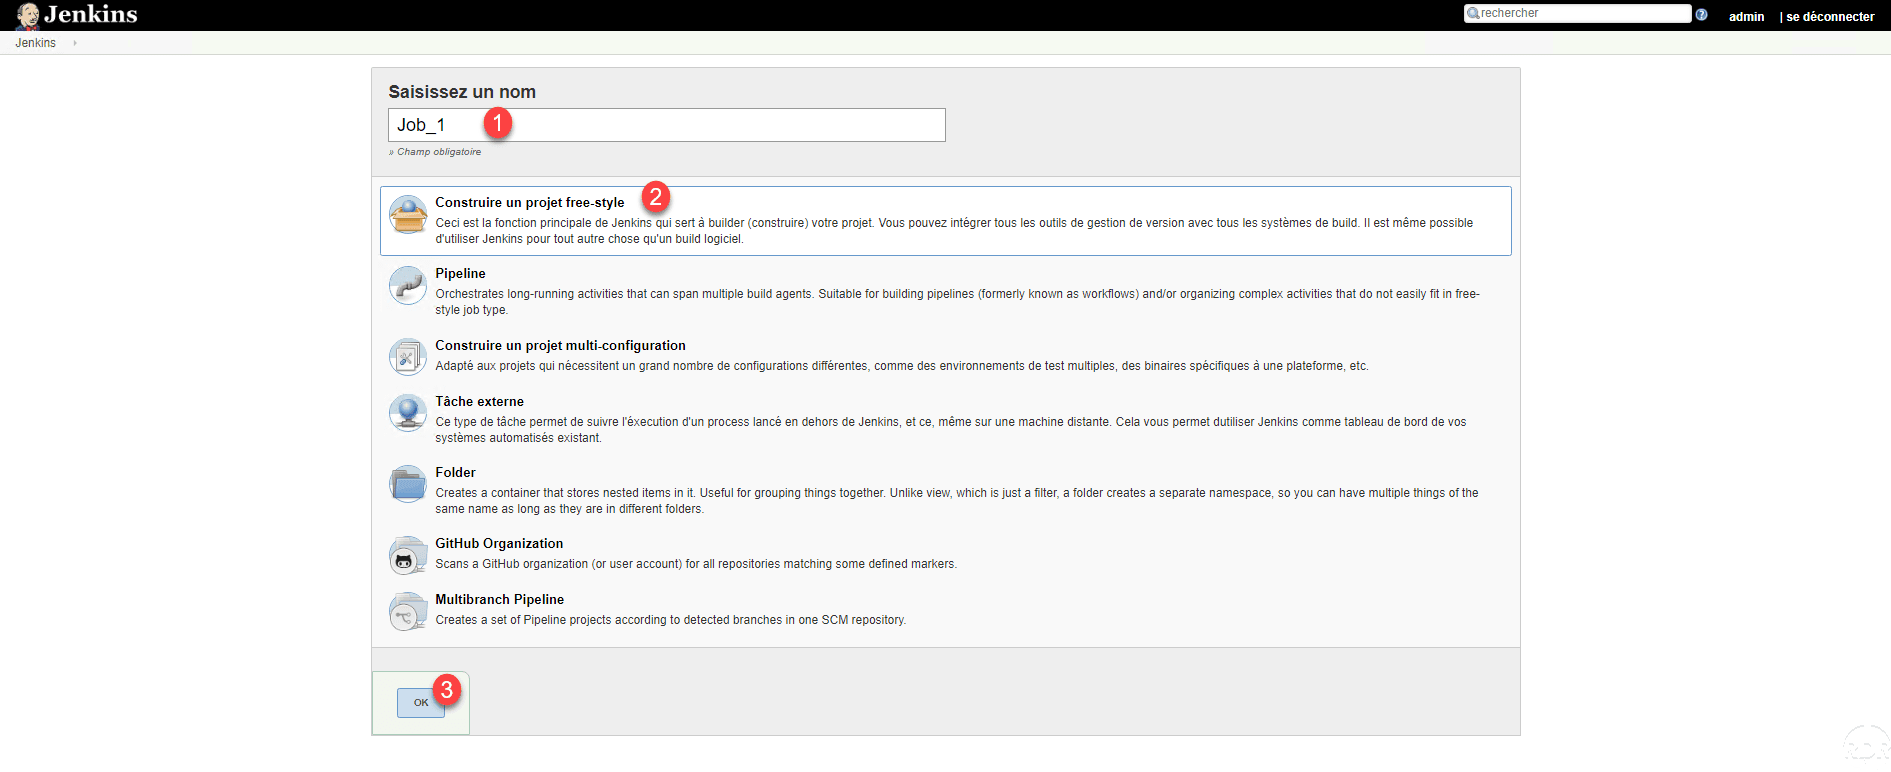
Name the job 1 , select Build a free-style project 2 and click OK 3 .
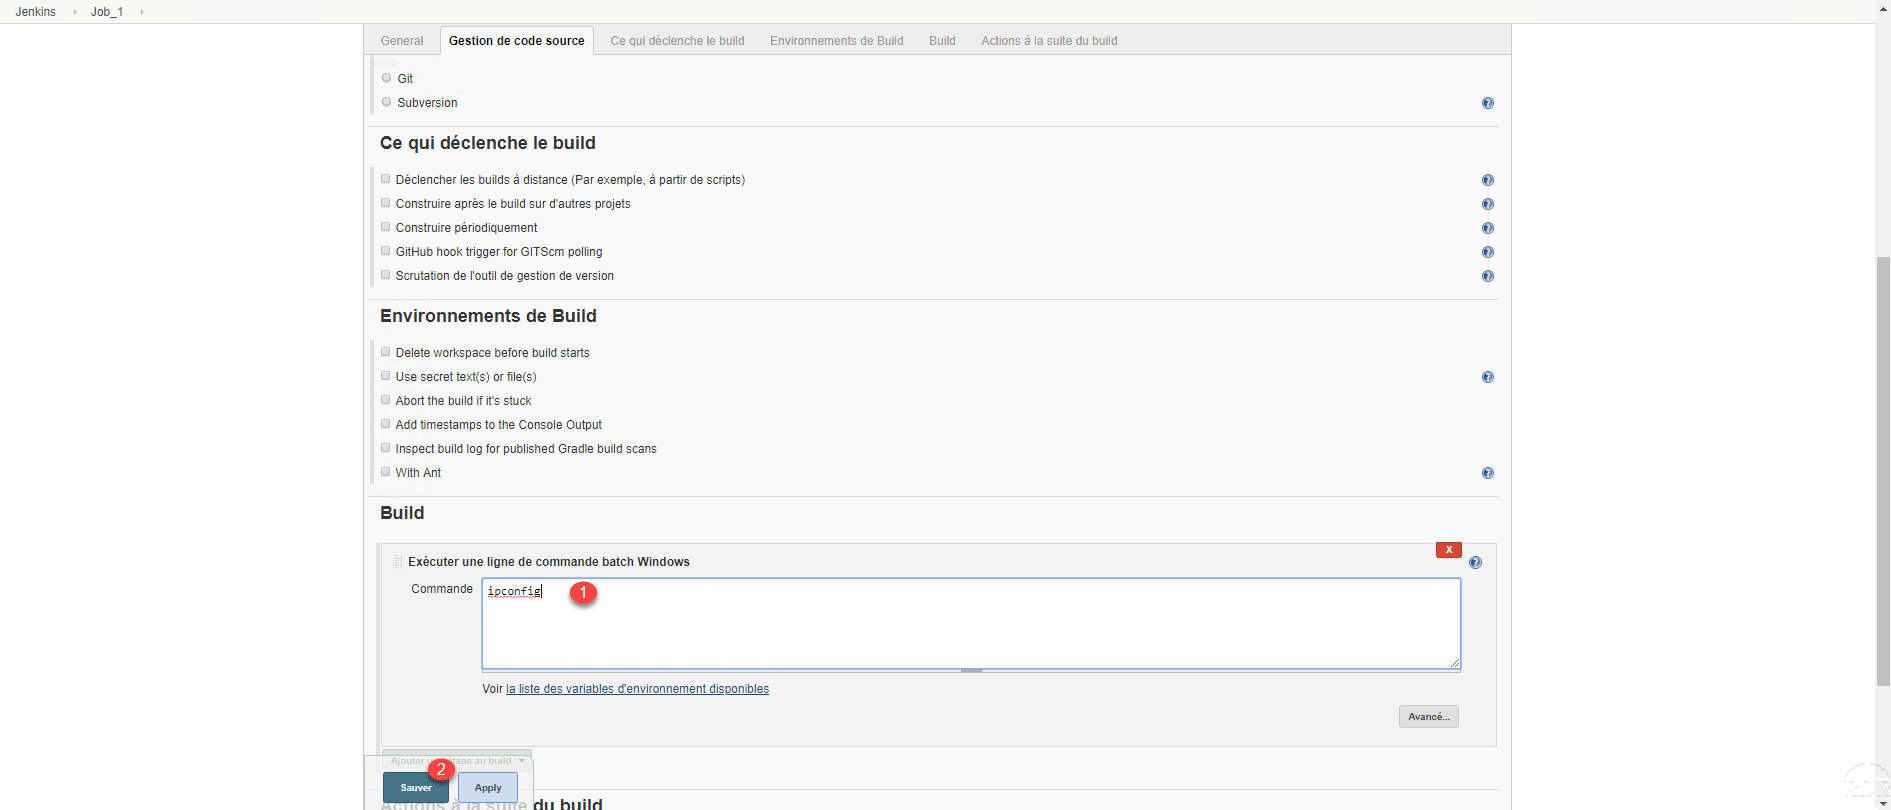
Give a description 1 and click on Build 2 .

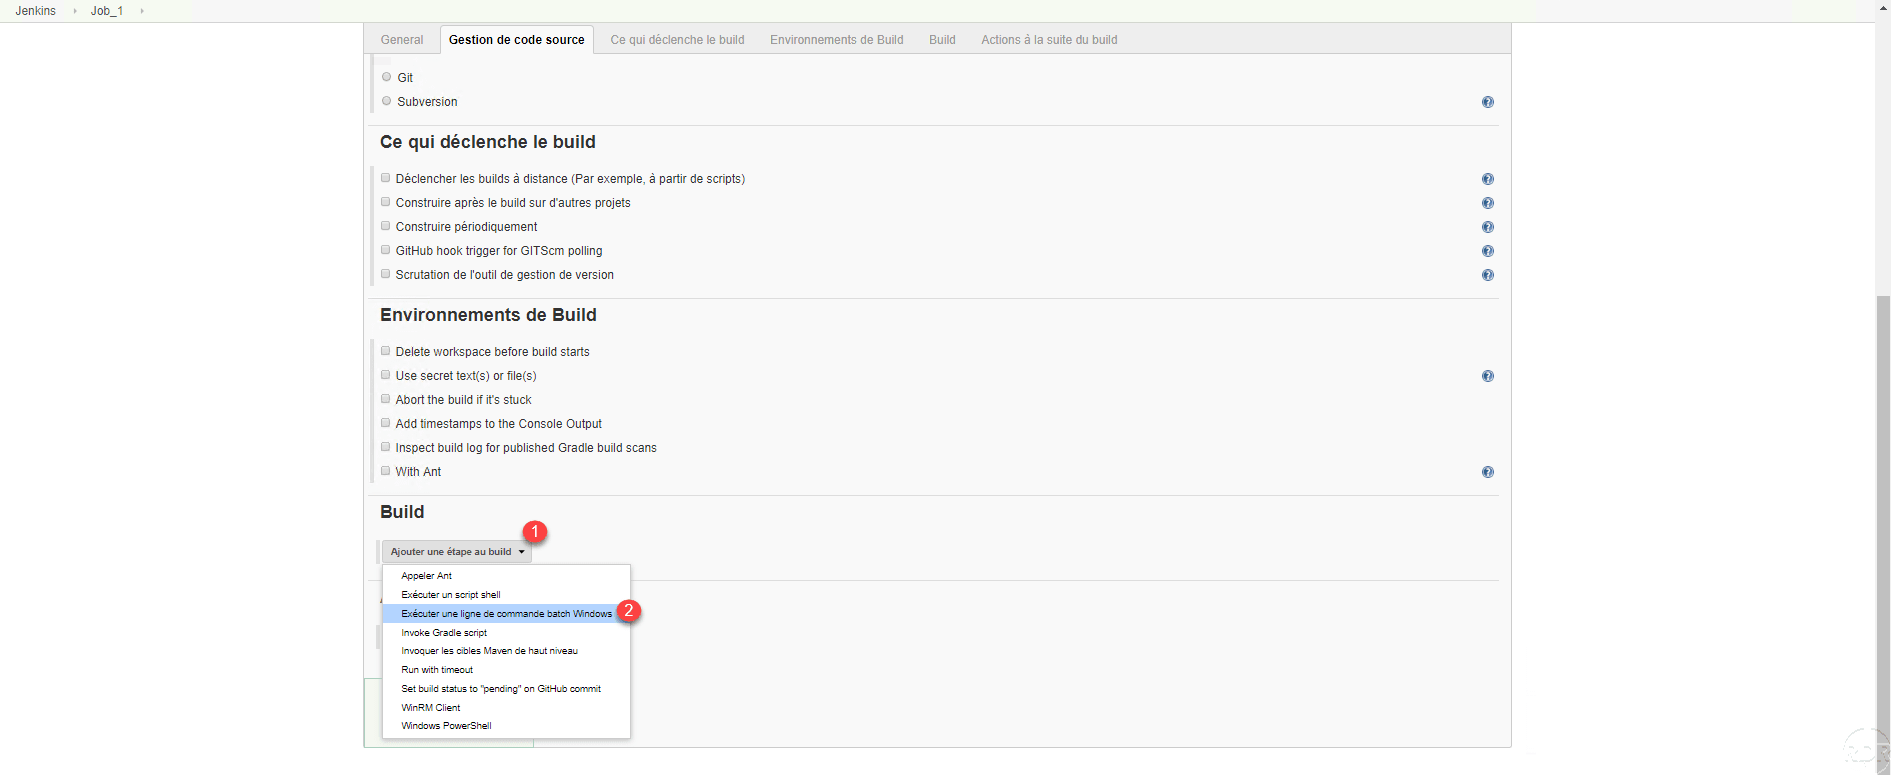
Click the Add a step to build 1 button and choose Run a Windows batch command line 2 .
Enter the command to execute 1 and click Save 2 .
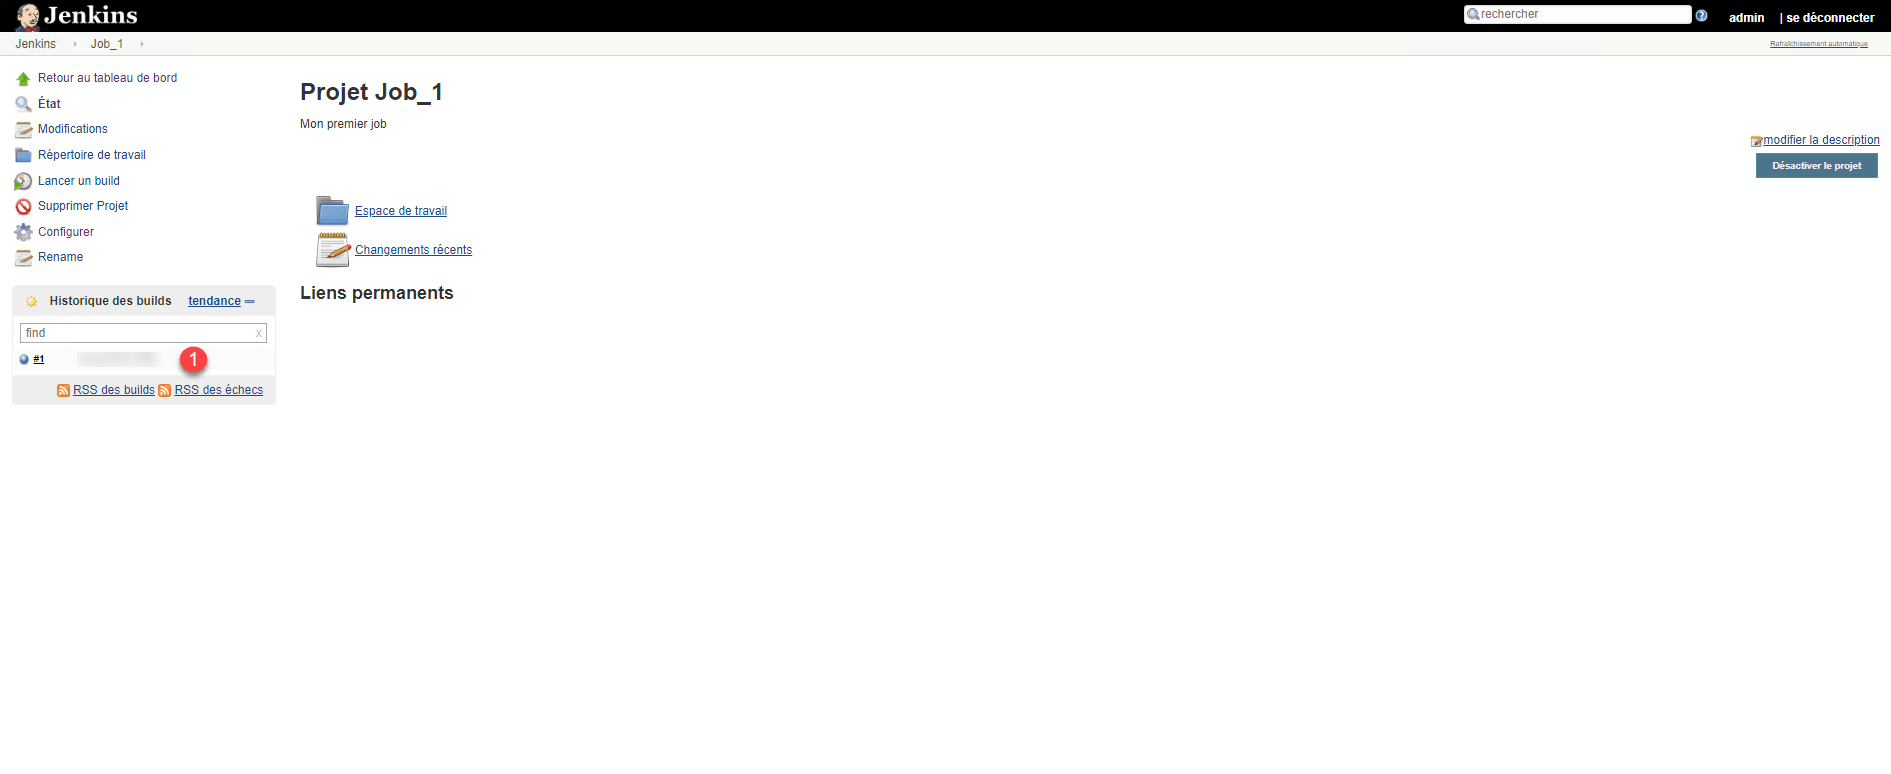
The project is created, to test it, click on Start the build 1 .

In historical widget, we see that the job has been executed 1 .
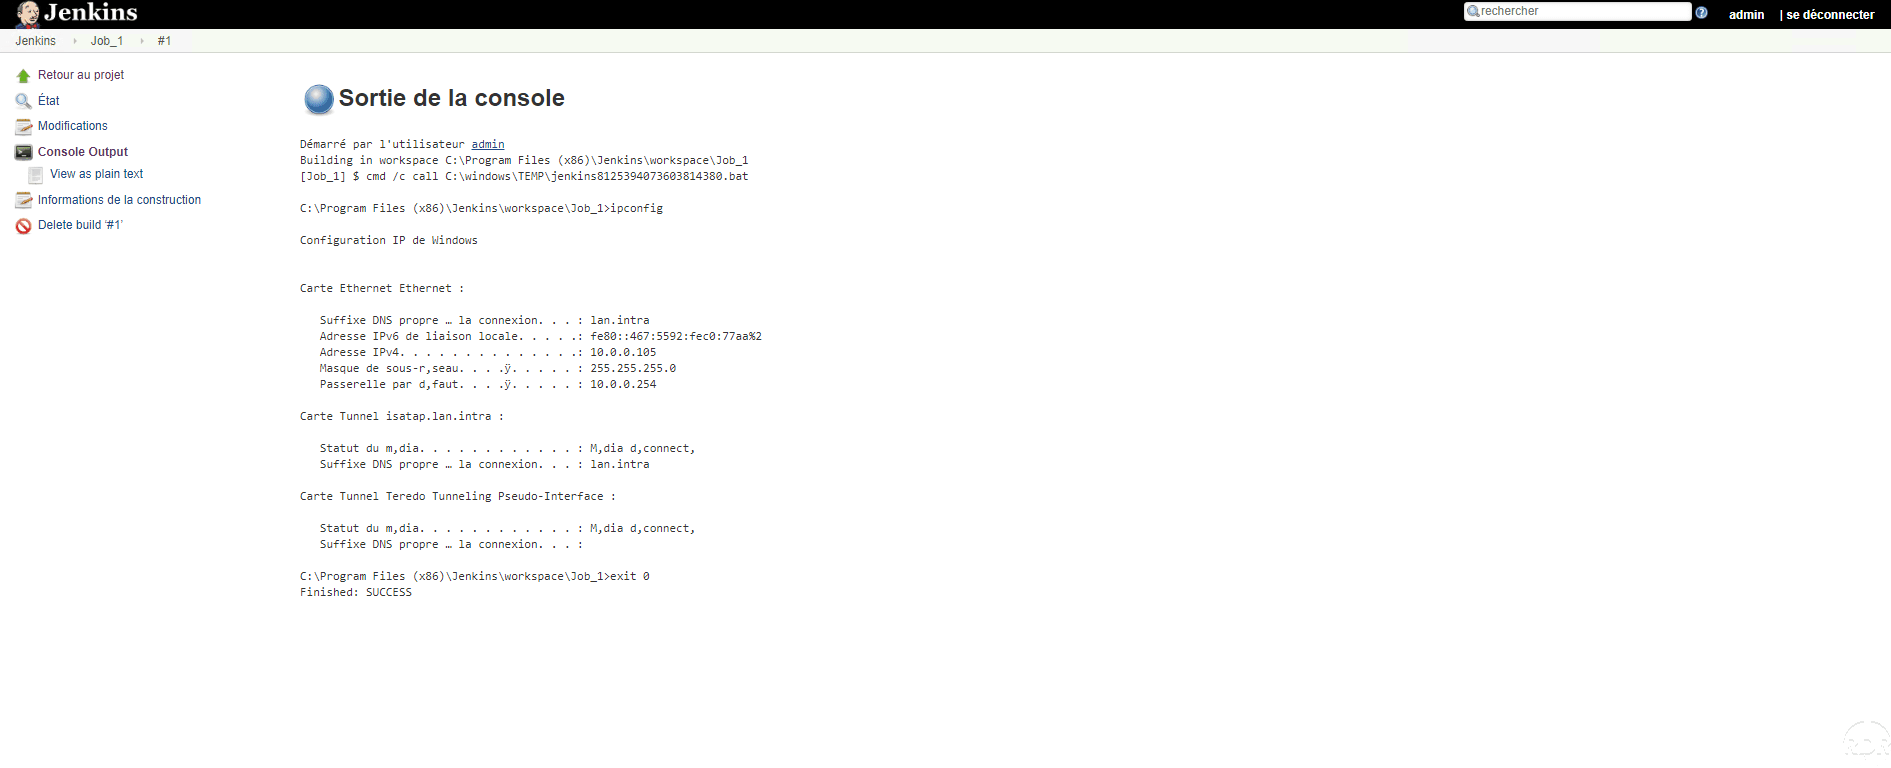
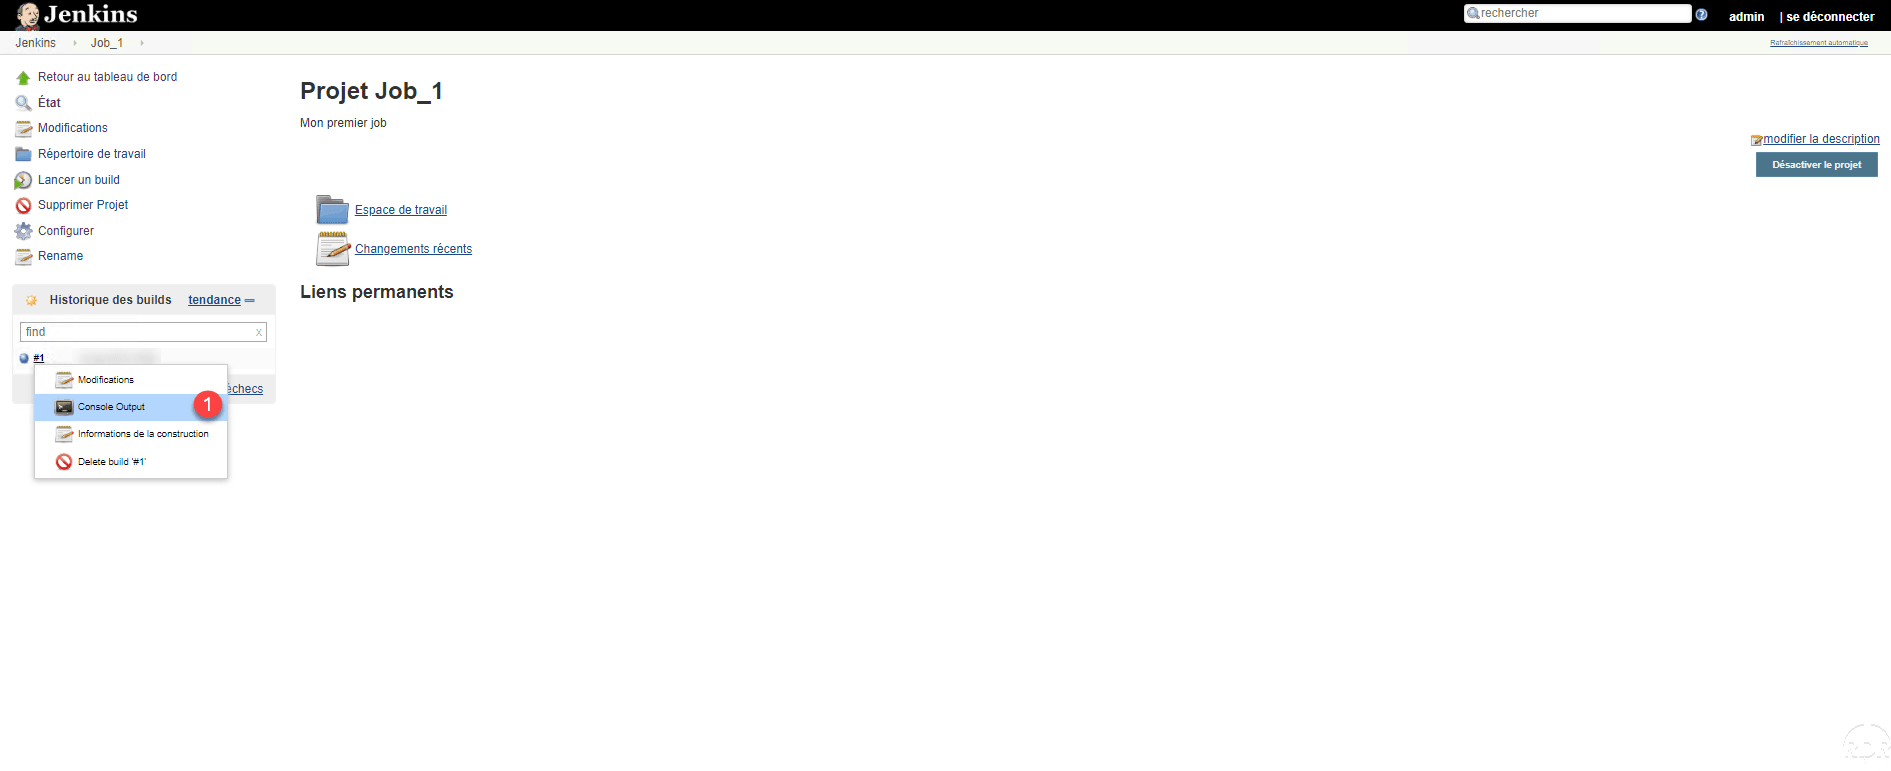
Hover over the job number, click on the arrow to open the menu and click on Console Output 1 .
The result of the command appears as if it had been run directly from a Windows command window.