In this tutorial, I will explain how to install the OpenSSH client and Server on Windows Server 2012R2 and 2016.
At the time of writing this tutorial, this feature is native to Windows 10 and Windows Server 2019 and you might also want to have OpenSSH client or server on an earlier version.
Personally, I use the SSH client very regularly through PowerShell or Command Prompt windows, it avoids having to install Putty.
Table of Contents
Recover Win32 OpenSSH
The first step is to retrieve from the GitHub repository PowerShell/Win32-OpenSSH: Win32 port of OpenSSH (github.com), the latest version available.
Go to the realeases page and download the latest version available corresponding to the architecture of the Windows installation (32 or 64 bits).
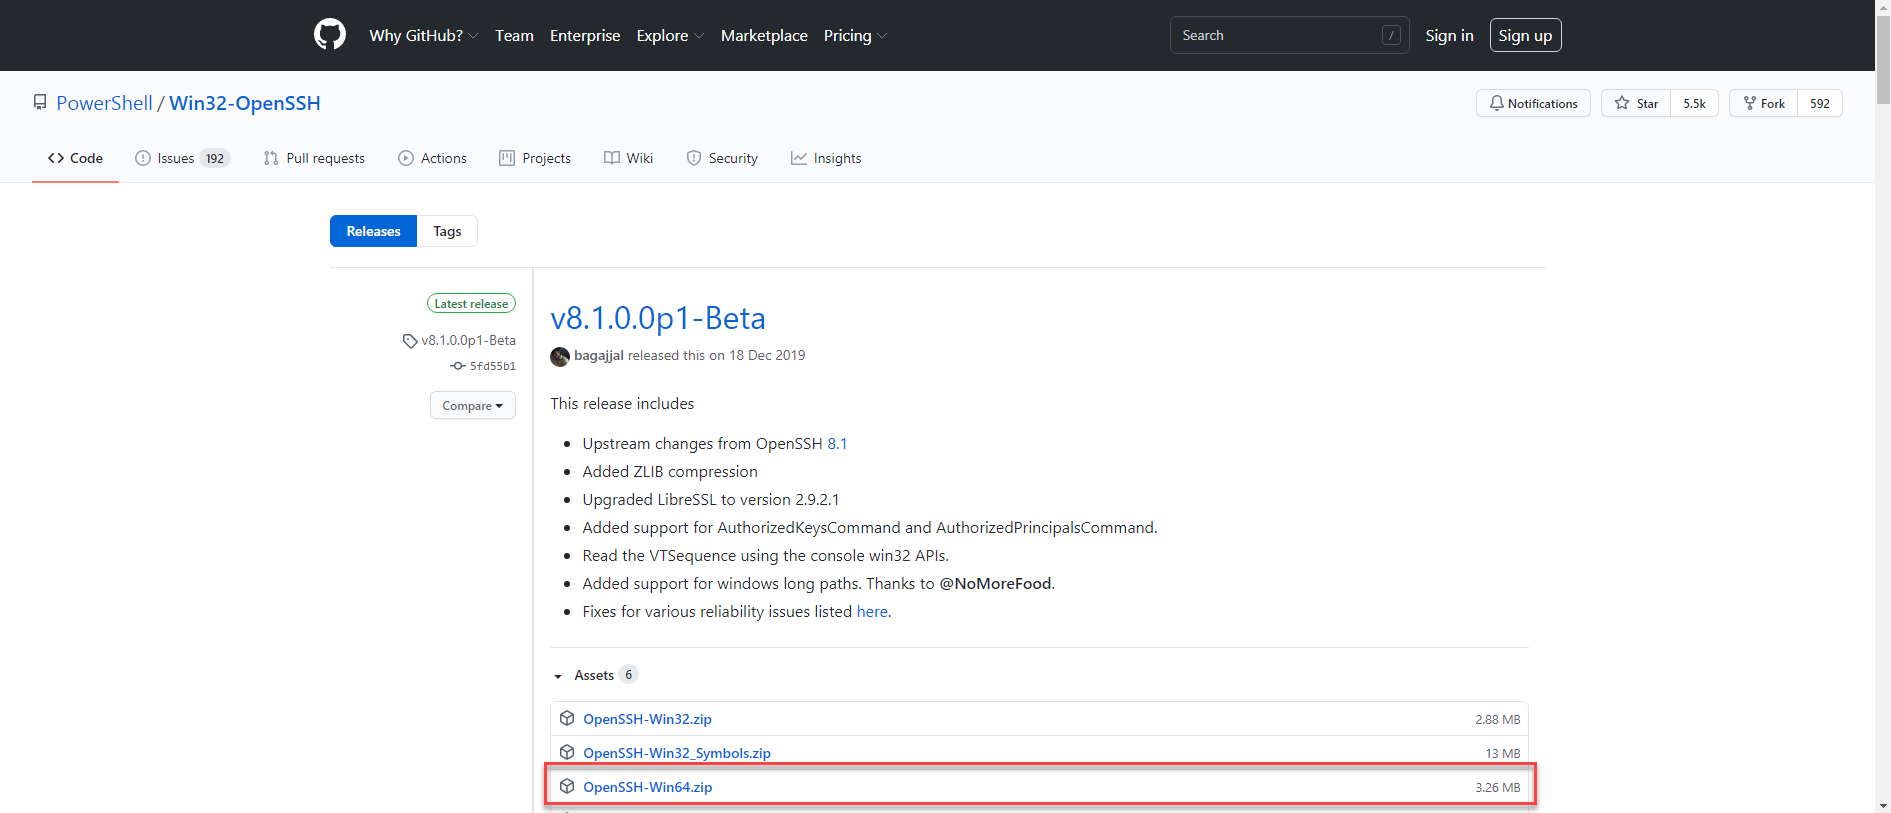
For me, it will be the 64 Bits version.
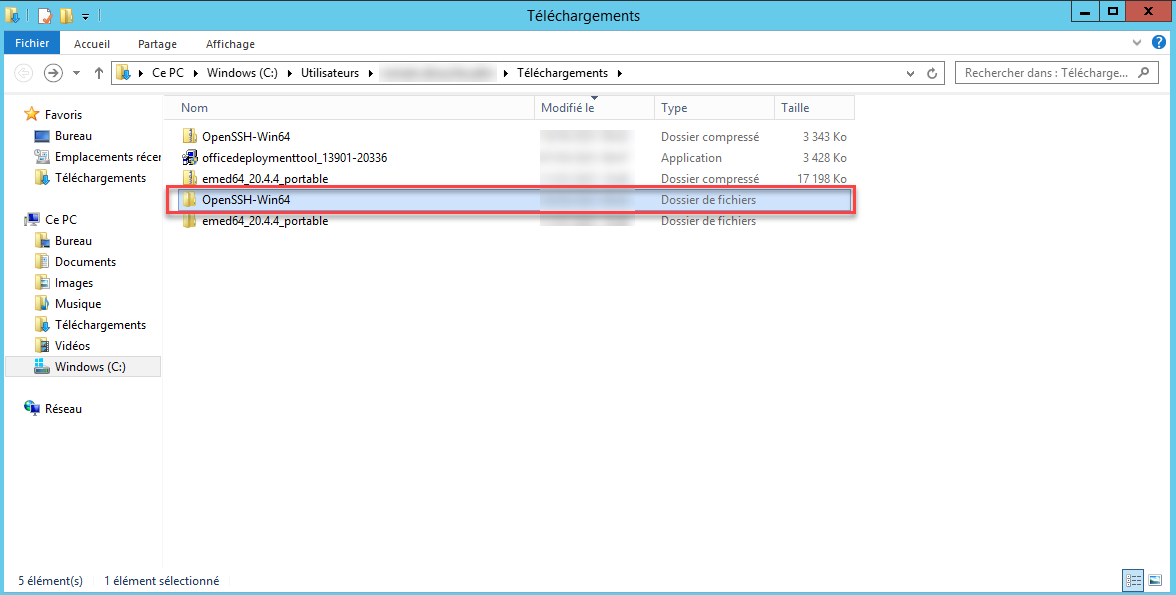
Once the archive has been downloaded, unzip it.
“Installation” of files on the server
Now, we will copy the folder from the unzipped archive to the C: \ Program Files folder.
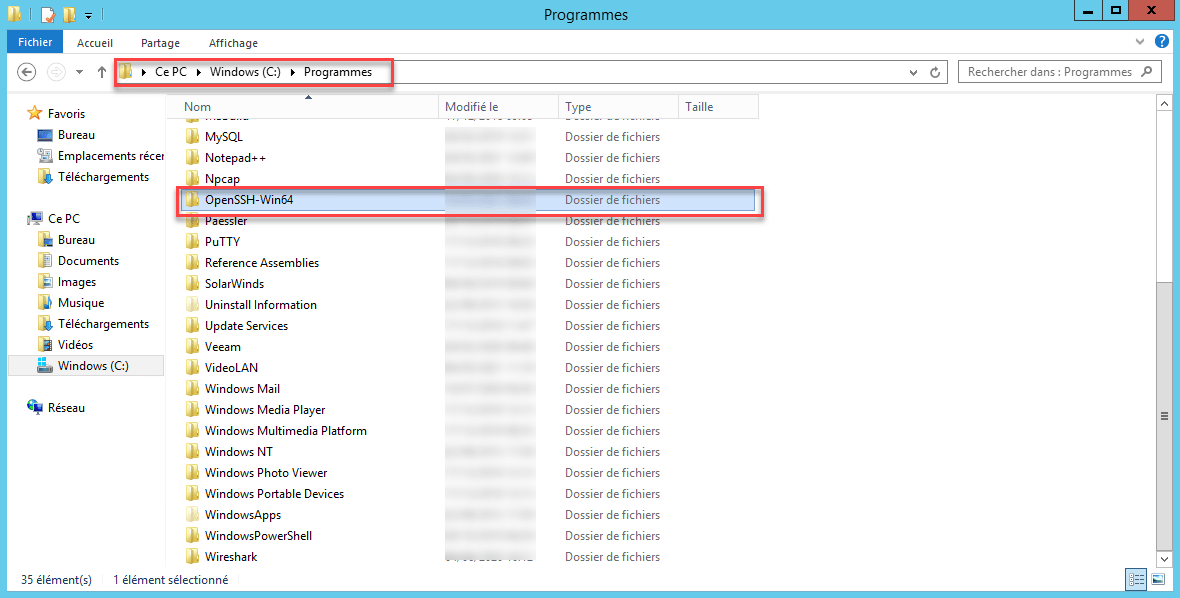
The SSH client is now functional, but for ease of use, we will configure its location in the environment variables so as not to have to call the executable by its full path.
Adding the environment variable
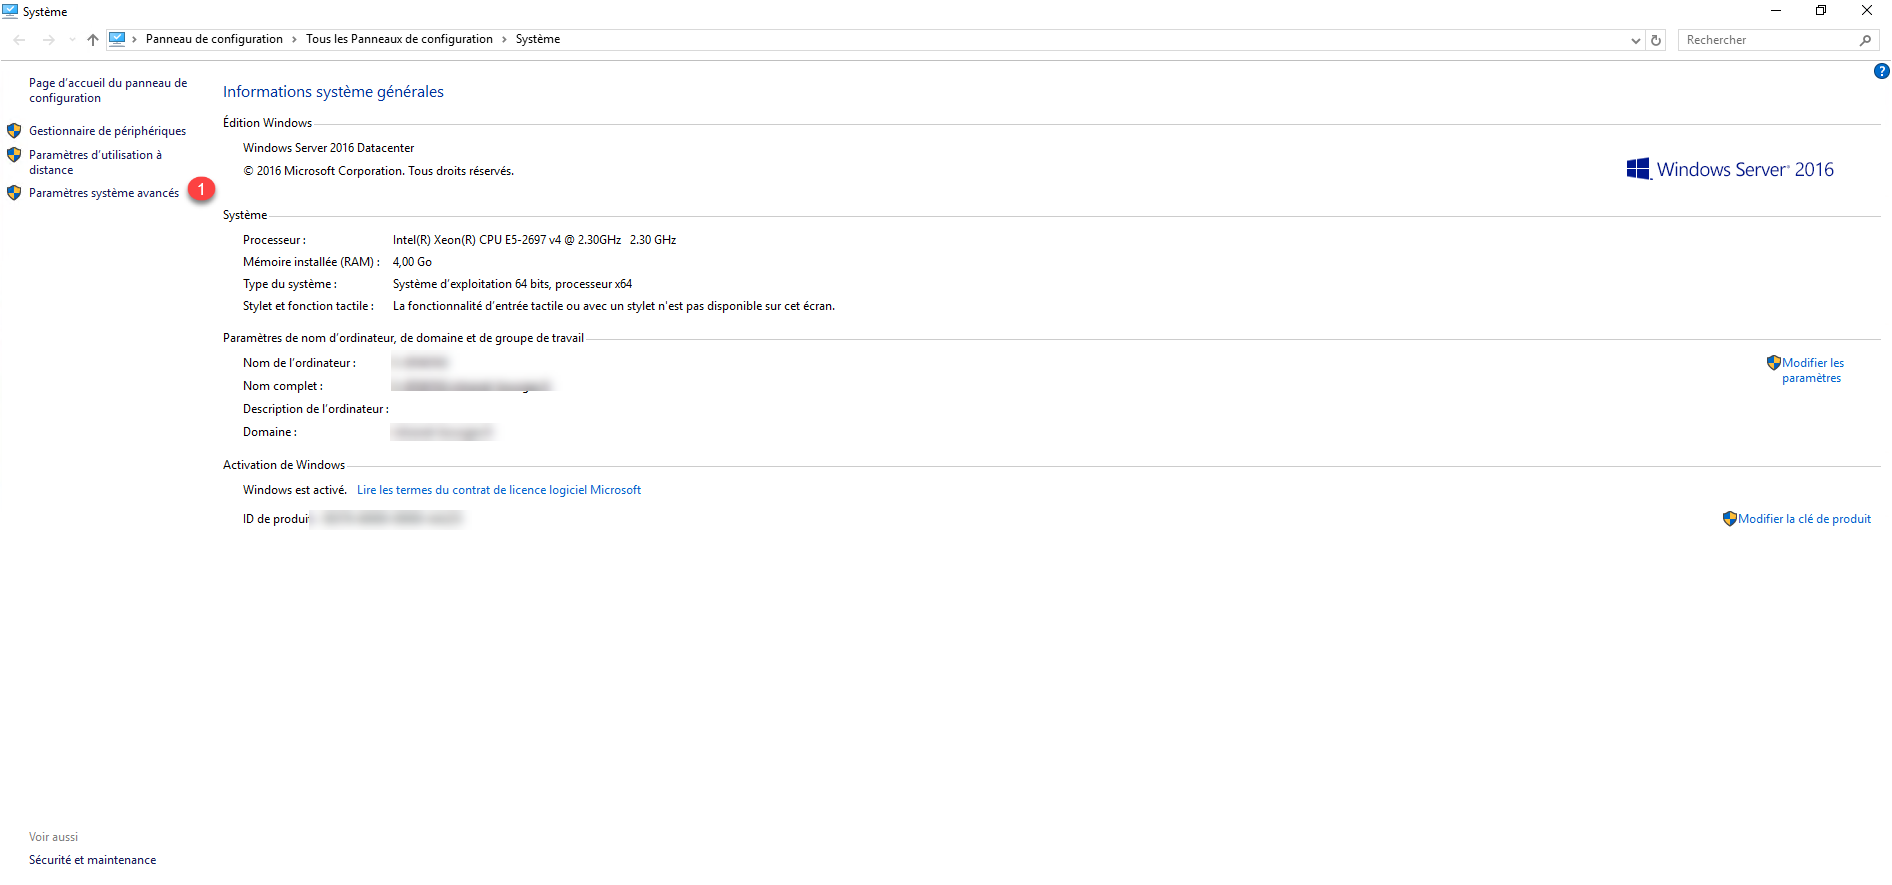
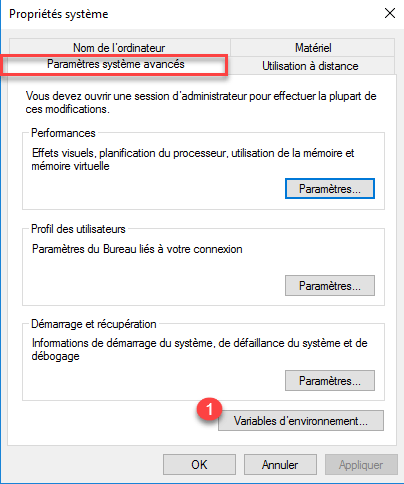
Open the system window and click on Advanced system settings 1.
On the Advanced system parameters tab, click on the Environment variables 1 button.
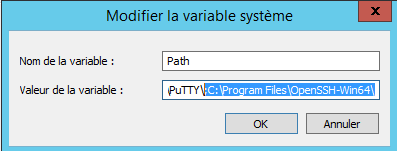
In the System variable part, find the Path 1 variable, once selected, click on the Modify 2 button.

On Windows 2012R2, add at the end; C: \Program Files\OpenSSH-Win64\
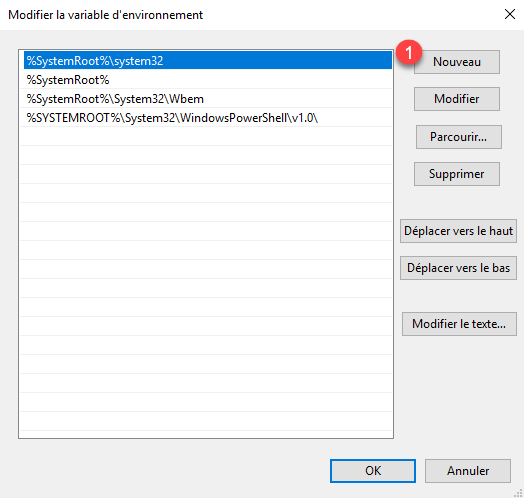
On Windows 2016, click on New 1.
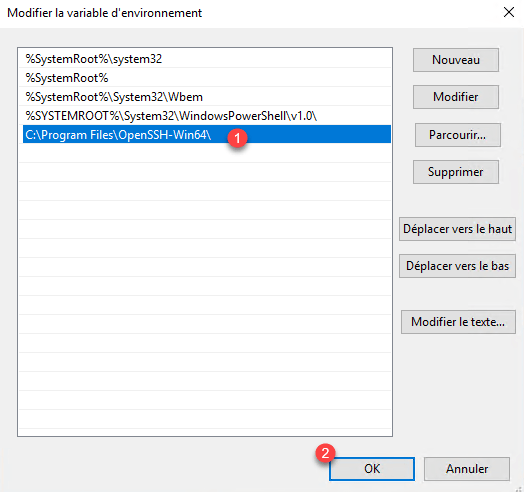
Add the location of the OpenSSH folder: C:\Program Files\OpenSSH-Win64\ 1 and click on OK 2.
Close the various windows.
Use the SSH client of Windows Server 2012R2 / 2016
Open a command prompt or PowerShell.
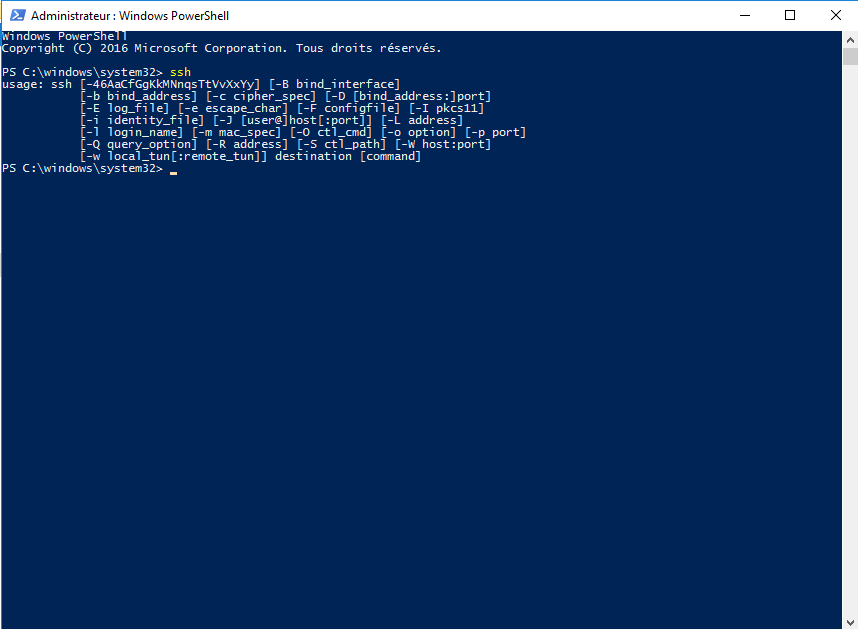
The easiest way to find out if it’s okay is to enter the ssh command. This command should return the various parameters of the SSH utility.
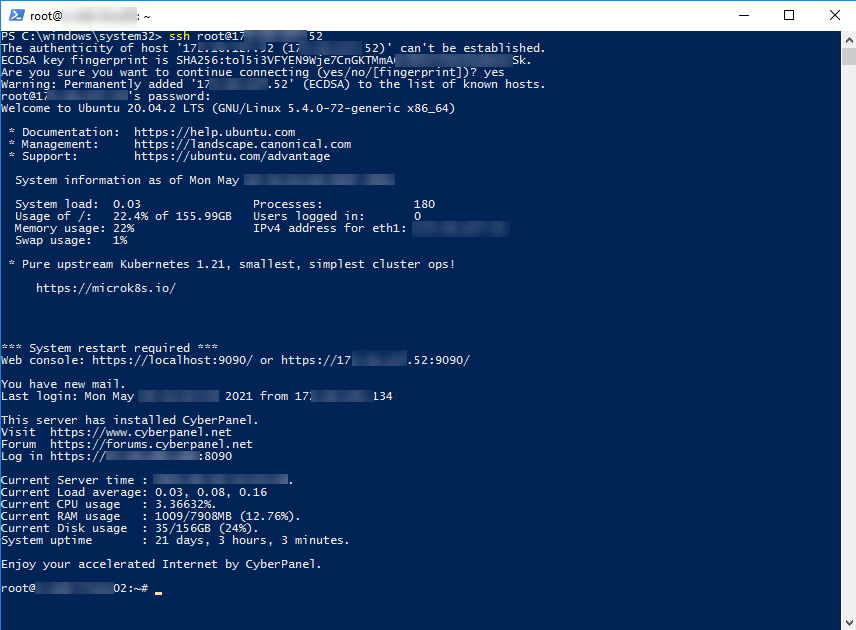
To connect to a server (Linux) enter the command ssh USER @ IP_SERVER
Install the OpenSSH server on Windows Server 2012R2 / 2016
It is also possible to configure an OpenSSH server on Windows Server with Win32 OpenSSH which will allow you to connect to the Windows server in the same way as a Linux OS.
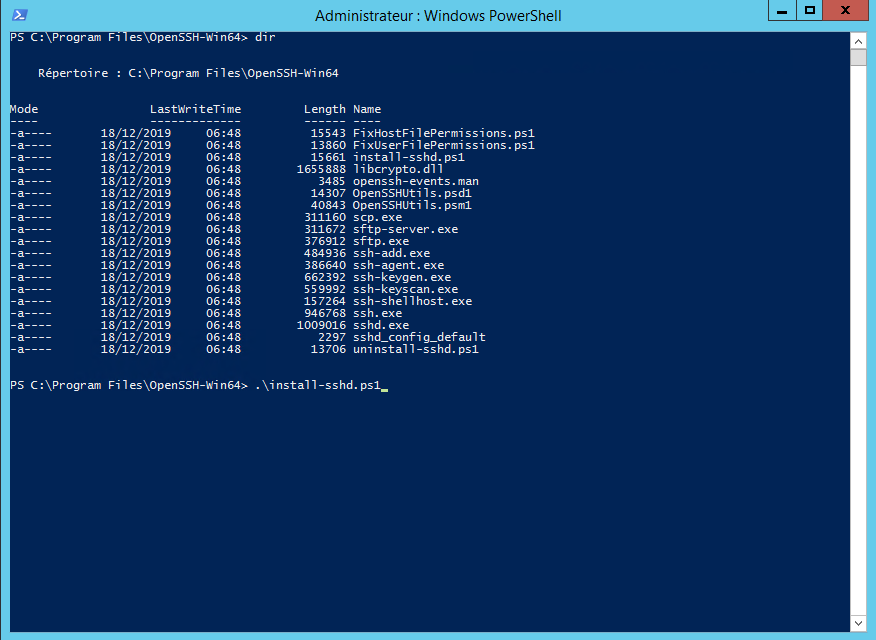
From a PowerShell window, go to the C: \ Program Files \ OpenSSH-Win64 \ folder, in the folder is a PowerShell script that will configure the server part.
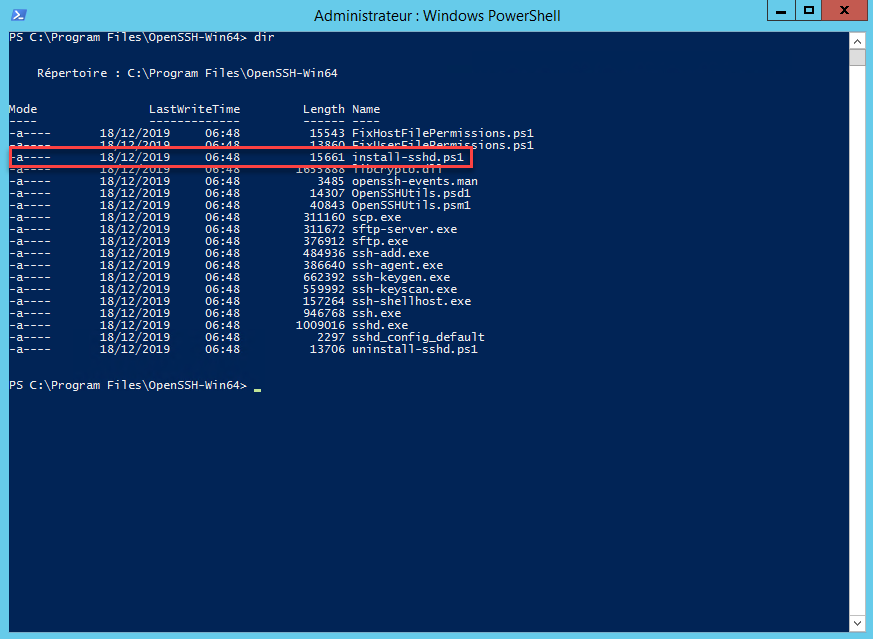
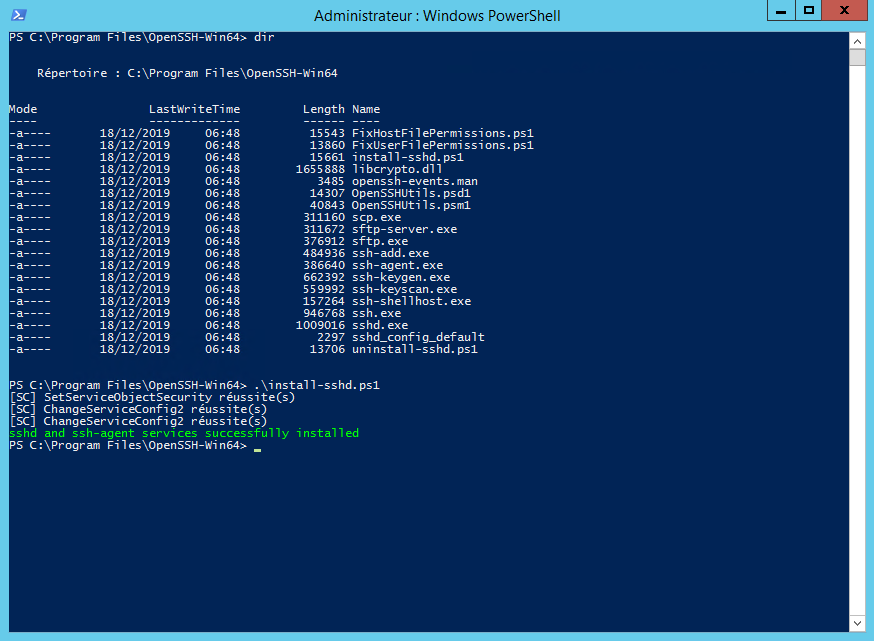
Run the install-sshd.ps1 PowerShell script
If the installation is successful, the message is displayed: sshd and ssh-agent services successfully installed.
Open Windows Service Manager and search for OpenSSH SSH Server, by default it is stopped. Start the service.
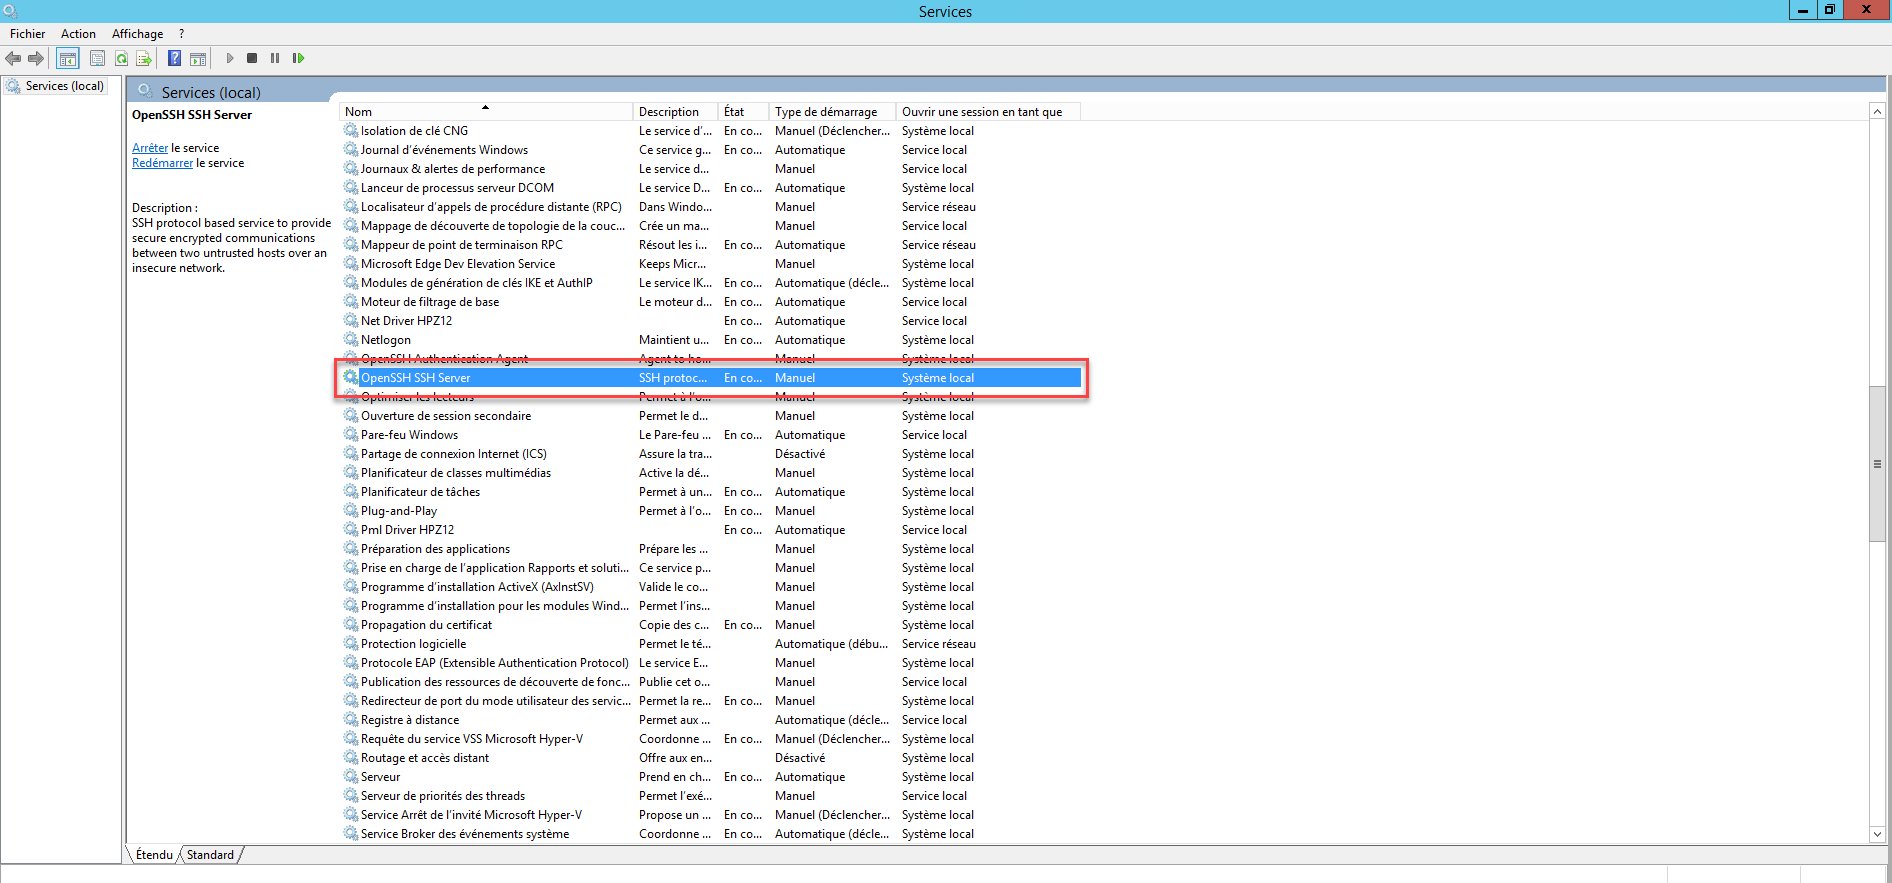
If necessary, configure the service to start automatically
Depending on your configuration, remember to allow incoming connections on port 22.
The server part is operational.
Connect to Windows on the SSH server
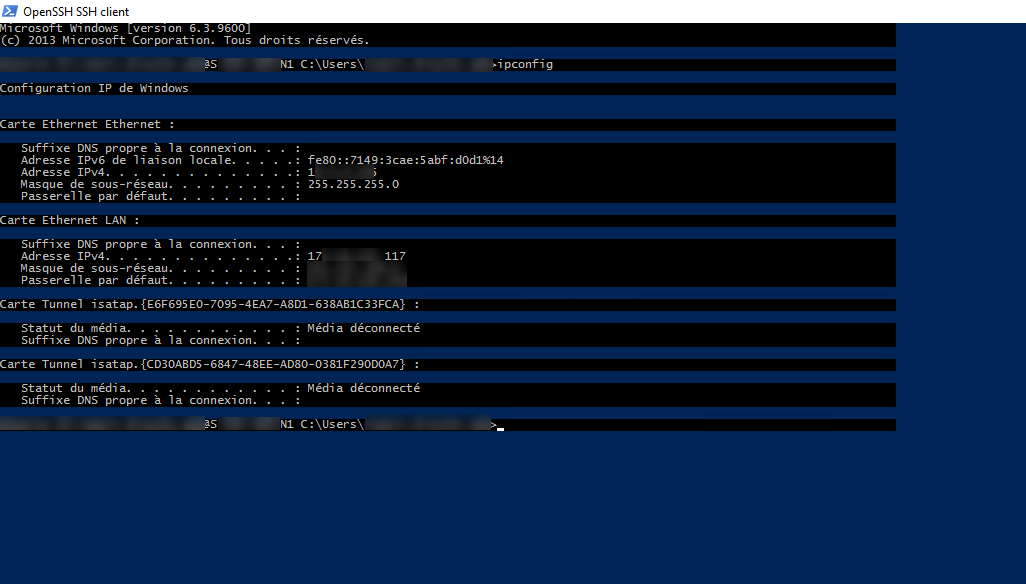
From another computer, use an SSH client to connect, being in an Active Directory environment, I just need to use the ssh IP_SERVER command and then enter my password.

Once connected, enter a command such as ipconfig or hostname to validate that the command has been executed on the remote server.
Conclusion
For the client part, for my part, I find the use in native practical which avoids going through a third-party tool and we quickly get used to when we use Windows 10 and the SSH client I find, missing on Windows 2012R2 and Windows 2016 , the problem is now resolved 🙂
For the server part, I find it useful for non-domain servers, because configuring WinRM and PSSession for connection can quickly become “a headache”.
