Add a Windows Remote Node in Jenkins
Now that we’ve seen how to create and run a task with Jenkins, we’ll add a remote Windows node so we can run the project on it.
A remote node is a server where we will install a Jenkins agent that will communicate with the server. It is necessary that Java be installed on the remote server.
On the home page, click Jenkins Administrator 1 .
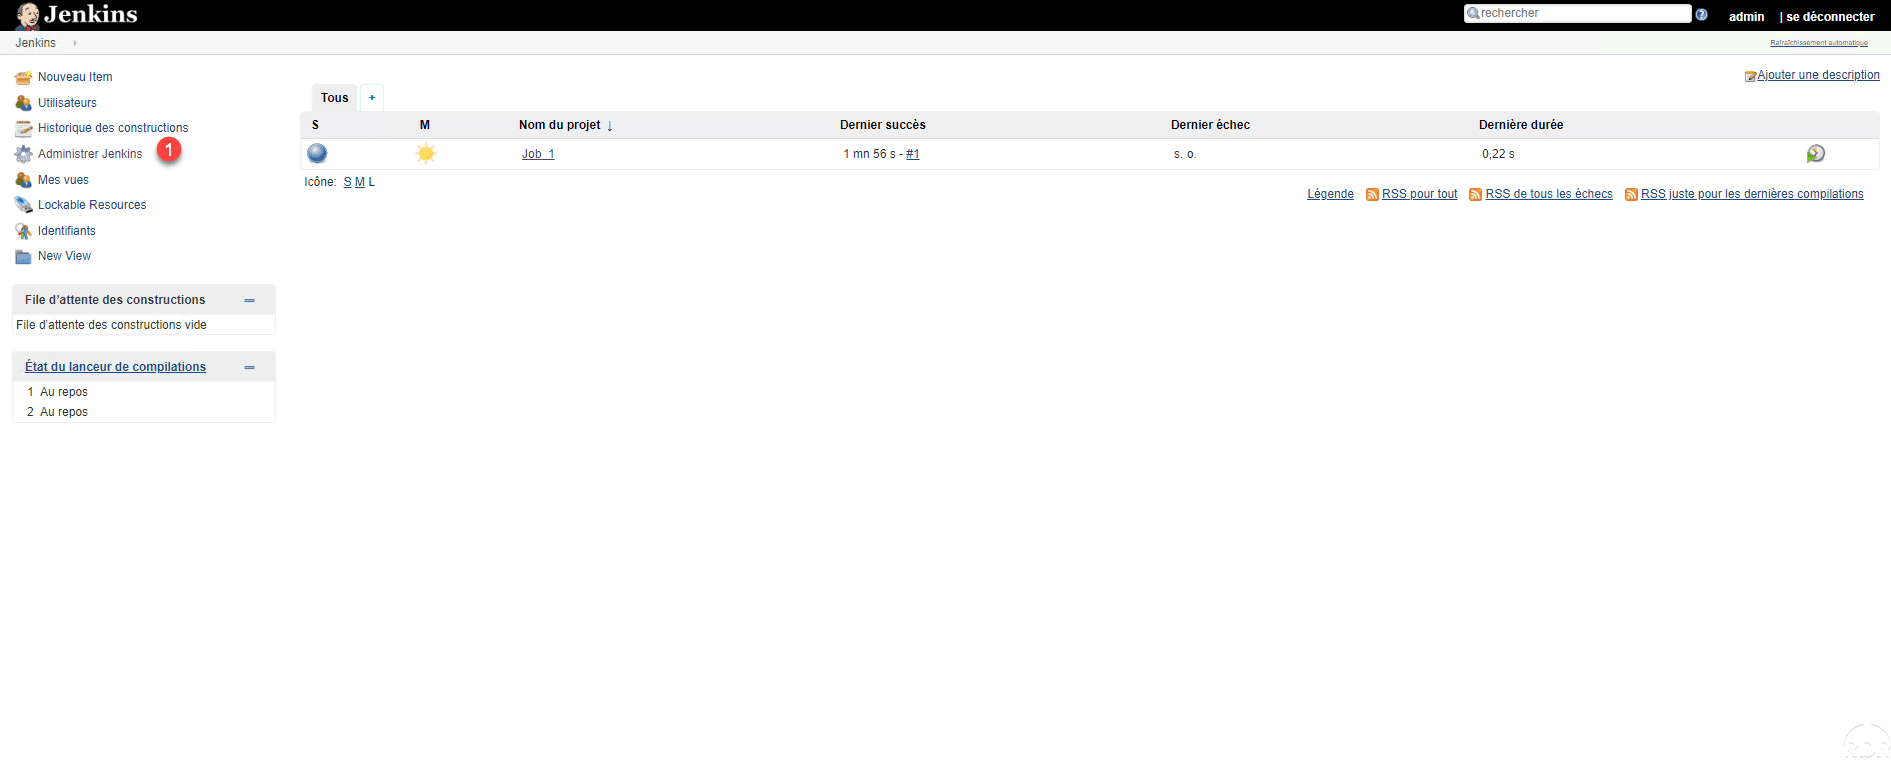
In passing, we can see our project on the home page and its status.
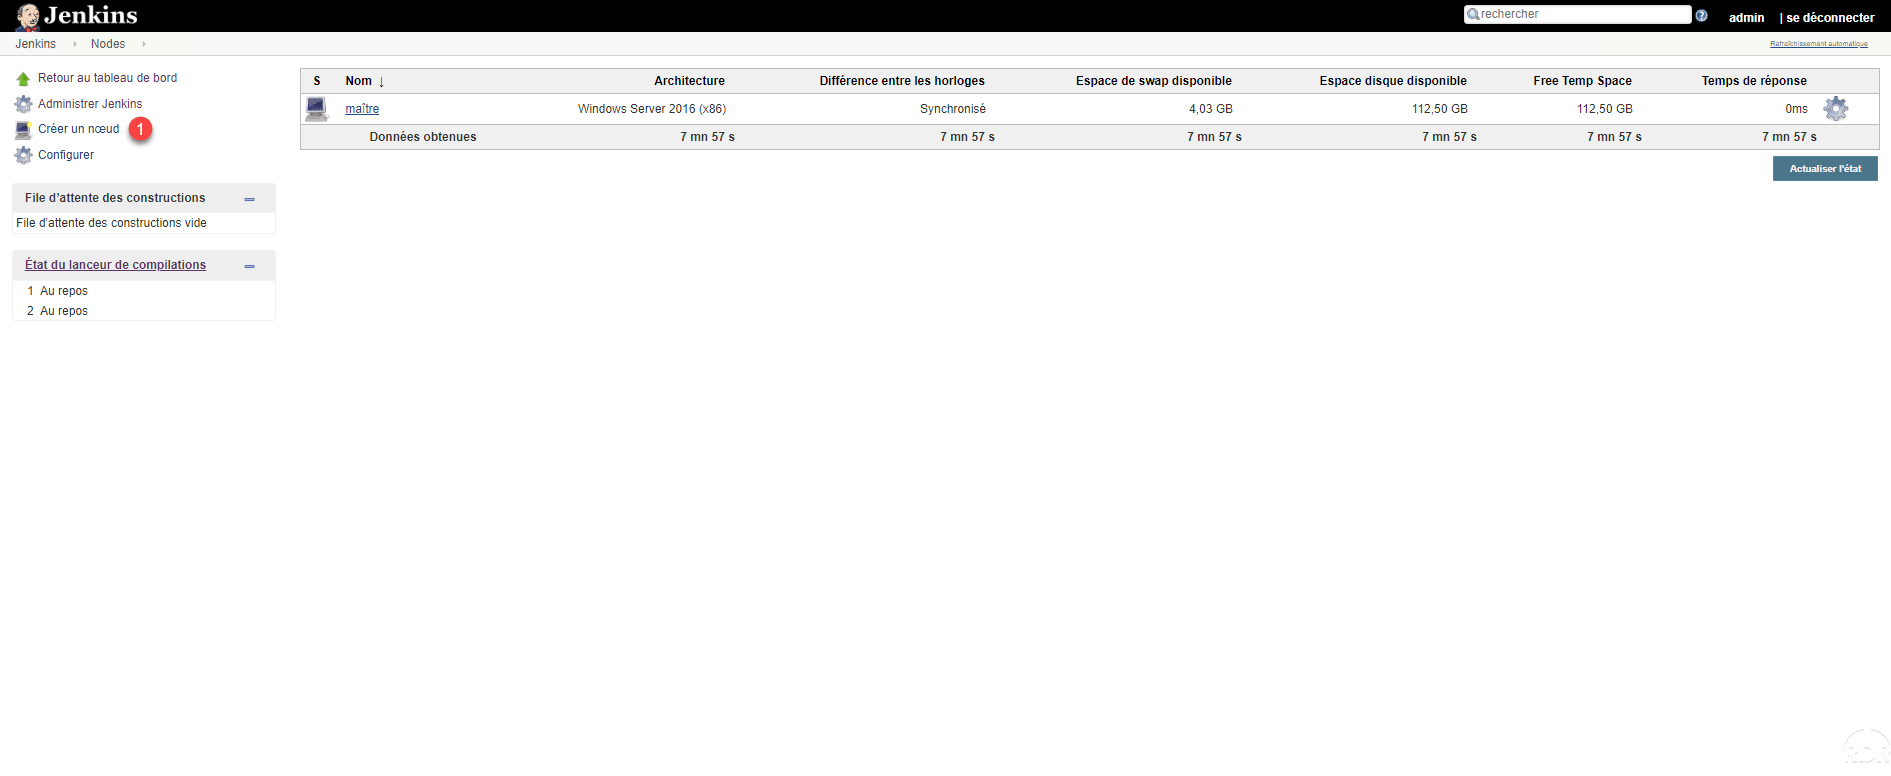
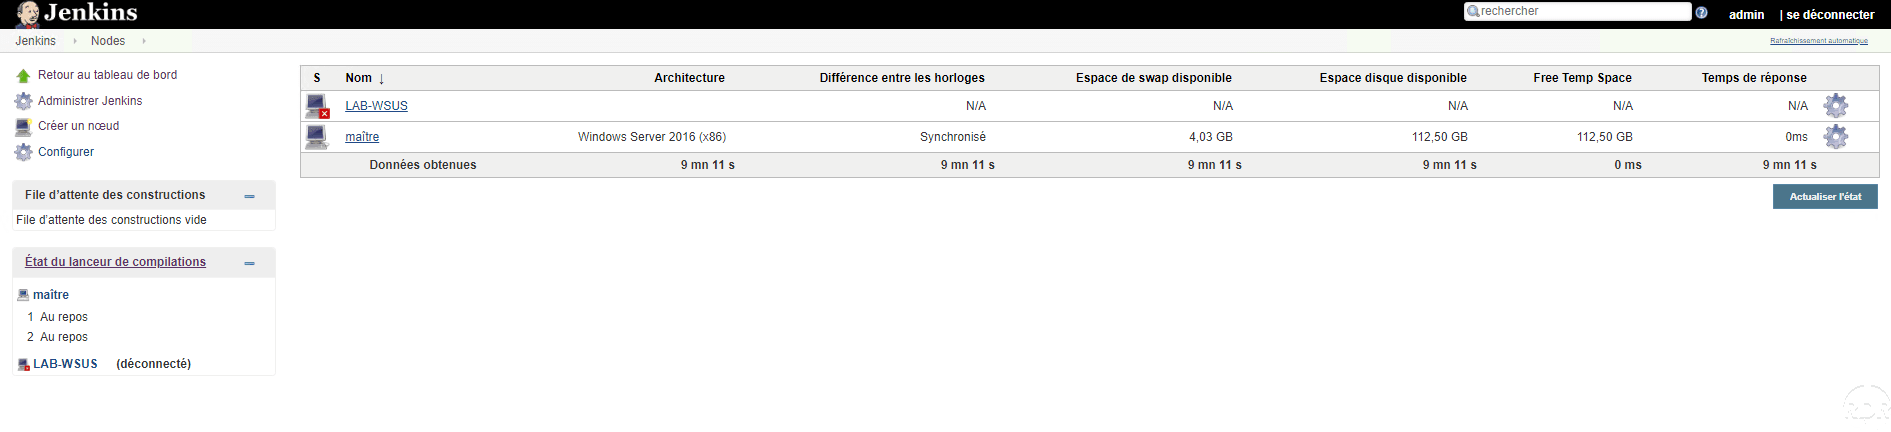
Click on Manage nodes 1 .

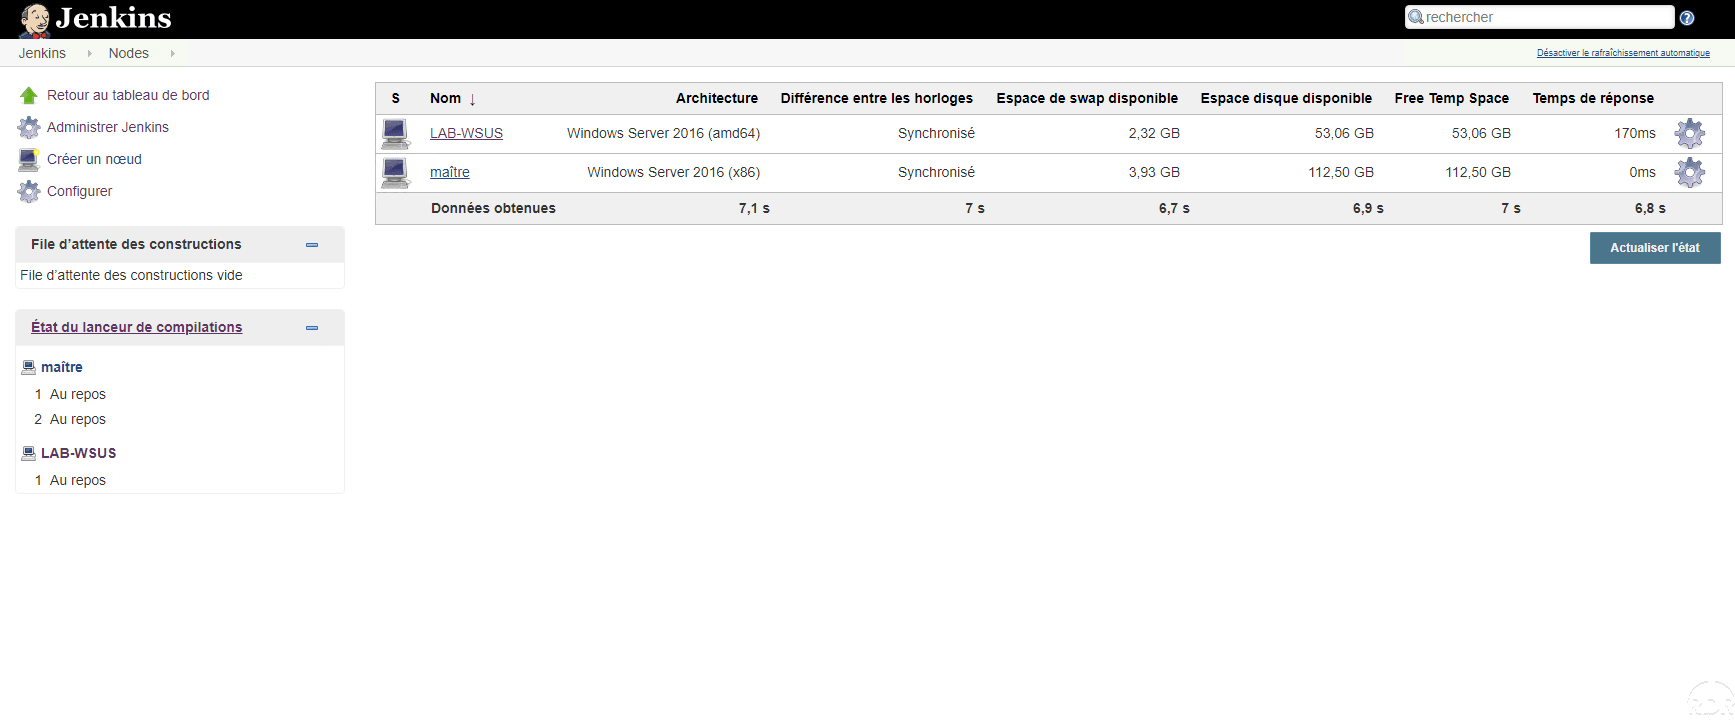
A page with the list of nodes is displayed, click Create node 1 .
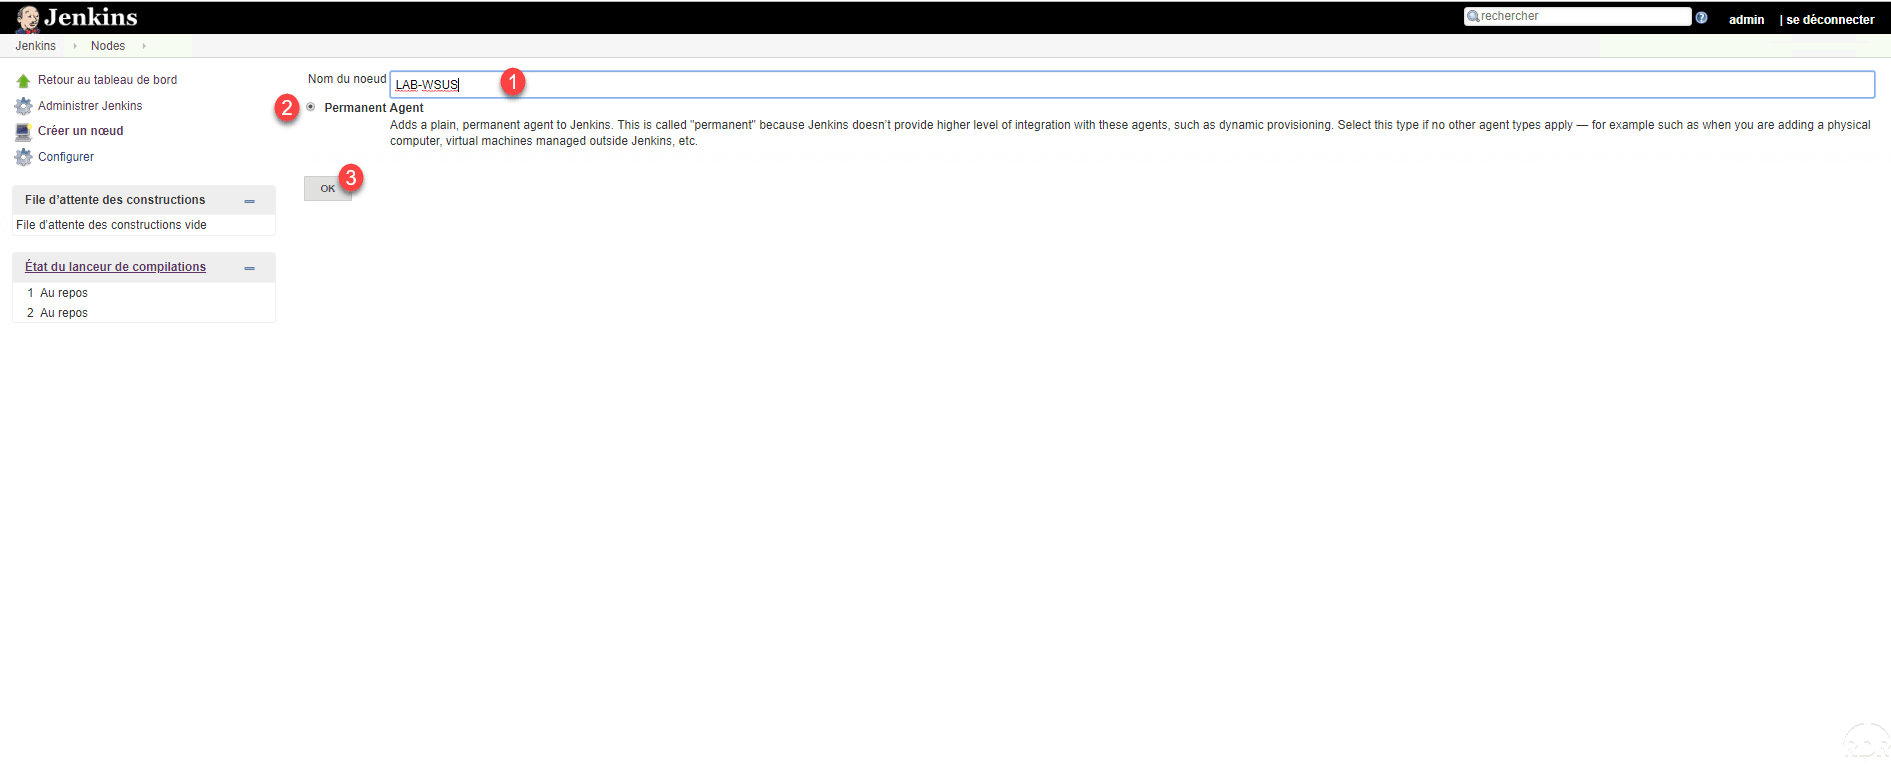
Enter a name for agent 1 , select the option Permanent Agent 2 and click on OK 3 .
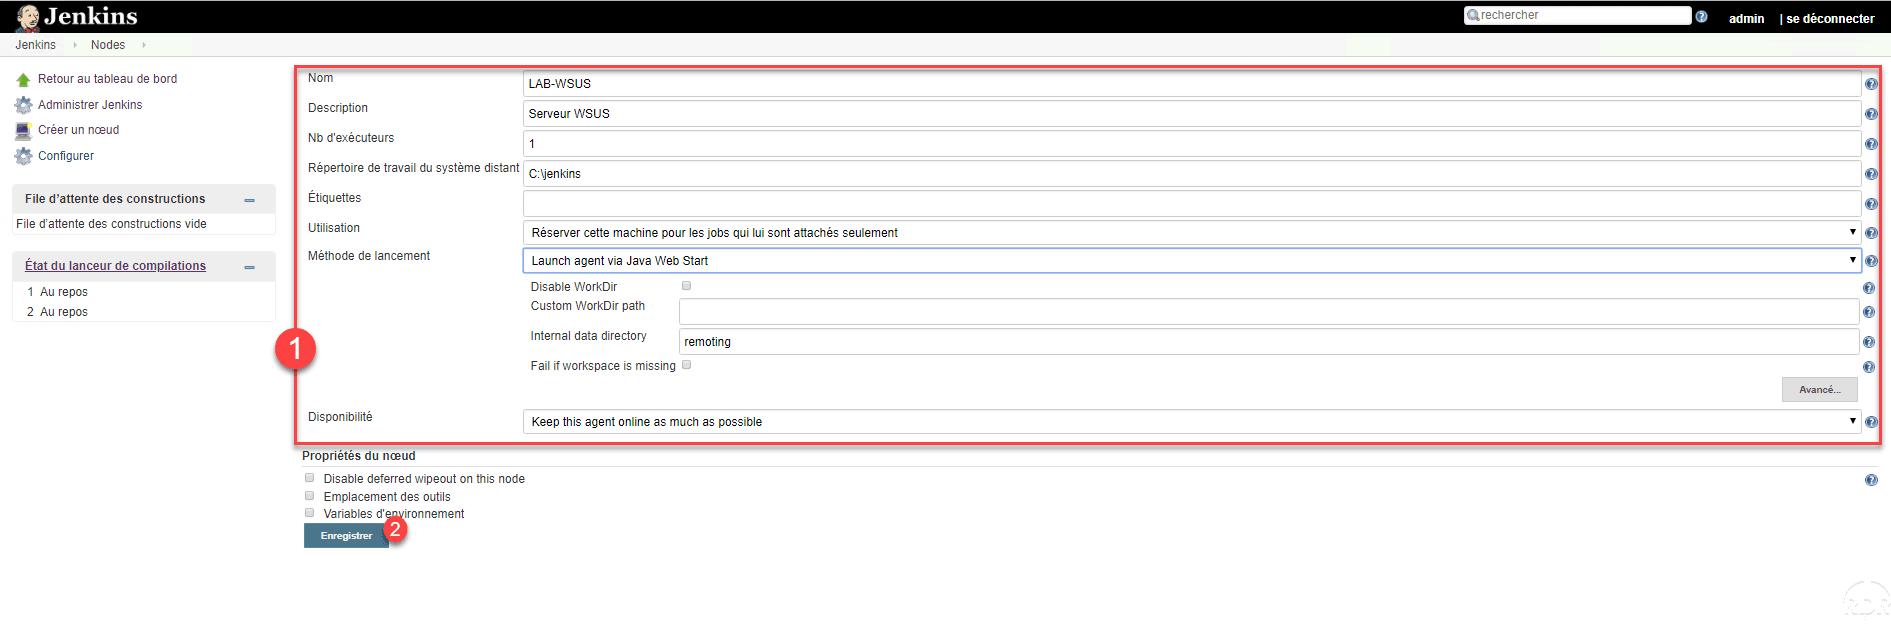
Configure Agent 1 and click Save 2 . Here are the parameters to configure correctly:
- Remote System Work Directory: A folder on the remote server that will be used to generate scripts.
- Use: Reserve this machine for jobs that are attached to it only.
- Launch Method: Choose Launch Agent via Java Web Start.
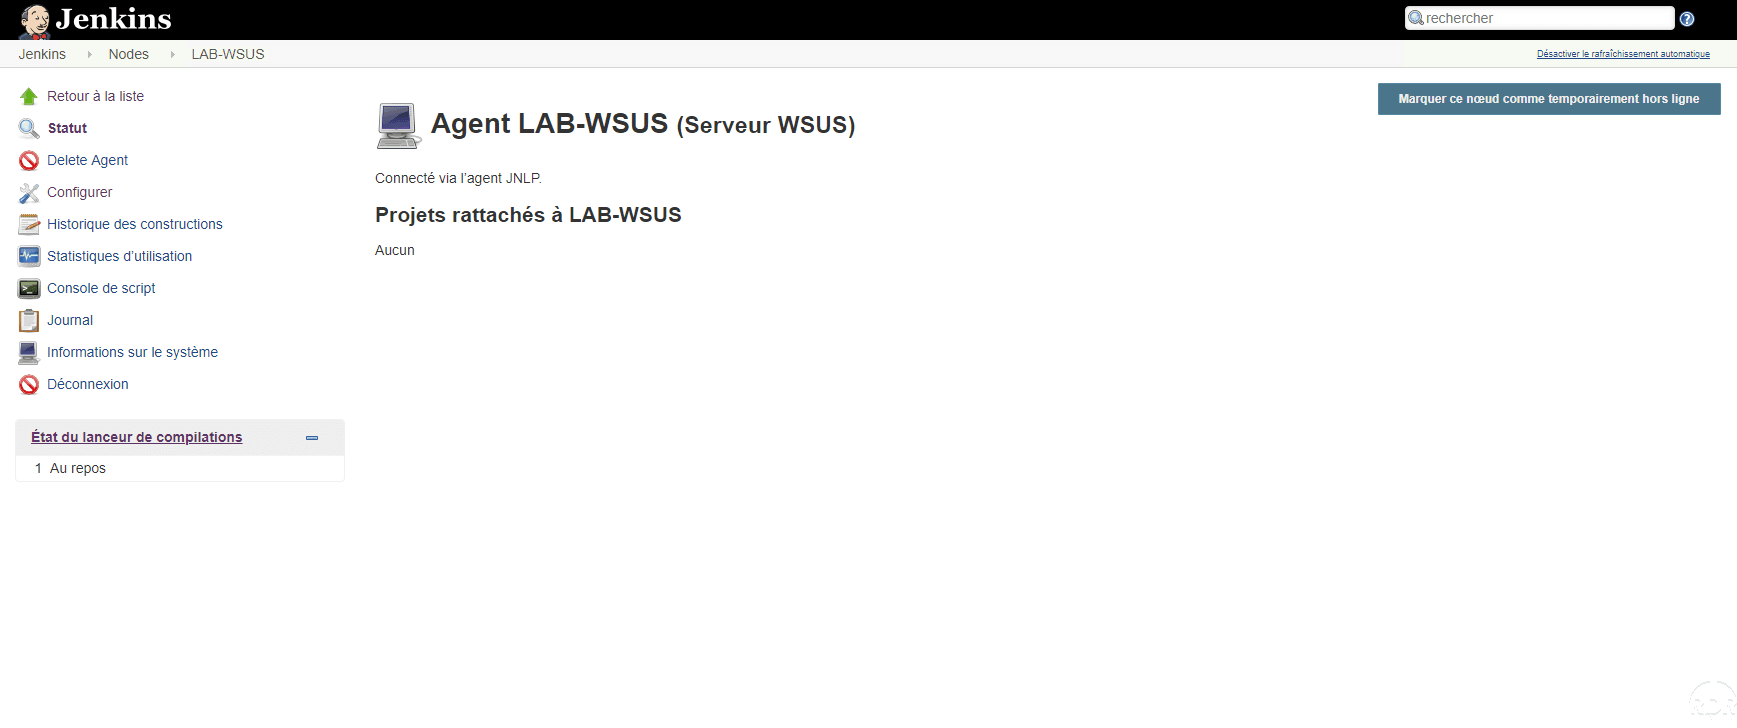
The agent is added, it is currently disconnected, it must be launched using Java on the remote server.
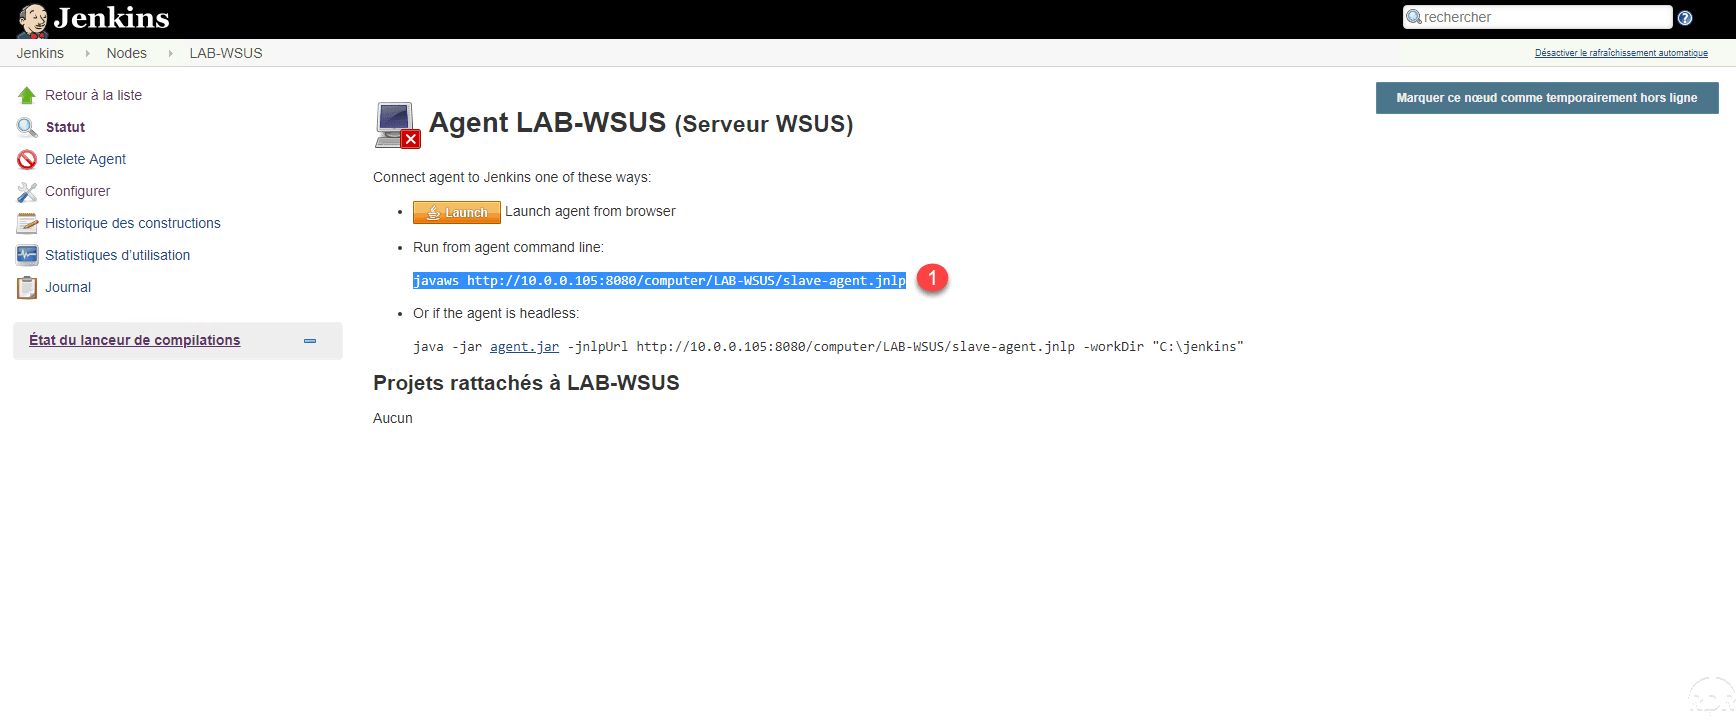
Now that the agent is configured, go to the remote server, with an internet browser connecting to the Jenkins server and go to the node’s detail page (Administer Jenkins / Manage Nodes / [NODE]). Copy line 1 corresponds to Run from agent command line.
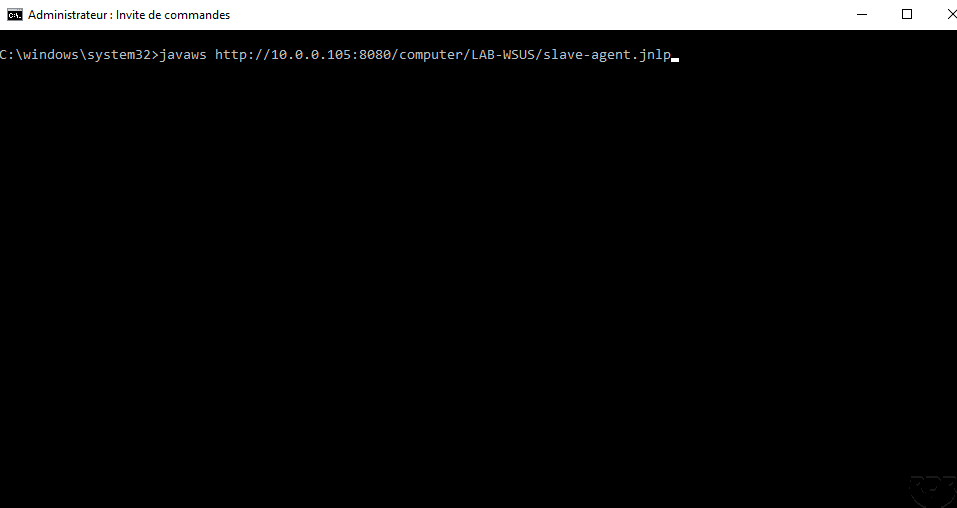
Open a command prompt as administrator and paste the line and confirm by pressing Enter.
Click Run 1 to launch the agent.
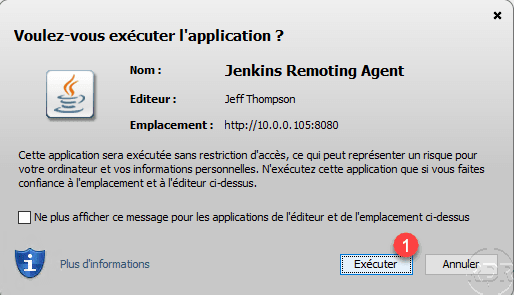
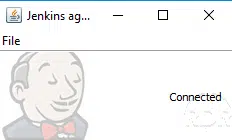
A java window opens with the connection status of the agent to the server.
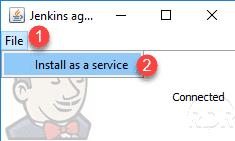
The following part is optional, it allows to install the agent as a service so that it is started automatically. In the agent window click on File 1 and then on Install as a service 2 .
Click OK 1 to confirm the installation of the service.

In agent management on the Web interface, the agent should appear as connected.
Now that the remote agent is configured, we’ll modify the task to run on it.
