In this tutorial, we will see how to capture Windows with a capture image on the WDS service.
Before capturing the machine, the operating system must have been prepared using the sysprep utility.
If you want to capture the image and send it automatically to the WDS server, you must first inject the drivers of the network card into the capture image.
In case the network card is not recognized, it is necessary to provide a USB disk with enough space to store the image.
The capture image must be enabled on the WDS server.

Capture the Windows image
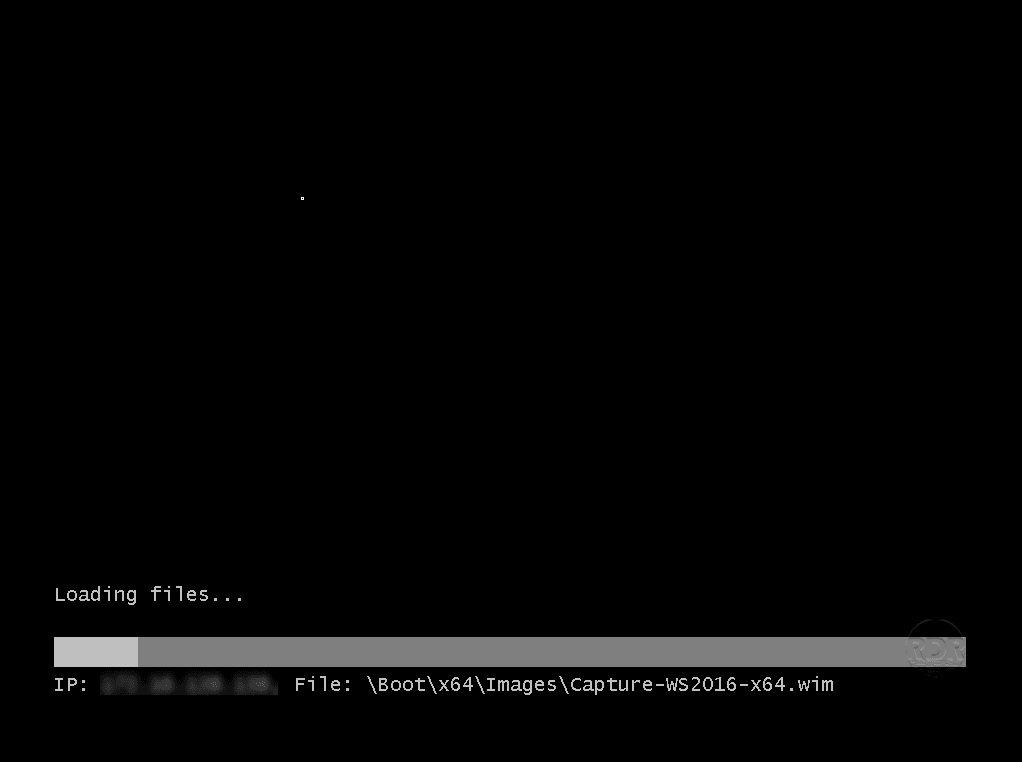
1. Start the computer on the network (Boot PXE F12) and select the capture image.


2. When starting the Windows Image Capture Wizard, click Next 1 .

3. Select the volume to be captured 1 , enter a name 2 and a description 3 then click Next 4 .

If no volume is displayed, it is likely that Windows is not prepared for deployment (sysprep)
The drive letter to capture does not match the drive letter when the system is running, this is normal.
4. Specify the location and file name of image 1 . It is possible to send the image directly to the WDS server by checking the Load image on a Windows Deployment Services server 2 box by specifying its name 3 . Click on Connection 4 and select image group 5 . Click Next 6 to start capturing the Windows image.

Having access to the network, I stored the image on an SMB share, if you do not have access to the network from the post, it has the image saved on the USB disk. Sending on the WDS server will also not be possible.
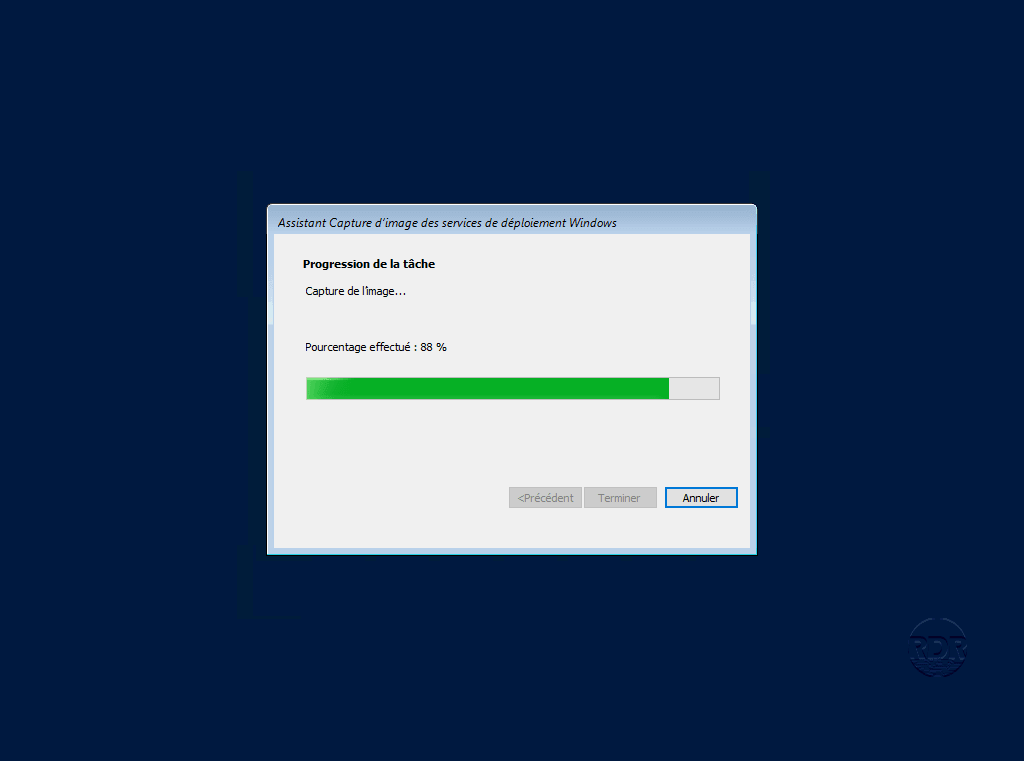
5. Wait while capturing the Windows image …


6. Once the capture is complete, click Finish 1 .

If you checked the box to send the image directly to the WDS server, check that the image has been added.
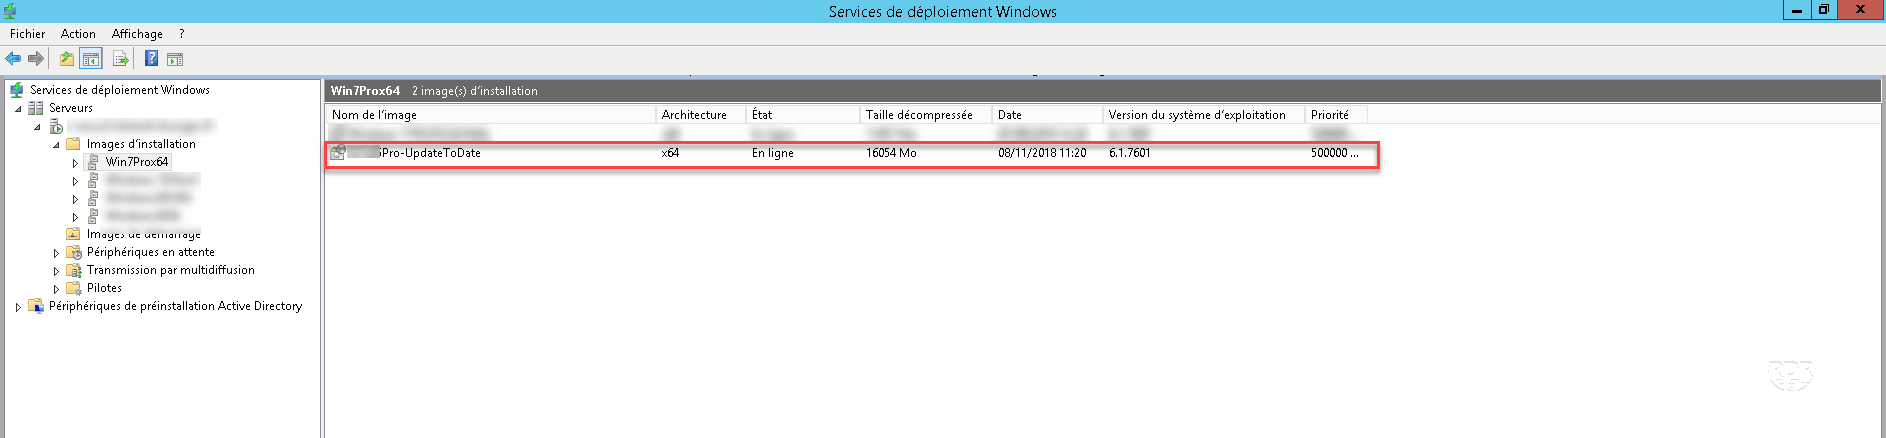
If not, add the image to the WDS server using the admin console.
