In this tutorial, we will see how to install the Admin Center on a computer running Windows 10. The Admin Center is the new name of the Honolulu Project that allows the administration of servers from the Windows Server 2008R2 version and client computers under Windows 10 using a web interface.
Windows Admin Center is an evolution of Windows Server’s built-in management tools; This is a single pane that brings together all aspects of local and remote server management. Because it is a browser-based management experience that is deployed locally, there is no requirement for Azure and an Internet connection. Windows Admin Center gives you complete control over all aspects of your deployment, including private networks that are not connected to the Internet.
To manage Windows 2008, 2012 and 2012R2 servers prerequisites are required.
Prerequisites:
- Have a client workstation under Windows 10.
- Download Admin Center here.
- Have a compatible browser (Chrome or Firefox).
Installing the Admin Center
1. Run the download file.

2. Accept the 1 license agreement and click Next 2 .

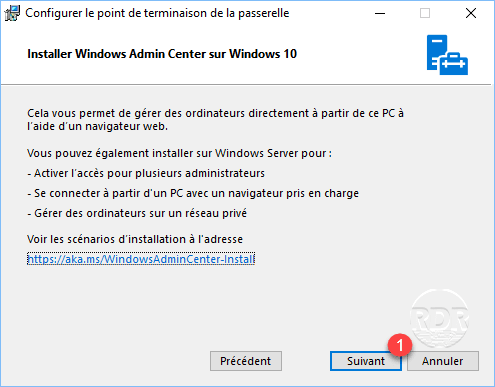
2. Click Next 1 .
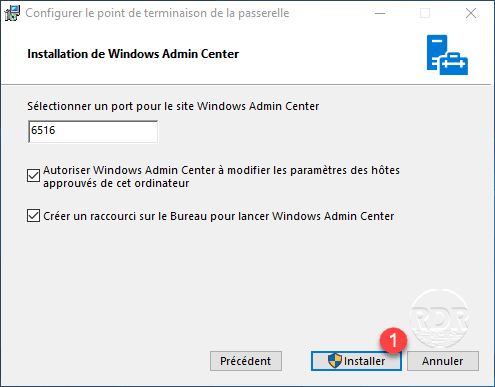
3. If necessary, change the web server port and click Install 1 .
4. Wait during the installation …
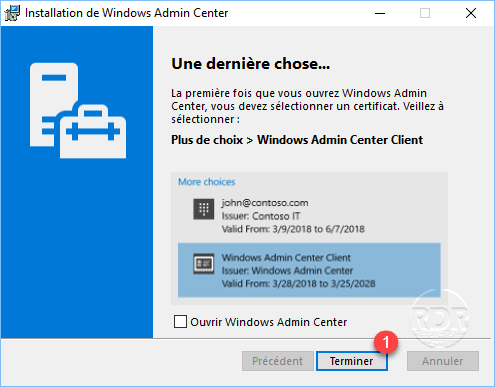
5. The installation is complete, close the wizard by clicking on Finish 1 .
First step with the Admin Center
1. Start Chrome or Firefox and enter the following url : https://localhost:6516.
2. Validate the certificate by clicking OK 1 .

3. The Admin Center is in charge, a guided tour is offered.
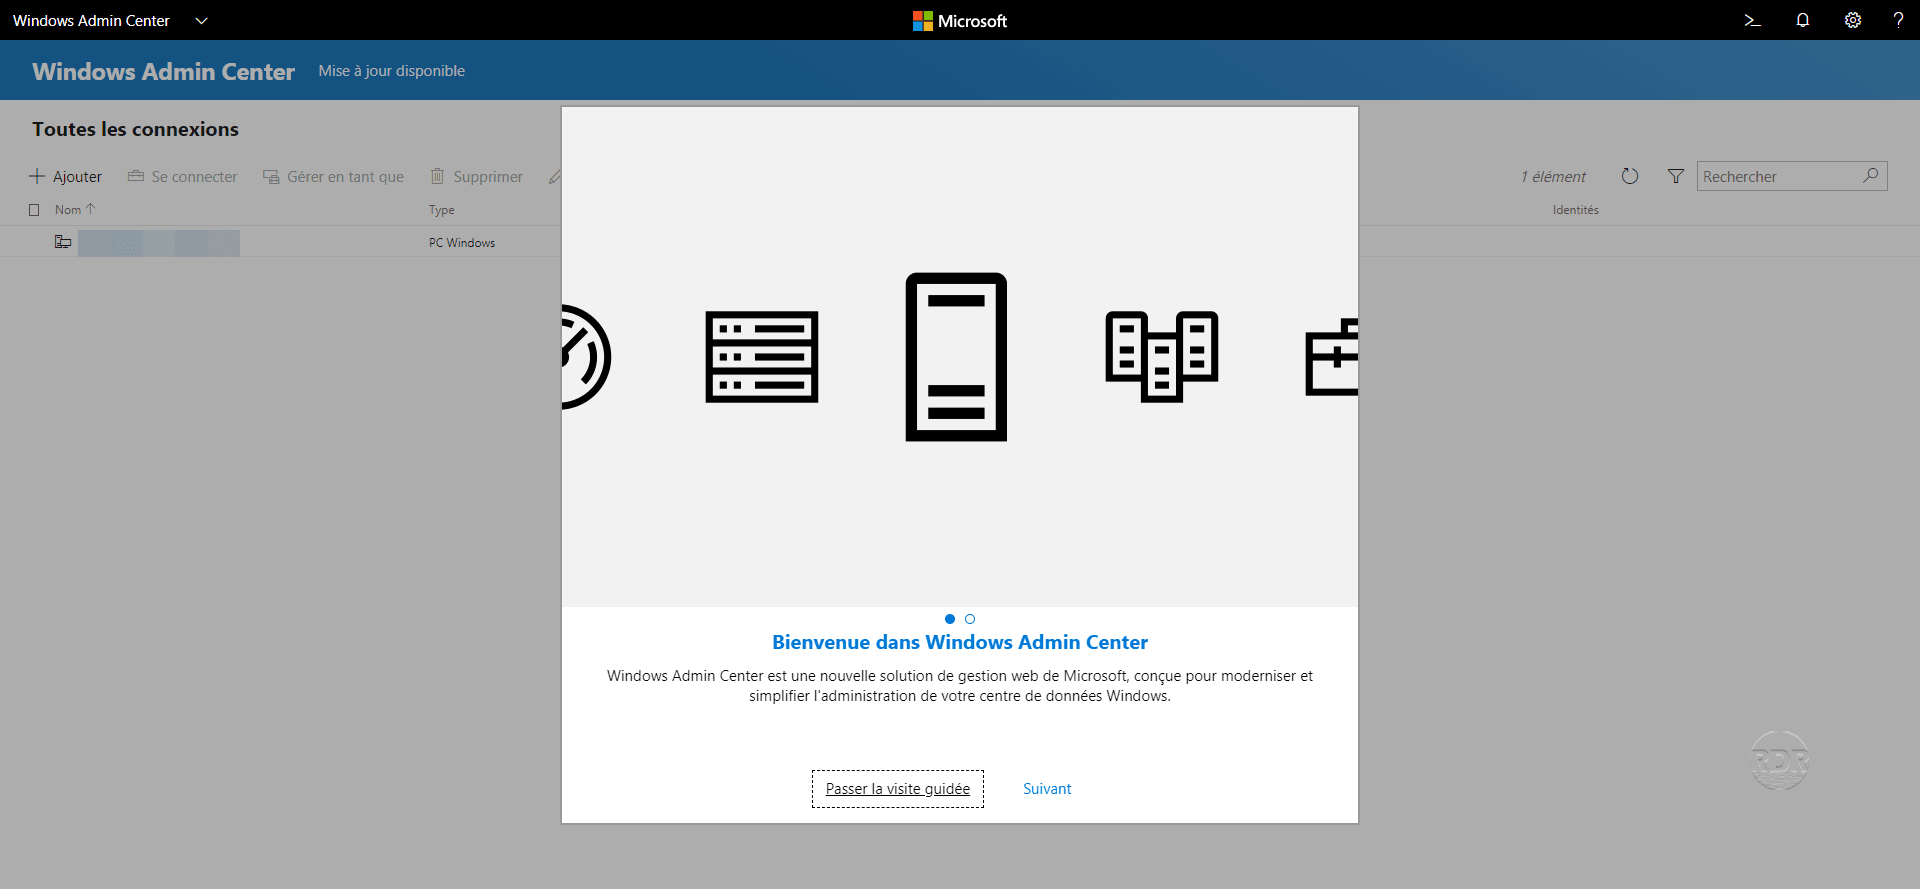
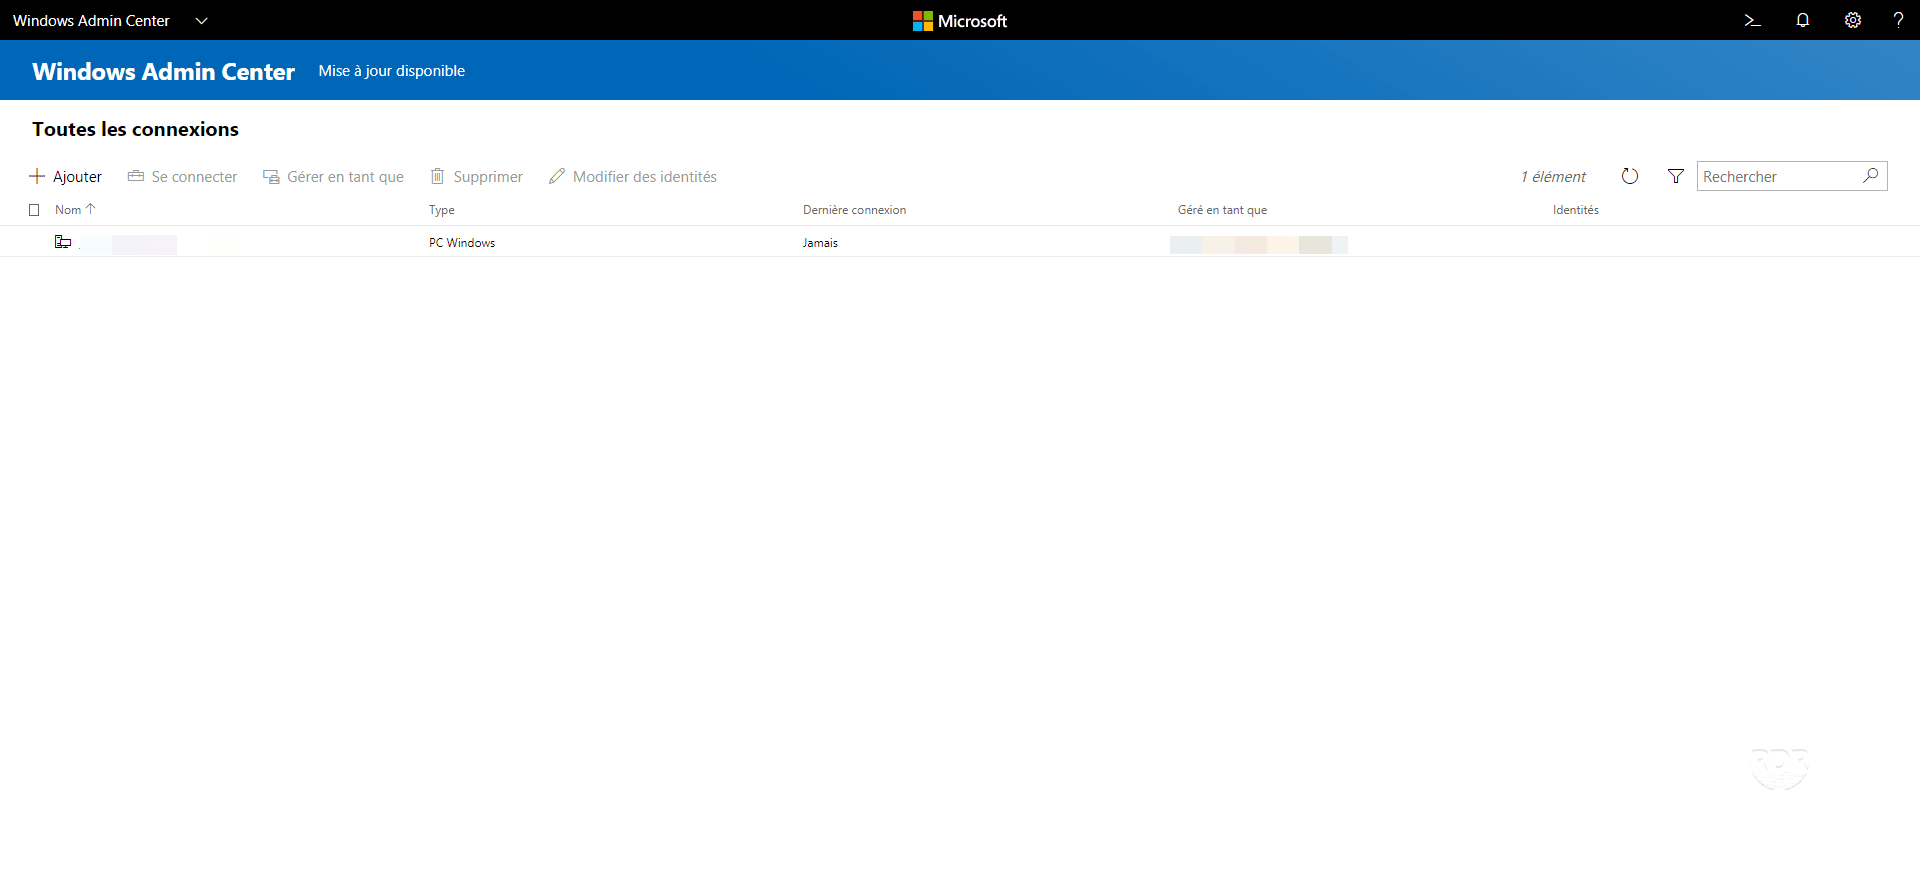
4. By default, the station where Admin Center is installed is added to the connections.
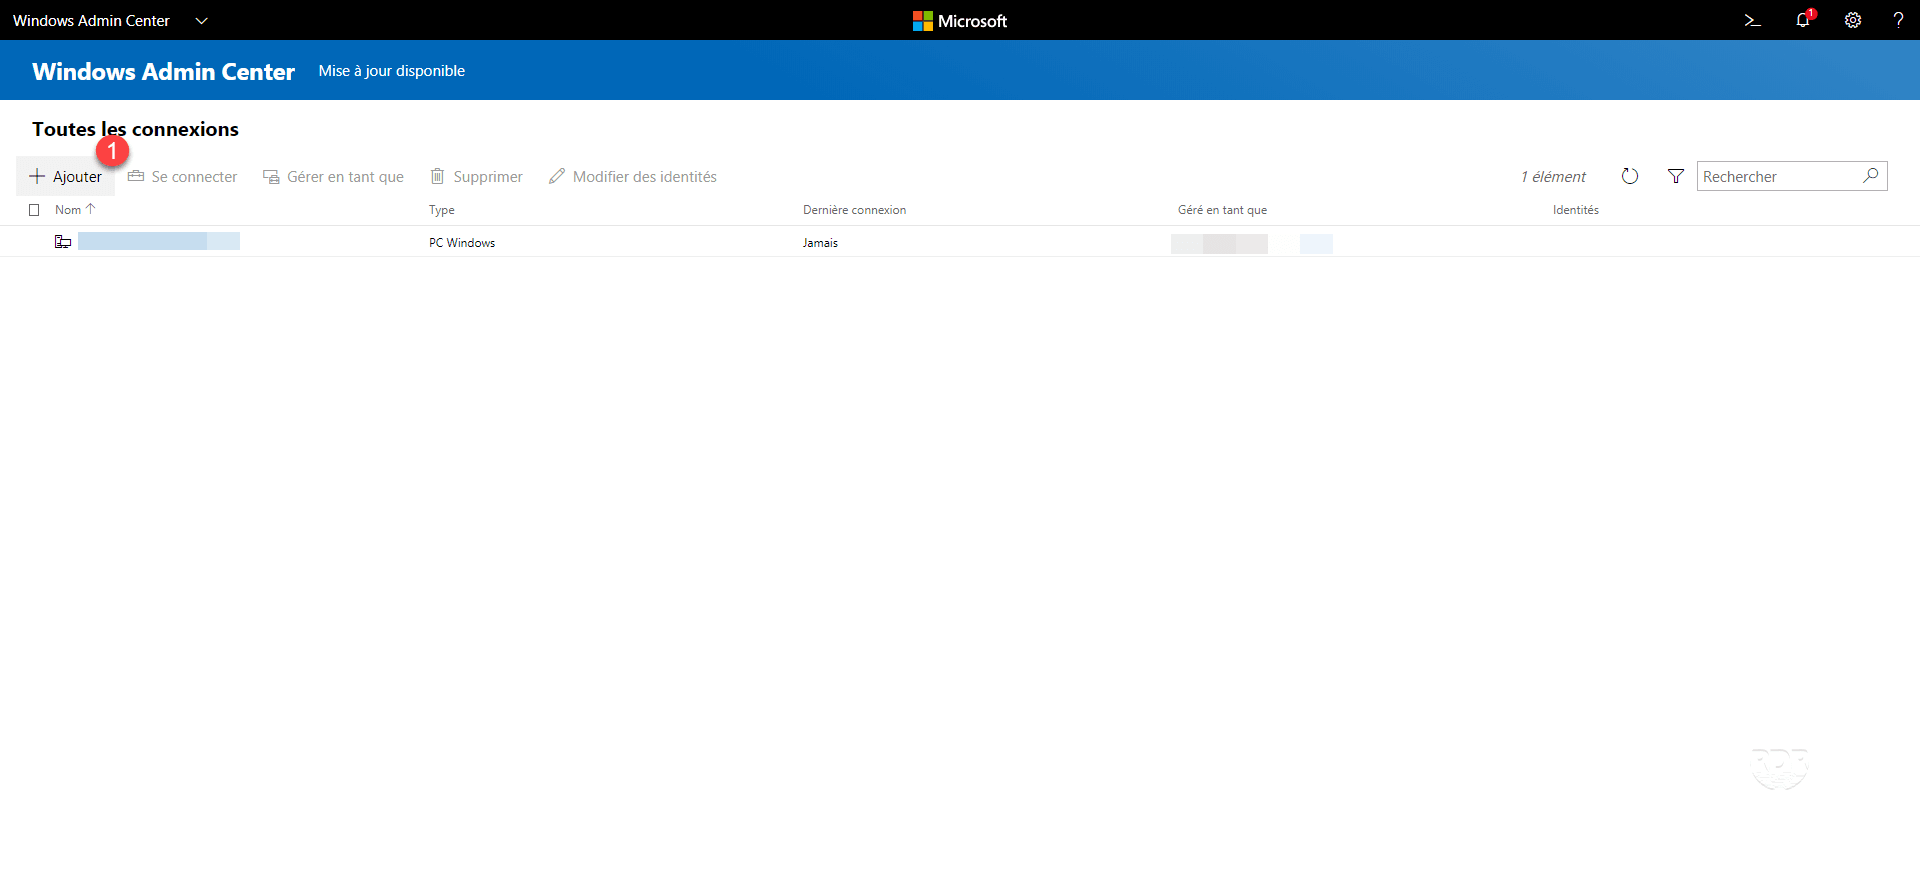
Add a server in the Admin Center
1. From the list of connections, click on Add 1 .
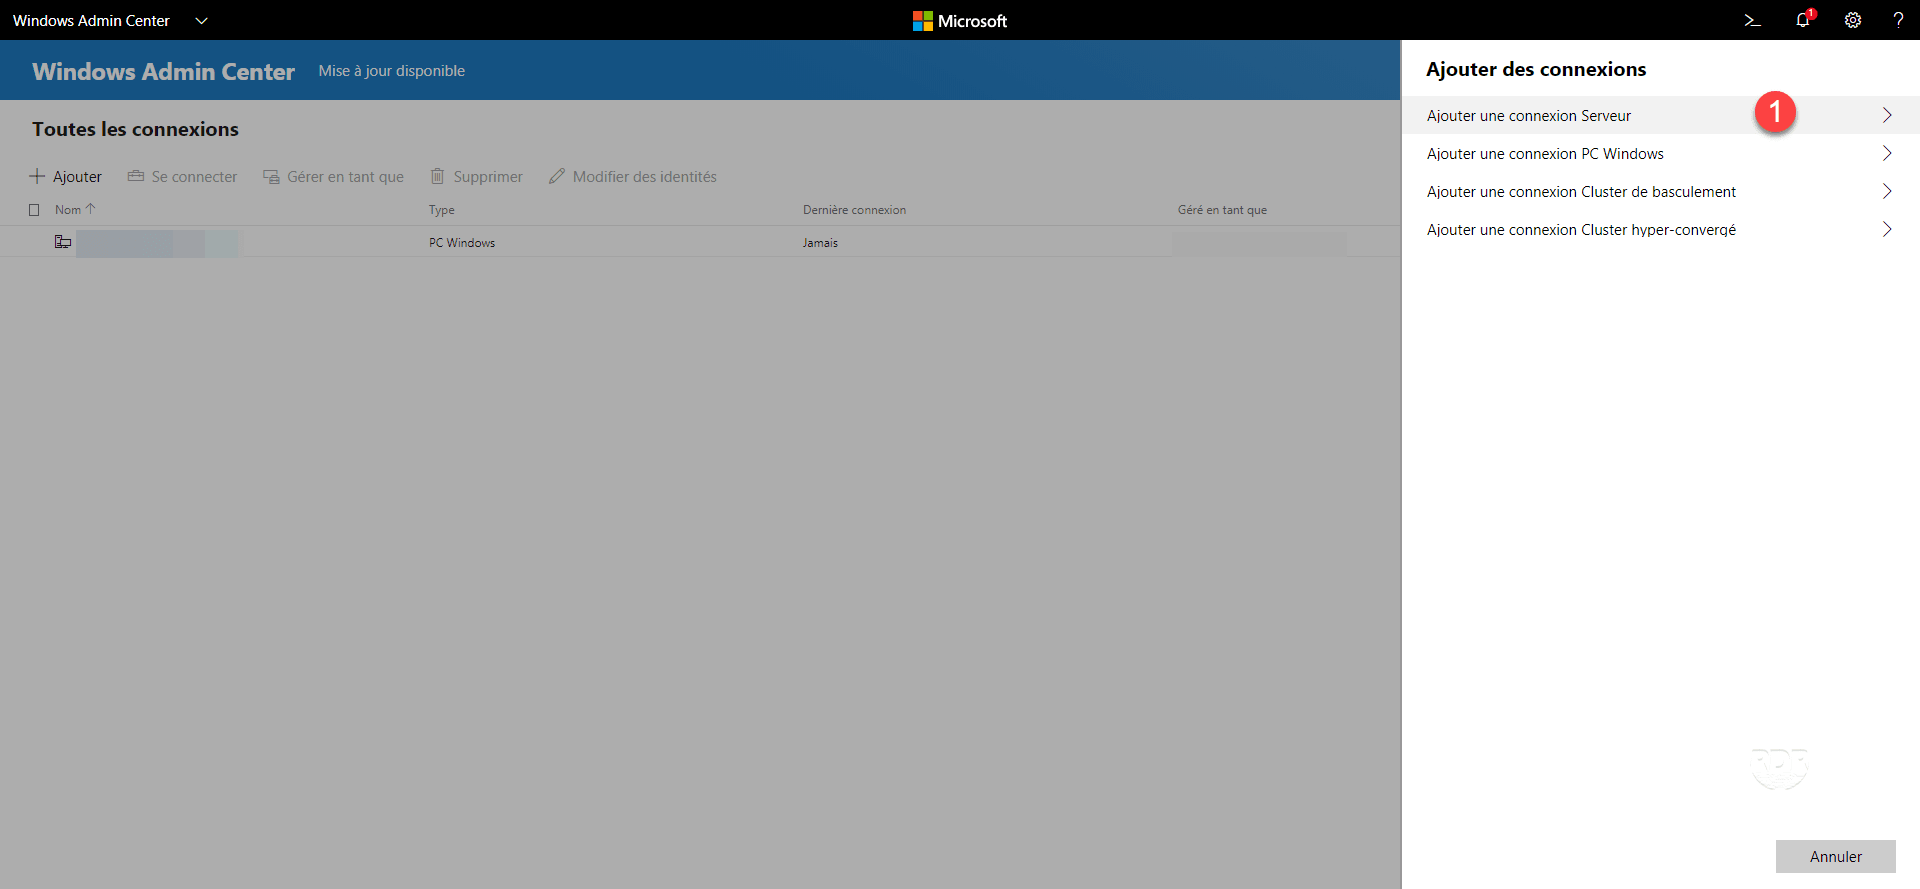
2. Click Add Server Connection 1 .
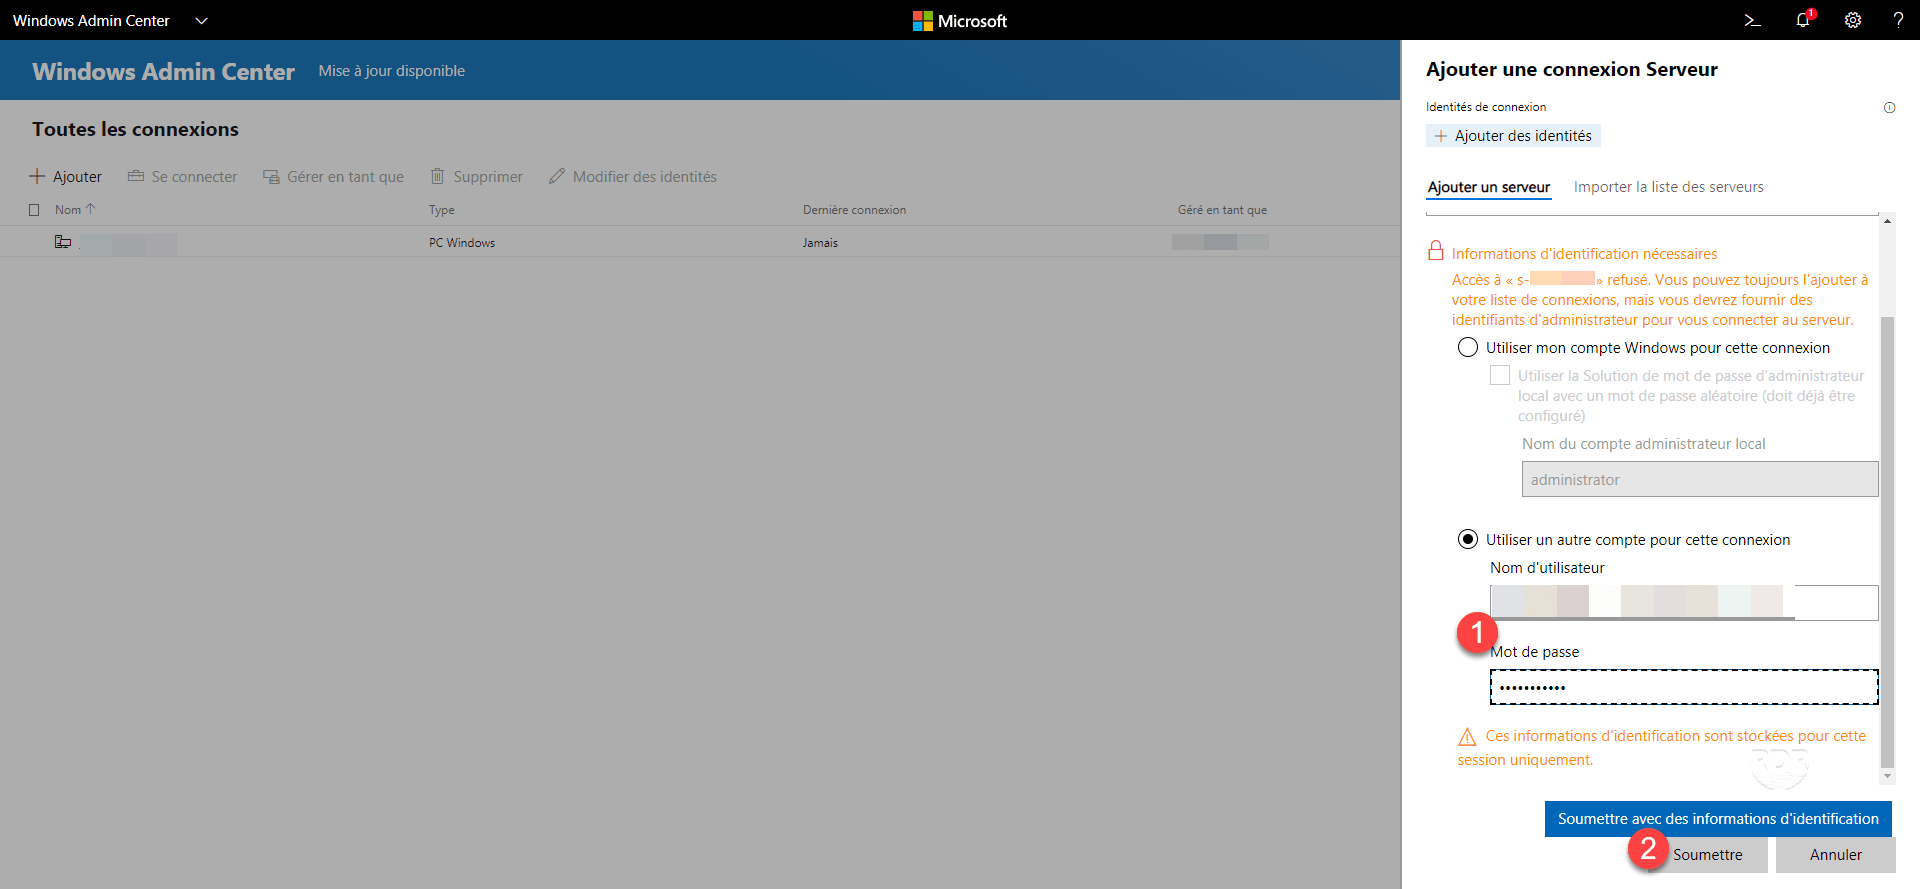
3. Enter the server name 1 . If your current user account is not authorized to manage the server, select User another account for this 2 connection.

4. Enter the information (username / password) 1 from an account that has the administration rights and click on Submit 2 .
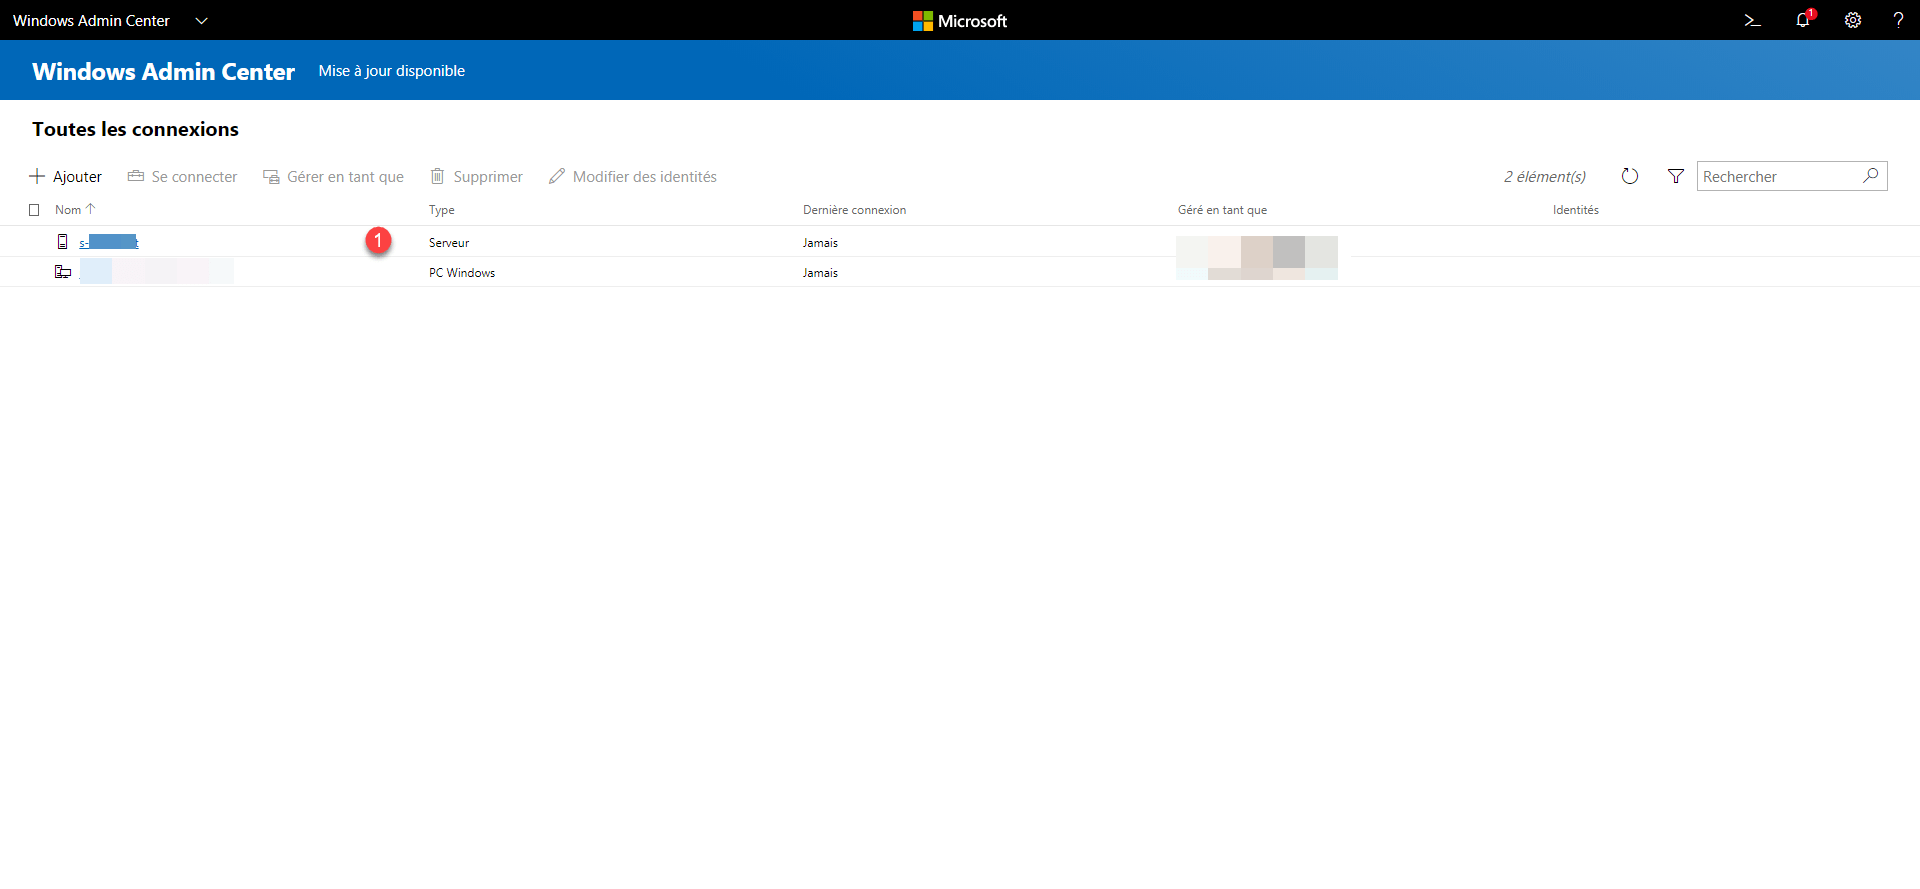
5. Server 1 is added to the list.
Server Administration
1. From the list of servers, click on its name 1 .

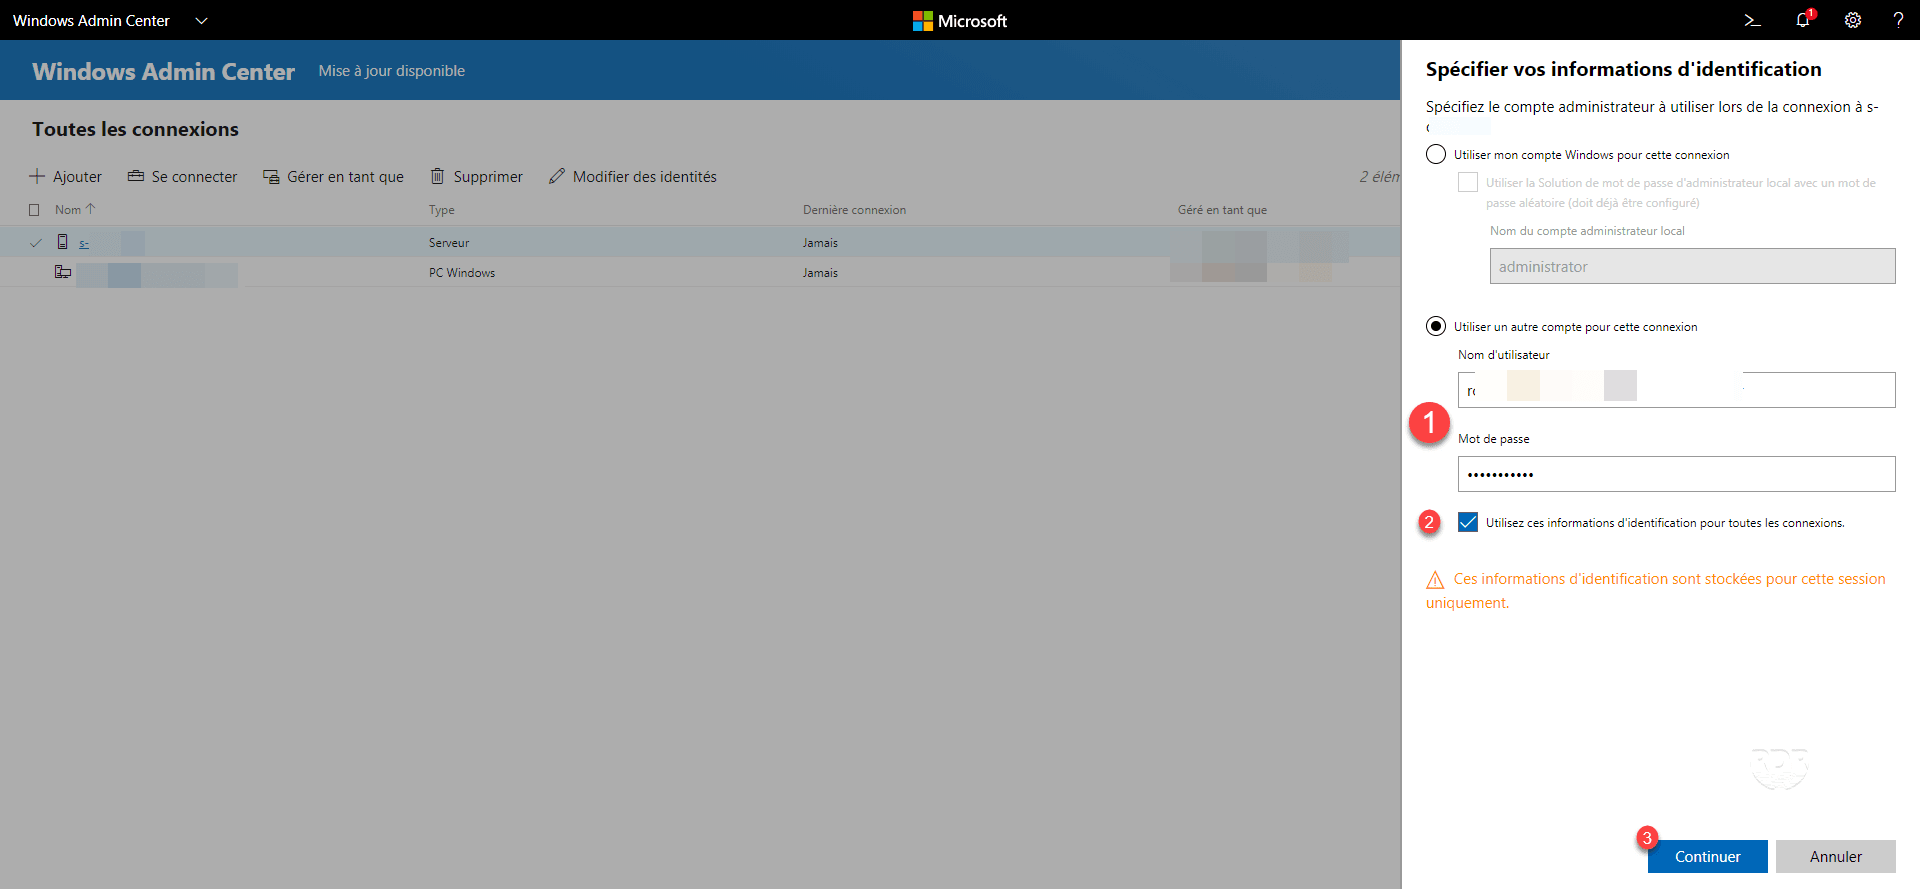
2. Enter the credentials if necessary 1 , check the box to use the information on all connections 2 and click Continue 3 .
3. It is now possible to manage the server using the Admin Center web interface.

All the available actions are accessible through the menu on the lines. It is almost possible to perform all the actions available through the GUI using the Admin Center.
Conclusion
The Admin Center is an alternative to connecting to RDP to administer servers and also makes server installations available in Core mode.
Adding Windows 10 extensions to the connections also allows support teams to perform client-side operations without having to take control of them, which can be handy for modifying a registry key or issuing a command ( gpupdate).
