In this tutorial, we will learn how to install and configure the WDS (Windows Deployment Services) role on Windows Server 2025.
The WDS role will allow us to set up a set of services that will enable us to deploy Windows to computers across the network using PXE boot.
The Windows images used for deployment can be:
- Windows or Windows Server
- A prepared and captured image
- A blank image directly from a Windows ISO
Active DirectoryIn addition to being able to customize the images, you can customize the deployment using a response file, which will allow you, for example, to join the computer to a domain.
Active DirectoryTo set up WDS in your environment, you will need a DHCP server (Windows or otherwise). In this tutorial, we will install WDS in a network environment; however, starting with Windows Server 2016, WDS can be installed in standalone mode.
Table of Contents
Install WDS on Windows Server 2025
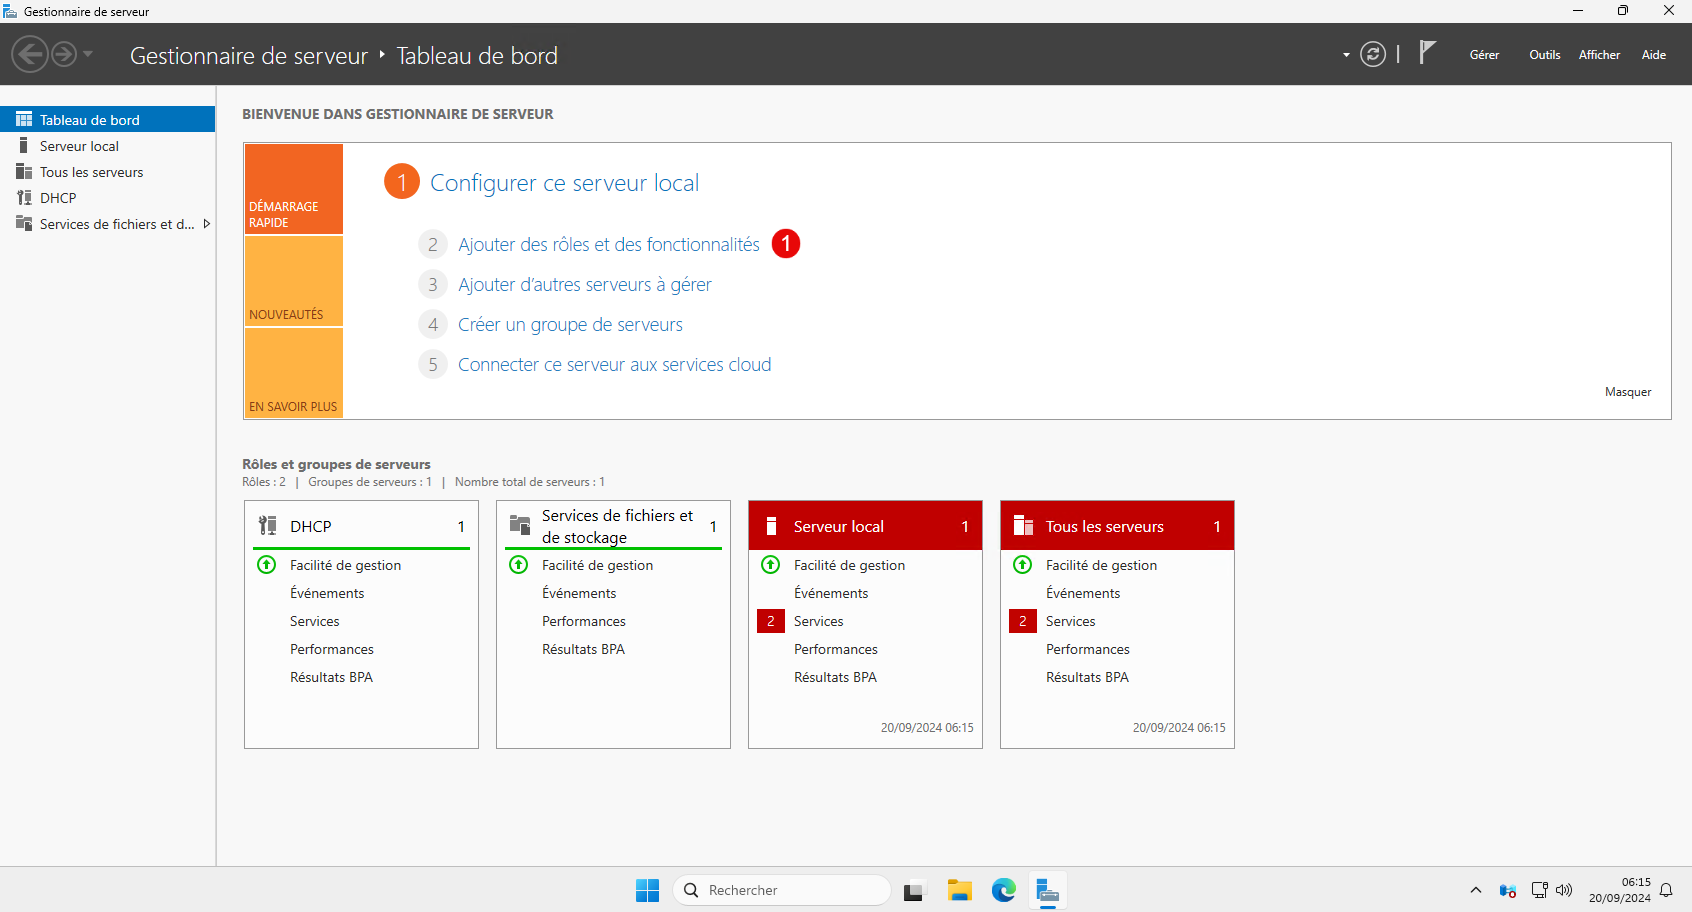
From Server Manager, click Add Roles and Features 1.
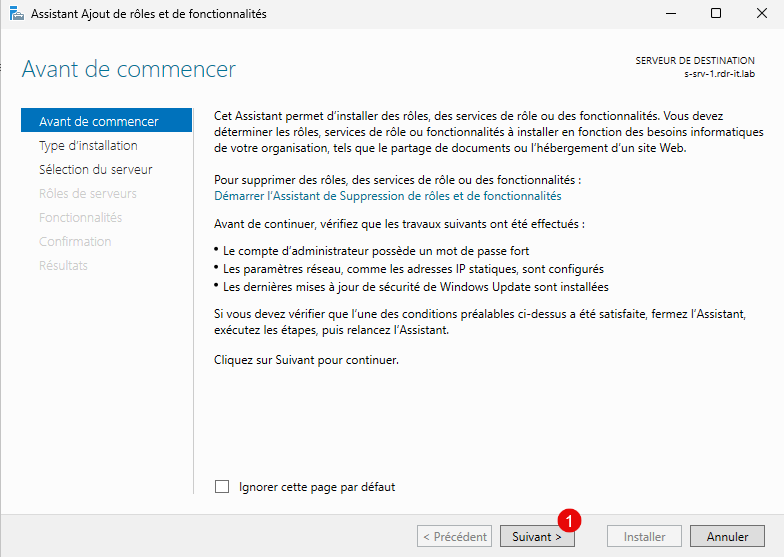
When the wizard launches, click Next 1.
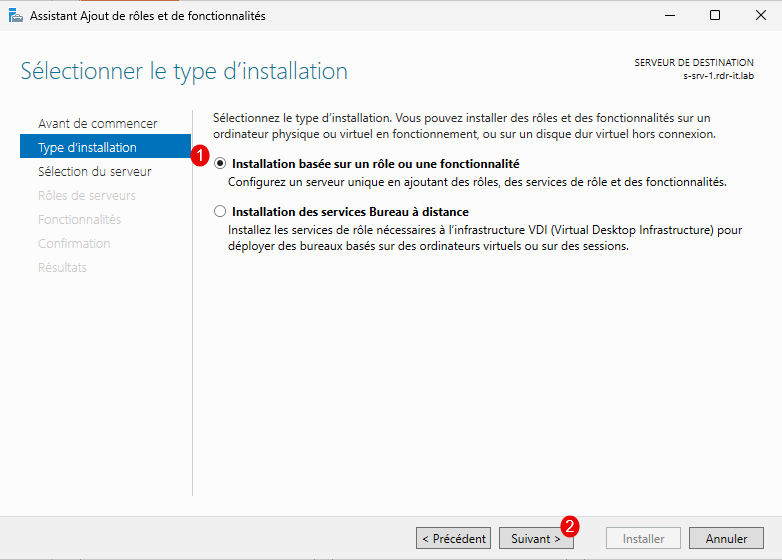
Select: Role-based or feature-based installation 1, then click the Next button 2.
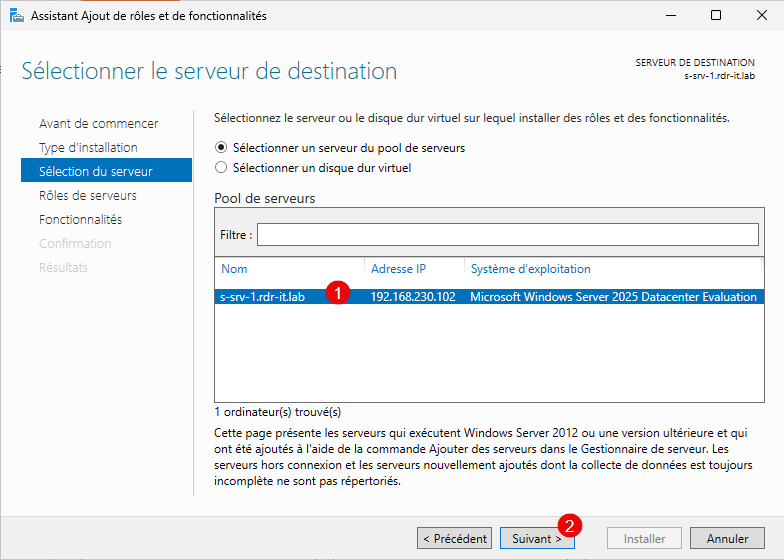
Select the server 1 where the installation will take place and click Next 2.
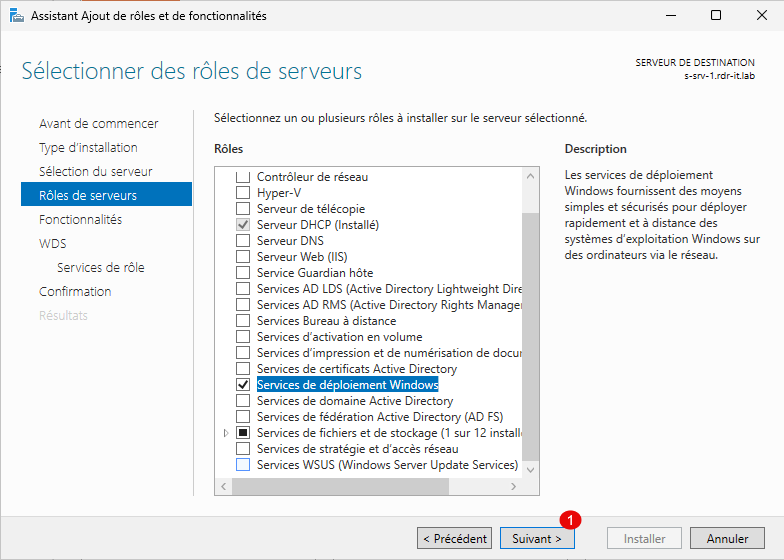
In the list of roles, check the box: Windows Deployment Services 1.

As with the installation of other Windows roles, click the Add Features button 1, which will install the WDS role management tools.

The Windows Deployment Services role is selected; click the Next button 1.
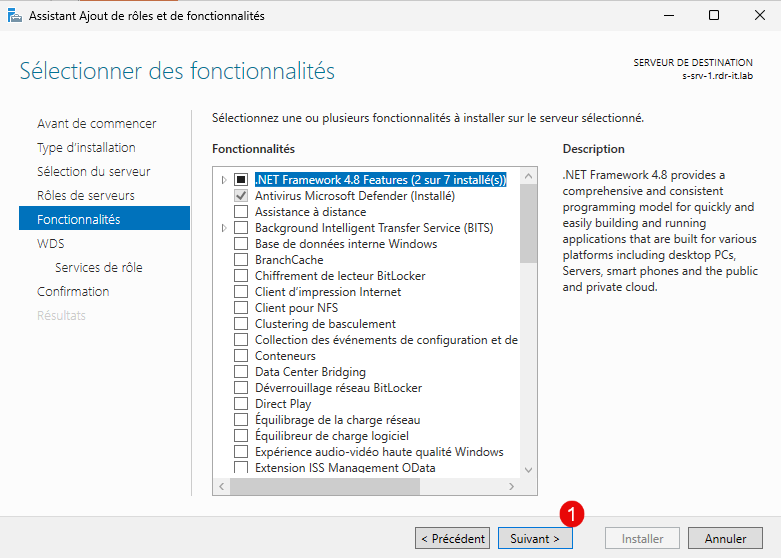
Skip the list of features by clicking the Next button 1.
The wizard displays a summary of the WDS role; click Next 1.
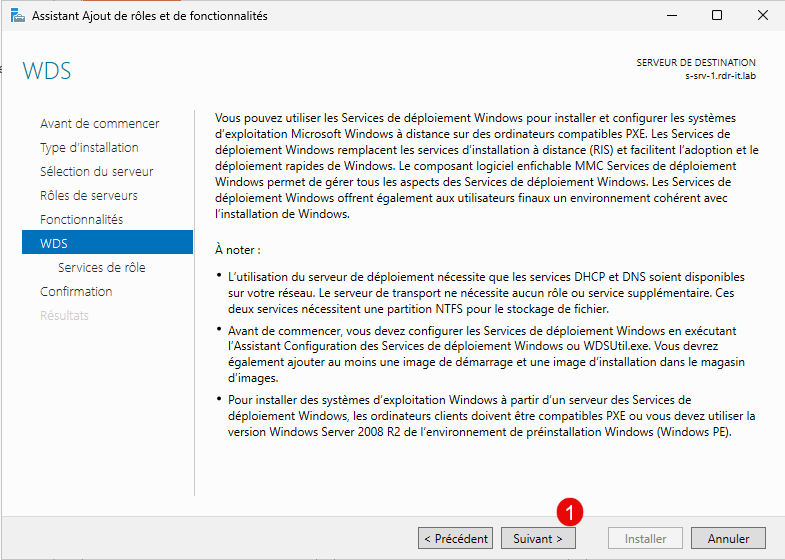
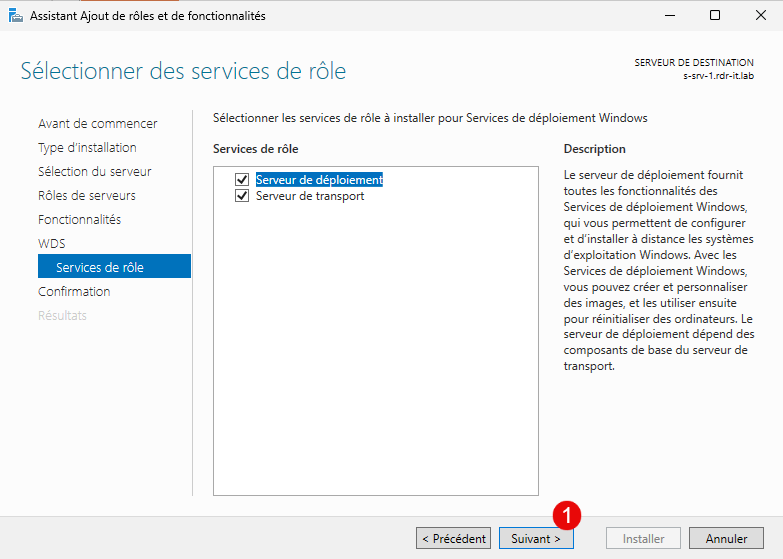
The WDS role includes two services that enable Windows deployment and PXE booting; leave both services selected, then click the Next button 1.
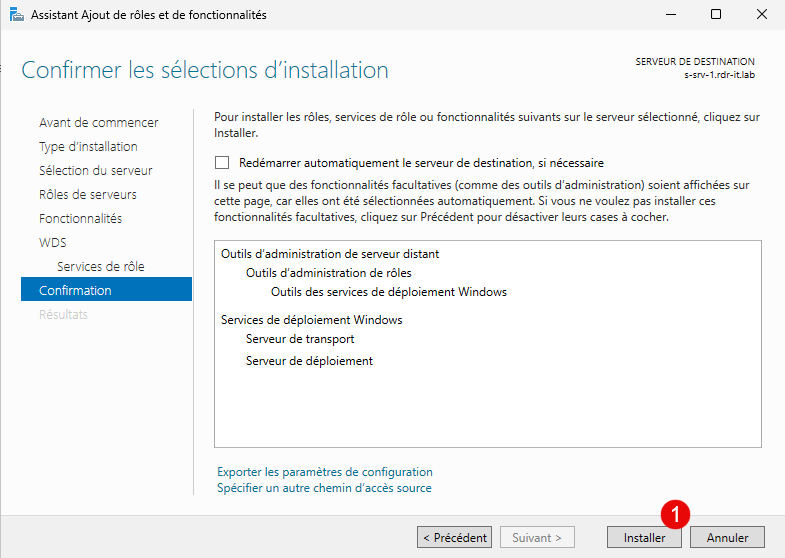
Last step of the wizard: click the Install button 1.
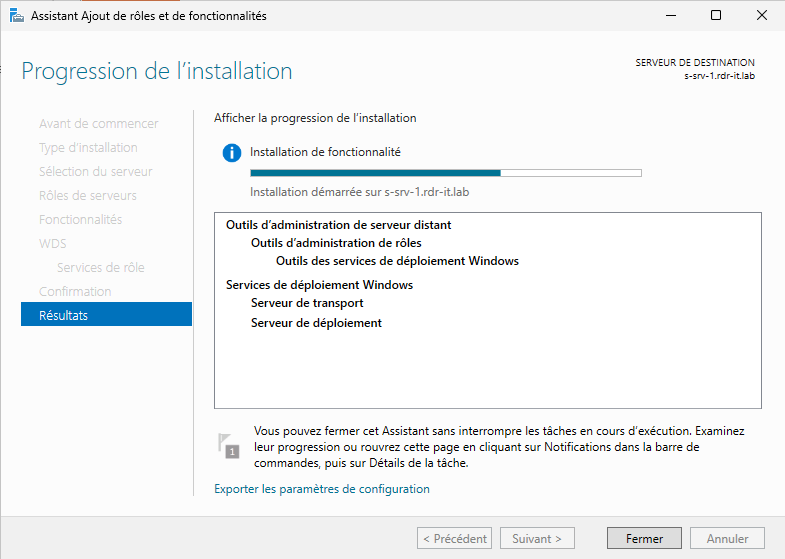
Please wait while the WDS role is being installed…
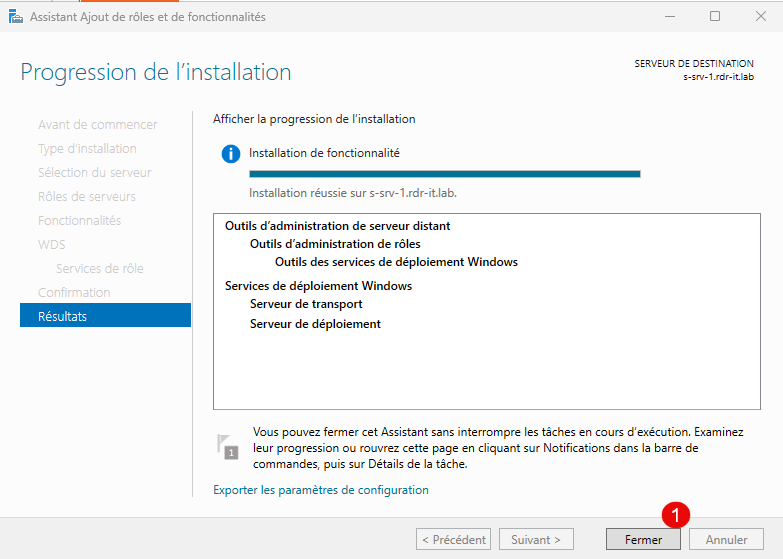
The WDS installation is complete; click the Close button 1 to exit the Add Roles and Features wizard.
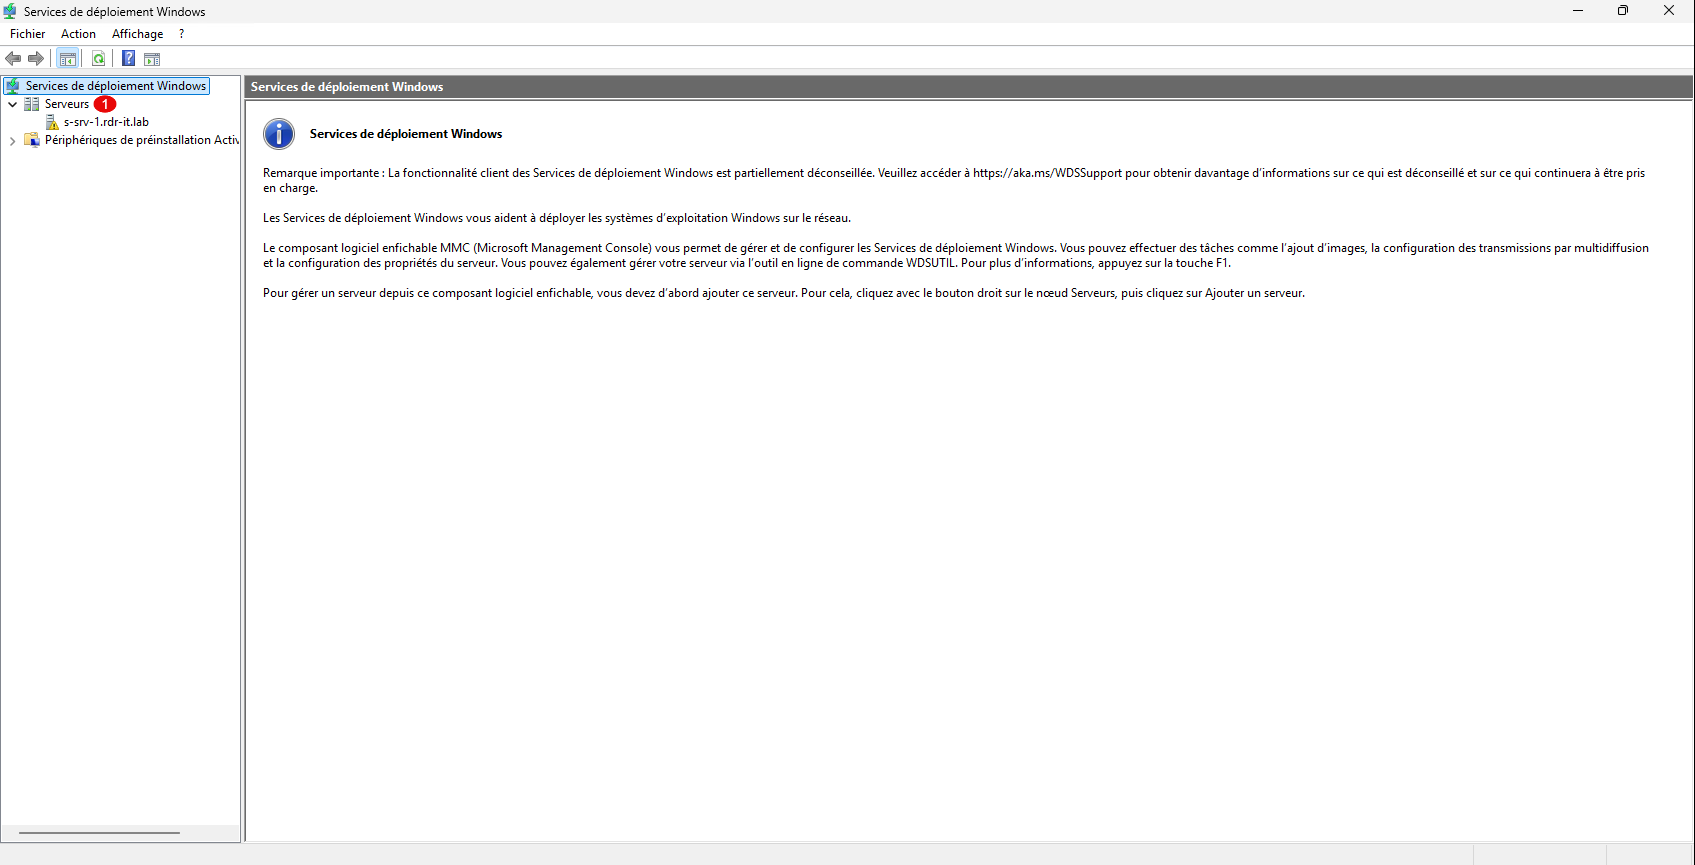
The WDS role is now installed; we will now proceed to its post-installation configuration.
Configure the WDS role
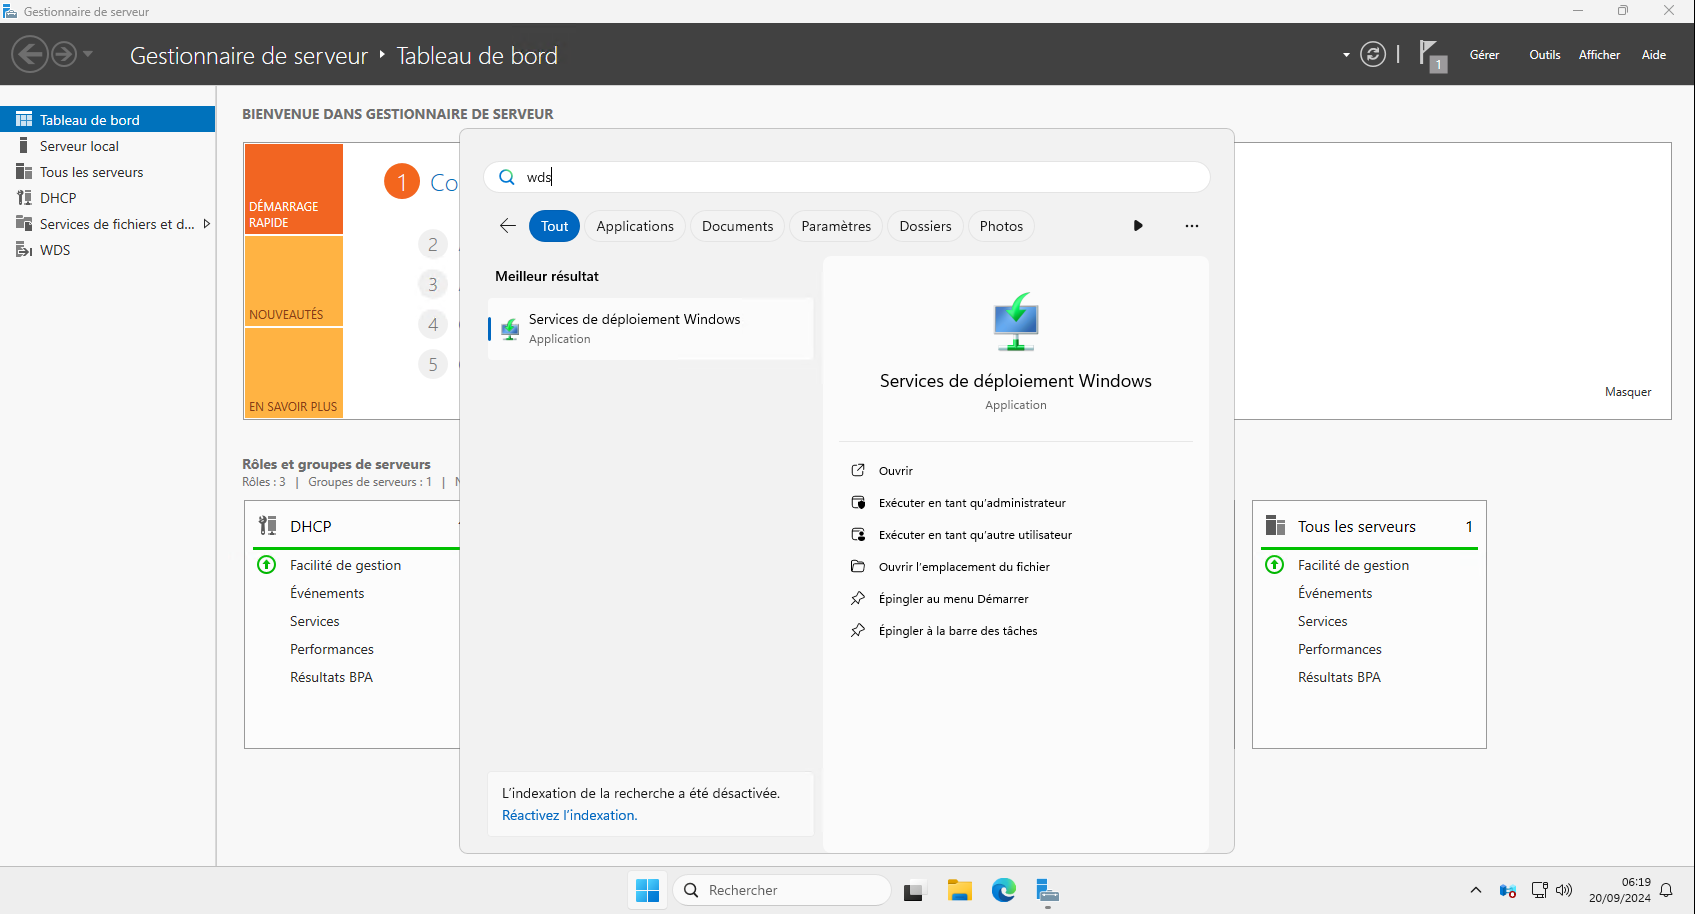
From the Start menu, launch the Windows Deployment Services management console.
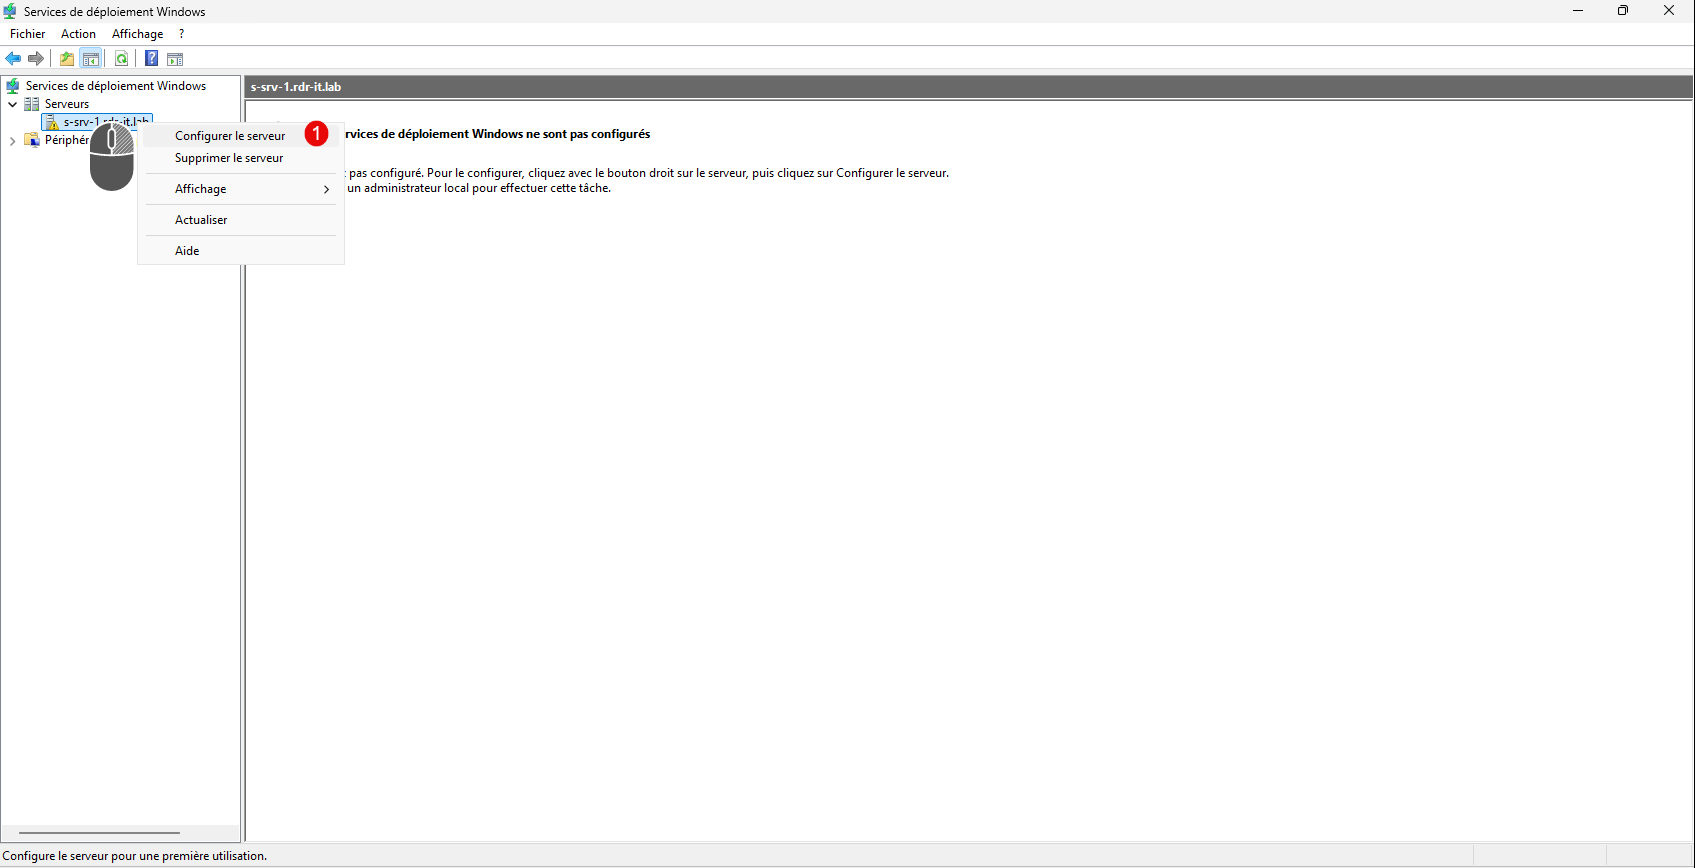
In the navigation pane on the left, expand Servers 1.
On the local server, right-click it and then click Configure Server 1.
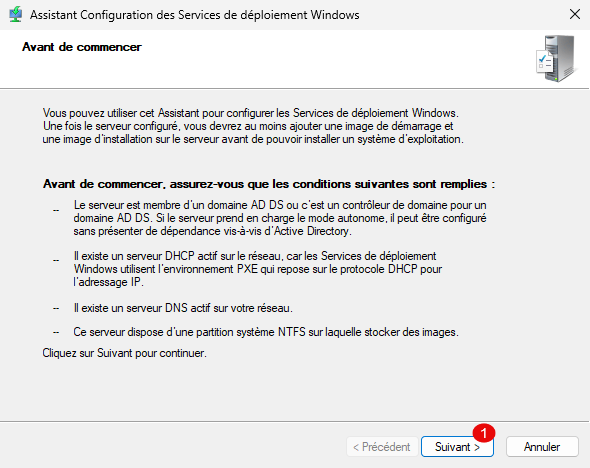
The WDS Configuration Wizard launches, displaying a reminder of the prerequisites required for WDS to function properly; click Next 1.
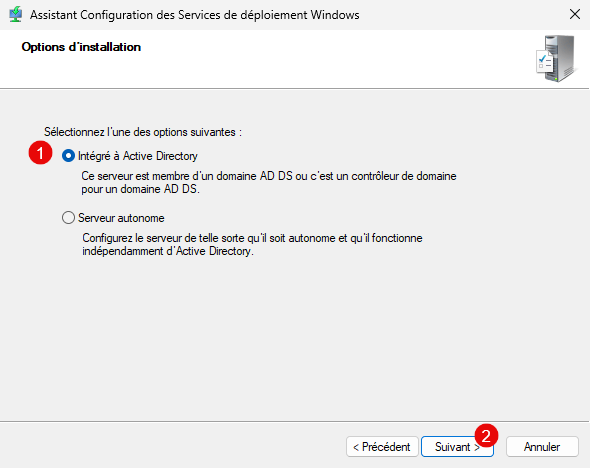
The first step is to select the server type. In this tutorial, I will choose Integrated withActive Directory1, then click the Next button 2.
If you want to install a Standalone Server, the following tutorial explains how to do it: Standalone WDS – Installation and Configuration
Specify the location where the various images will be stored 1, then click Next 2.
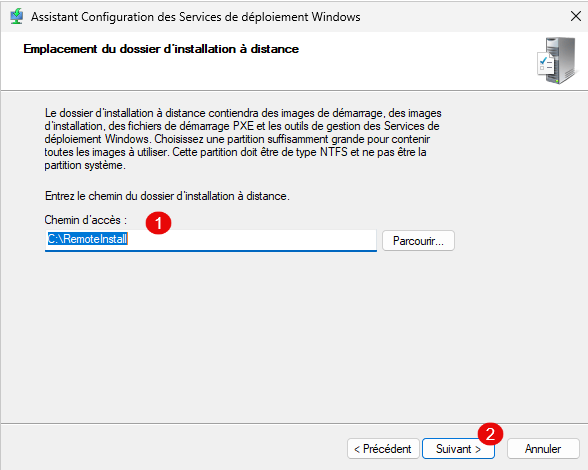
It is recommended to dedicate a partition or a disk for storing WDS data.
In this tutorial, I used drive C; do not do this in a production environment.
If, like me, you are using drive C, a warning message will appear.
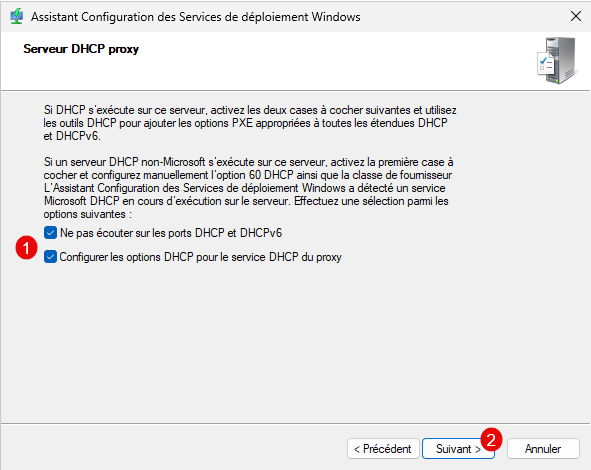
Here we will configure the DHCP Proxy server; this step will mainly depend on your environment. In my case, I will check both options because my DHCP server is on the same machine. I encourage you to read the information, configure the DHCP options 1, and click Next 2.
Now, we’ll configure the PXE server’s behavior. You have several options here; I recommend reading them and selecting the one that suits your environment. For this tutorial, I’ll choose the least secure option, which is to respond to all computers. Select the appropriate option 1 and click the Next button 2.

In a production environment, the option “Respond to all client computers (known and unknown)” with the setting “Require administrator approval for unknown computers” is a good solution.
During the first PXE boot, you must open the WDS console and validate the computer.
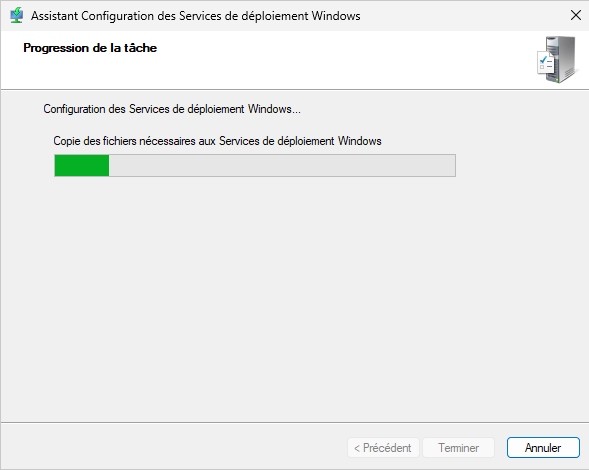
Please wait while the WDS role is being configured…
Configuration is complete; click Finish 1 to close the wizard.
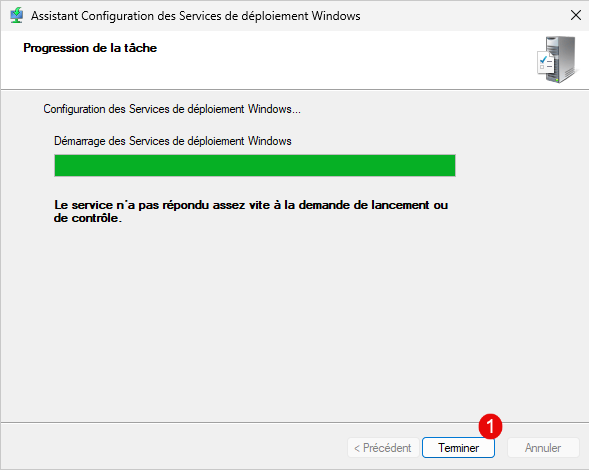
As you can see, the WDS service has not started! If this happens, from the WDS console, right-click on the server, then go to All Tasks and click Start.
The WDS role is configured.
Adding Images to WDS
To continue this tutorial, we’ll discuss WDS images; there are three types:
- Installation image: This is the image that will be deployed to computers and contains Windows; it can be obtained directly from a Windows ISO or from a computer image
- Boot image: This is the image that will allow us to deploy Windows on the computer; essentially, it is the installation wizard. It can also be obtained from a Windows ISO, MDT, or any other WinPE environment.
- Capture image: As the name suggests, this allows you to capture a Windows disk that has been prepared (Sysprep) and create an installation image
To complete this step, you’ll need a Windows ISO. Depending on the ISO, you may need to convert the ESD file within the ISO to a WIM file.
In this tutorial, I used the Windows Server 2025 ISO.
Add a boot image
To begin, we’ll add a boot image, which is the WinPE environment that will allow us to access the Windows Setup wizard.
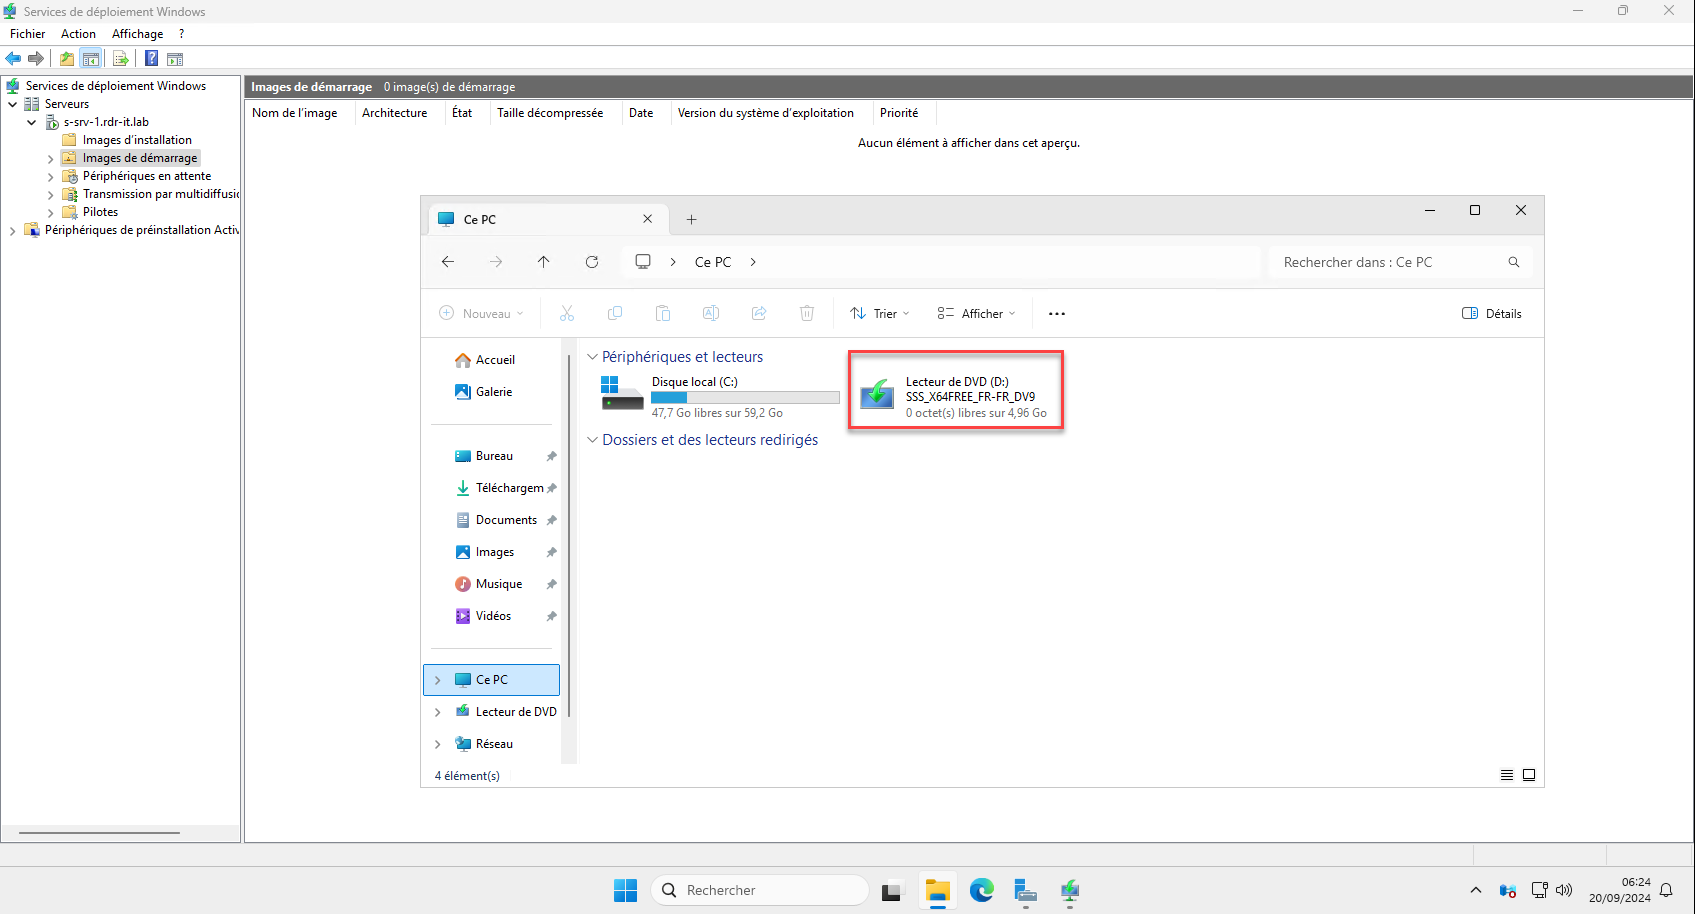
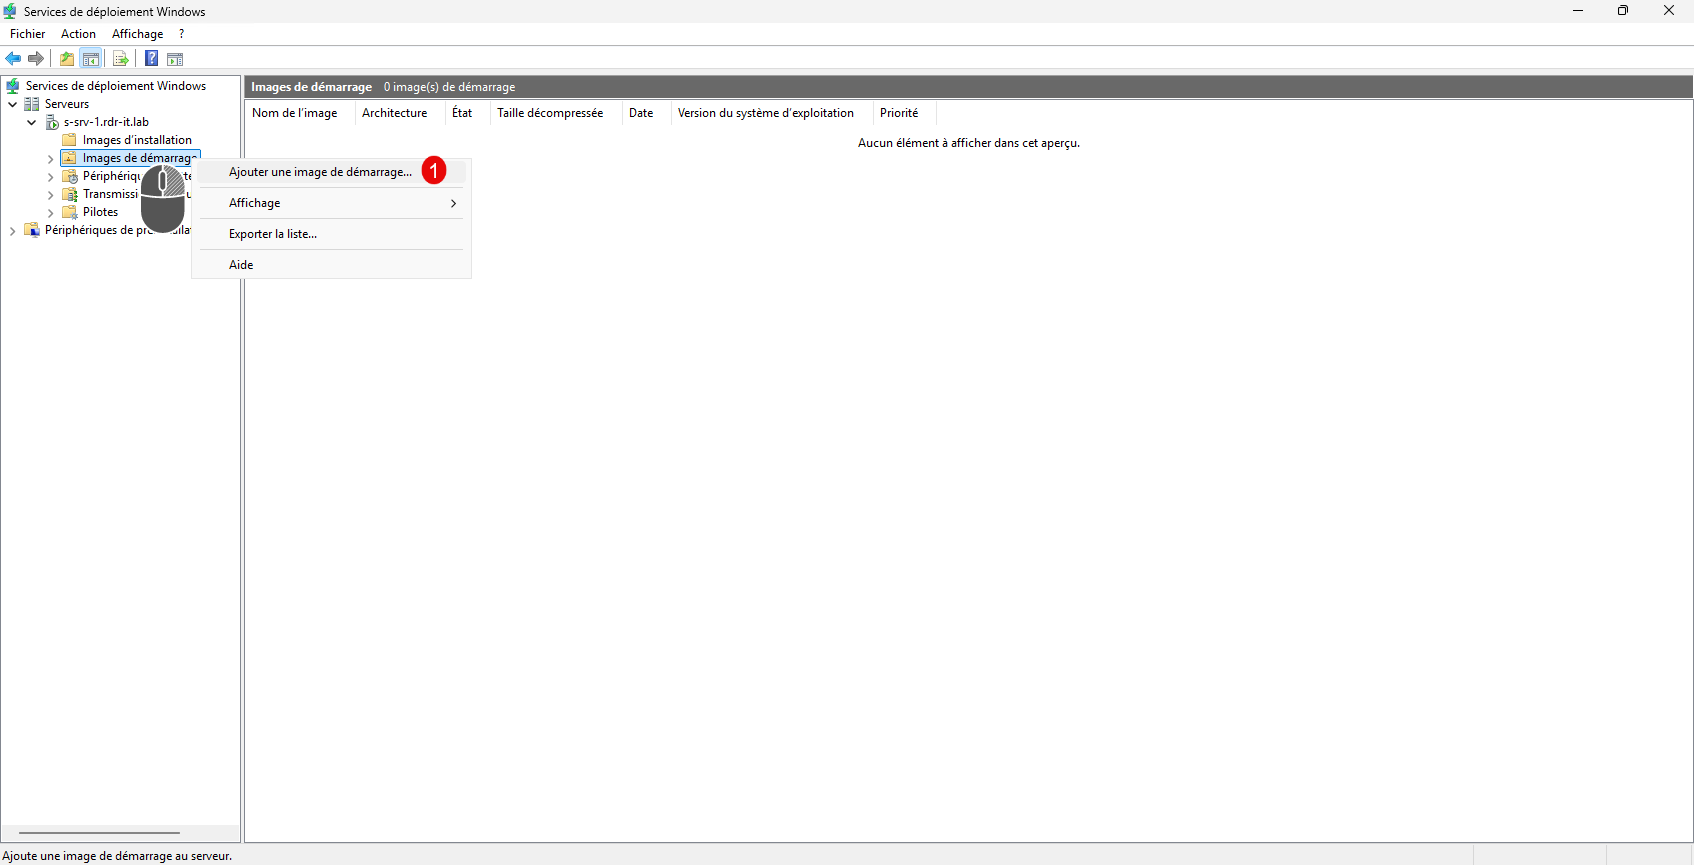
Right-click on Boot Images, then click Add Boot Image 1.
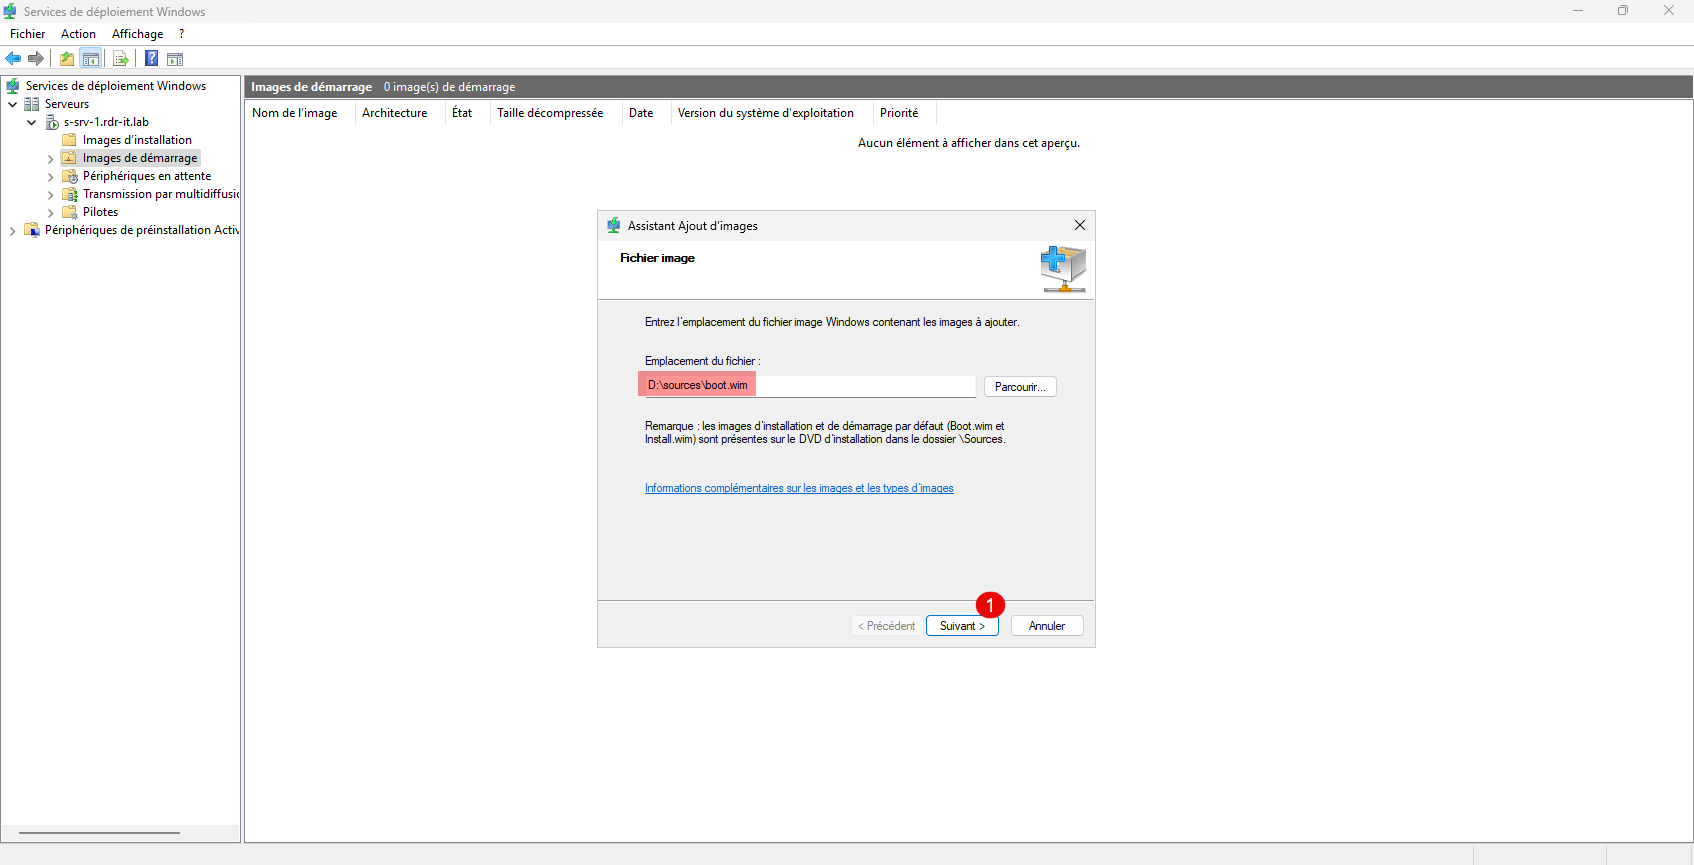
This will open the wizard; start by clicking the Browse button.
On the Windows ISO, go to the sources folder, select the boot.wim file 1, and click Open 2.
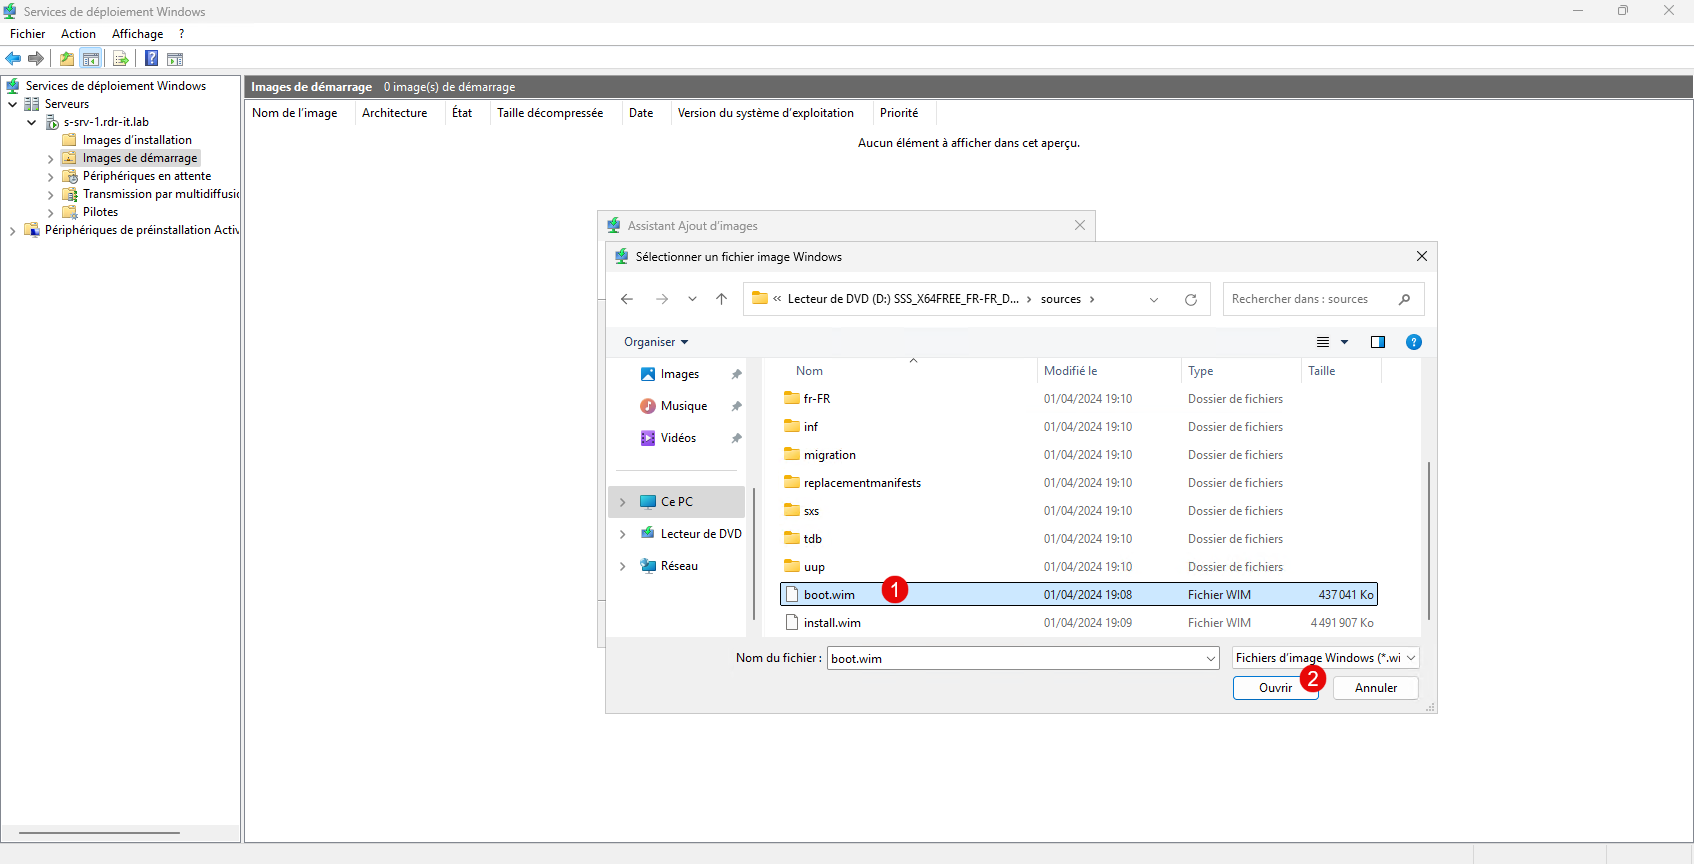
Once the image is selected, click Next 1.
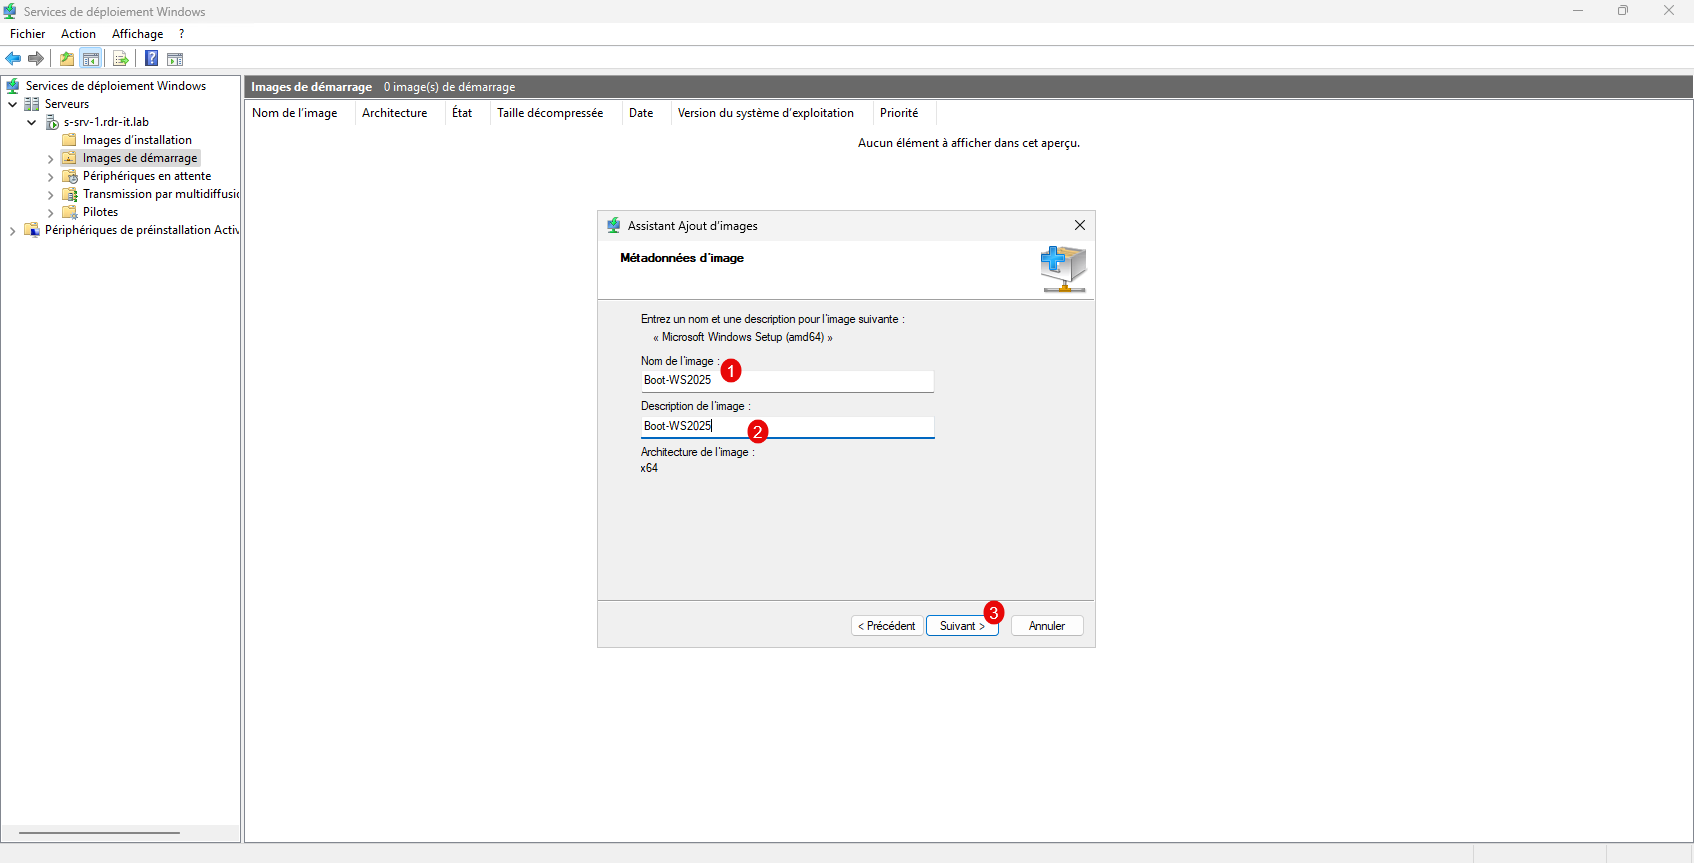
Name the image 1, then enter a description 2, and click Next 3.
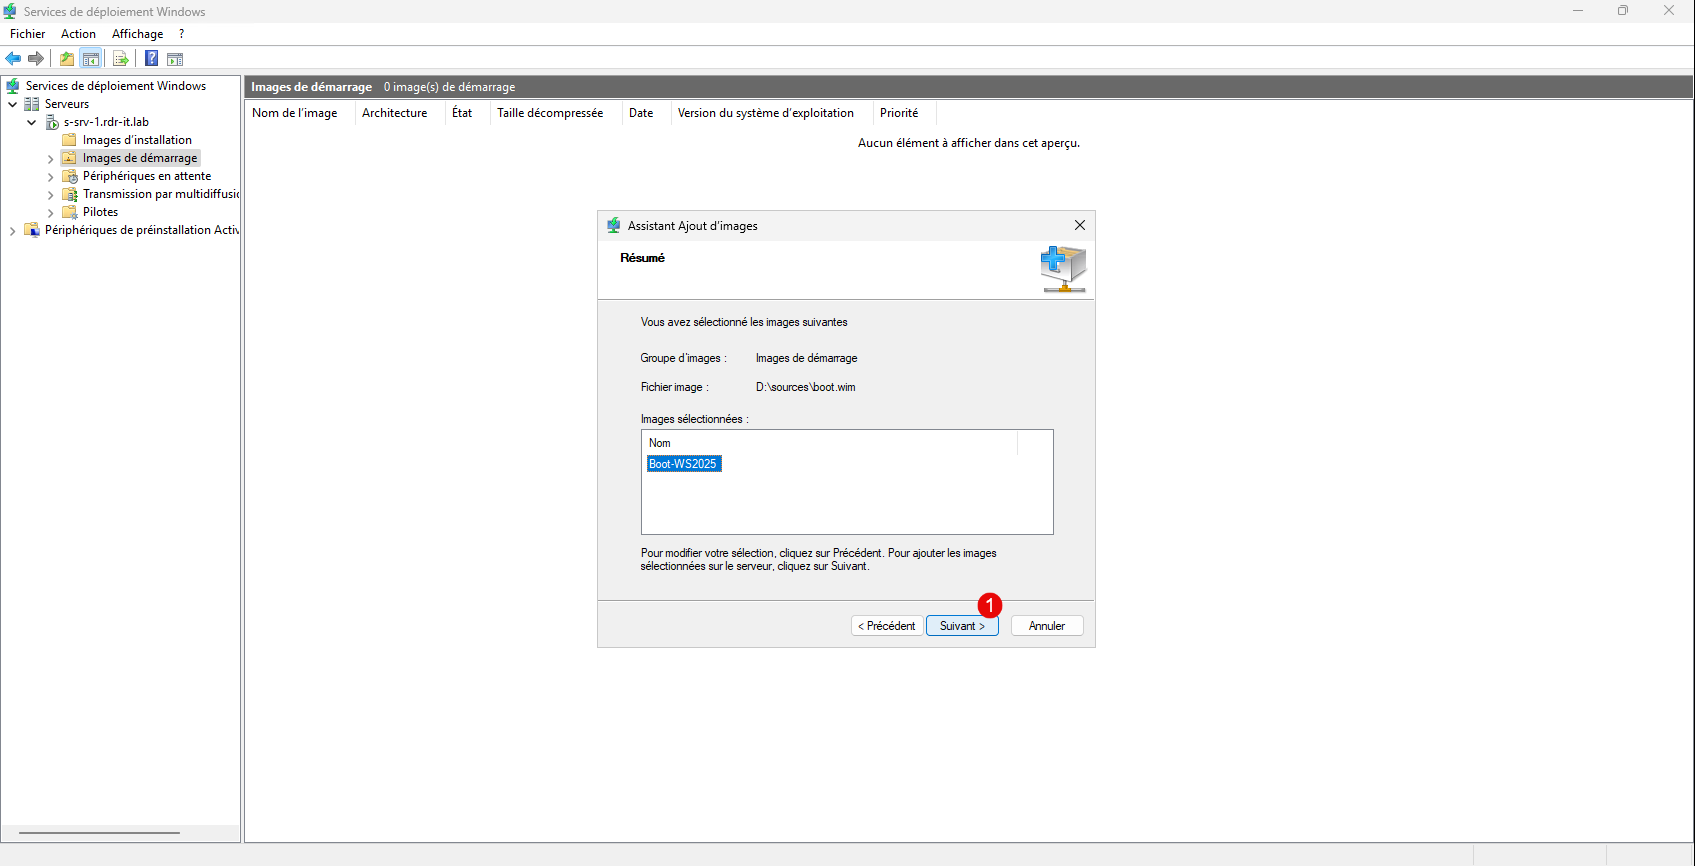
A summary of the action appears; click Next 1.
Wait while the image is being added…
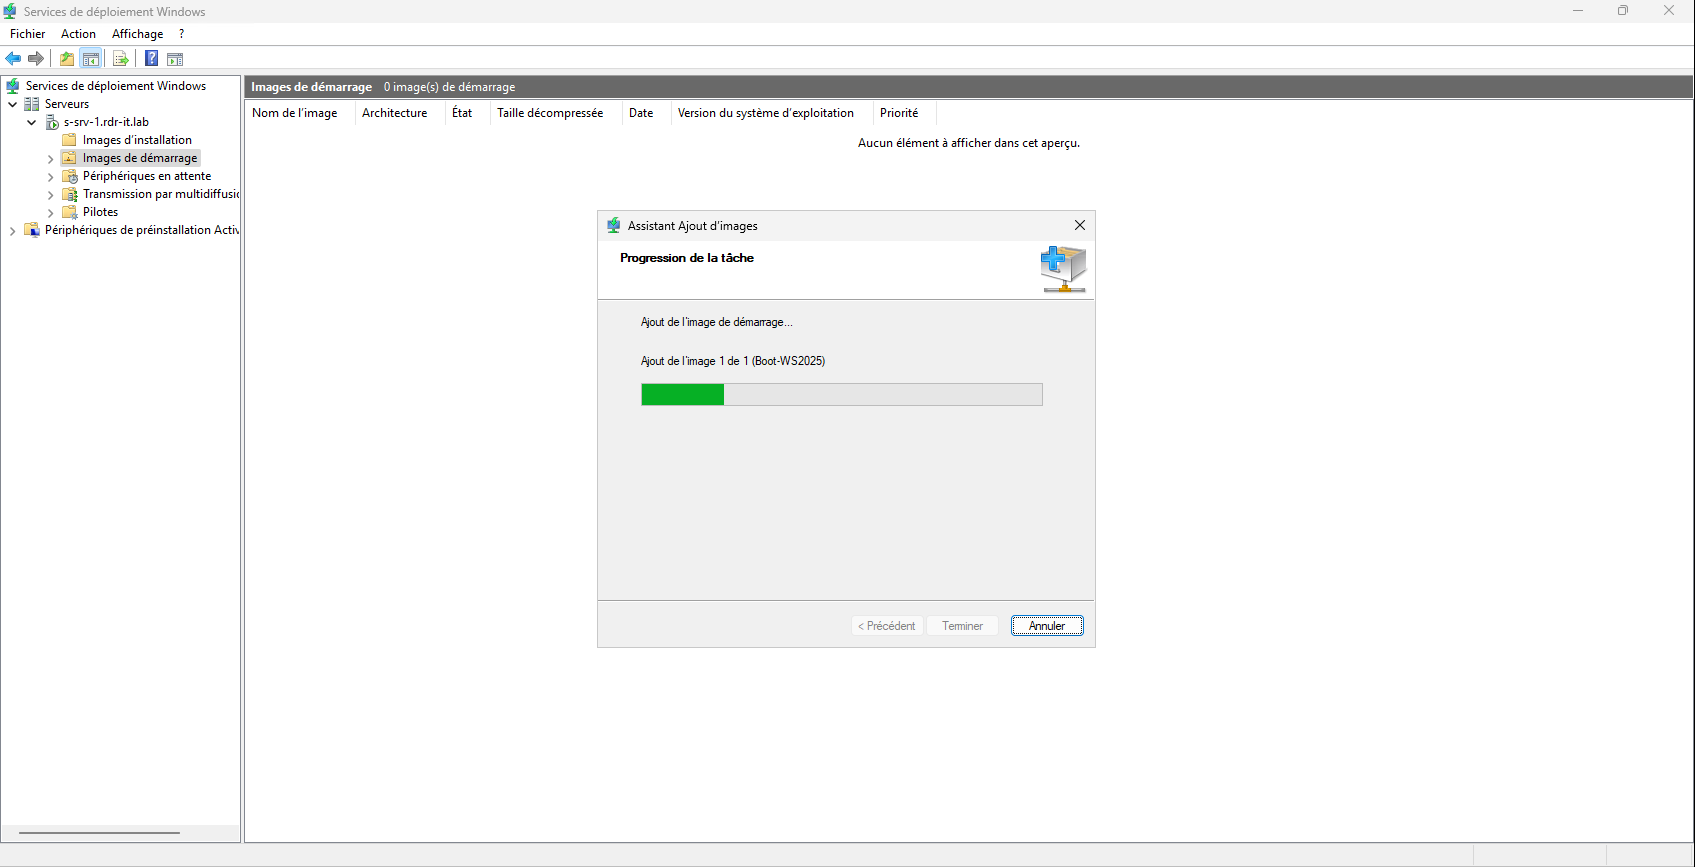
Once the image is added, close the wizard by clicking Finish 1.
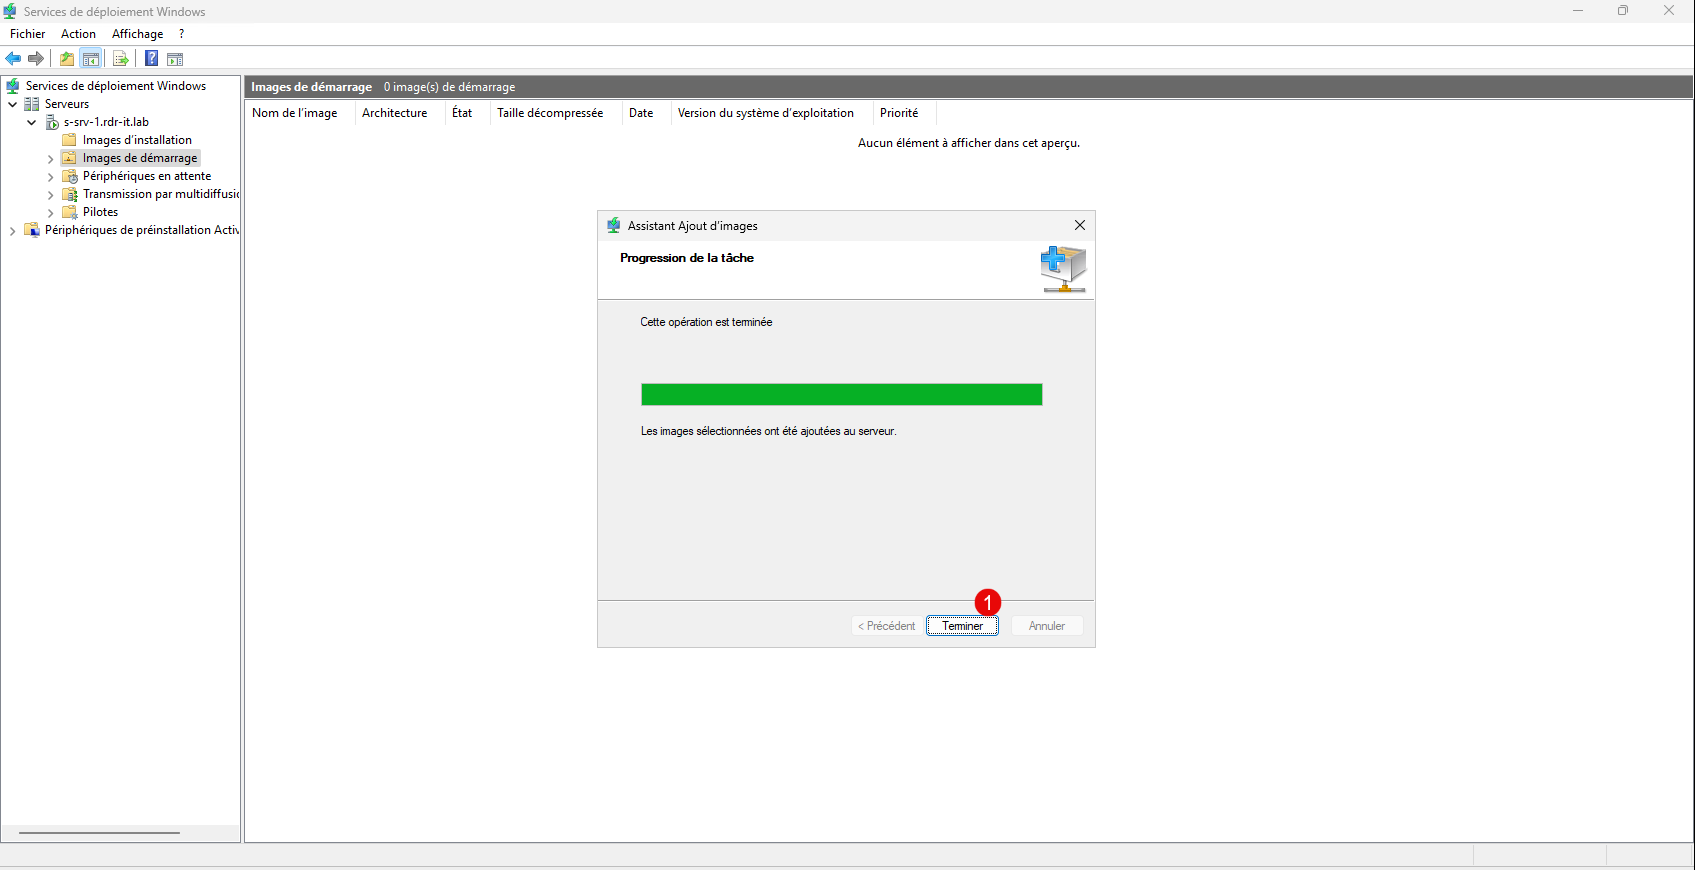
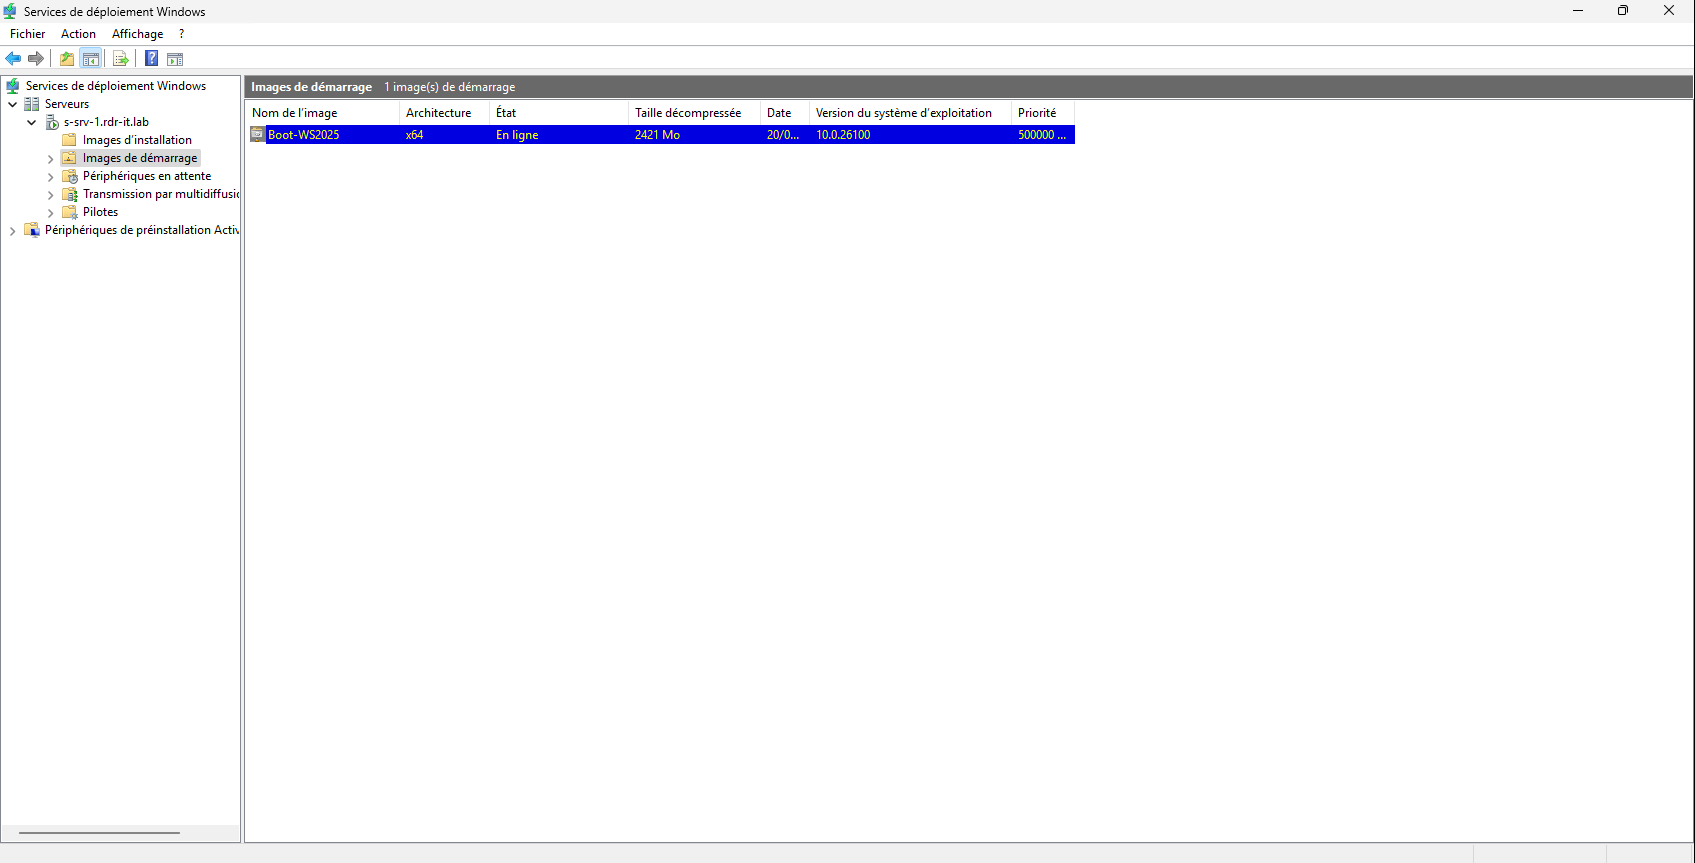
The startup image has been added.
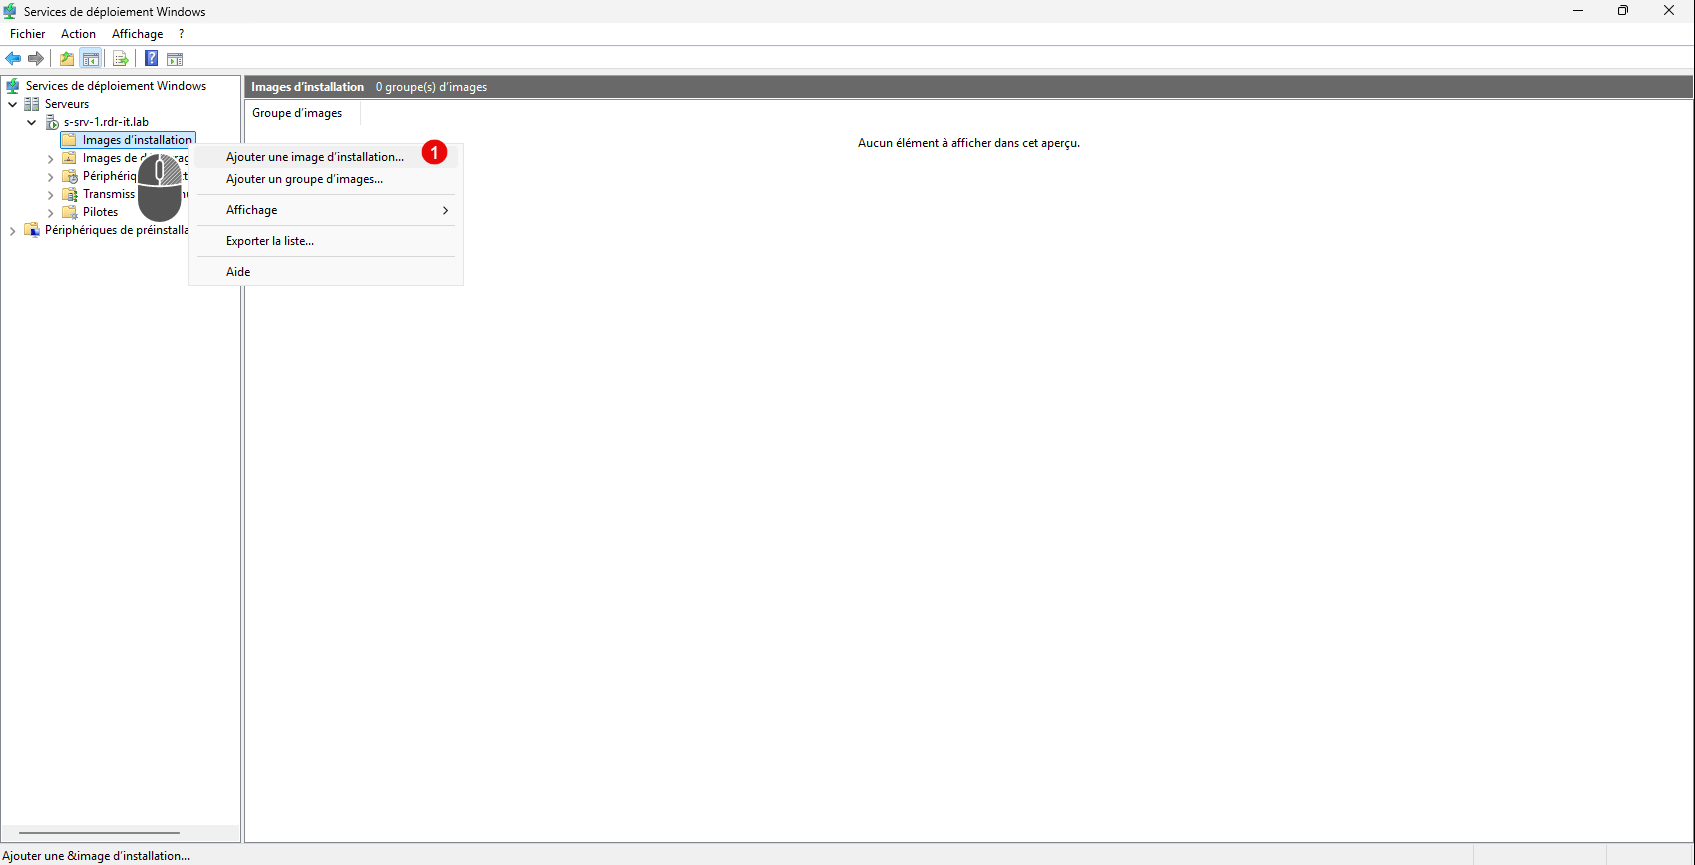
Add an installation image
We will now move on to adding an installation image that will contain the Windows system we want to deploy.
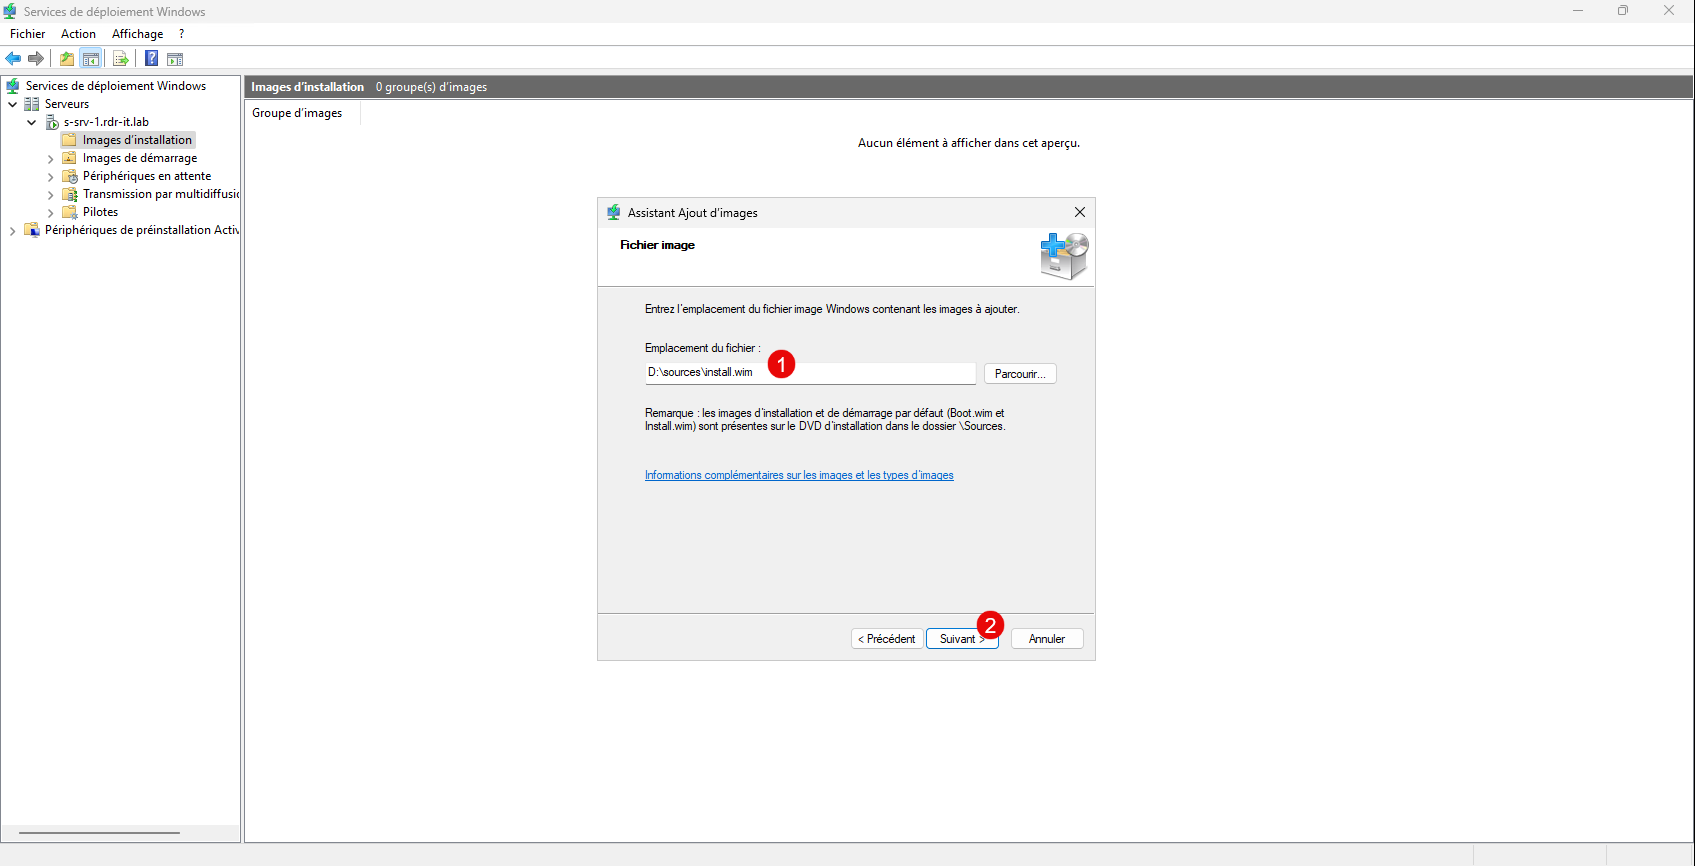
Right-click on Installation Image, then click Add Installation Image 1.
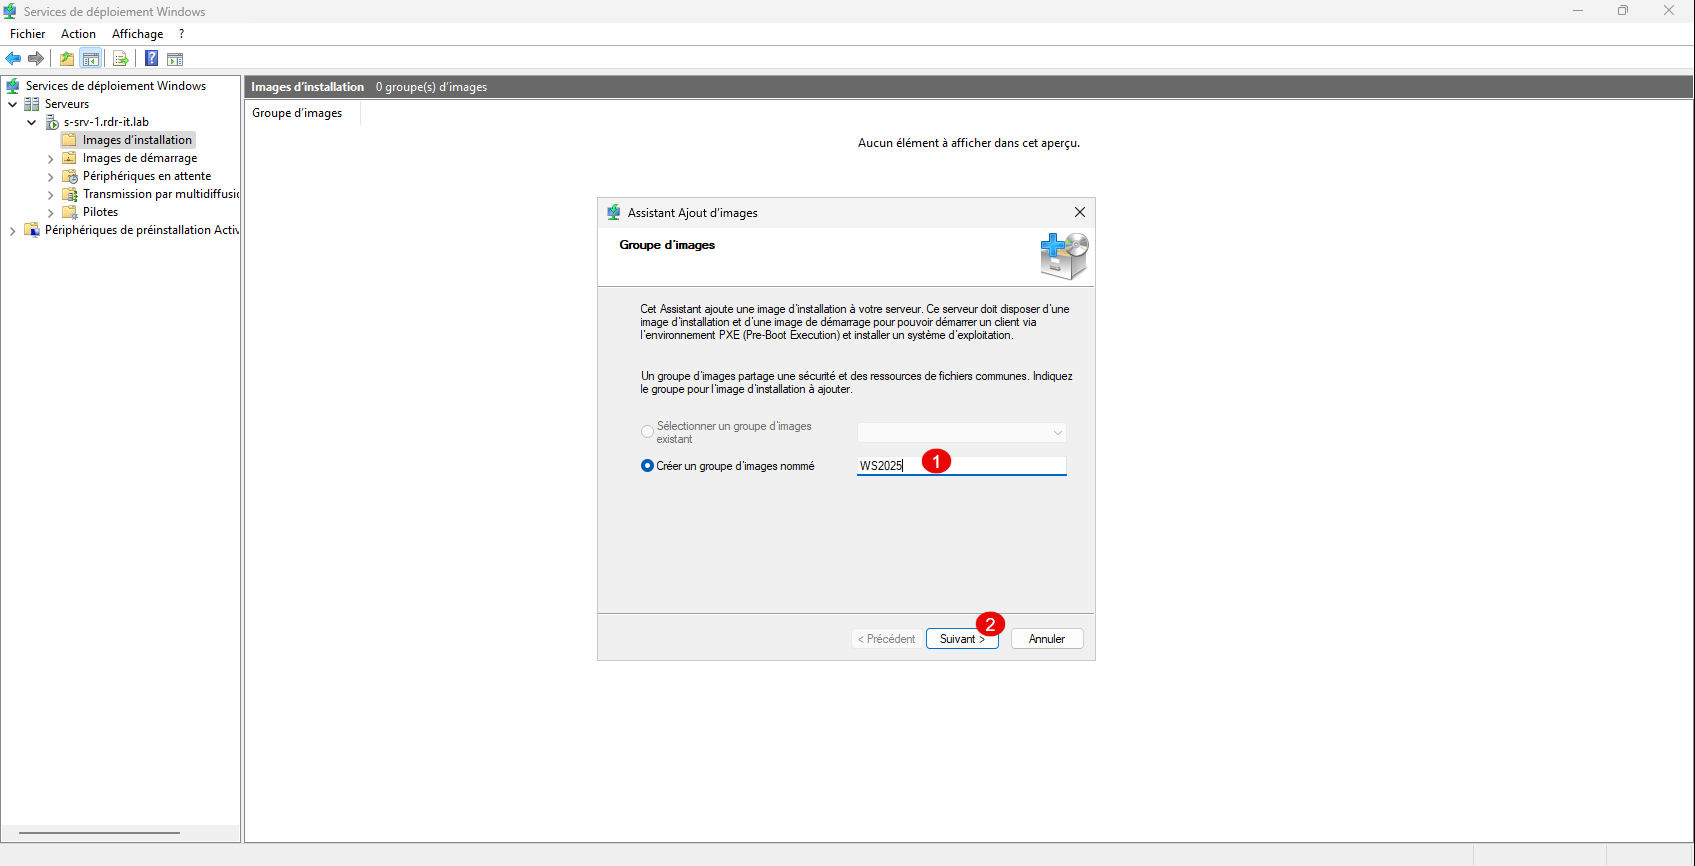
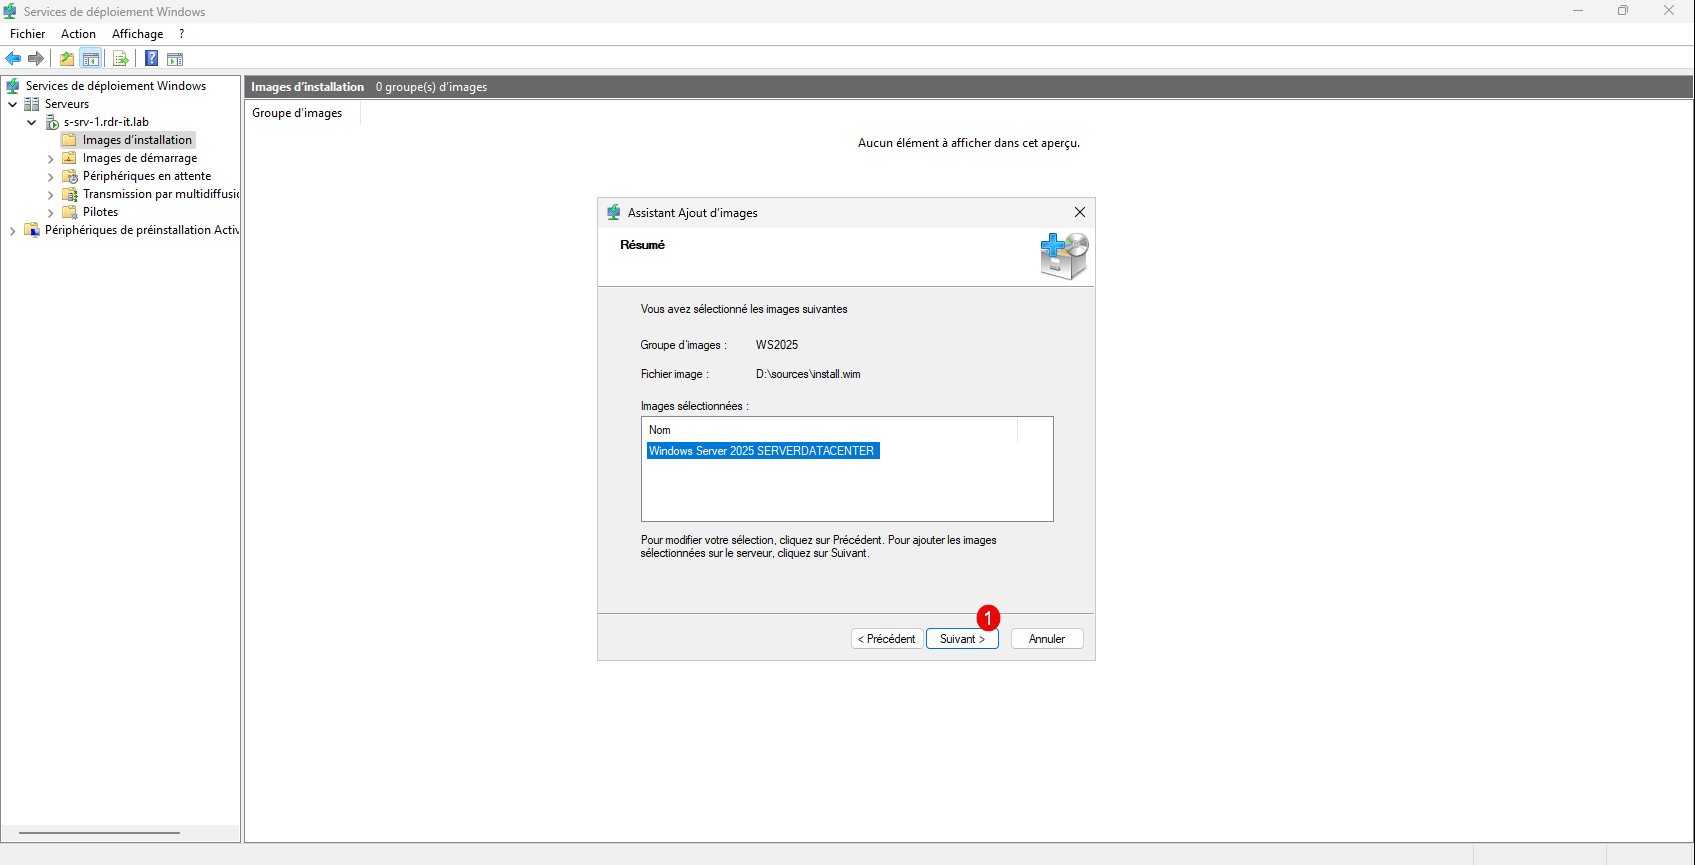
Images must be in a group; since our server has just been installed, we’ll start by creating a group, give the group a name 1, then click Next 2.
This time, on the ISO, locate the install.wim file 1, which is also in the sources folder, and click Next 2.
If there are multiple versions of Windows, they will all be displayed; select the one 1 you want to import, then click Next 2.
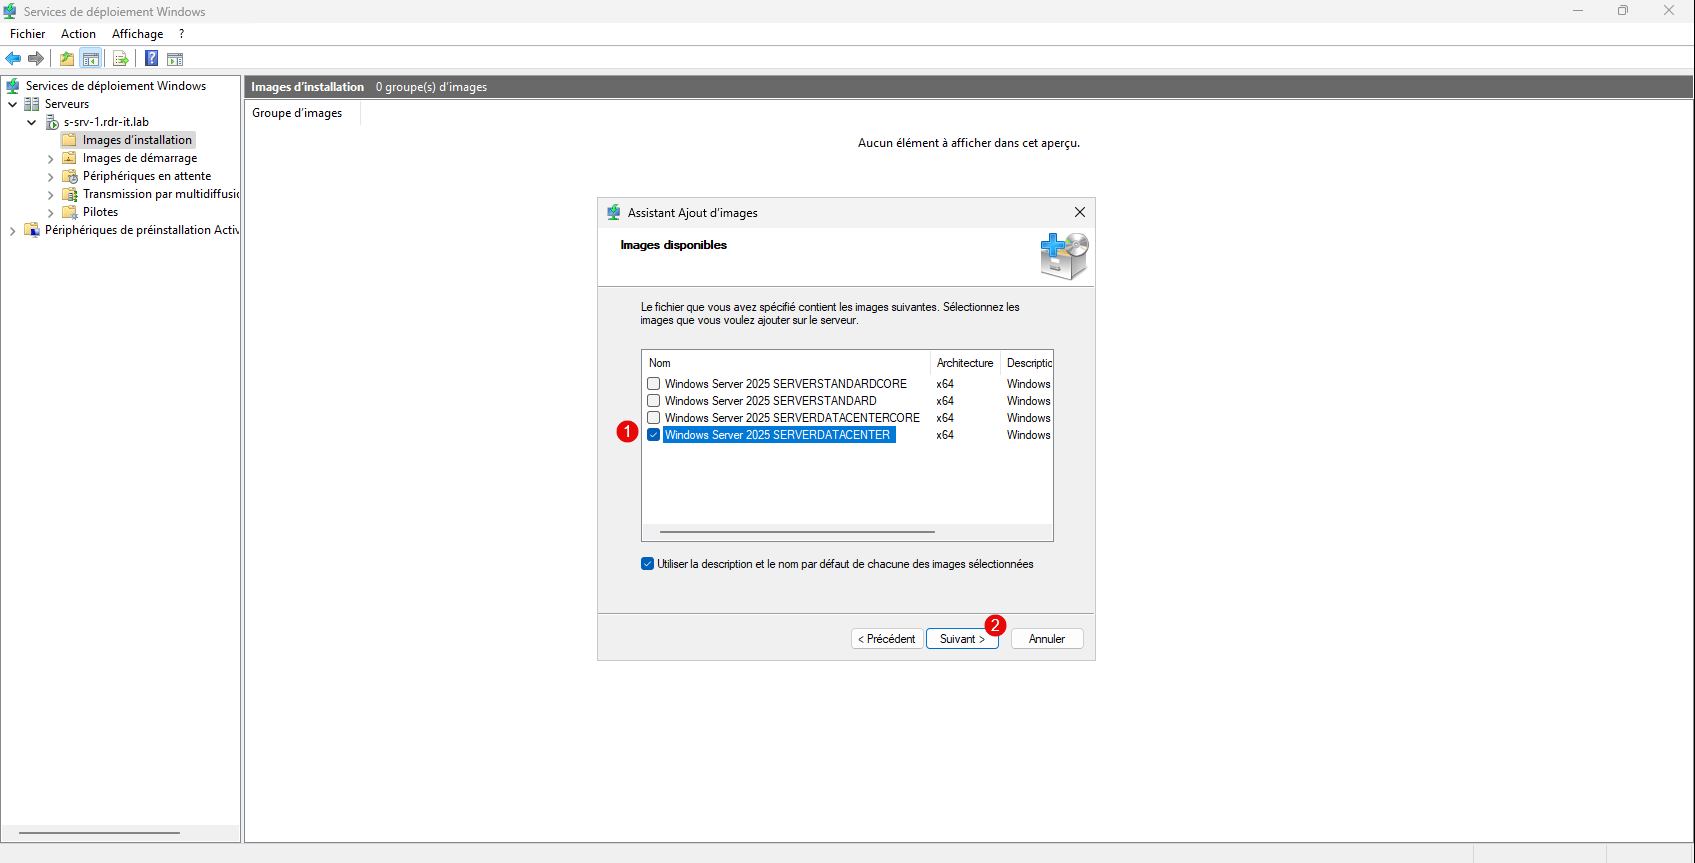
Here, I have chosen only the Datacenter version with a graphical interface.
A summary will appear; click Next 1.
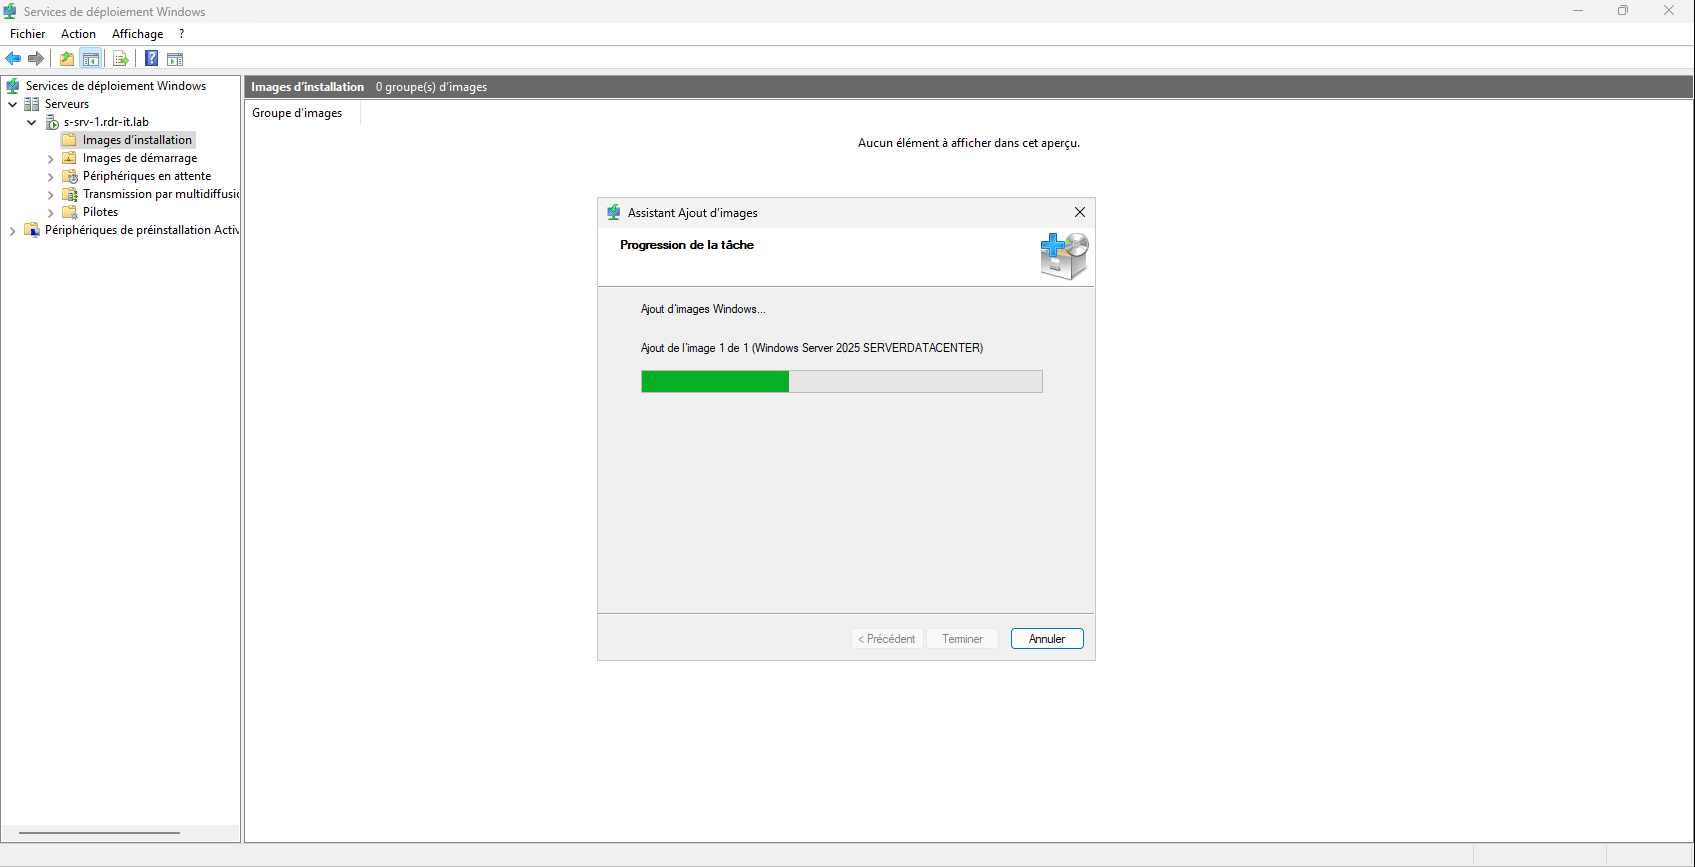
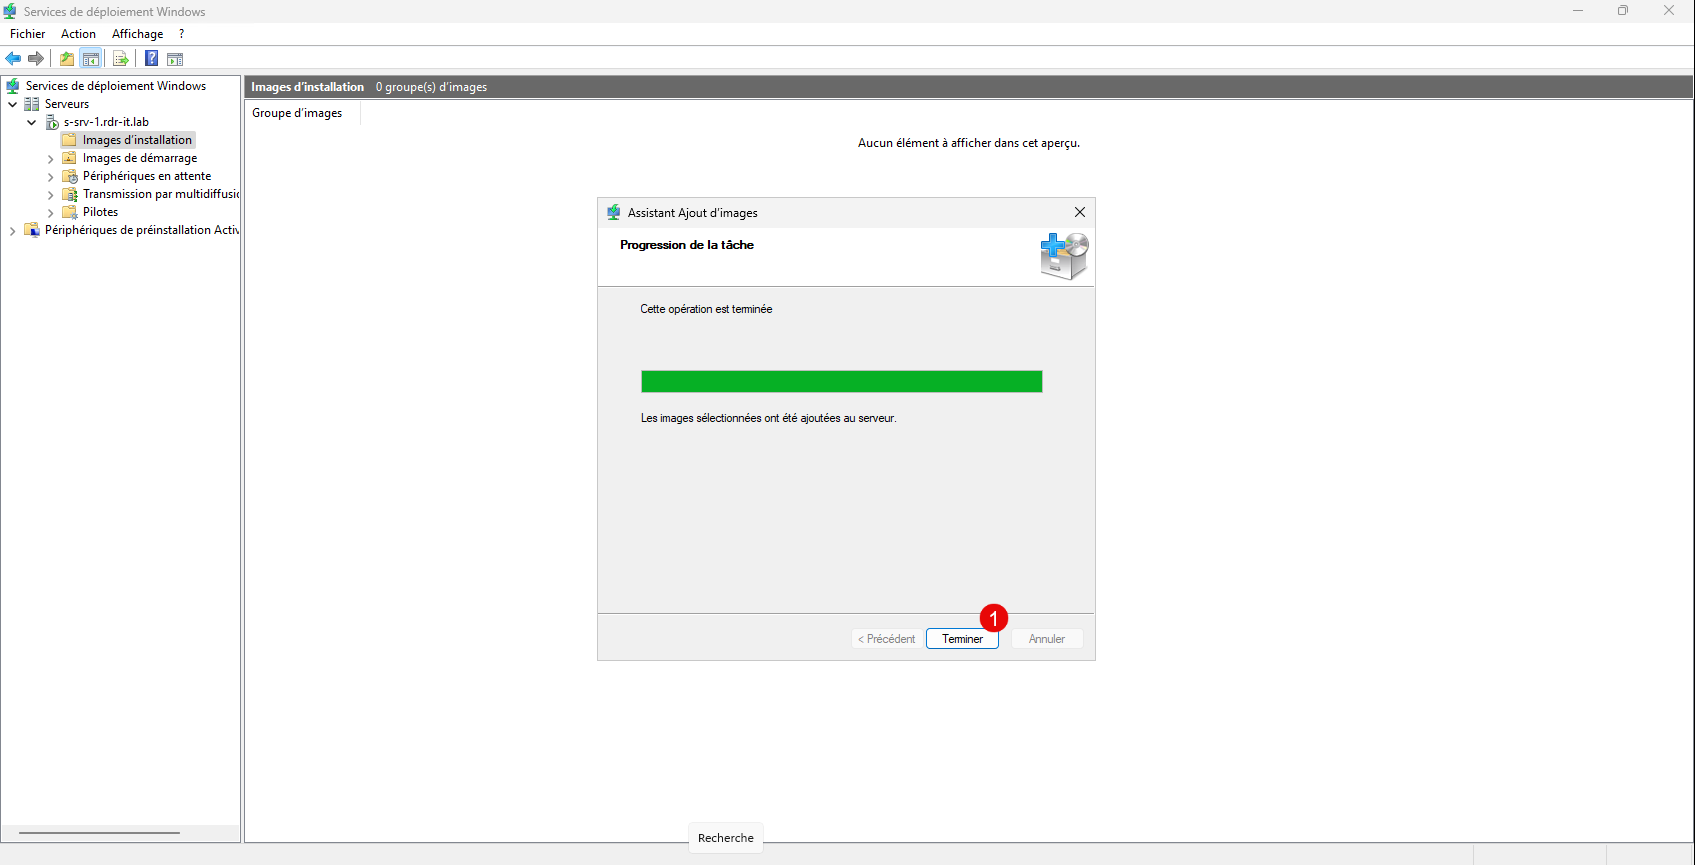
Please wait while the Windows image is imported into WDS…
Once the import is complete, close the wizard by clicking Finish 1.
The installation image has been added to WDS.
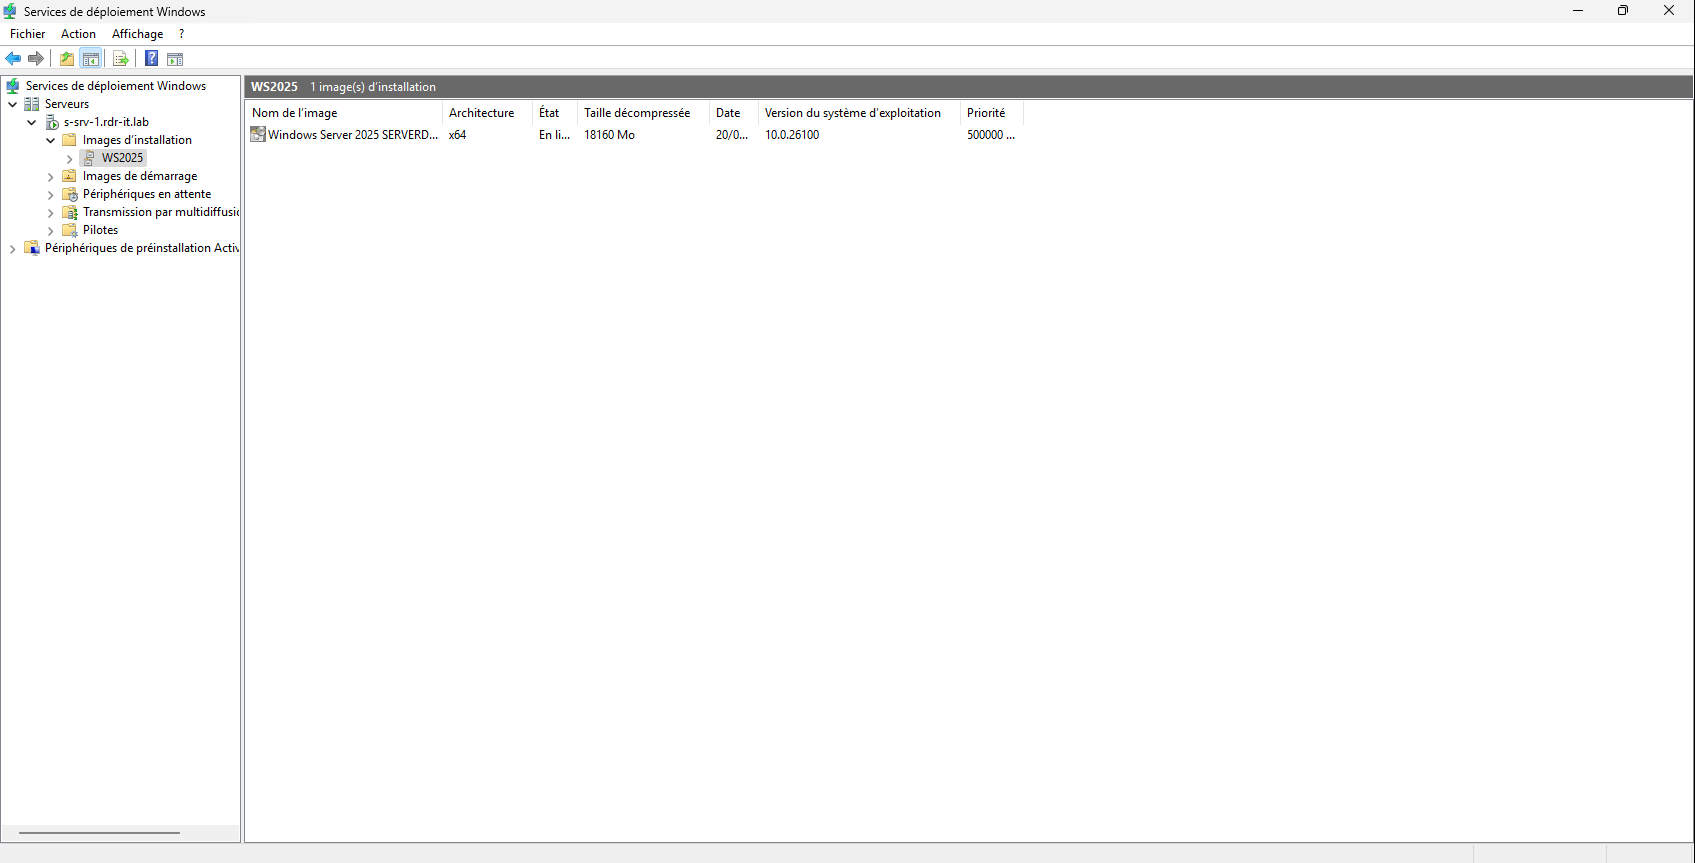
You are now ready to deploy Windows using your WDS server.
To test your WDS server, you can boot from a virtual machine on the network.
To complete this tutorial, I invite you to read this one: WDS: Installing and Configuring a Windows Deployment Server, which will give you a more in-depth look at the WDS role.
Find all WDS tutorials here.
As you can see, the WDS version in Windows Server 2025 is similar to the previous version.
