Overview
In this tutorial, I’ll explain how to configure Microsoft AD FS as an identity provider in Keycloak.
Both Keycloak and AD FS are authentication solutions that allow you to set up an authentication portal and enable SSO.
To illustrate this tutorial, I’ll use a real-world scenario that led me to implement this solution.
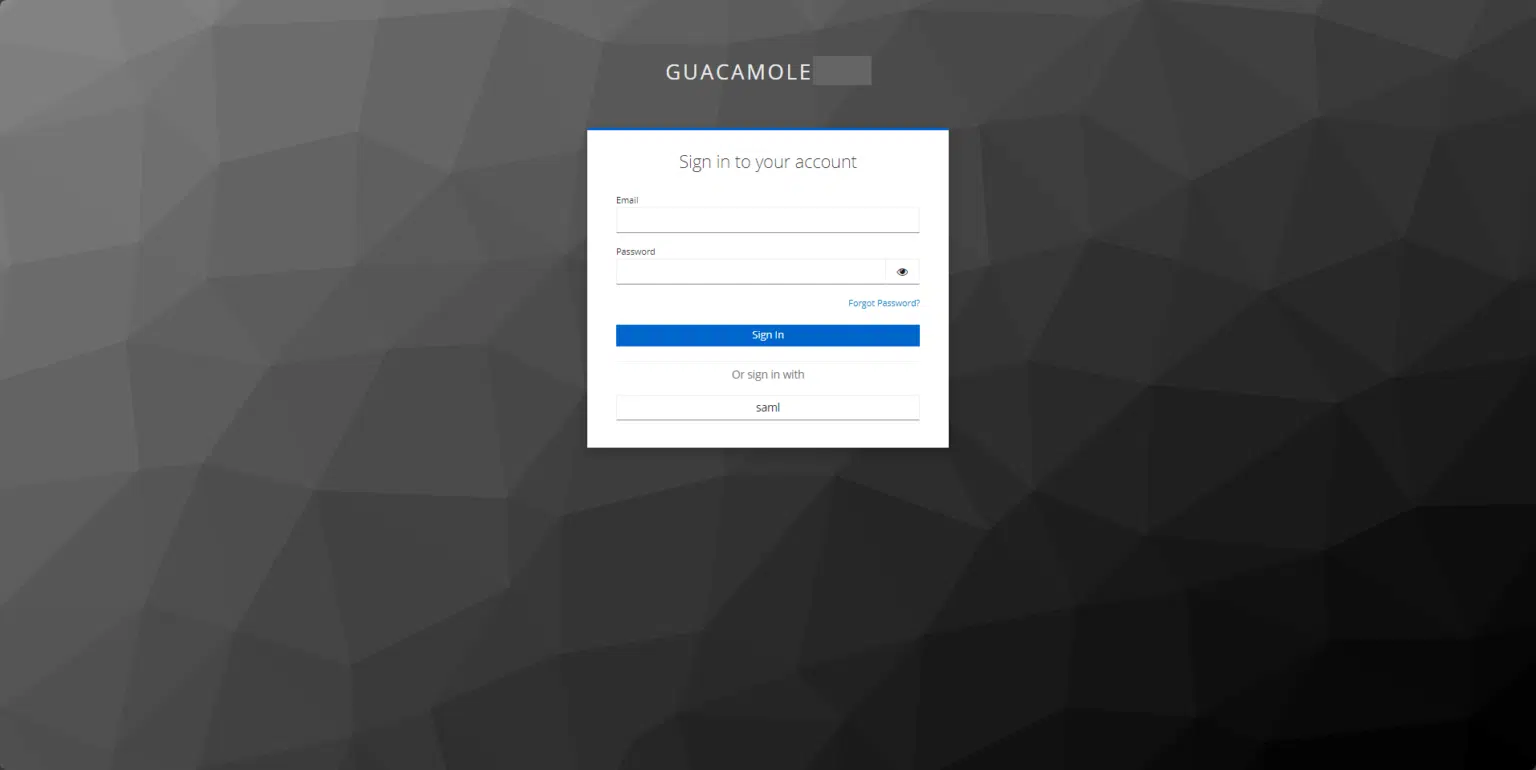
At the company where I work, we use Guacamole as a “bastion” server; it’s used by both external contractors and internal staff to access servers. To simplify account management and centralization for external contractors, Guacamole was integrated with Keycloak because we did not want to have contractor accounts in the directoryActive Directory. For internal access, Guacamole was integrated with AD FS via SAML. In this scenario, when we arrive at the Guacamole homepage, we must select the identity provider, and on top of that, there is the Guacamole login form—which results in a complex authentication process. The goal is to have a single identity provider for Guacamole—Keycloak—and to be automatically redirected directly to its login form. The other constraint is that we cannot link AD FS Active Directory to Guacamole; therefore, the solution is to add AD FS as an identity provider to Keycloak.
In this tutorial, the integration with AD FS will be performed using SAML.
Add AD FS as an identity provider in Keycloak
To begin, we’ll add AD FS as an identity provider in Keycloak.
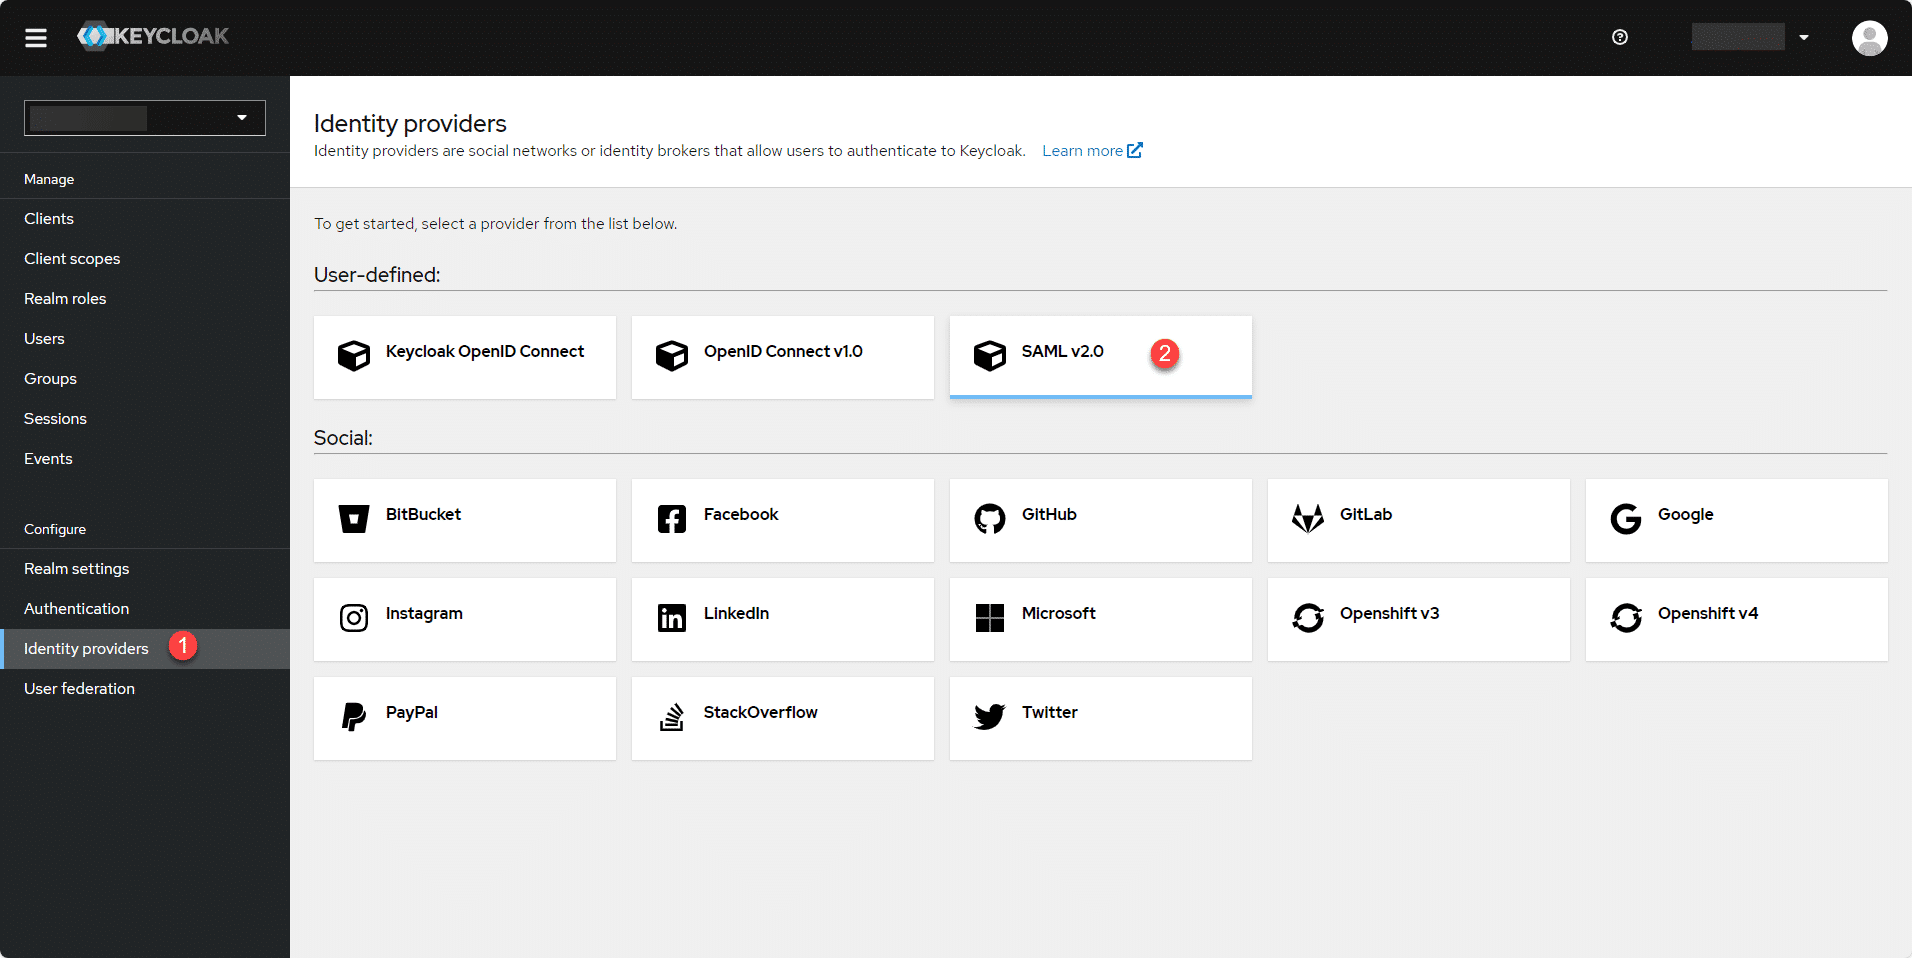
From the menu, click on Identity Provider 1 , then click on SAML v2.0 2 .
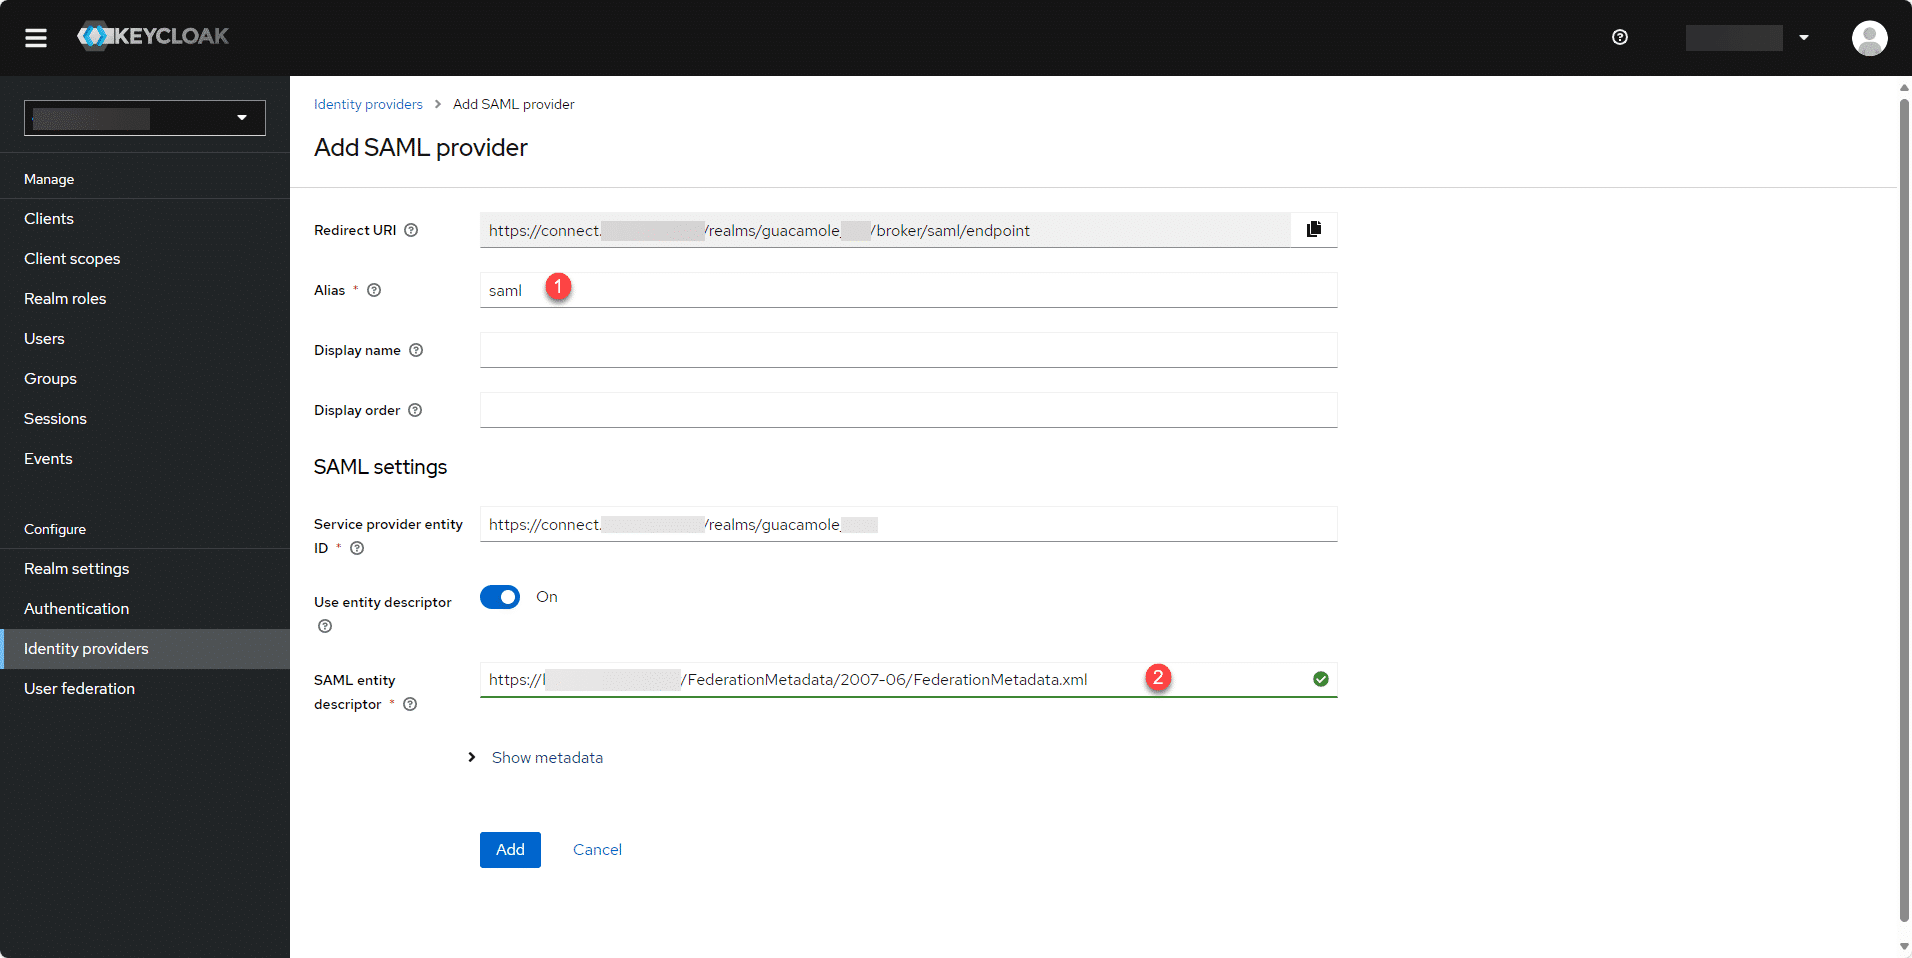
This takes you to the form for adding a SAML provider. Name the provider in the Alias field 1
, then in the SAML entity descriptor field, enter the AD FS service discovery URL 2
in the format https://adfs-uri/FederationMetadata/2007-06/FederationMetadata.xml.
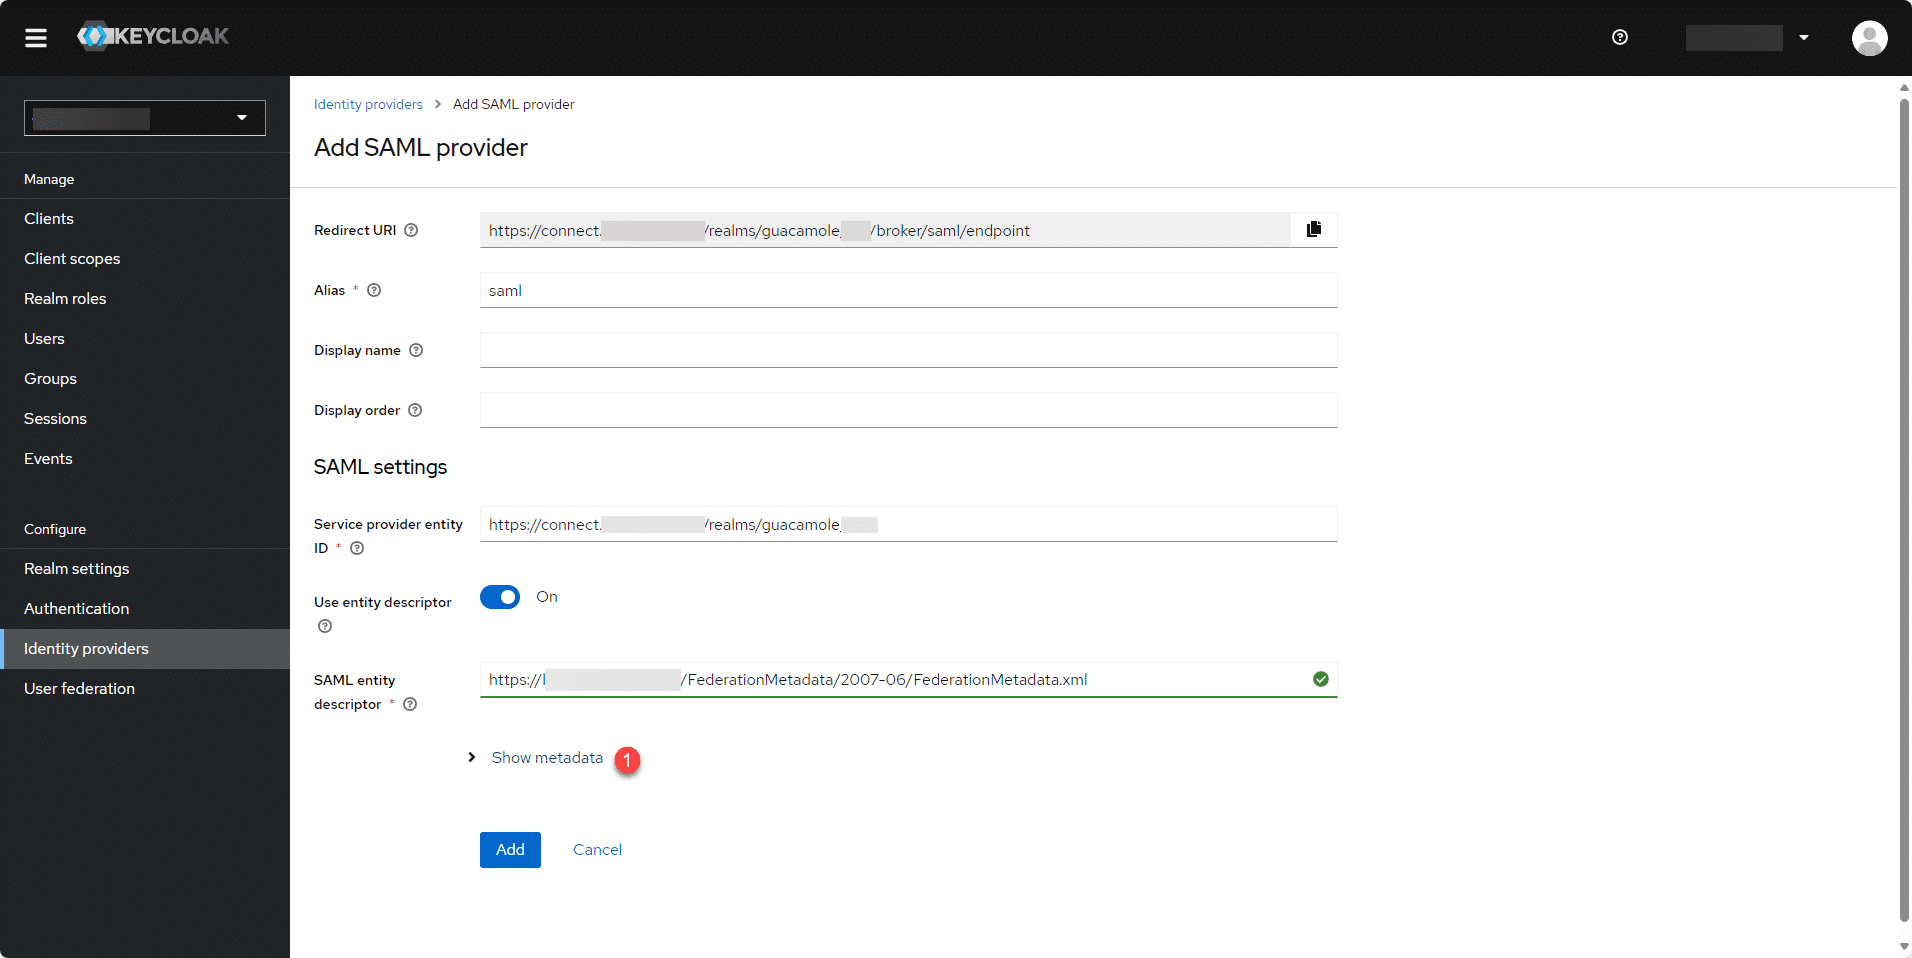
If the URL is correct, a green checkmark will appear next to the SAML Entity Descriptor field. Click Show Metadata 1 to verify the information returned by AD FS.
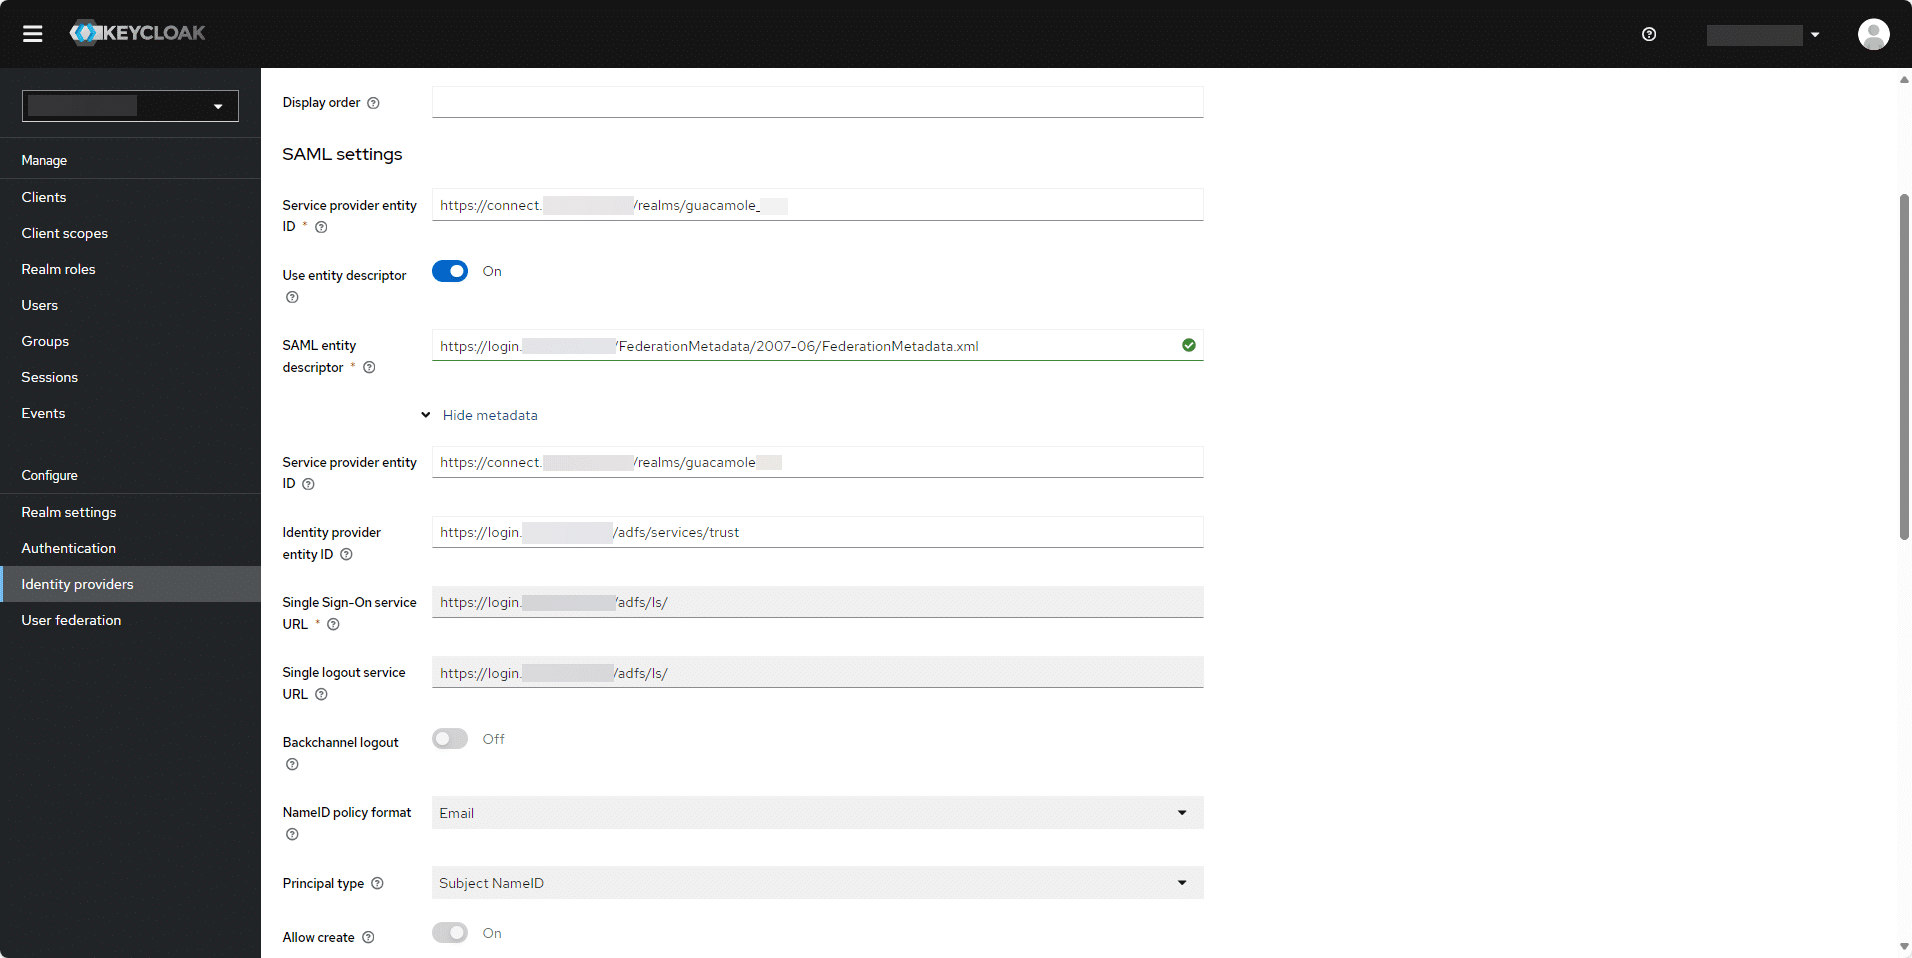
Verify the SAML configuration information and click the “Add” button 1 at the bottom of the page.
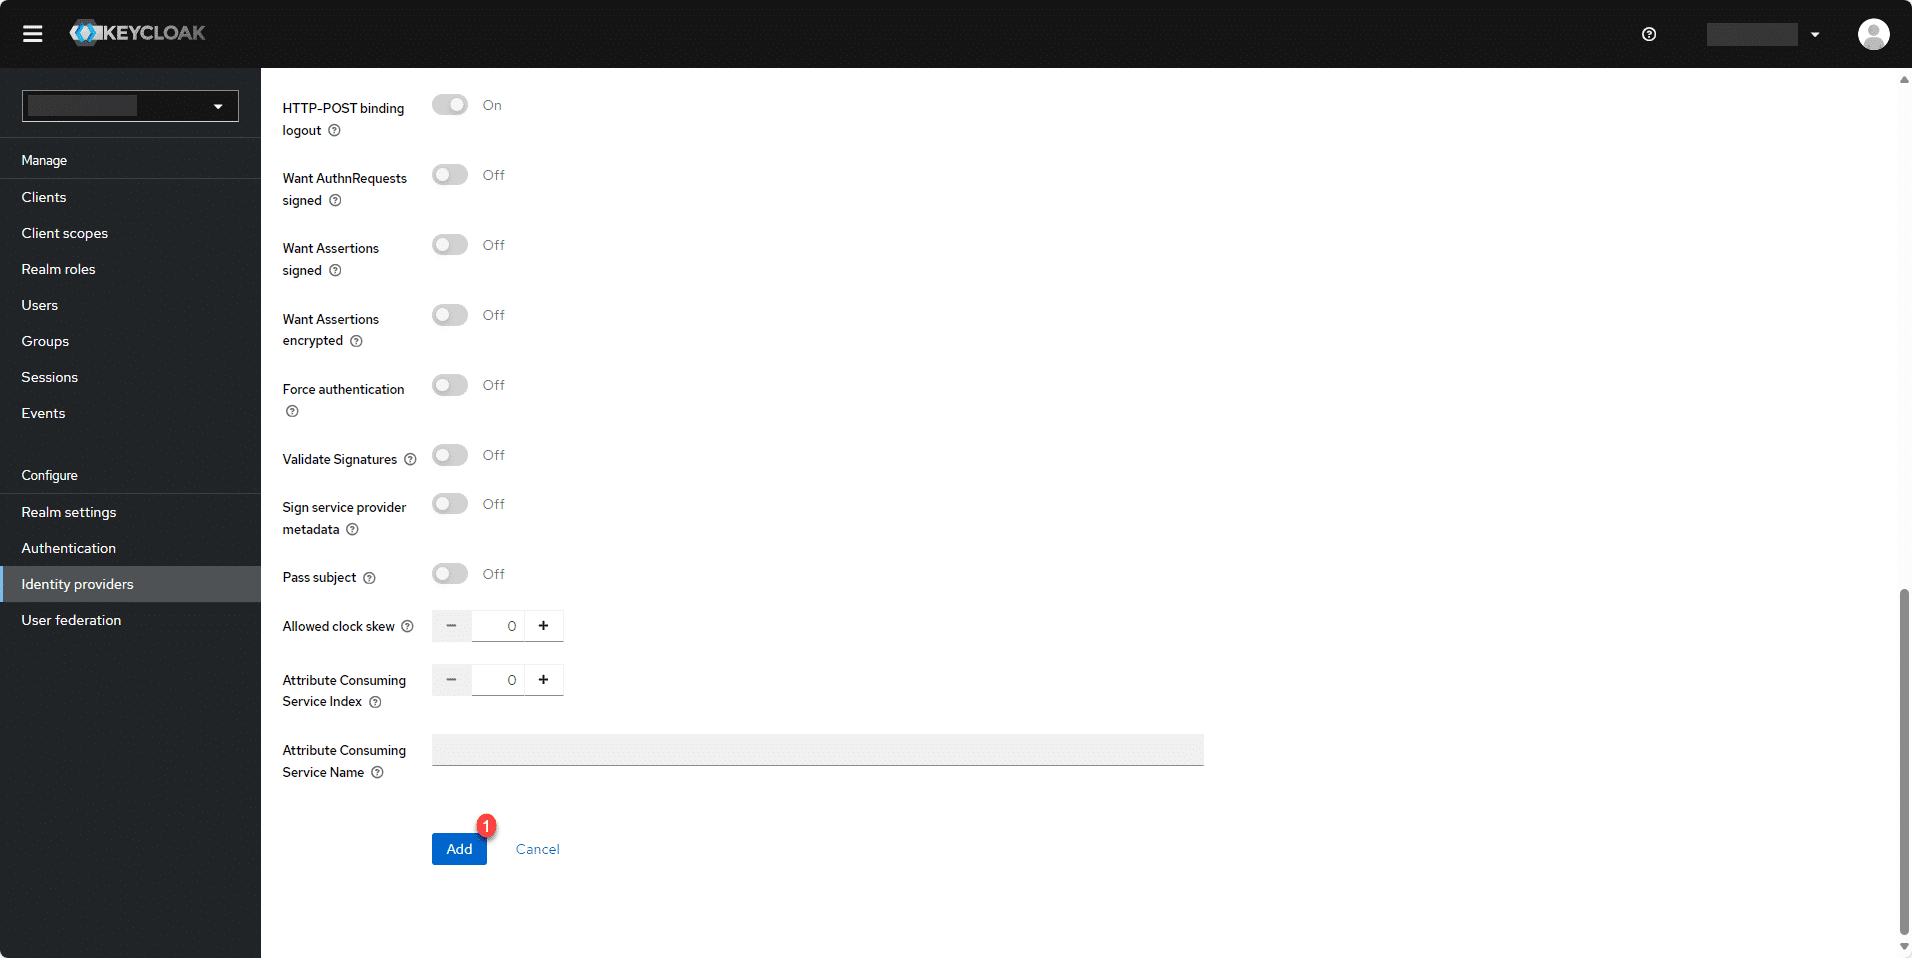
The SAML identity provider is added to Keycloak.
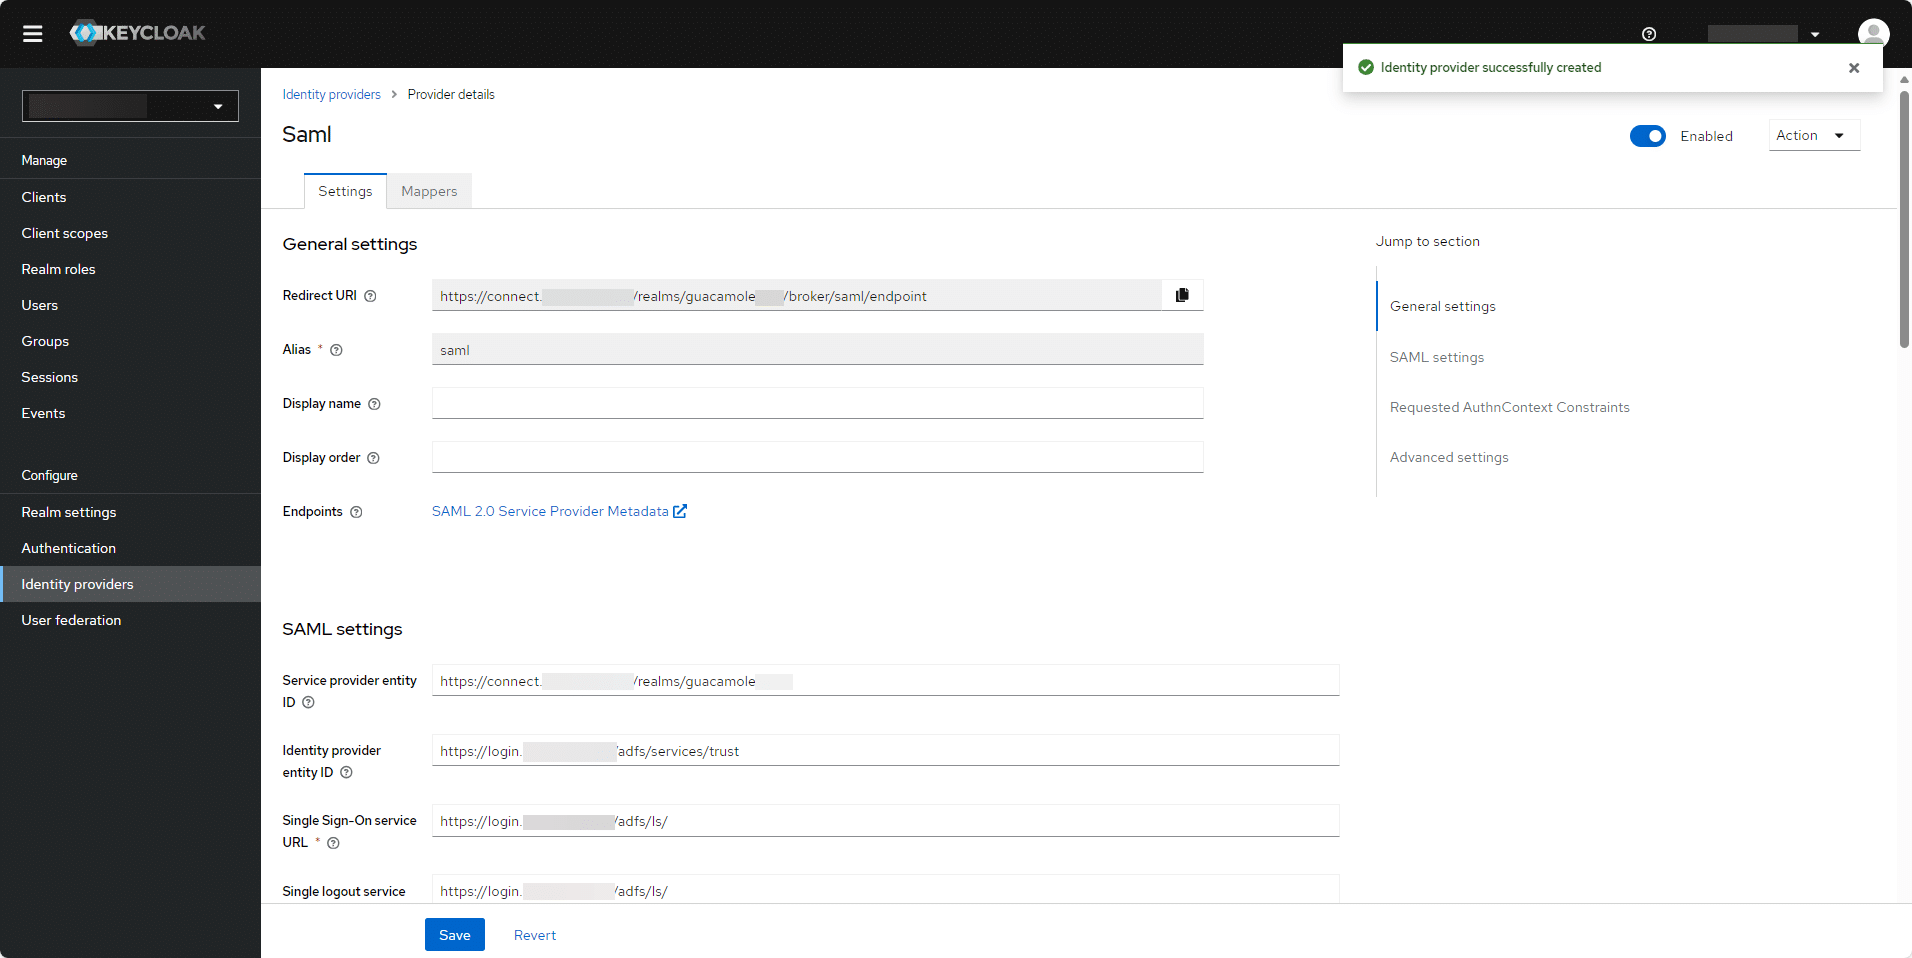
Locate the “NameID policy format” field, select “Unspecified” 1 , and click the “Save” button 2 .
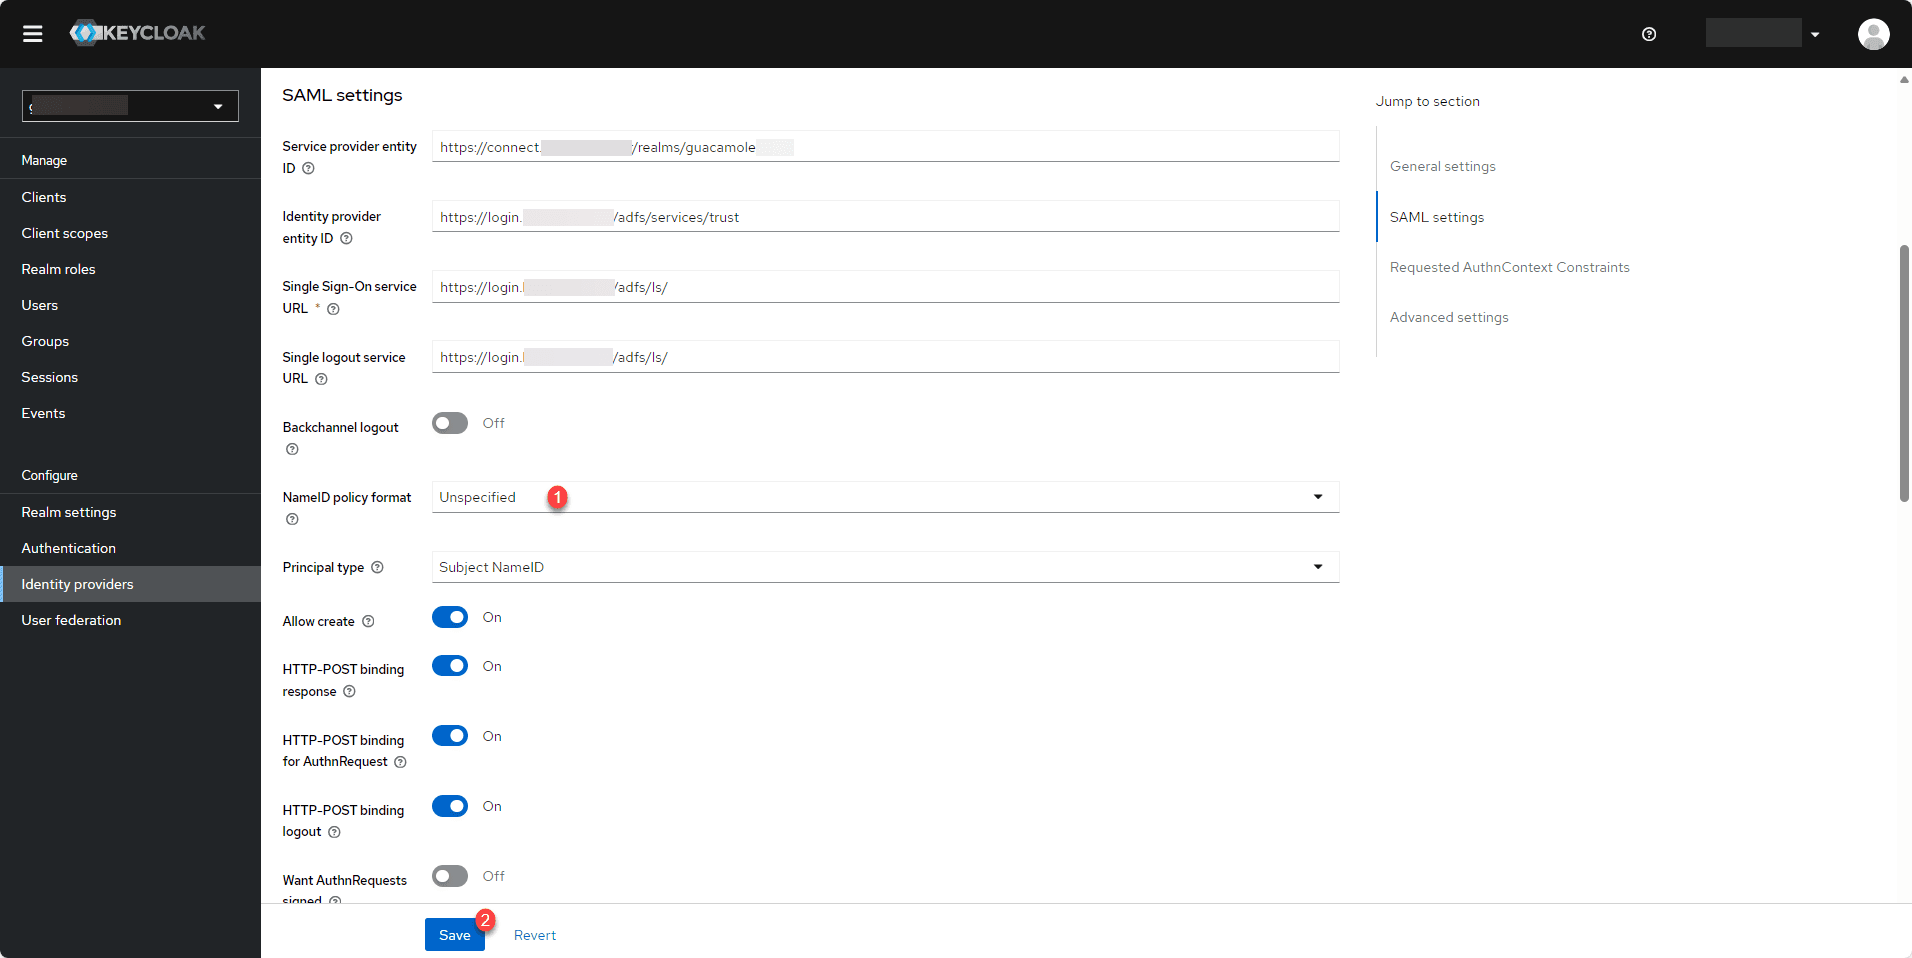
For now, we’re done with the Keycloak configuration; we’ll move on to adding the trusted party in AD FS. To make this easier, paste the link available in the Keycloak console: SAML 2.0 Service Provider Metadata.
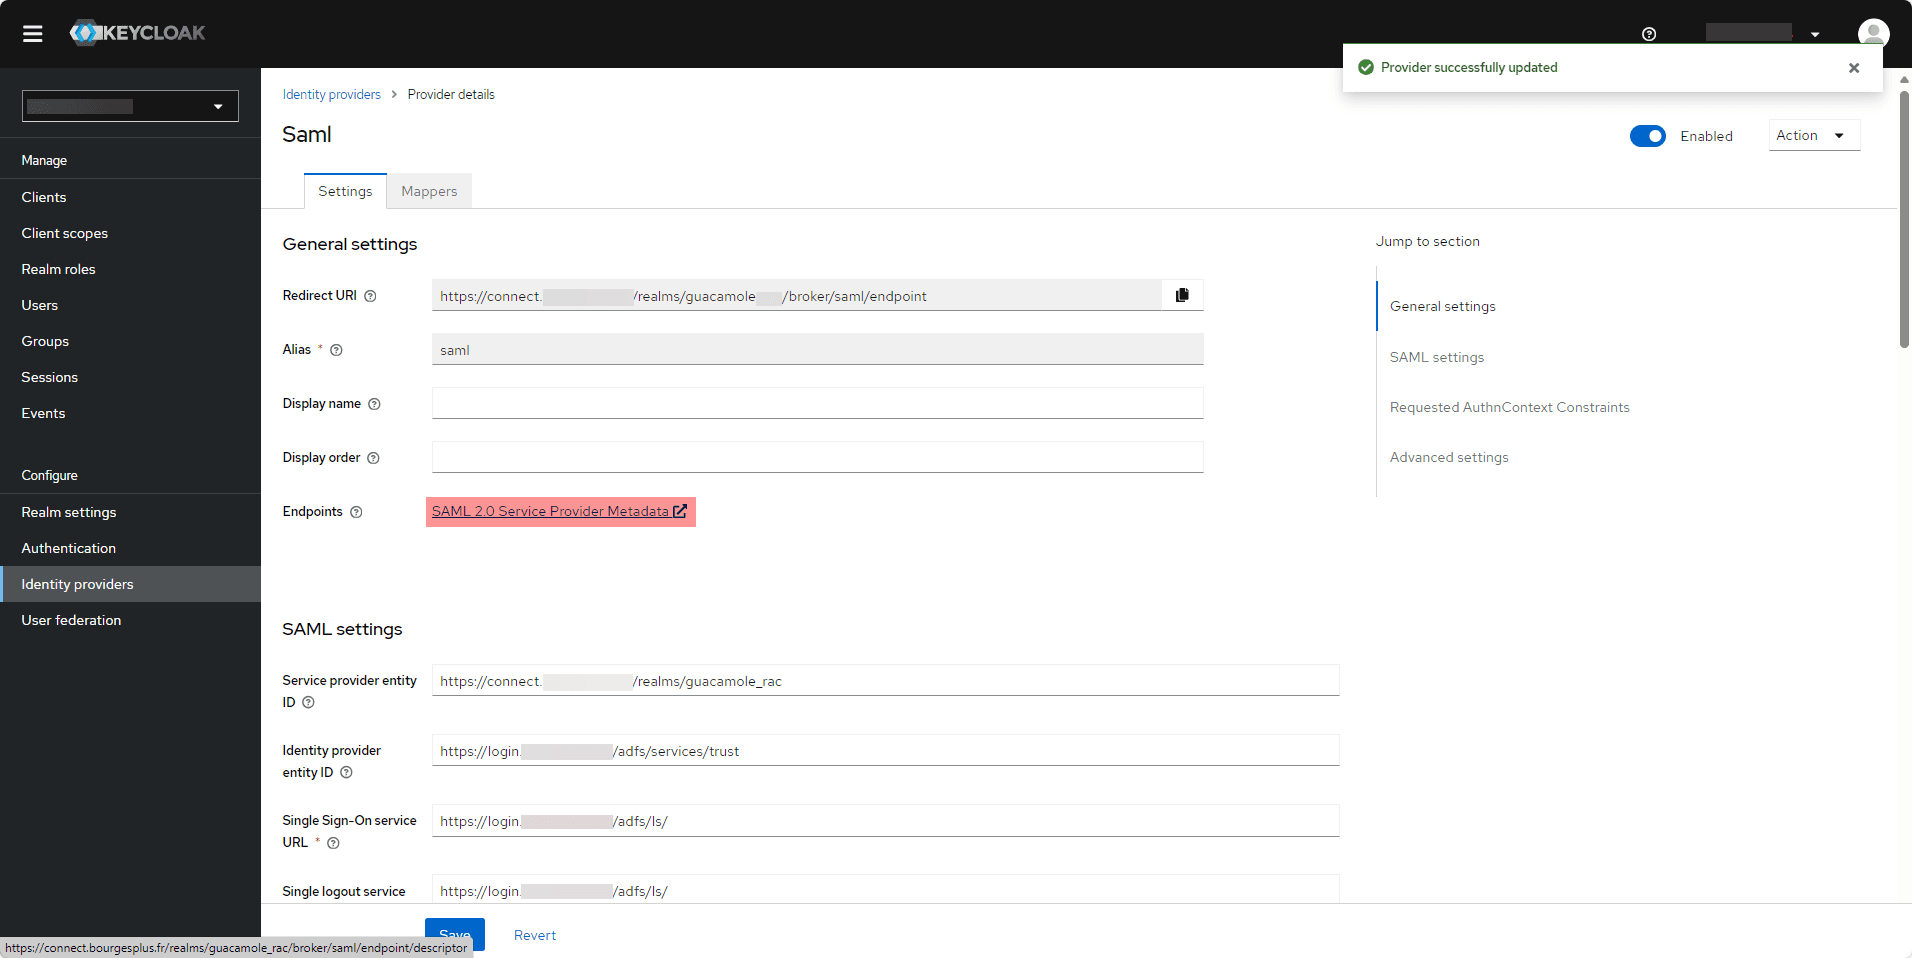
Add Keycloak as a trusted party in AD FS
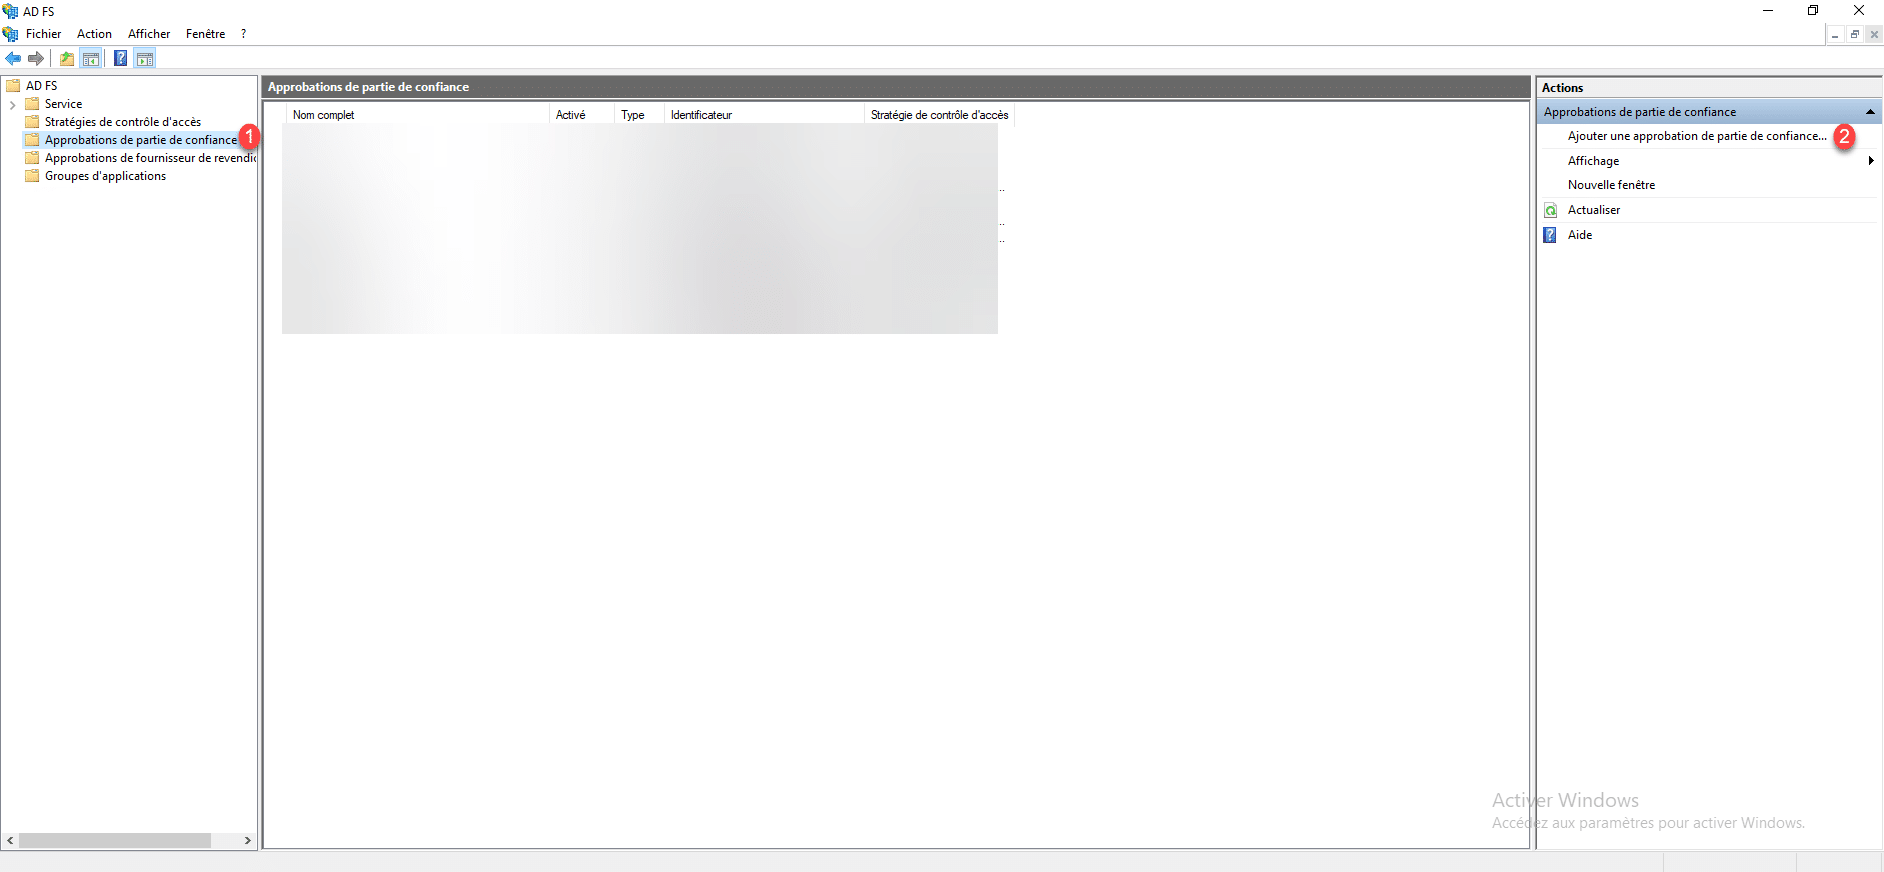
From the AD FS console, go to the Trusted Party Approvals folder 1 and click Add Trusted Party Approval 2 in the Actions pane.
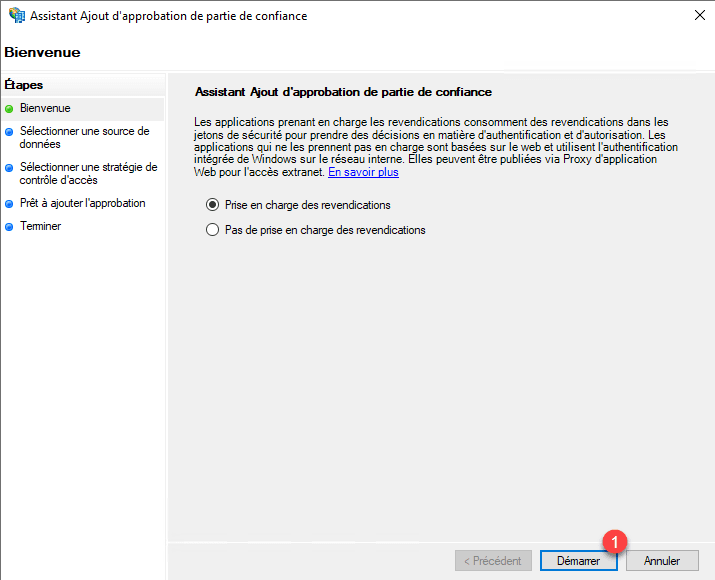
When the wizard launches, click Start 1 , making sure that Claim Support is selected.
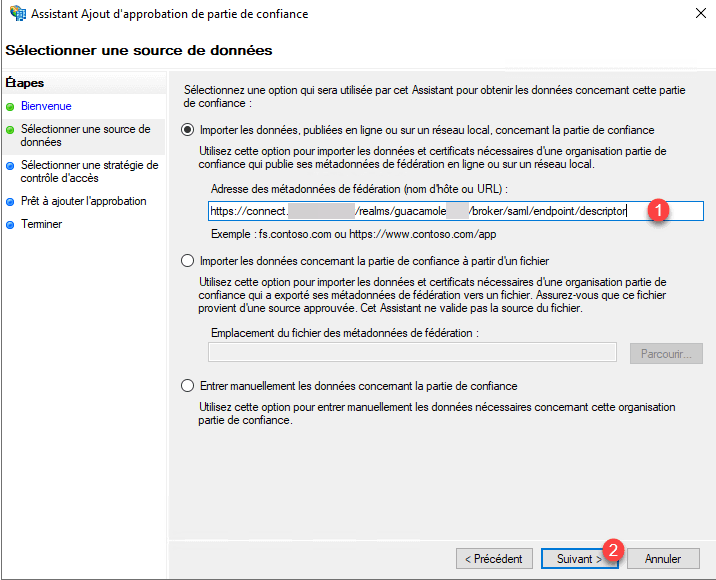
By default, AD FS offers to configure the client by importing data via a URL. Paste the URL copied from Keycloak into the “Federation Metadata Address (Host Name or URL)” field 1 , then click “Next” 2 .
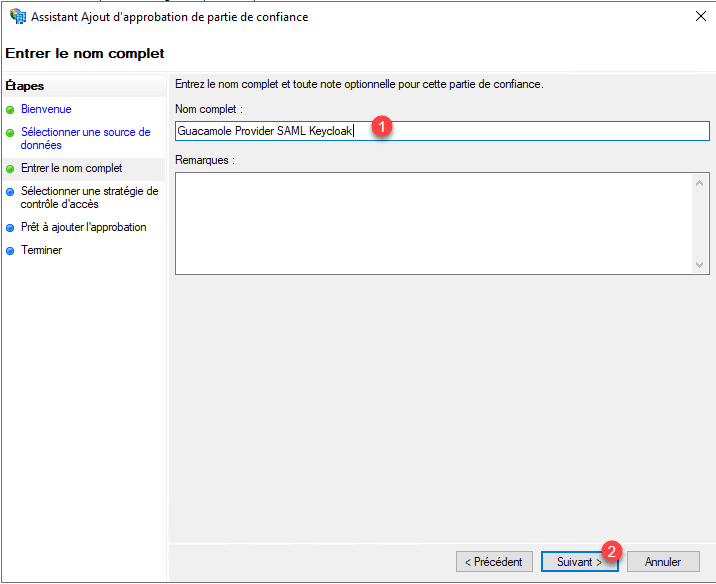
Name 1 the trusted party and click the Next button 2 .
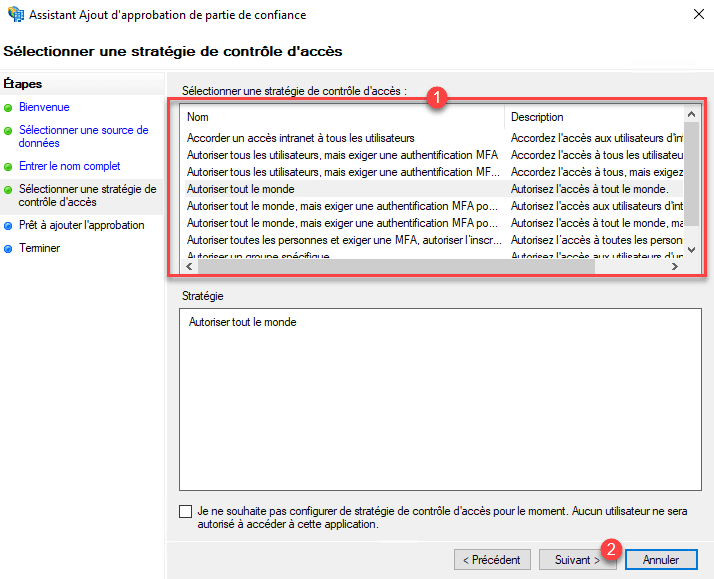
Configure the access control policy 1 and click Next 2 .
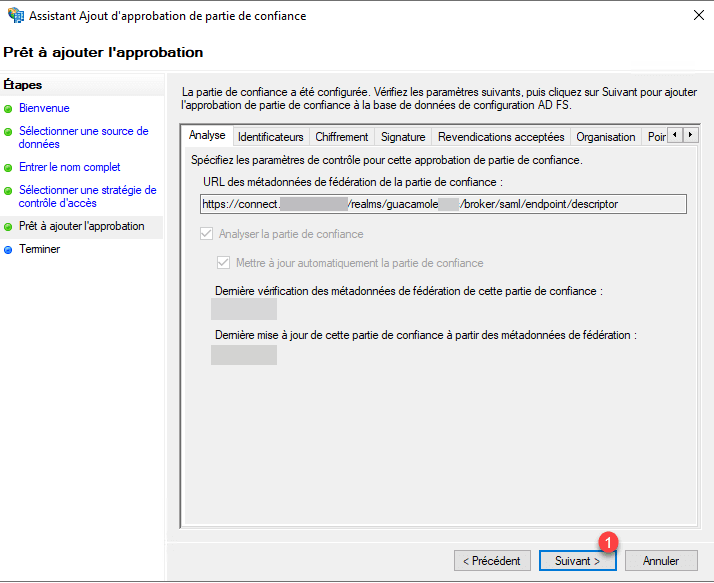
A summary of the configuration is displayed; click the Next button 1 .
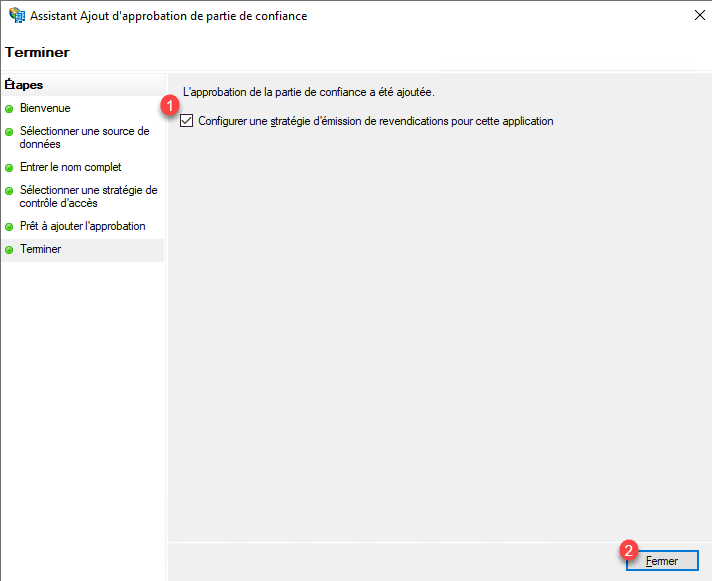
Leave the “Configure a claim issuance policy for this application” 1 checkbox selected and click Close 2 .
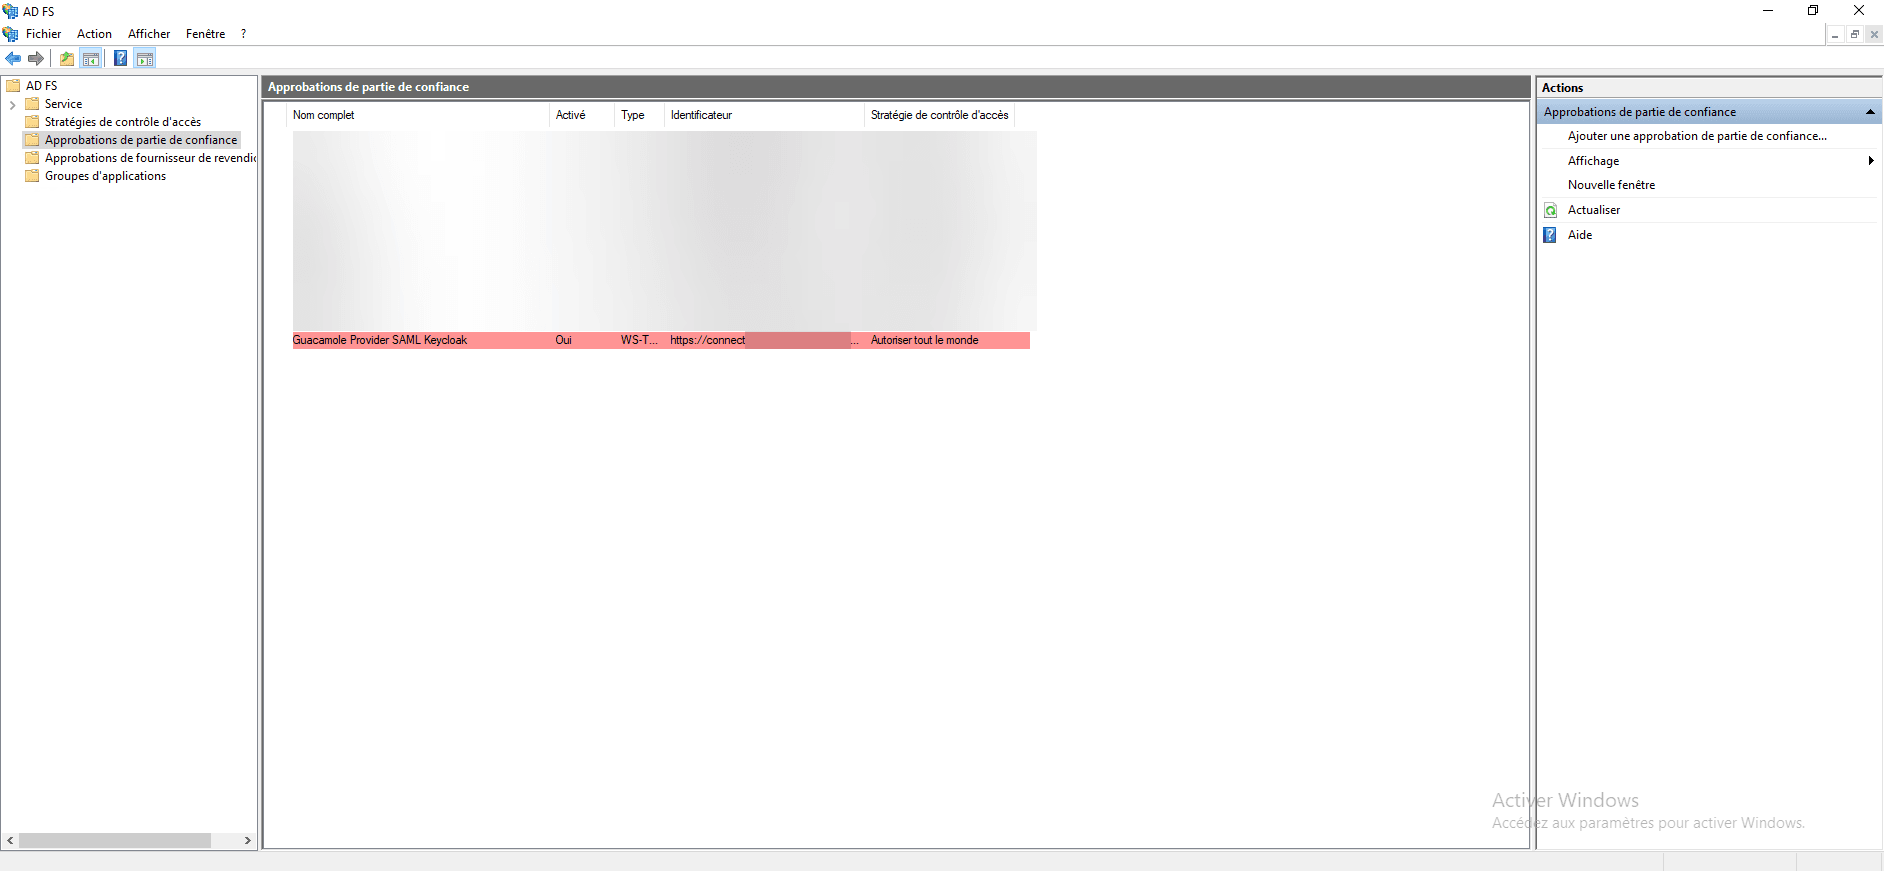
The trusted party is added.
Configuring Claims in AD FS
To access the claims configuration window that has opened, minimize the AD FS console.
This step is “important” because it will allow user information to be sent to Keycloak so that the account can be provisioned.
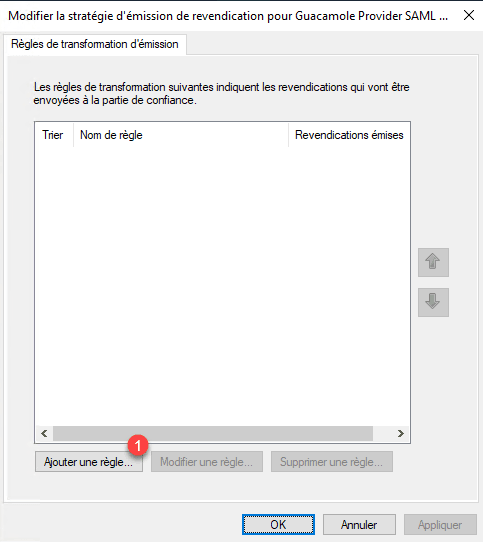
Click the Add Rule button 1 .
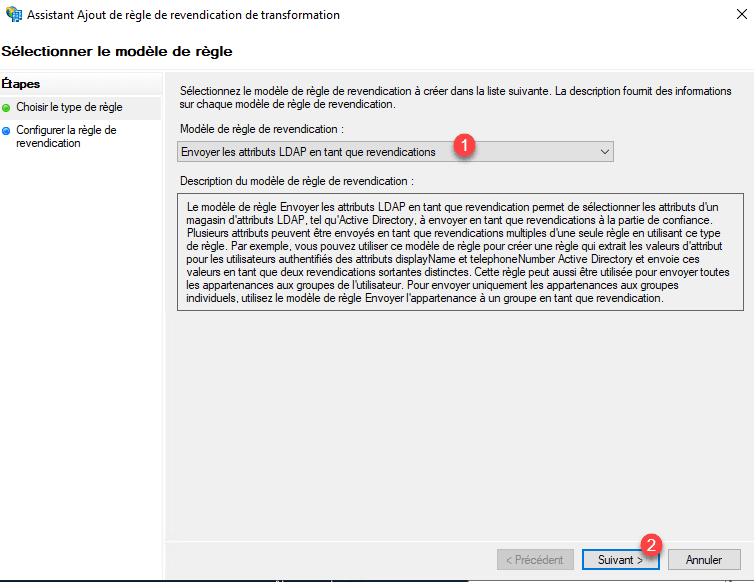
Select “Send LDAP attributes as claims” 1 , then click the Next button 2 .
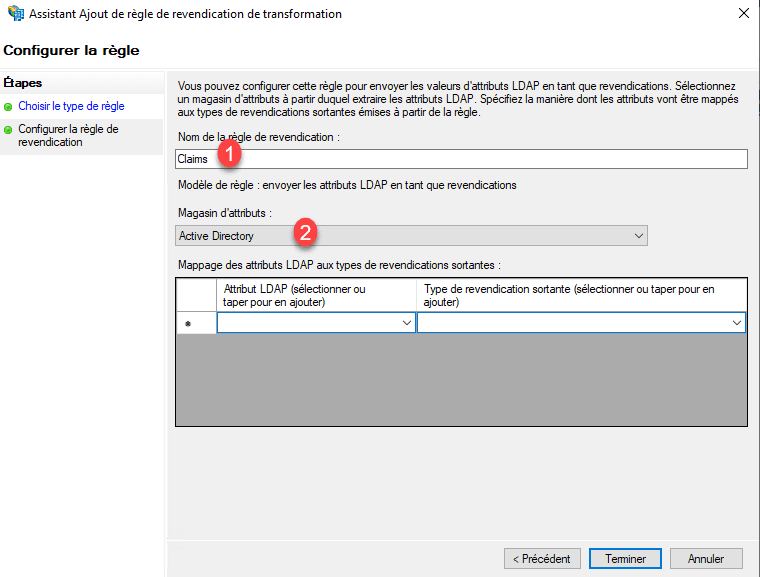
Name 1 the claim rule, then selectActive Directory2 as the attribute store.
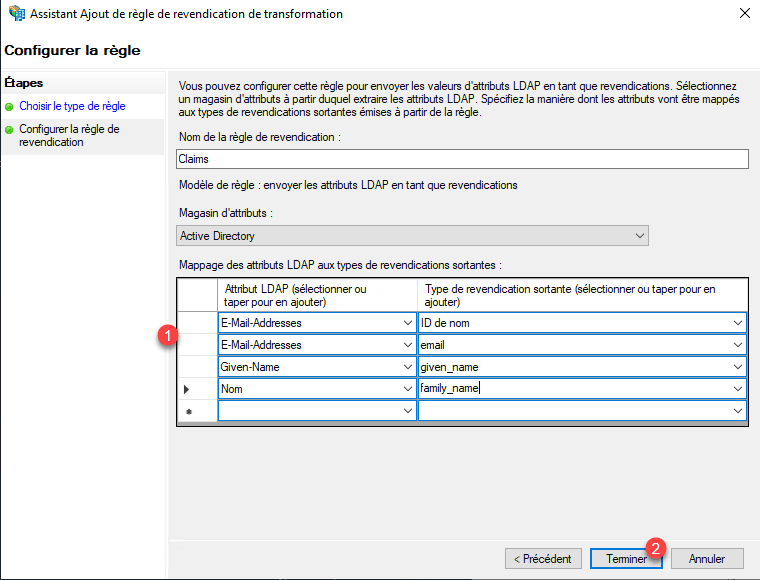
Configure the claims as shown in the screenshot below 1 and click Finish 2 .
Confirm the addition of the rule by clicking Apply 1 and OK 2 to close the window.
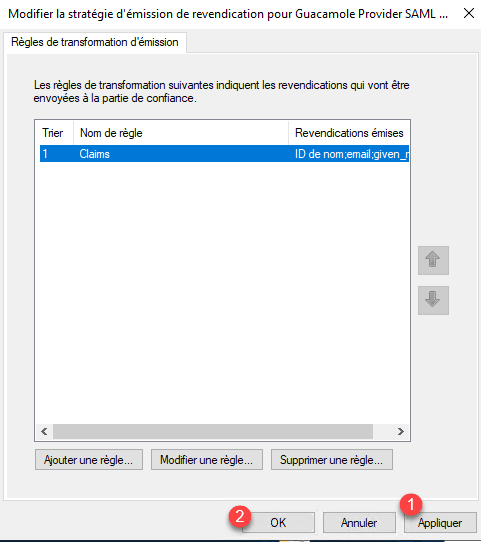
The configuration in AD FS is complete.
Configure the mapping of AD FS claims to profile attributes in Keycloak
Our configuration is now operational and ready for use. When a user logs in for the first time via the SAML provider, Keycloak will create (provision) the user. If no mapping is set up, the user will need to enter their profile information (email, first name, and last name) during their first login.
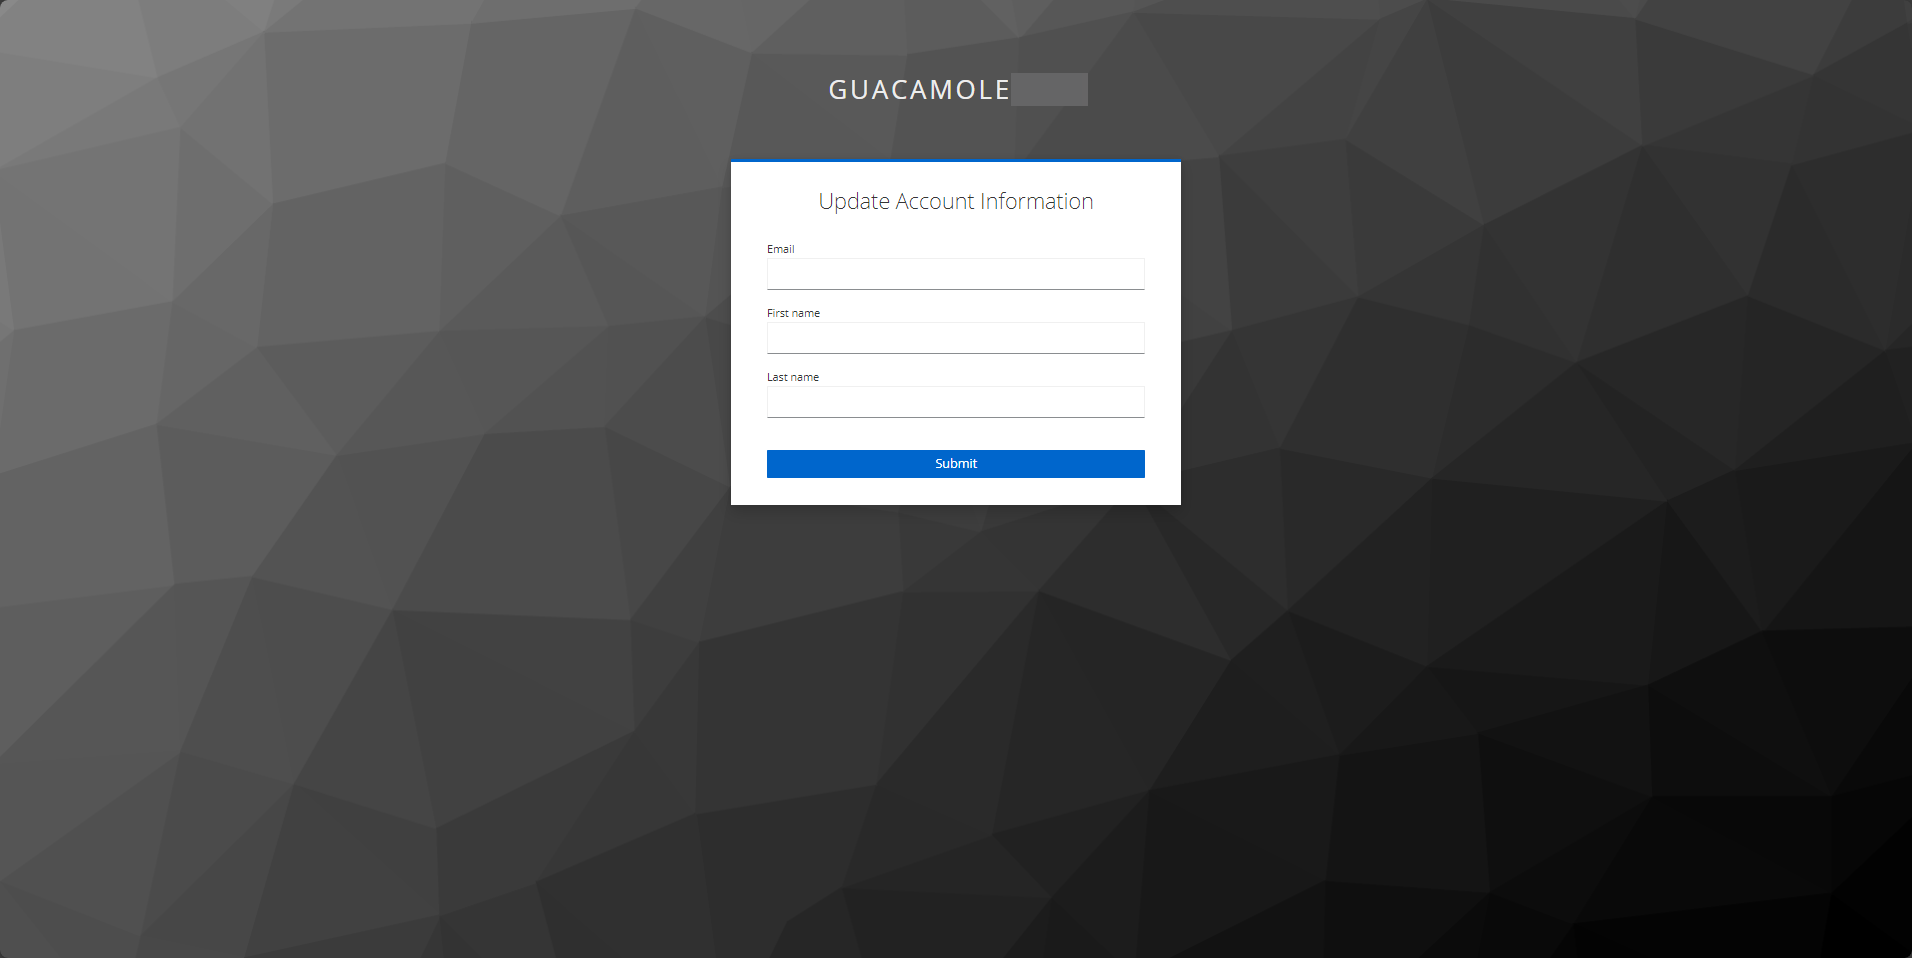
To avoid this step, we’ll configure a mapping between the information returned by AD FS and the profile in Keycloak.
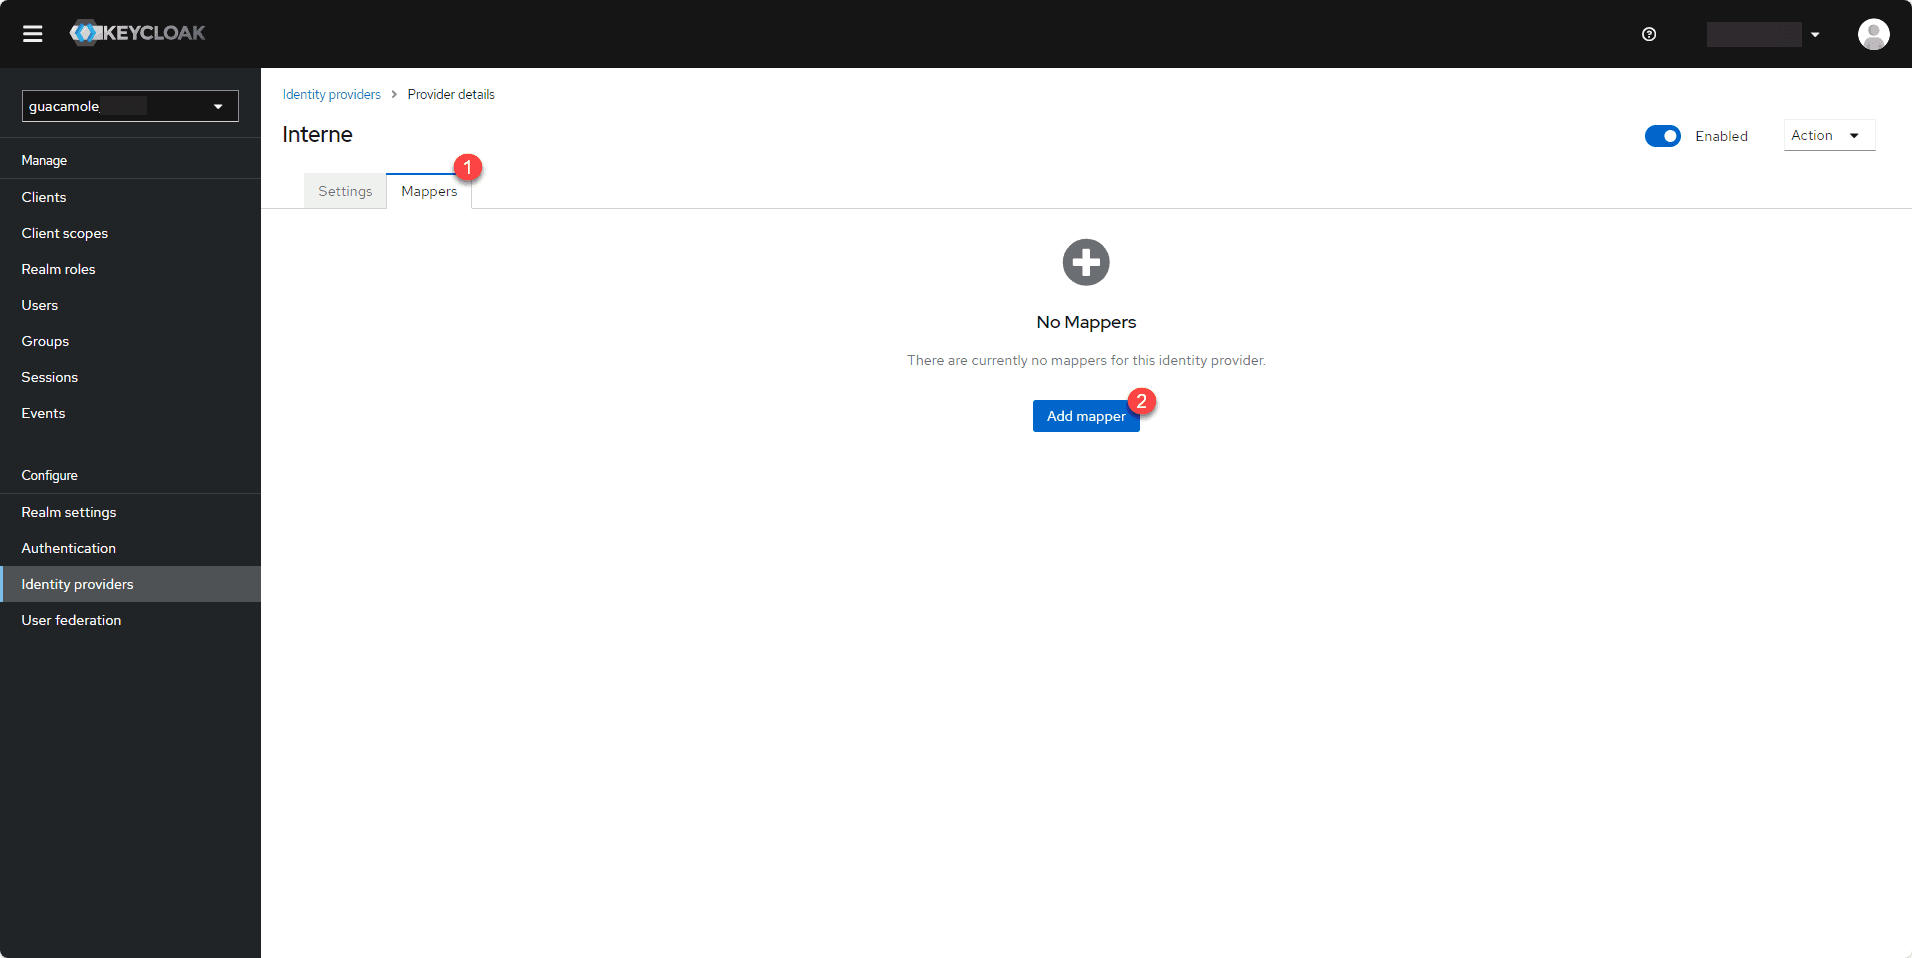
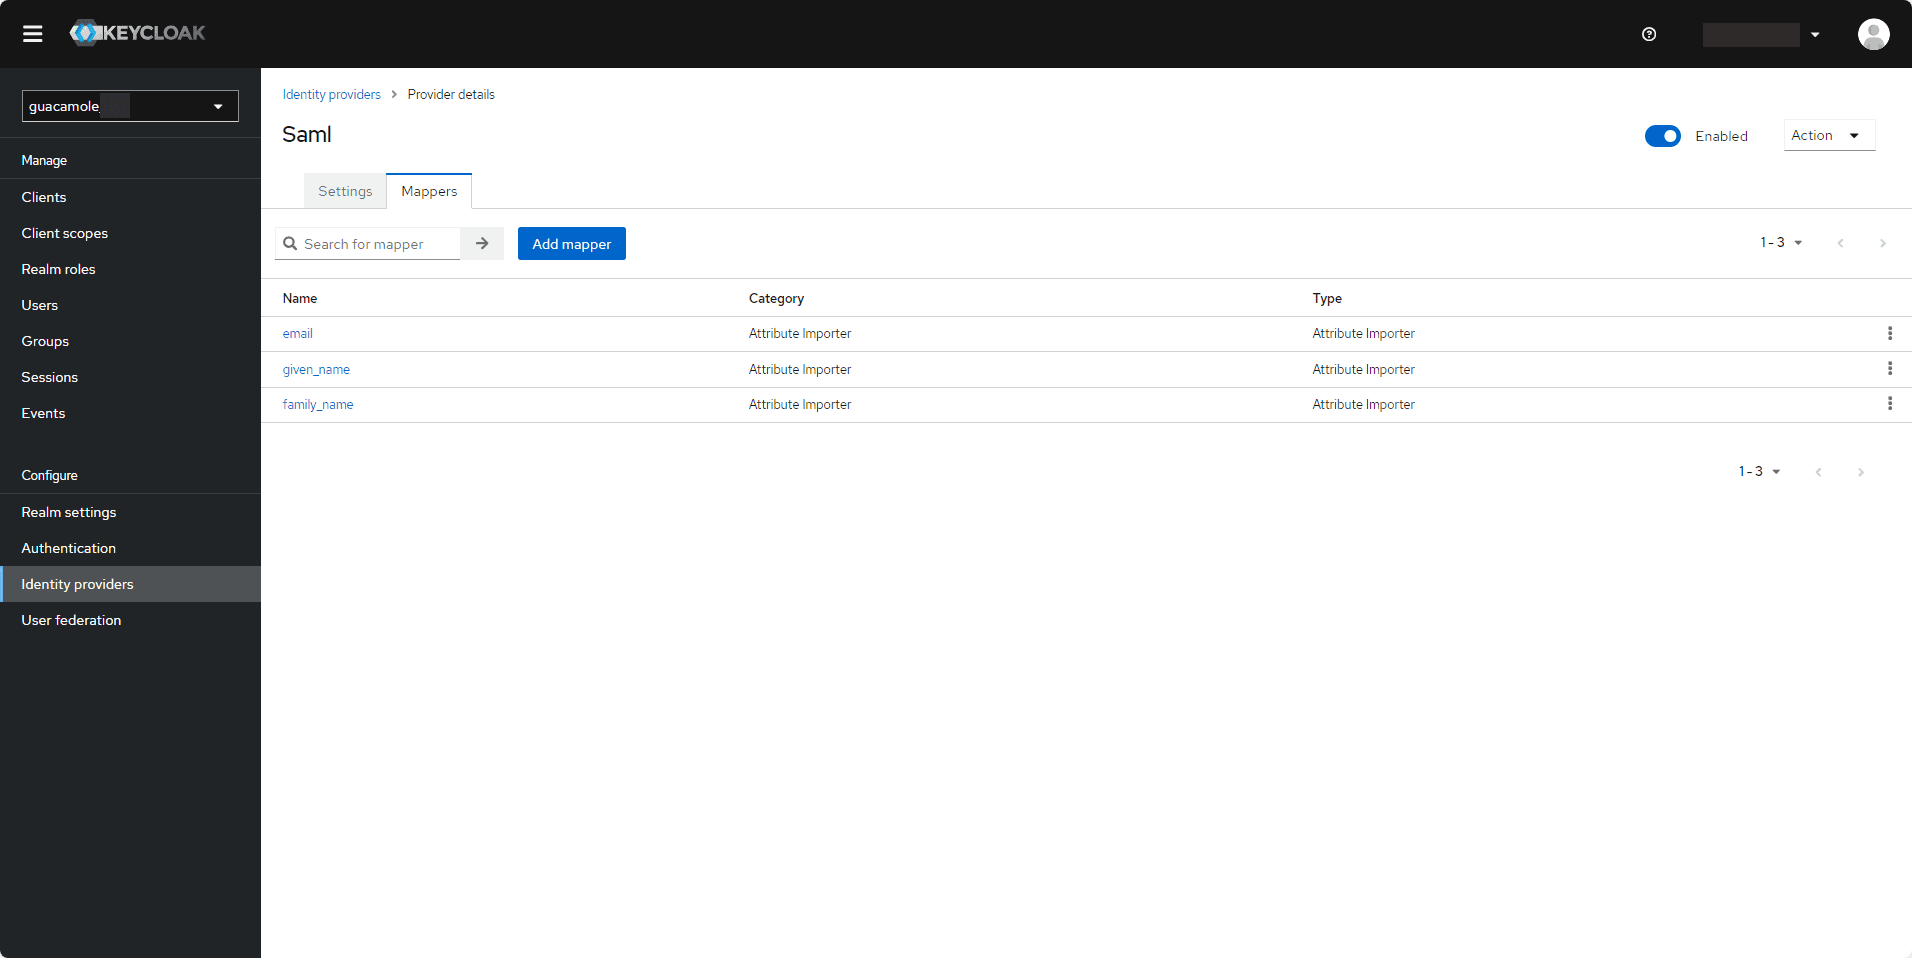
In Keycloak, return to the SAML provider you created, go to the Mappers tab 1 , and click Add mapper 2 .
Here is the configuration for mapping the email address:
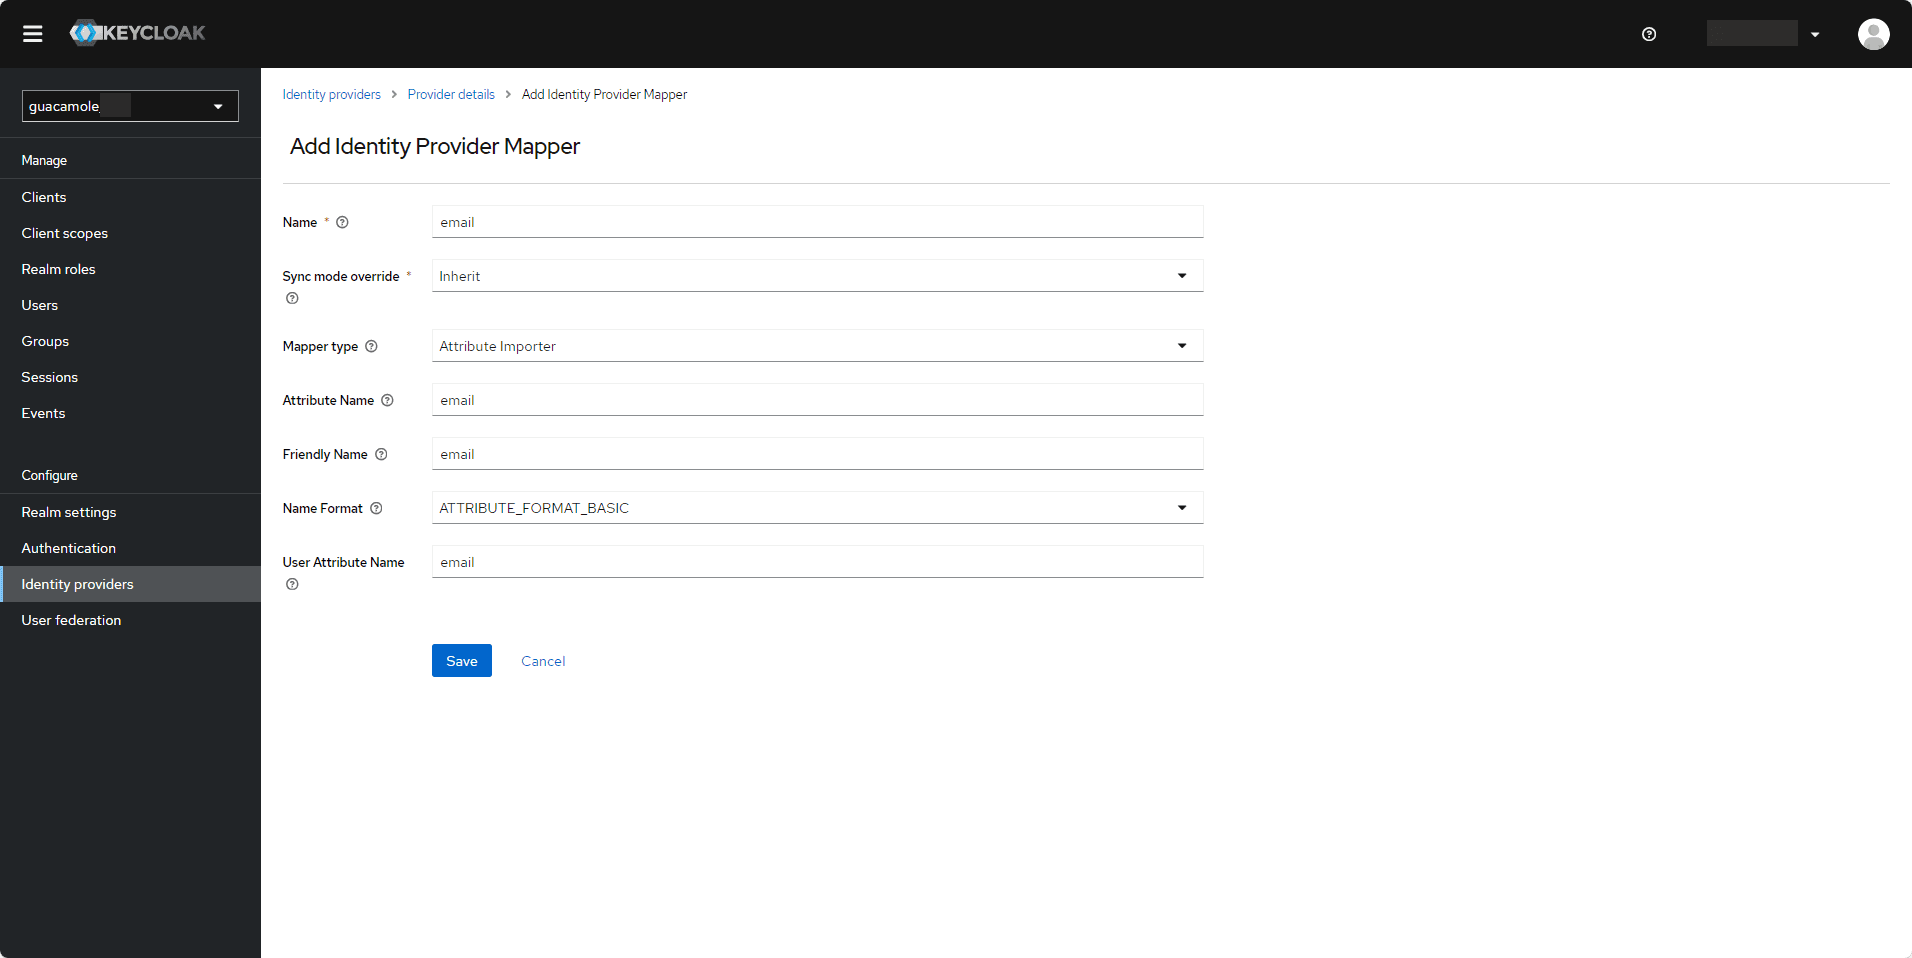
Do the same for the first name and last name:
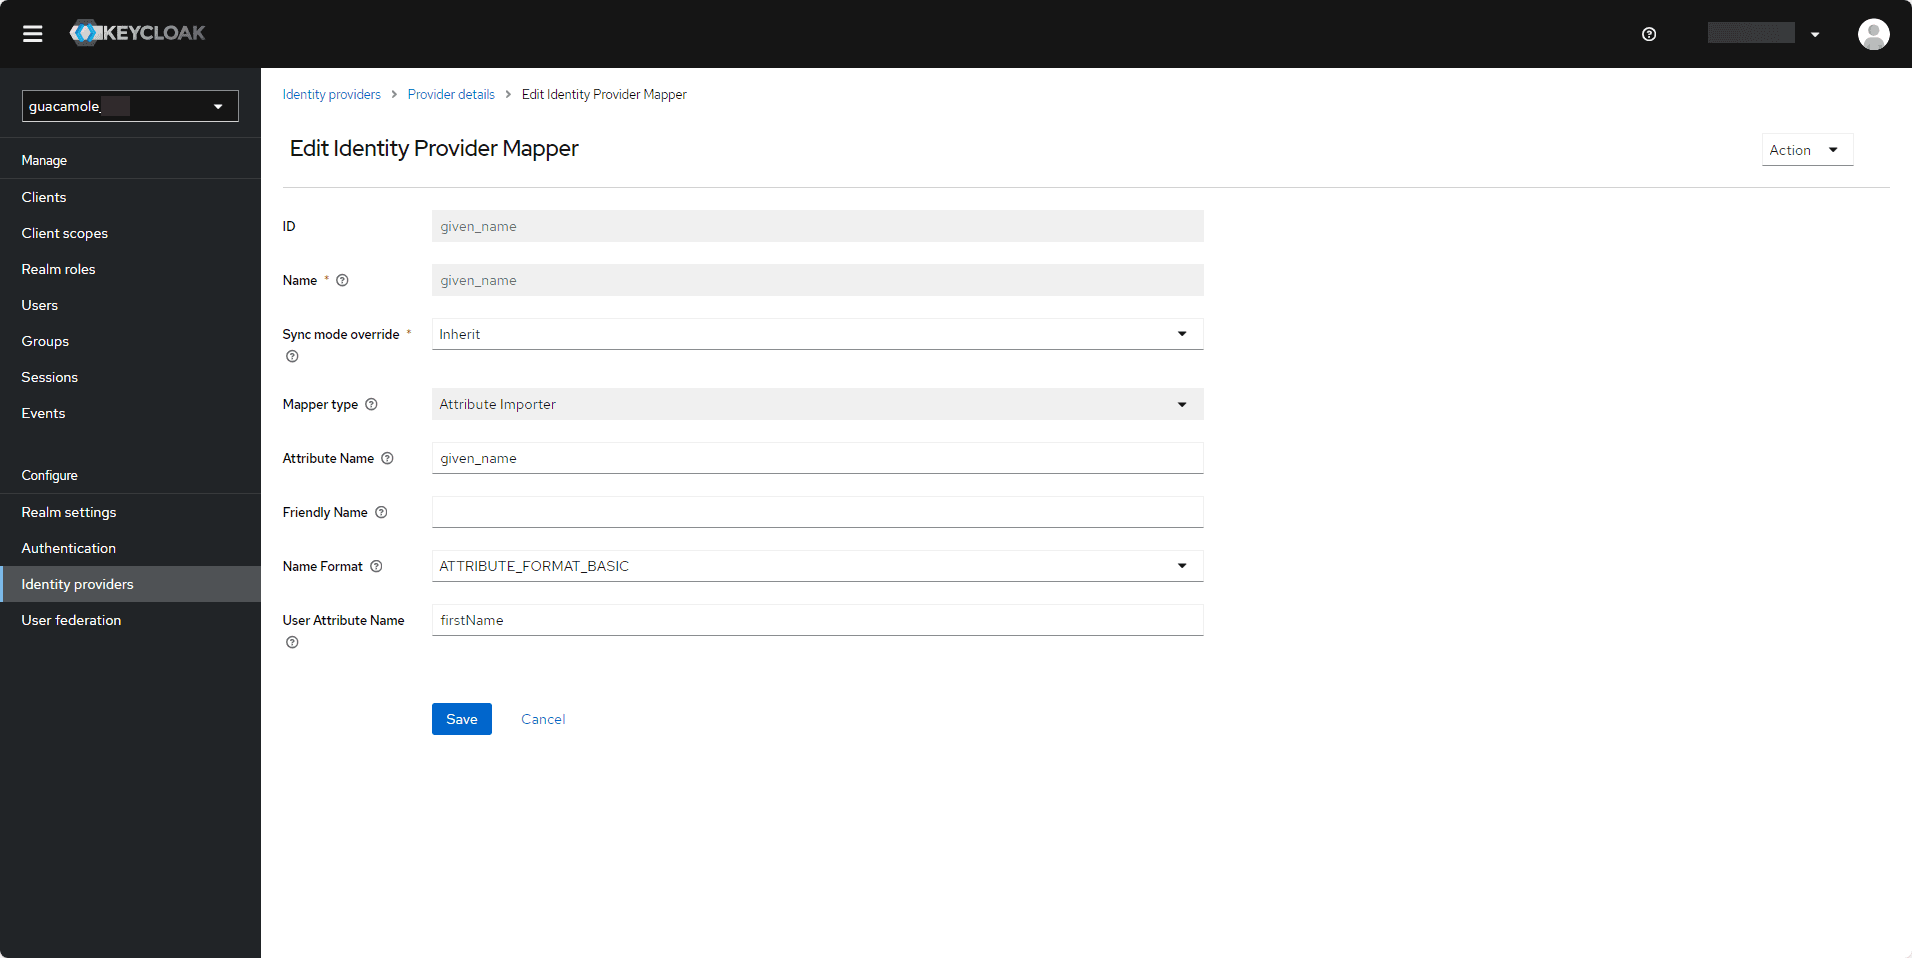
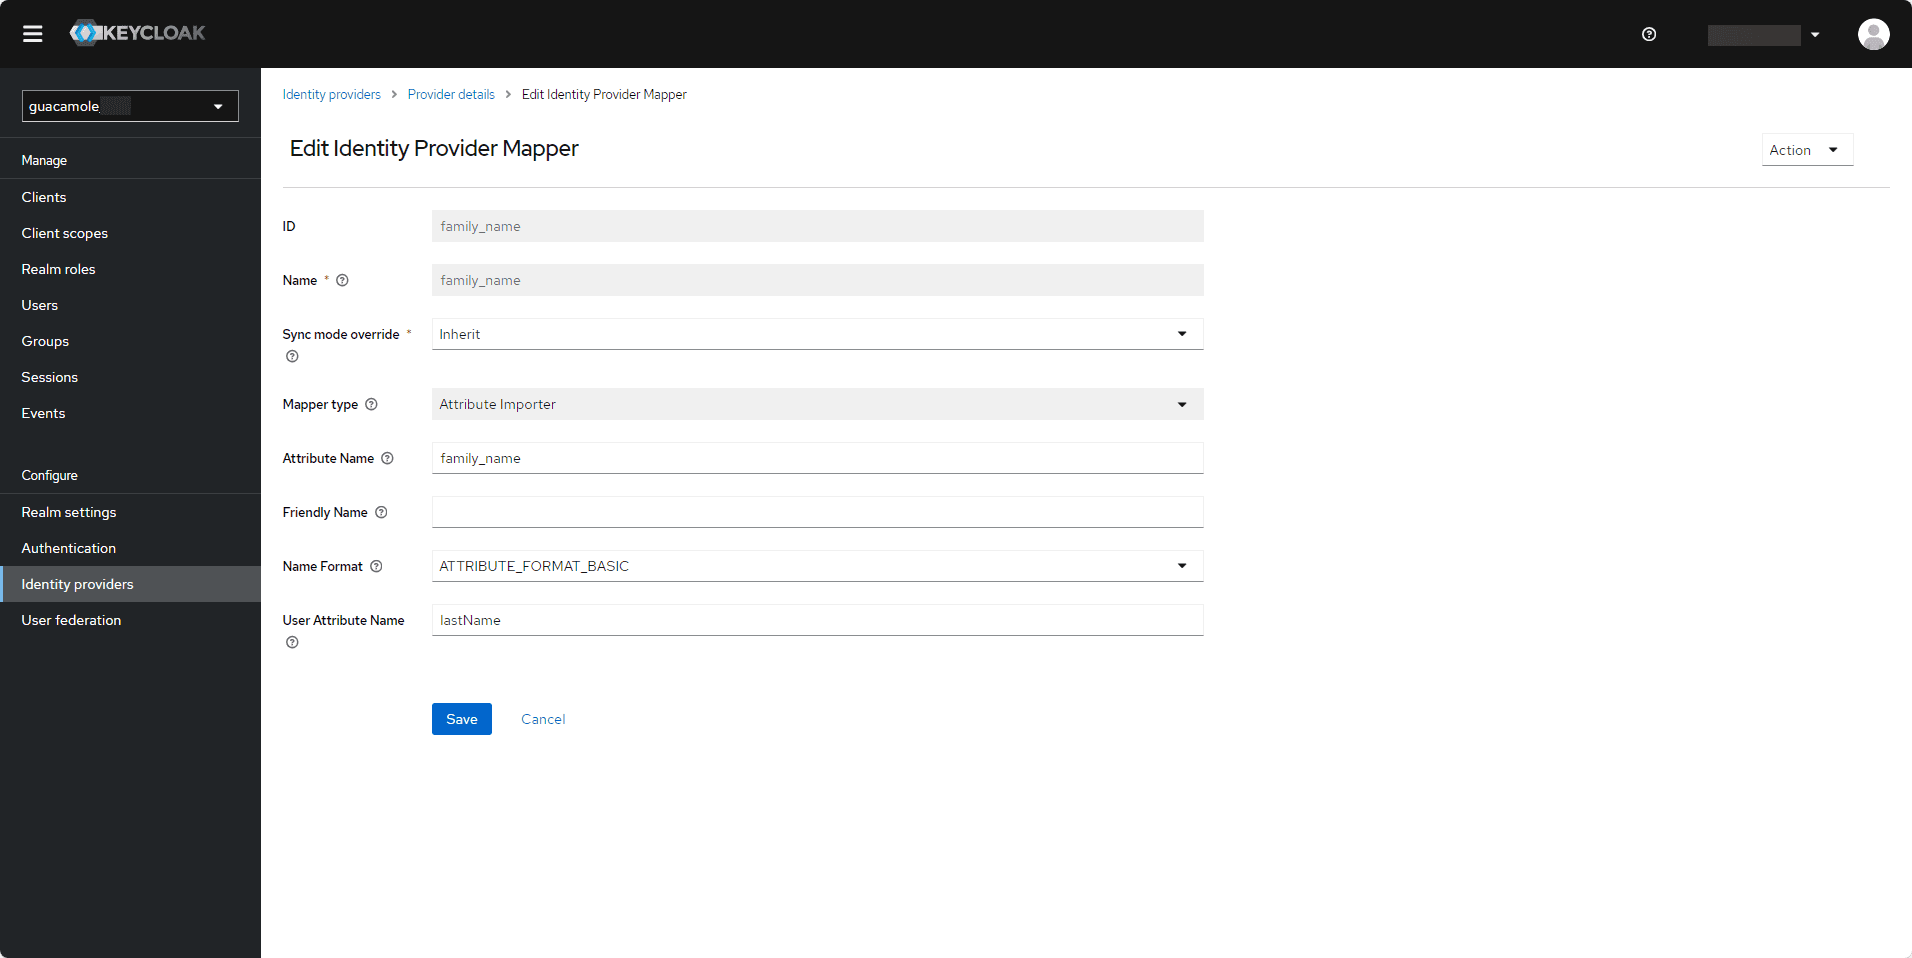
The attributes for the profile mapping are now configured.
Test the connection using AD FS as the provider
From the client configured in Keycloak, attempt to log in.
On the authentication form, click the 1 button corresponding to the AD FS provider.
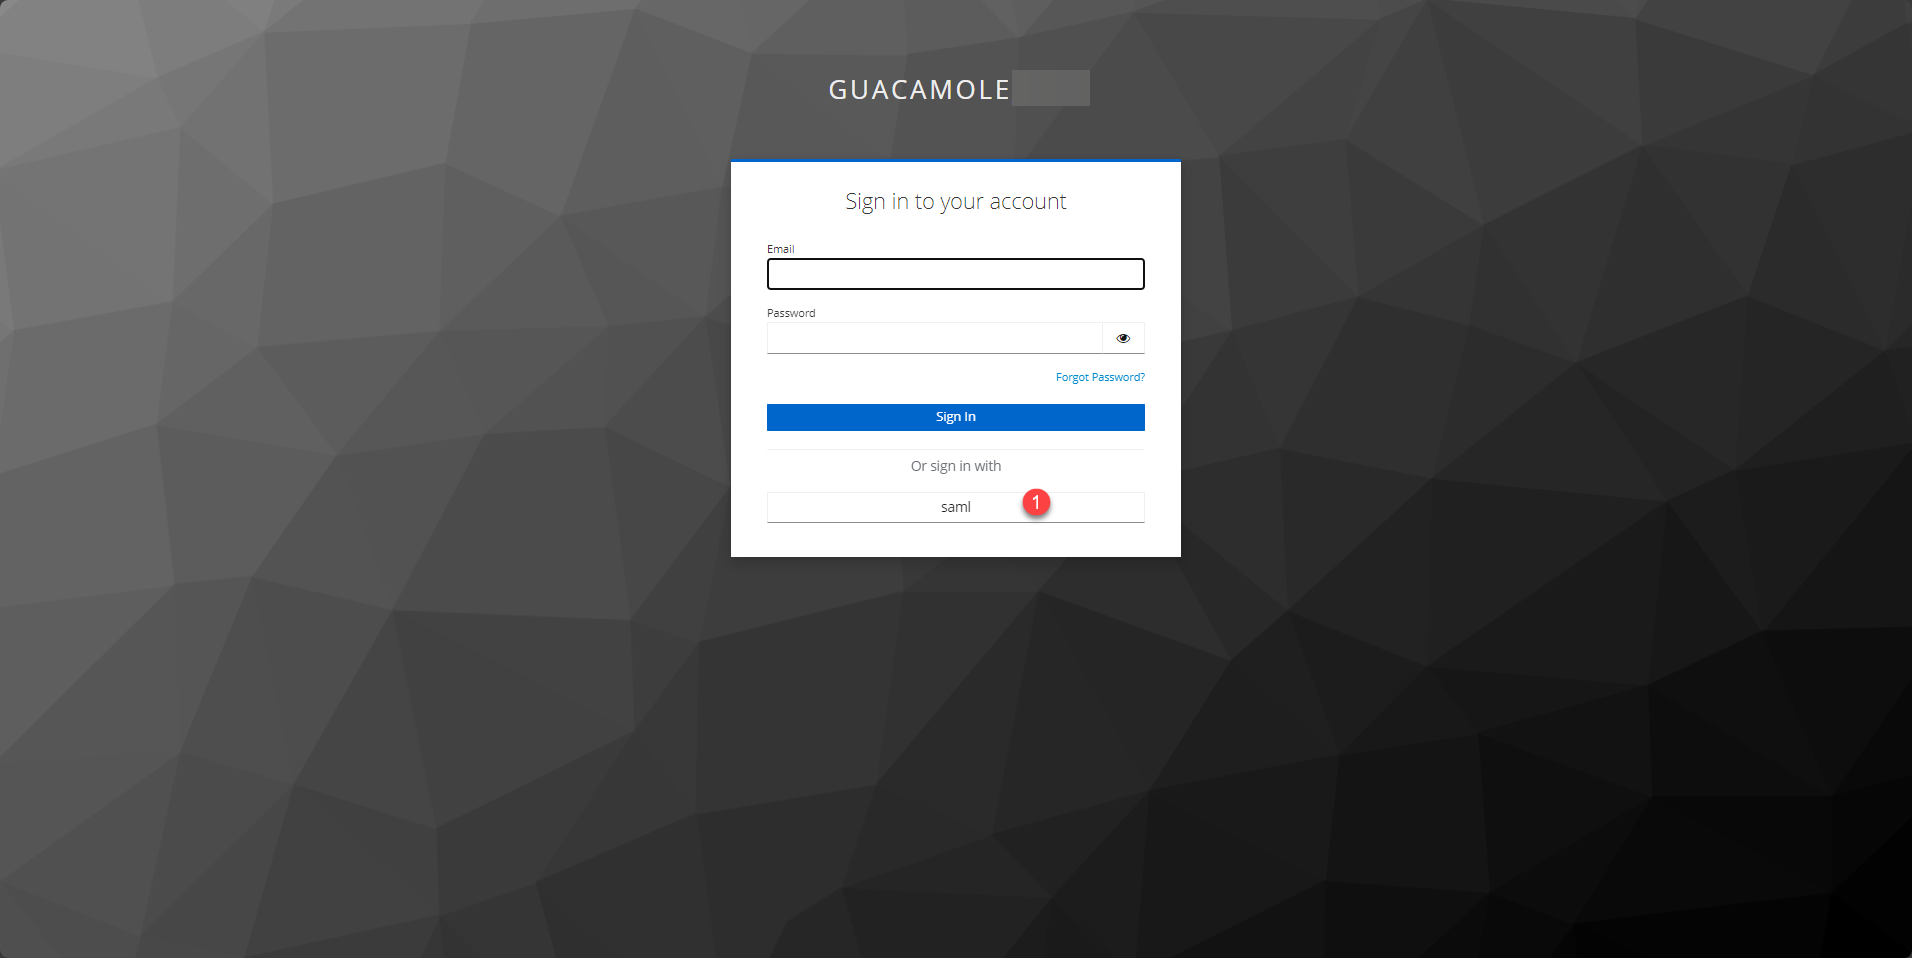
You will be redirected to the AD FS authentication form; log in there.

If everything is configured correctly, you will be redirected to the application at this point; if the form to complete the profile appears, it means the attribute mapping failed. In that case, you’ll need to enter the information manually and/or investigate why the mapping failed.
Check the user in Keycloak
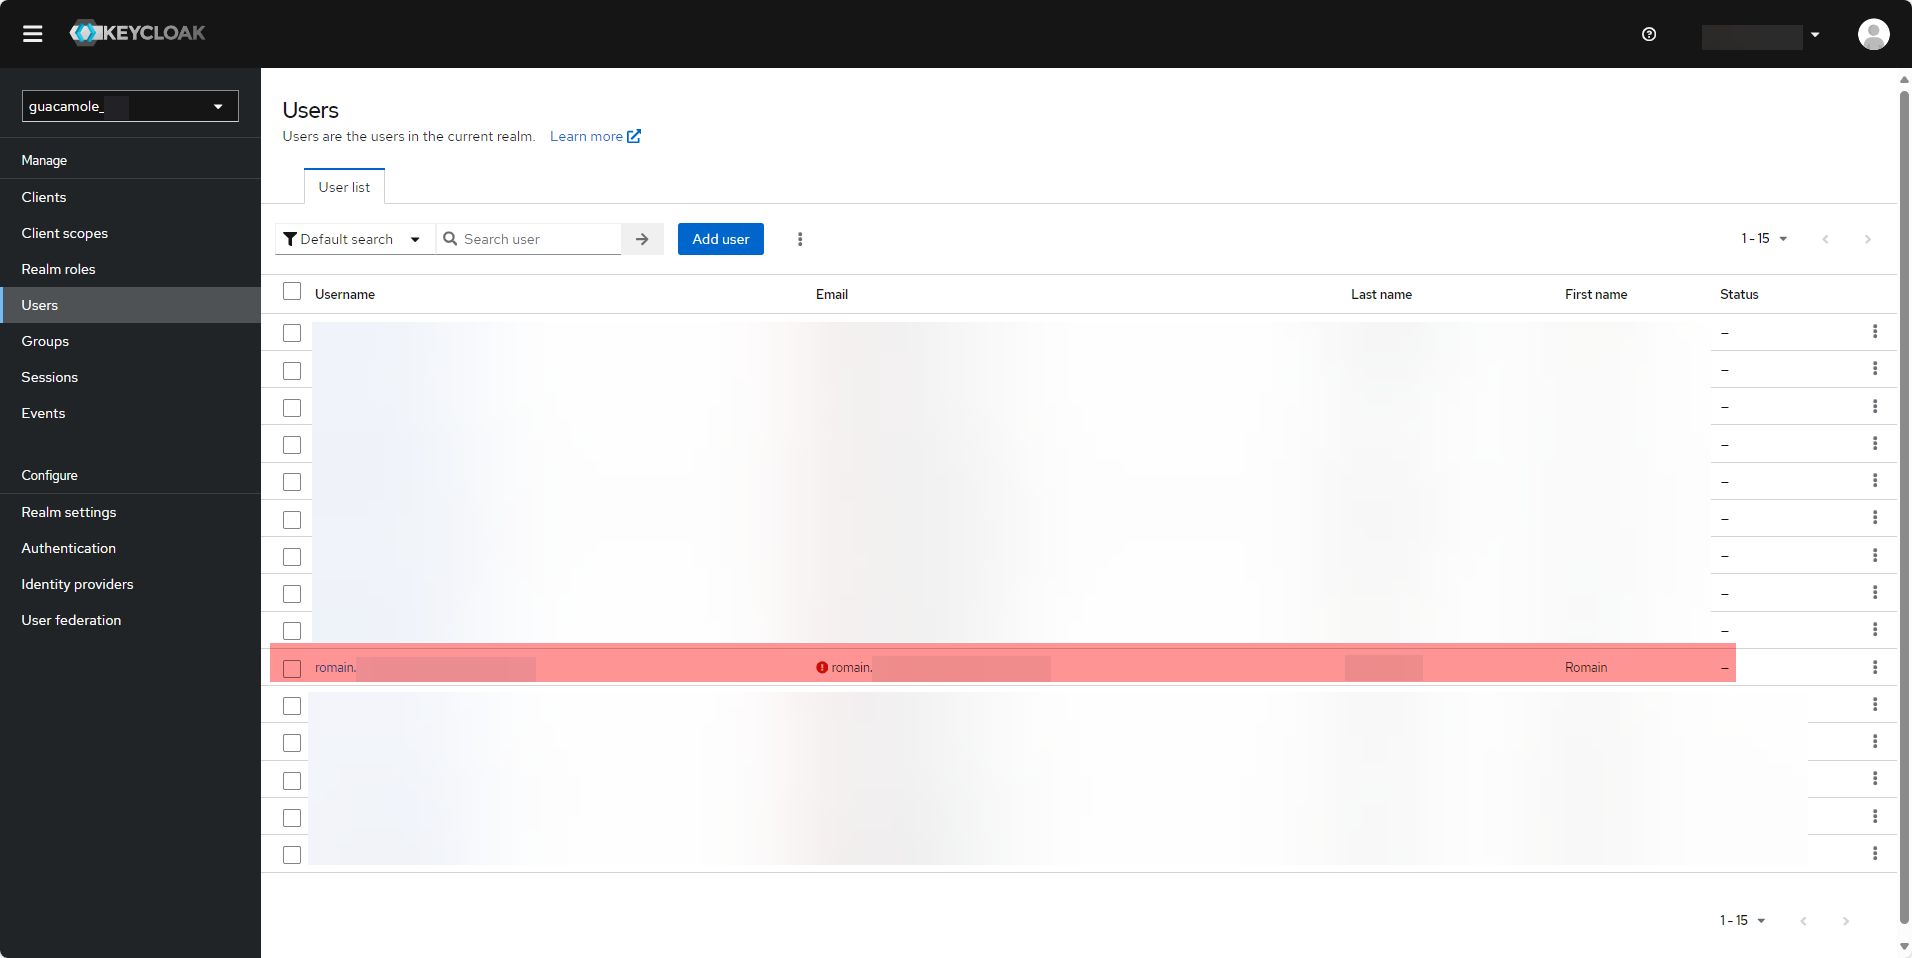
In the list of users in Keycloak, you can see that the account has been created.
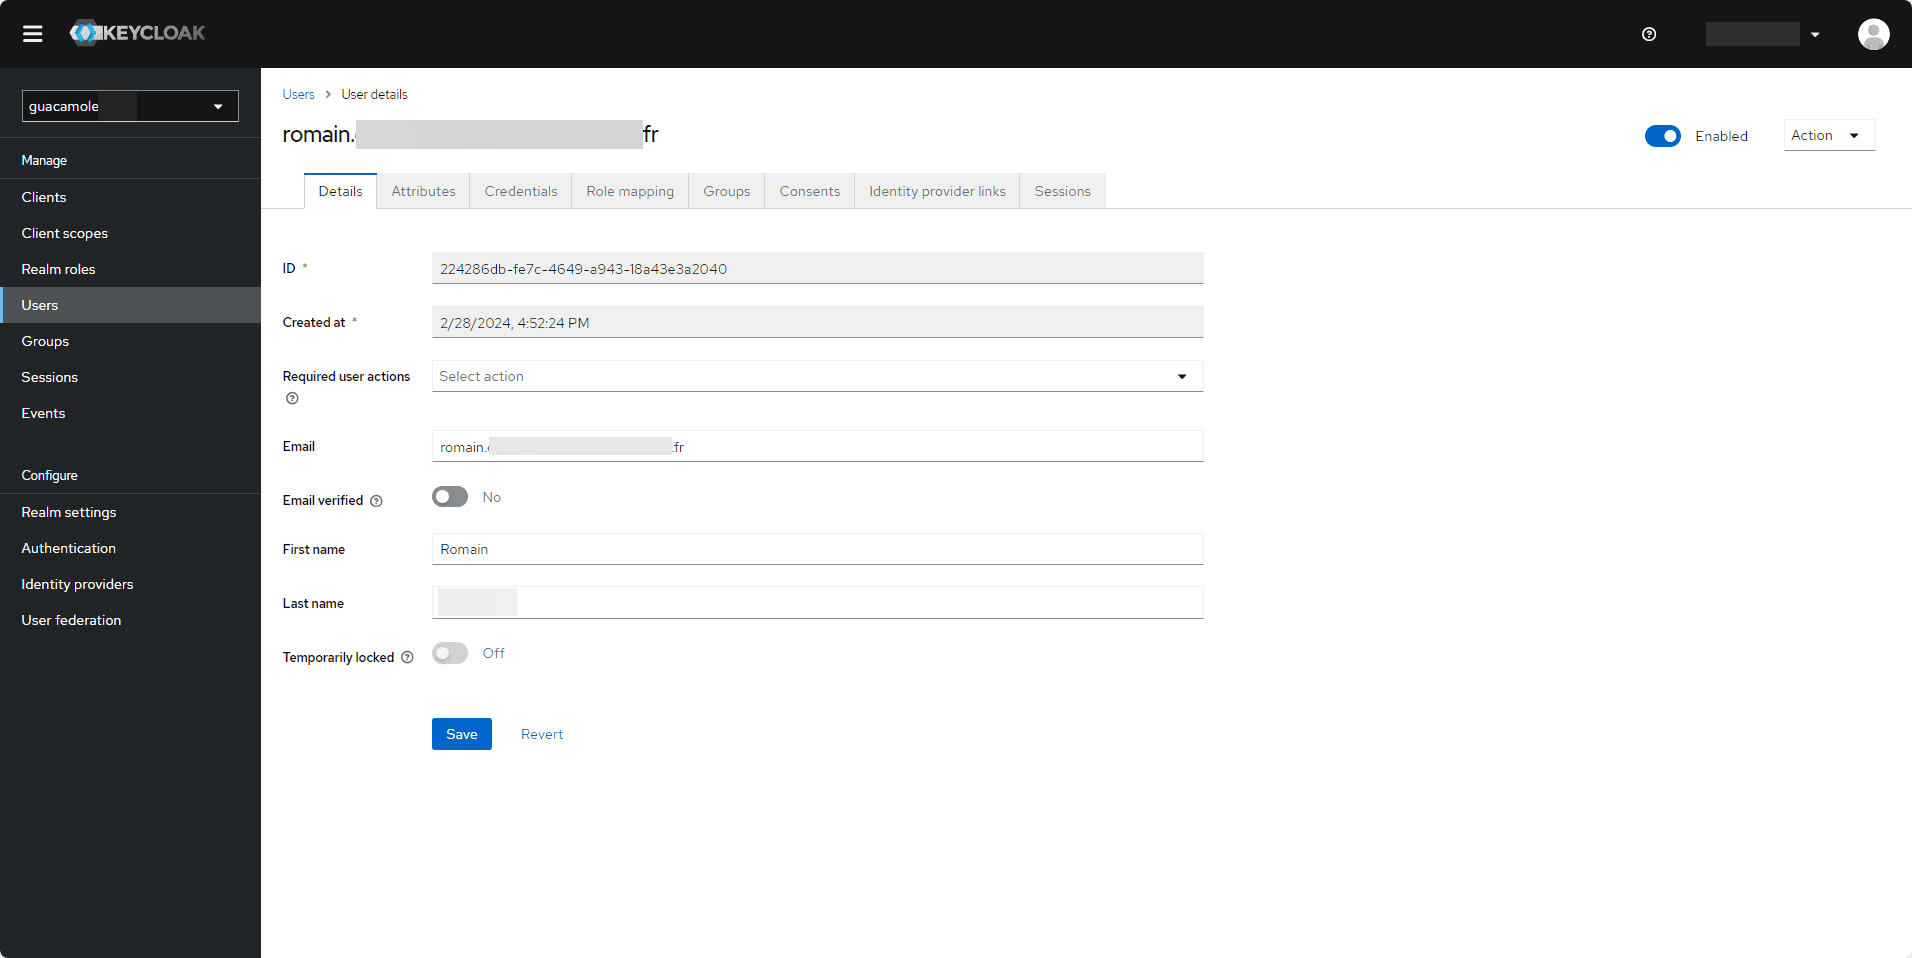
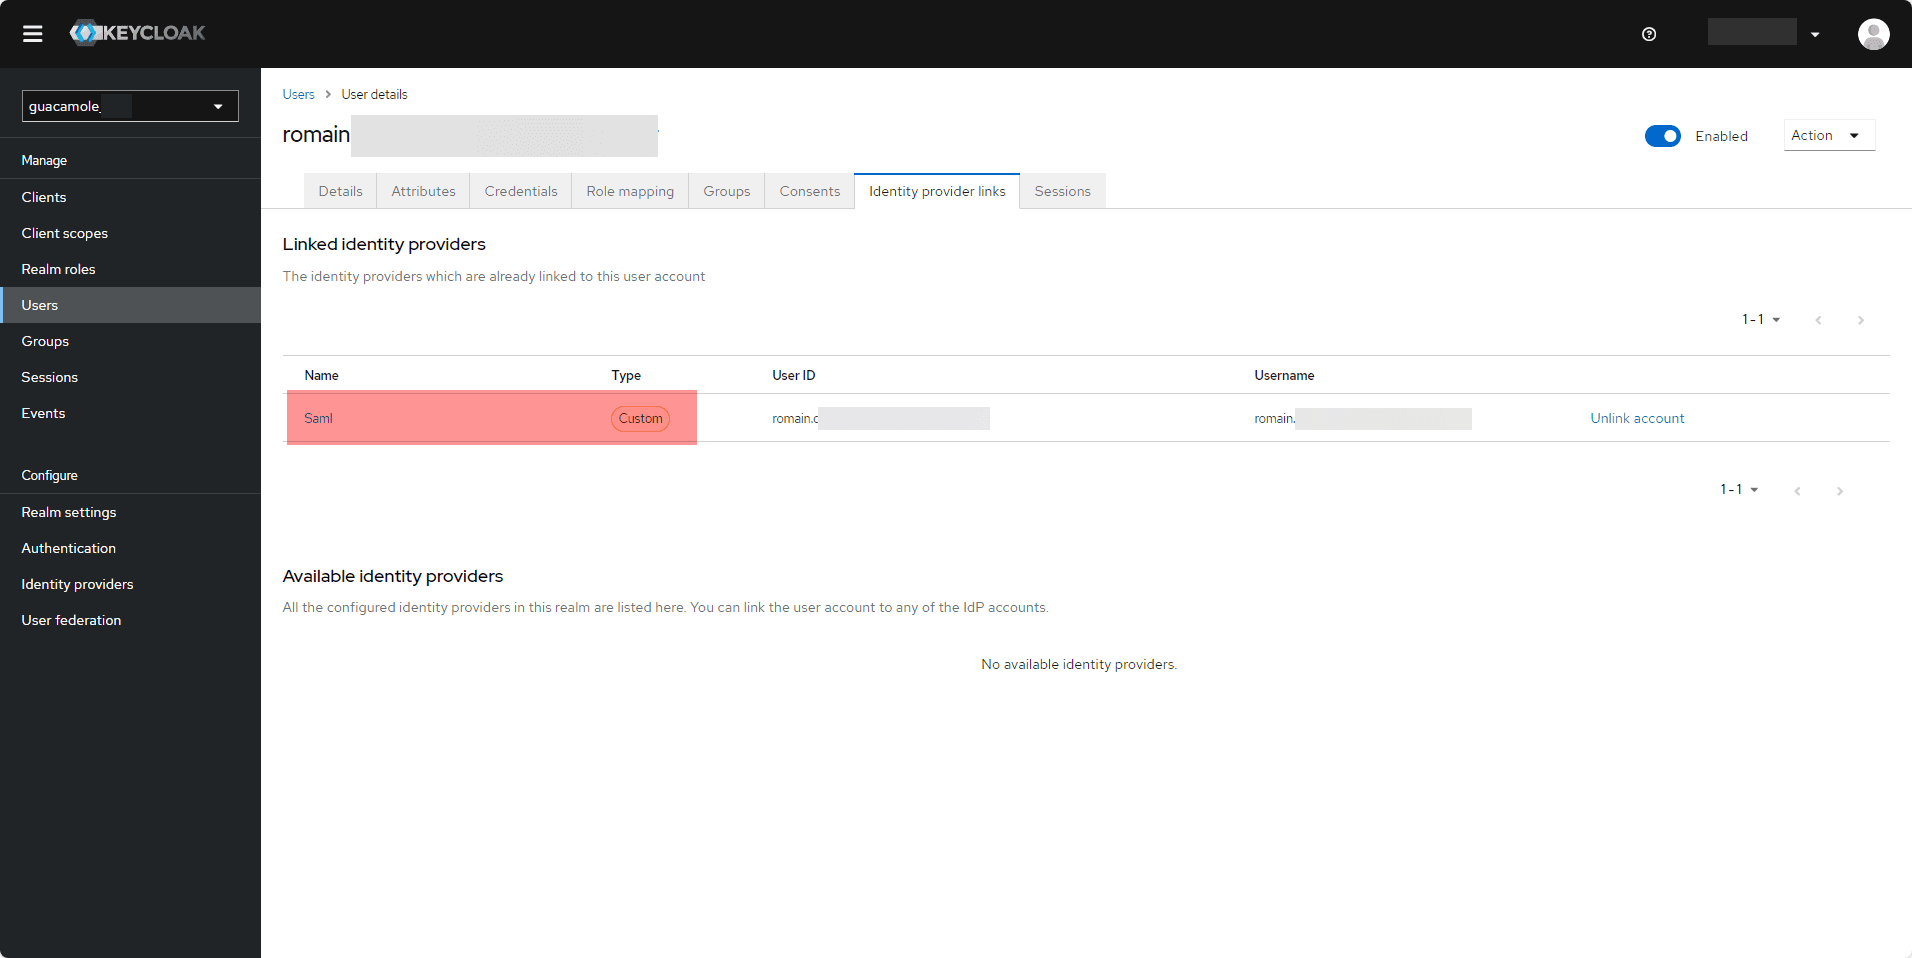
When you view the user’s details, you’ll see that the profile information (email, first name, and last name) has been successfully mapped. In the “Identity Provider Link” tab, you can also see the link to the AD FS identity provider.
Active DirectoryNow that you know how to configure AD FS as an identity provider in Keycloak, this solution allows you to use external accounts for applications with SSO without needing to create them in the directory.