Table of Contents
Introduction
In this article, we will see how to setup and configure a print server on Windows Server.
Installing the Print and Document Scanning Service role adds an administrative console for managing the print server.
This service is not required to install and share a printer from a Windows server, it is possible to go directly through the control panel.
Print service installation
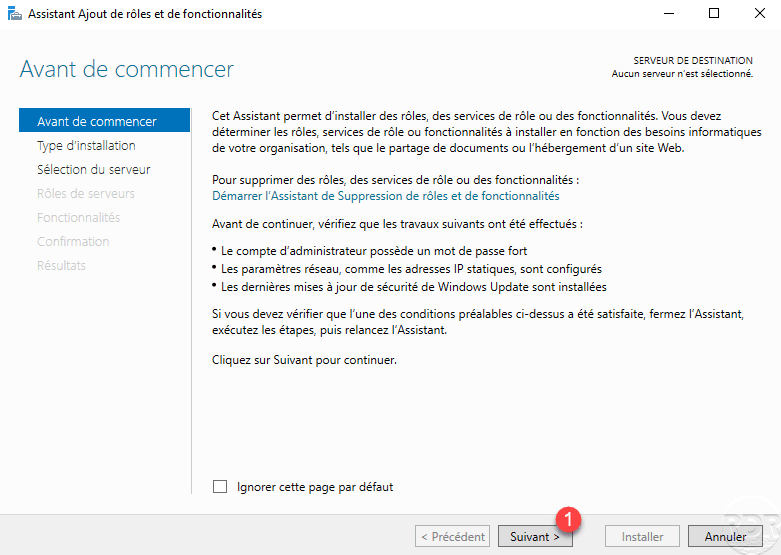
From the server manager where you want to install the print service, click Add Roles and Features 1 .
When launching the wizard, click Next 1 .
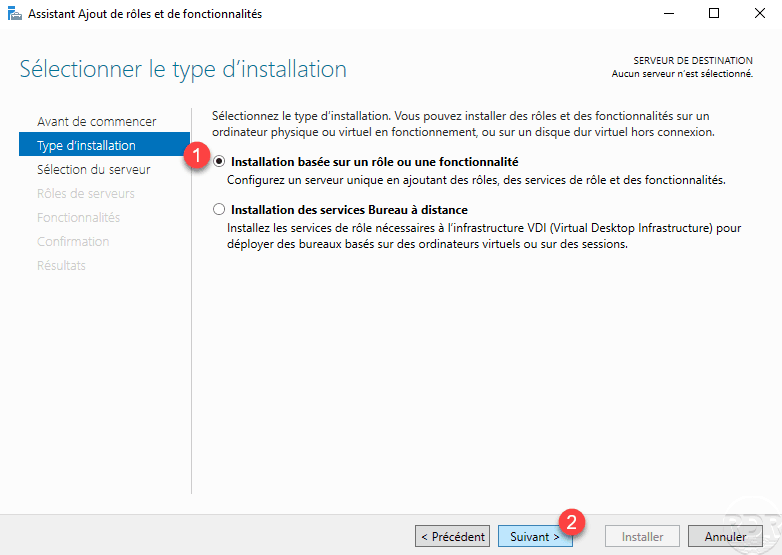
Choose the option based on role one or feature 1 and click Next 2 .
Select server 1 and click Next 2 .

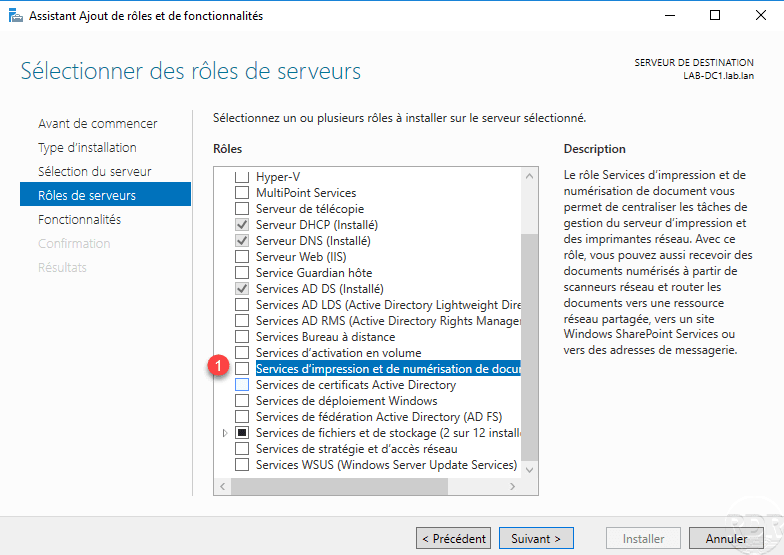
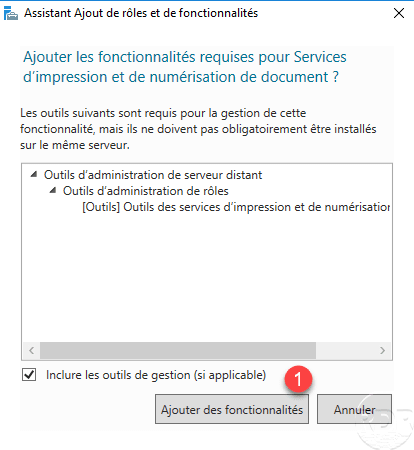
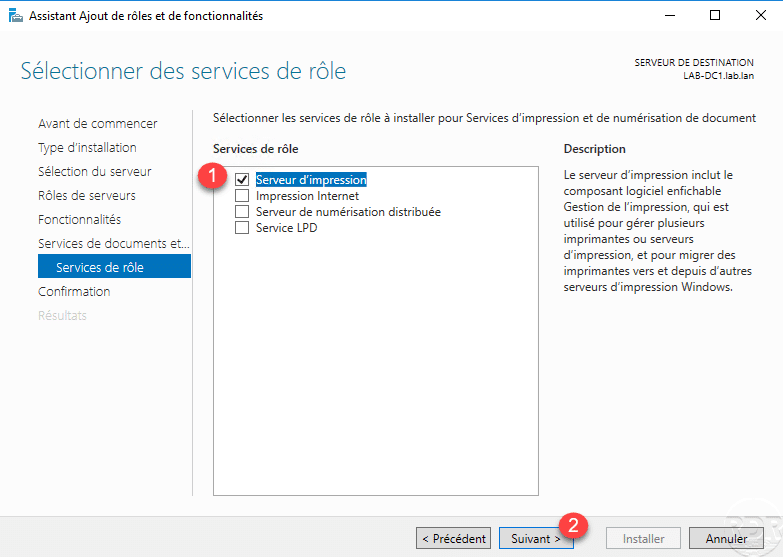
Check the box for printing and scanning documents 1 .
Click Add Features 1 .
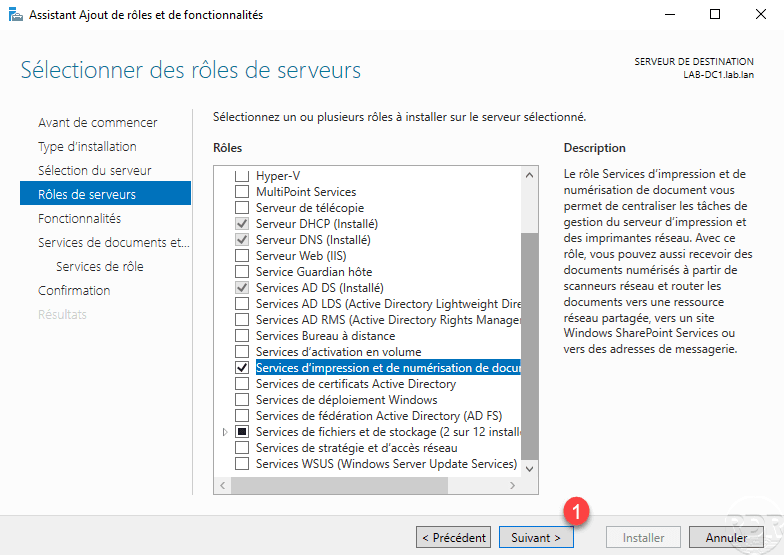
The Print Services role is selected, click Next 1 .
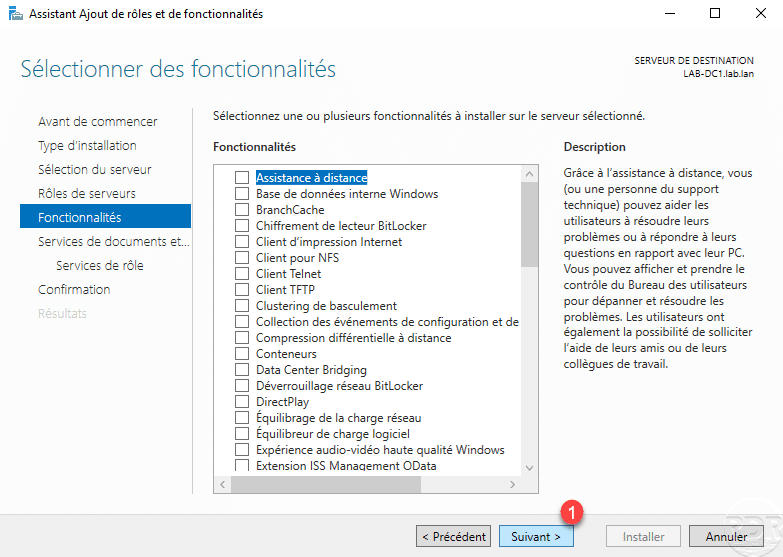
Skip the list of features by clicking Next 1 .
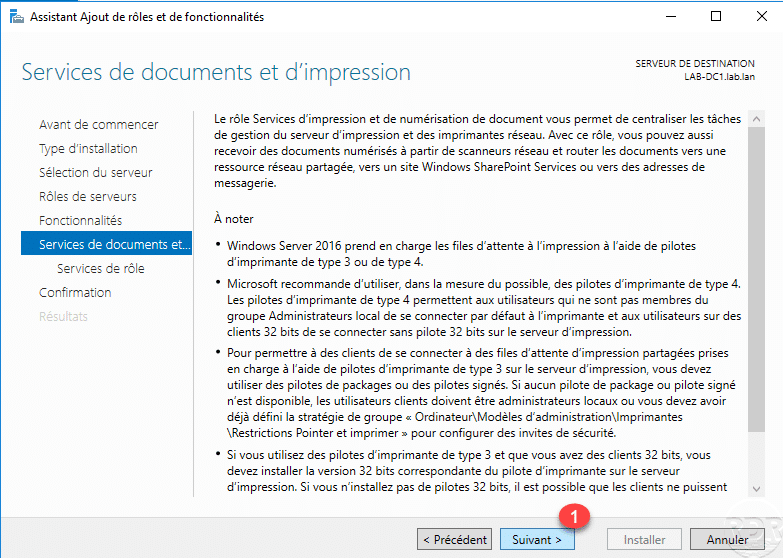
A Print Services Summary is displayed, click Next 1 .
From Windows 2012 Server, you can use Type 4 drivers that make it easy to deploy printers using WSD ports.
Select the Print Server 1 service and click Next 2 .
Click on the Install 1 button.

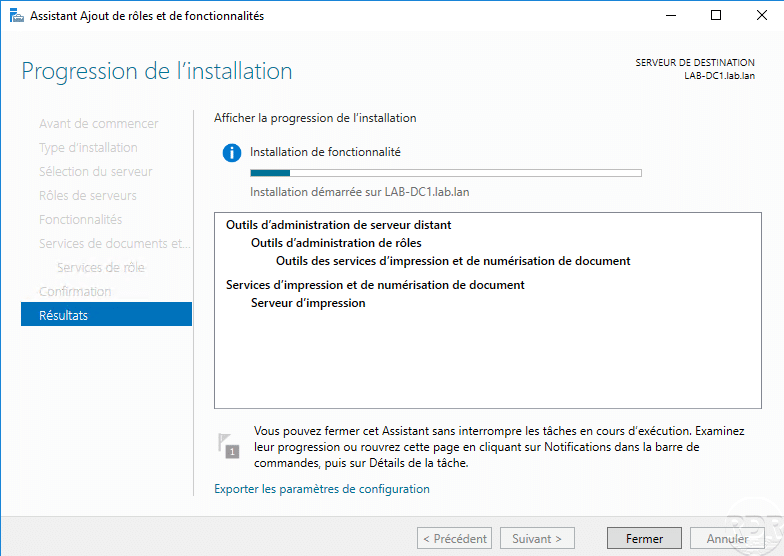
Wait while installing the print service …

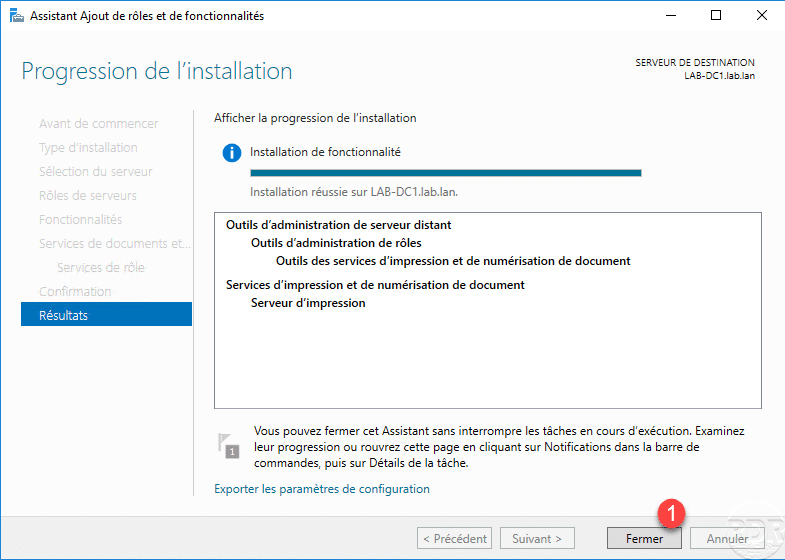
The installation completed, exit the wizard by clicking Close 1 .
Print service administration
Now that the print service is installed, we will see how to administer it using the Print Management Console.
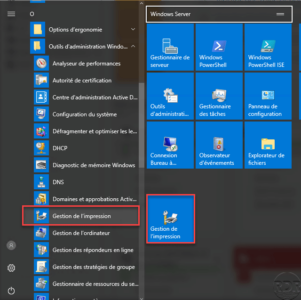
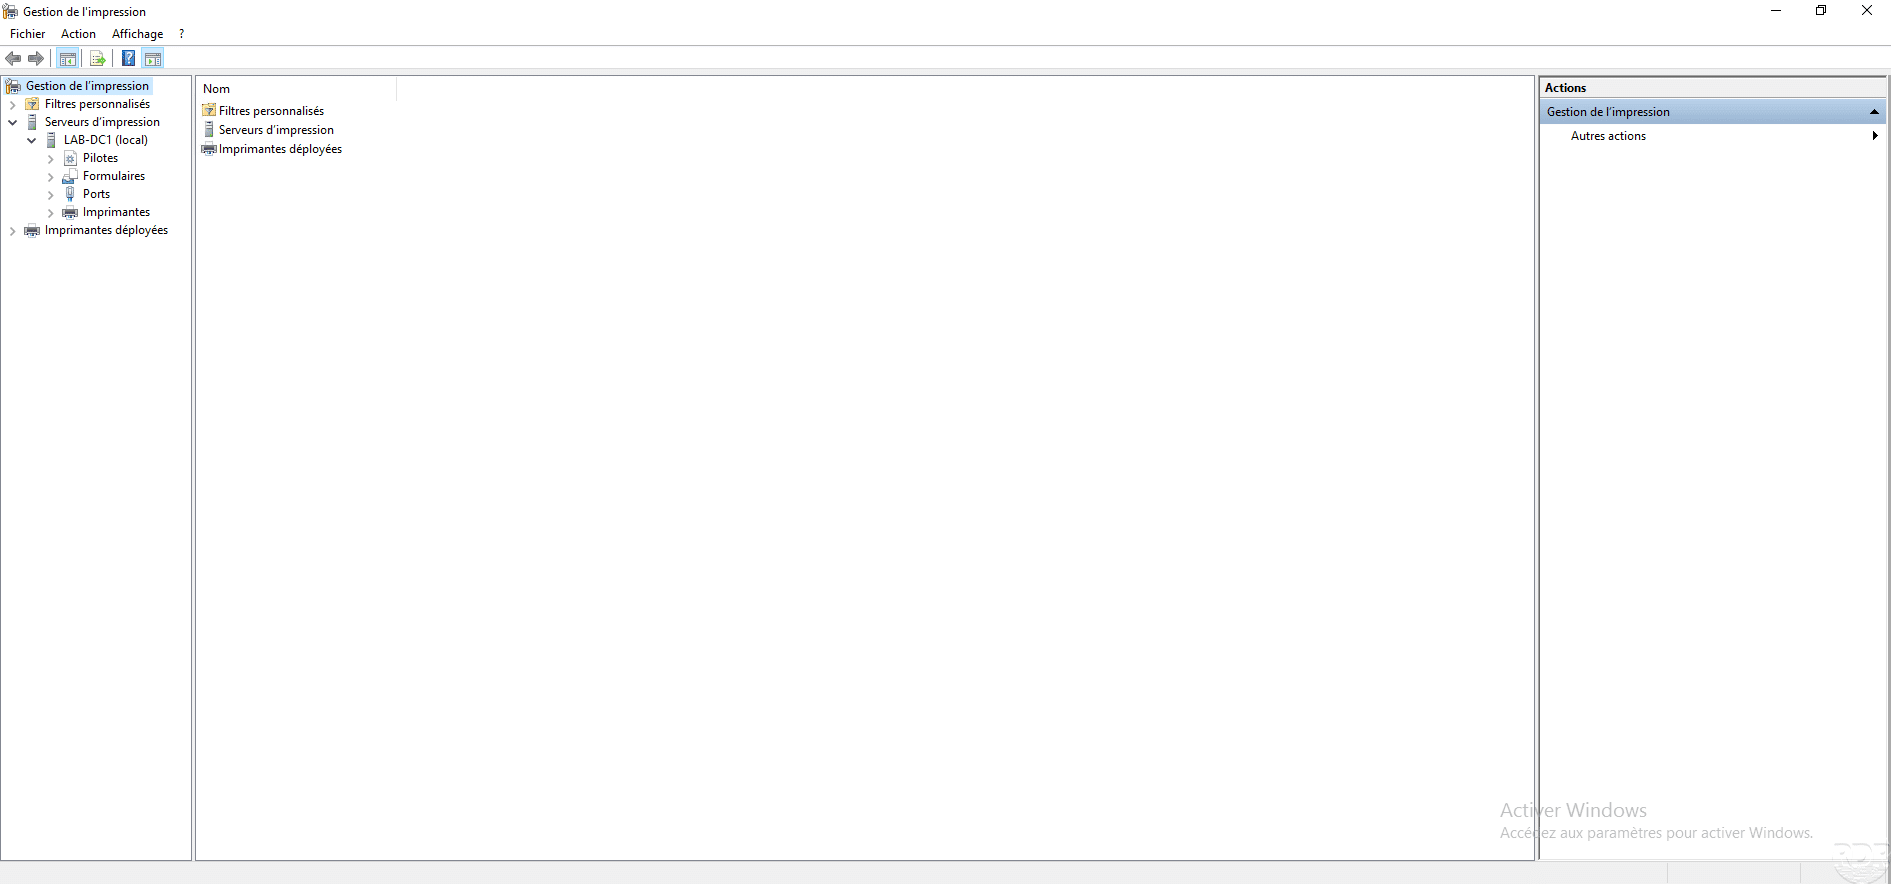
Open the console that is available from the Start menu.
After the console opens, unpack the Print Servers node 1 to access the local server.
Now we will see how to add drivers and printers.
I usually add the drivers first to the server and then install the printer, it is possible to add the drivers at the time of installation of the printer.
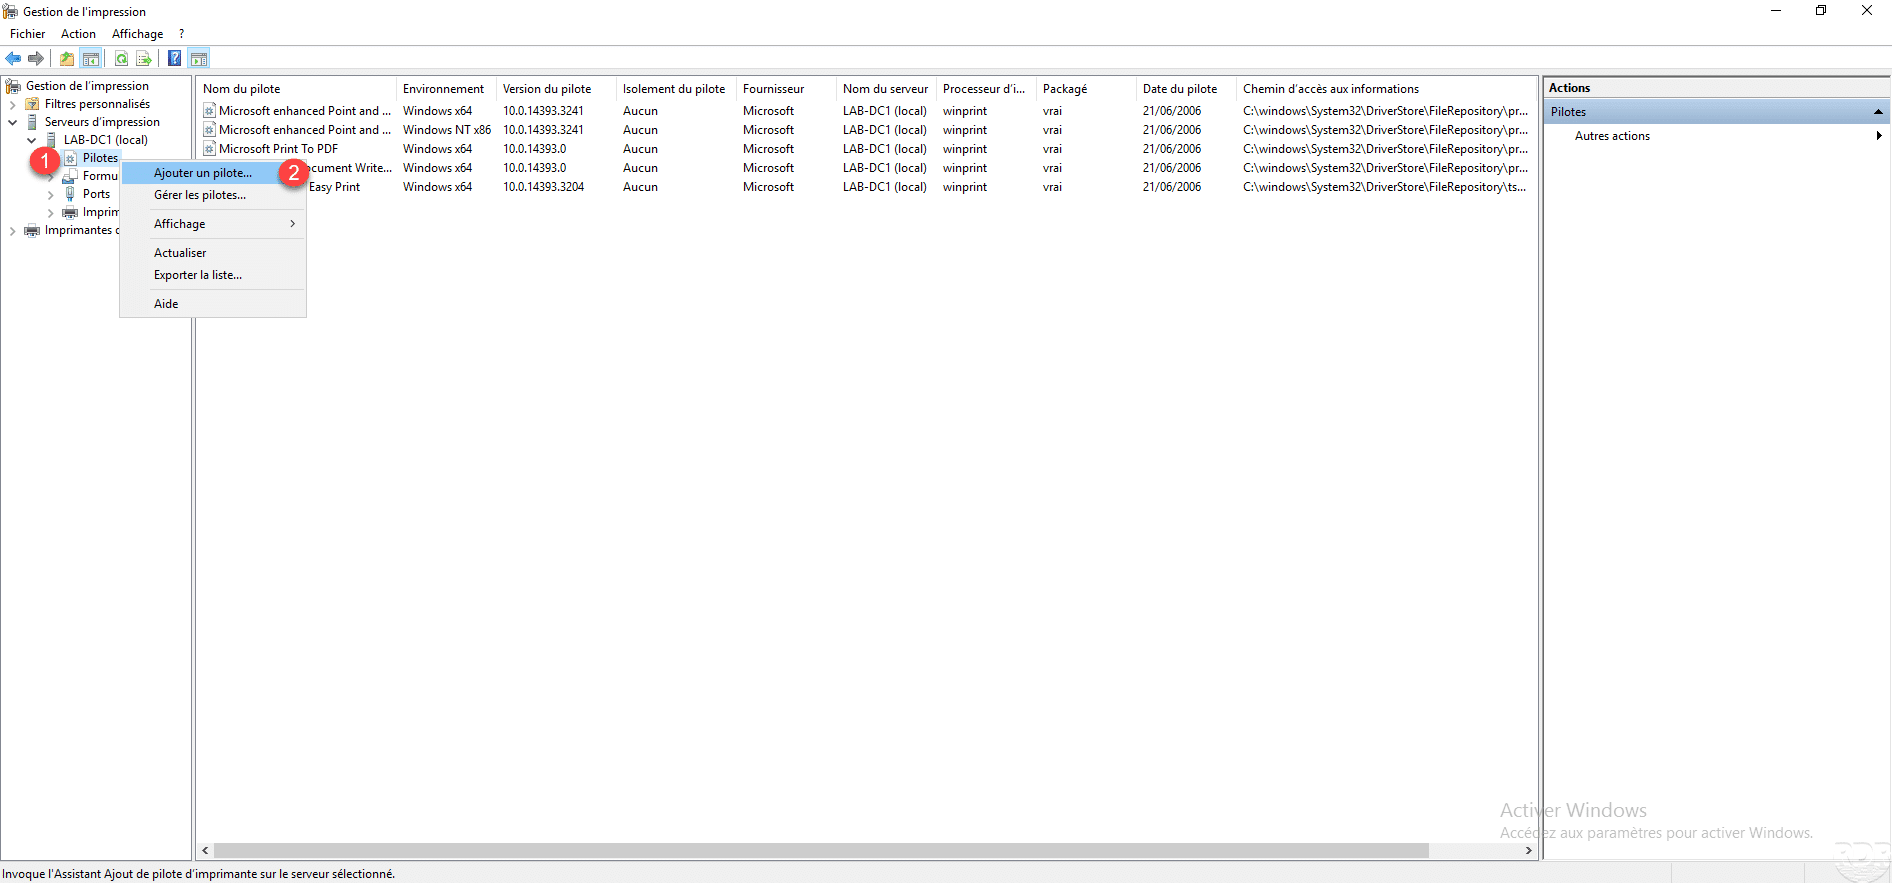
Install drivers
Retrieve the drivers that you need based on the printer models and copiers you are going to install. If your computer is composed of 32-bit workstations,, you must also download the x86 drivers.
From the Print Management Console, right-click Drivers 1 and click Add Driver 2 .
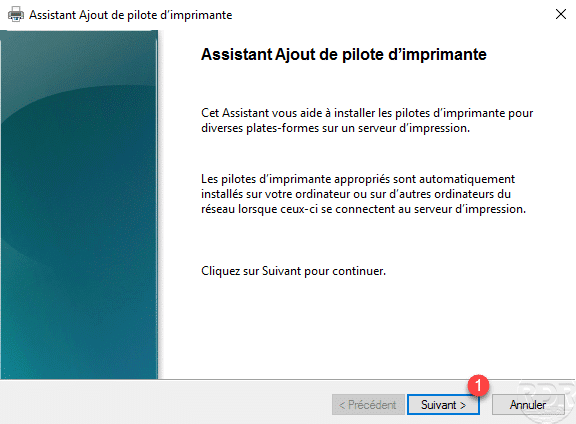
When launching the Add Printer Driver Wizard, click Next 1 .
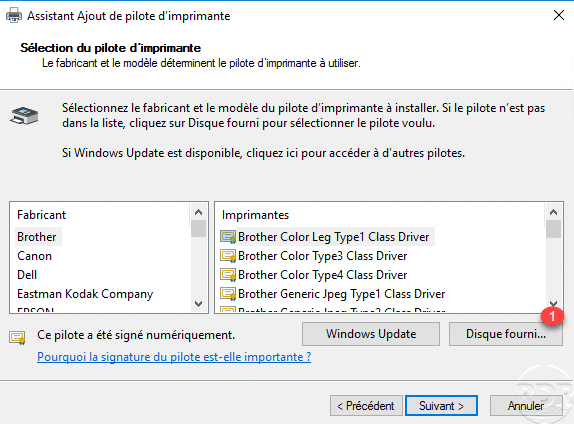
Choose processor type 1 then click Next 2 .

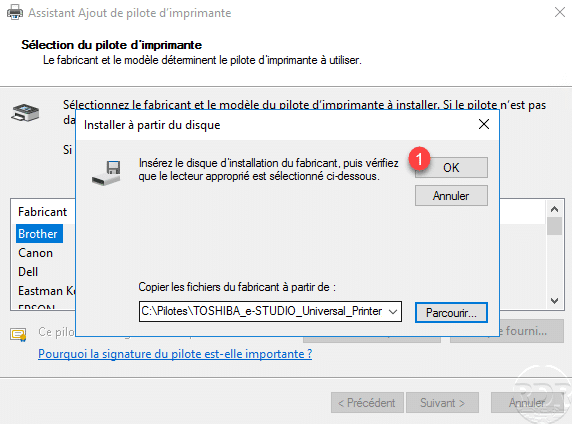
Click on Disk provided … 1 to select the driver.
Select the driver inf 1 file and click Open 2 .

Click OK 1 to validate the selection of the file.
Choose the available printer 1 and click Next 2 .
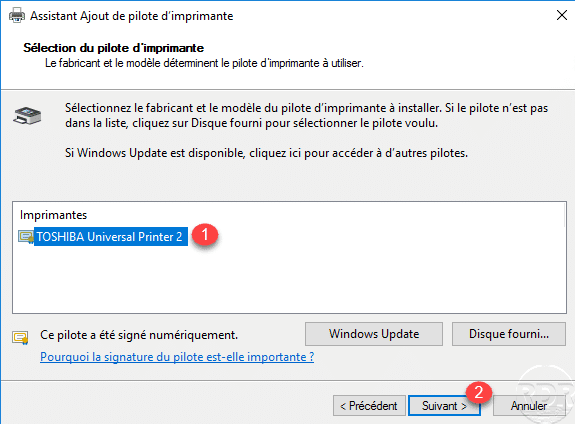
Click Finish 1 to confirm the driver installation and close the wizard.
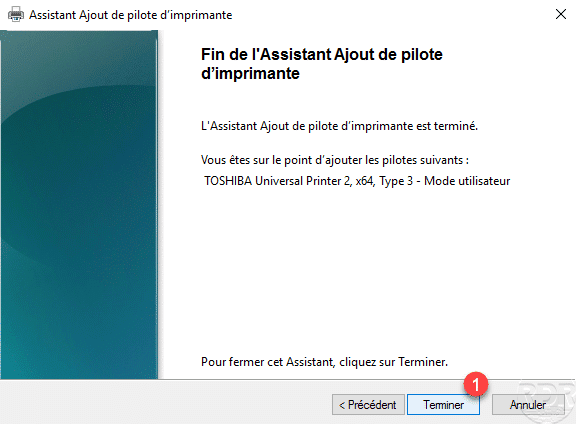
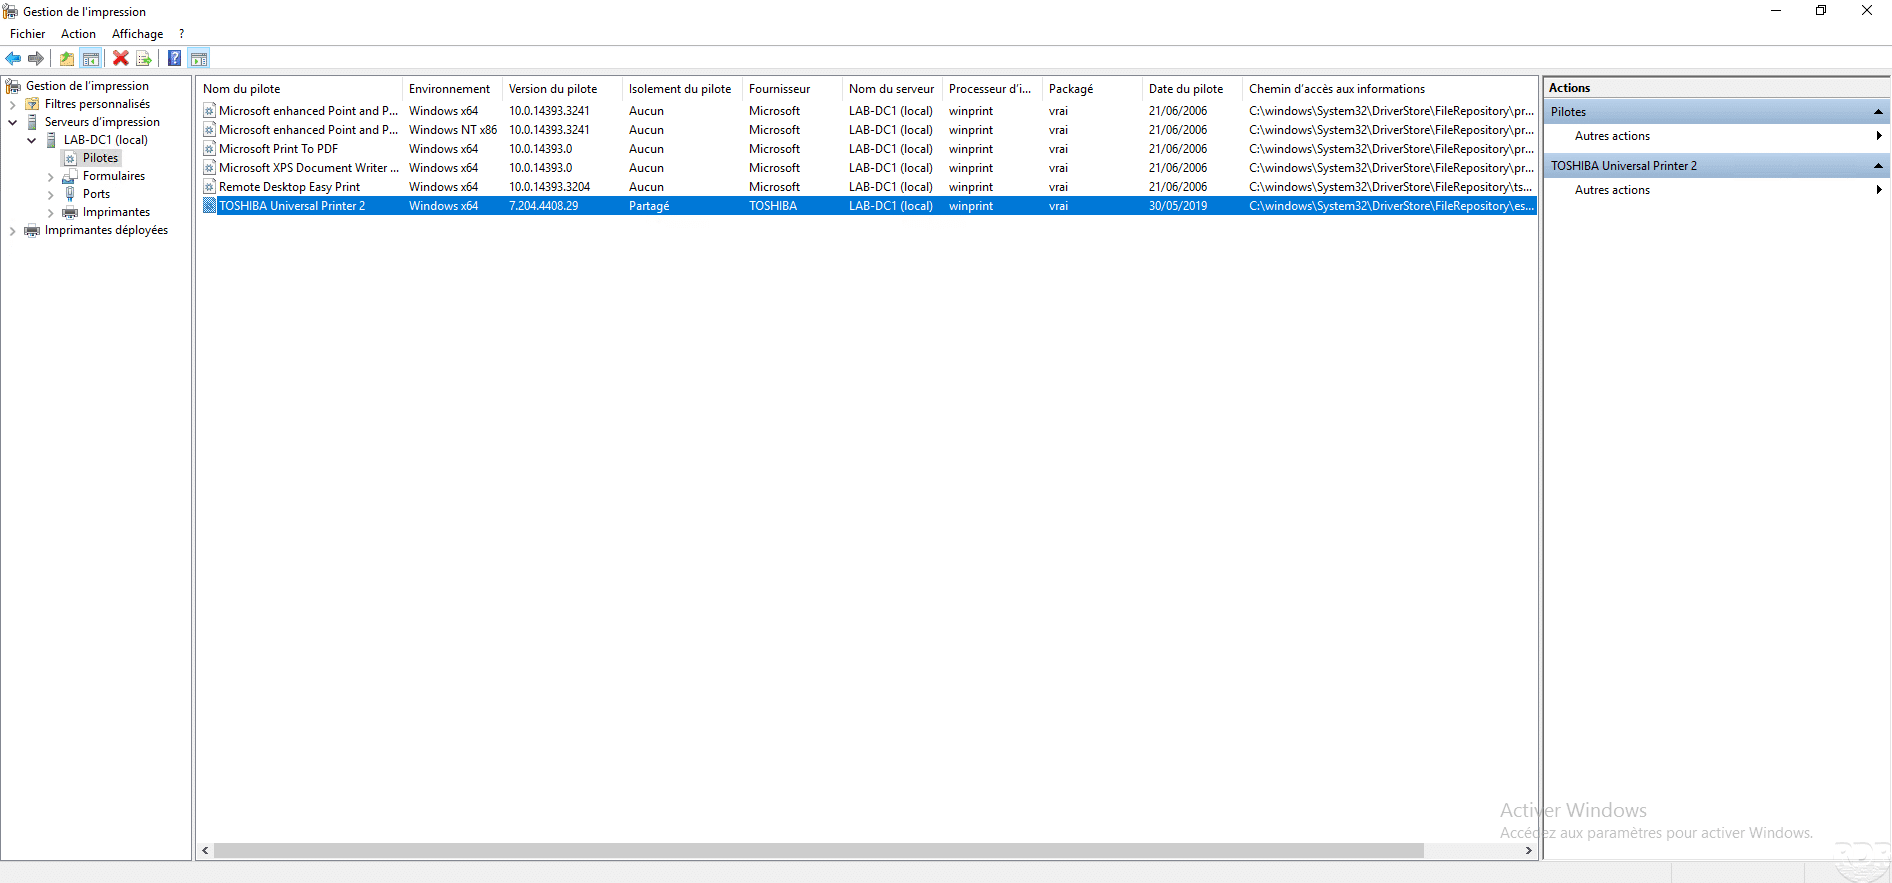
The driver is now added to the server.
If necessary, repeat the same operation to install the 32-bit (x86) driver. It is recommended to install the same version of the driver.
Installing a printer on the print server
Now that we have the driver to install, we will see how to add a printer.
Right click on Printers 1 and click on Add Printer 2 .
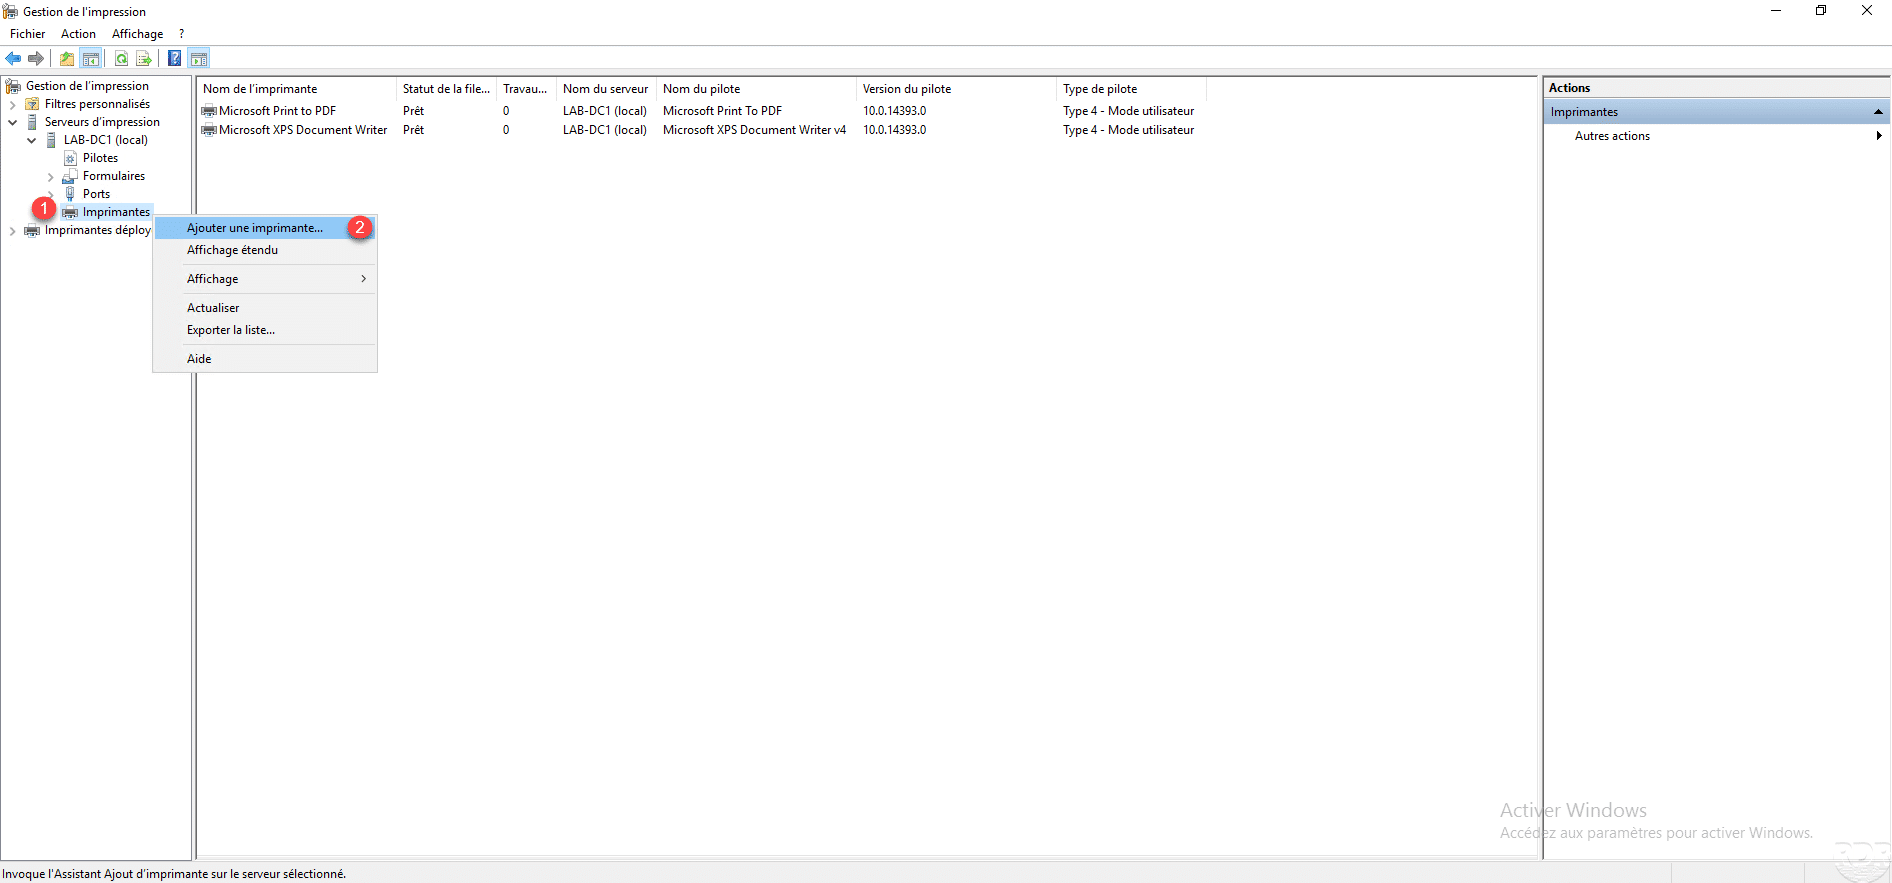
When launching the wizard, choose the installation method, for a network printer with an IP address, choose Add TCP / IP Printer or Web Service by IP Address or Hostname 1 and click Next 2 .
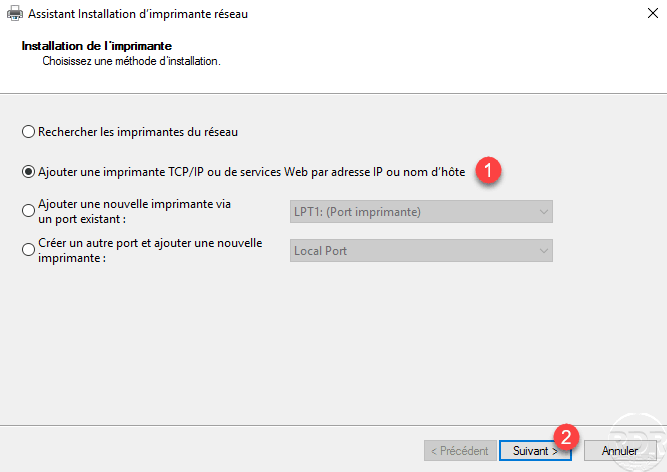
Choose device type 1 , enter IP address 2 and click Next 3 .
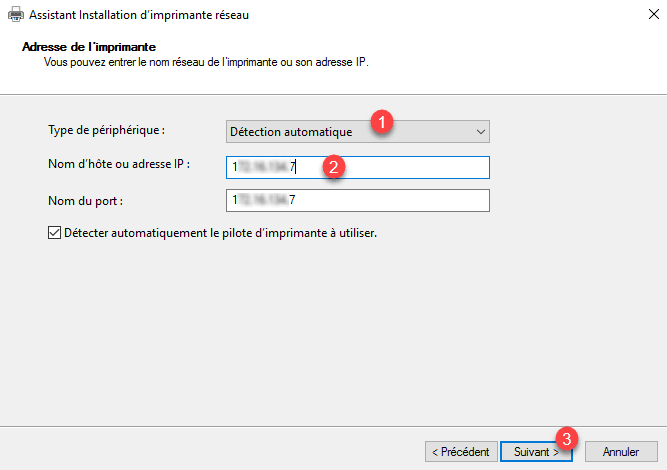
Since Windows 10/2016, when the device type is auto, the print server will try to install the printer in Web Service Printer mode and create a WSD port. This mode makes plug and play network devices. On a print server containing a lot of printers, it is advisable to choose the TCP / IP Device type.
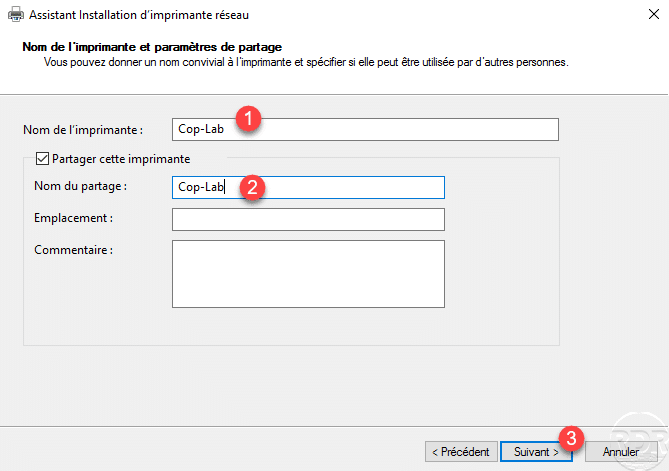
Name the printer 1 , set the share name 2 and click Next 3 .
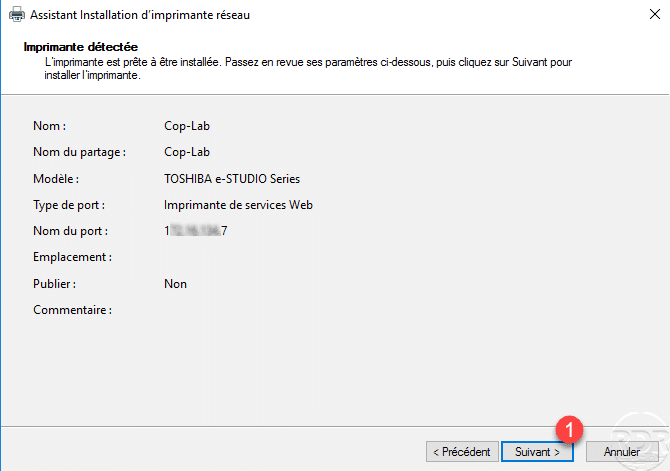
An overview of the parameters is displayed, it can also be seen that the driver was automatically detected at the model level. Click Next 1 to confirm the addition of the printer.
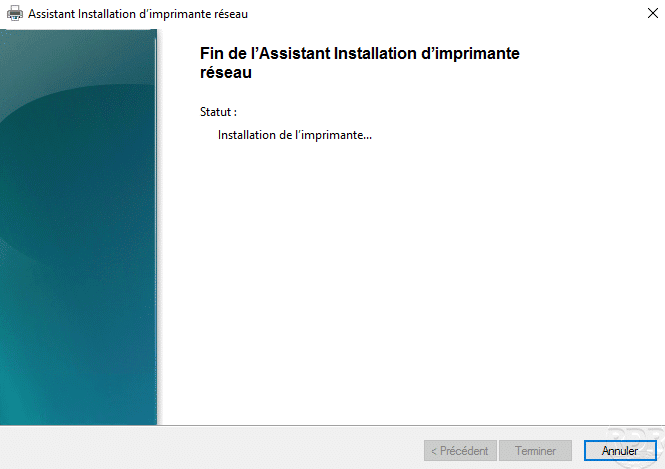
Wait while installing the printer …
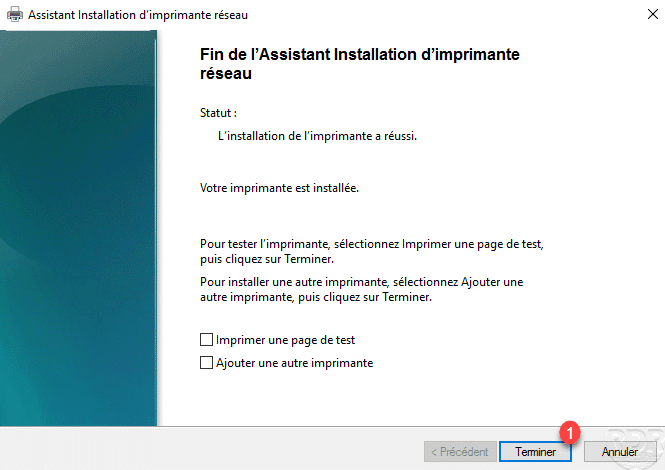
Once the printer is installed, close the wizard by clicking the Finish button 1 .
The printer is available from the Printers 1 node.
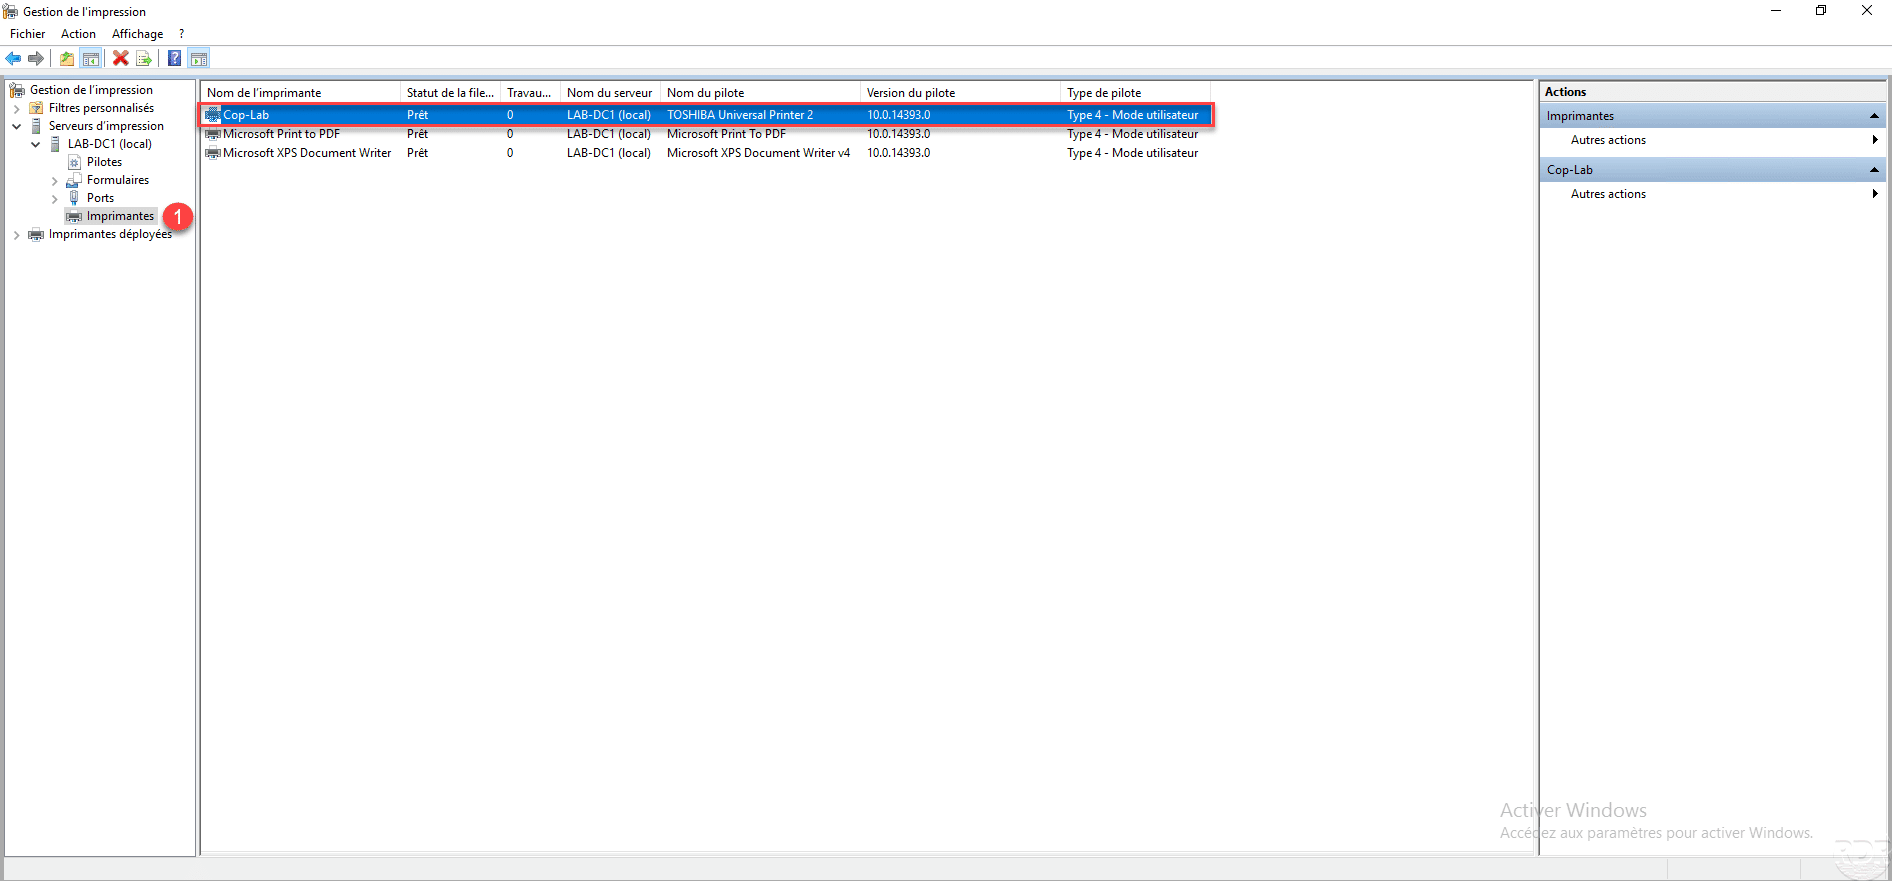
On the screenshot below, we can see that the driver is Type 4 because the copier has been installed in automatic detection and a WSD port has been created.
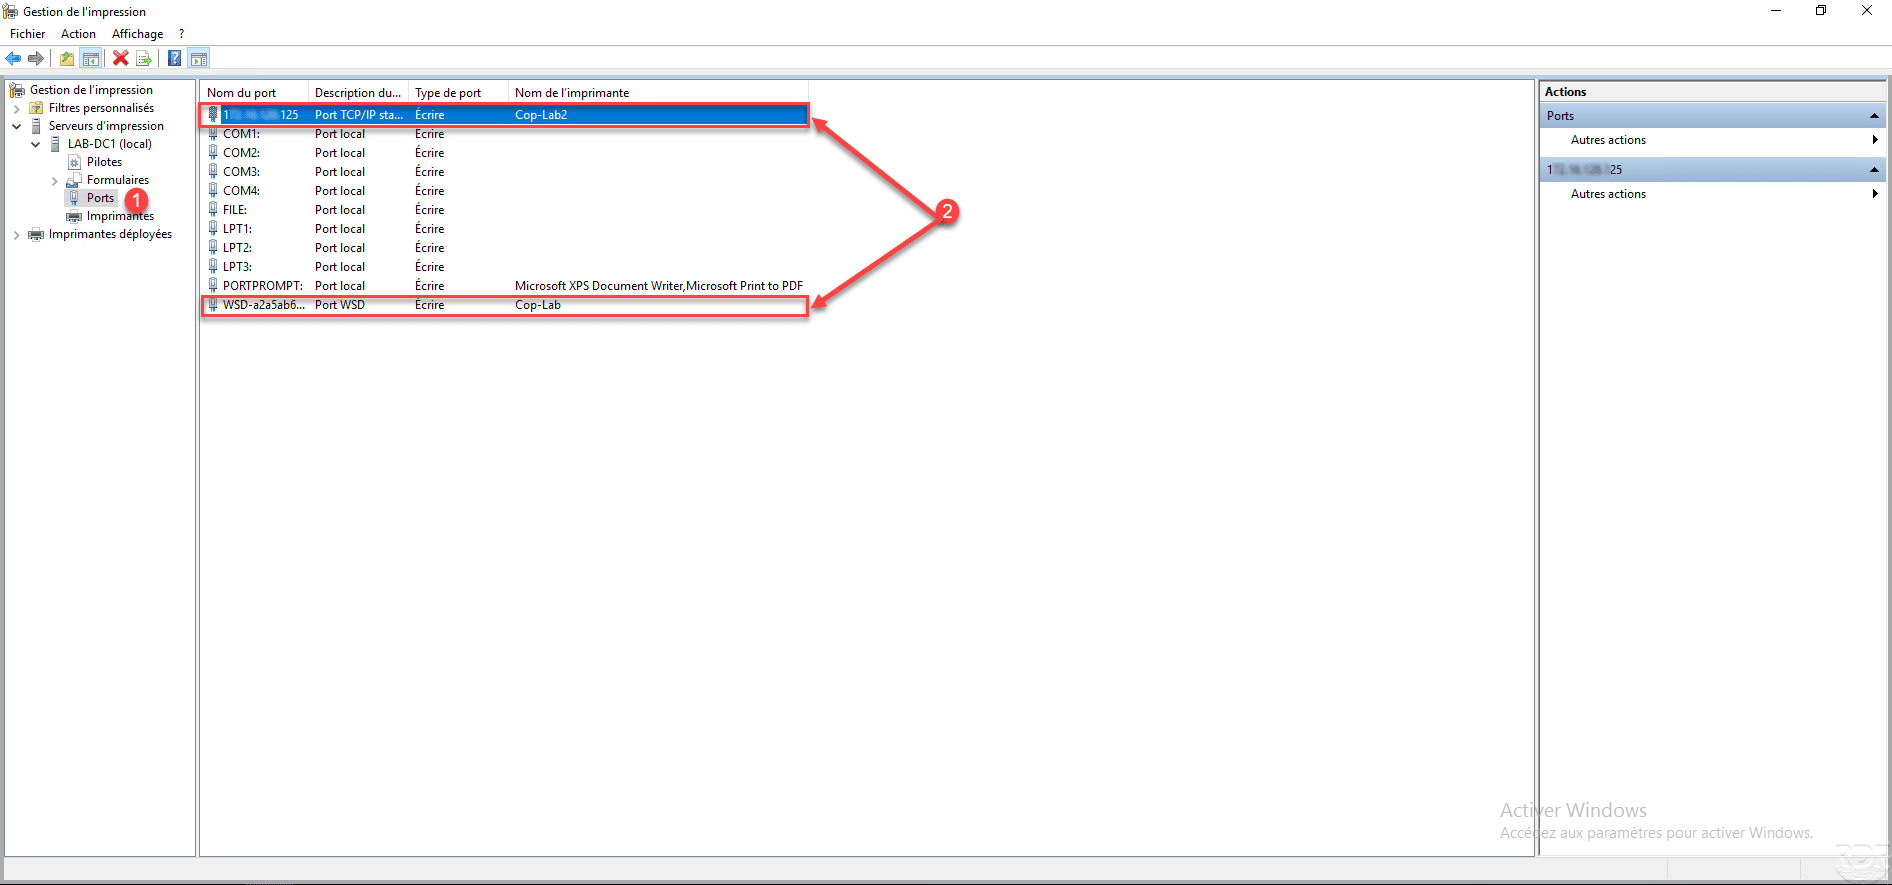
So that we can see the difference, I installed a second copier on the server but this time specifying the port type. Go to Ports node 1 in the Print Management Console. We can see the two added ports linked to copiers 2 .
Setting up a printer
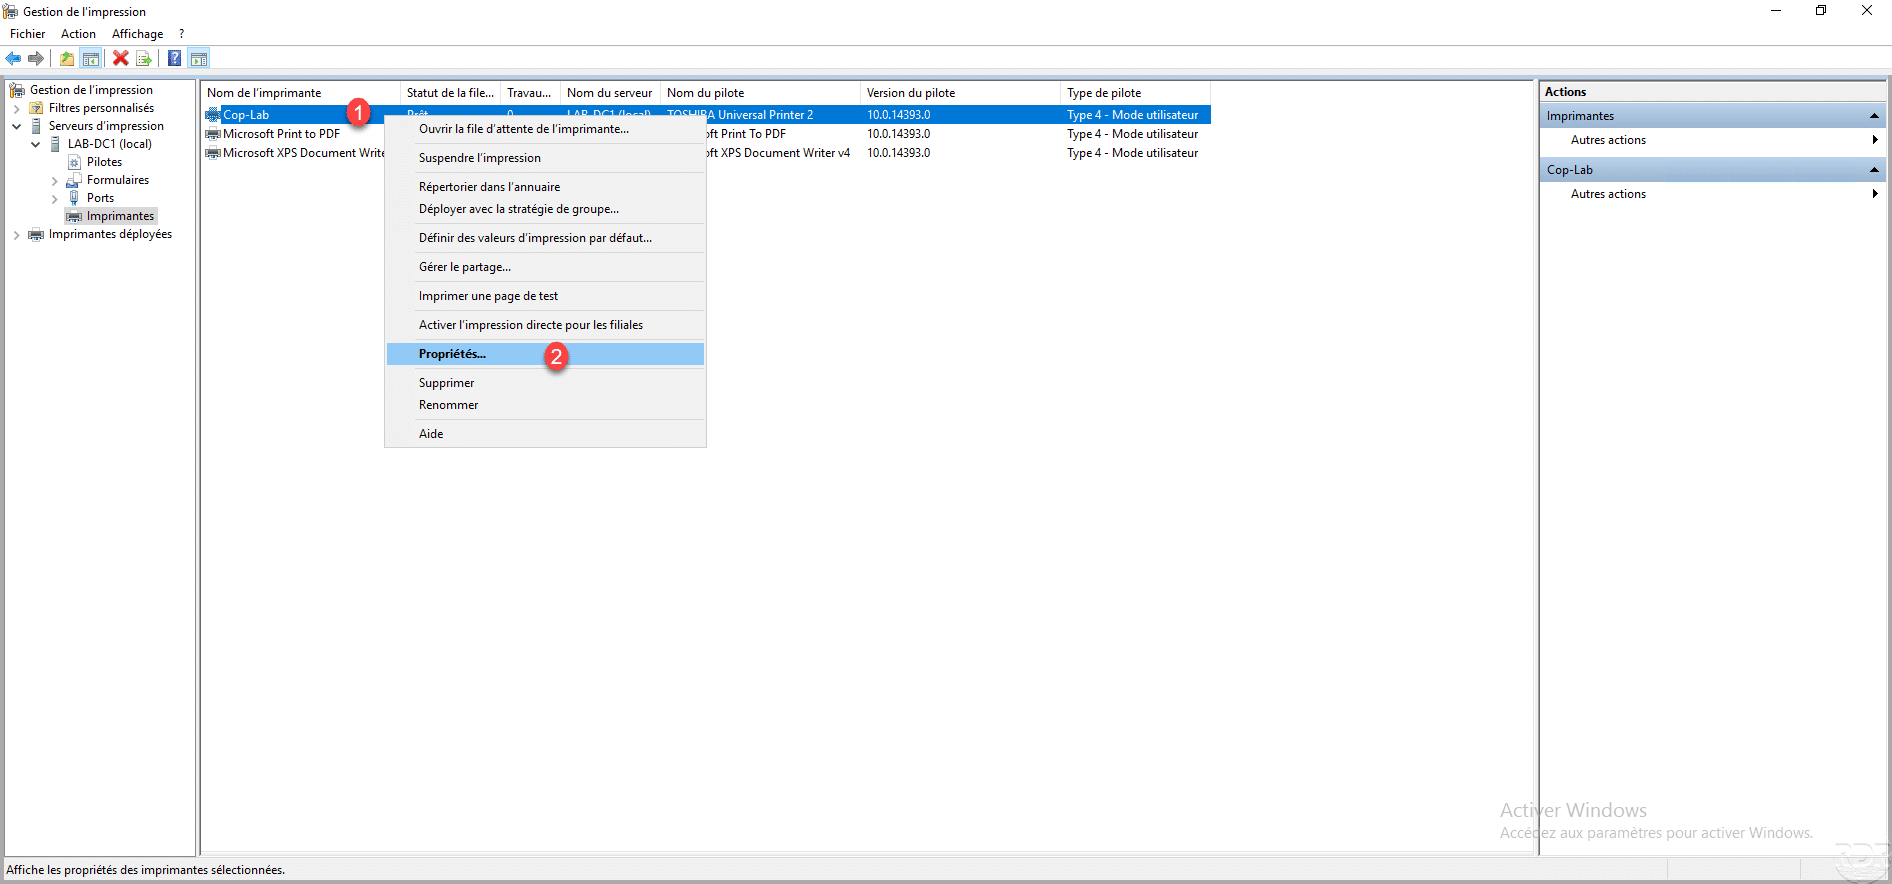
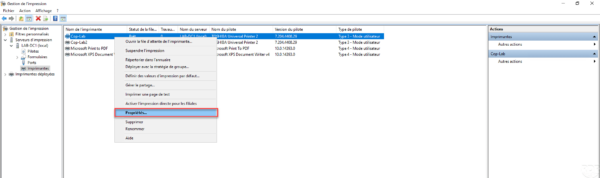
From the list of printers available on the print server, right click on the printer 1 to configure and click Properties 2 .
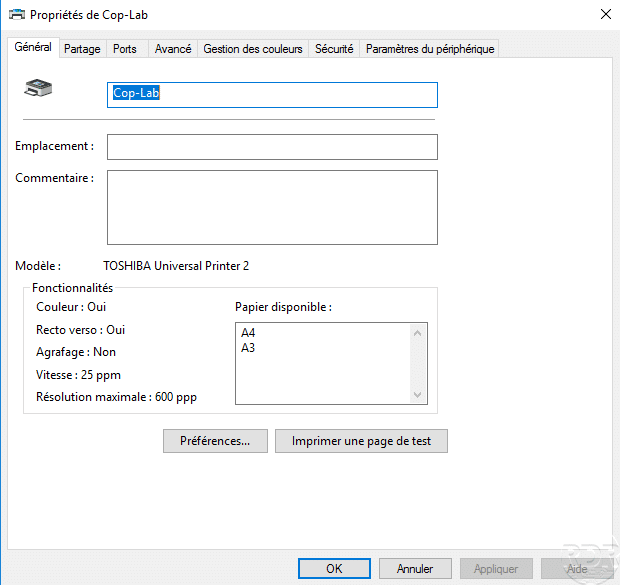
The General tab allows you to configure the name of the printer visible from the server, displays a summary of the features and starts printing a test page.
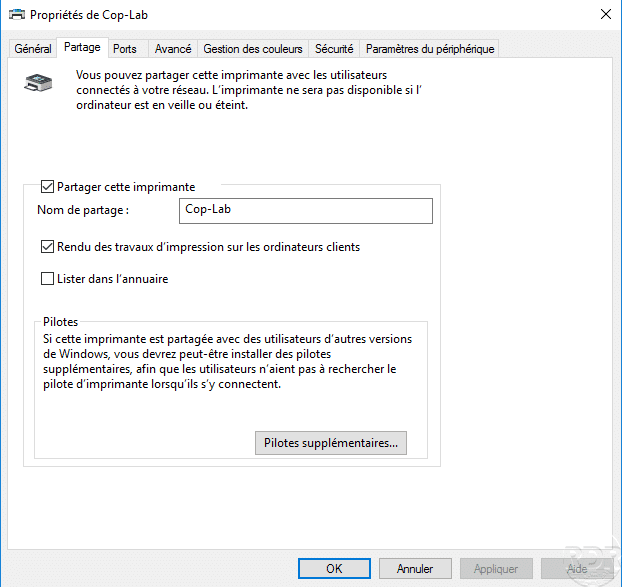
The Sharing tab is used to configure the SMB name.
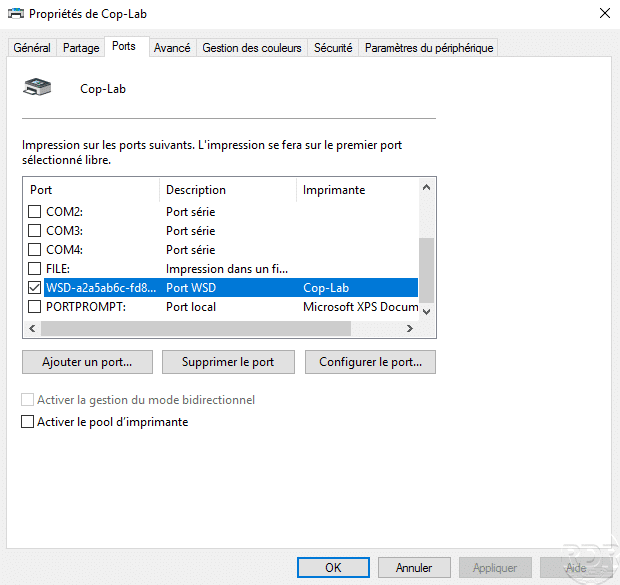
The Ports tab allows you to modify and configure the printer port on the print server.
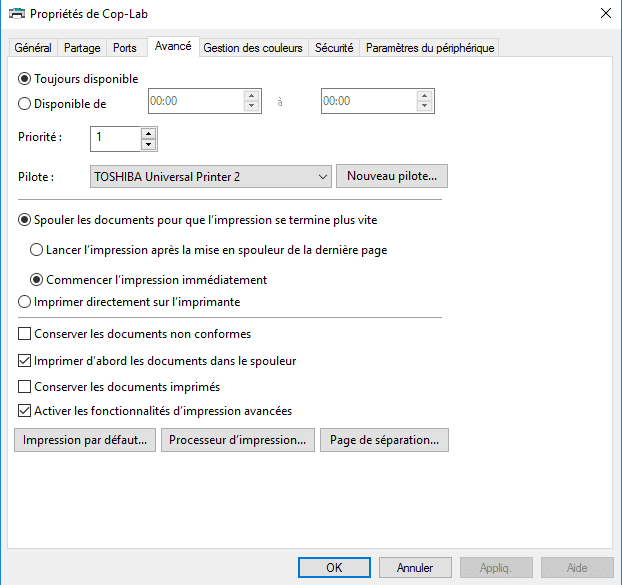
The Advanced tab allows you to configure the driver used as well as the default print settings (black and white, double-sided ….).
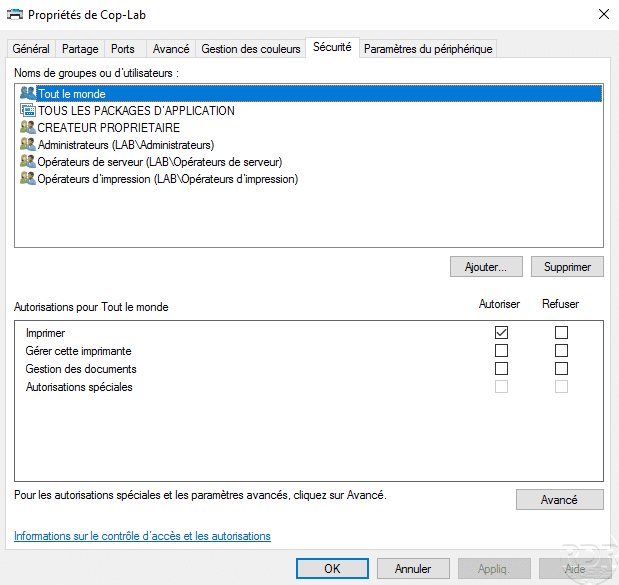
The Security tab allows you to configure permissions on the printer as NTFS rights on a folder.
Troubleshooting
Change the WSD port to TCP / IP
It is not possible to convert the port, for this it is necessary to add a TCP / IP port on the print server and change the port of the printer.
Add the TCP / IP port of the printer
Right-click on Ports 1 and click on Add Port 2 .
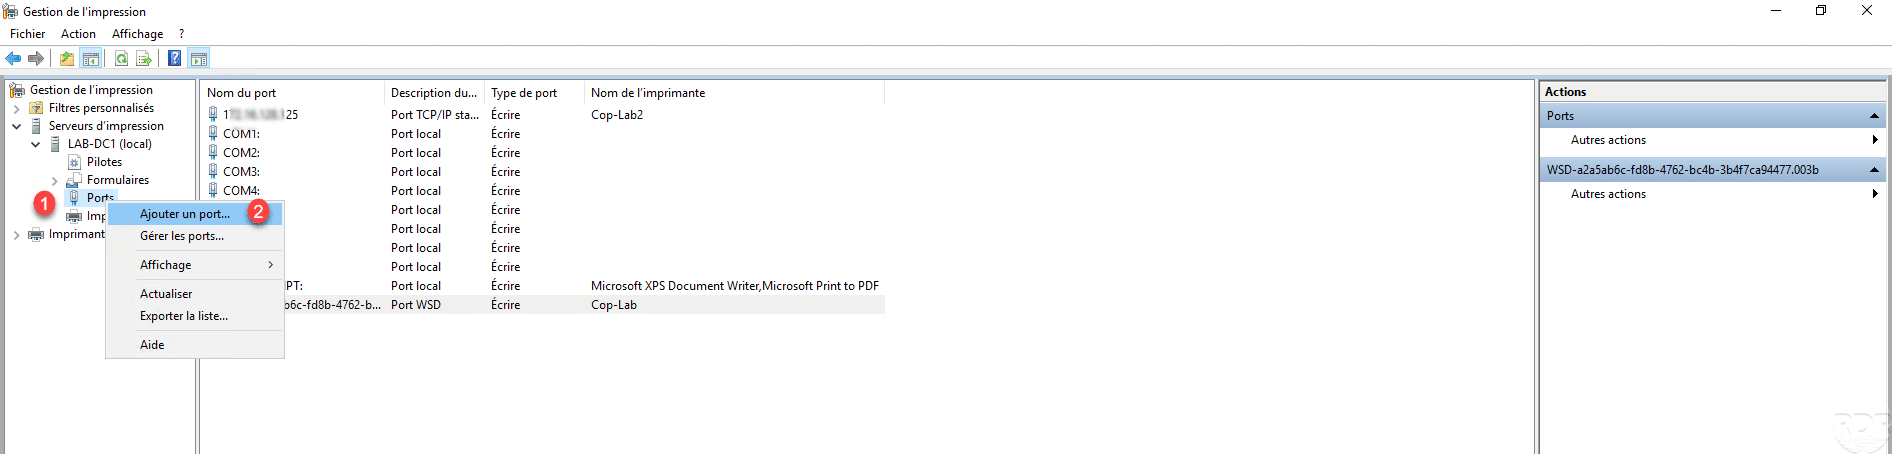
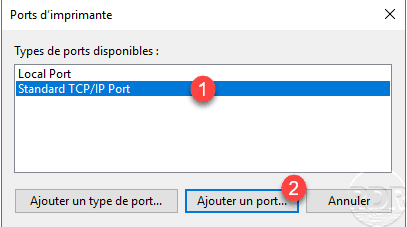
Select Standard TCP / IP Port 1 and click Add Port 2 .
When launching the wizard, click Next 1 .

Enter the printer address 1 and click Next 2 .

Click Finish 1 to confirm the addition of the port.

Change the printer port
Ouvrir les propriétés de l’imprimante.
Go to the Ports tab, check the box of port 1 that has just been created and click on Apply 2 .
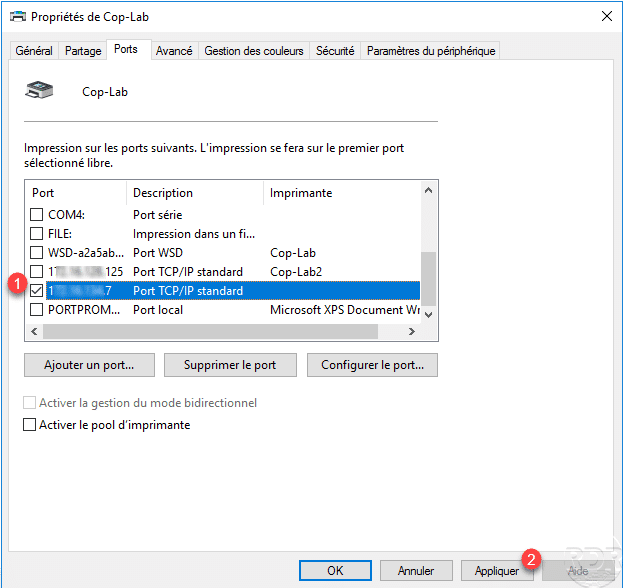
The printer port is changed 1 , click OK 2 to close the Properties window.

Purge the queue (Spooler)
It happens in some cases that an impression blocks the print service of the server, here is how to purge the files.
This manipulation will delete all pending impressions.
In batch:
net stop spooler
del %systemroot%\System32\spool\printers\* /Q /F /S
net start spooler
In PowerShell :
Stop-Service spooler
Remove-Item -Path $env:windir\system32\spool\PRINTERS\*.* -Force
Start-Service spooler
Conclusion
The print server is ready, all you have to do is deploy the printers automatically to GPO or Scripts.
If you want to log your impressions Papercut offers several solutions:
- Papercut NG which is complete solution of quota management and static (paying).
- PrinterLogger allows you to log impressions for free into a CSV file.
It is also possible to log impressions in Windows events by activating the Operational Log in Application Logs and Services / Microsoft / Windows / PrintService.
