In this first tutorial dedicated to Windows Server 2022, I will show you how to install an Active Directory domain controller.
Si vous débutez avec les services Active Directory, je vous invite à suivre le cours j’ai créé avant :
In this tutorial, here is what we will see:
- Installing the Active Directory Domain Services (AD DS) role
- Promotion of a domain controller to create a new Active Directory domain
- Adding a Windows Server 2022 domain controller to an existing domain.
Before starting, you should know that Windows Server 2022 does not provide a new level of forest and domain functionality, so we remain on a Windows Server 2016 level.
Windows Server 2022 also does not bring a schema update, which is a first, the highest schema version is 88 which arrived with Windows Server 2019.
Table of Contents
Si vous êtes habitué à l’installation de contrôleur de domaine, il n’y a pas réellement d’évolution par rapport à Windows Serveur 2019 ou 2016.
Prerequisites before installing the AD DS role
Before launching the role installation wizard you must:
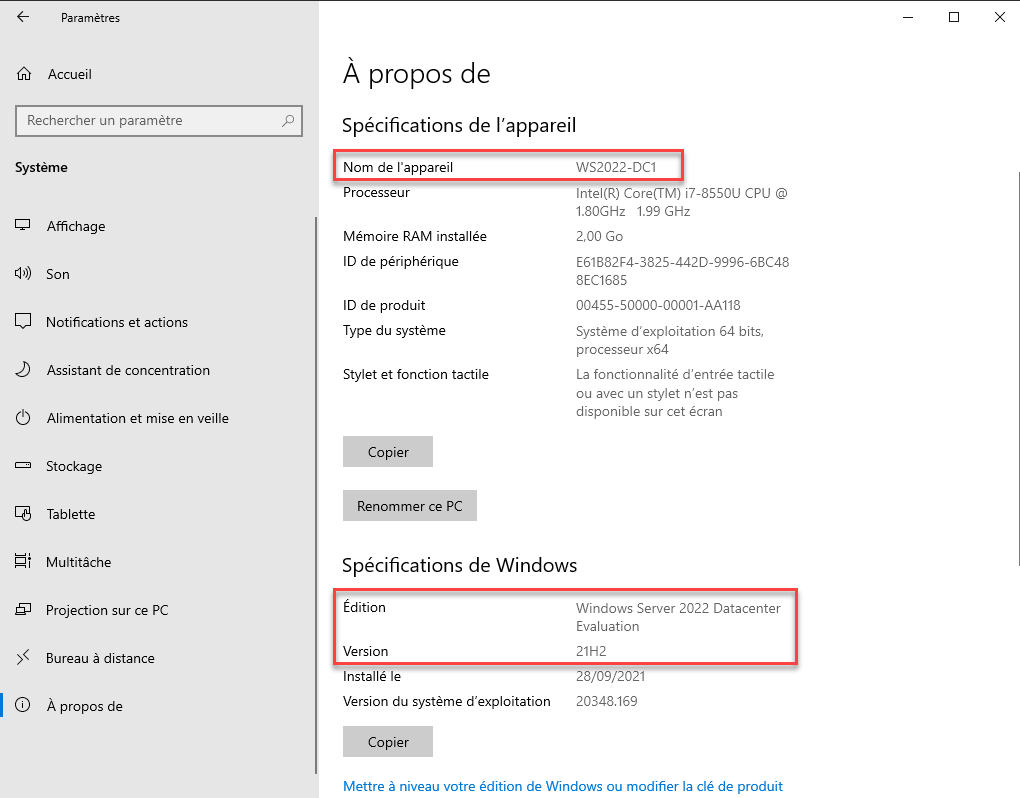
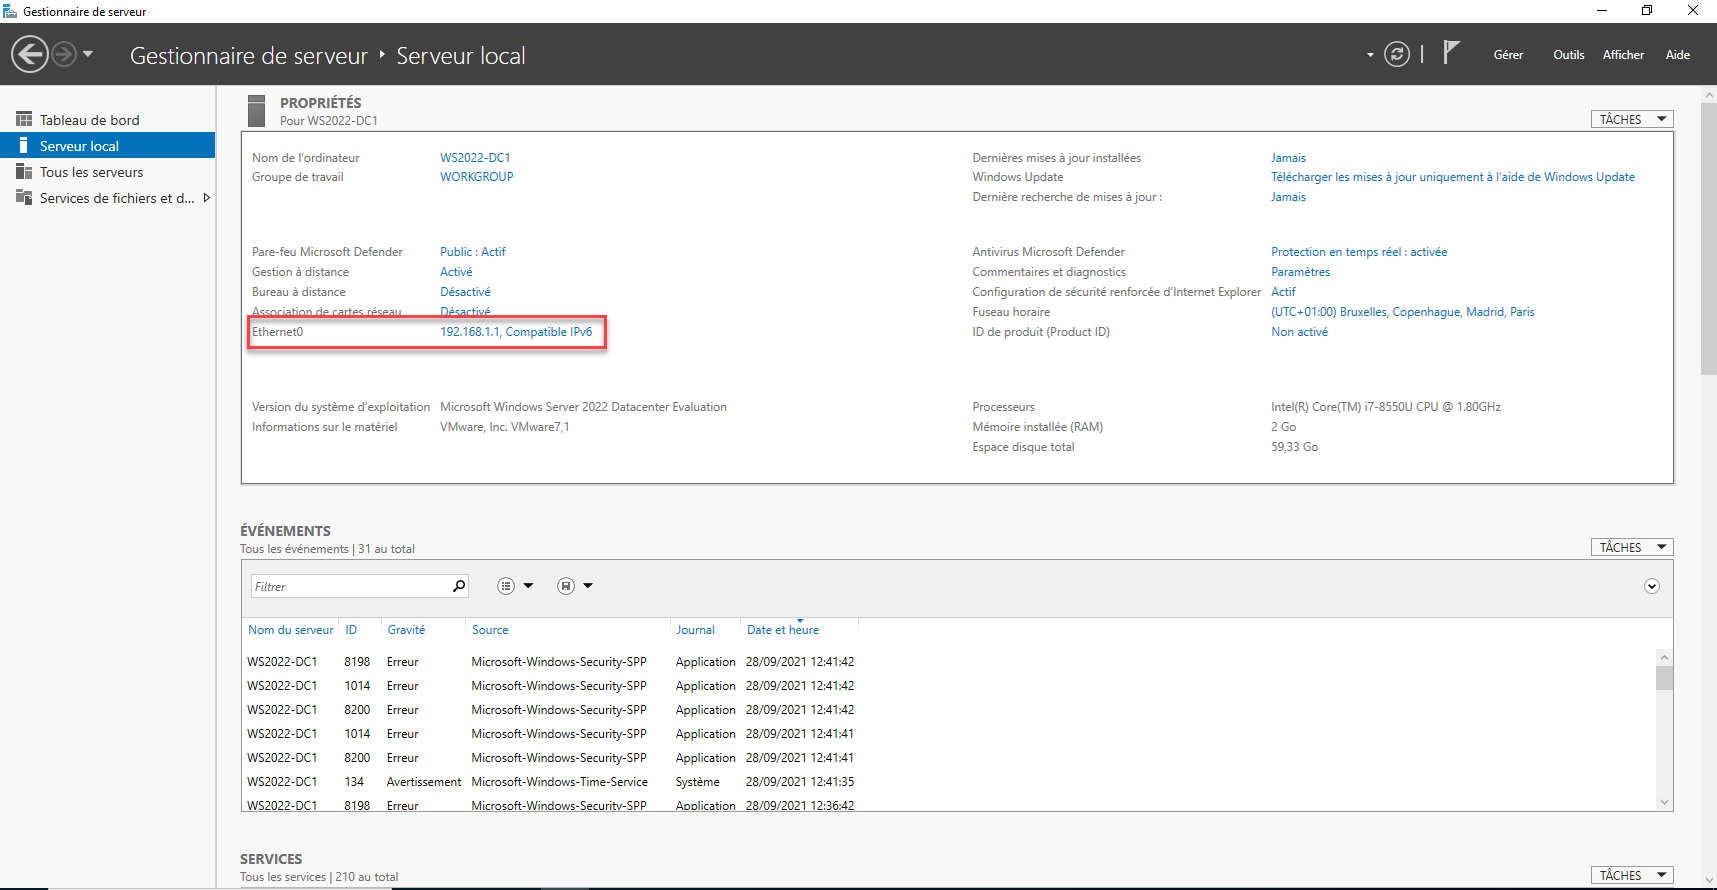
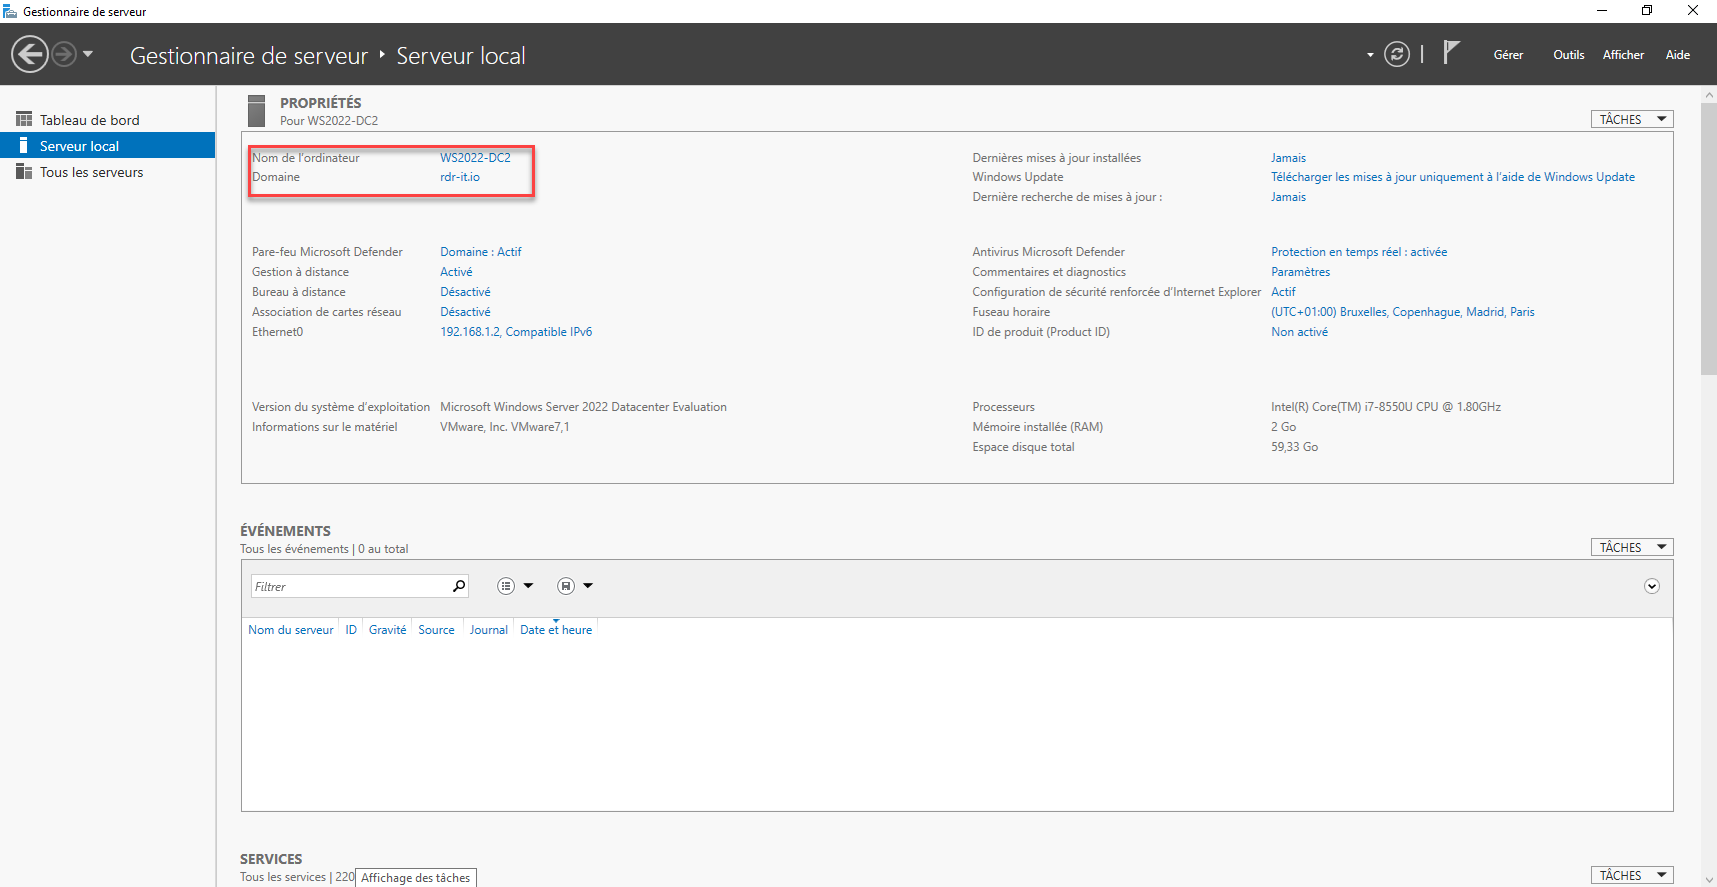
- Having correctly named the server, even if it is possible to rename a domain controller, it is better to name it correctly beforehand.
- Configure a fixed IP address to the server.
- The server must be dedicated to this role.
If you add a Windows Server domain controller to an existing environment, you must also:
- Have an existing domain controller as DNS
- Check the Active Directory domain name is resolved by the server
- Ensure the compatibility of the existing environment with Windows Server 2022
- Add the account that you are going to use in the Enterprise Admins and Schema Administrator groups if the schema is not in version 88, that is, you do not have a domain controller with Windows Server 2019.
Installing the AD DS role on Windows Server 2022
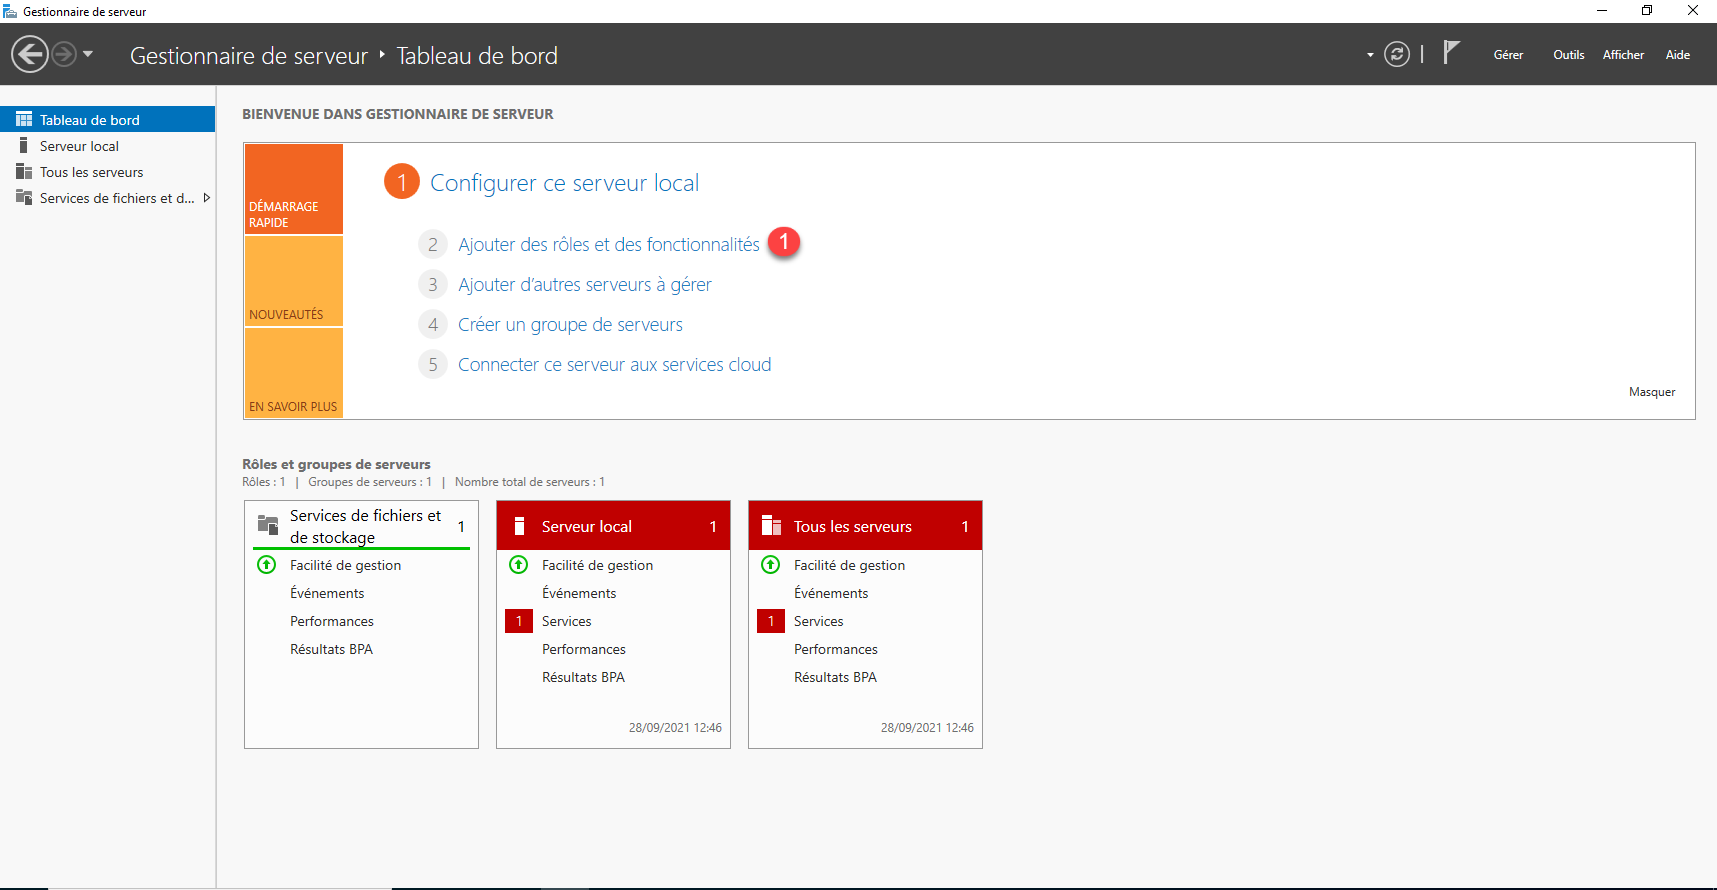
From the server manager, click on Add roles and features 1.
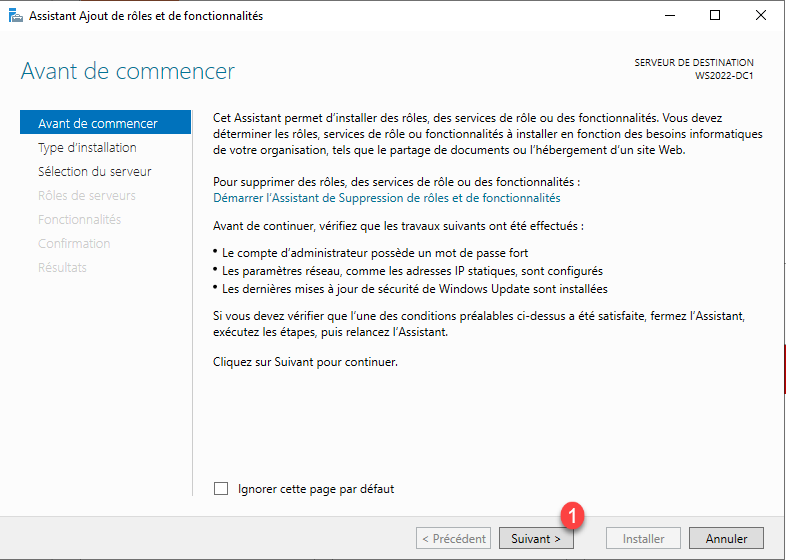
When the wizard starts, click on the Next 1 button.
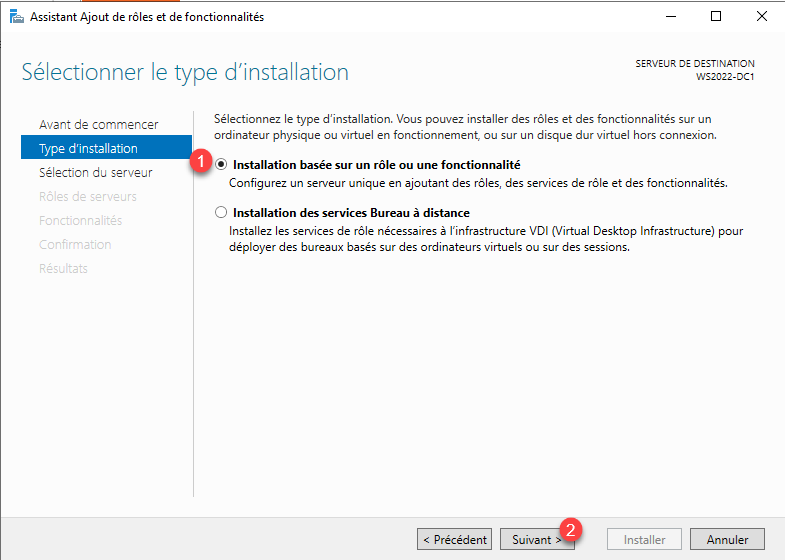
Type of installation choose Installation based on a role or a feature 1 then click on Next 2.
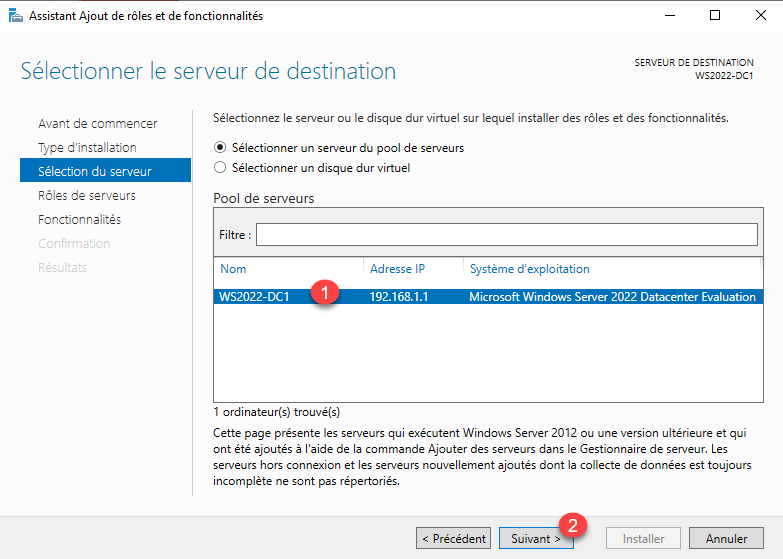
Select the server 1 where the AD DS role will be installed and click the Next button 2.
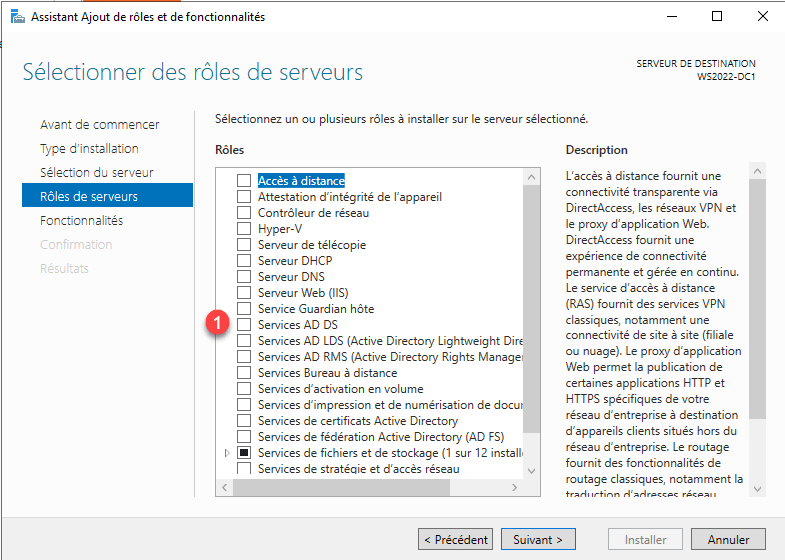
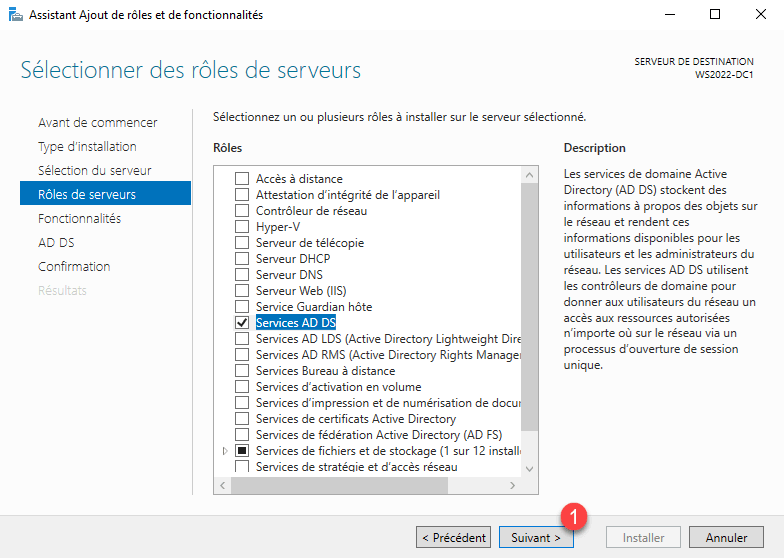
In the list of roles, check the box for AD DS 1.
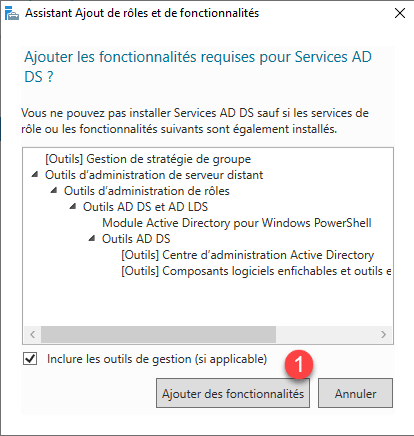
Confirm the addition of the administration consoles by clicking on Add features 1.
Now that the AD DS role is selected, click Next 1.
Skip the functionalities by clicking on the Next 1 button.

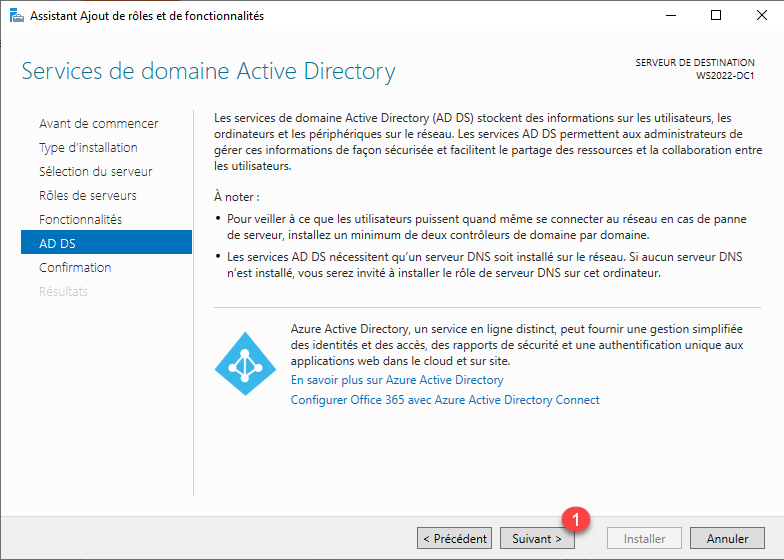
A summary of Active Directory Domain Services is displayed, click Next 1.
Confirm the installation of the AD DS role by clicking Install 1.

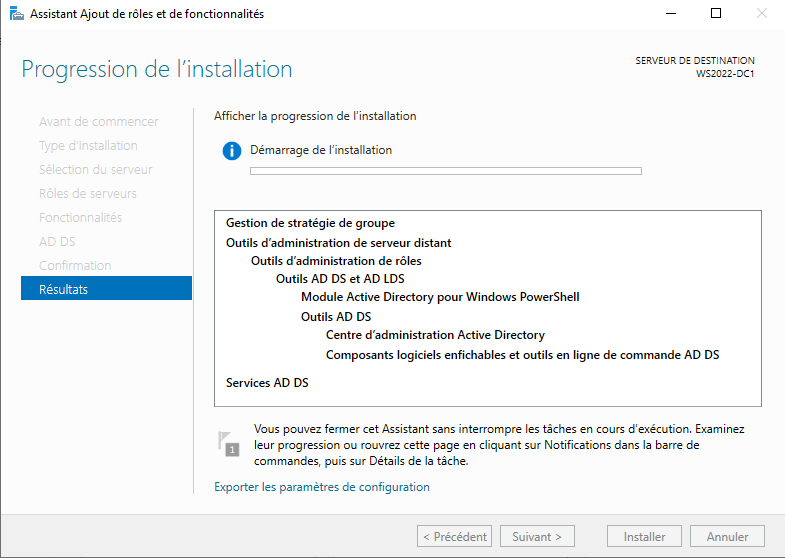
Wait during the installation …

Once the installation, exit the wizard by clicking on Close 1.
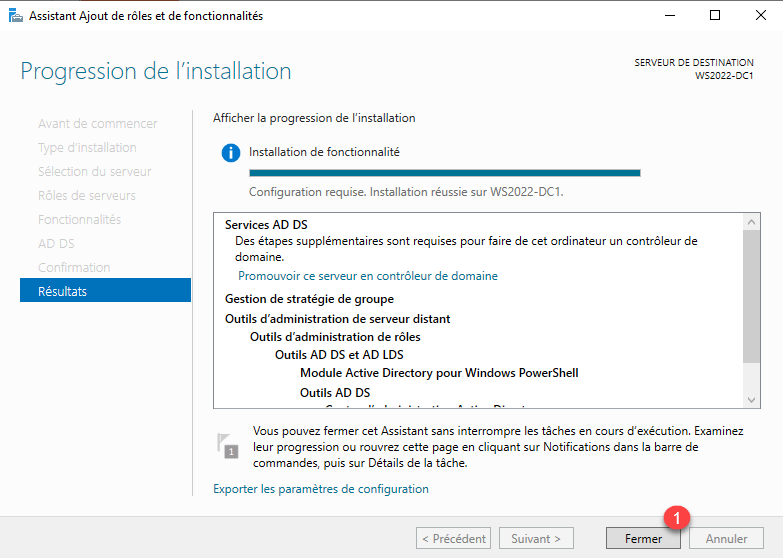
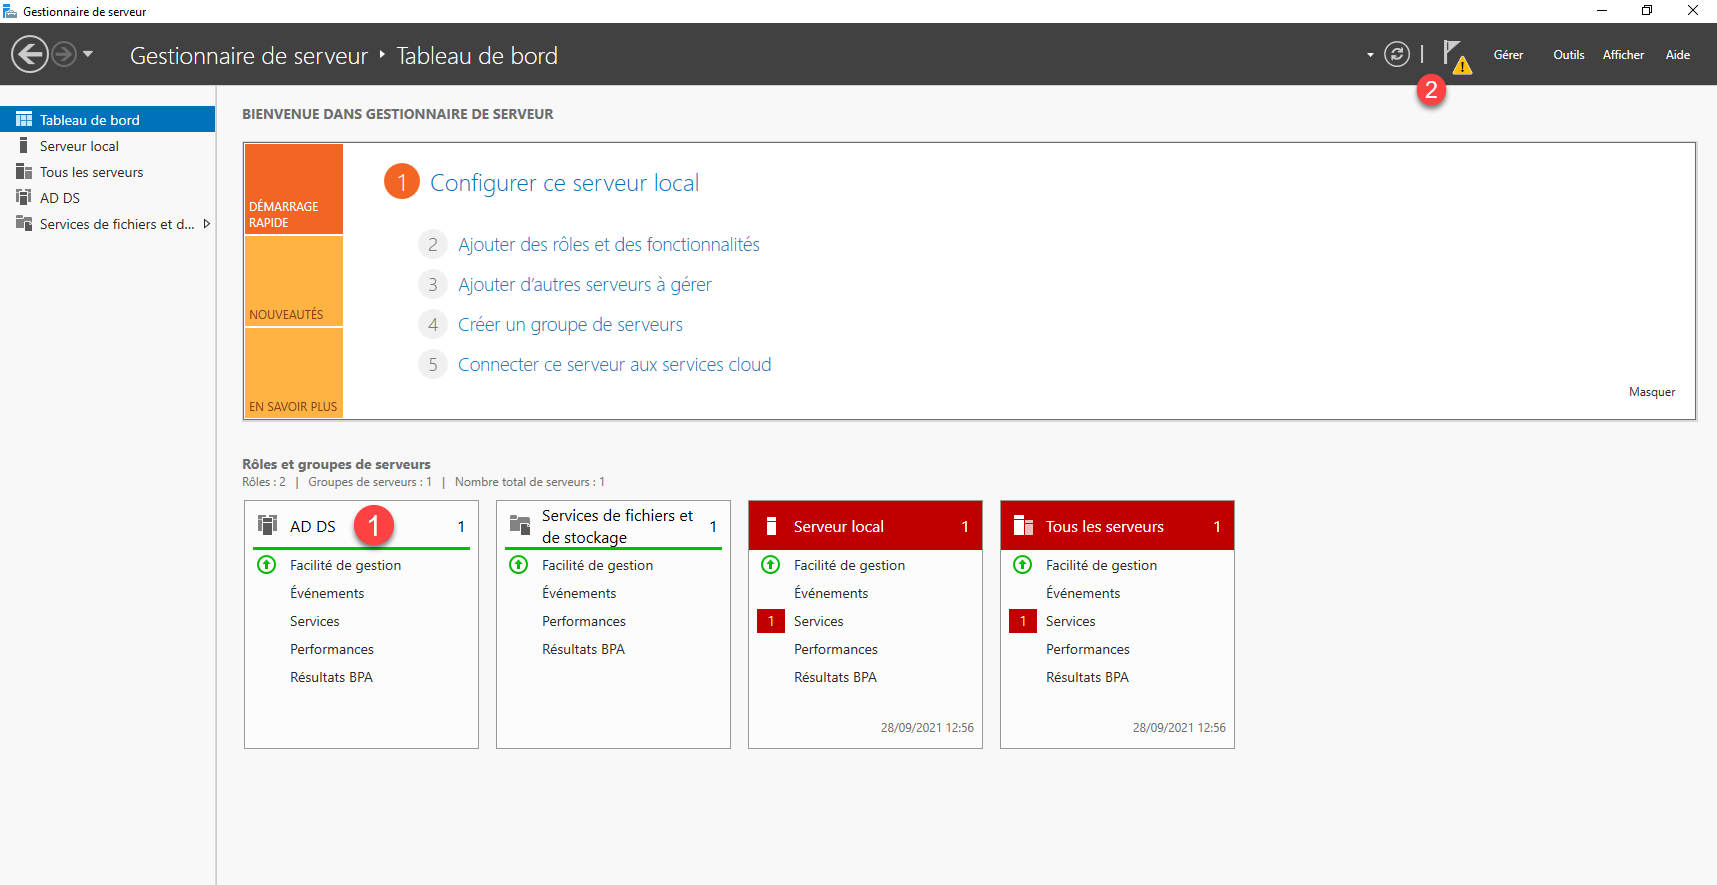
From Server Manager, we can see that AD DS role 1 is installed and action is required 2 to promote the server as a Domain Controller.
Install-windowsfeature -name AD-Domain-Services –IncludeManagementToolsCreate a new Active Directory domain by promoting the first domain controller
In this part, we will see how to create an Active Directory environment with the promotion of the first domain controller.
In production, it is recommended to have at least 2 domain controllers.
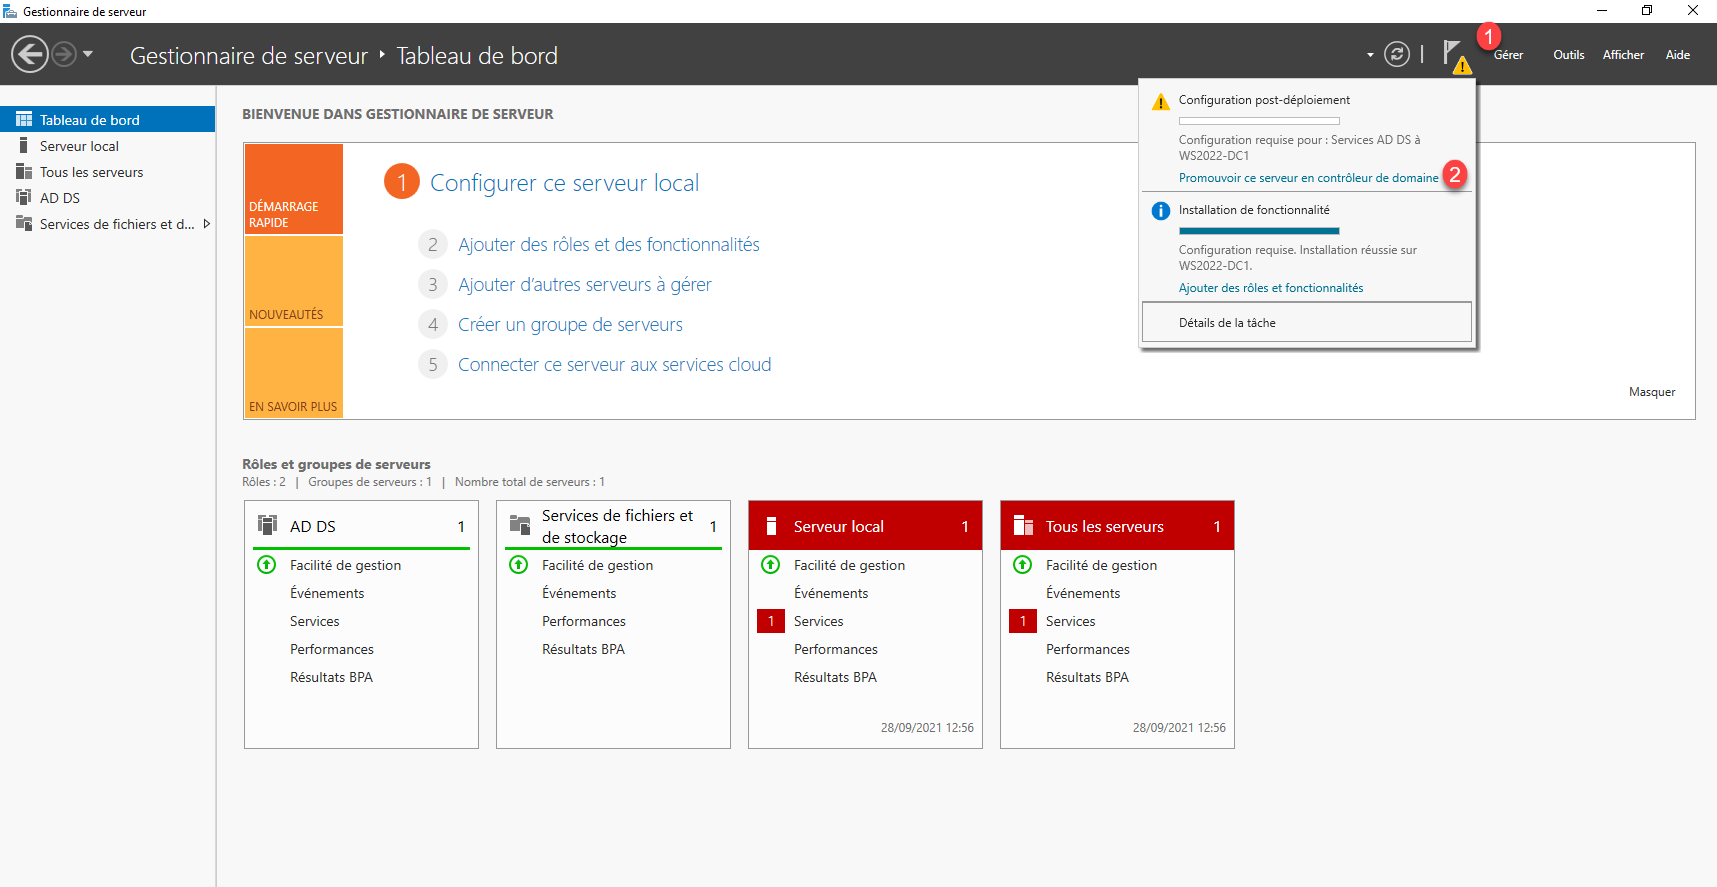
From the server manager, click on the notification icon then on Promote this server to a domain controller 2 to start the wizard.
The promotion wizard starts, before Windows Server 2012, we used the dcpromo.exe command
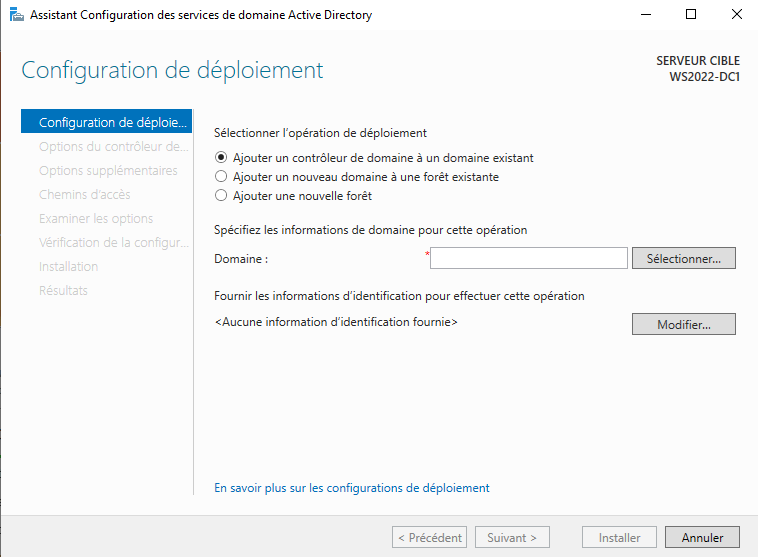
Select the operation: Add a new forest 1 then enter the domain root name 2 and click on Next 3.

The root name must be composed of a tld (Top Level Domain) public or not (.lan, .corp, .com …) and a name which can be that of your company for example.
The domain does not have to be registered.
For practical reasons, we avoid using a public domain that we use, such as that of the company’s Internet site.
Also take into account, that this name will be used for user logon in the form [email protected]
If you want users to open their session with their email address, it is possible to add a UPN suffix later, which allows you to have [email protected]
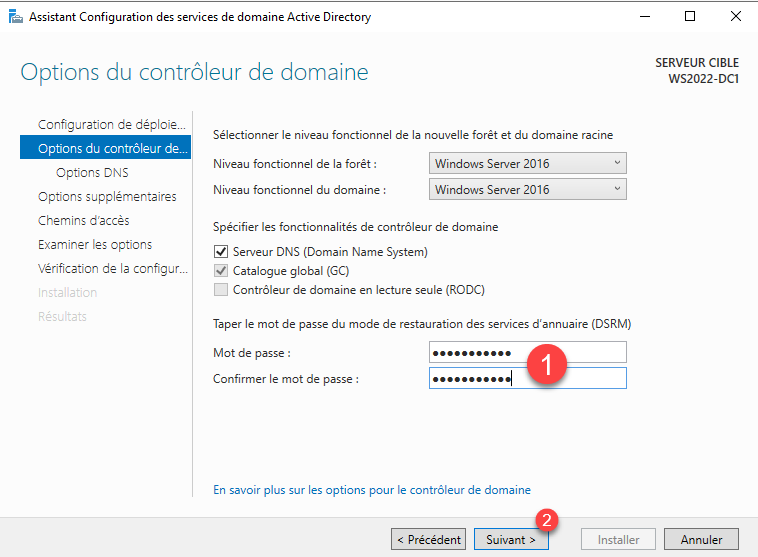
Enter a password for Directory Services Restore Mode 1 and click Next 2.
The DSRM password must imperatively be noted somewhere, it allows you to connect to the server if the AD DS services no longer work and to allow a repair.
The DNS server role is installed on the domain controller, which is normal, a lot of Active Directory services rely on DNS records, which allows the client to find domain controllers.
On the screenshot, we can see that the functional level is Windows Server 2016.
Skip the DNS options by clicking Next 1.
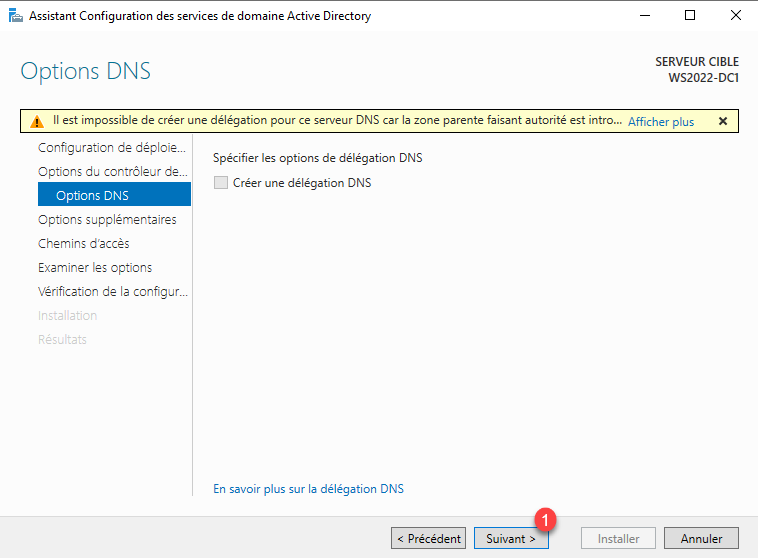
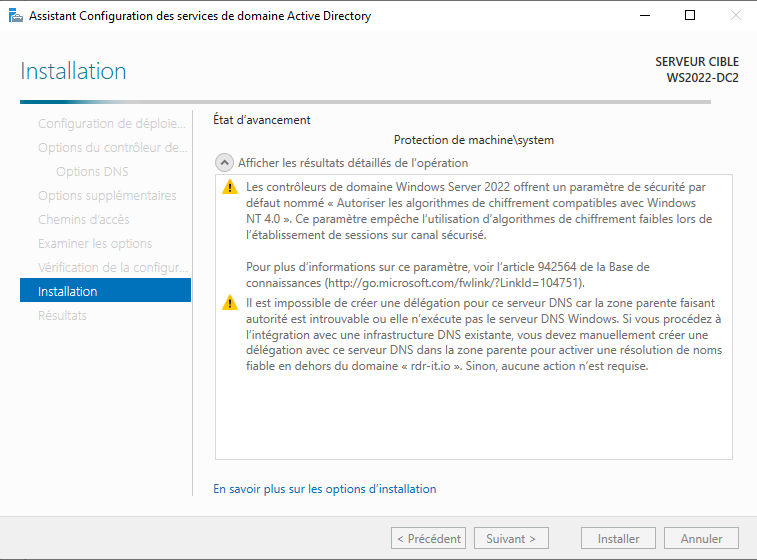
The DNS delegation warning message can be ignored because we are not going to publish the Active Directory environment to the Internet.
Once the NETBIOS name is generated 1, click Next 2.

The NETBIOS name is still used primarily for compatibility reasons.
To learn more about NETBIOS : NetBIOS – Wikipedia
The wizard suggests changing the NTDS and SYSVOL directories, generally, the default directories are used. Click on Next 1.

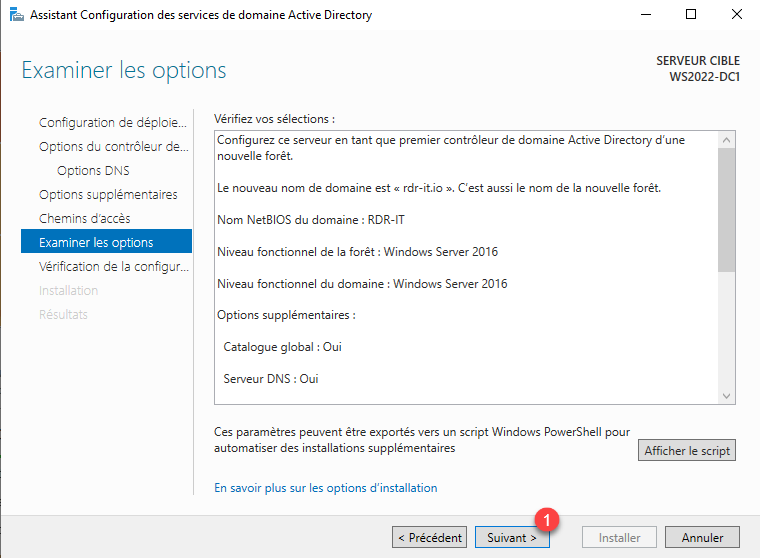
An option summary is displayed, verify the information then click Next 1.
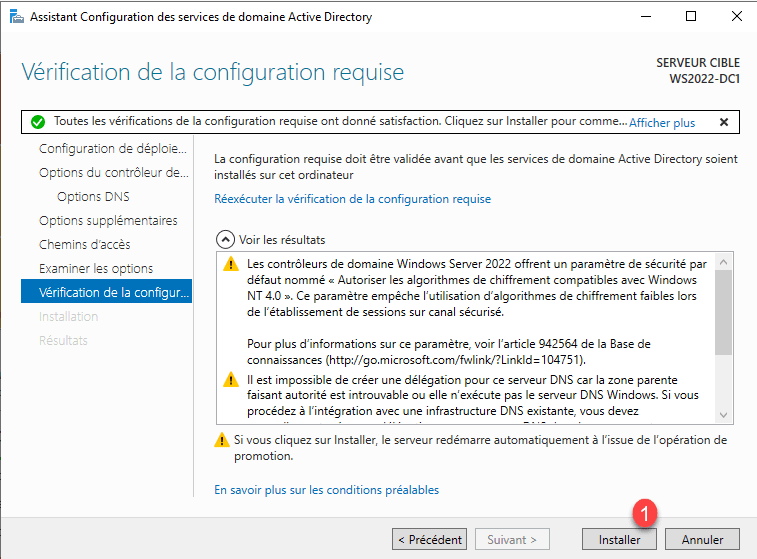
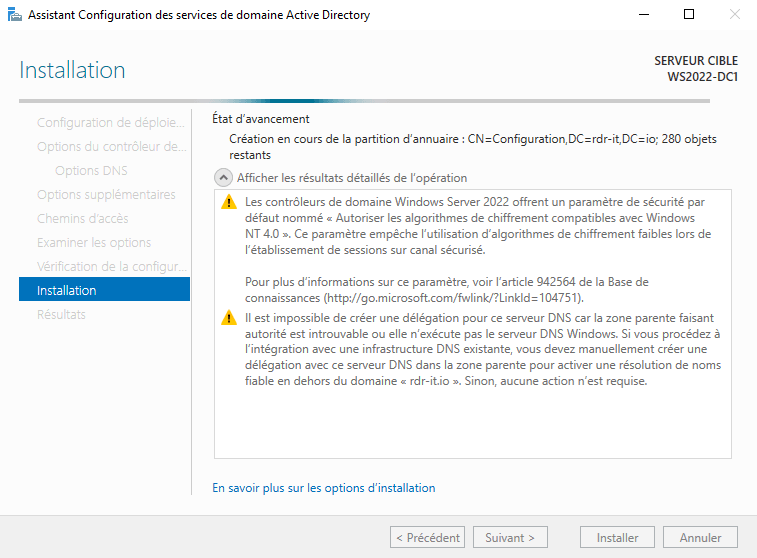
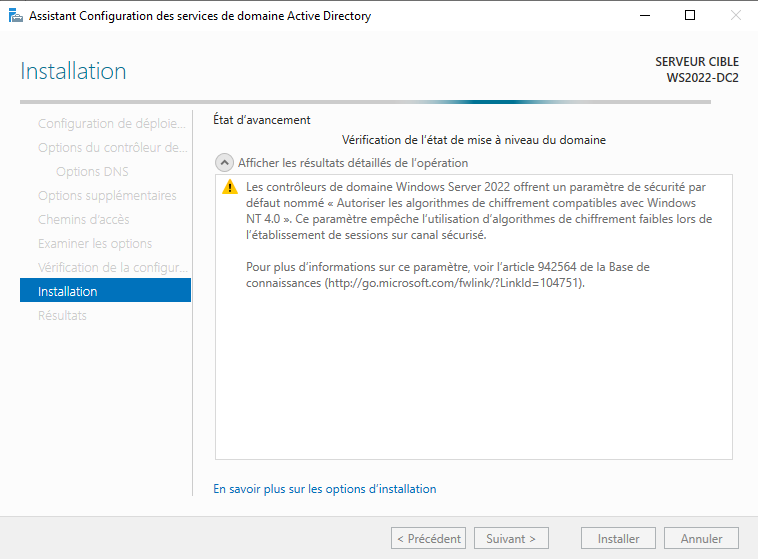
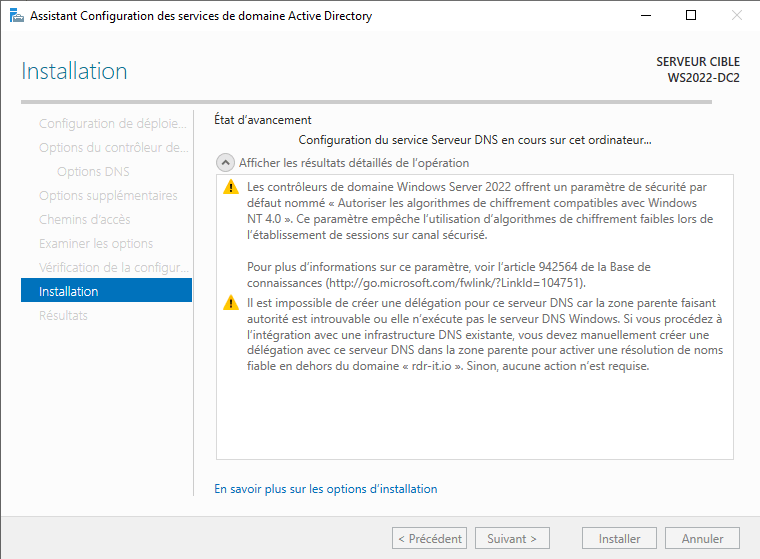
The wizard will check the configuration, if no blocking error is detected, start the creation of the domain (forest) by clicking on Install 1.
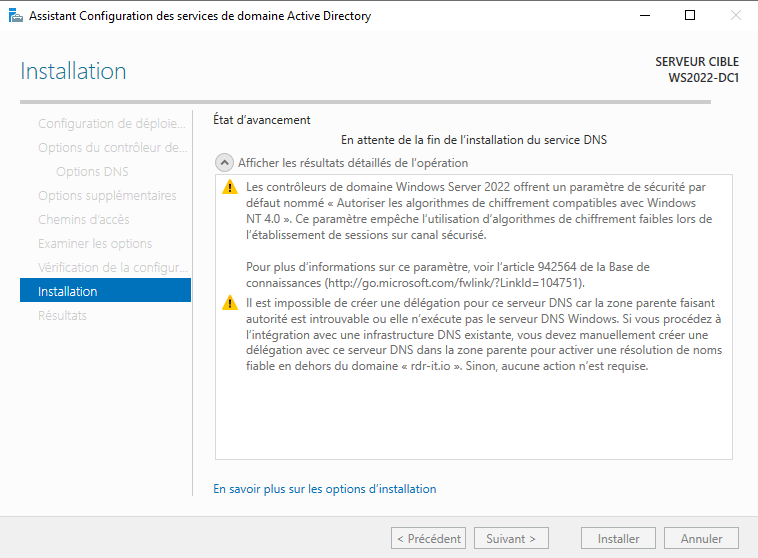
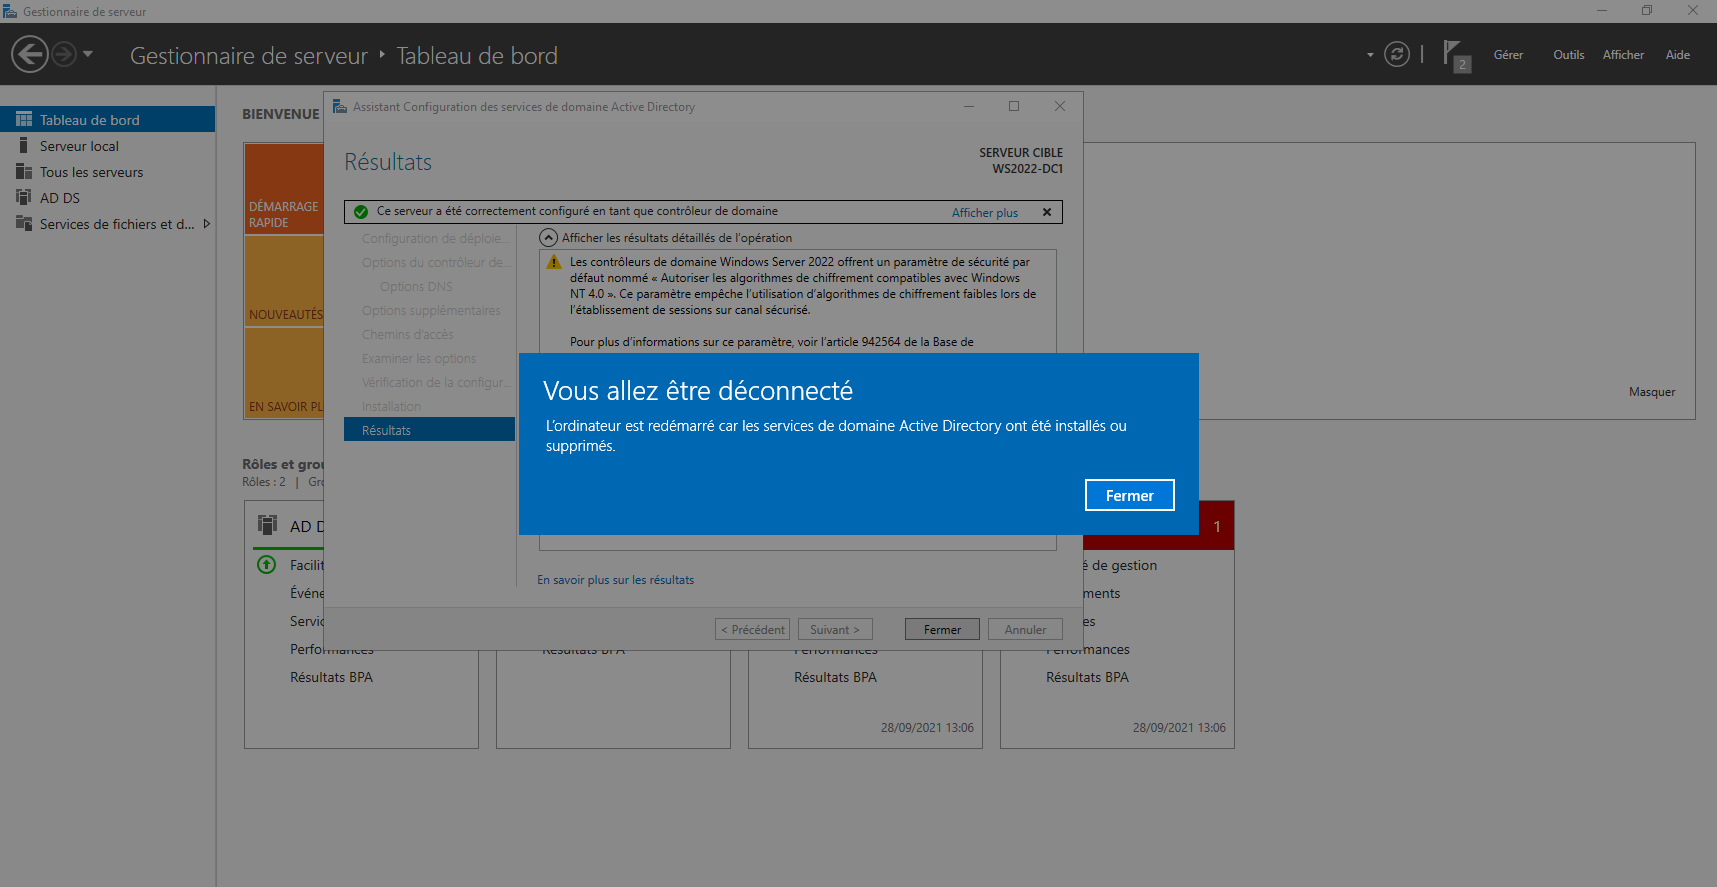
Wait during the installation … at the end of the installation, the server restarts and will be a domain controller.
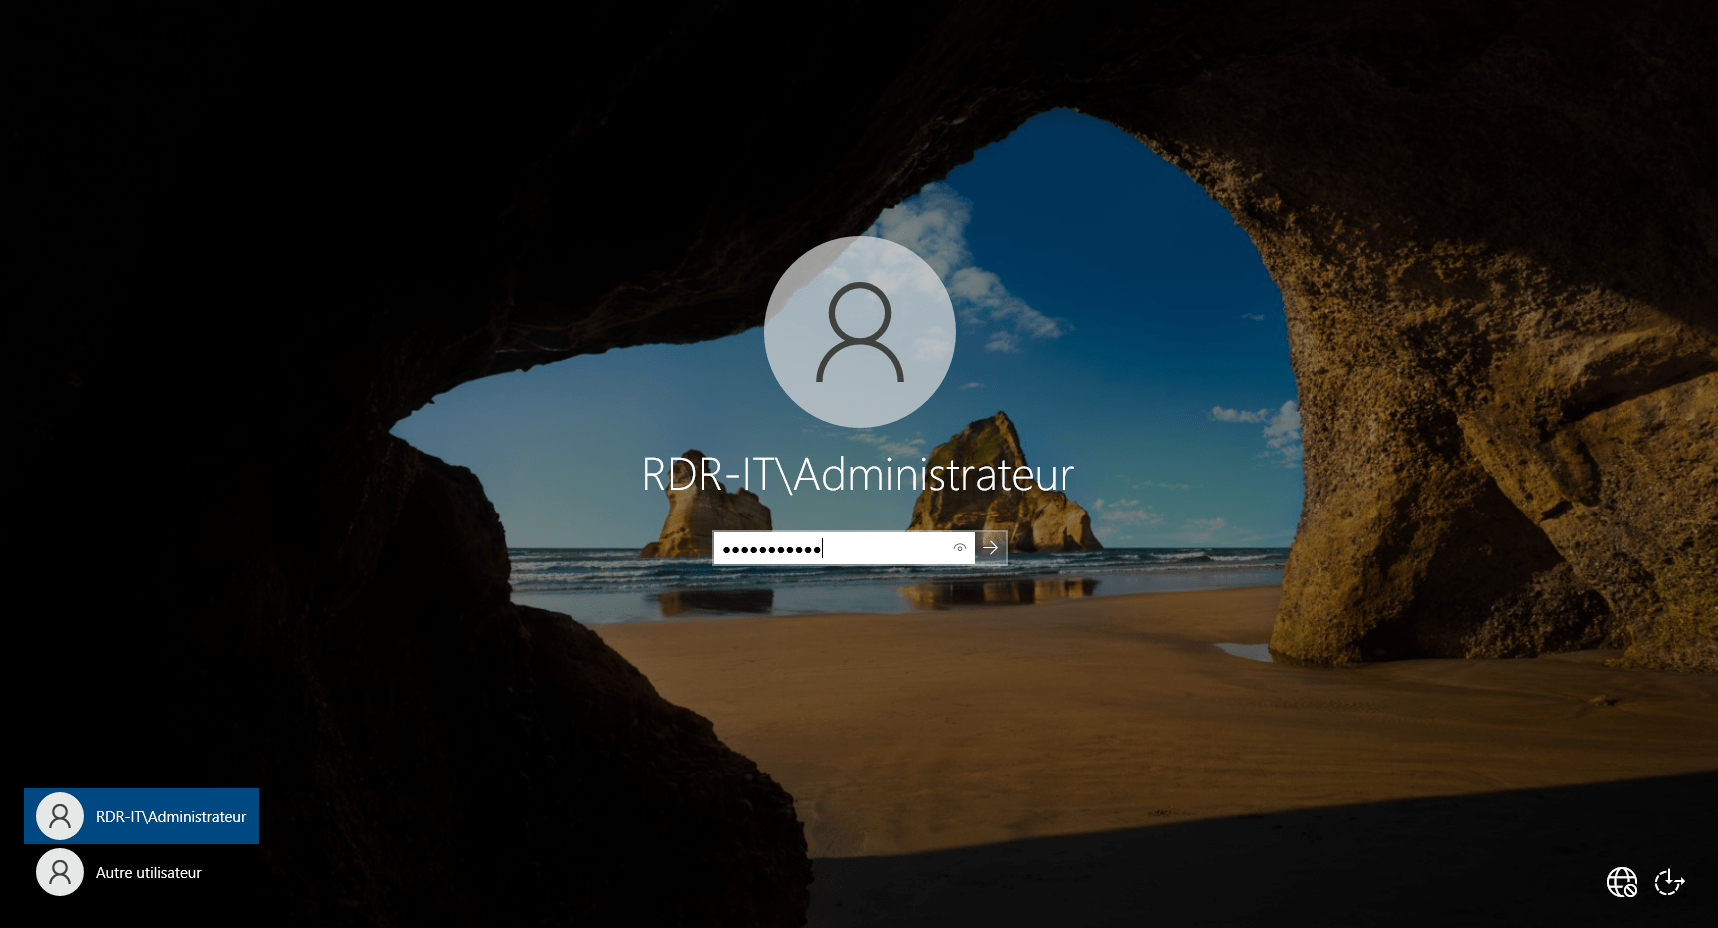
Once the server has restarted, connect with the password of the Administrator account of the server, on the capture, we can that the login is now NOM_NETBIOS \ administrator.
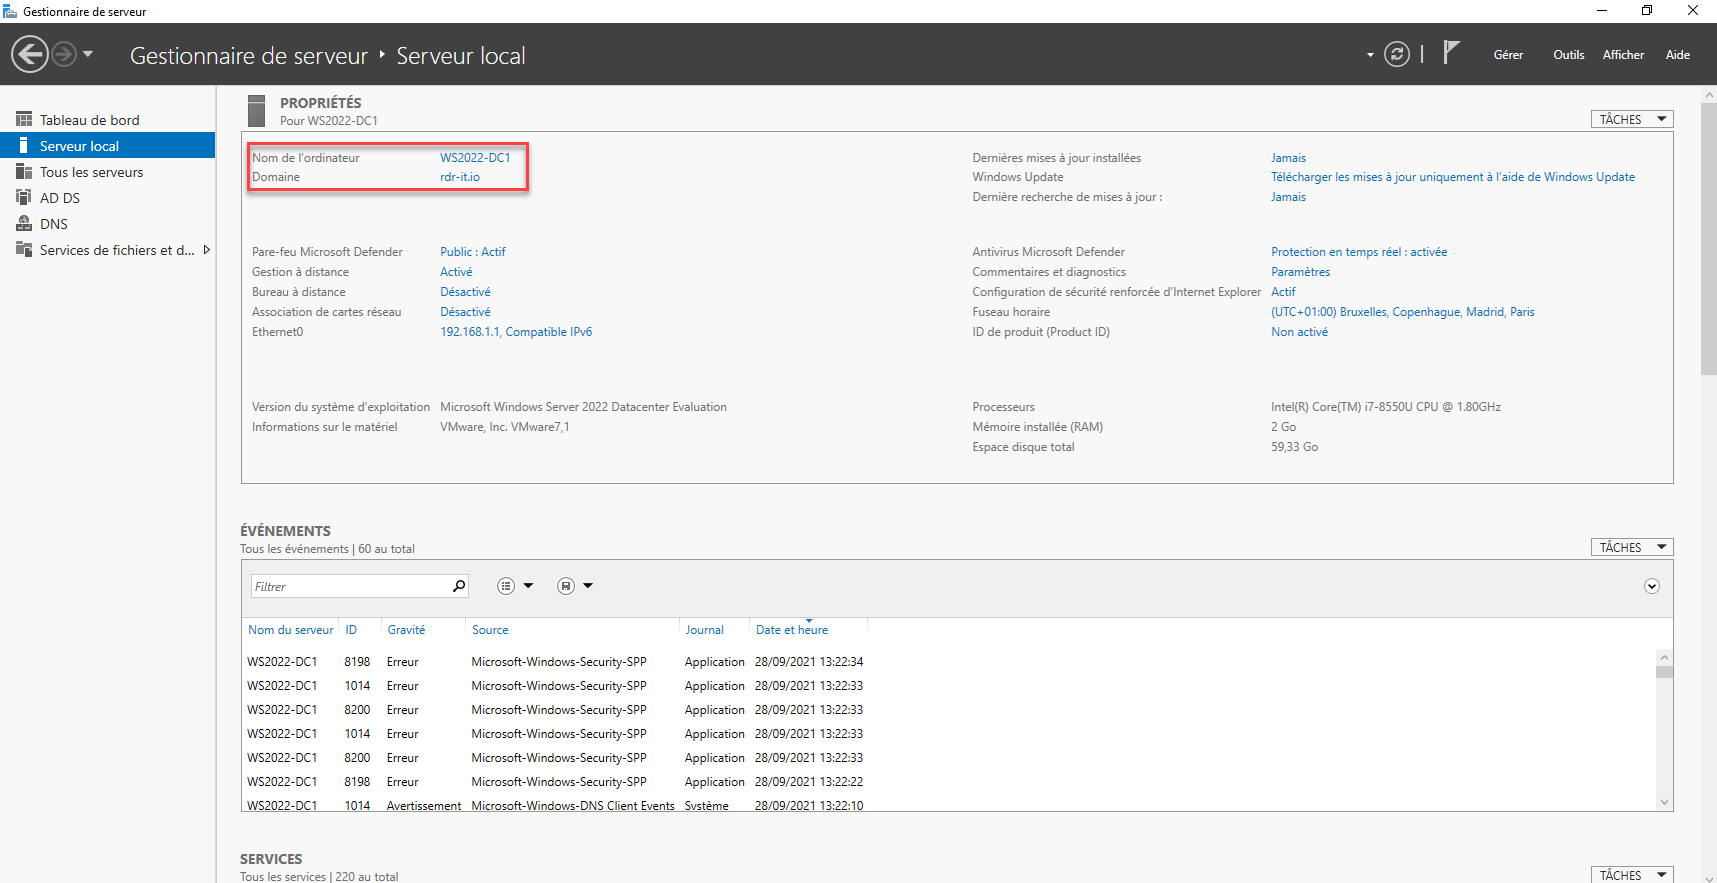
The server is now a domain controller, it can be seen through the server manager.

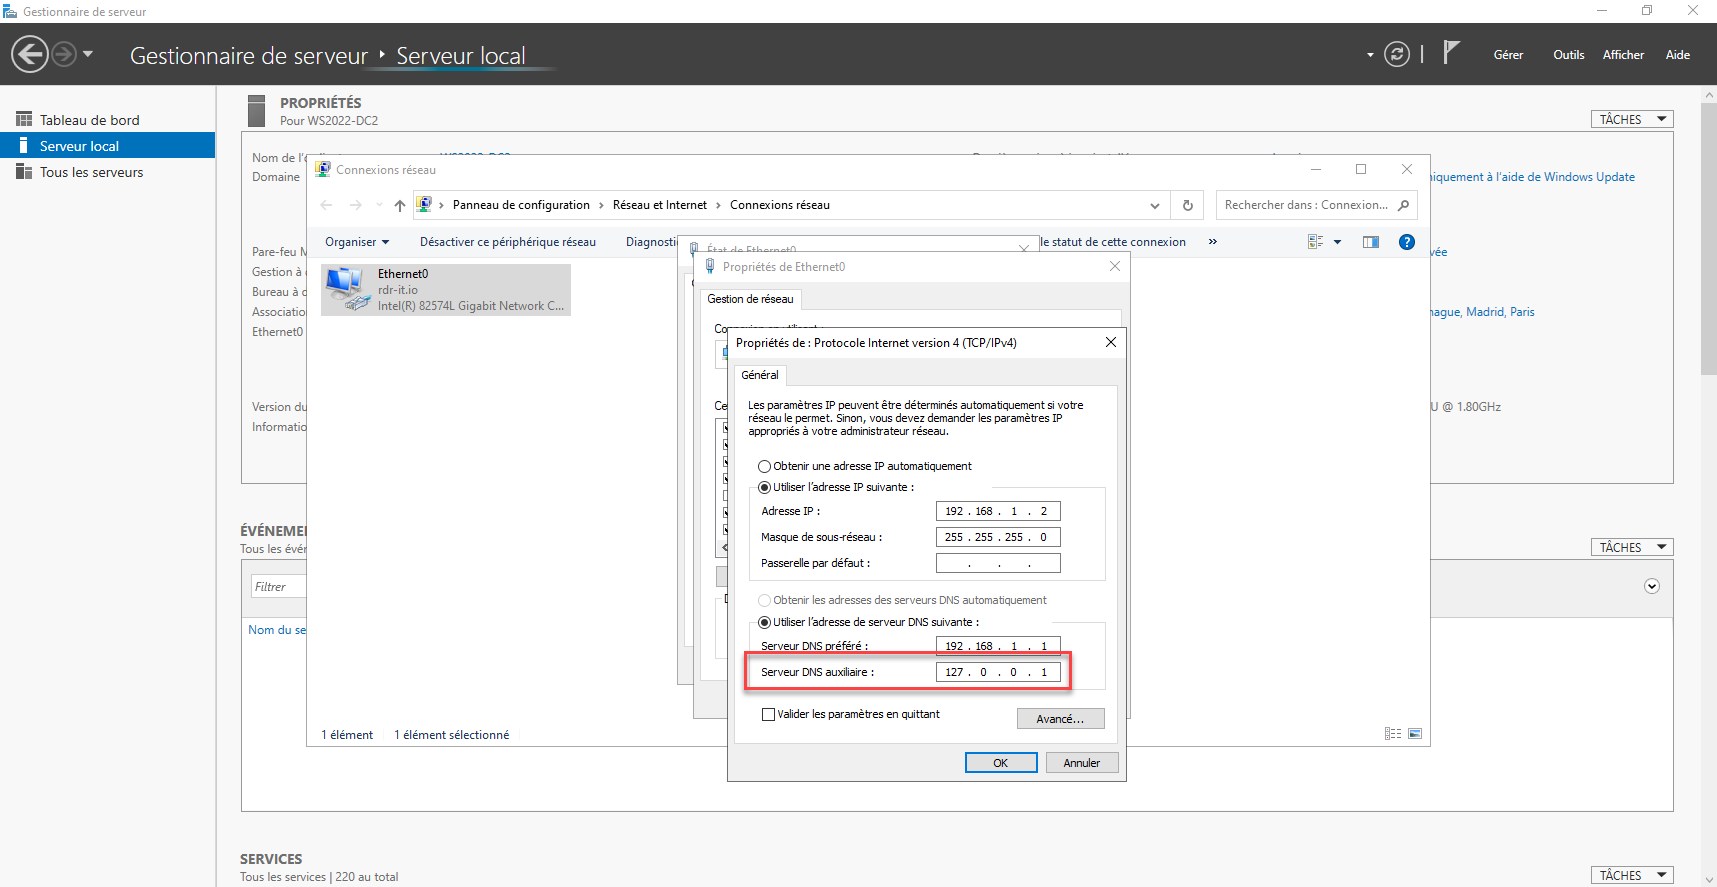
If you also look at the IP configuration, you can see the DNS server is configured on itself DNS server.
A domain controller no longer has its local user database (SAM), to add users, you must now go through the Active Directory Users and Computers console.
For security reasons, it is recommended not to use the Administrator account, you must now create a dedicated user who will be a member of the Domain Admins group.
To join computers to the domain, they must have the domain controller as their DNS server, and so that the computers can go to the Internet, it is advisable to configure a DNS forwarder.
In addition to the course on Active Directory that I advised you at the beginning of this tutorial, if you are new to AD DS, I invite you to read this tutorial: Active Directory: installation and configuration of a domain controller
Now that you are ready, we will see how to add a controller to ensure the redundancy of Active Directory services.
Add a Windows Server 2022 Active Directory domain controller to an existing domain
For the installation of the AD DS role, I let you reread the beginning of the tutorial.
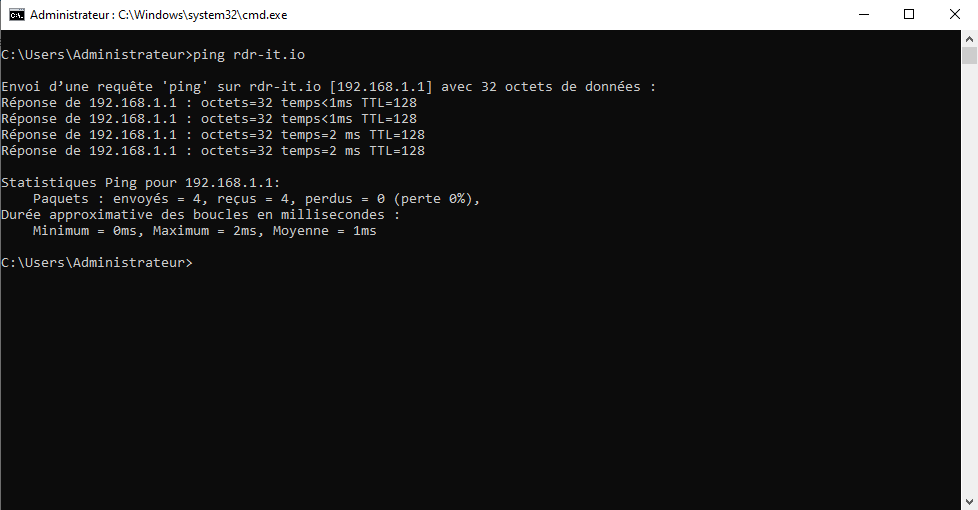
Before launching the Active Directory services configuration wizard, we will make sure that the server resolves the domain.
From a command prompt, ping the domain.
From the notification area, start the wizard by clicking on Promote this server to a domain controller 1.

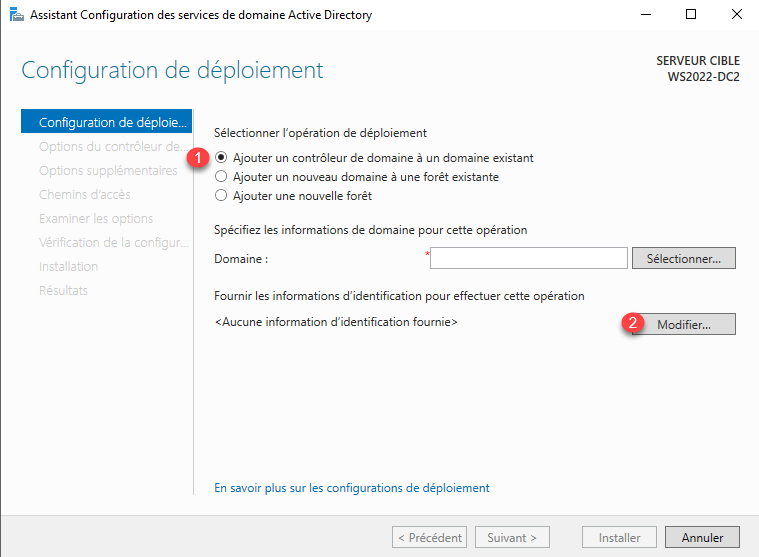
When the wizard is launched, let select: Add a domain controller to an existing domain 1 and click on the Modify button 2 to indicate an account that is a member of the Domain Admins group.
Enter the username (DOMAIN \ login or [email protected]) 1 then the password 2 and click OK 3.
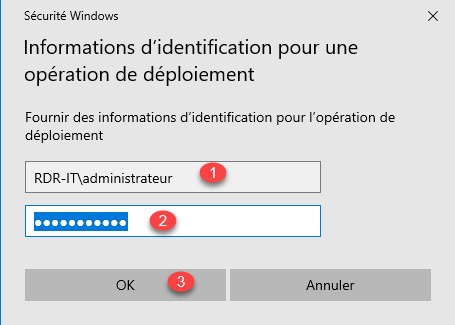
Reminder: in the event of a schema version upgrade (existing domain controller prior to Windows Server 2019), the account indicated must be a member of the Company Administrators and Schema Administrators group. Once the operation is complete, the account will need to be removed from the groups.
If the information is correct, the domain is automatically added 1, click on Next 2.
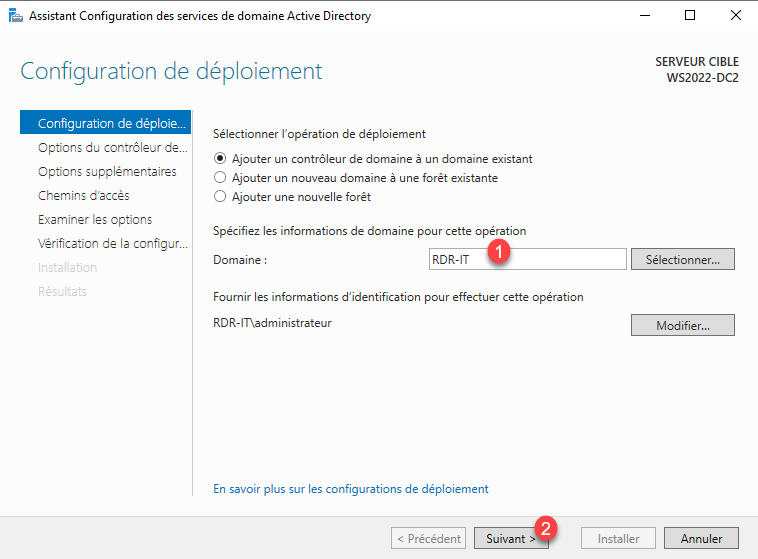
If the domain is not added, click on the Select button to choose it.
In the Domain controller options part, check the box DNS server (Domain Name System) 1 then enter the DSRM password 2 and click Next 3.
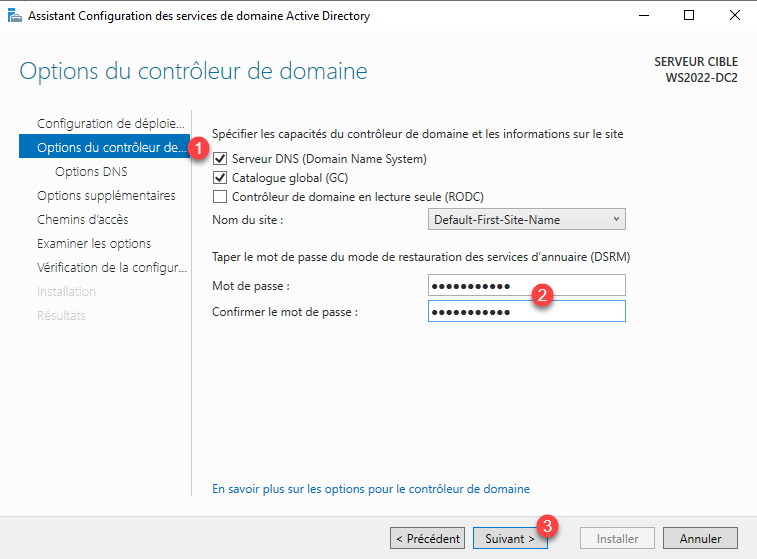
Check that the Global Catalog (GC) box is checked. In a single-domain environment, the recommendation is to leave all domain controllers with the Global Catalog option.
More information here: What is a Global Catalog (GC)? – Definition from Techopedia
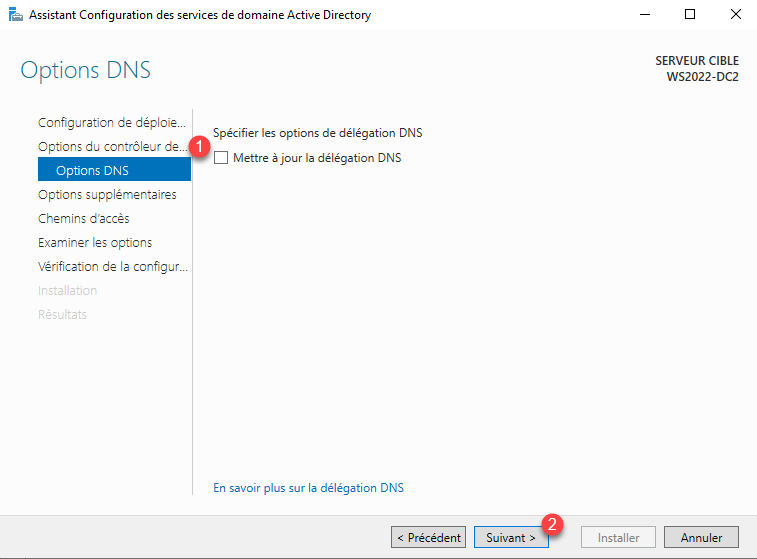
In the DNS options, uncheck the Update DNS delegation 1 box and click Next 2.
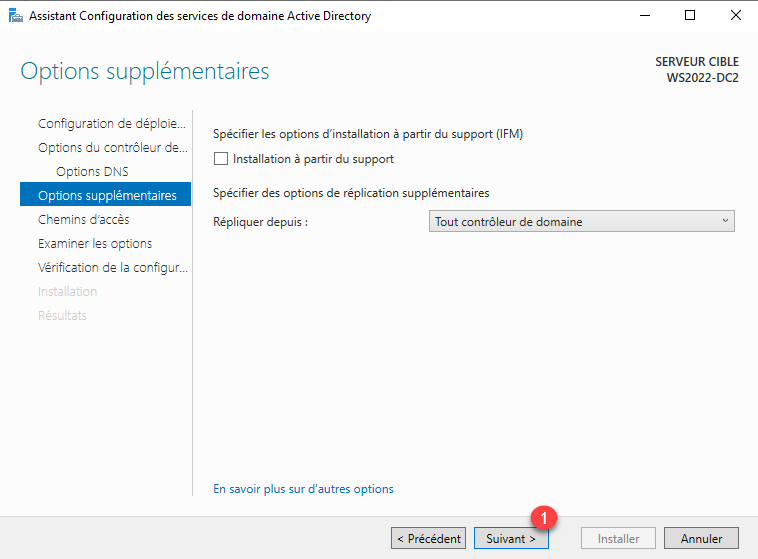
Skip the installation options by clicking Next 1.
If necessary, change the default folders, otherwise click on Next 1.

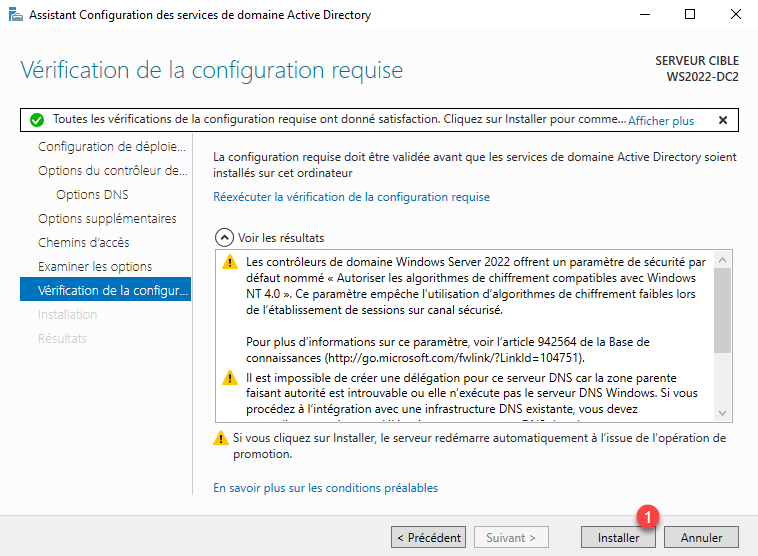
A summary of the options is displayed, click Next 1 after viewing them.

Once the checks have been validated, click on the Install button 1.
Wait during the promotion, after restarting the server will be domain controller.
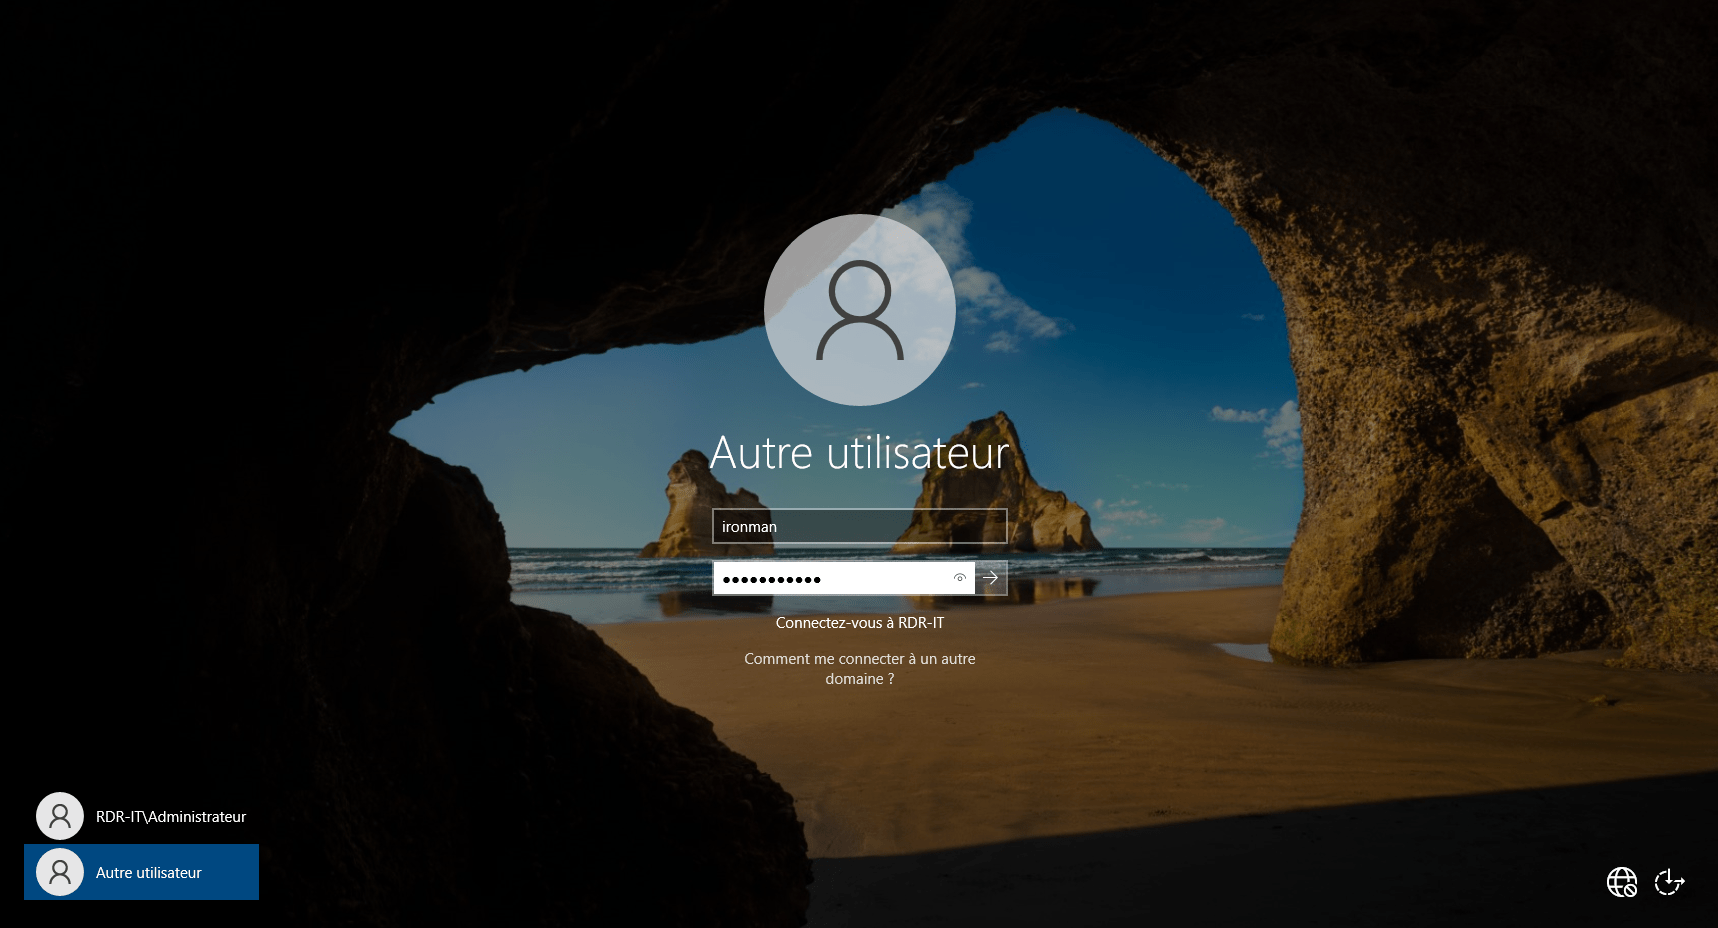
After the restart, log on with an account that is a member of the Domain Admins group.
The server is a domain controller and a member of it:

From the Active Directory Users and Computer console, the server is located in the Domain Controllers organizational unit.
At the configuration level, if the DNS role has been added, the DNS server points to the address 127.0.0.1.
You now know how to install the AD DS role, configure an Active Directory domain and add a domain controller with Windows Server 2022.
If you are familiar with the AD DS role on earlier versions of Windows Server, Windows Server 2022 does not add anything new to configuring and administering an On-premise Active Directory environment.
