Table of Contents
Presentation
In this tutorial, I will explain how to add a UPN suffix in an Active Directory domain.
Before launching, we will see what is UPN (User Principal Name) and the suffix.
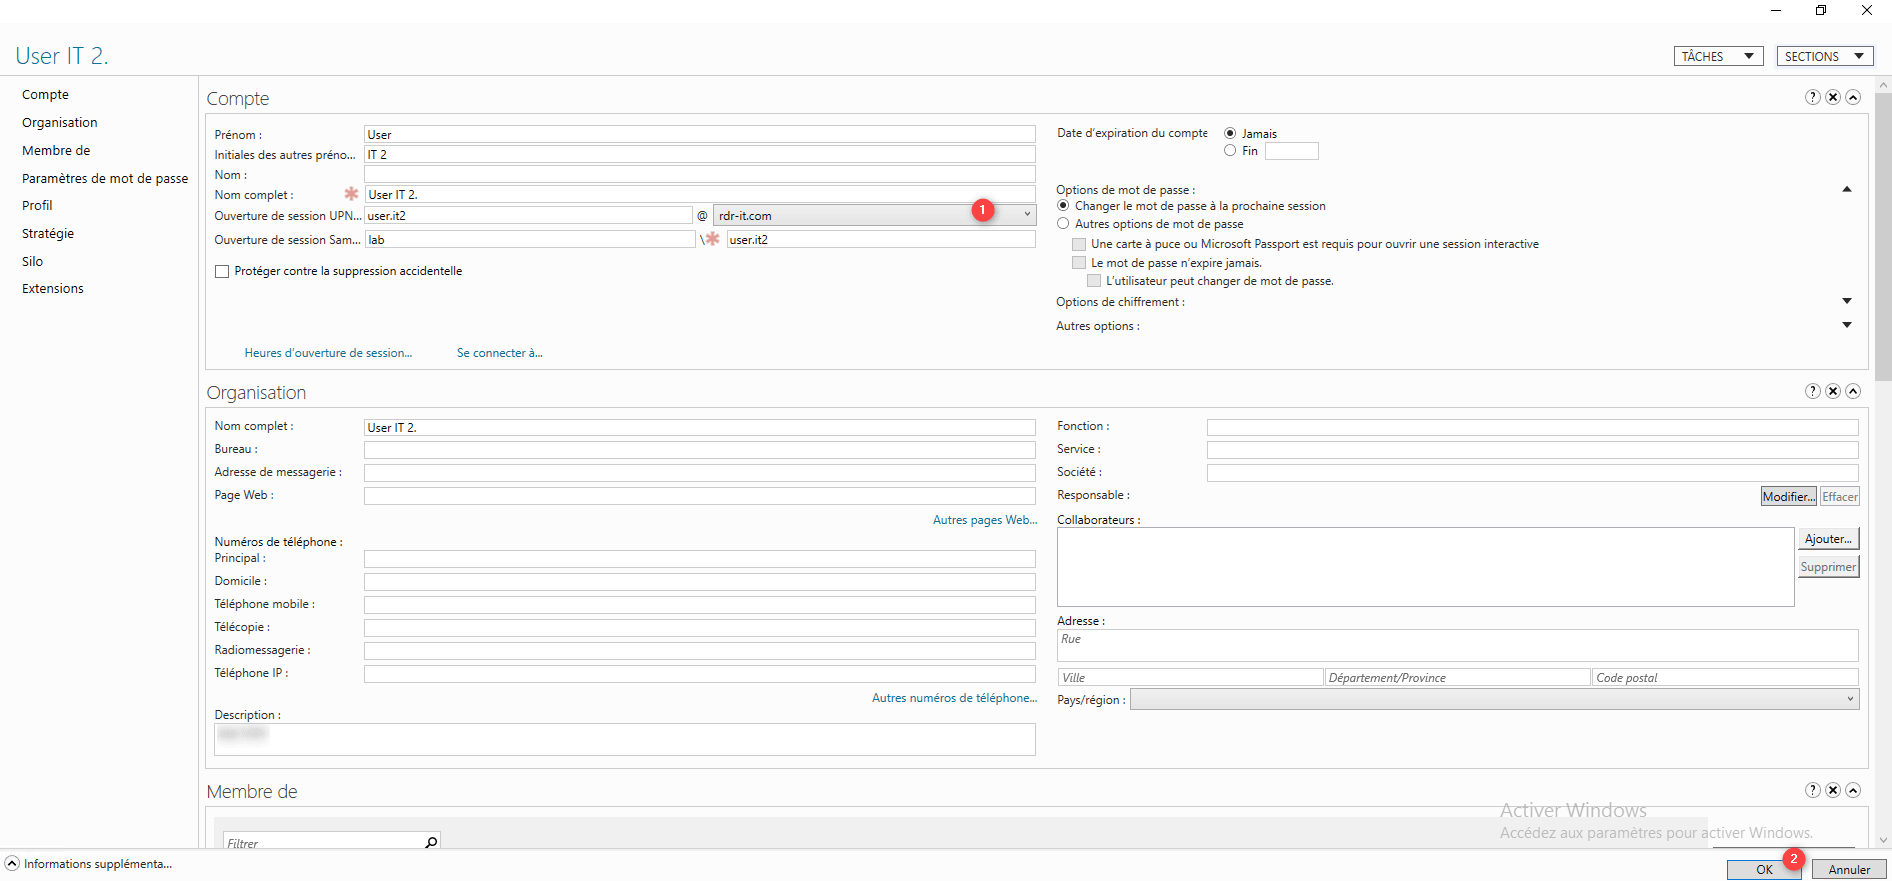
The UPN is made up of two parts, the account identifier 1 + the suffix 2.
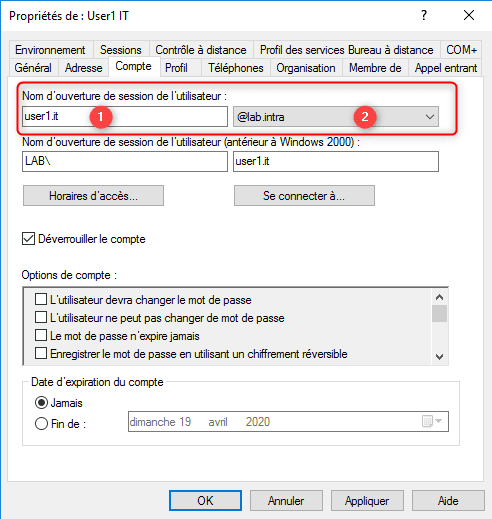
The default suffix is the domain name of the Active Directory environment, this name is often a private domain.
For practical reasons, it is possible to add a suffix that corresponds, for example, to the company’s email domain, which allows users to identify themselves with their email address.
Add a UPN suffix
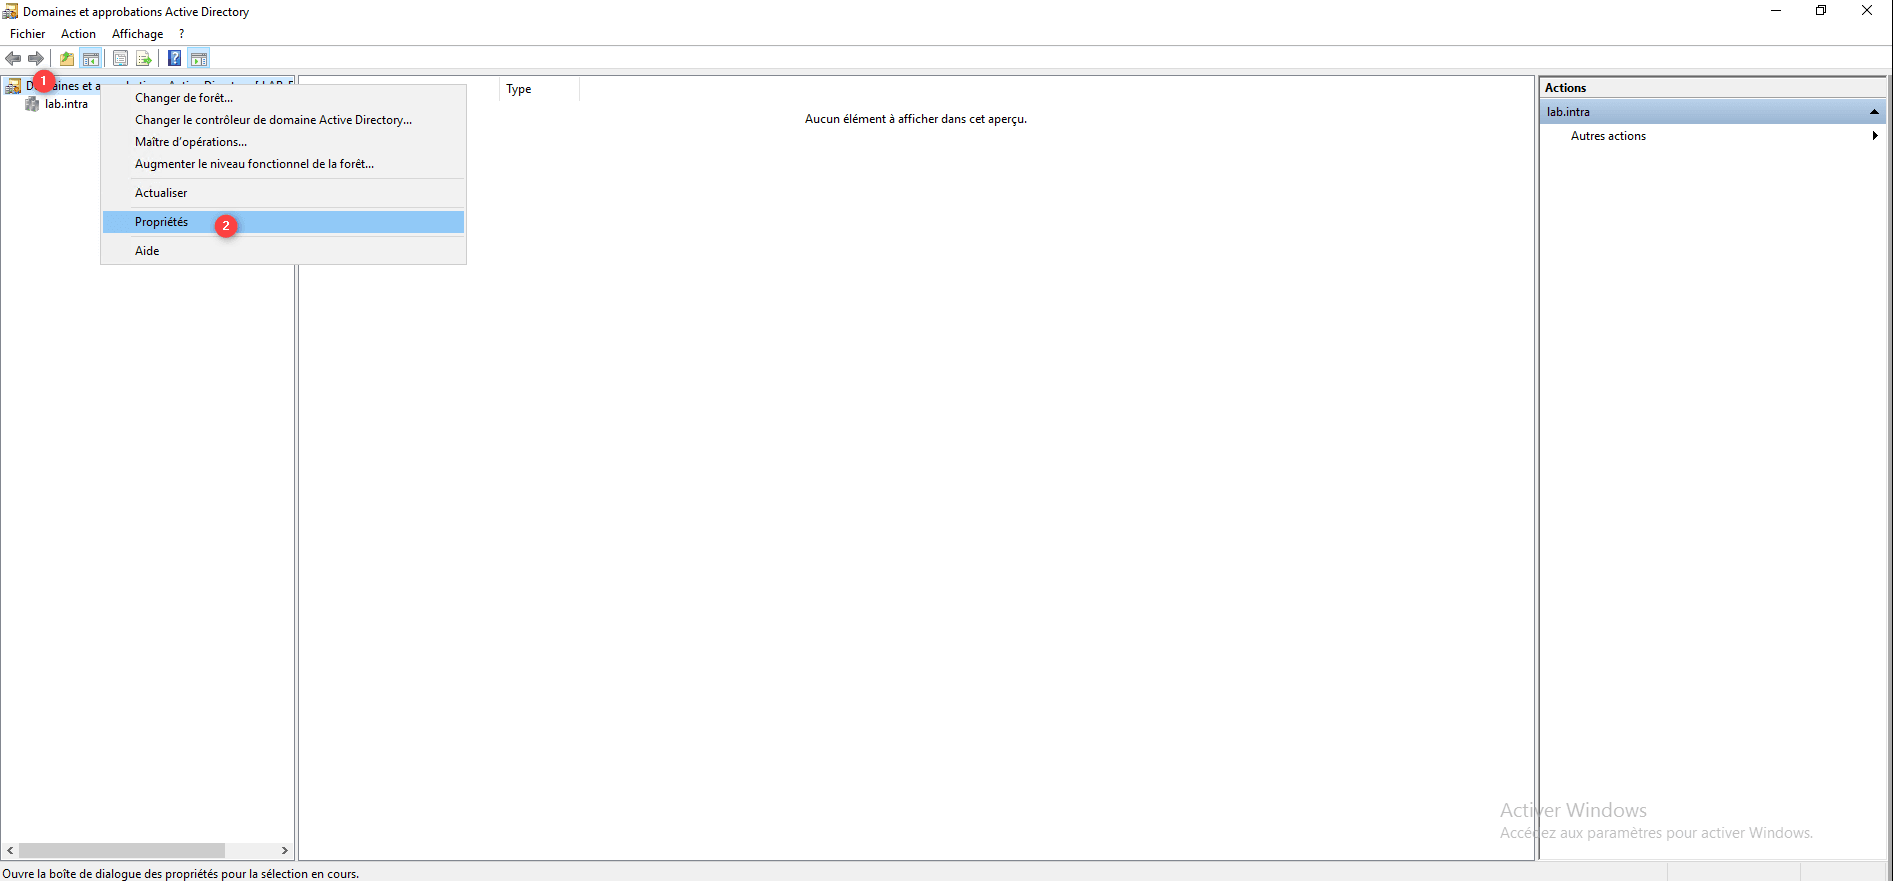
Open the Active Directory Domain and Approvals console.

Right click on Active Directory Domains and Trusts 1 and click Properties 2.
On the UPN Suffixes tab, enter the suffix to add 1 and click Add 2.

The UPN suffix is added, click on Apply 1 and OK 2 to close the properties.

Assign the suffix to a user account
A user account can only have one UPN suffix, it is not possible to create aliases as for an e-mail address.
When changing the UPN suffix, if the user has saved his login details (safe, browsers, etc.), they must be entered again.
Console : Users and Computers Active Directory
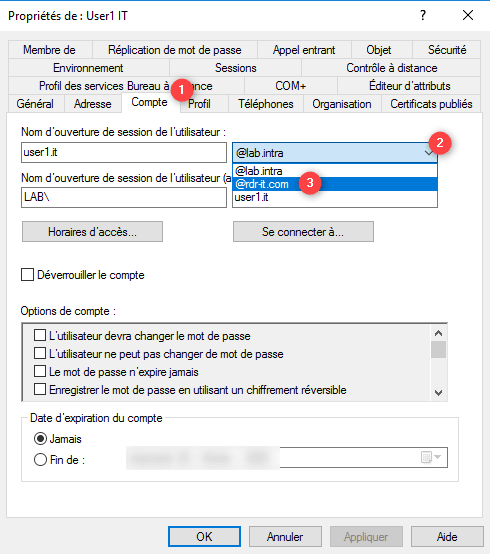
From the properties of a user account, and the Account 1 tab, scroll down the list of available UPN suffixes 2, choose the suffix 3.
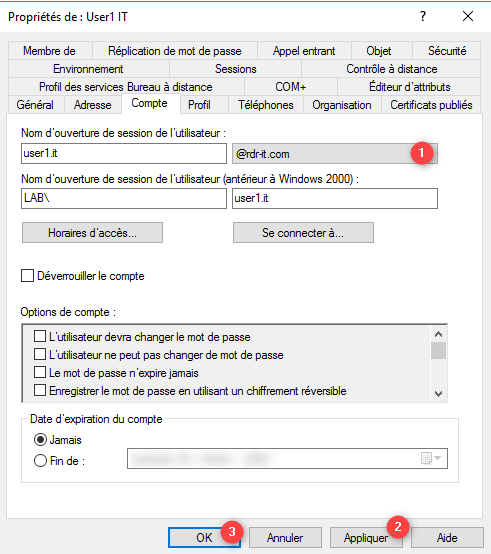
The UPN suffix selected 1, click on Apply 2 and OK 3 to validate the properties.
Active Directory Administration Center : ADAC
In the user properties on the UPN Logon parameter, scroll down the suffix list 1 and choose the suffix 2.

With the UPN suffix configured 1, click OK 2 to save the user settings.
UPN suffix routing
UPN suffix routing must be configured in Active Directory environments where trust relationships exist between drills.
Routing of UPN suffixes is not available with external approvals (between domains), in this case users will have to use their DOMAIN\user identifier.
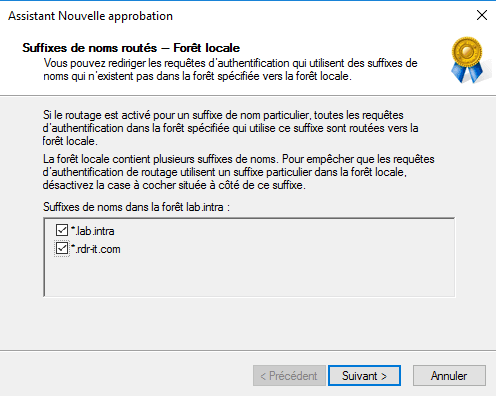
Routing when setting up trust
If the approval is configured after adding the UPN suffix, when creating the approval relationship between the two drills, the creation wizard allows you to select the UPN suffixes to route.
Configuring routing after configuring the trust relationship
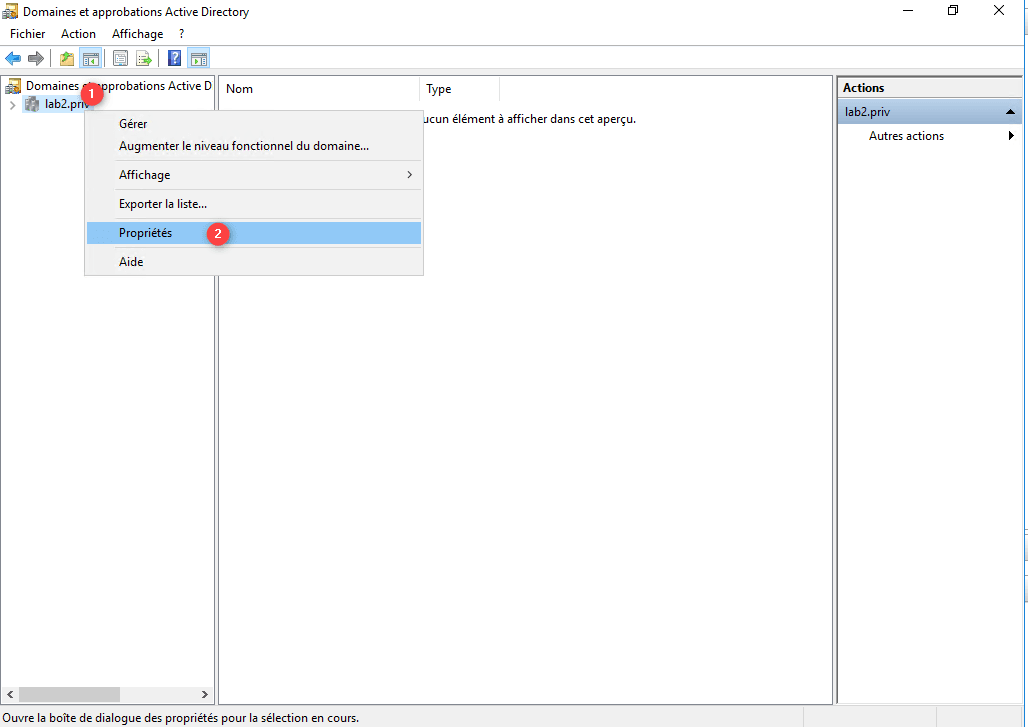
The routing configuration must be done from the approved forest.
From the Domains and Active Directory approval console, right-click on the domain 1 and click on Properties 2.
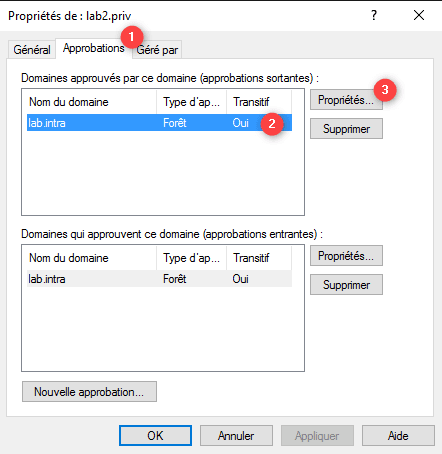
Go to the Approvals tab 1, select the domain 2 and click on the Properties button 3.
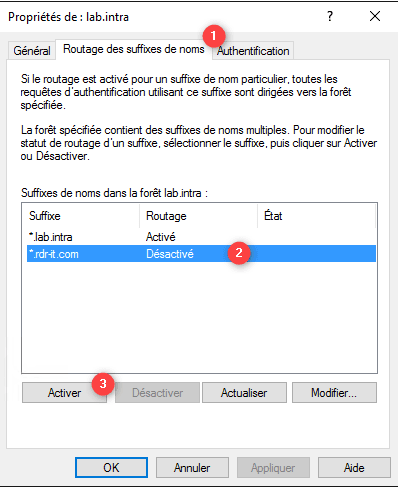
Go to the Routing of suffixes of name 1, select the suffix 2 to route and click on Activate 3.
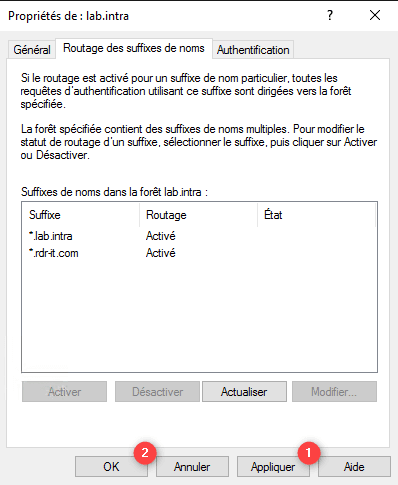
Routing is activated for the suffix, click on Apply 1 and OK 2.
The same procedure can be used to deactivate routing.
