Add a shared printer
Prerequisite:
– Print service role installed on the server.
– Printer driver already installed on the server.
Open the print management console

On the server, open the Print Management MMC and right-click on Printer and click on Add a printer
Choose the type of installation

Depending on the type of printer, choose the type of installation
Configure the port type and IP address
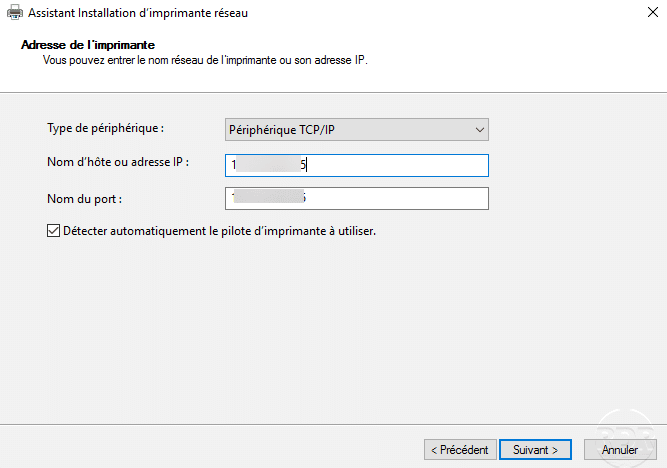
Choose TCP / IP and enter the IP address
Driver configuration
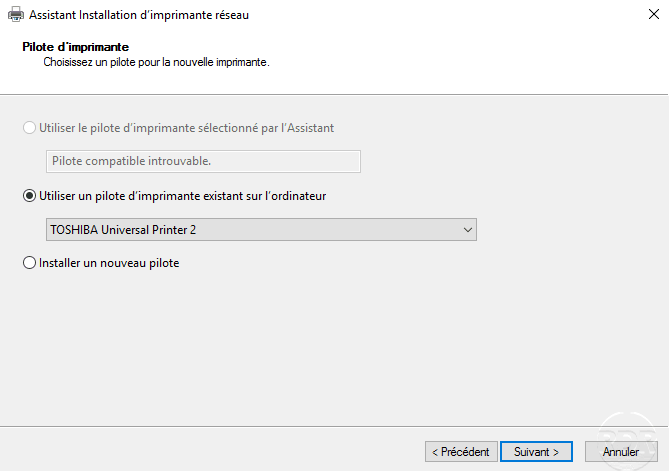
Choose the printer driver
Printer name
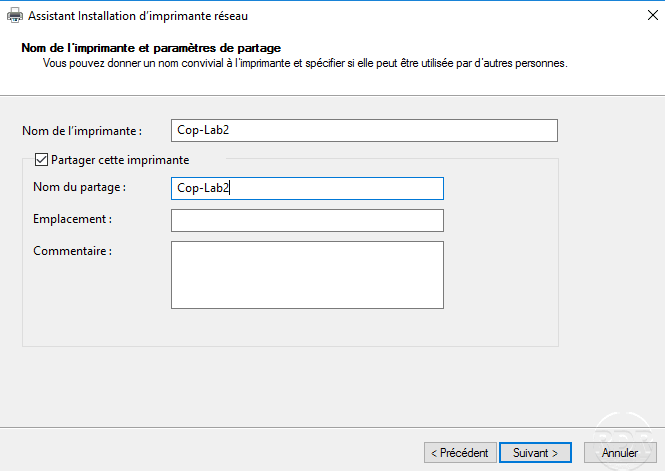
Configure the name as well as its share name.
Printer summary
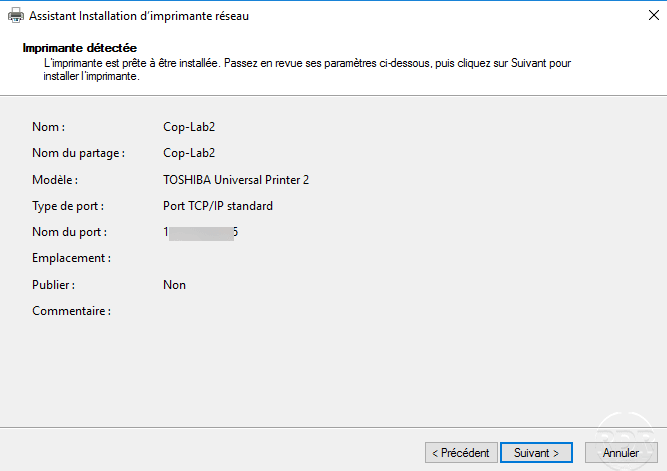
A summary of the printer added is displayed
Printer installed
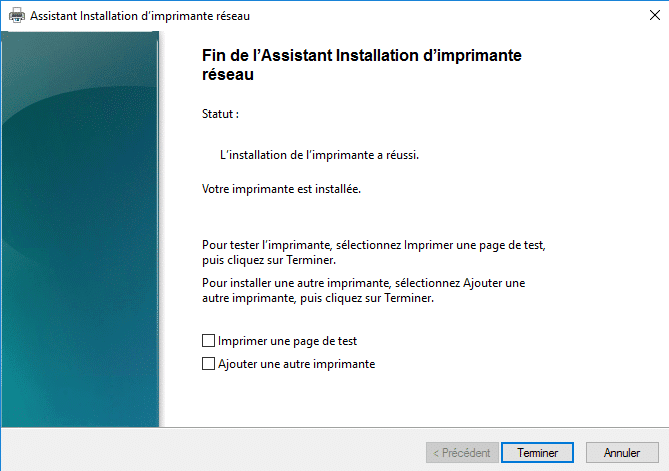
The printer is installed on the server, all you have to do is deploy it
