First step with the WSUS Administration Console
Overview
1. In the menu on the left, click on server 1 , a summary of the status of updates and extensions is displayed.
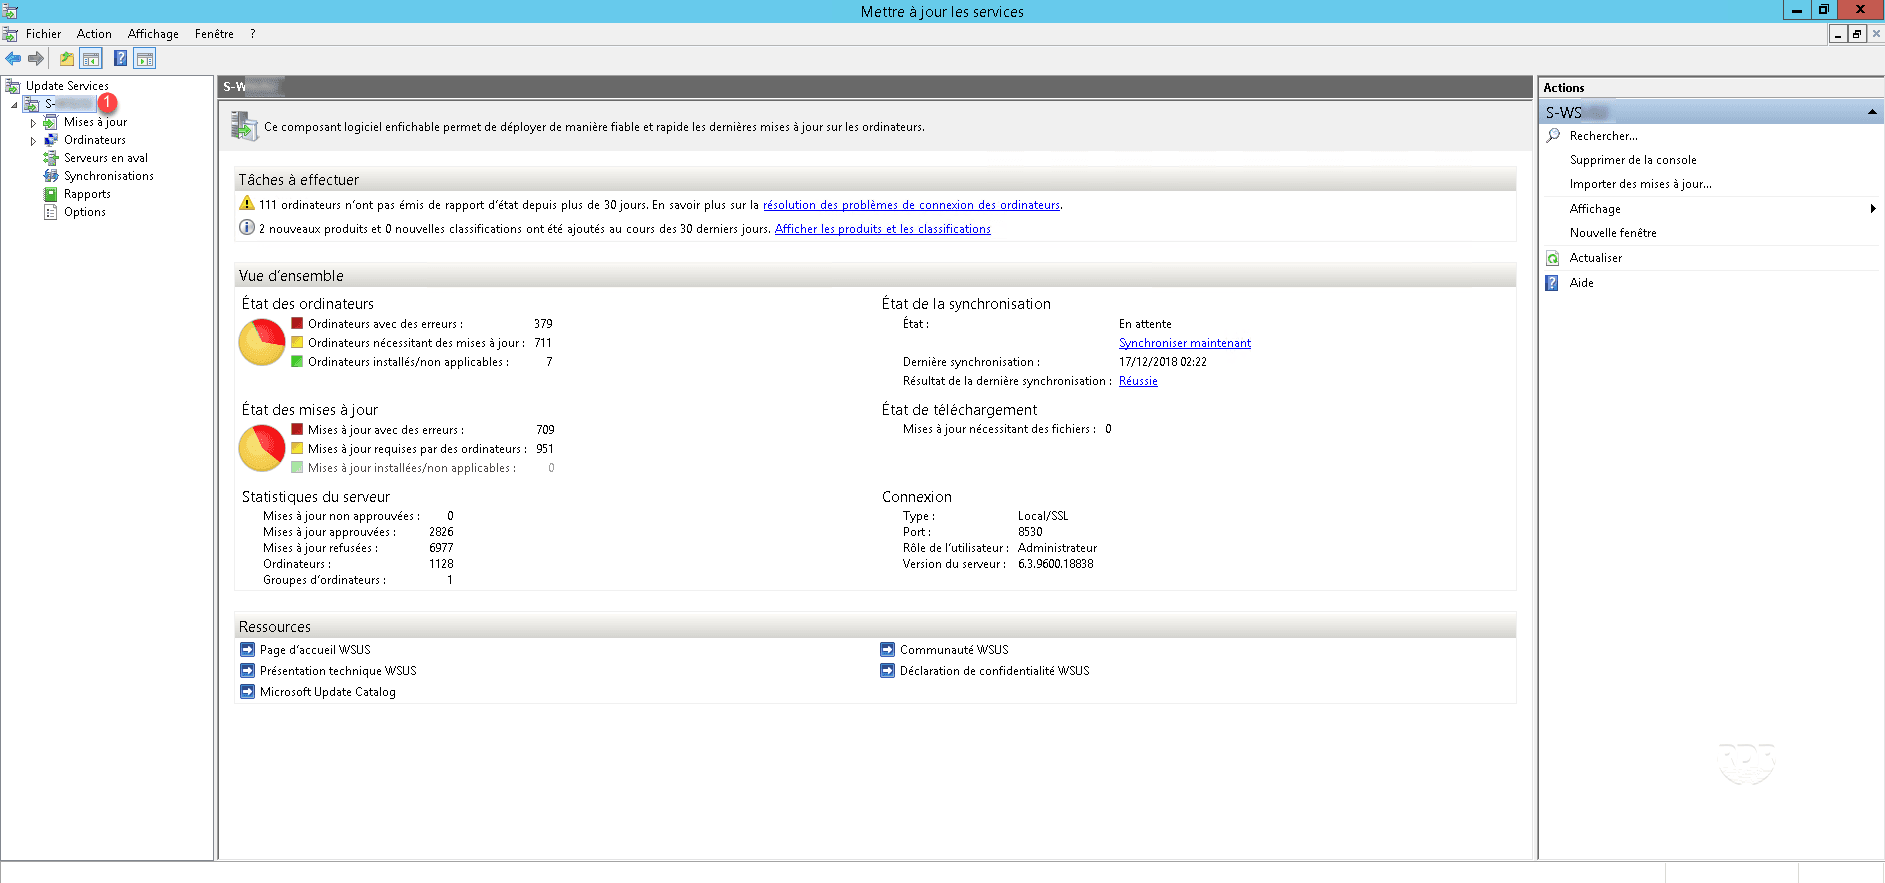
You should not have anything for the moment, since you have just installed WSUS.
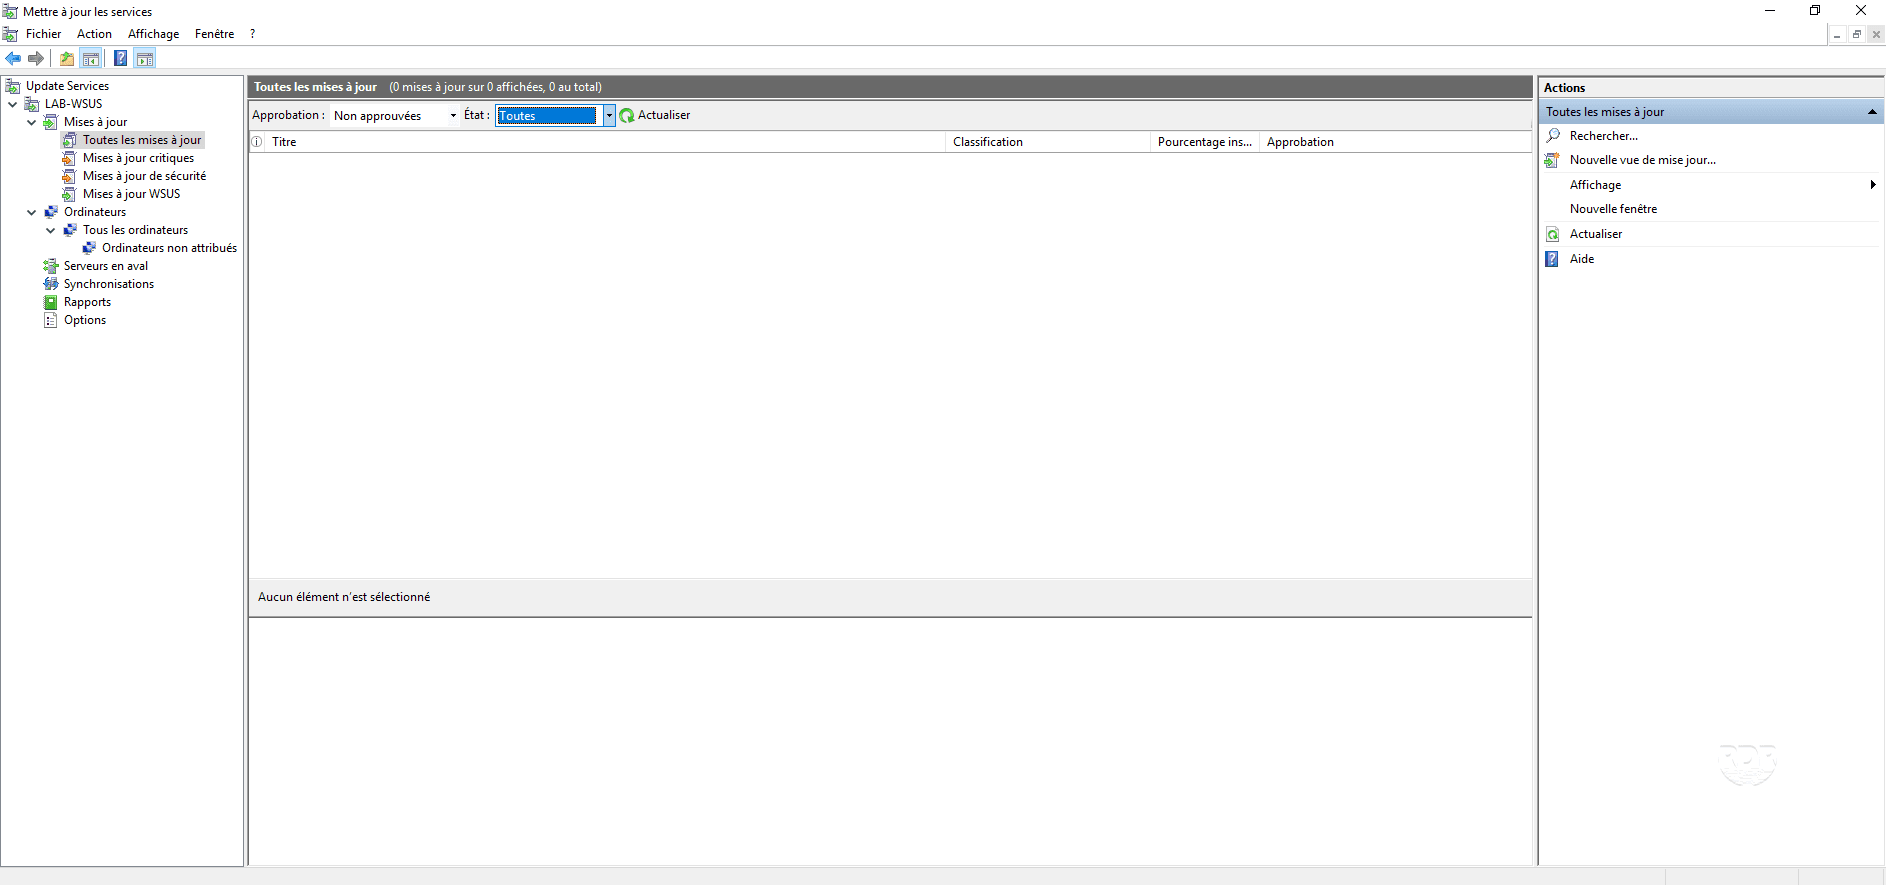
2. In the left menu, expand Updates 1 and click All Updates 2 . Here is the list of updates. It is possible to filter updates according to their Approval.
3. Unfold Computers 1 , in this part the computers that communicate with the WSUS server are displayed. It is possible to create groups and assign computers to these groups.

By default, computers that contact the WSUS server are added to the Unassigned Computer group.
4. The Options part 1 is used to manage the WSUS settings as well as its maintenance.
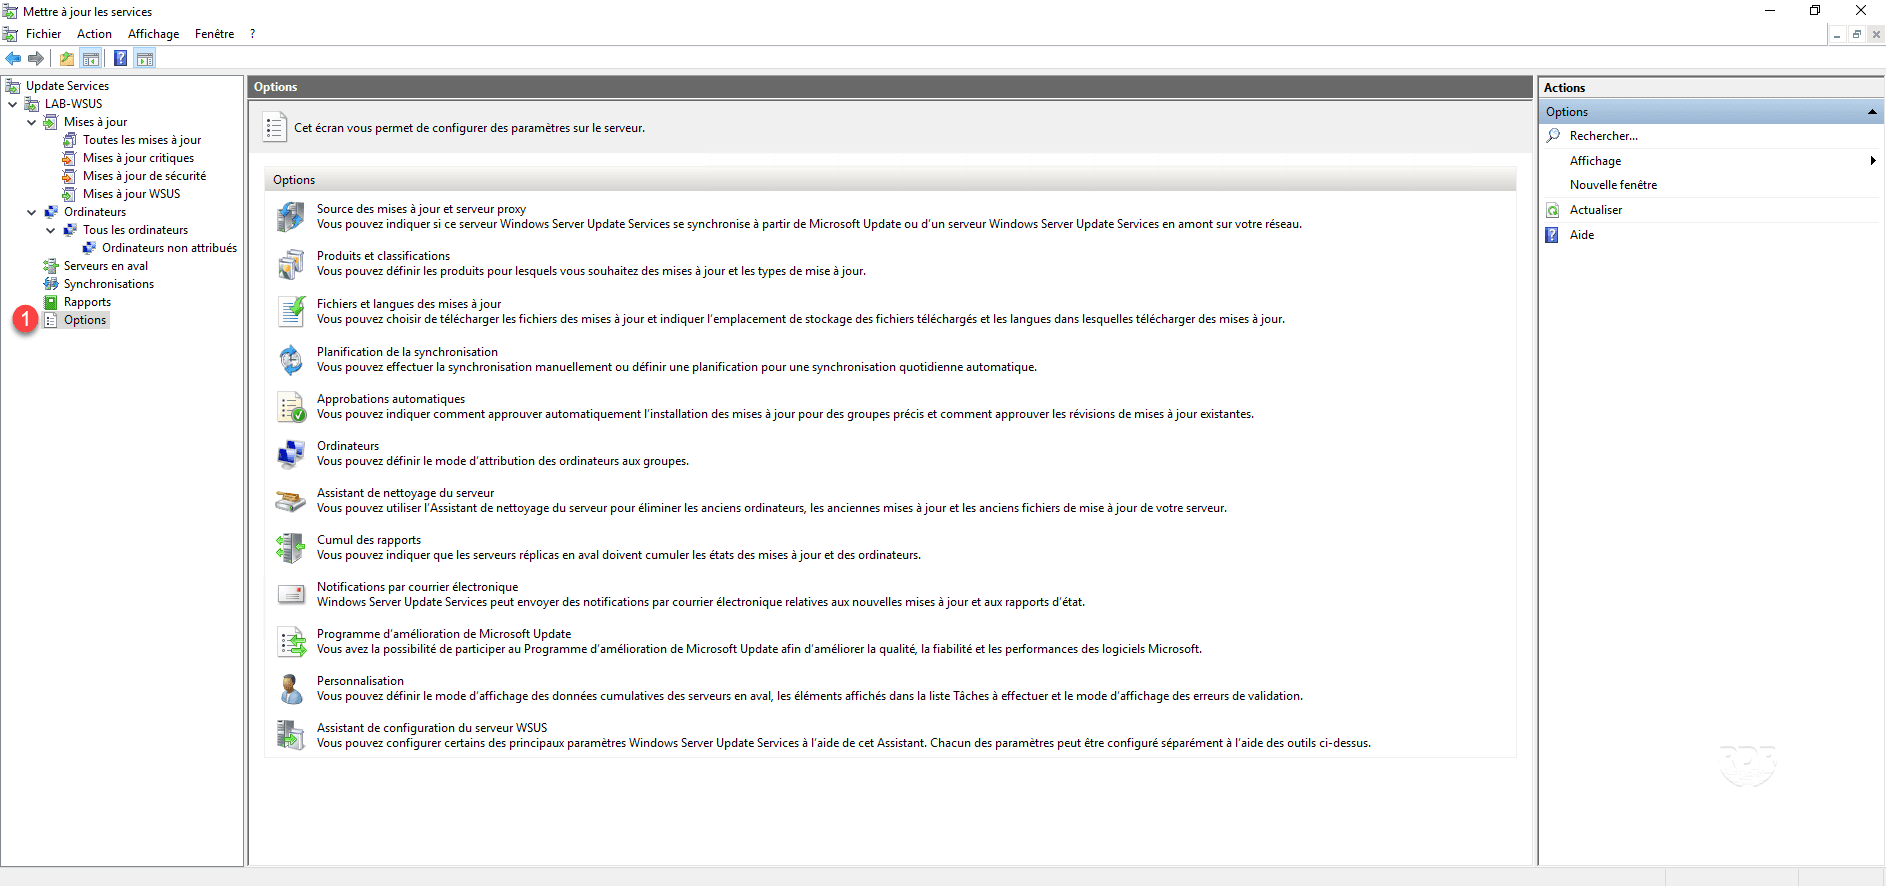
Here you can change the settings made when configuring WSUS.