This article shows you how to migrate your local Exchange environment to Office 365.
The advantage of this migration is to be transparent to the users, there is no need to redo the mail profiles and (re) download the OST.
The phones / tablets will need to be reconfigured manually once the box is moved.
Table of Contents
Prerequisites
To complete this migration you must fulfill the following prerequisites:
- A complete installation of Exchange 2010 (SP3) / 2013/2016.
- Have a certificate recognized from a certificate authority on your Exchange. It is possible to use a free Let’s Encrypt certificate.
- The UPN in Office 365 must correspond to the main email address of your users.
- Have an Office 365 account.
- Have the necessary licenses.
Outlook 2010 must have SP2 installed.
Preparation of the environment
1. Log in to the Office 365 portal and add your domain.
2. Add an existing domain.

3. Validate your domain in Office 365 by adding the TXT record.
Do not change your MX and your autodiscover.
Modify your SPF record to inform that emails can come from Microsoft servers.
4. Enabling MRS Proxy on Your Exchange Server for Migration Queries.
Get-WebServicesVirtualDirectory | Set-WebServicesVirtualDirectory -MRSProxyEnabled $true
Installing the Hybrid environment
1. In the Office 365 interface menu click Setup -> Data Migration
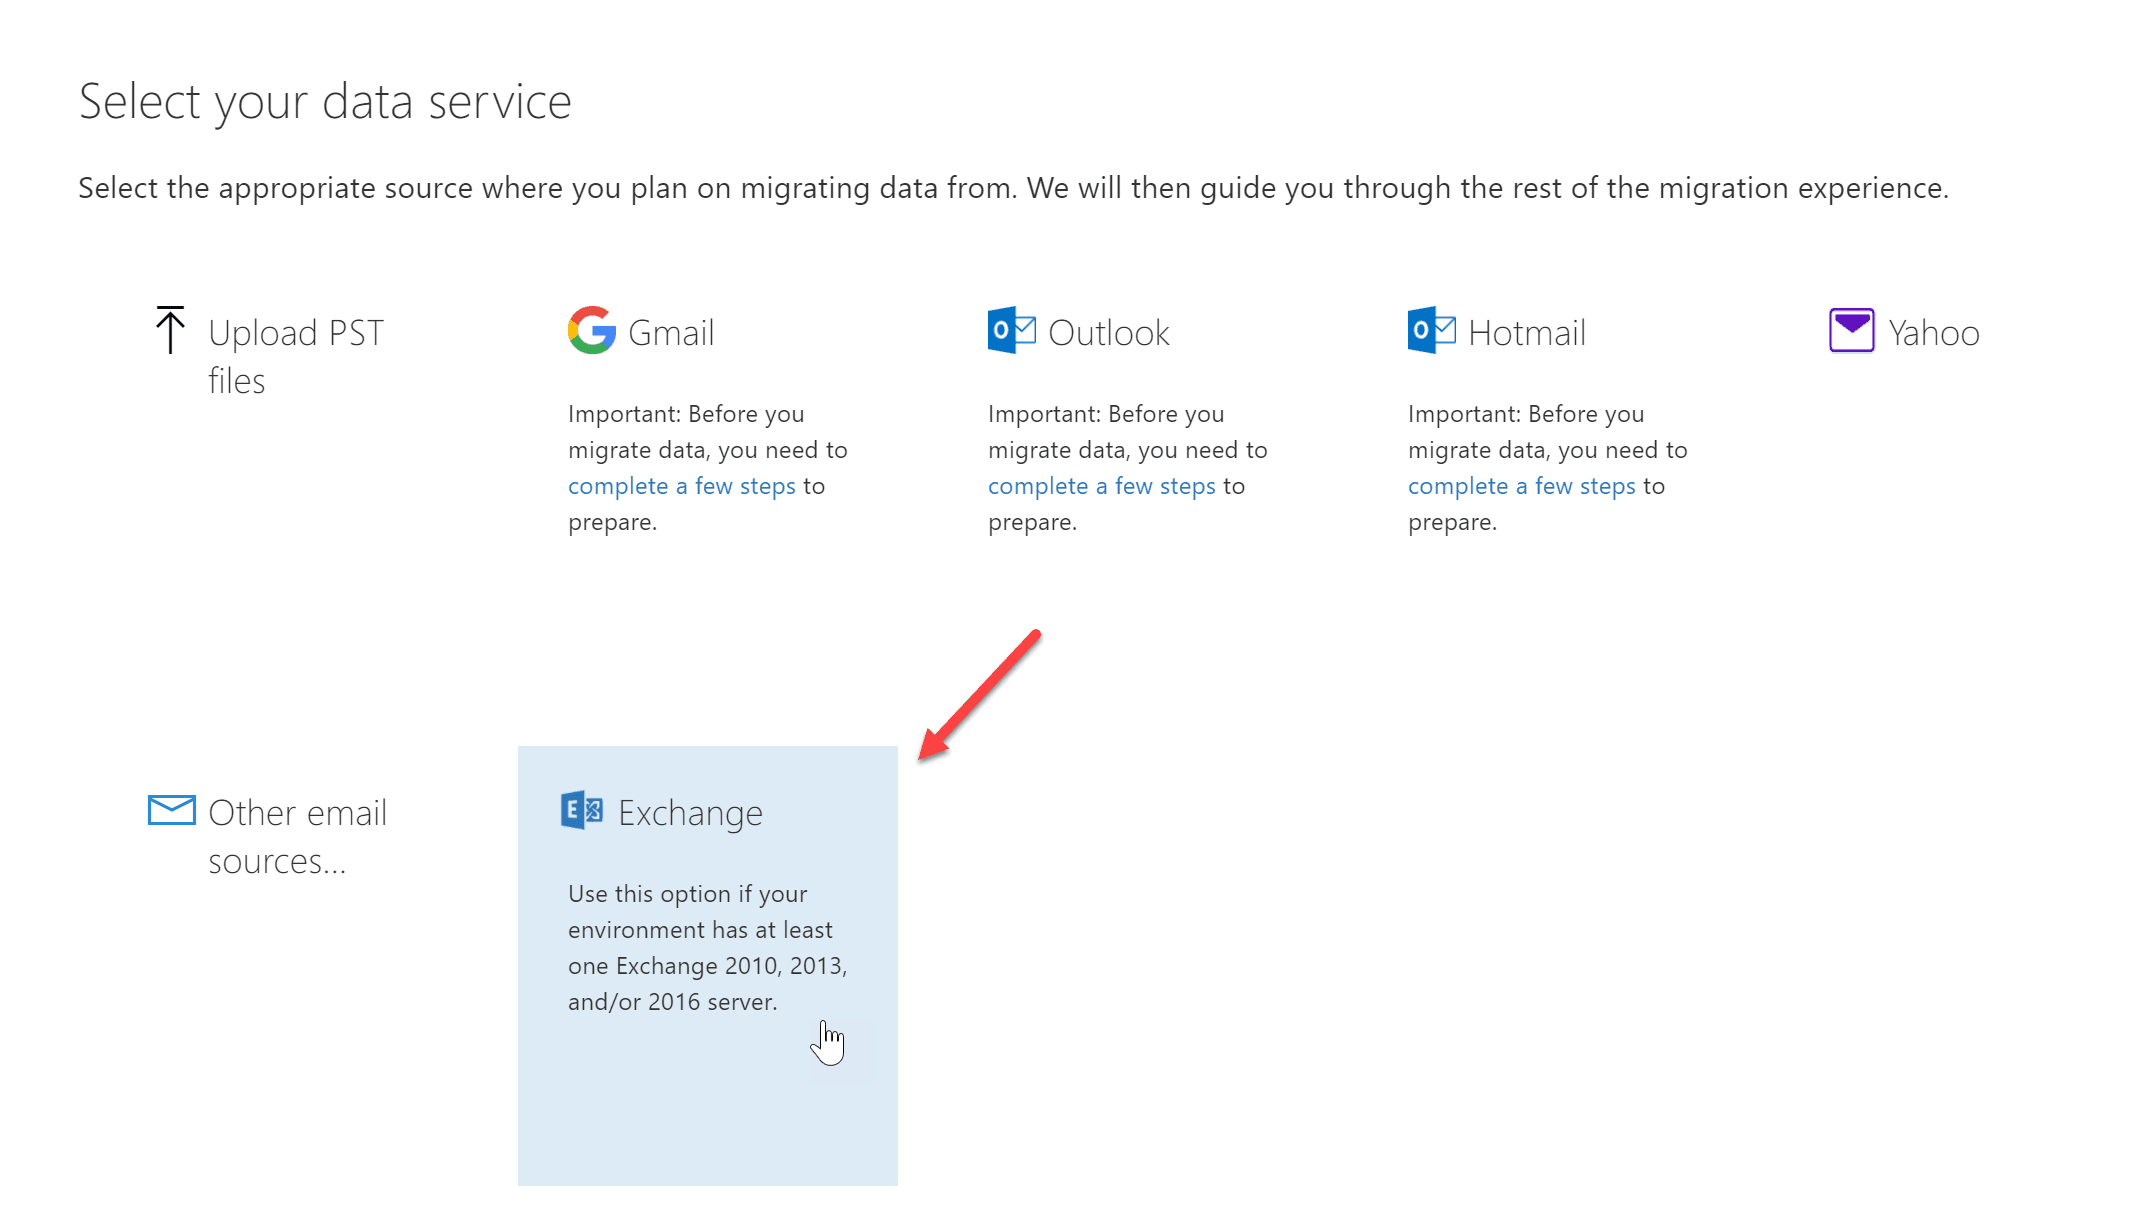
2. Select the Exchange service and download the Hybrid Setup.
3. Run the program and at the first window click Next.

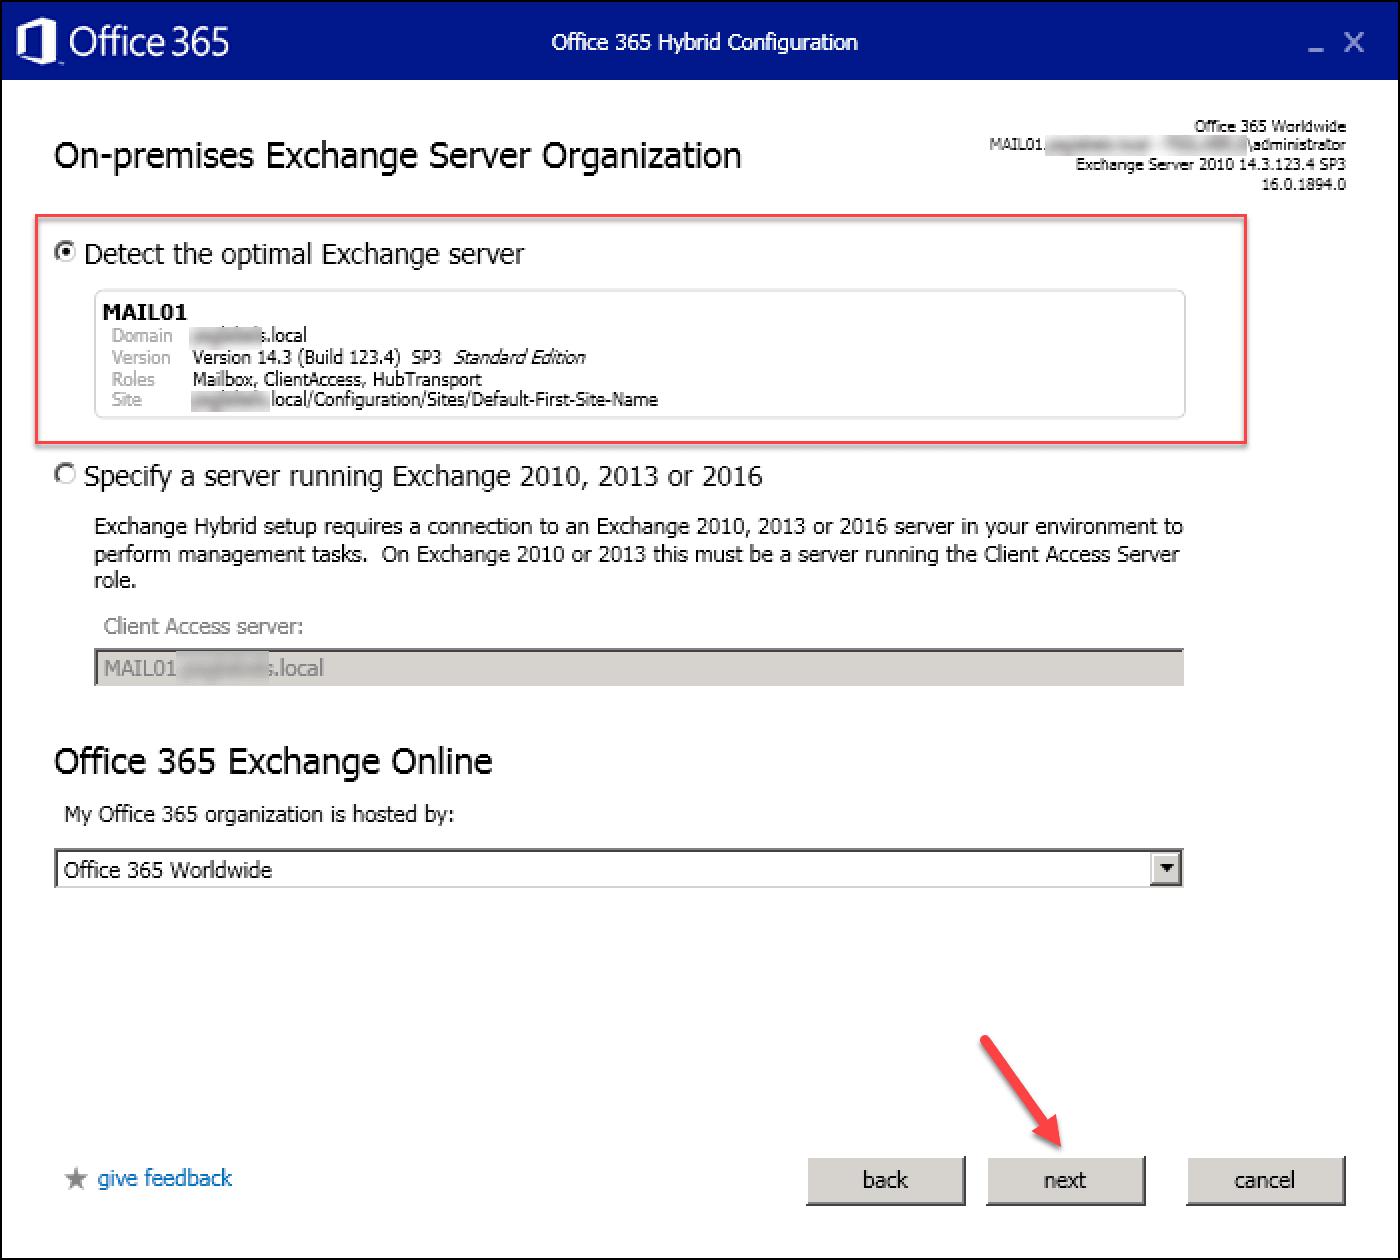
4. At this stage, the installer detects your environment, checks the information and clicks Next.
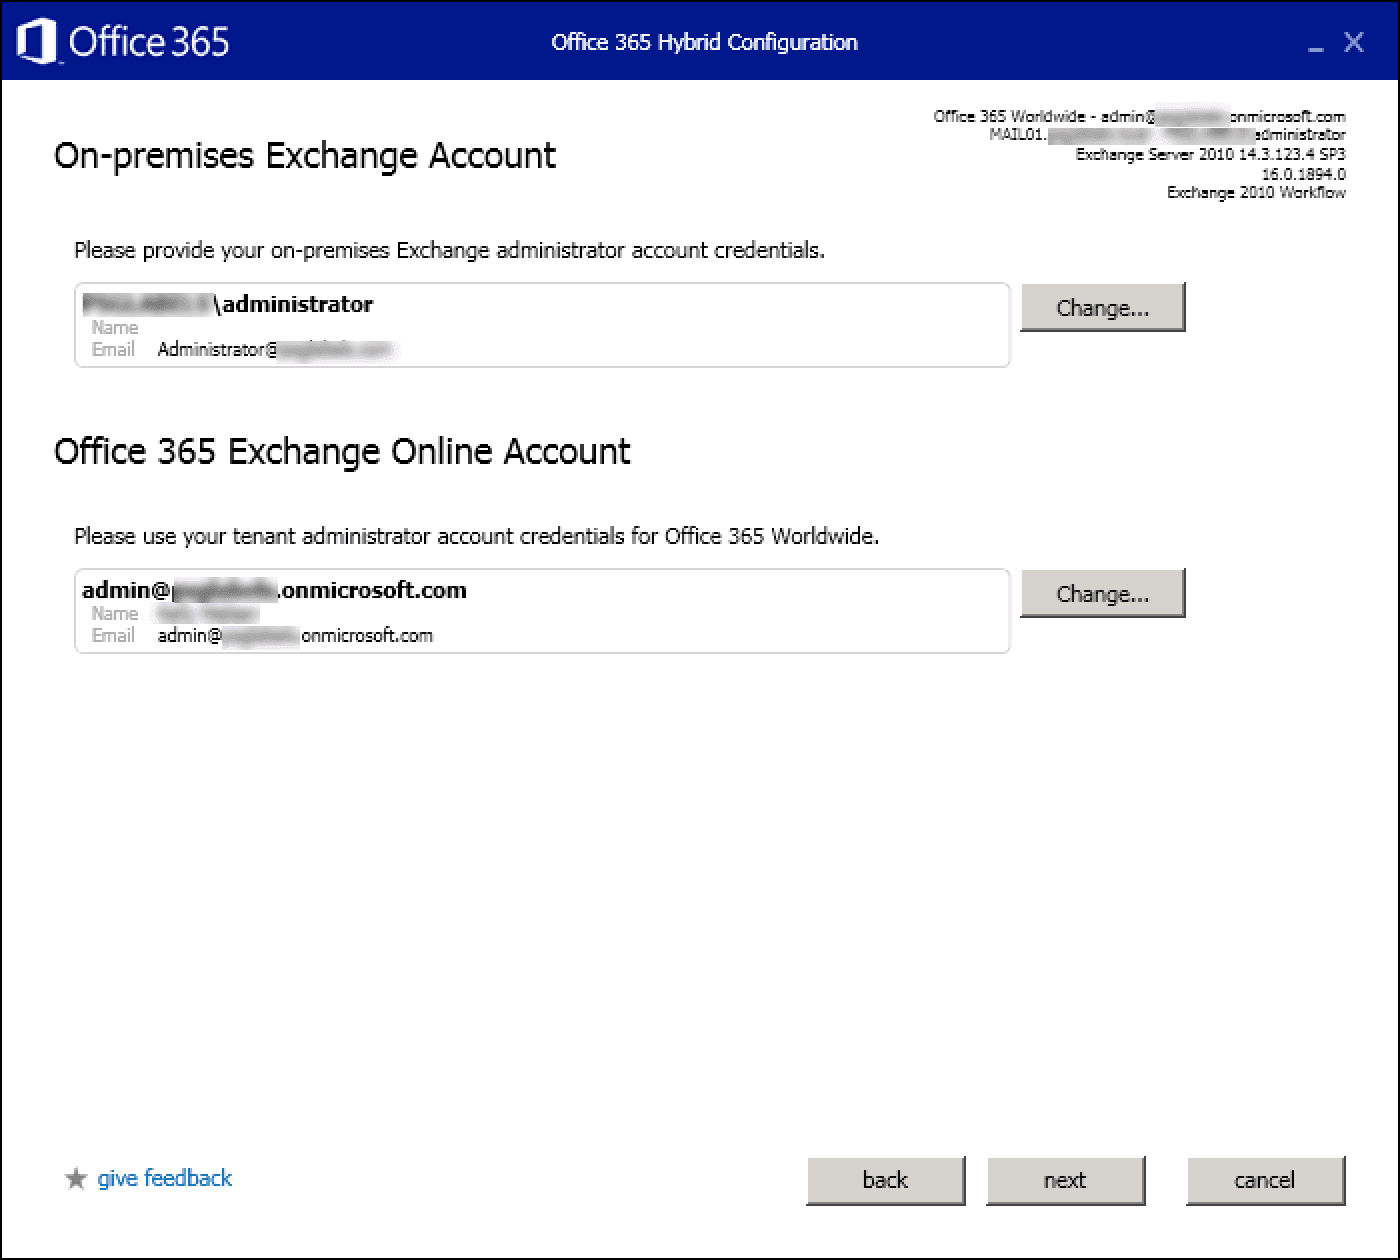
5. Enter your local and remote credentials and click Next.
6. Checking the information, click on Next.

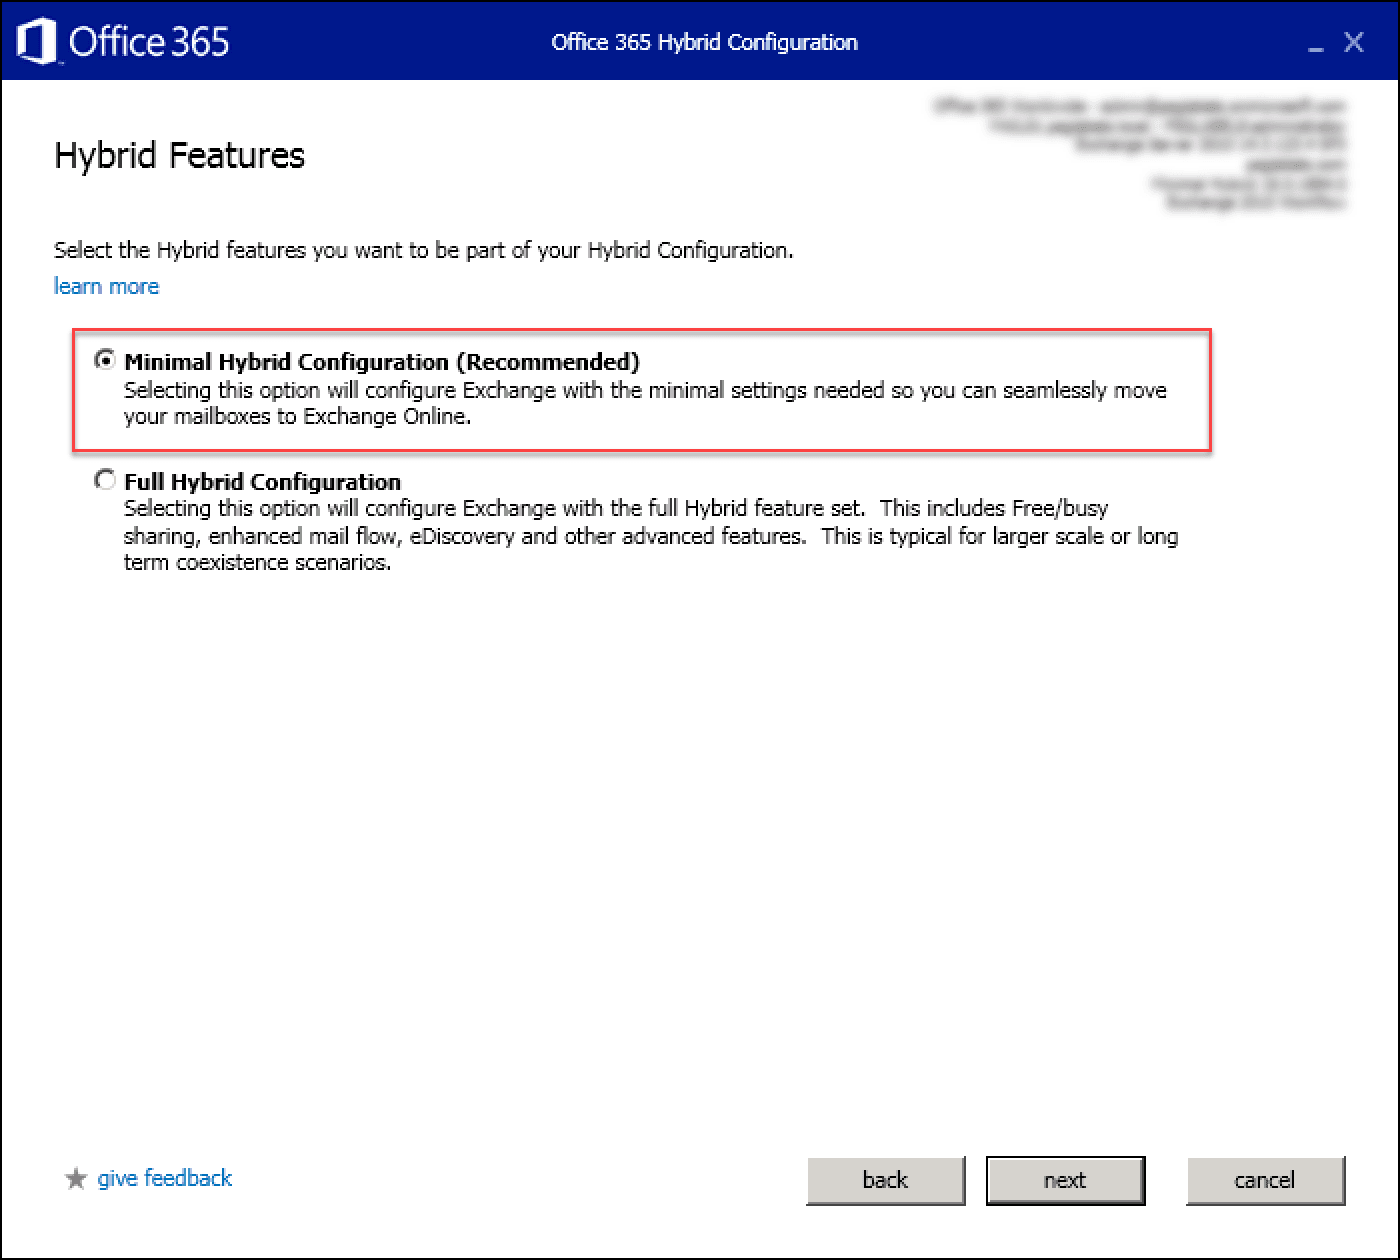
7. Select Minimal Hybrid Configuration and click Next.
8. Click Update to prepare your local environment.

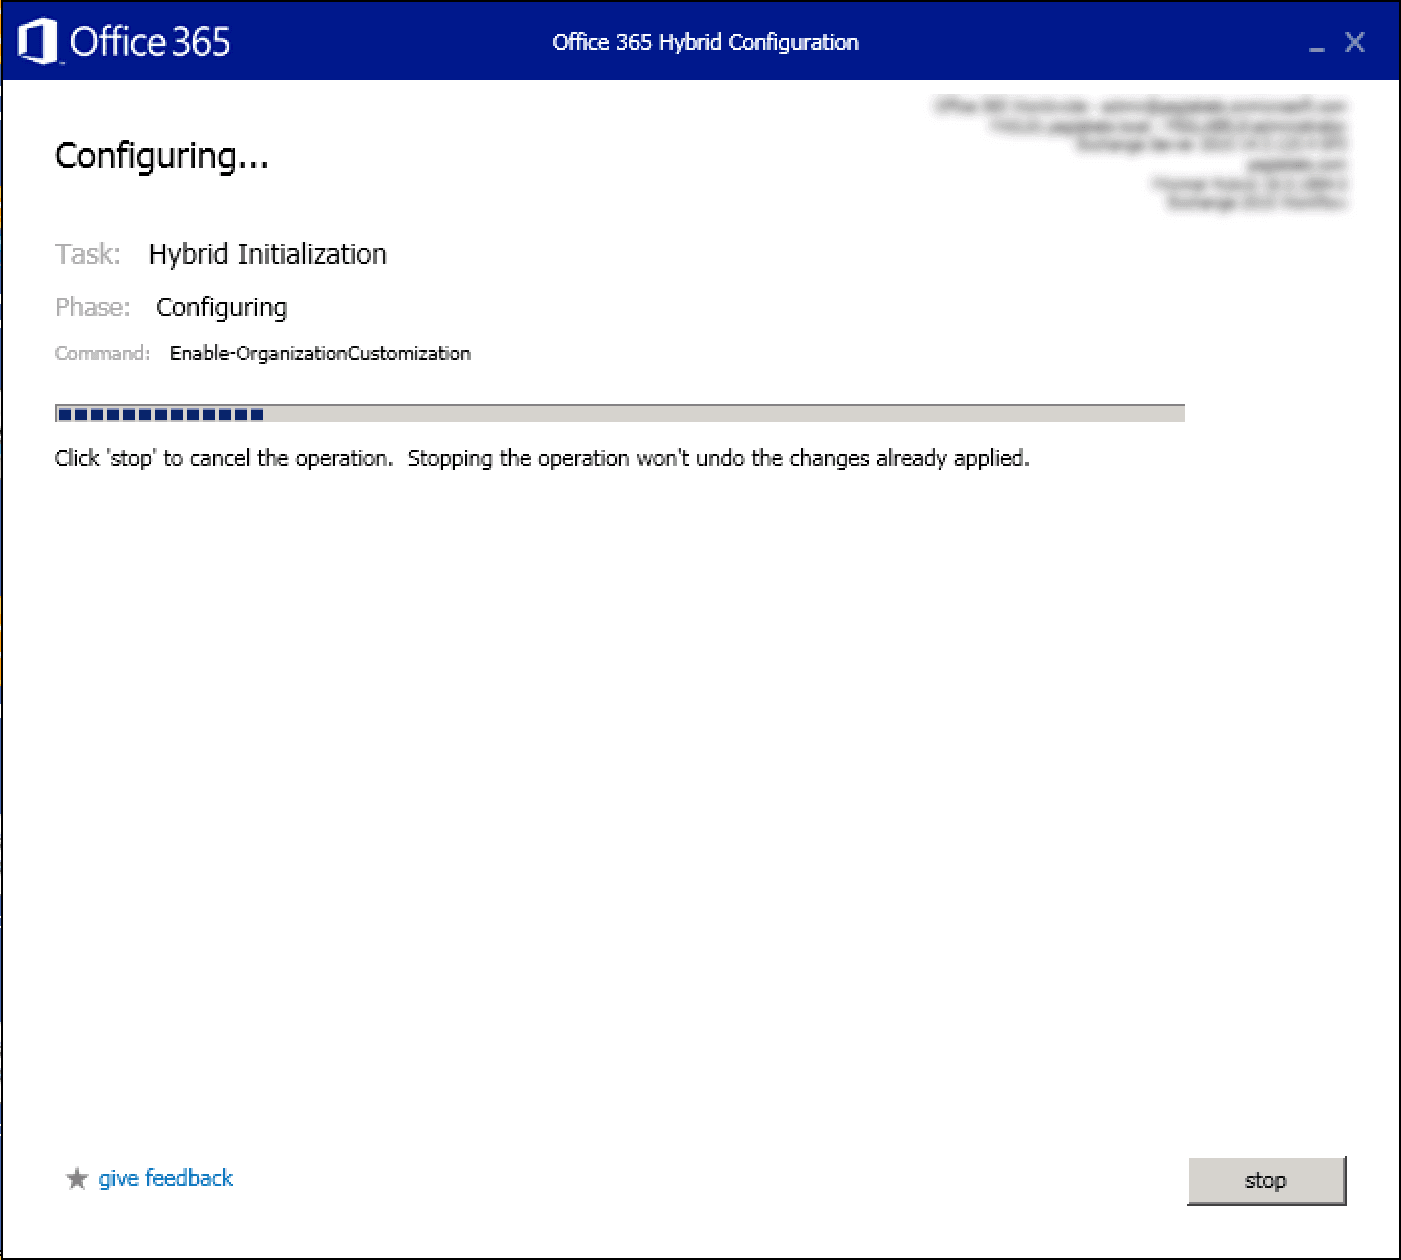
9. Setting up the environment.
10. Select “I will install Azure Active Directory Connect later on my own” and click Next.

11. Click Next.
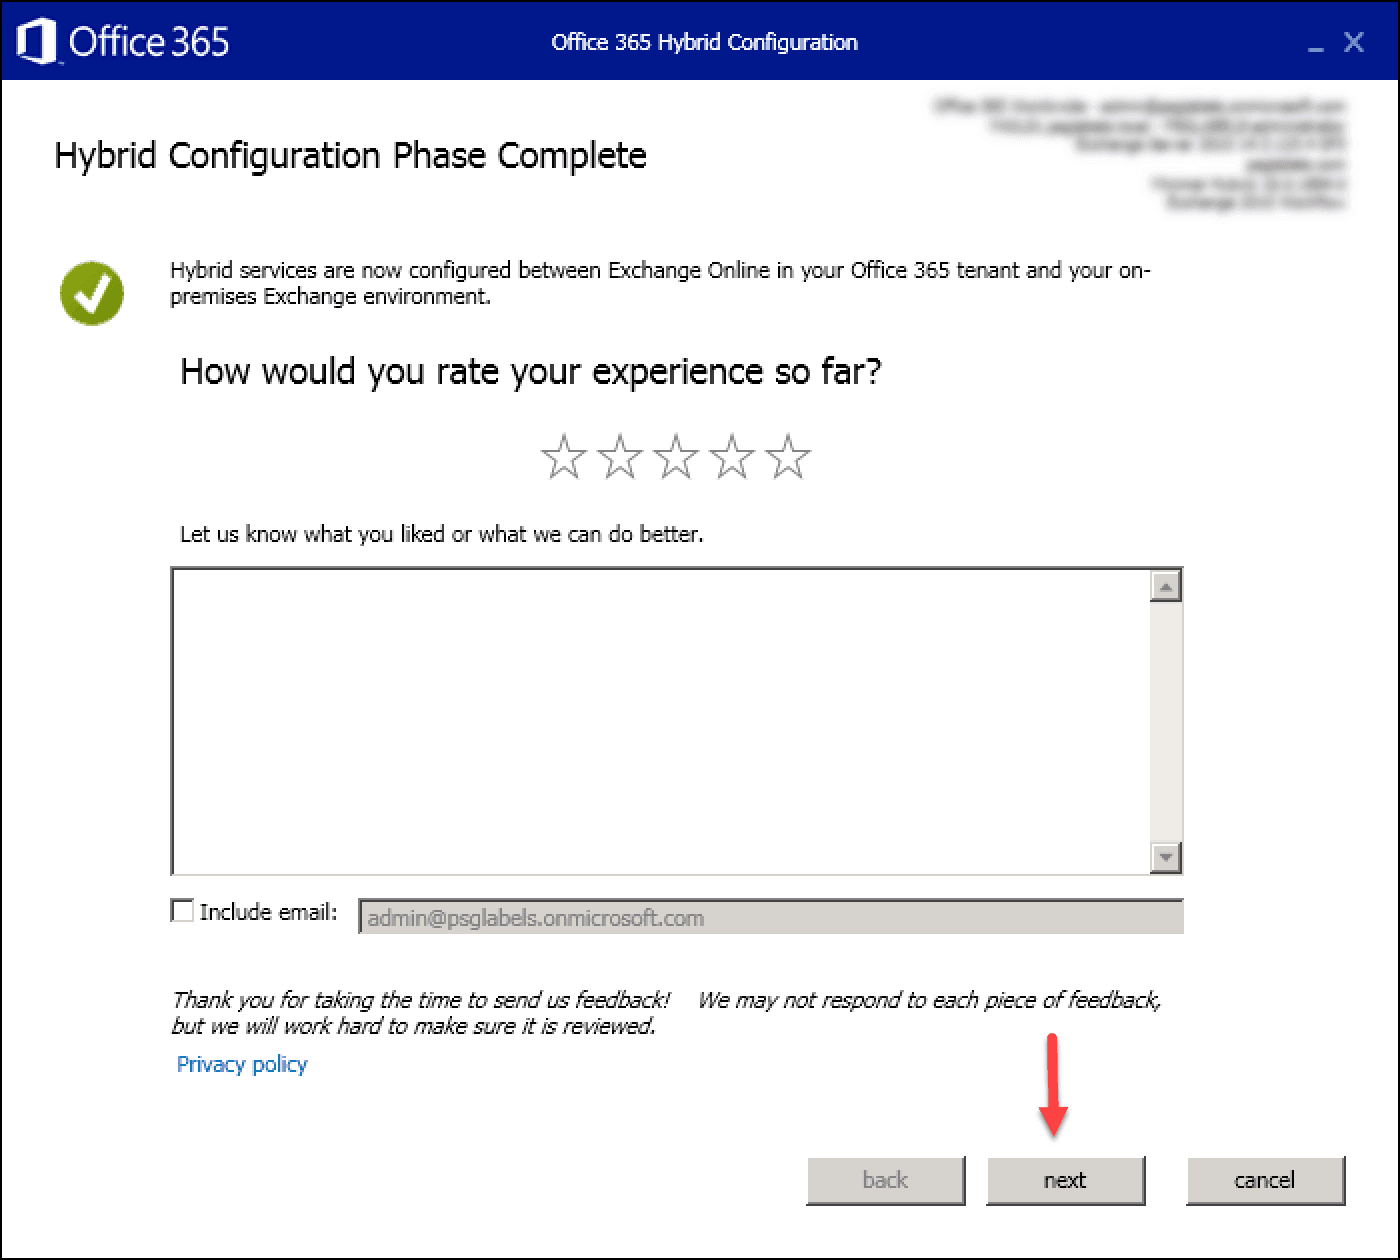
12. Click on Close.
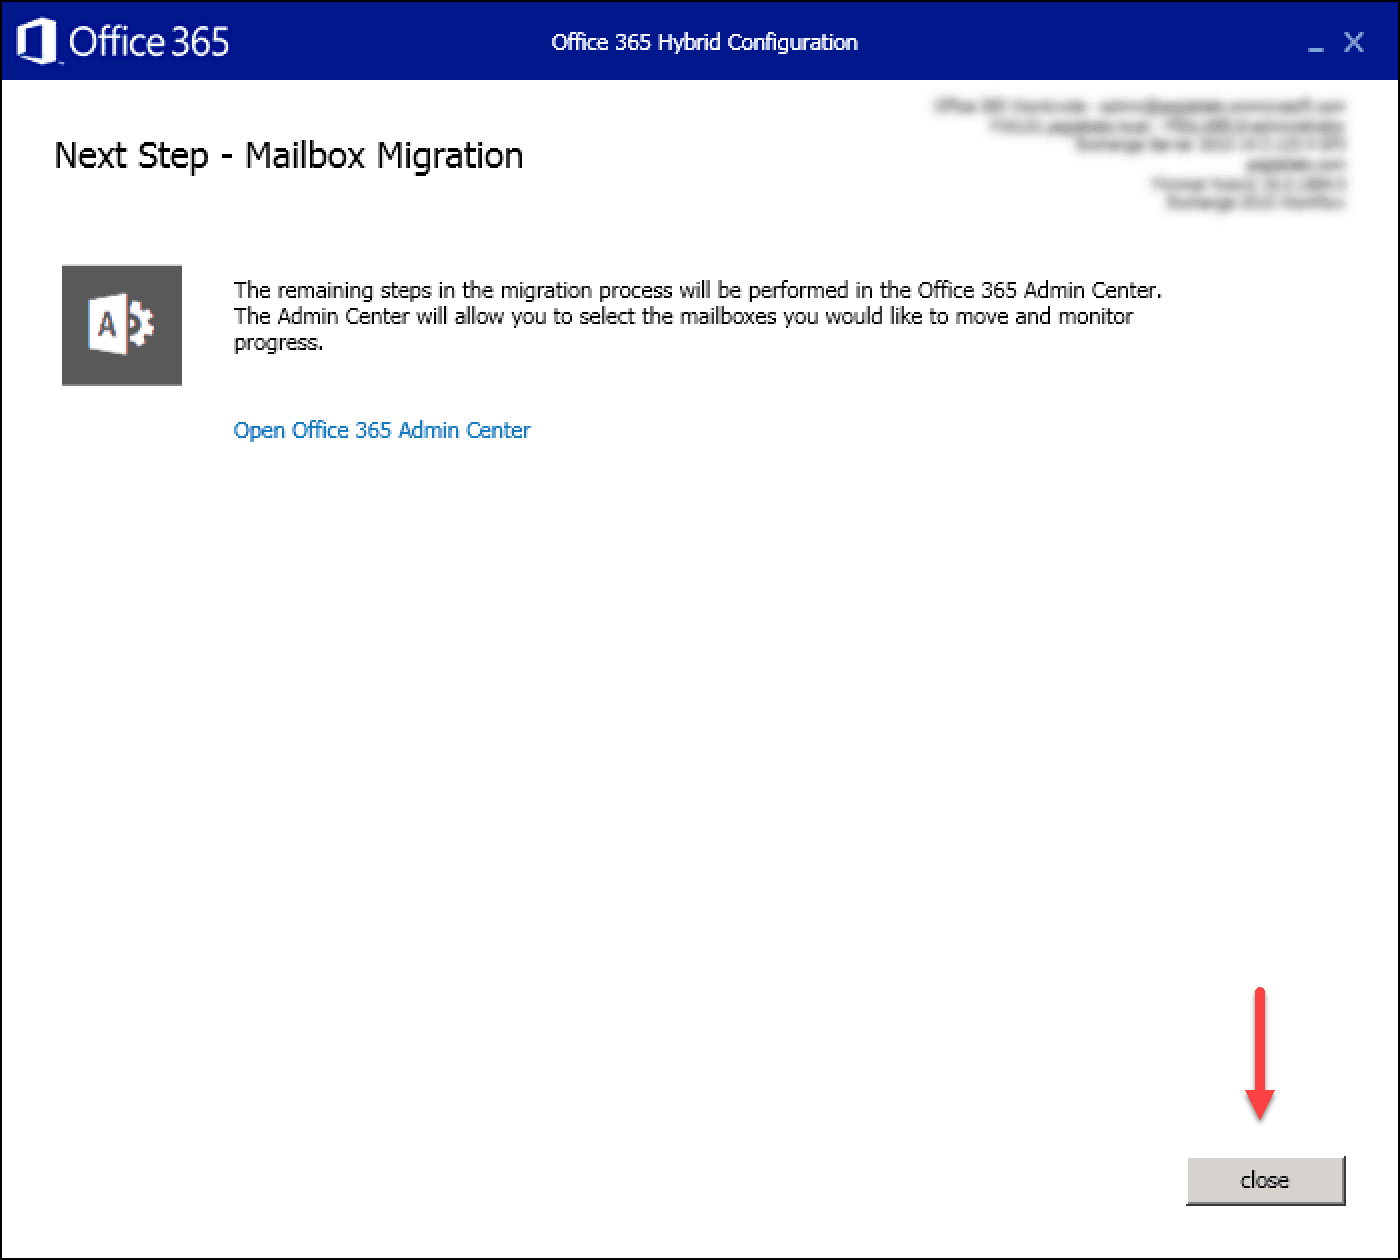
The hybrid environment is ready.
Validation and configuration of the hybrid environment
Installing Azure AD Connect
For the installation of Azure AD Connect I invite you to read this tutorial: Azure AD Connect : Installation et configuration .
Licensing users
Return to the Office 365 interface and assign licenses to your users.
Verification that onmicrosoft.com aliases are added to users.
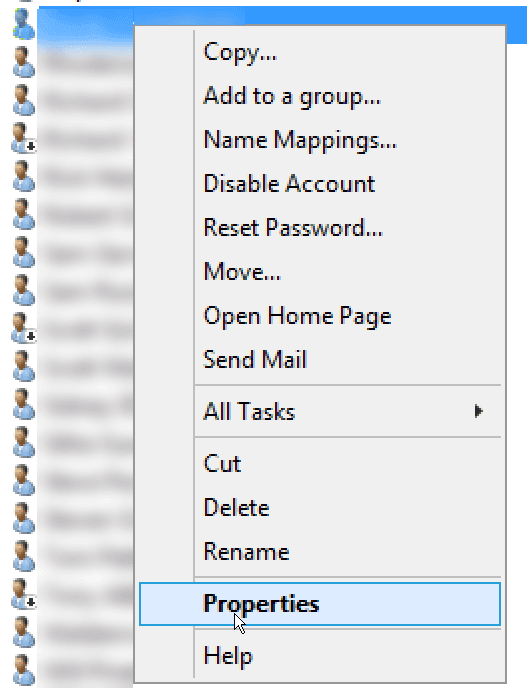
1. Go see if the users of your local Active Directory.
2. Right click on a user / Properties.
3. Select the Attribute Editor tab
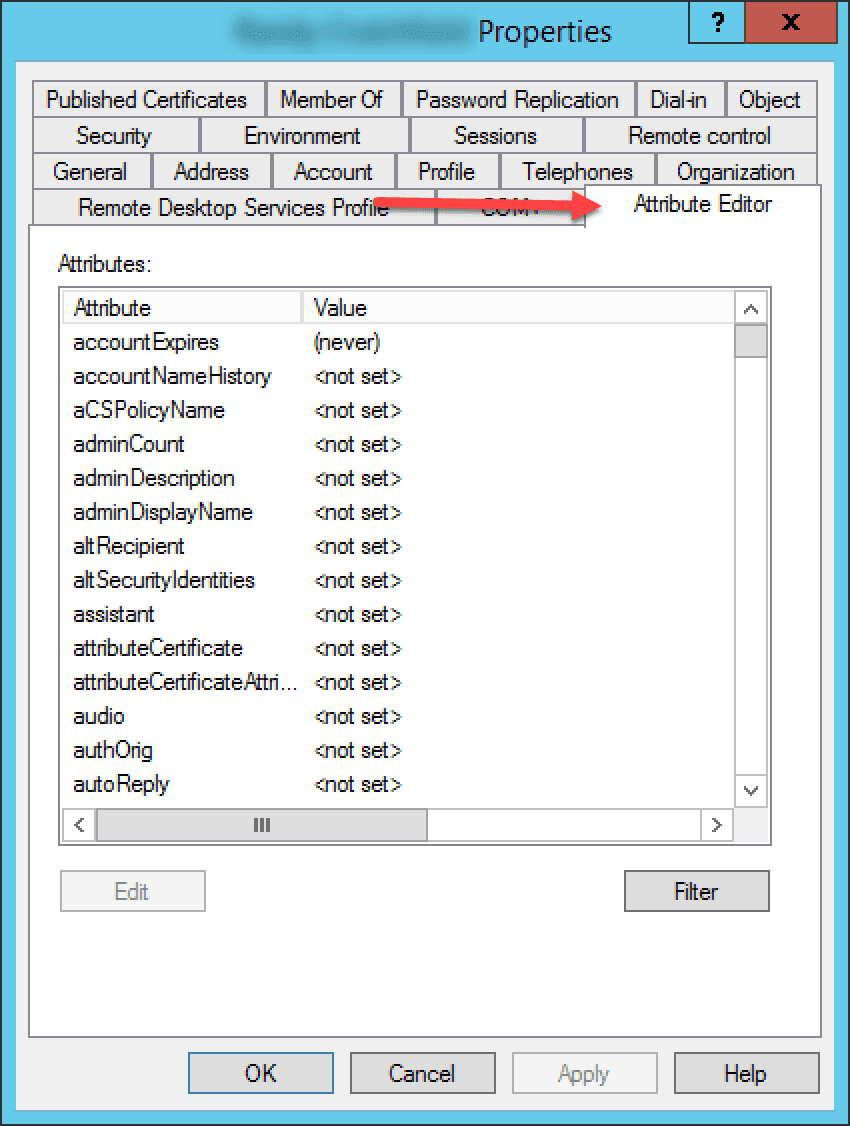
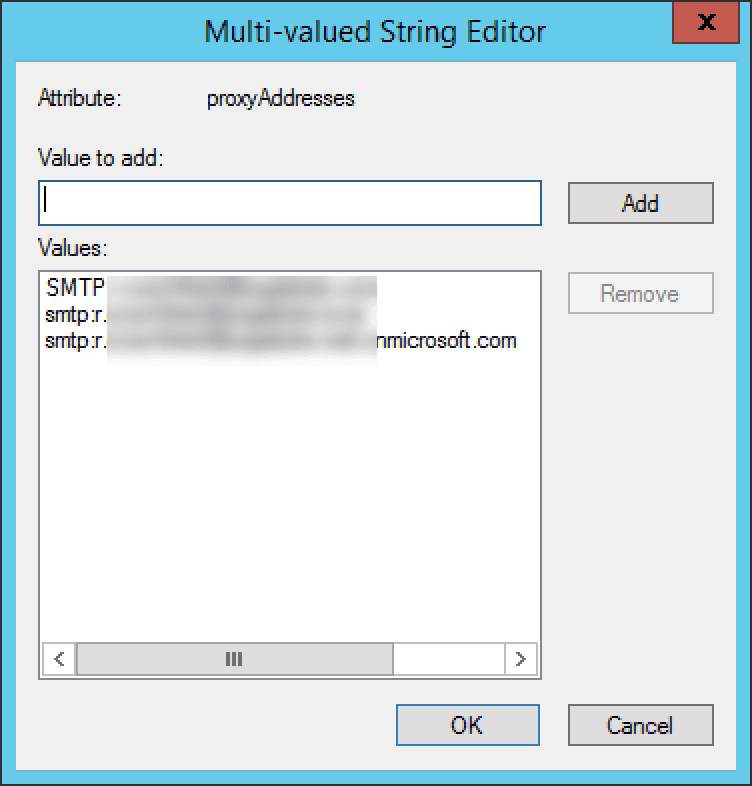
4. Go to the proxyAddresses attribute.
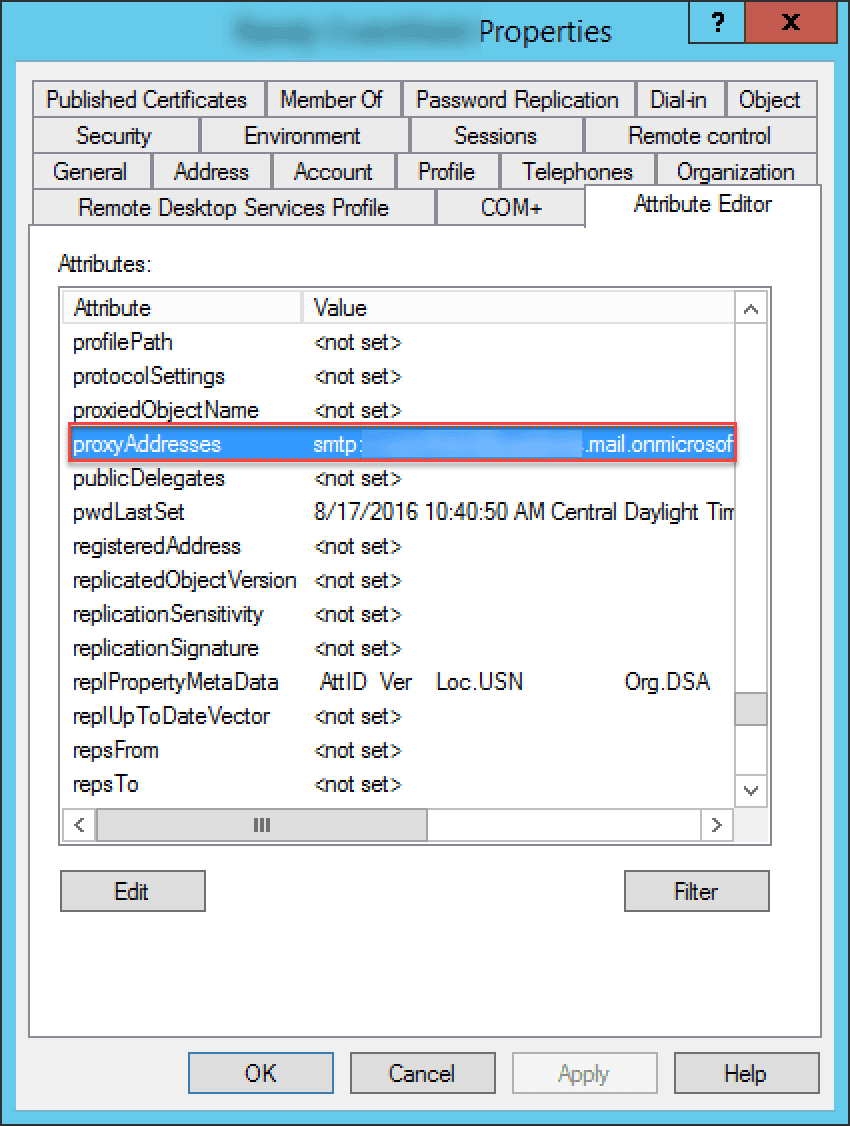
5. Check that the alias is present. The SMTP address [email protected] is the reply address.
Migrating mailboxes
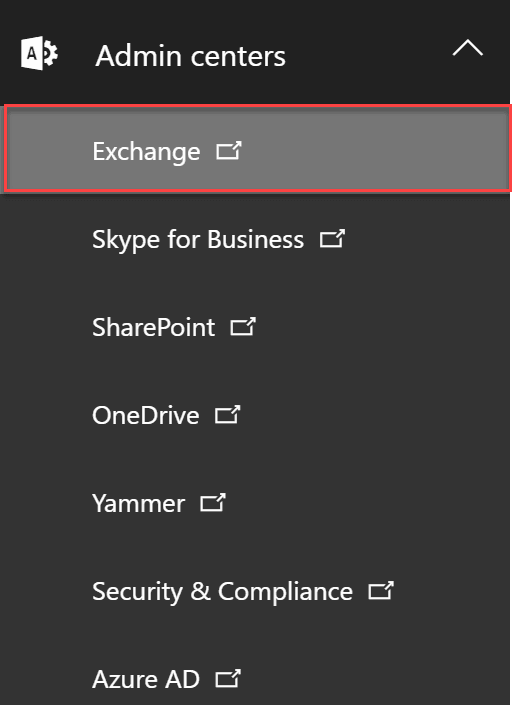
1. Return to the Office 365 interface and access Exchange administration.
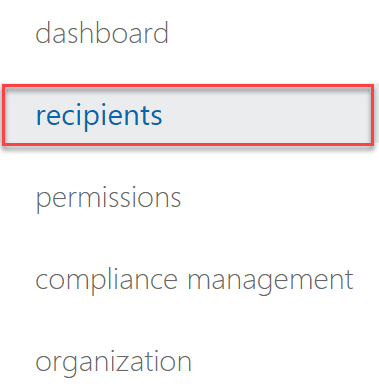
2. Go to the list of recipients.
3. Select Migration found in the menu above the list of boxes.

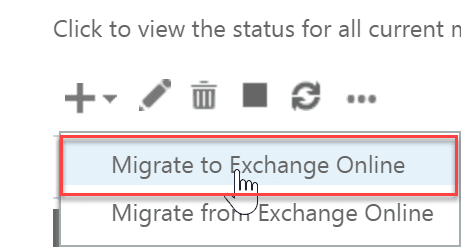
4. Select Migration to Exchange Online
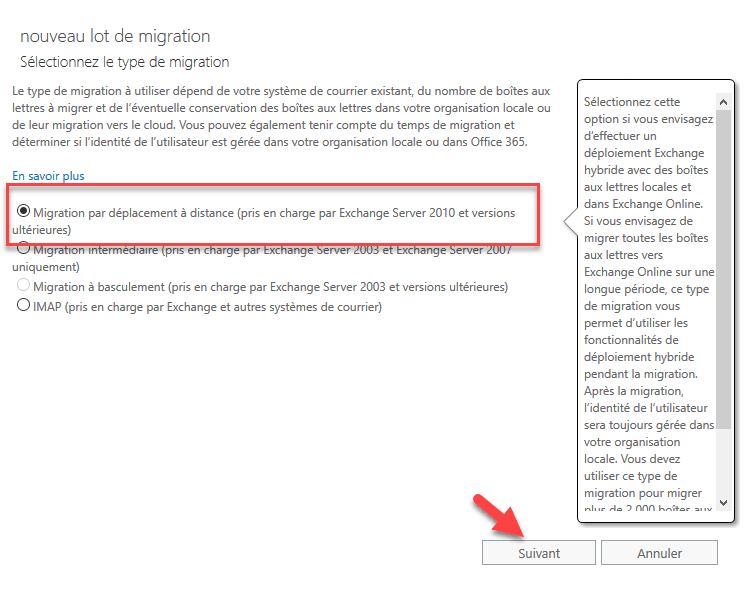
5. Select: Remote Move Migration and click Next.
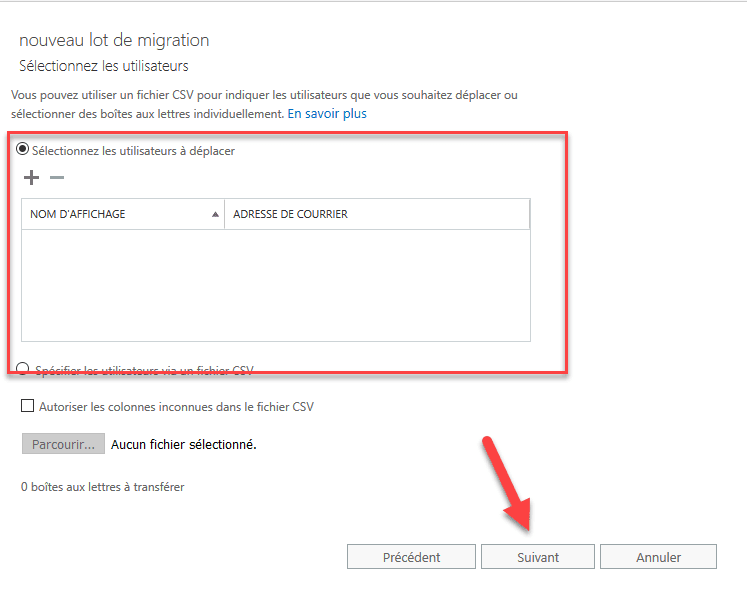
6. Select the users to migrate and click Next.
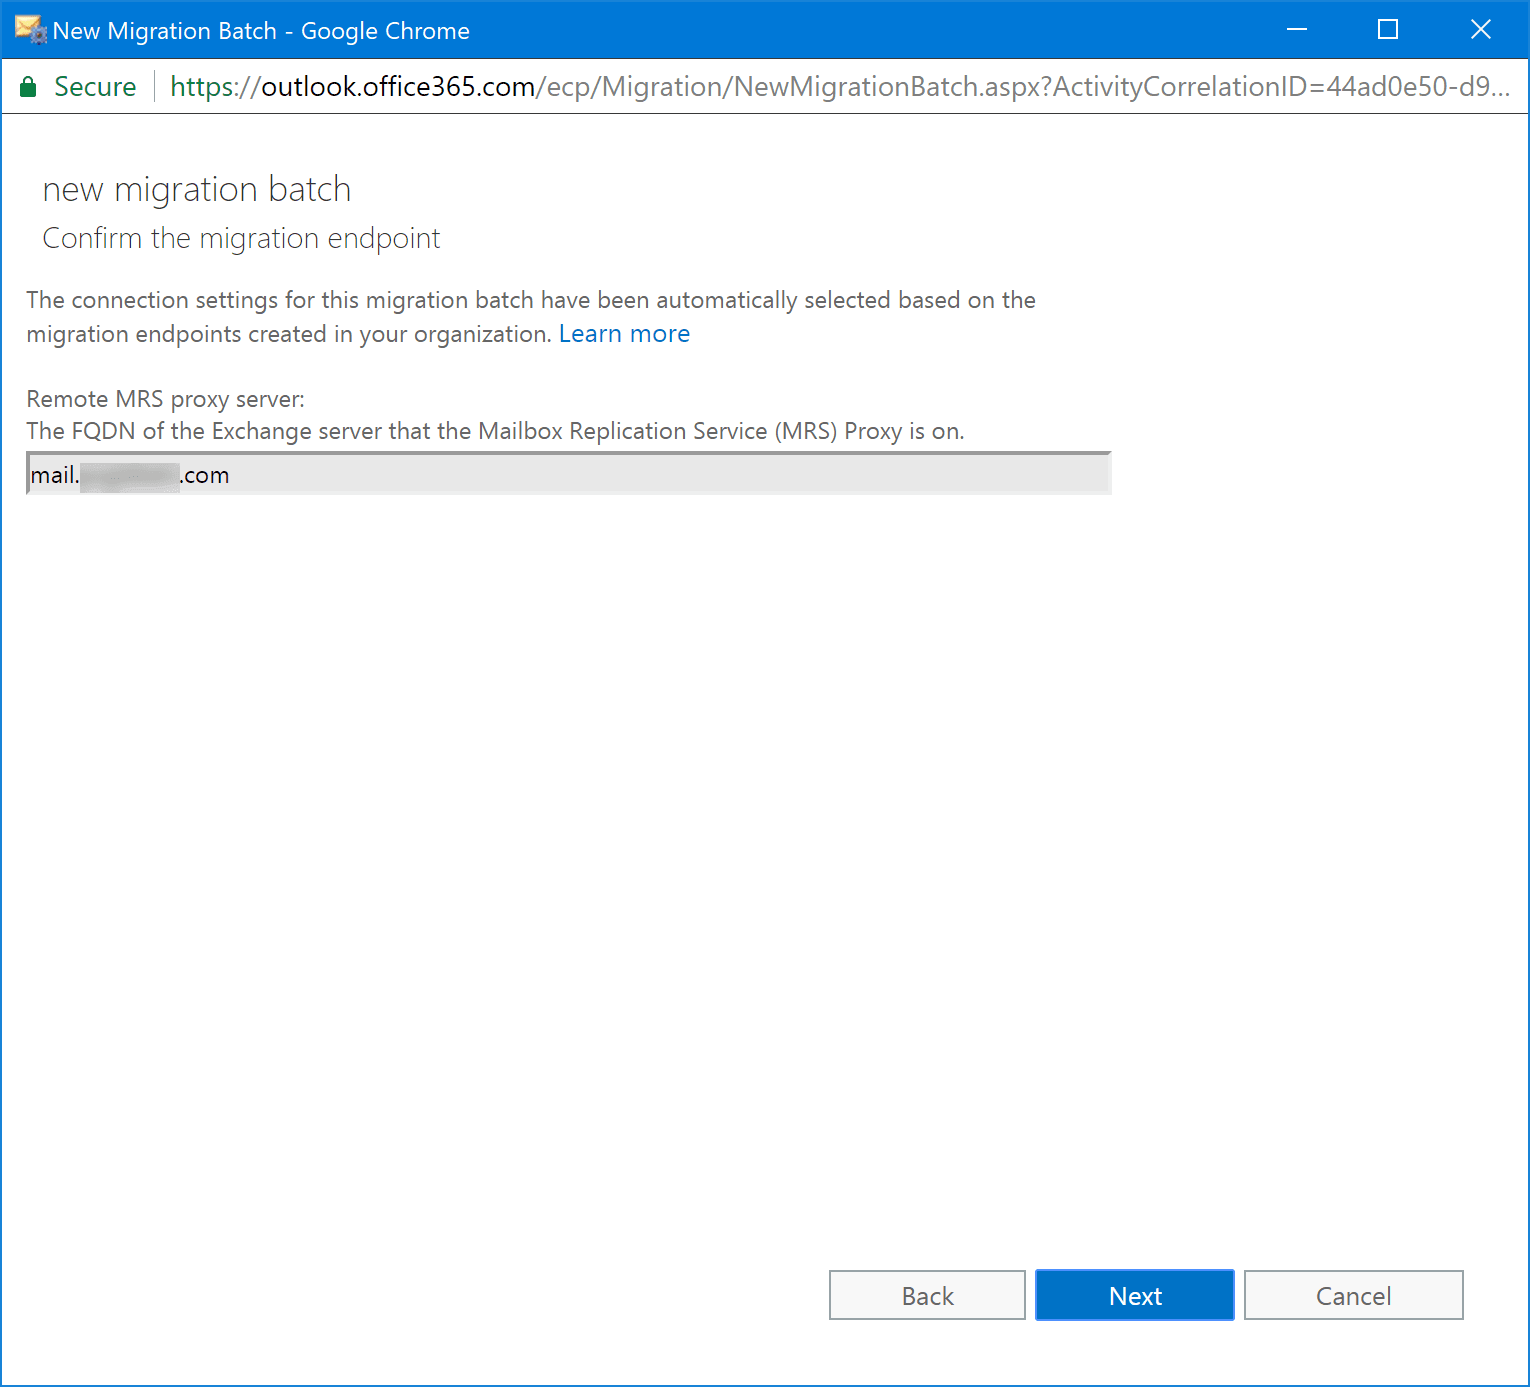
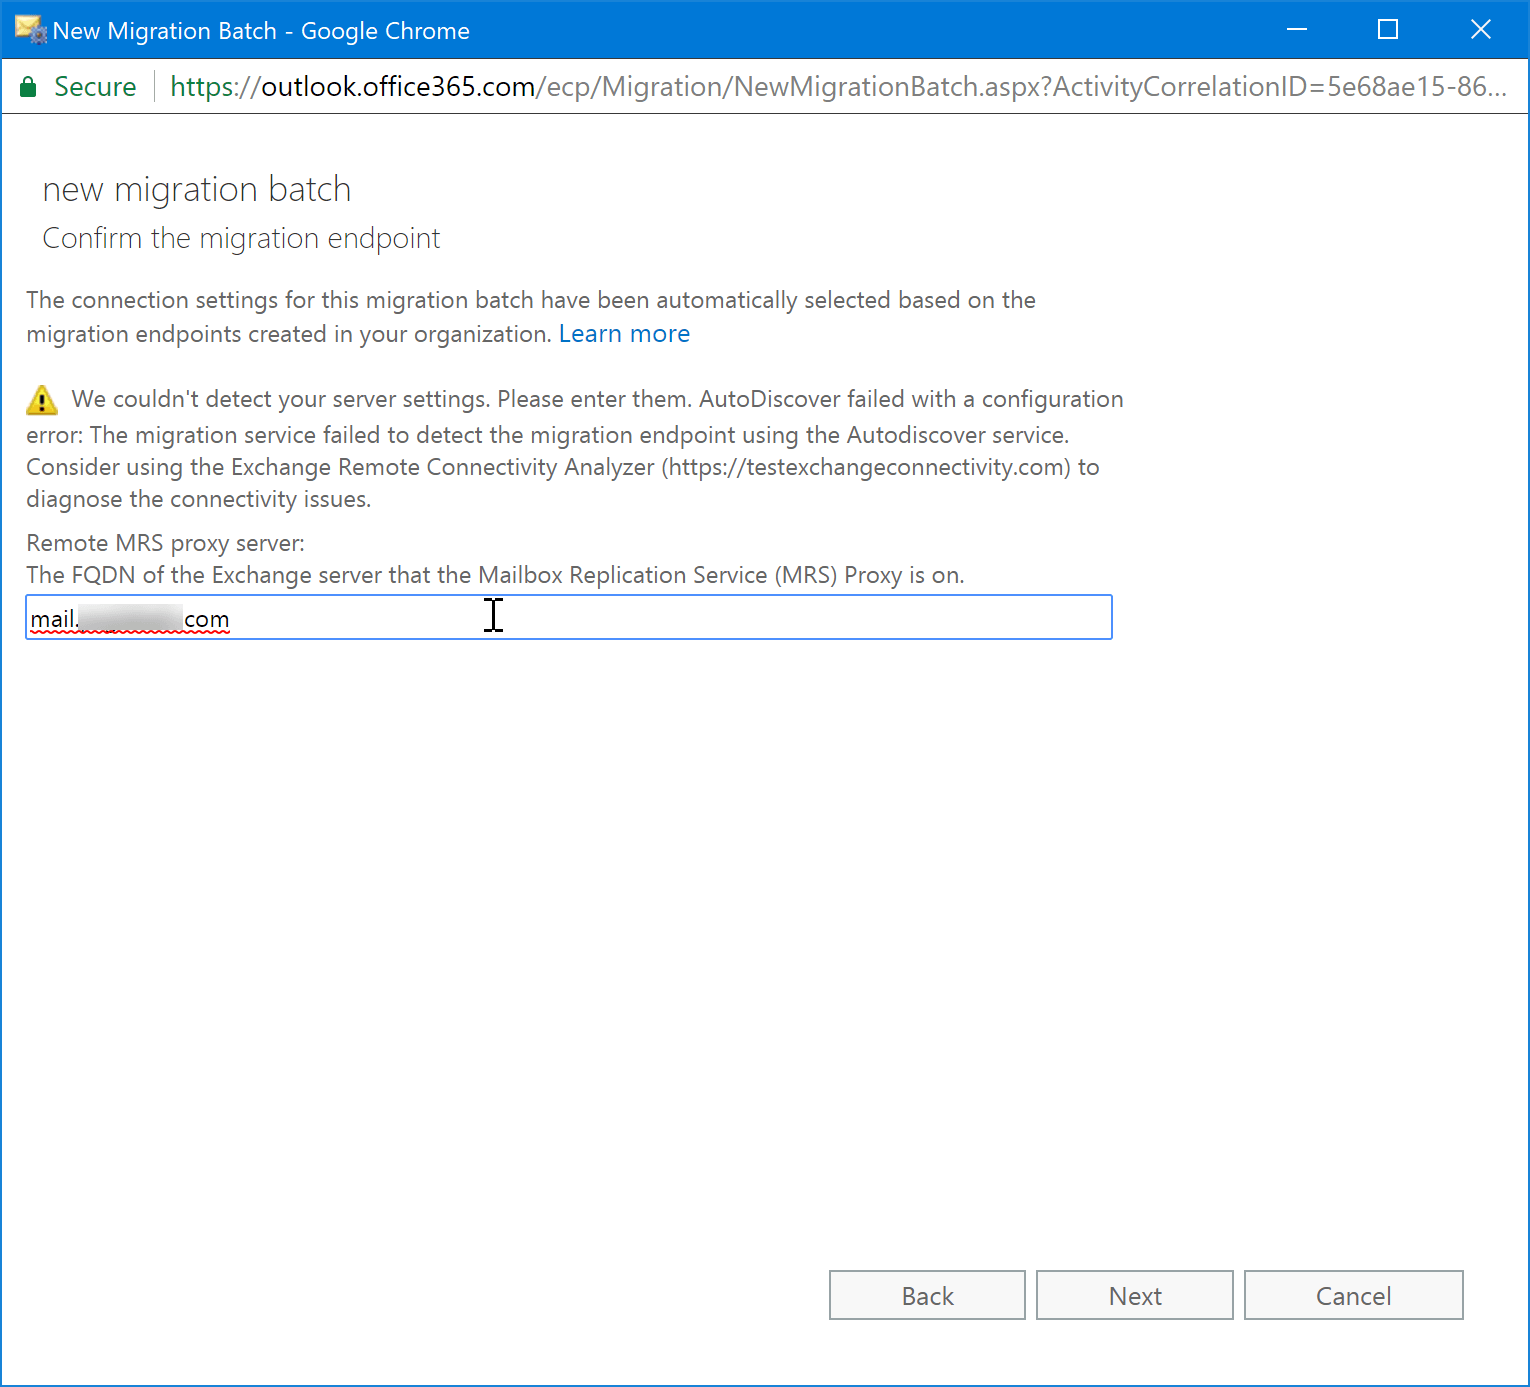
7. Detection of the MRS Proxy, if it is detected automatically go directly to point 11
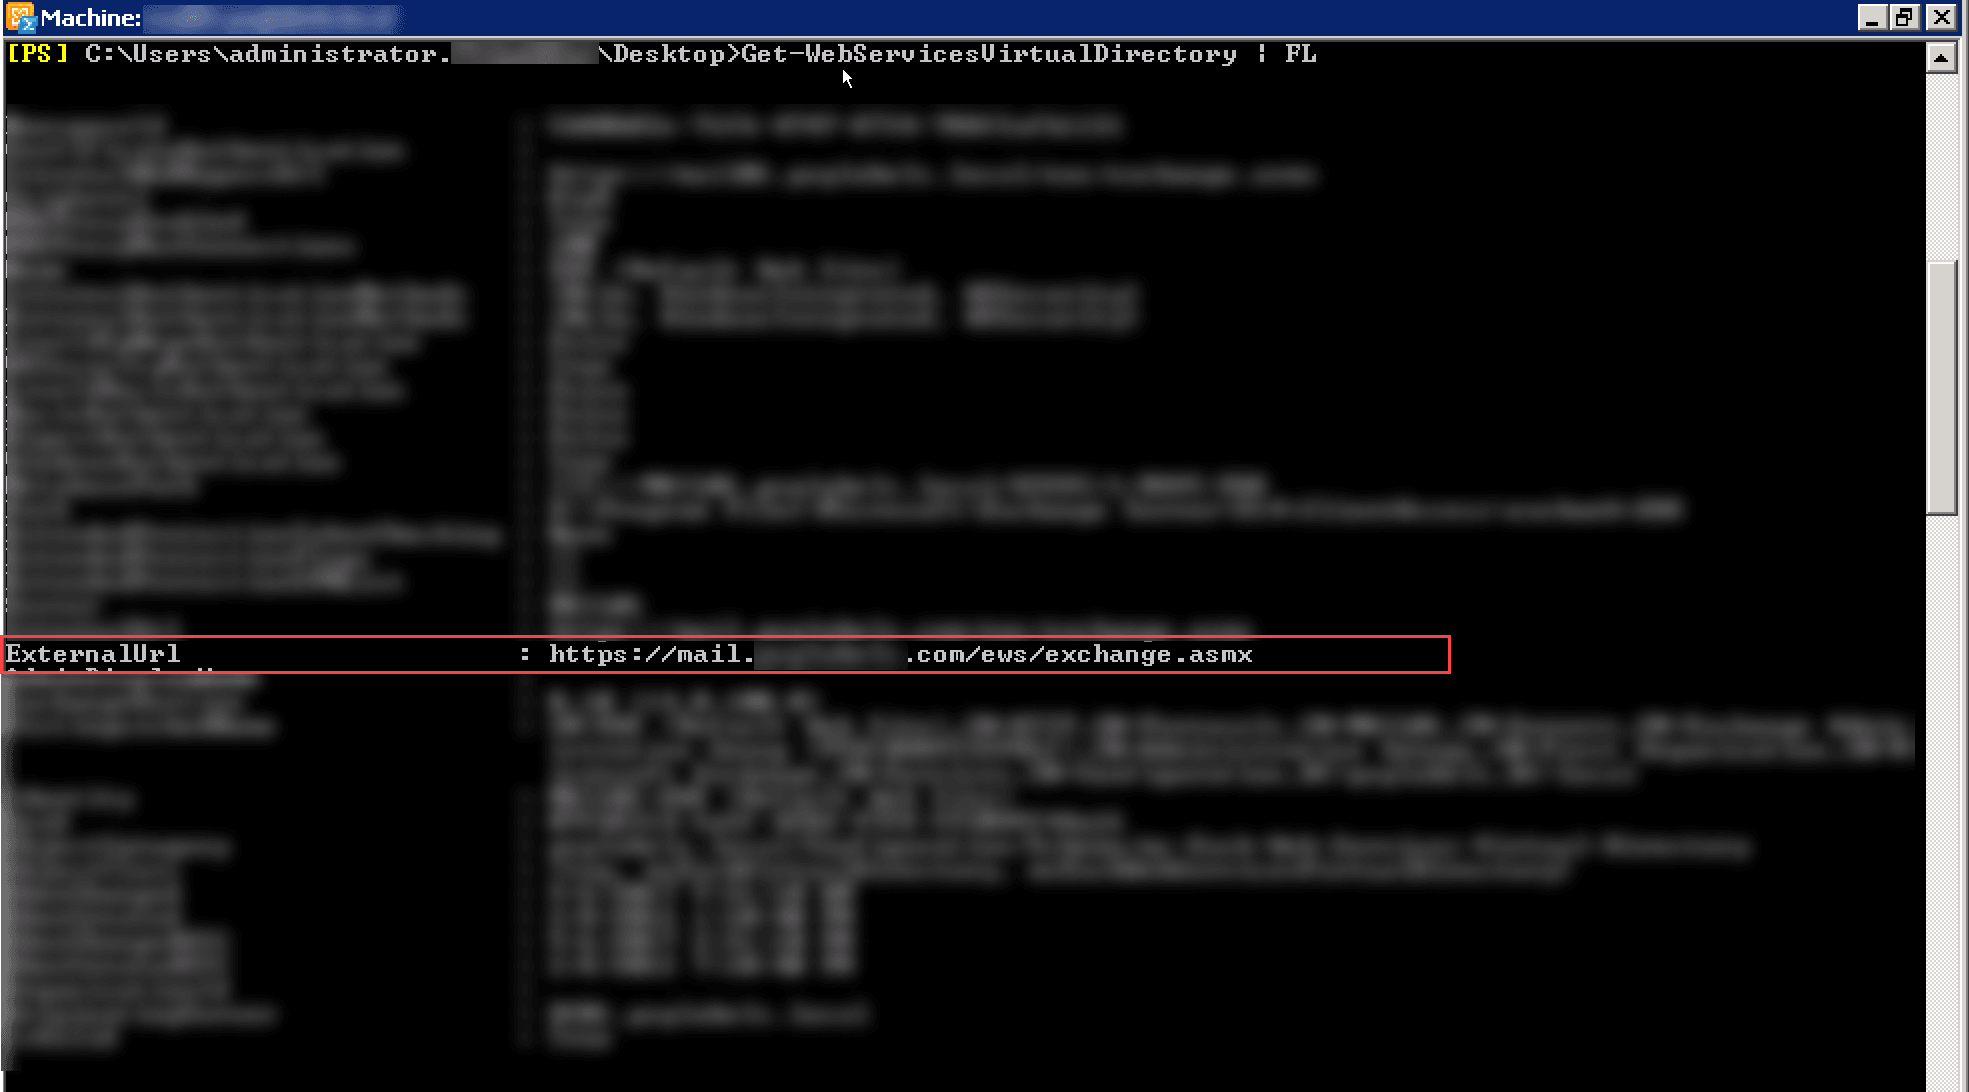
8. If the proxy is not detected automatically, type the following command in the Exchange powershell commands.
Get-WebServicesVirtualDirectory | FL
9. Note the external url (External Url)
10. Enter the URL without http (s): // and without ews / exchange.asmx
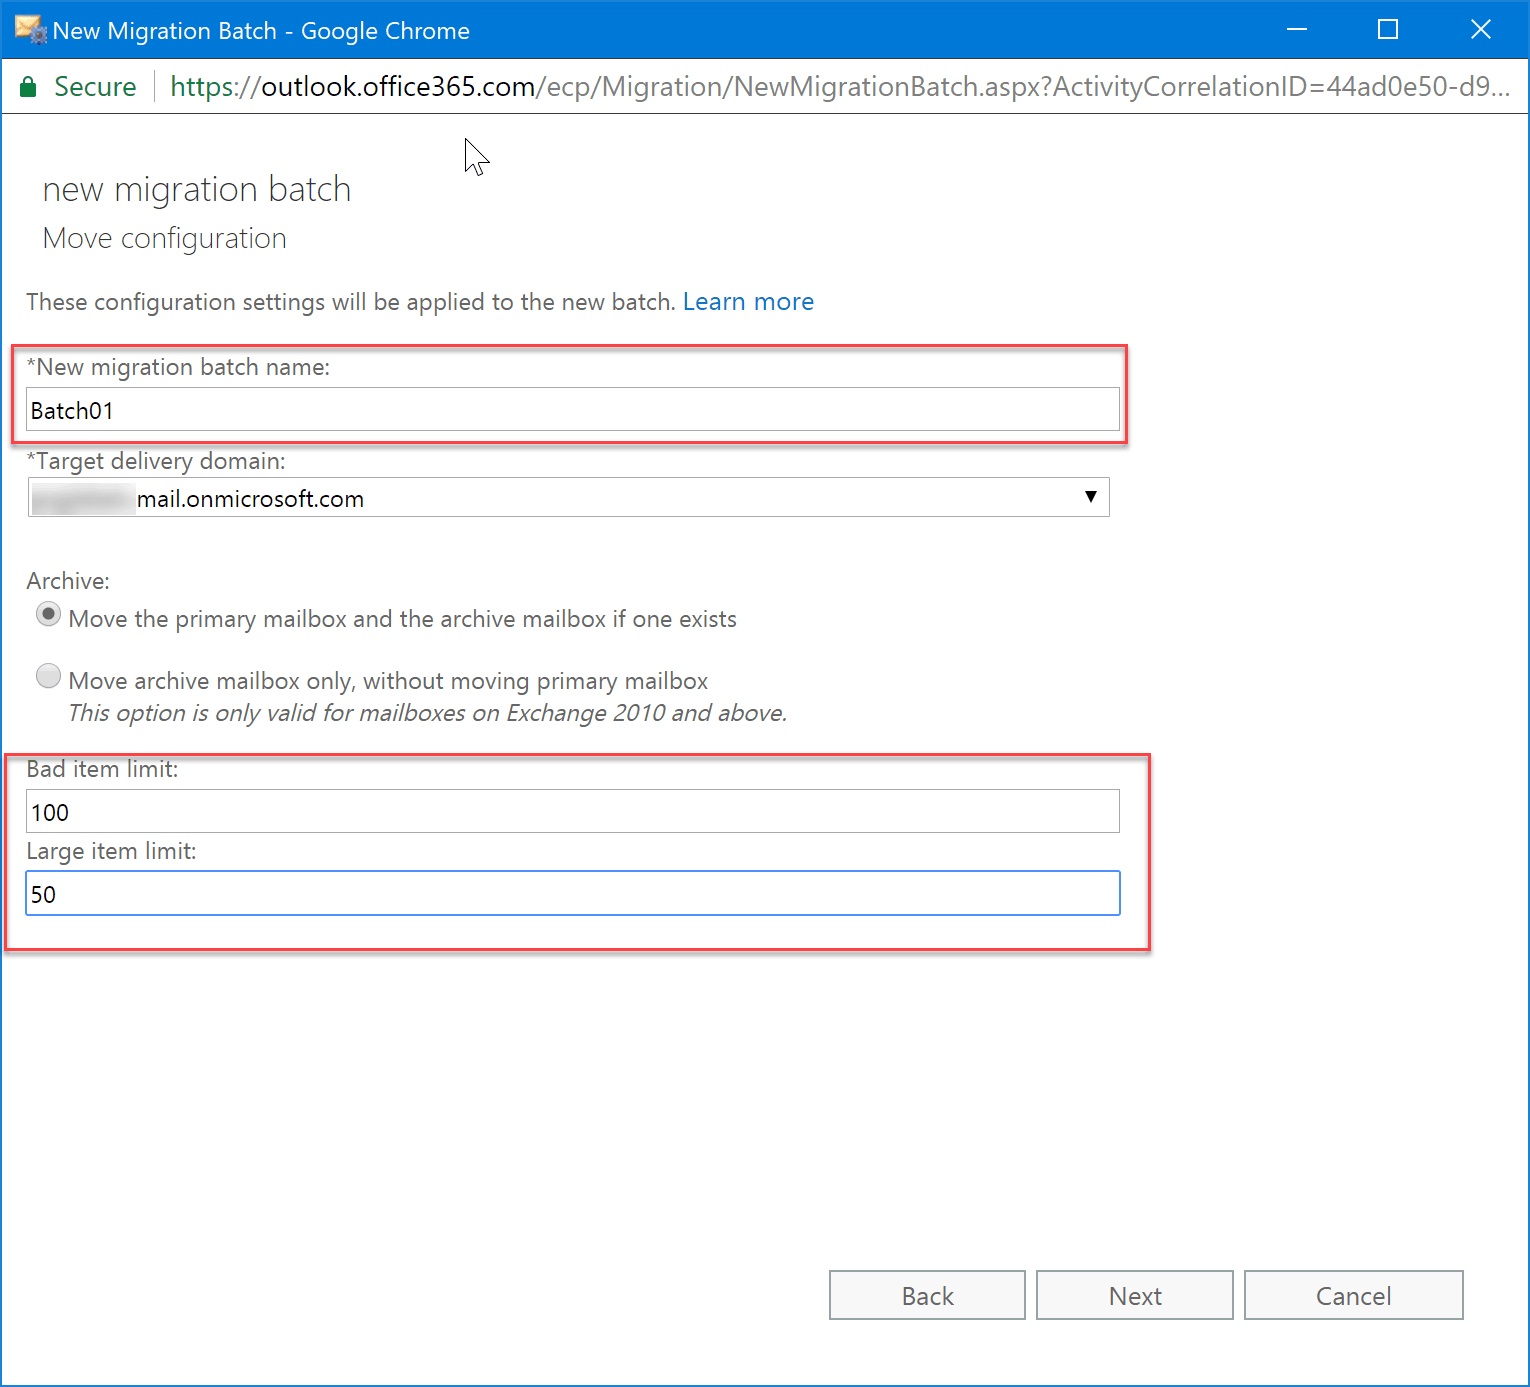
11. Enter a name for the migration batch and set the errone element limit to 100 and a limit for large elements to 50
12. Select a recipient for batch notifications, select automatic batch start and manual completion.

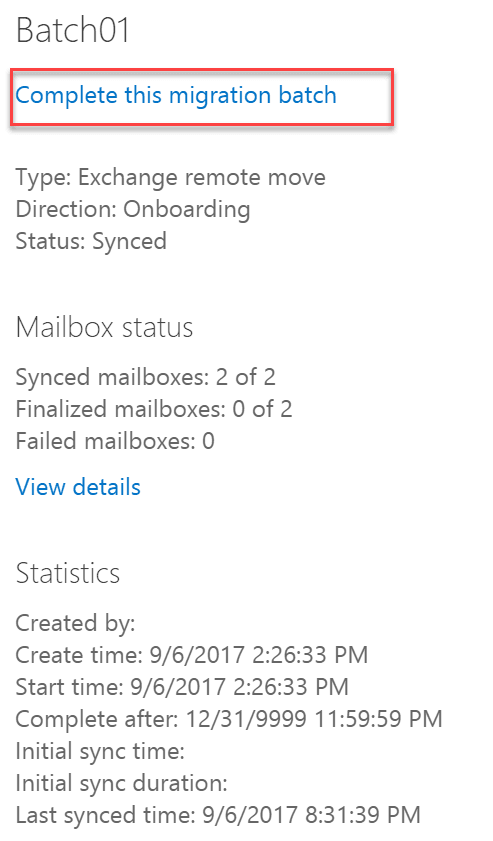
13. The batch is being synchronized, you can track its progress and act on it (pause / stop).

14. The batch is synchronized :

15. Click Finish Synchronization. At the end of this step, the boxes will be hosted on Office 365.
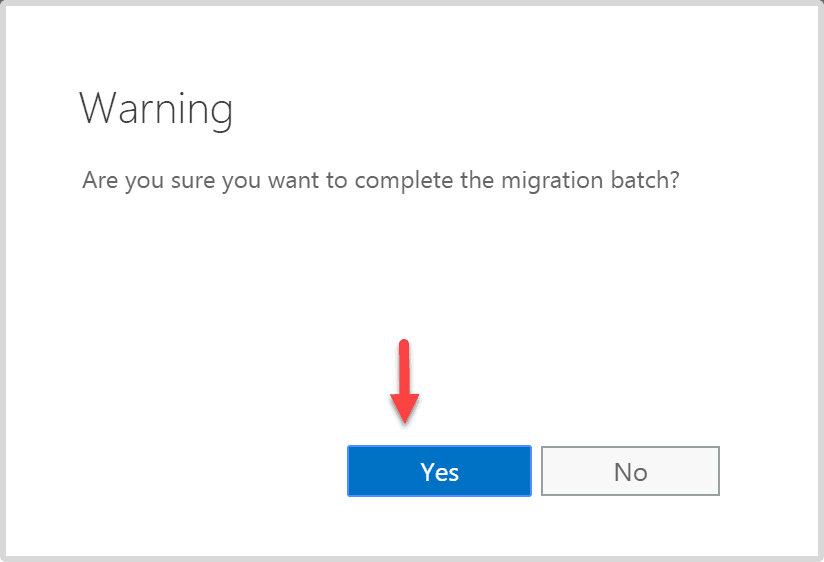
16. Confirm your choice
17. The batch is finalized (exchange synchronizes new items).

18. The status should go to Finish.

19. You can check on your local Exchange that the boxes are properly disconnected. Users should also be changed to Remote Email User. You can check in the properties that the redirection alias is present. Do not delete the X500 address that is used for communication between the two organizations.

You’re done, all you have left uninstall your local Exchange.
Note: most of the captures in this article are from http://www.bwya77.com/
Note²: I applied this procedure personally for migrating a client to Office 365.
