Table of Contents
Azure AD Connect overview
In this article, I’ll walk you through how to install and configure Azure AD Connect. This solution allows you to synchronize your local directory (AD) to the Azure platform and use the same user accounts.
The installation of the Azure AD Connect client must be done on a domain member server, Microsoft recommends not to install the Azure AD Connect client on a domain controller.
Find the list of prerequisites on the Microsoft site : Azure AD Connect: Prerequisites and hardware | Microsoft Docs
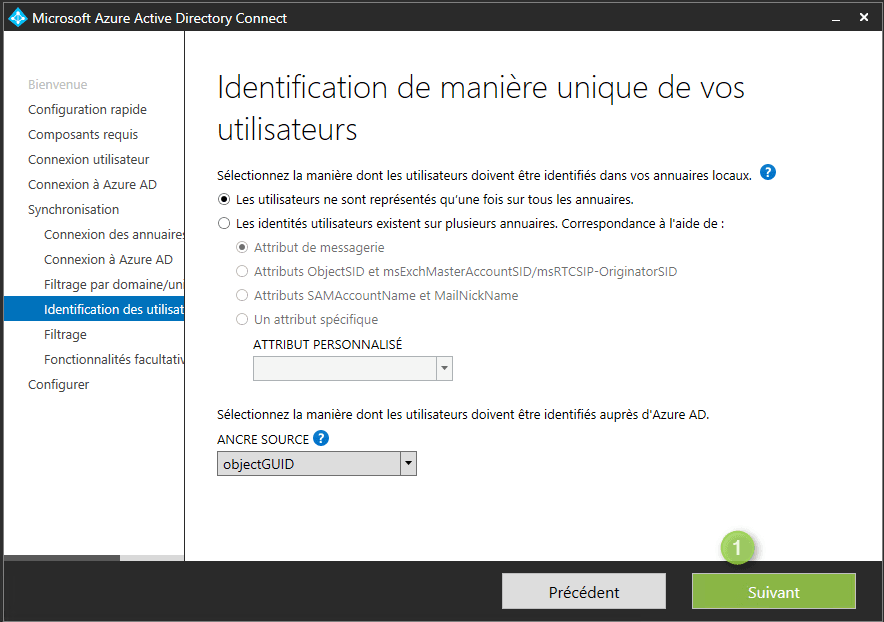
In the tutorial, which follows, I used the mail field as an authentication attribute, but you could very well use the userPrincipalName field
Remote AD activation
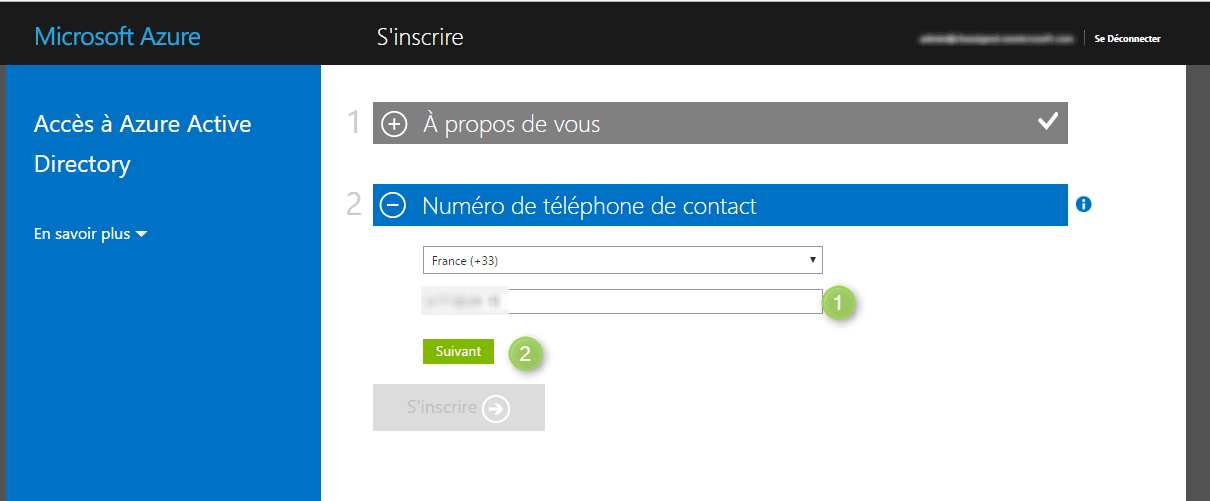
The directory is not always enabled by default. To activate it, log in to your Azure portal or Office 365.
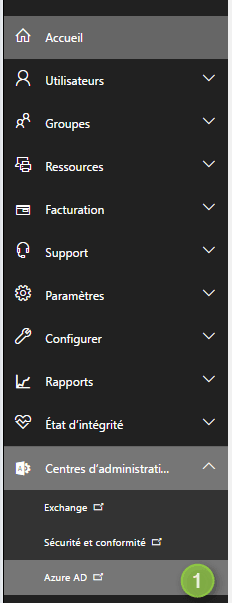
Go to the administration interface of your Office 365 portal, in the navigation menu on the left, expand Administration center and click on Azure AD 1.
Fill out the form and click on Next 1.

Enter a phone number and validate 1 by clicking on next 2
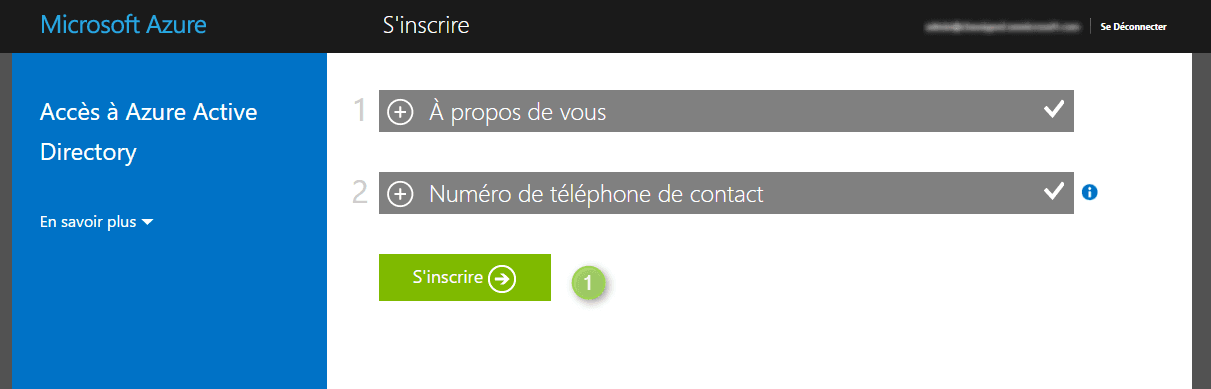
Click on Register 1 to validate the creation and remote directory.
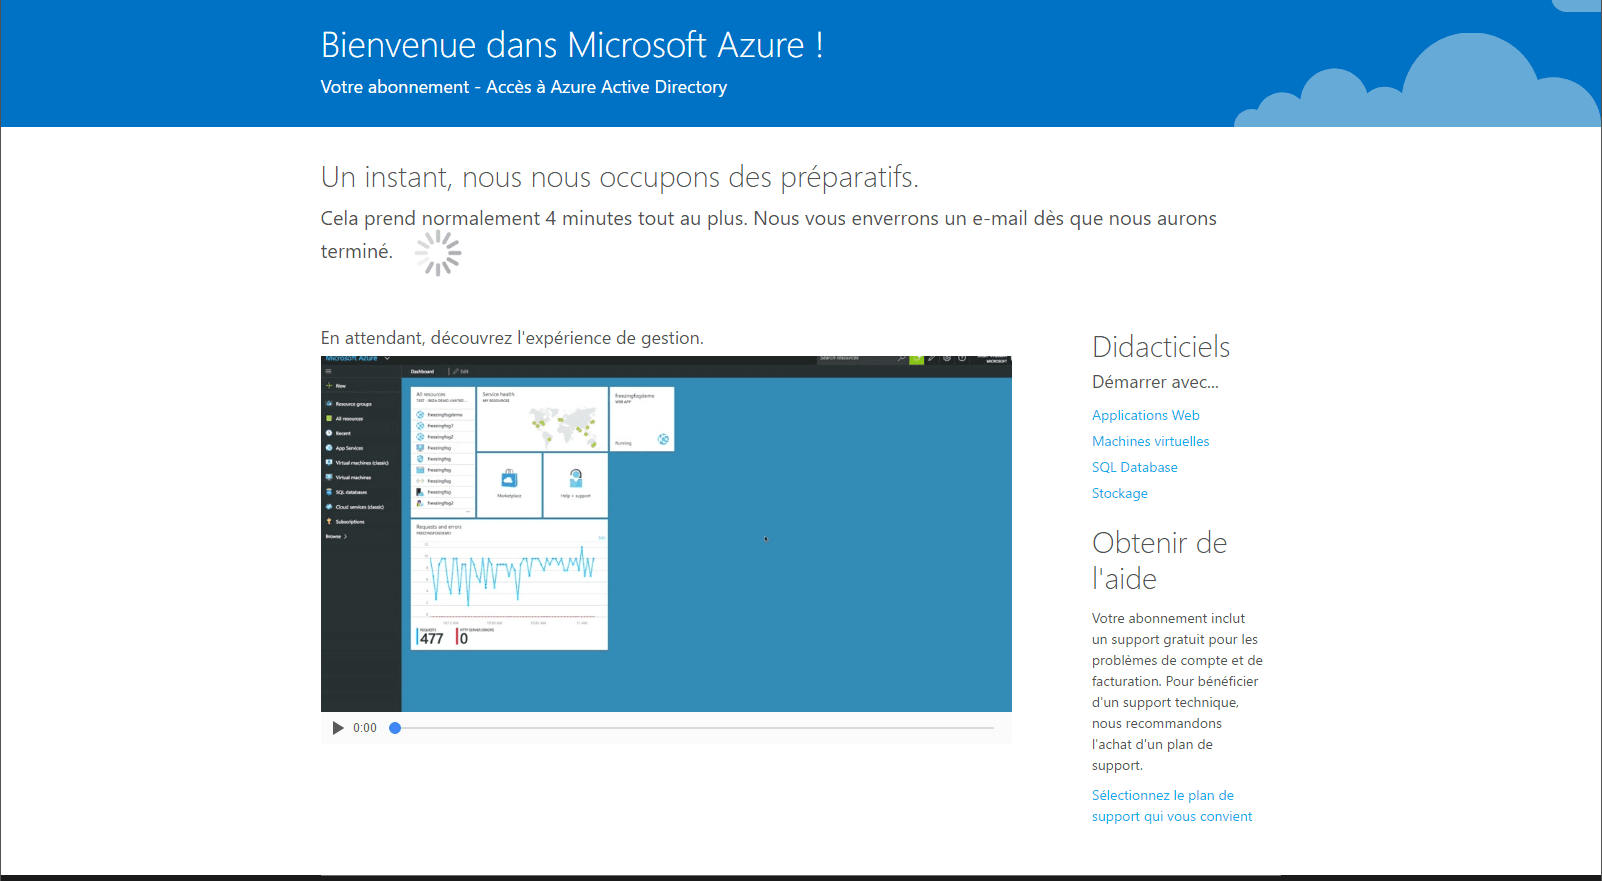
Creation of your directory. Wait …
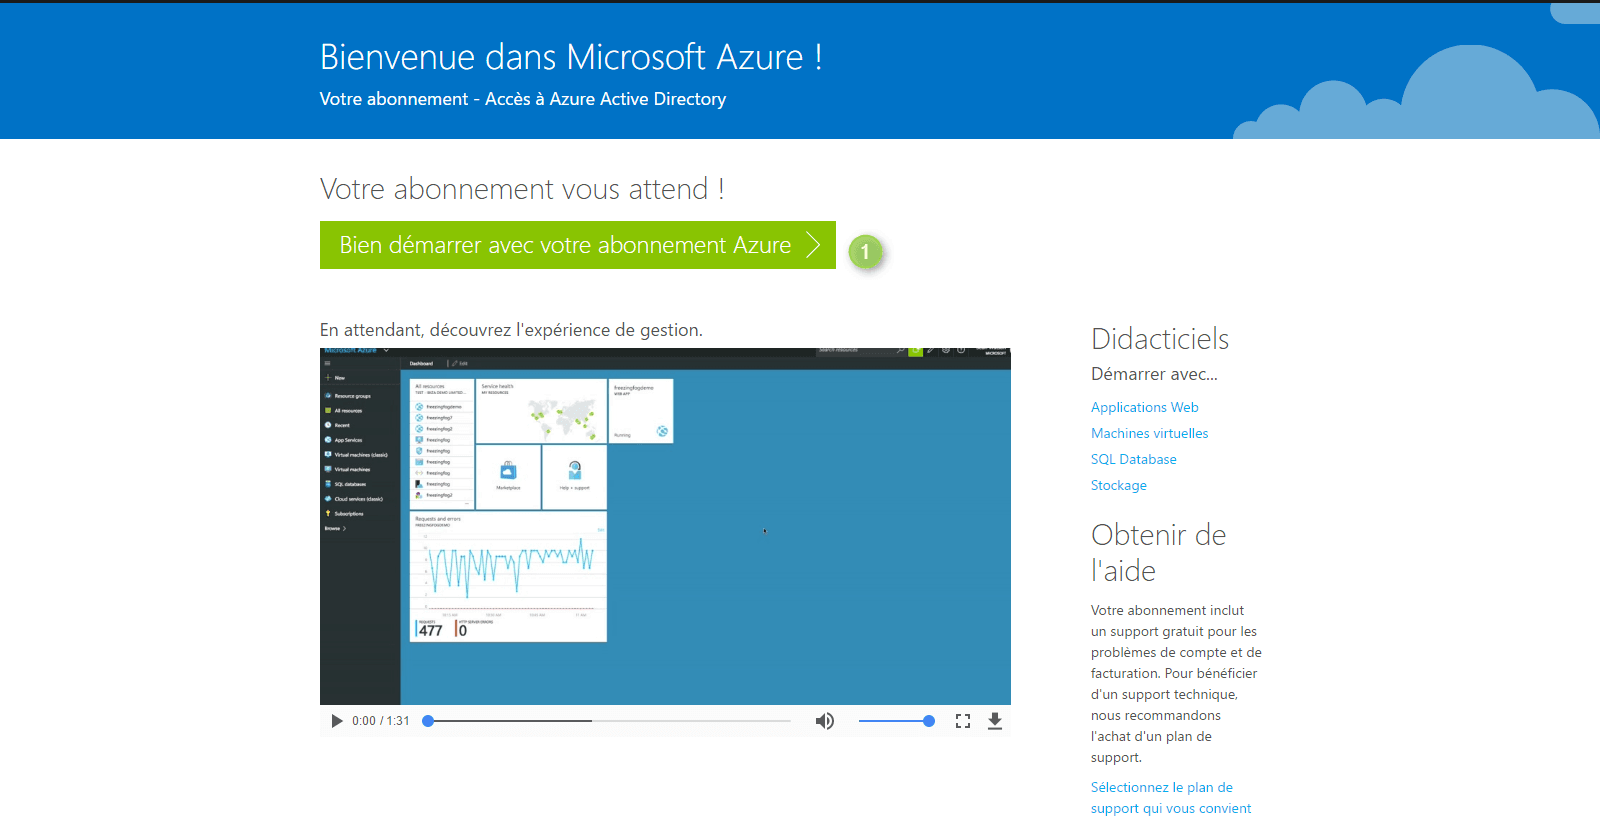
Click on Get started with your Azure 1 subscription to access administration.
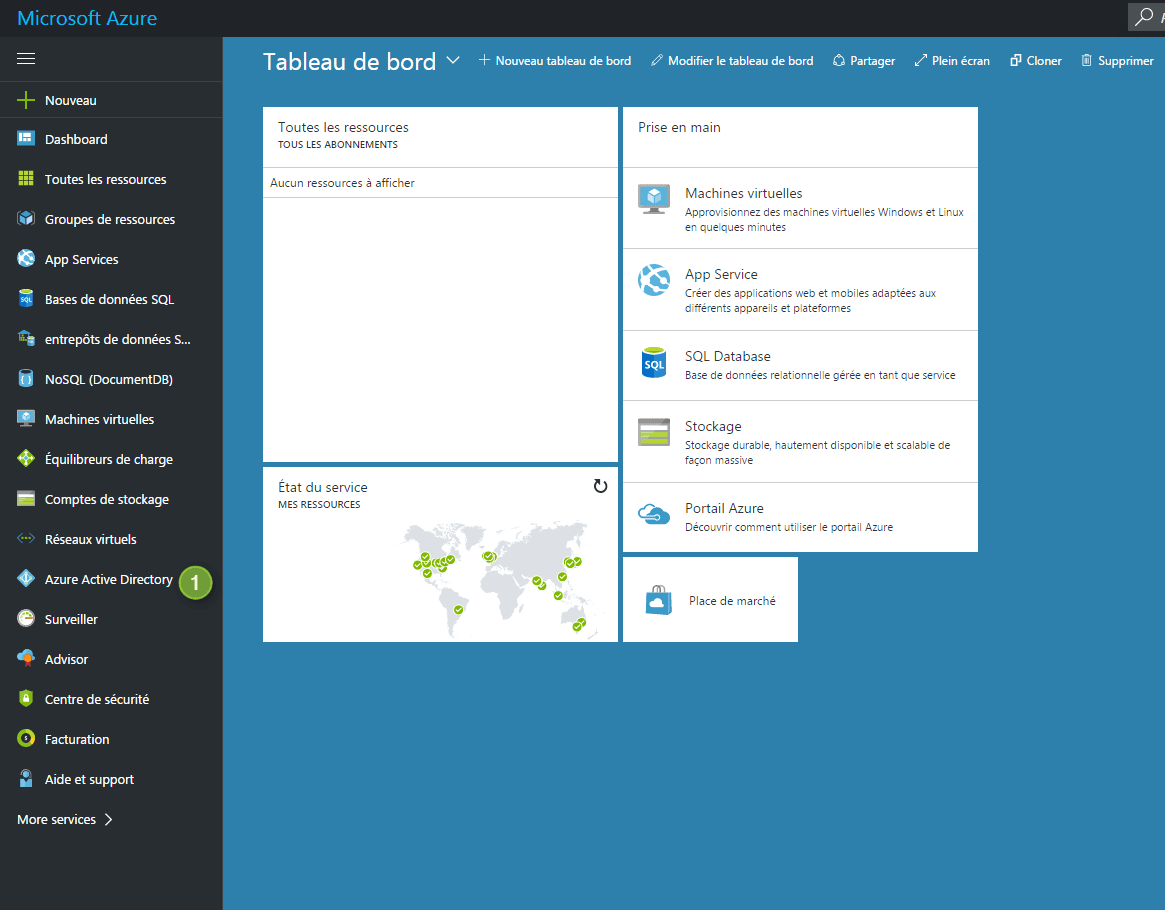
Click on Azure Active Directory 1 in the navigation menu on the left.
Installing Azure AD Connect
Client installation can be done on a domain controller, this is not a requirement.
Client download
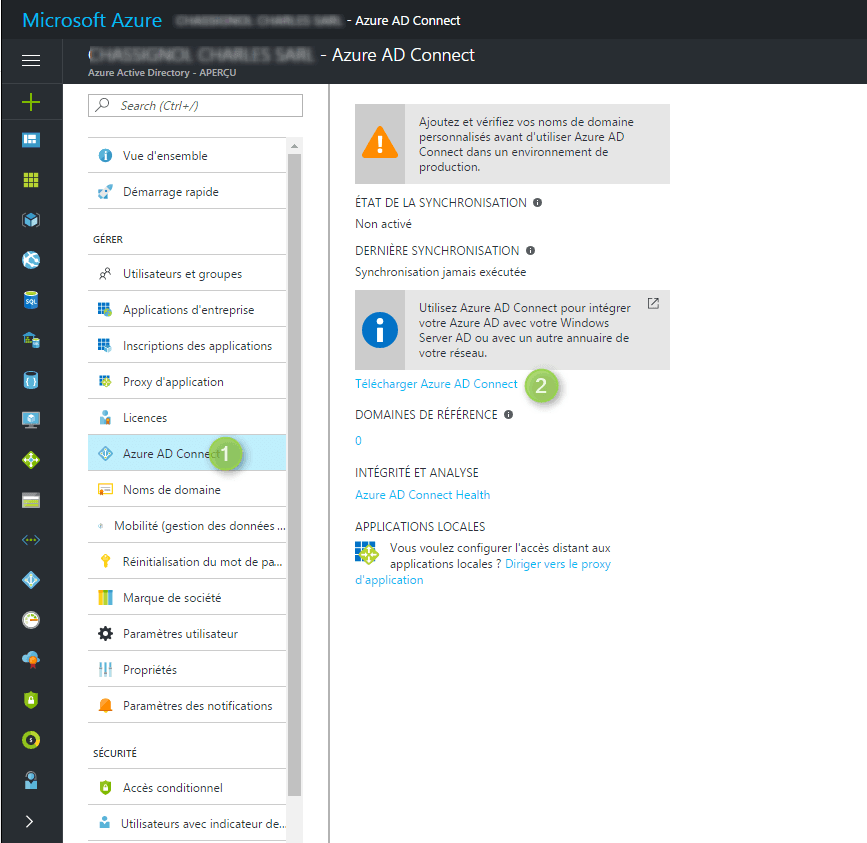
The client downloads to the Azure interface in Azure Active Directory administration.
Click on Azure AD Connect 1 and on the link available on the left to download 2 and run the installer.
Installation
Accept the license conditions 1 and click on Continue 2.

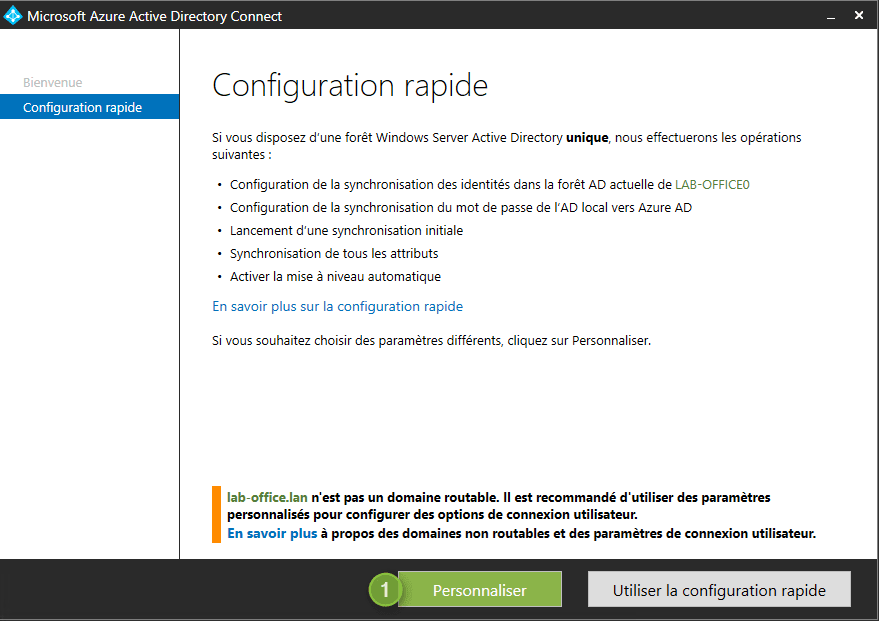
Click on Customize 1, this option will allow us to choose the authentication attribute.
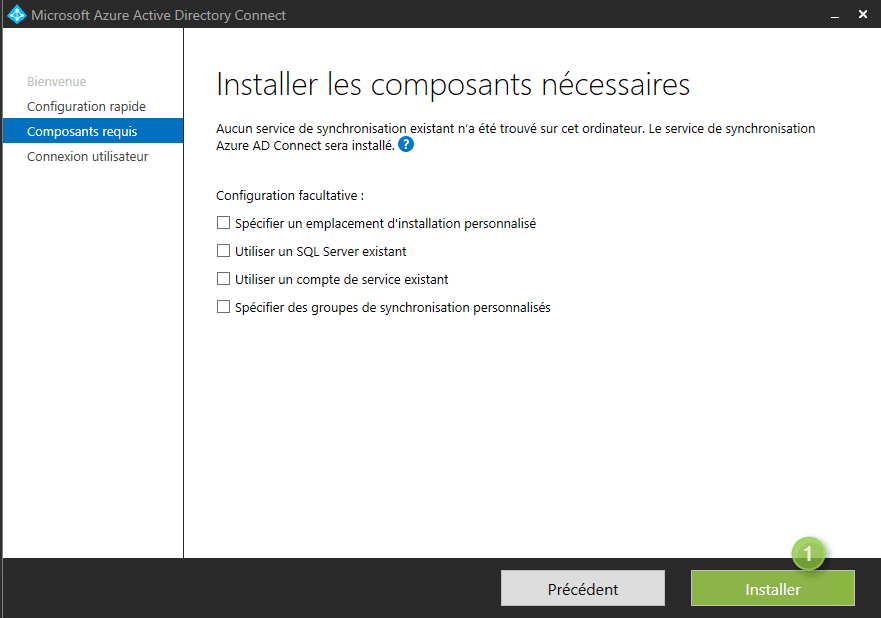
Click on Install 1.
Select the 1 authentication method then click on Next 2.
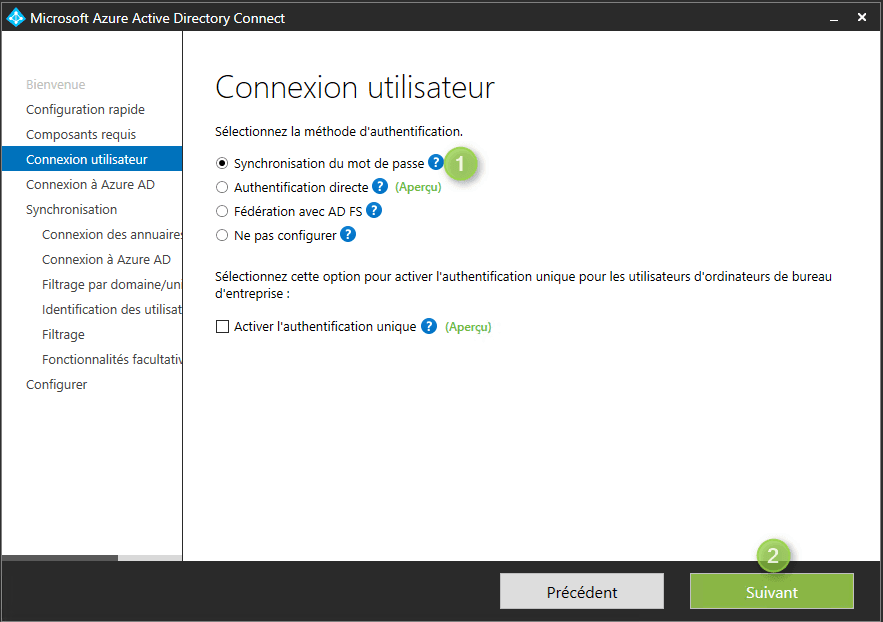
Password synchronization allows users to log in with the same password as their Windows session.
If you want to set up single sign-on (SSO), you must select the Federation with AD FS method. This solution is more complex to set up.
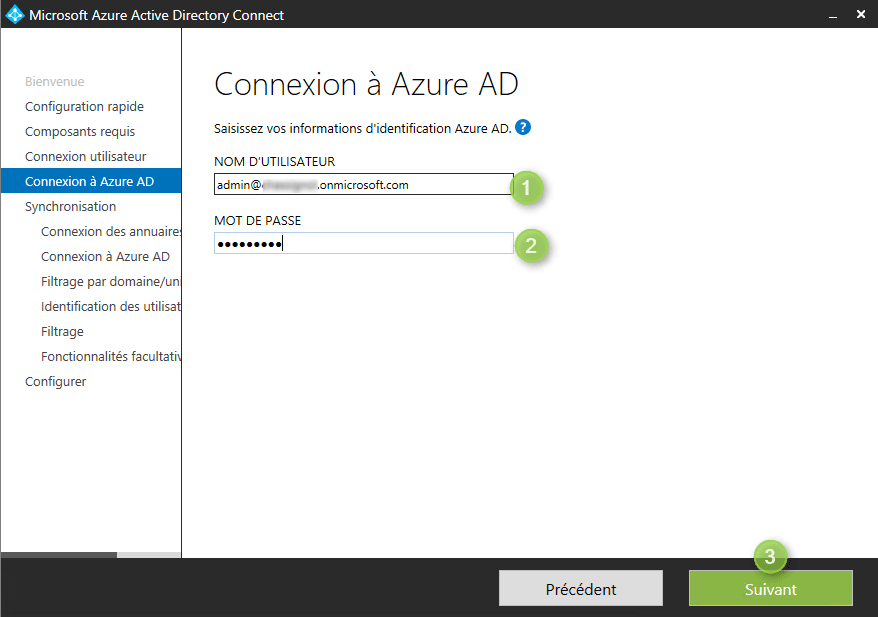
Enter the information of the admin account (identifier 1 and password 2) to connect to your Office 365 account then click on Next 3.
Enter the information (login 1 and password 2) of your local directory and press Add directory 3.
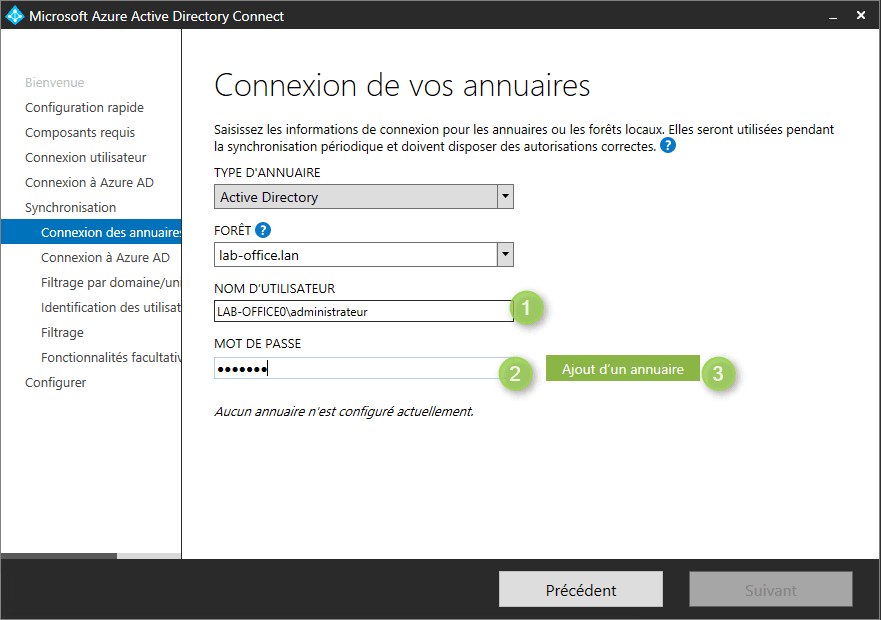
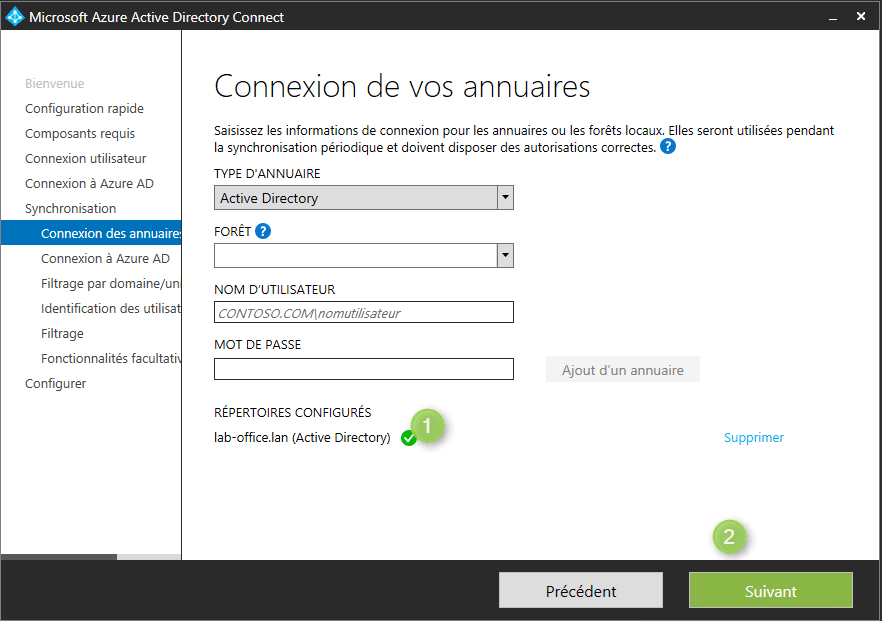
Check that your local AD 1 is added and click on Next 2.
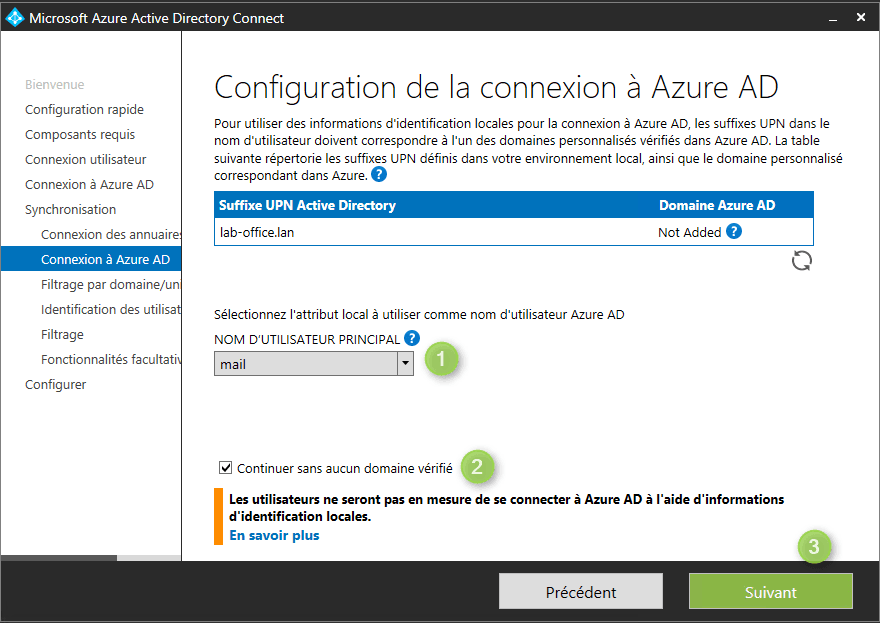
Select the principal user name < <1 for the online account in our case the mail attribute, check box Continue without any verified domain 2 if your AD domain is private and click Next 3.
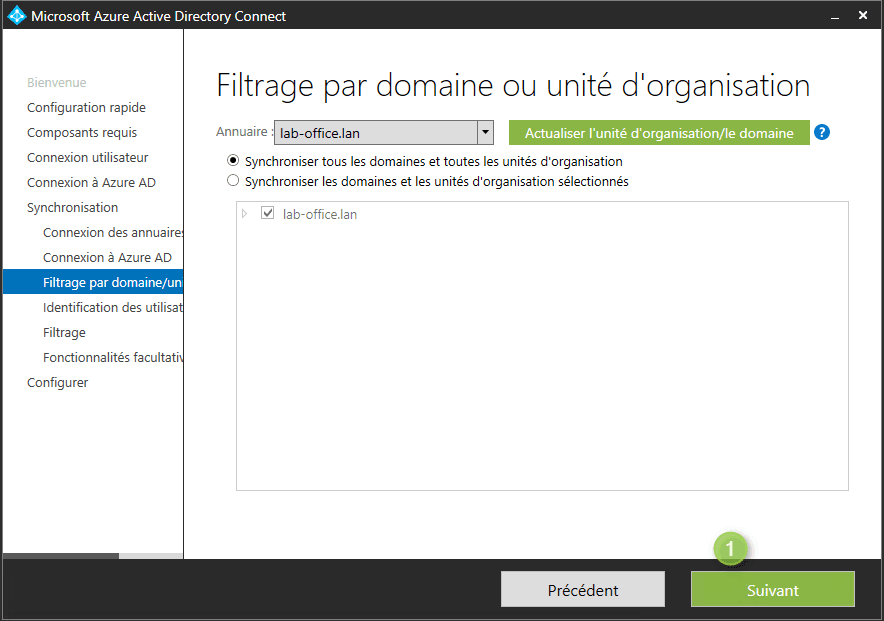
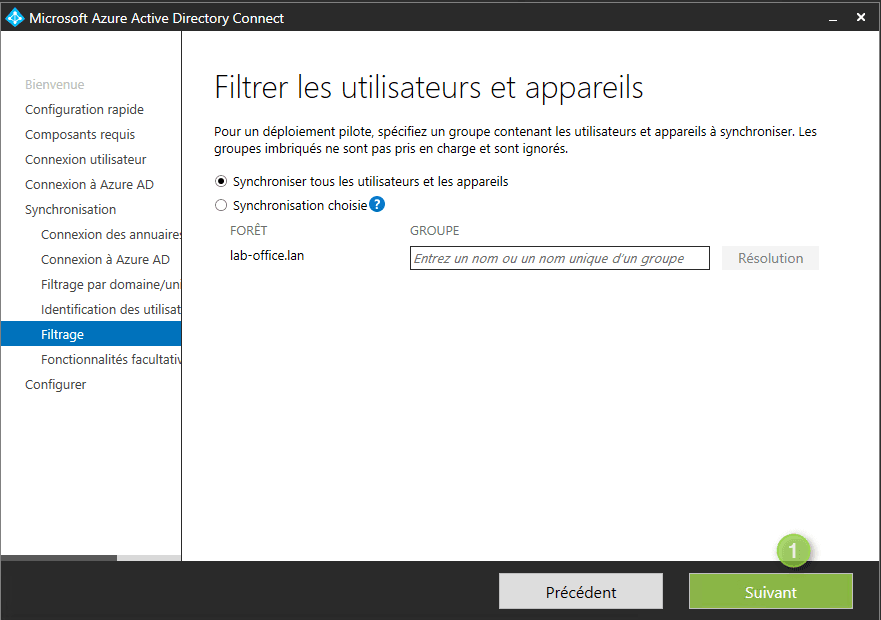
Select the local elements to synchronize and click on Next 1.
Click on Next <1.
Click on Next <1.
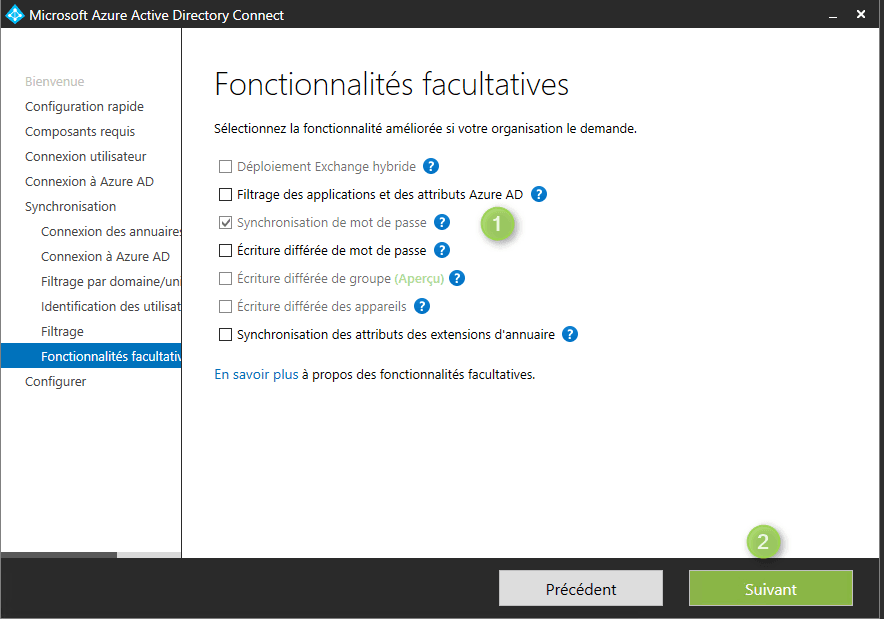
Check the elements marked 1 and click on Next 2.
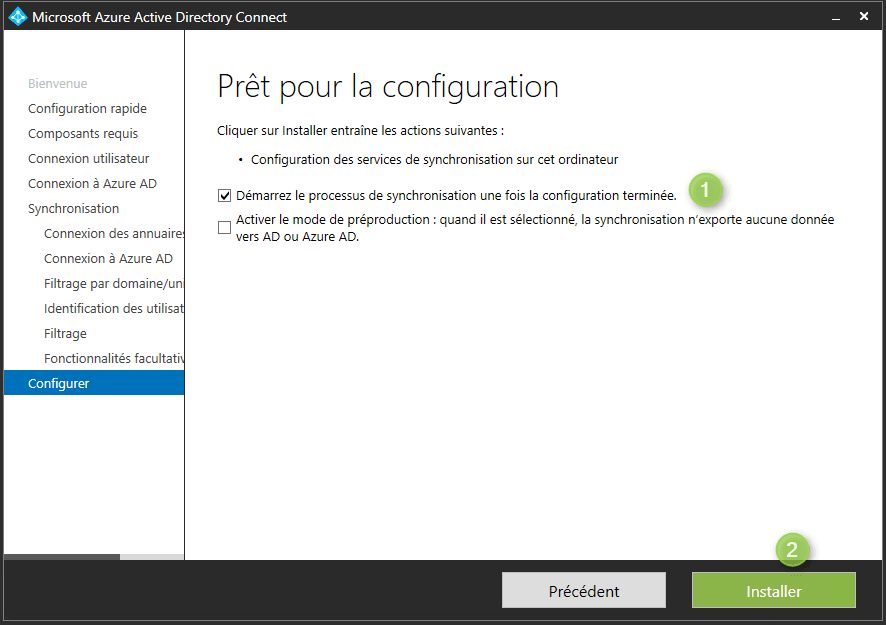
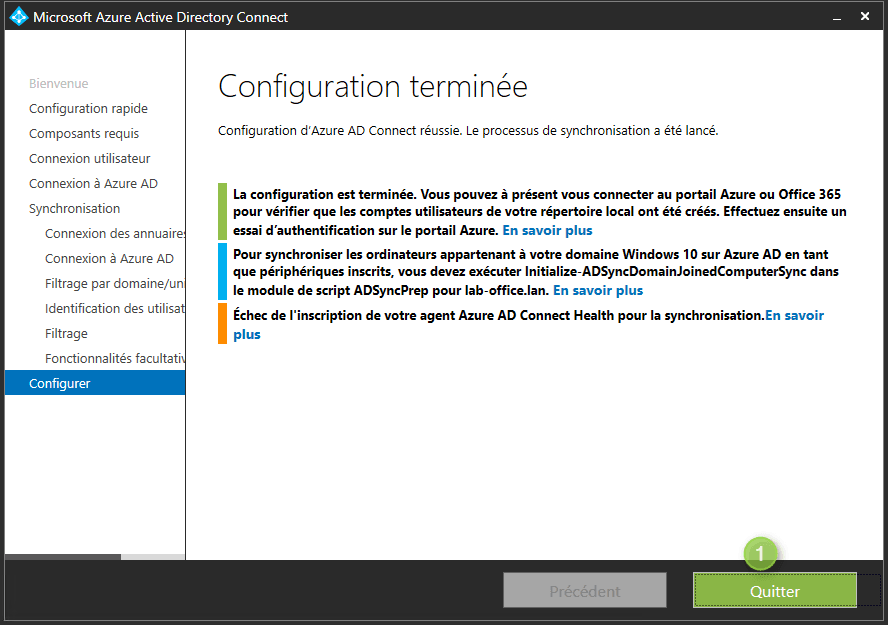
Check the box 1 to directly launch a synchronization then click on Install 2.
The installation is finished, click on Exit 1.
Verification
Local
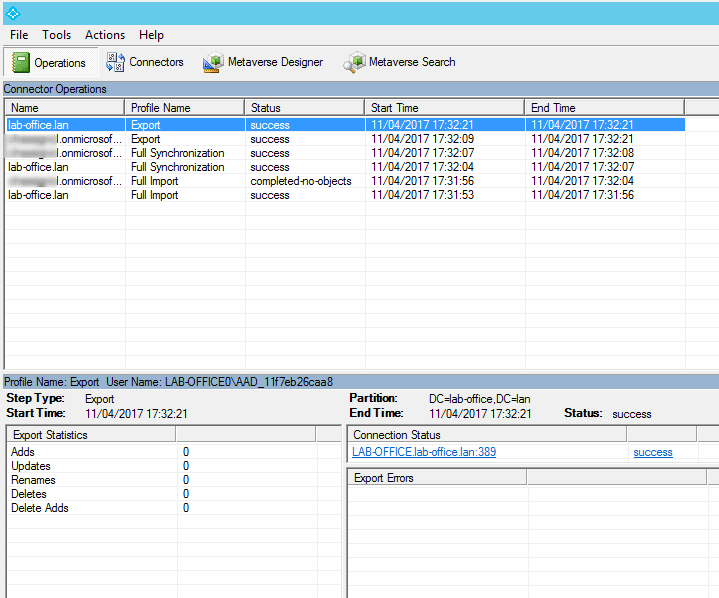
In the start menu search for Synchronization Service.

You should see the report of the initial sync.
Online
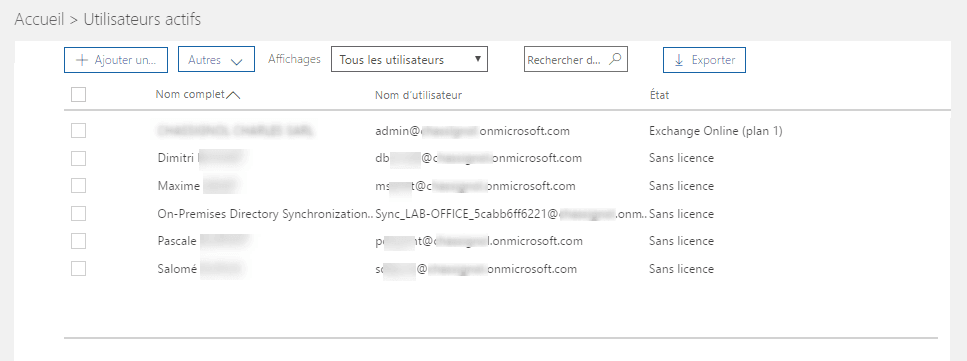
Log in to your Office 365 portal and verify that the users are present in the list.