Table of Contents
Intro
In this tutorial, I will explain how to add a virtual adapter to the Hyper-V host that will be connected to the virtual switch.
This is equivalent to adding the same type of network adapter when configuring an external virtual switch with the Allow operating system option to share this network adapter checked.
For example, this solution enables a Hyper-V cluster to create a network card for Live Migration.
Add a physical card to the host
Open a PowerShell prompt and enter the following command
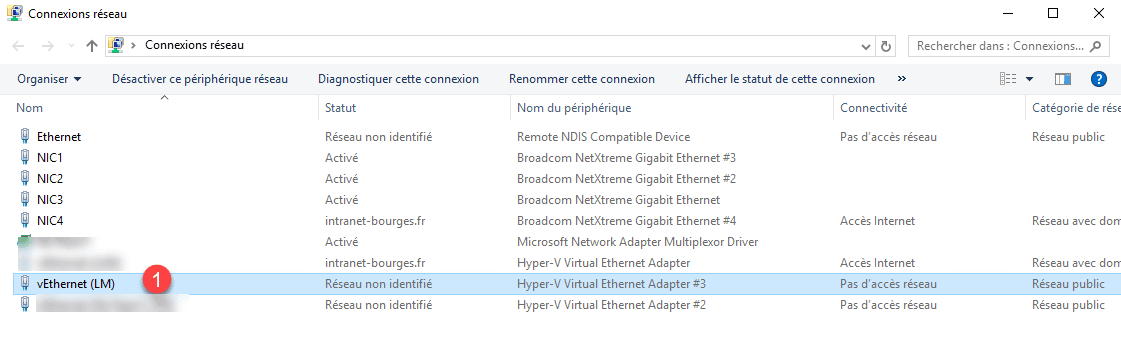
Add-VMNetworkAdapter -ManagementOS -SwitchName <Virtual-Switch> -Name "Name-Network-Adapter"Example:
Add-VMNetworkAdapter -ManagementOS -SwitchName NicTeam1_VM -Name "LM"The virtual network adapter 1 has been added to the host.
Configure a VLAN
In setting up a Hyper-V cluster, network cards dedicated to Live Migration are often isolated in VLANs.
Here’s how to “tag” the card in a VLAN.
Open a PowerShell prompt and enter the following command
Set-VMNetworkAdapterVlan -ManagementOS -VMNetworkAdapterName <NIC-NAME> -Access -VlanId <ID>Example :
Set-VMNetworkAdapterVlan -ManagementOS -VMNetworkAdapterName "LM" -Access -VlanId 100To verify that the order has been taken into account enter the following command which will display the information of the card.
Get-VMNetworkAdapterVlan -ManagementOS -VMNetworkAdapterName <NIC-NAME>Example :

I also use this configuration on my work computers which has only one physical network card and allows me to have multiple virtual cards on different VLANs.
