Using multiple databases to store mailboxes allows you to configure a different volume.
Example: The DBMX01 database stores mailboxes with a 1GO quota and the DBMX02 database stores mailboxes with a 5GB quota. With this configuration, simply move the box from one base to another to change the volume.
Add a database
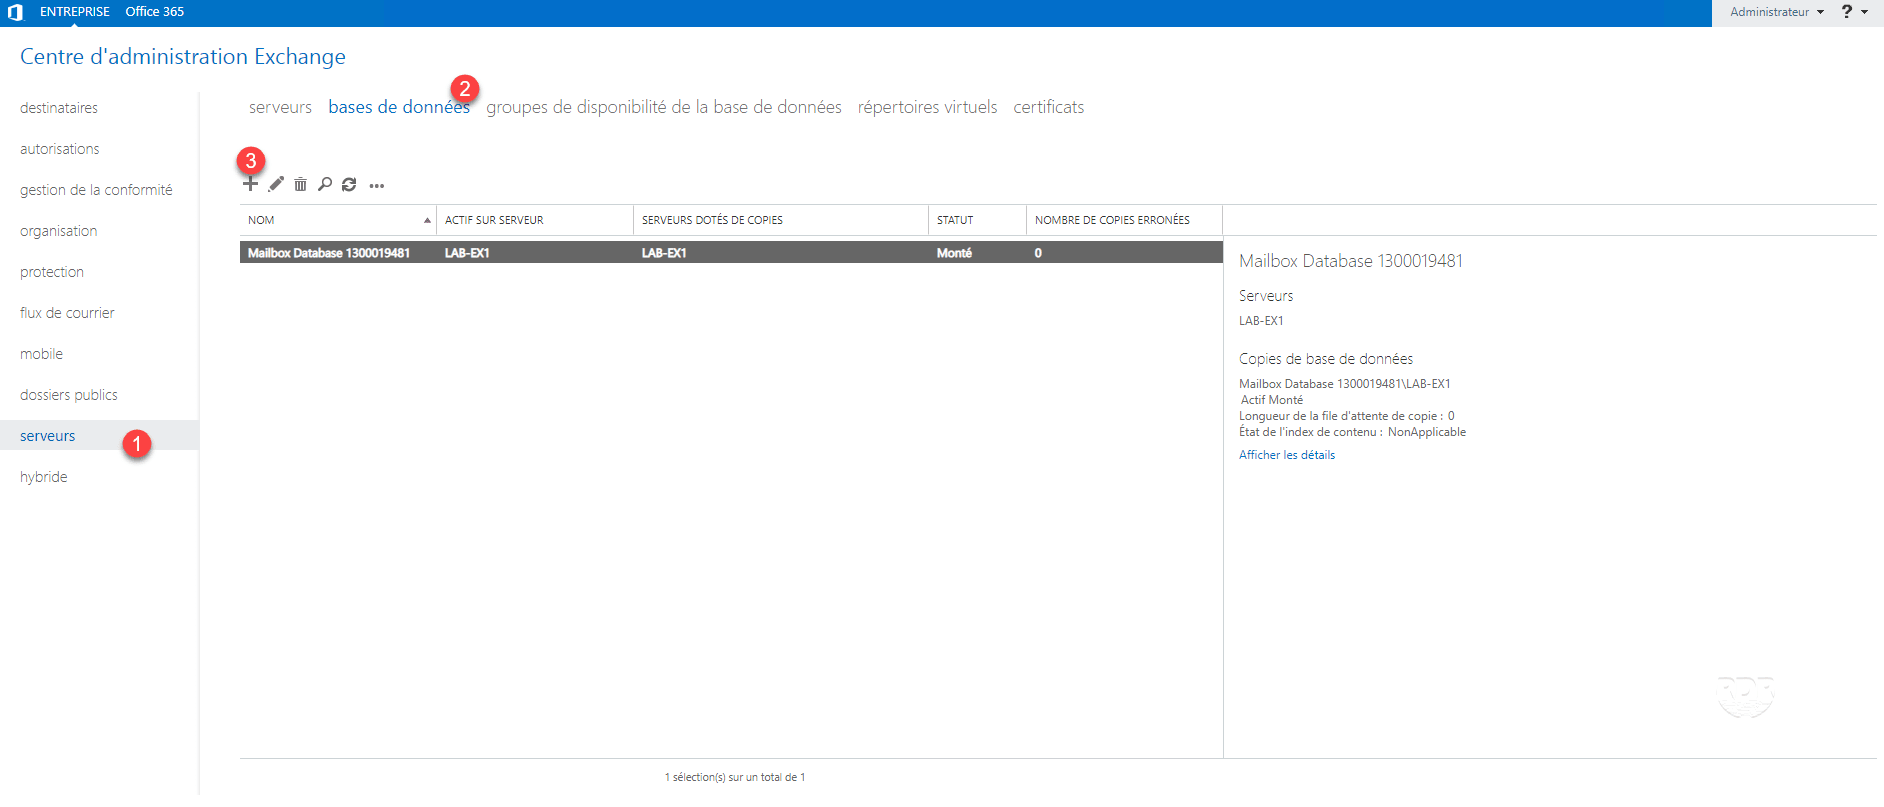
1. On the ECP interface, go to servers 1 / databases 2 and click on + 3 .
2. Enter the database name 1 and configure the location of the EDB file 2 and the log file 3 . Finish by clicking on Save 4 .

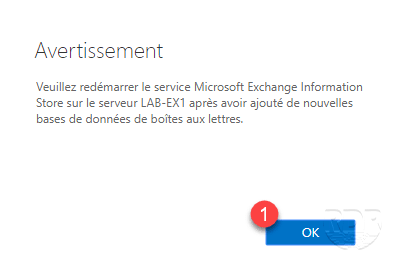
3. Click OK 1 to close the warning.
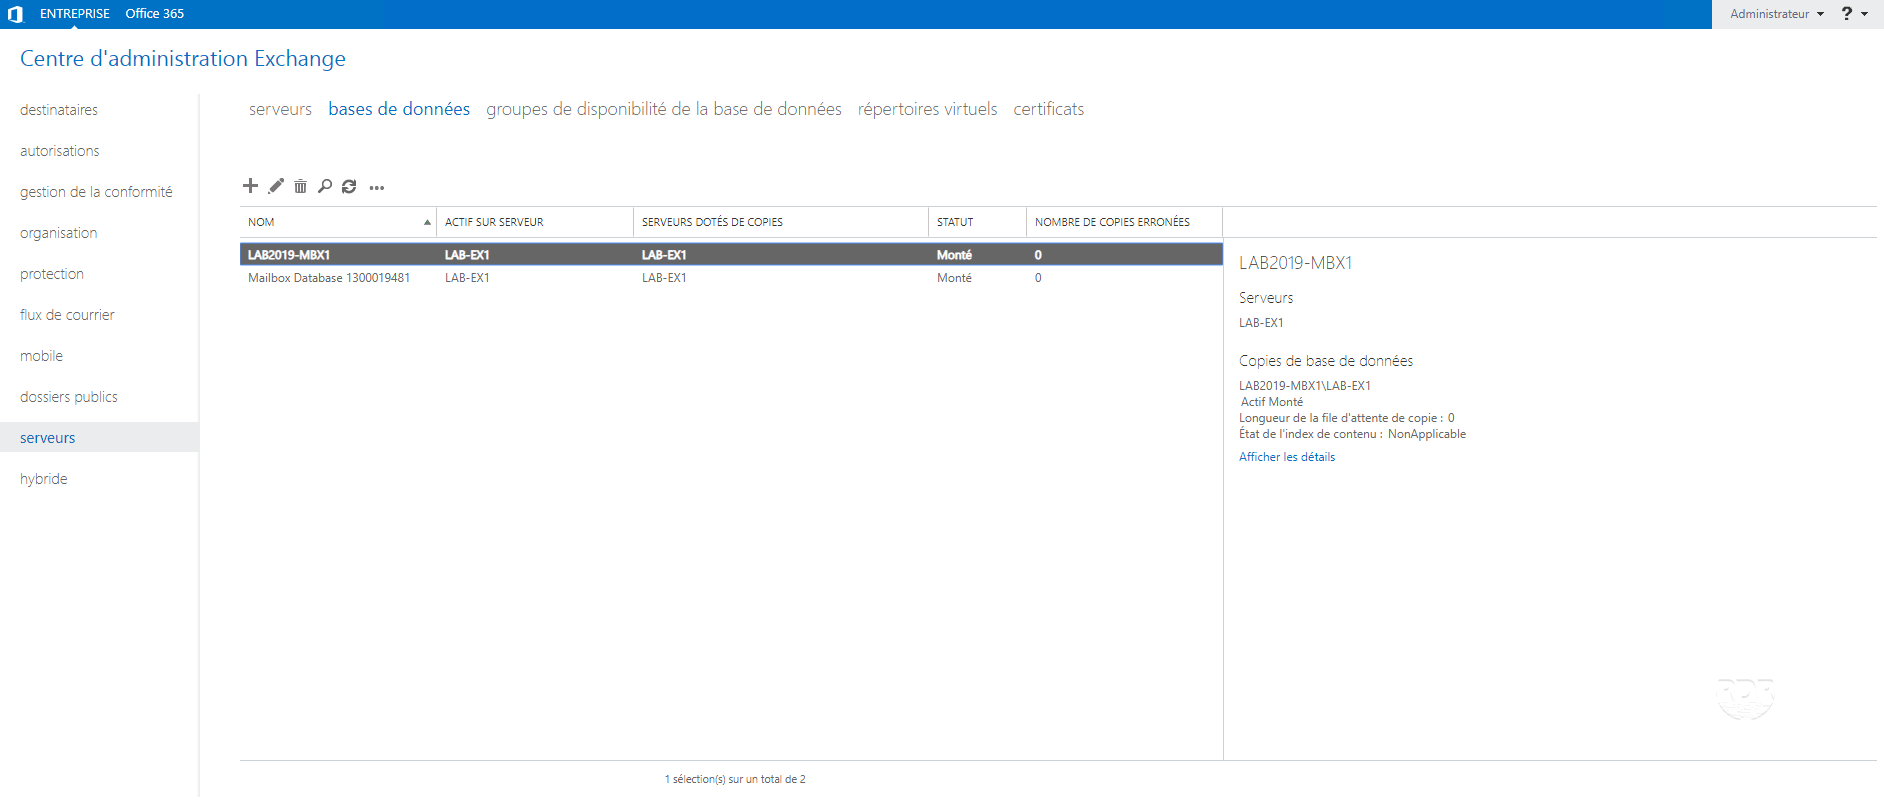
4. The database is added.
5. Restart the Microsoft Exchange Information Store service with the following PowerShell command:
Restart-Service MSExchangeIS
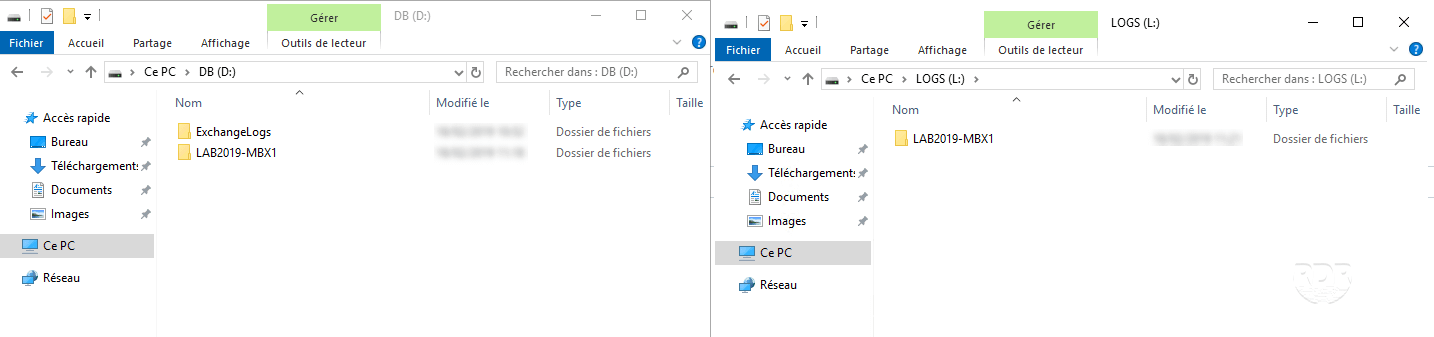
6. Check the creation of folders with Windows Explorer.
The management of the volumetry is explained here.
