Exchange 2016 installation
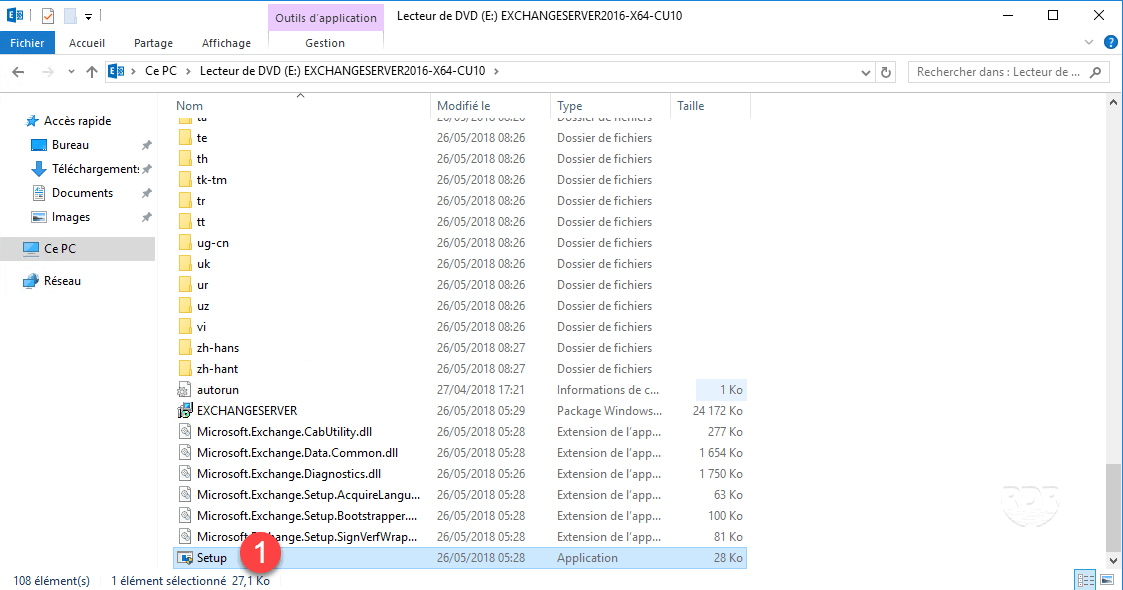
1. On the ISO run Setup 1 as administrator.
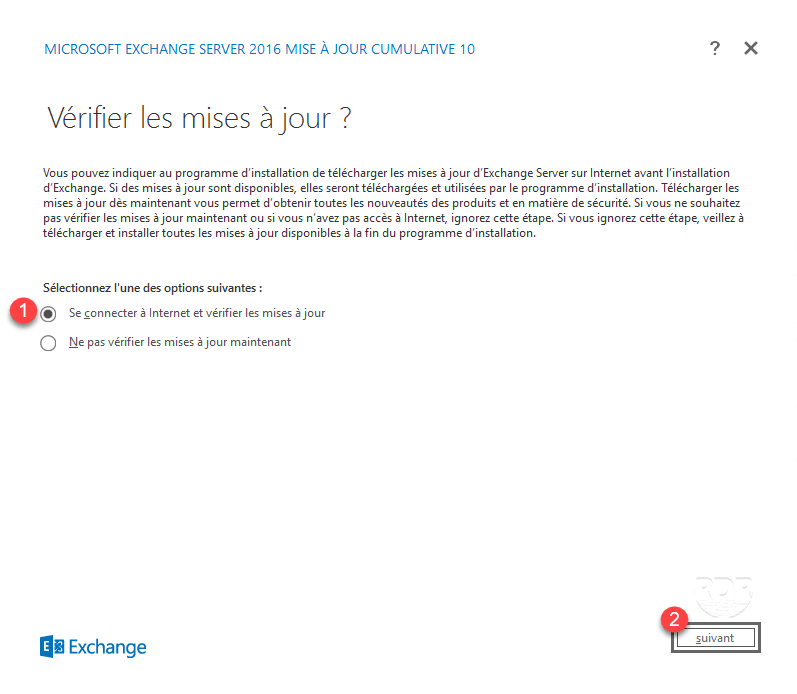
2. When launching the wizard, select the option Connect to the Internet and check for updates 1 then click on Next 2 .
3. Wait while searching …
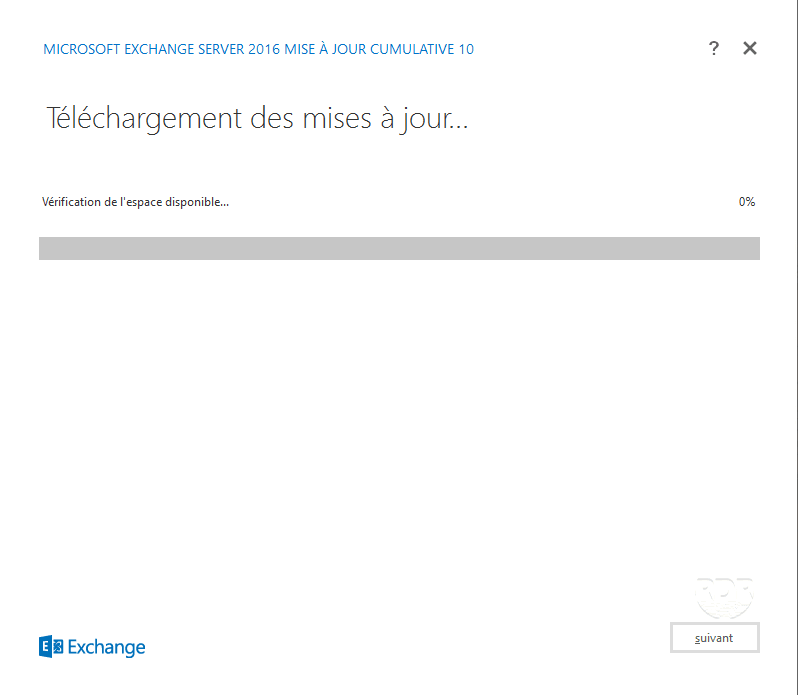
4. Once this step is finished, click on next 1 .

5. Wait while initializing the installer …
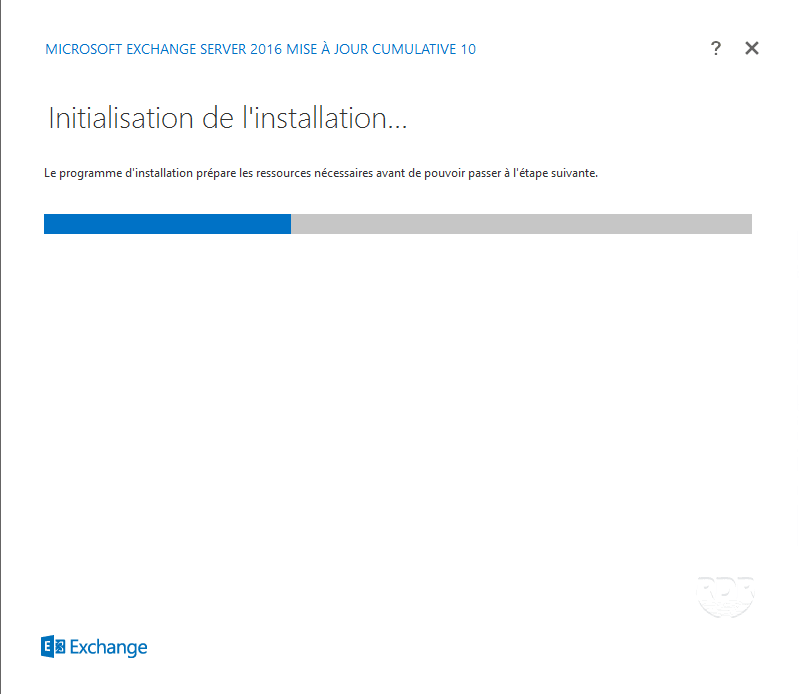
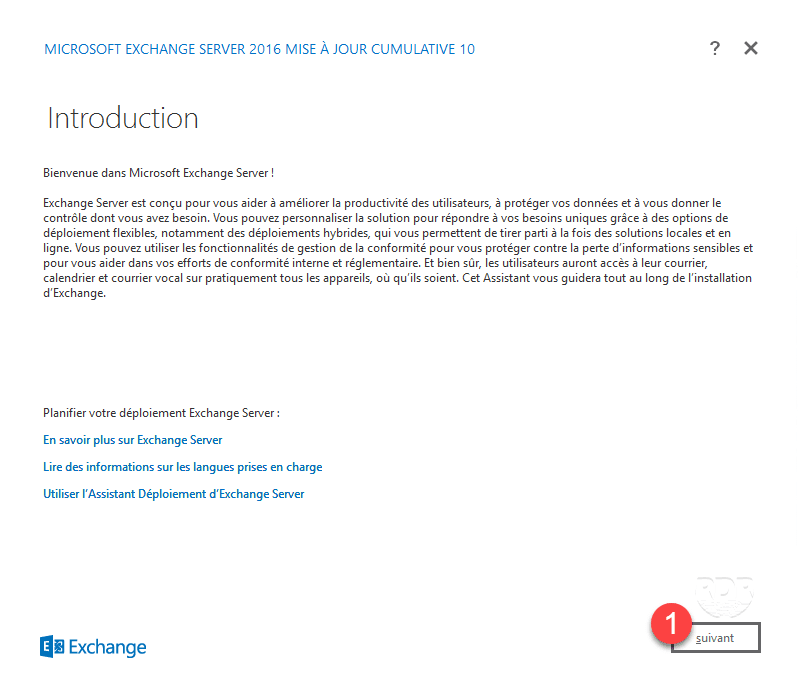
6. Click Next 1 .
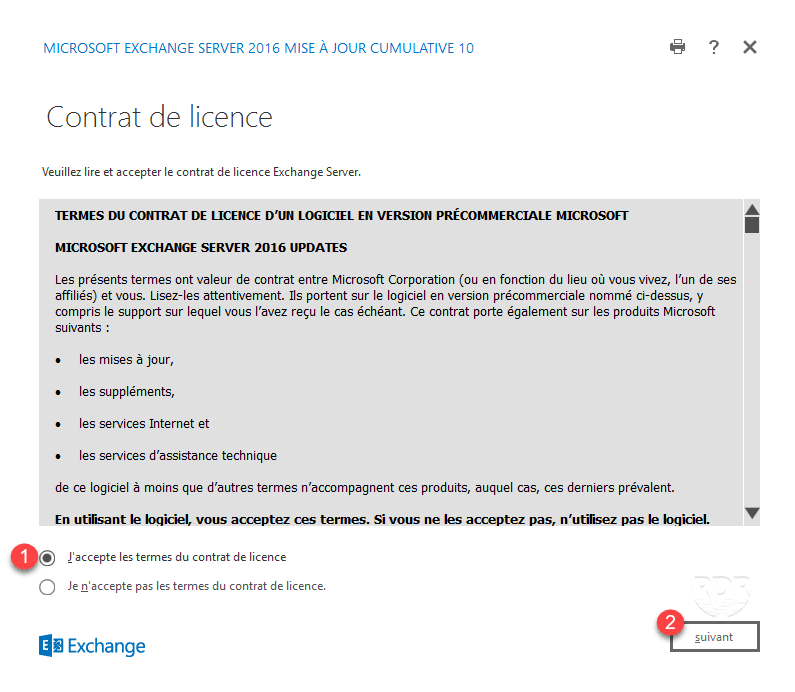
7. Accept the 1 license agreement and click Next 2 .
8. Select the option Use Recommended Settings 1 and click Next 2 .

9. Select Mailbox Role 1 , select the Automatically Install Windows Server Roles and Features Required for Exchange Server 2 check box and click Next 3 .

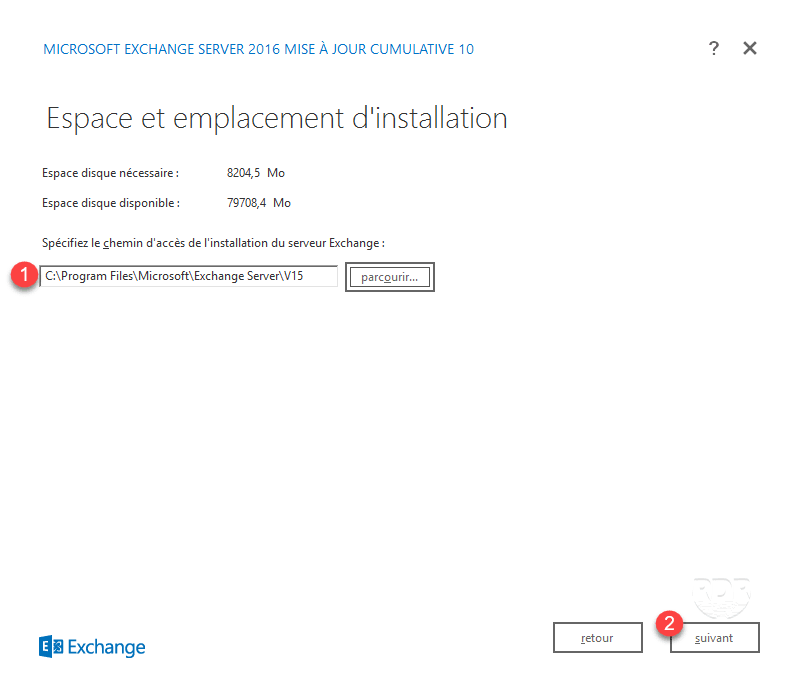
10. If necessary change the installation path 1 and click on next 2 .
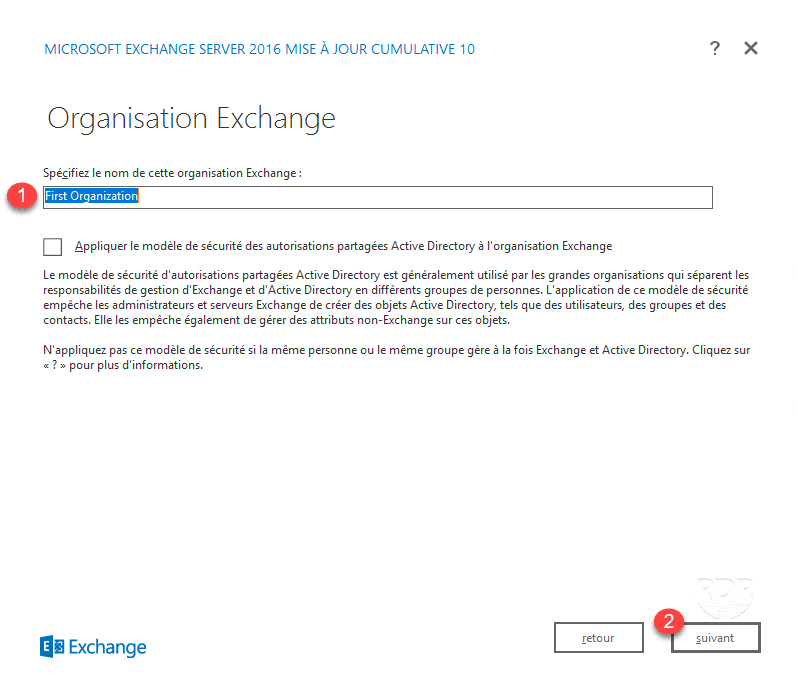
11. Enter the name of the organization 1 then click next 2 .
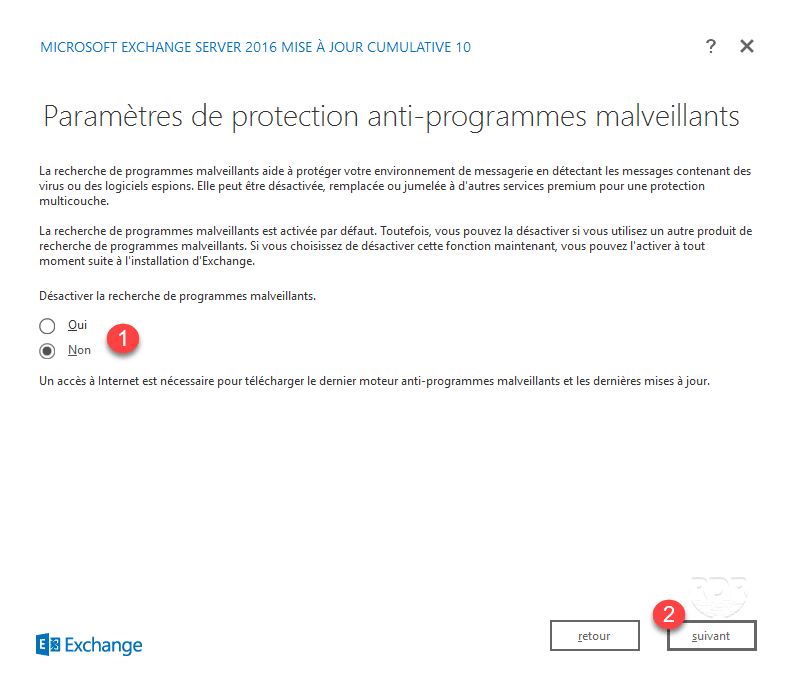
12. Configure the malware search 1 and click Next 2 .
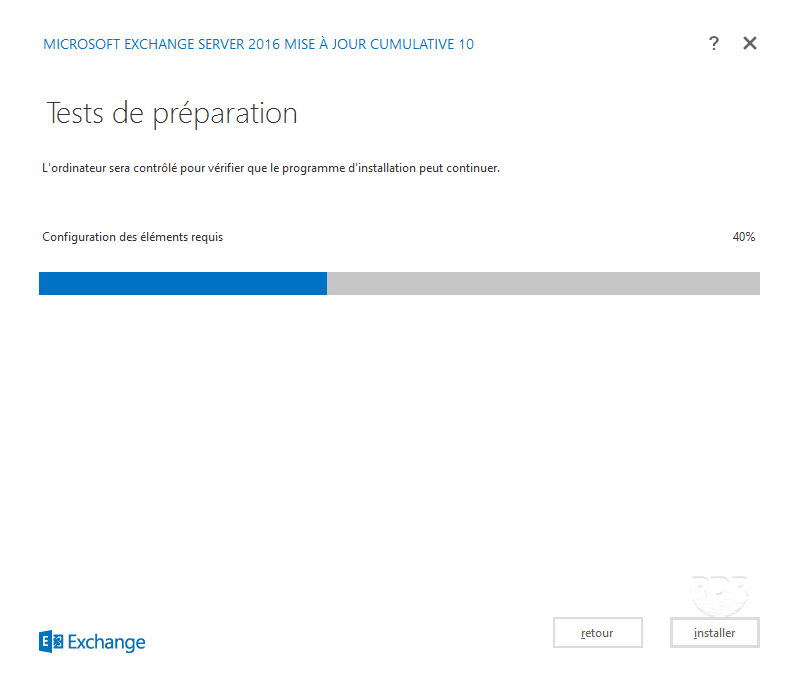
13. Wait during the tests …
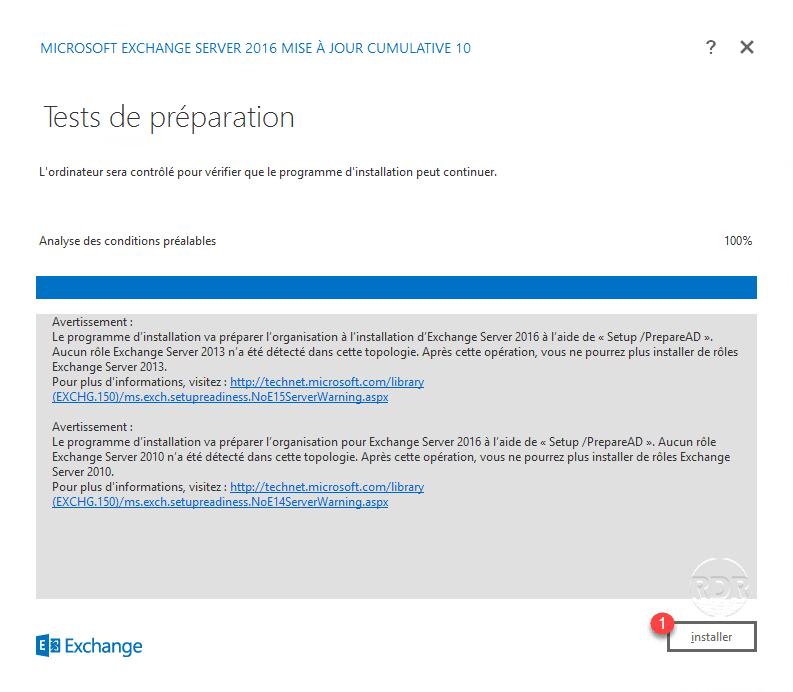
14. After the tests are run, warning messages appear on the Active Directory changes that will be made. Click on install 1 .
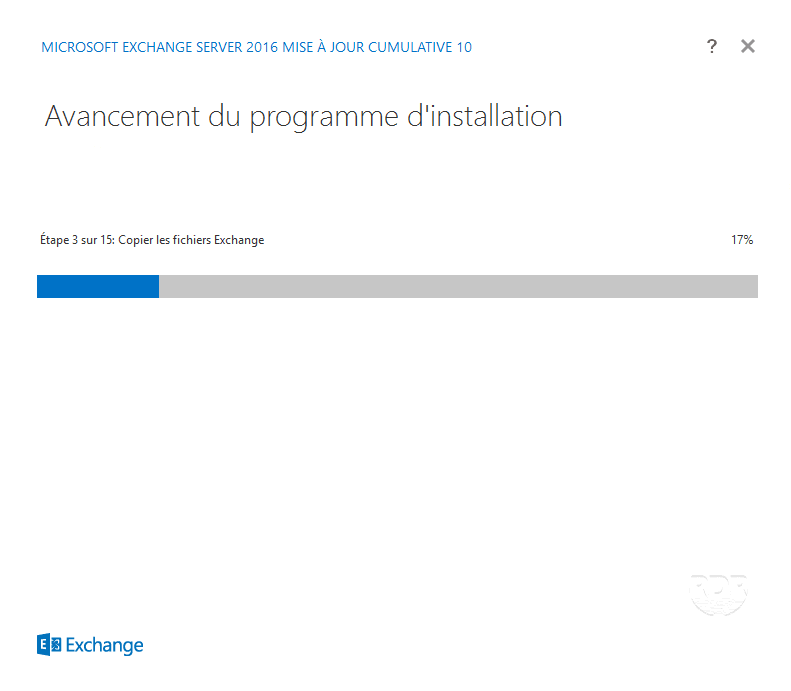
15. Wait during the installation (30 minutes to 2 hours) …
16. When the installation is complete, check the box Launch Exchange Administration Center 1 and click Finish 2 .
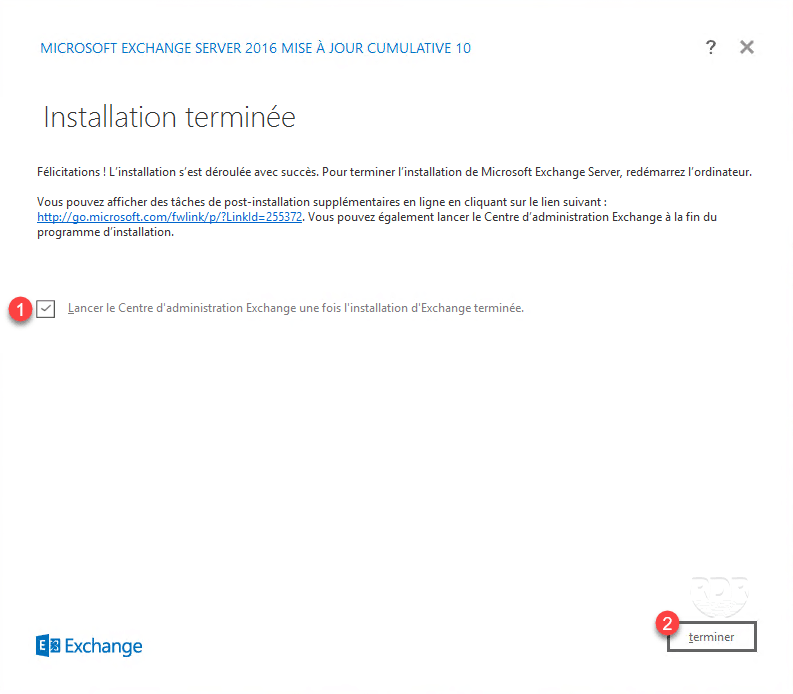
17. The ECP interface should open in the browser.

Now that Exchange 2016 is installed, we will see how to access the administration tools.


