Deploying AD RMS roles
Installing Roles for AD RMS
From the server manager, click Add Roles and Features 1 .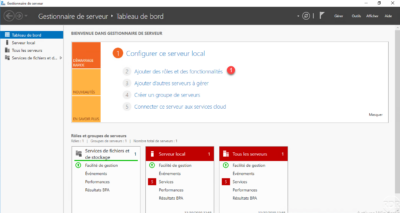
When launching the wizard, click Next 1 .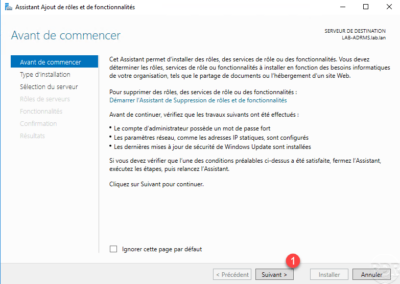
Type of installation, choose Role Based Installation or 1 Functionality and then click Next 2 .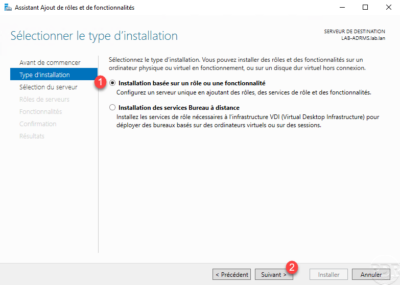
Select server 1 and click Next 2 .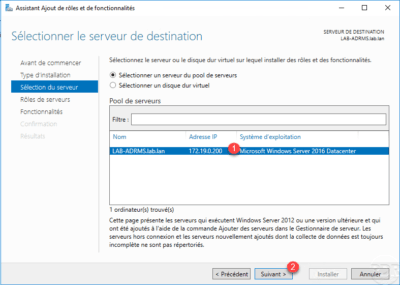
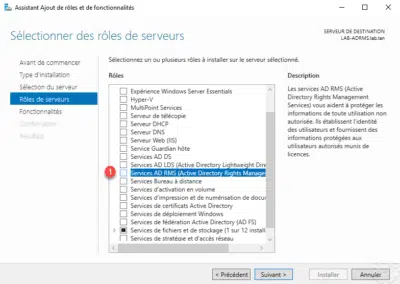
In the list of roles, select the AD RMS (Active Directory Right Management) 1 Services check box.
Confirm adding dependencies to the role by clicking Add 1 features.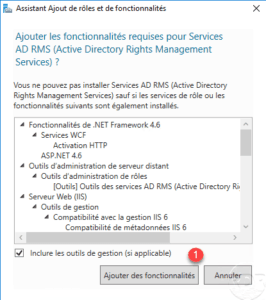
The AD RMS role is now ticked 1 , click Next 2 .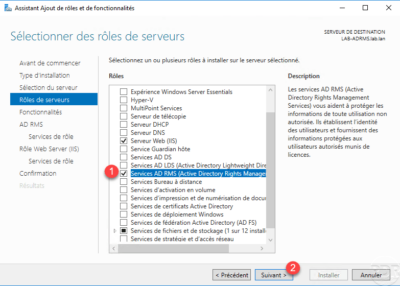
Skip the list of features by clicking Next 1 .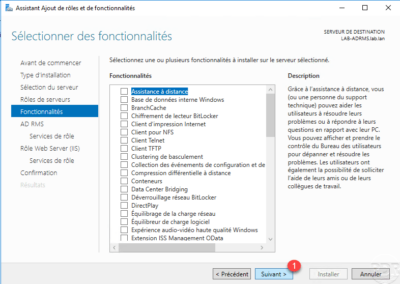
A summary of the AD RMS role is displayed, click Next 1 .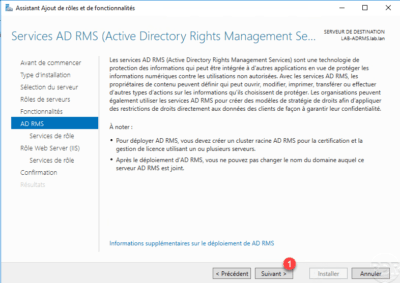
Select the Rights Management Server 1 Active Directory service and click Next 2 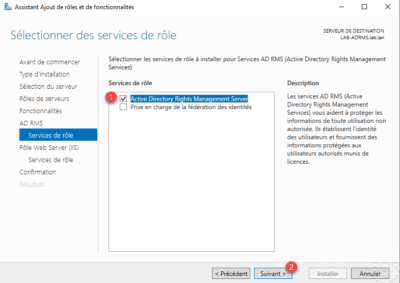 .
.
Pass the IIS role summary by clicking Next 1 .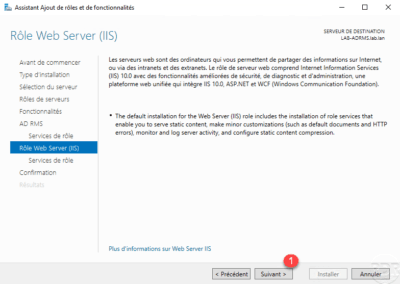
Click Next 1 to validate IIS role services.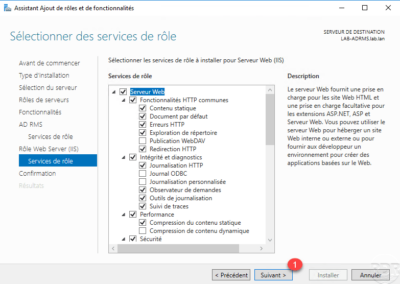
Confirm the installation by clicking the Install 1 button.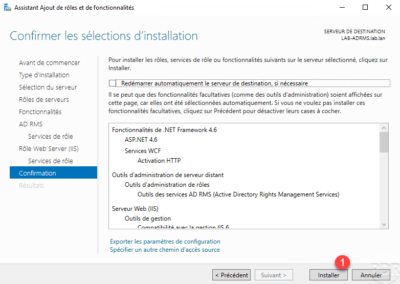
Wait during the installation …
The installation completed, exit the wizard by clicking Close 1 .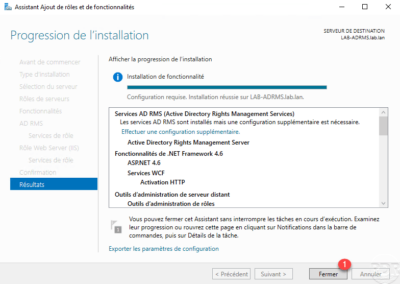
AD RMS post-deployment configuration
Before running the Post Deployment Configuration Wizard, install the certificate in IIS.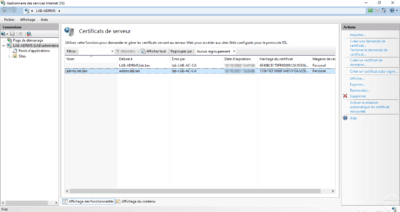
Once the certificate is installed, return to the Server Manager, click on the notification icon 1 and click on Perform additional configuration 2 .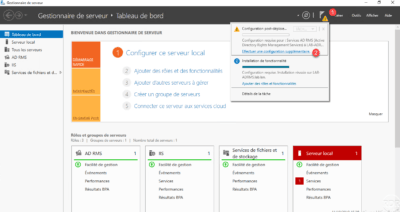
When the wizard launches, the summary of AD RMS services is displayed again, click Next 1 .
Choose the Create a new AD RMS root cluster 1 option and click Next 2 .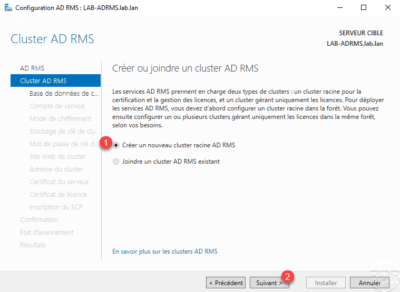
Choose User Windows Internal Database on this server 1 and click Next 2 .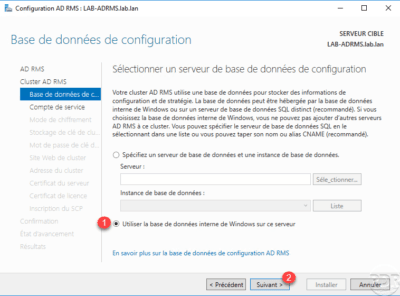
Using the Windows internal database does not allow you to add another server to the cluster.
Indicate the service account created at the beginning 1 and click Next 2 .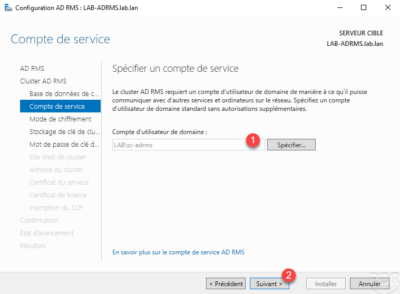
Choose the encryption mode 2 1 then click Next 2 .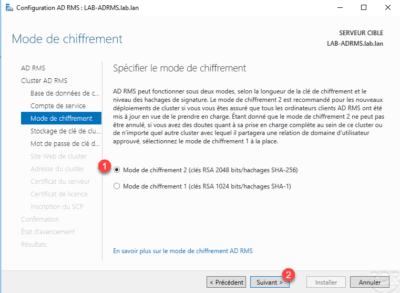
Configure key storage by selecting User Centrally Managed AD RMS Key Storage 1 and clicking Next 2 .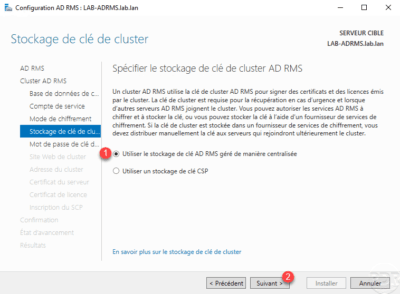
Enter the password for cluster 1 and click Next 2 .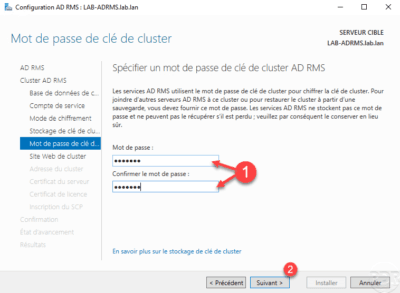
This password will be required to join from another server to the AD RMS cluster.
Choose the site used IIS for AD RMS 1 then click Next 2 .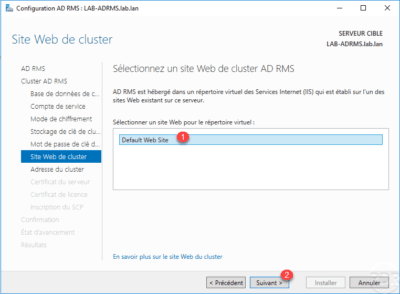
Choose the type of SSL connection 1 , enter the domain name of the cluster 2 (URL) and click Next 3 .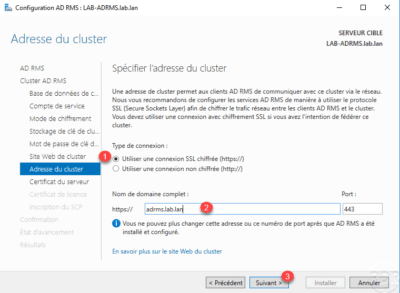
Choose the certificate that corresponds to the DNS name of cluster 1 then click Next 2 .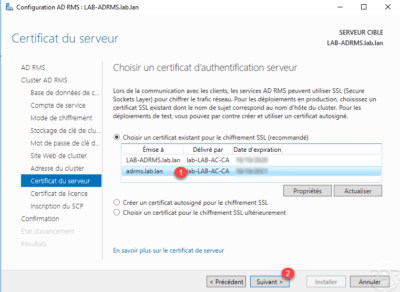
If necessary, change the name of the server license certificate 1 and click Next 2 .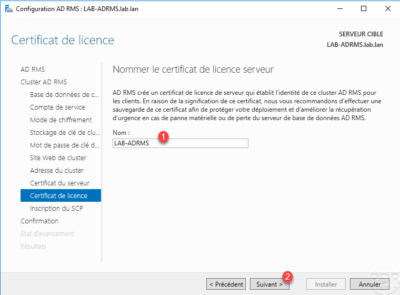
Choose the option Save service connection bridge now 1 and click Next 2 .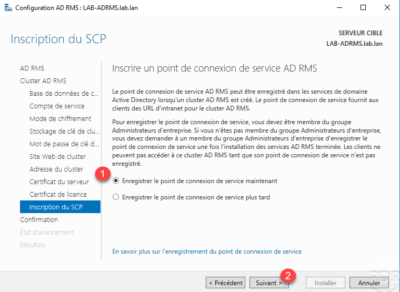
A summary of the configuration is displayed, click on Install 1 .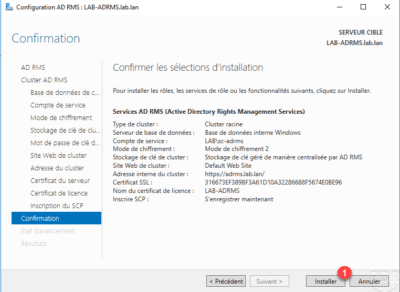
Wait during the configuration ….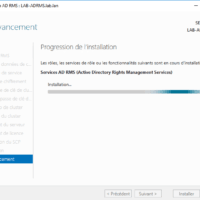
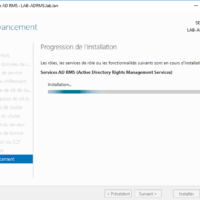
Once the configuration is applied, exit the wizard by clicking Close 1 .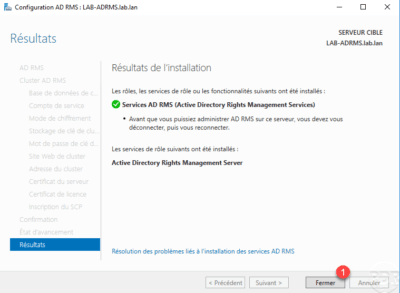
The installation and configuration of the AD RMS service is complete, the service can now be used by users with a compatible version of Office.
