Rights Strategy Templates
In this part, we will see how to create rights policy templates in the AD RMS Administration Console.
A template contains a set of rights that allows users to quickly apply permissions.
To illustrate the use of a template, we will give the read permission to an Active Directory user group.
Once the template is applied to the document, only group members will be able to view the document for reading.
Creating a template
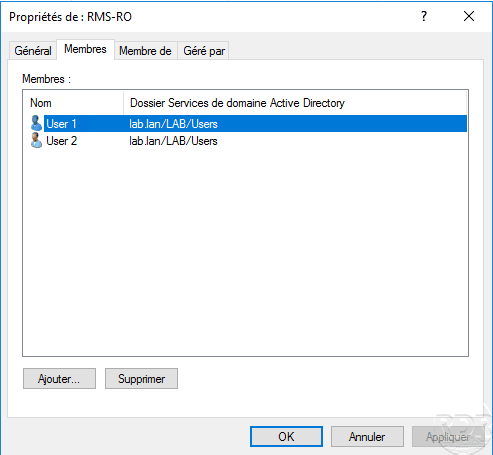
Create a group in the Active Directory with an e-mail address and add members.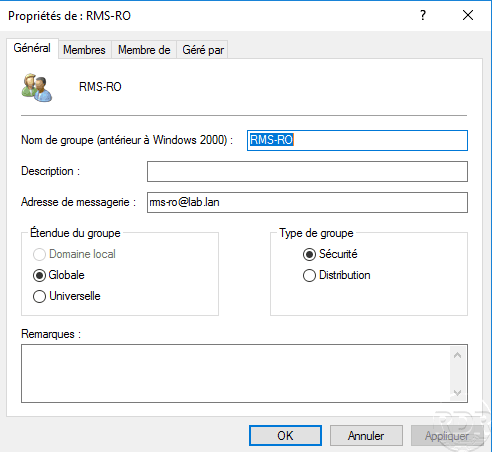
From the AD RMS Services Administration Console, go to Distributed Rights Policy Models 1 and click Create Distributed Rights Policy Template 2 .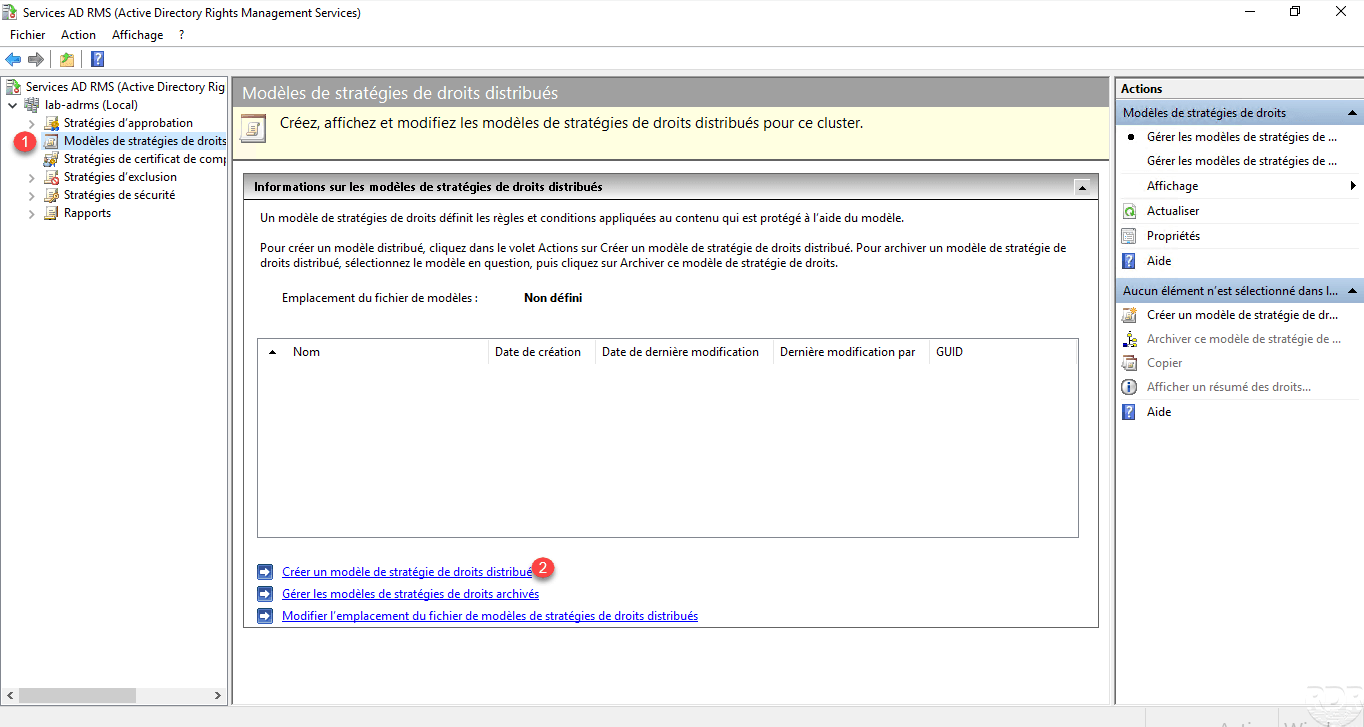
When launching the wizard, click Add 1 to configure one or more languages.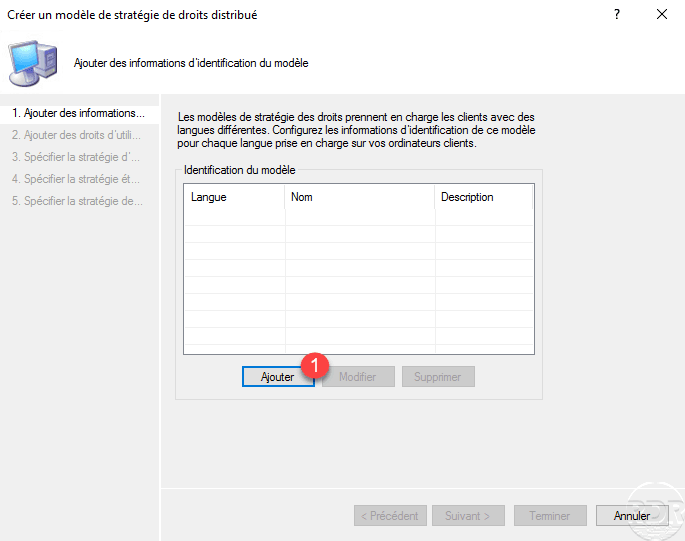
Select and configure language 1 and click on Add 2 .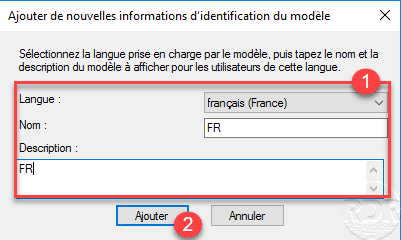
Now that the language is set, click Next 1 .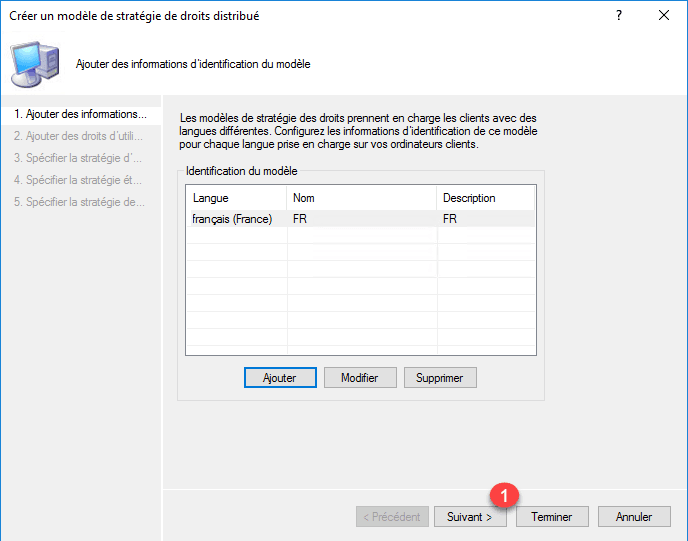
This page allows you to configure the permissions, click on the button Add 1 .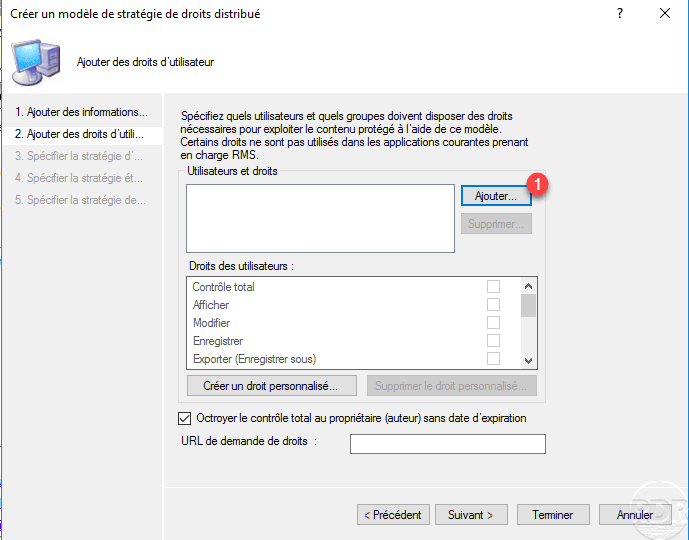
Enter the e-mail address of the user or group to whom the rights will apply 1 and click OK 2 .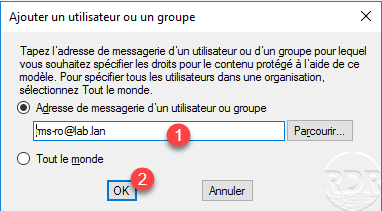
It is possible to create a generic template by checking Everyone.
Configure the 1 permissions then click Next 2 .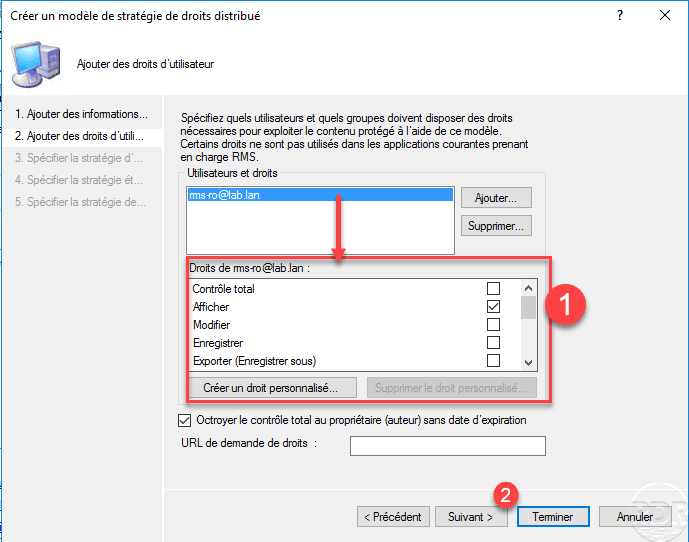
Leave check the box Grant the total control to the owner (author) without expiry date, if this one is not checked and that the creator is mistaken in applying the authorizations, it will be impossible to modify its file .
Configure the content expiration if necessary 1 as well as the license 2 and click Next 3 .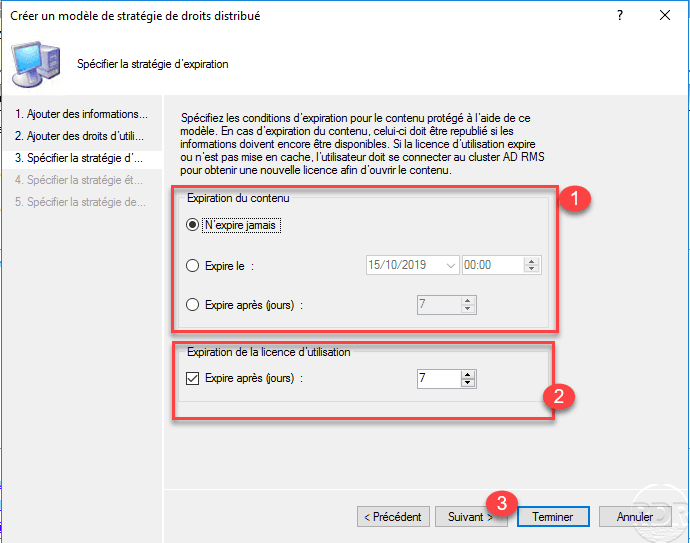
The license of use is the authorization given by the server to a user to exploit the document.
If necessary, modify the advanced options of the strategy, click Next 1 .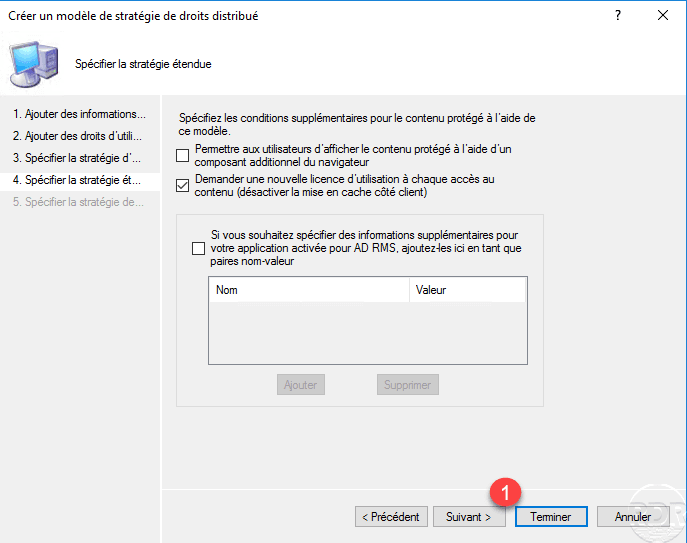
Click on Finish 1 to create for the strategy.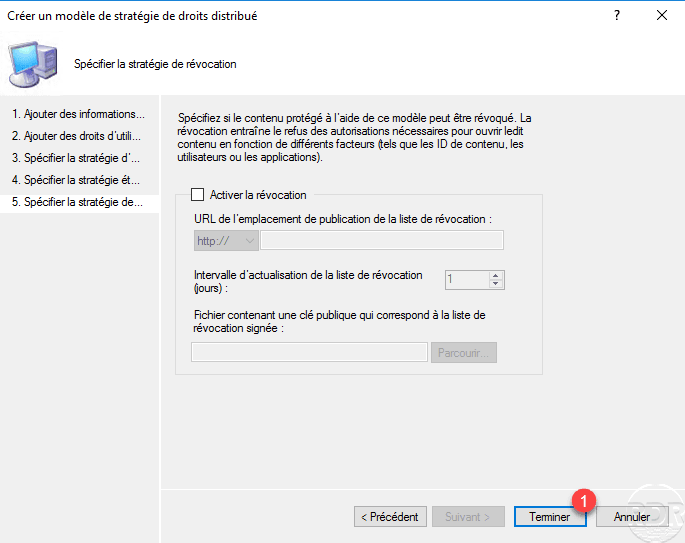
Revocation invalidates a user license before it expires.
The model is now available 1 .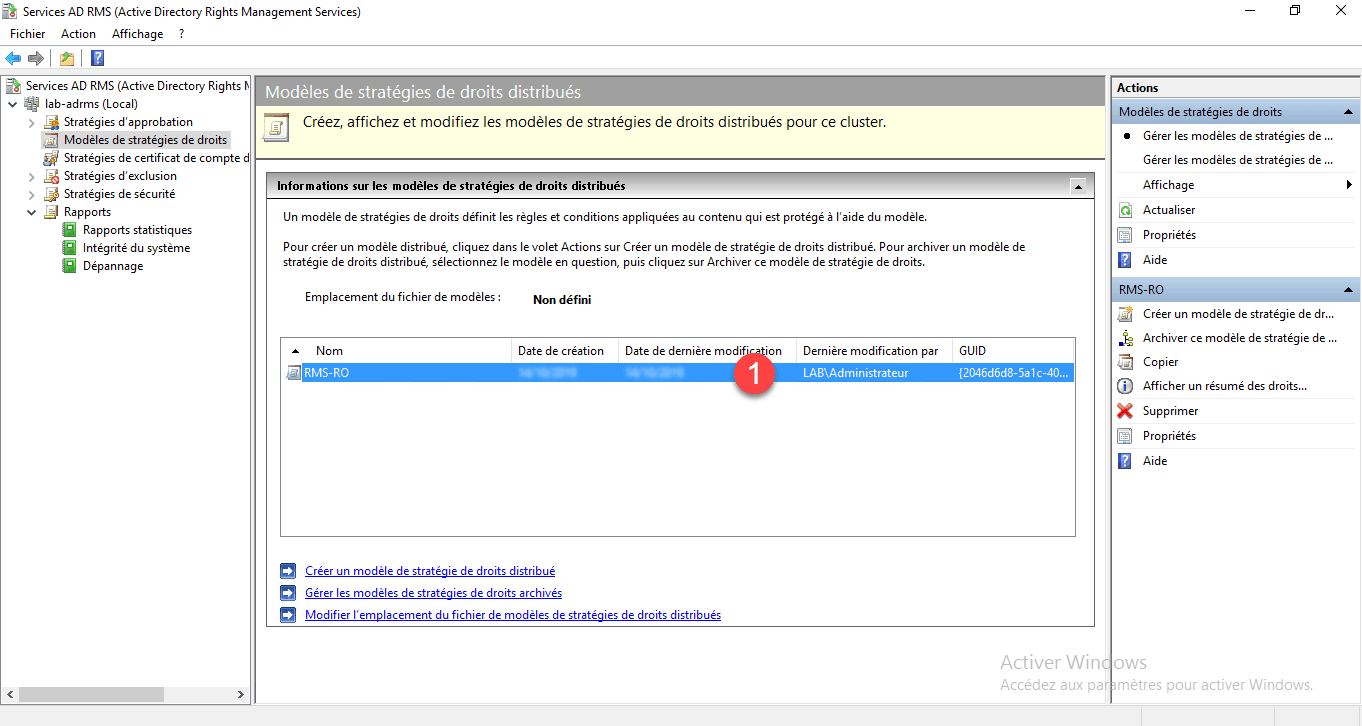
Configuring the location of files
From the template view, click Change the location of the Distributed Rights Policy Template file 1 .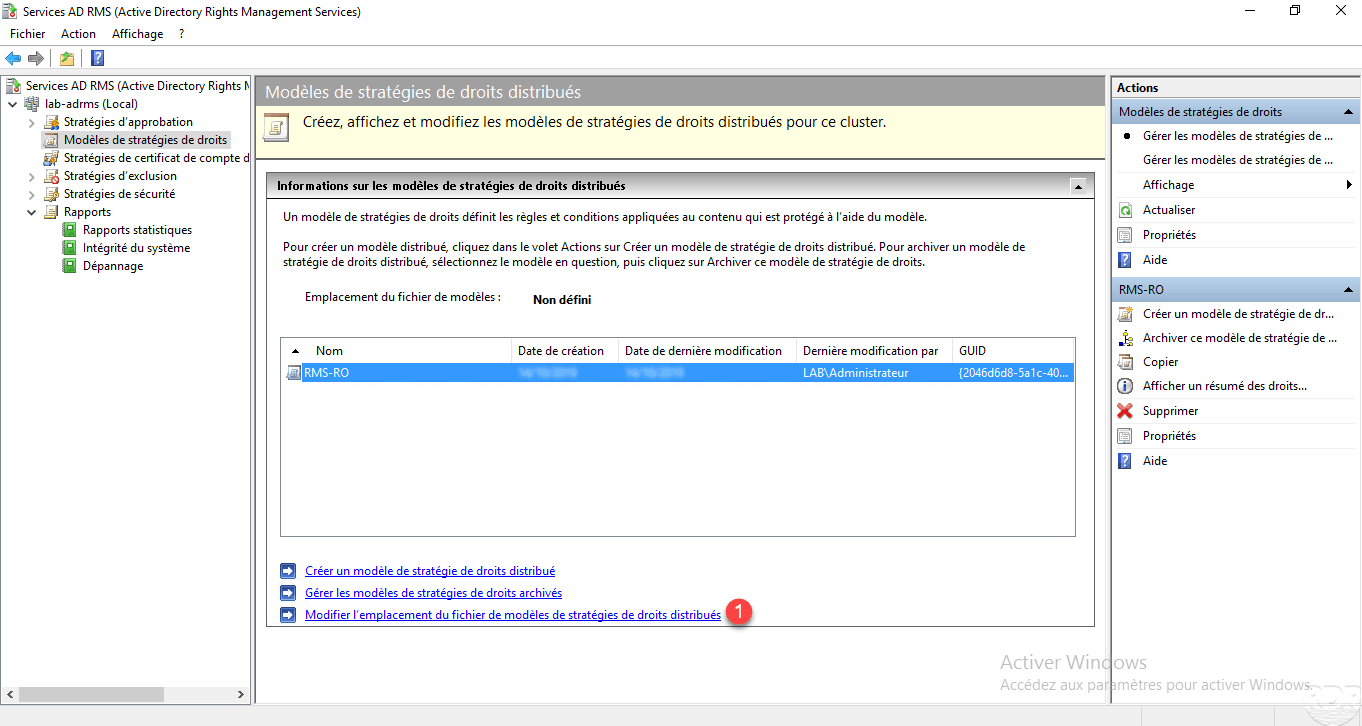
Check the Enable export 1 box, enter the UNC 2 path of the configured share and click Apply 3 .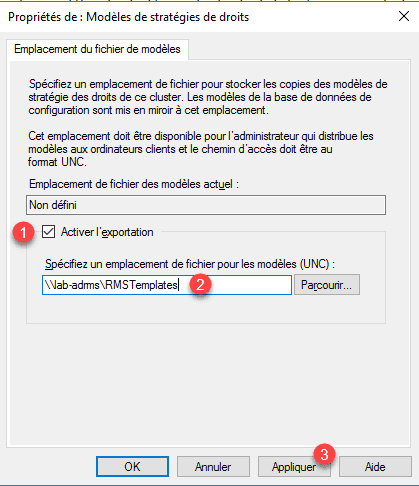
Once the location is defined 1 click on OK 2 .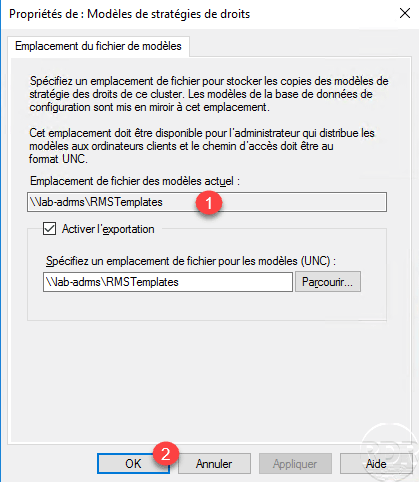
We now see that the location is set 1 .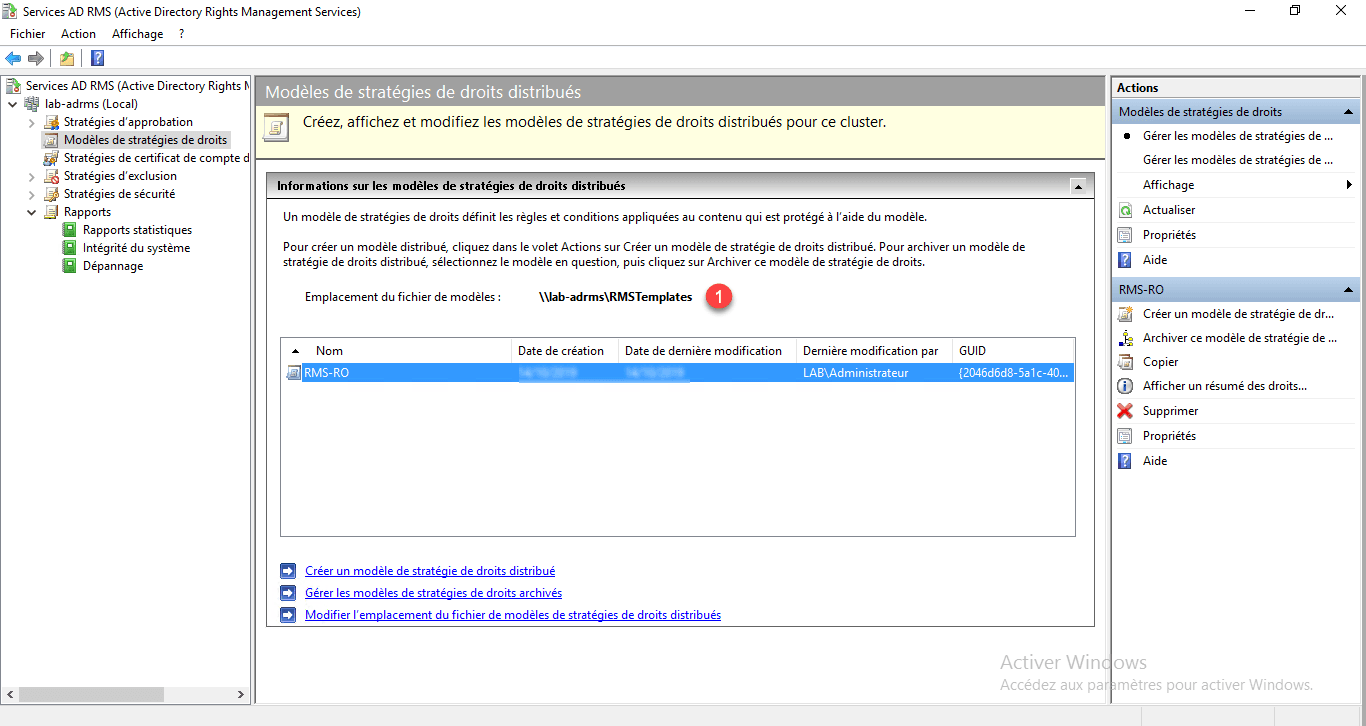
We can see the folder contains the model configured in XML format.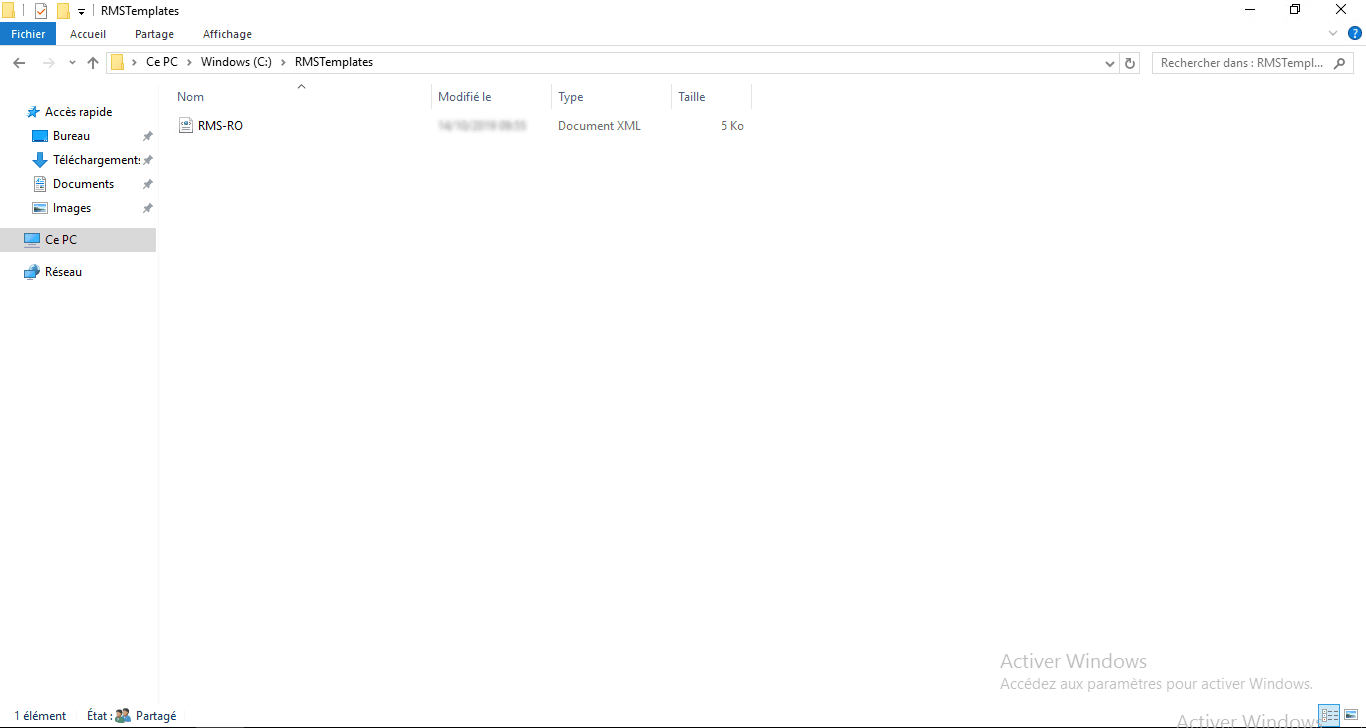
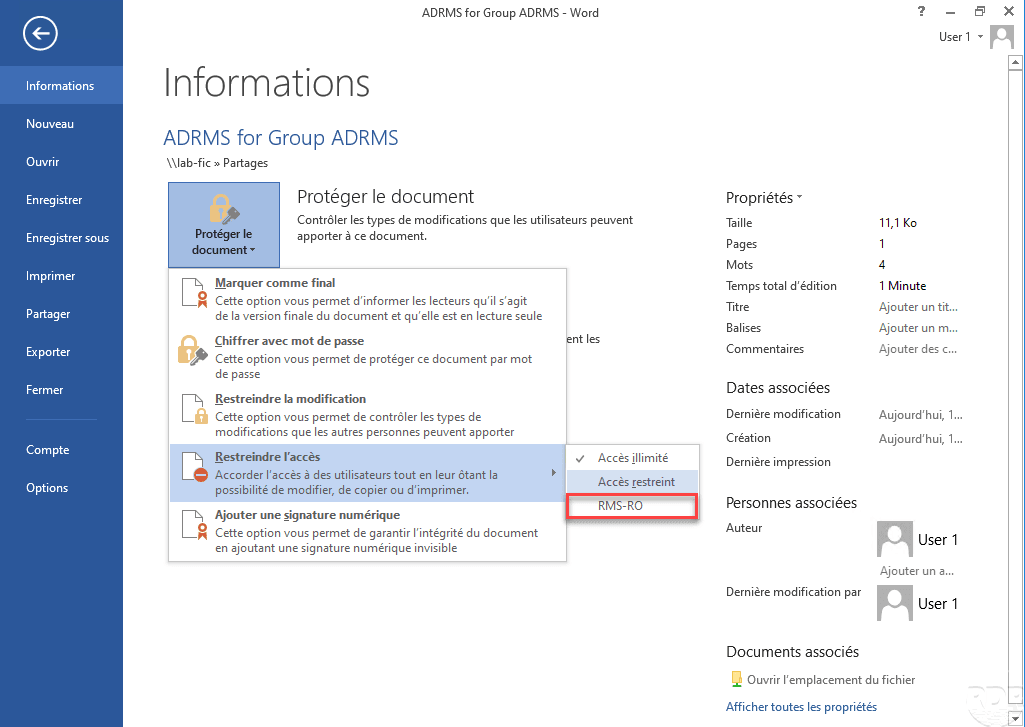
Use of templates
The operation is the same as a Restricted Access, just select the template to apply it to the document.