In this tutorial, we will see how to create a shared folder with a QNAP NAS and access it from Windows.
Table of Contents
Creating the shared folder
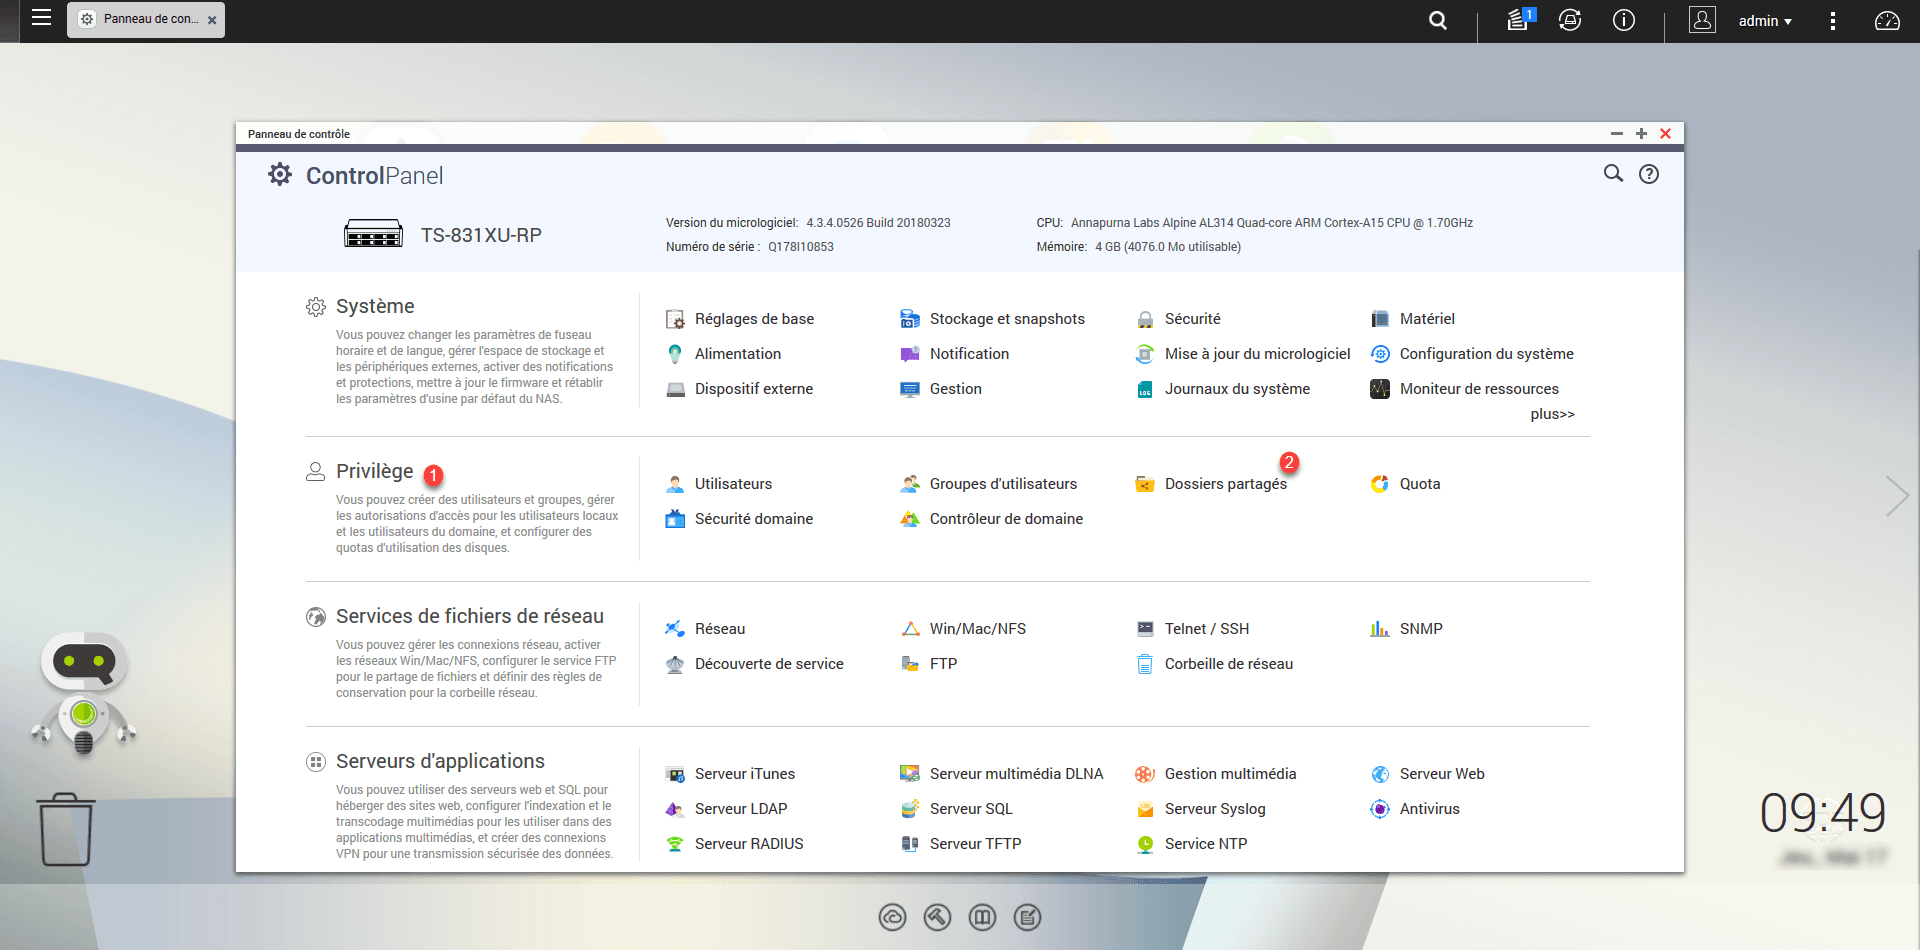
1. Go to the administration interface and open Control Panel 1 .
2. In the Privilege 1 section, click Shared Folders 2 .
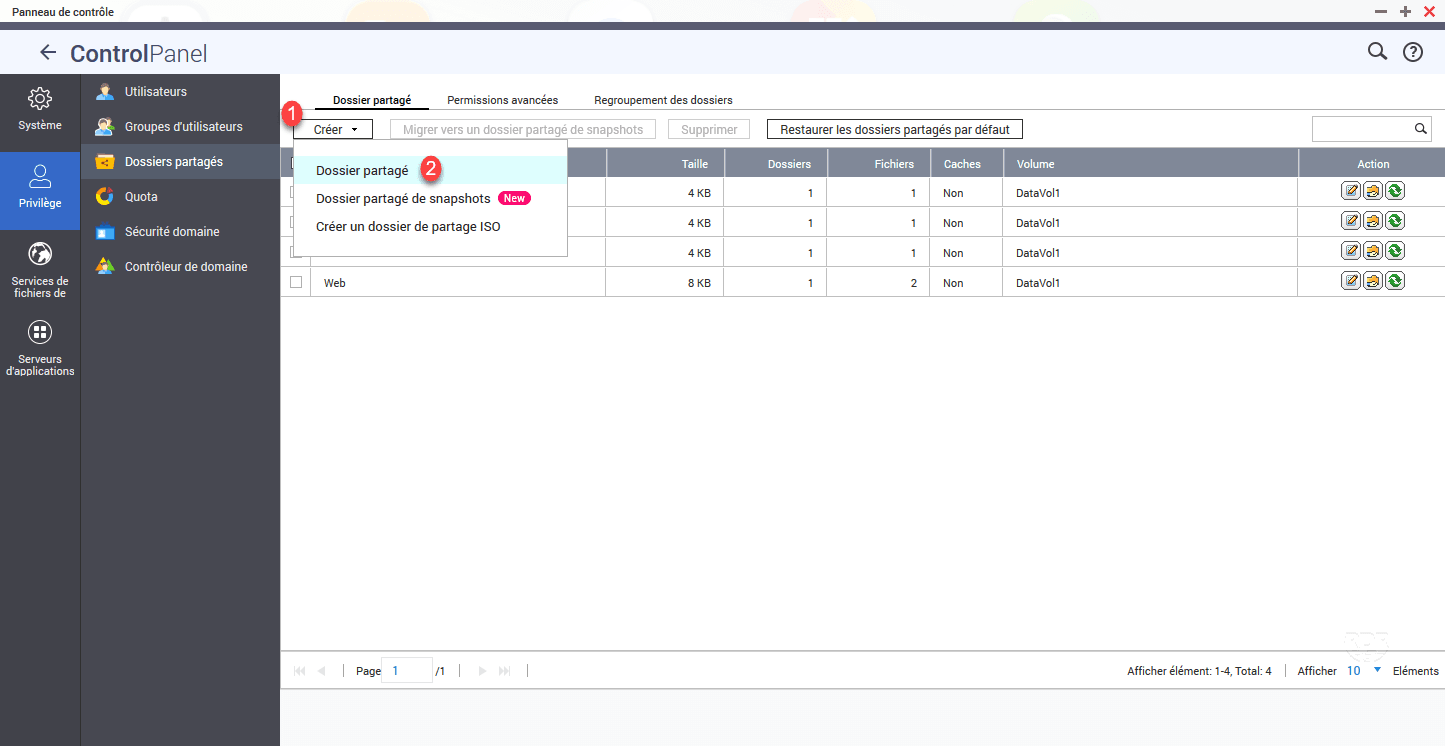
3. Click Create 1 / Shared Folder 2 .
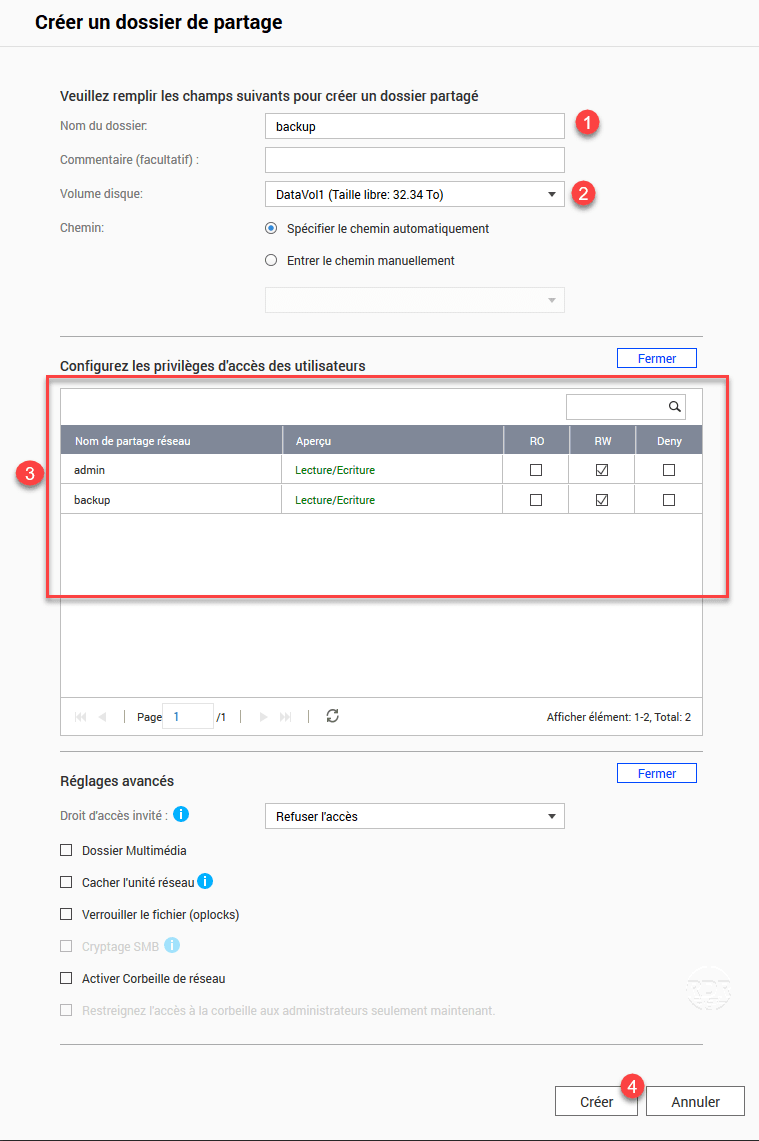
4. Enter the folder name 1 (which will also be the name of the share), in case more than one volume is available, select 2 . Then configure the share access rights 3 . To finish click on Create 4 .
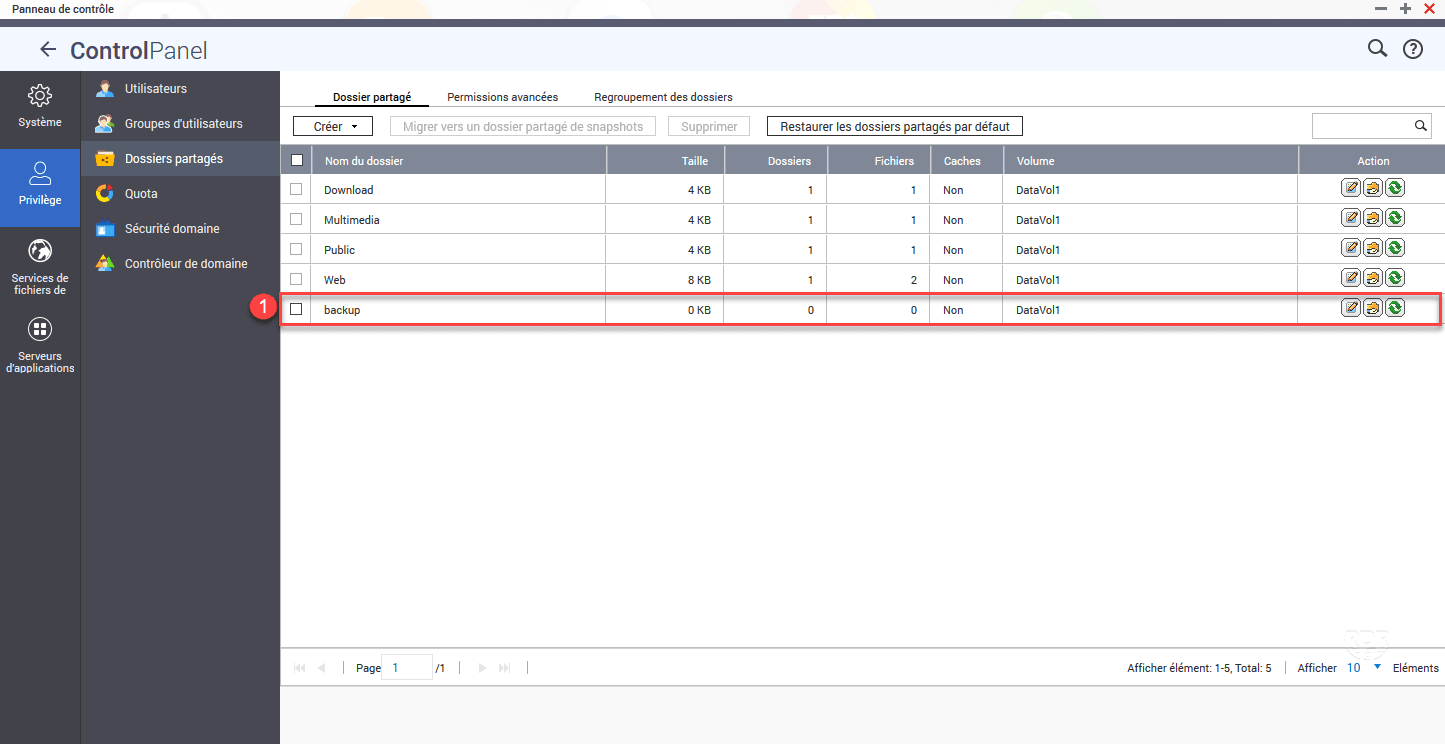
5. The shared folder is created 1 .
Access the shared folder
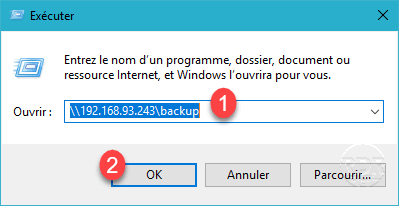
1. From a Windows workstation open the Run window ( + R)
2. Enter the share address 1 \\ NAS_IP\NAME_SHARE and click OK 2 .
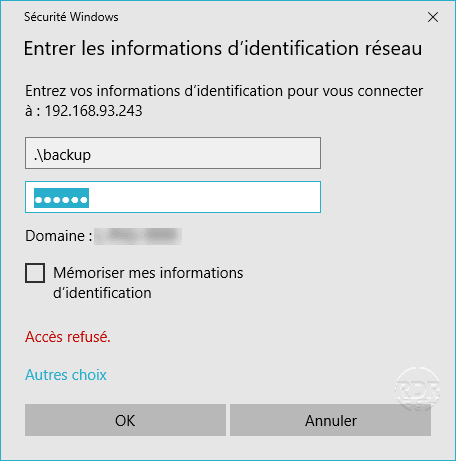
3. (optional) Enter credentials if necessary.
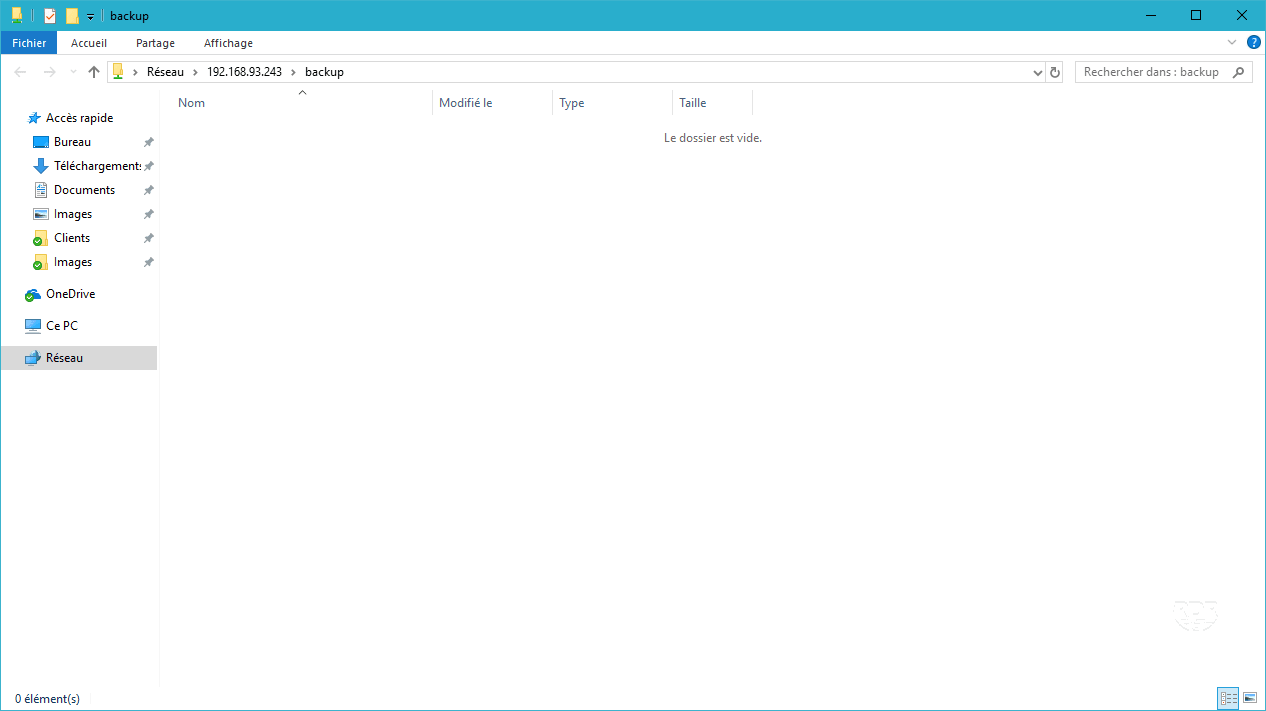
4. The shared folder is accessible.