In this tutorial, I will walk you through how to install the Hyper-V role on Windows Server 2019.
If you have already installed the Hyper-V role on Windows Server 2012R2 or 2016, it is the same.
Before installing Hyper-V, you must ensure that Bios level virtualization is enabled.
In a production environment, you must also provide a partition or disks dedicated to the storage of virtual machines and have two network cards (recommended).
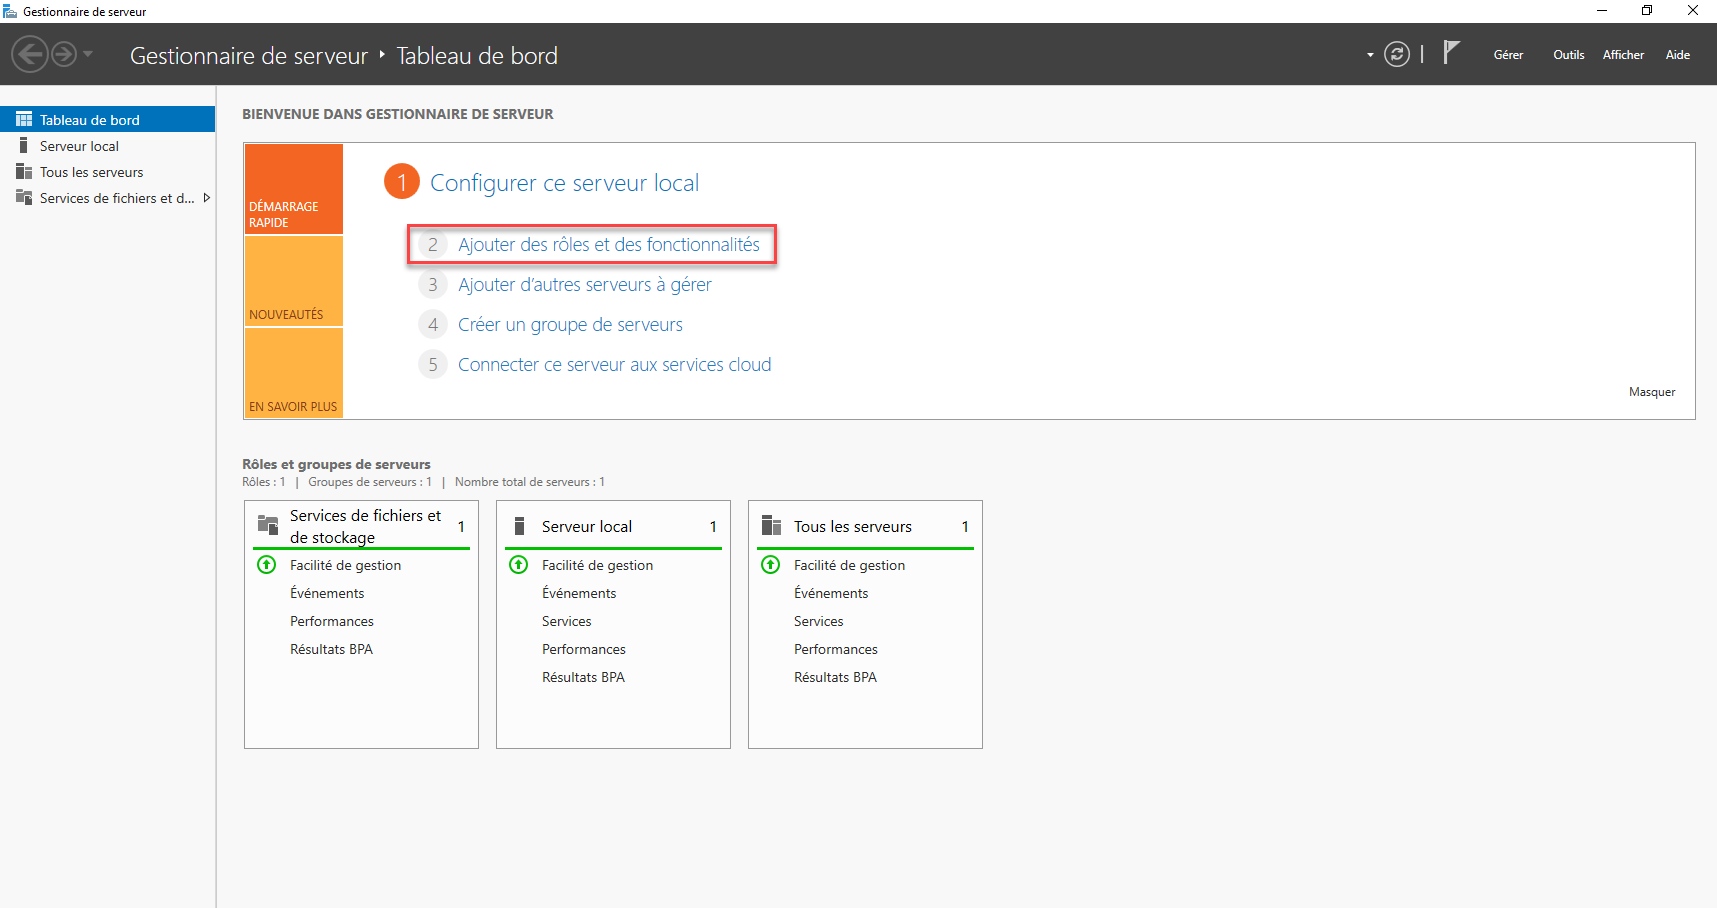
1. Open the role and feature installation wizard
From the server manager, click on Add roles and features.
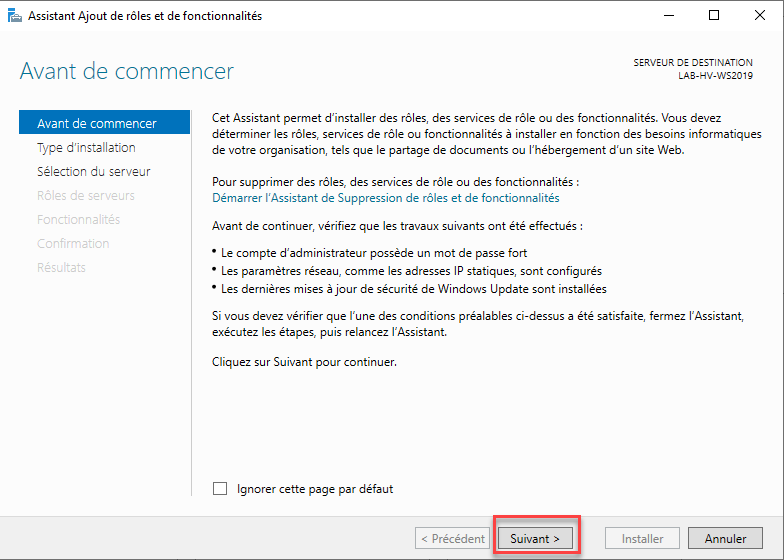
2. Skip the first step of the wizard
When launching the role and functionality installation wizard, click on the Next button.
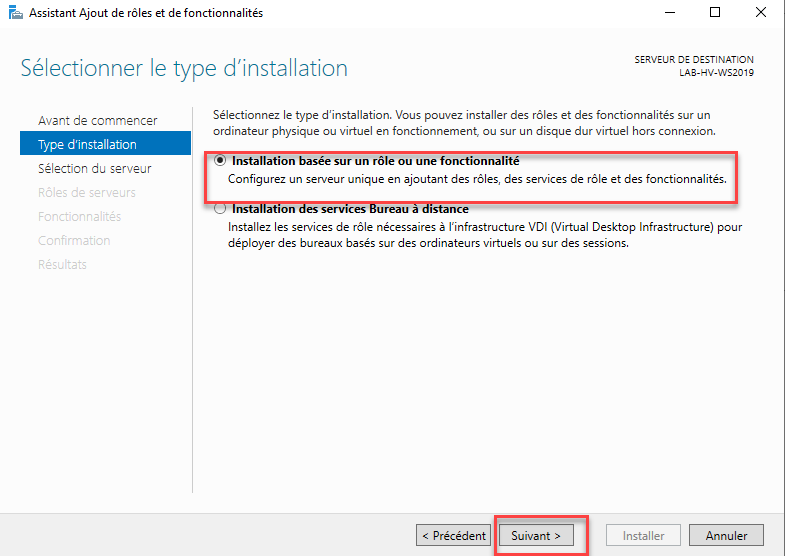
3. Choose role-based installation
Choose the type of installation based on a role or a feature then click on Next.
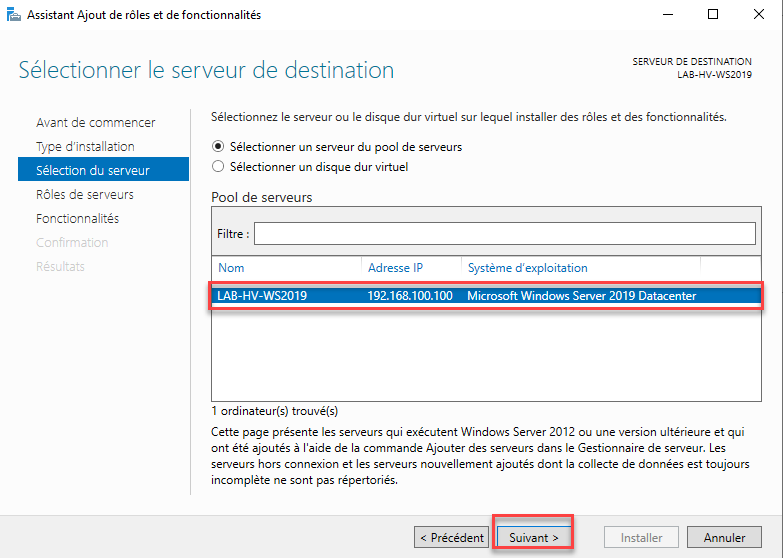
4. Select server
Select the server and click on the Next button.
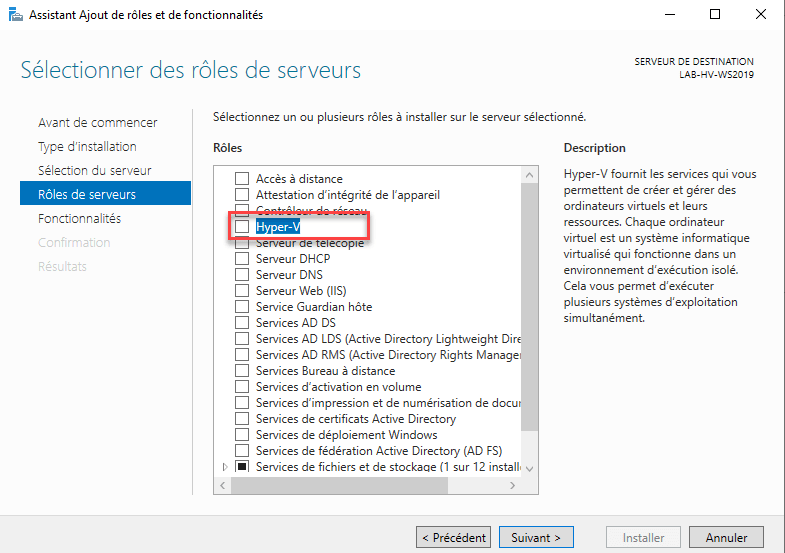
5. Choose the Hyper-V role
In the list of roles available on the server, check the Hyper-V box.
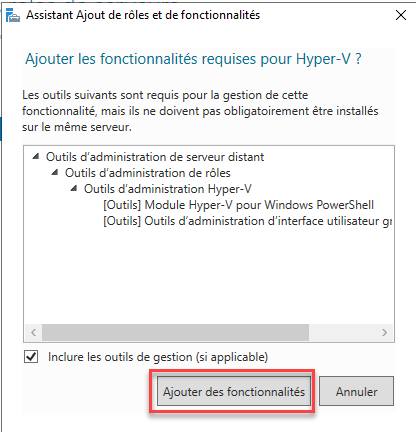
6. Confirm the addition of required features for Hyper-V
Confirm the addition of additional tools (Hyper-V Console and PowerShell module) by clicking on the Add Features button.
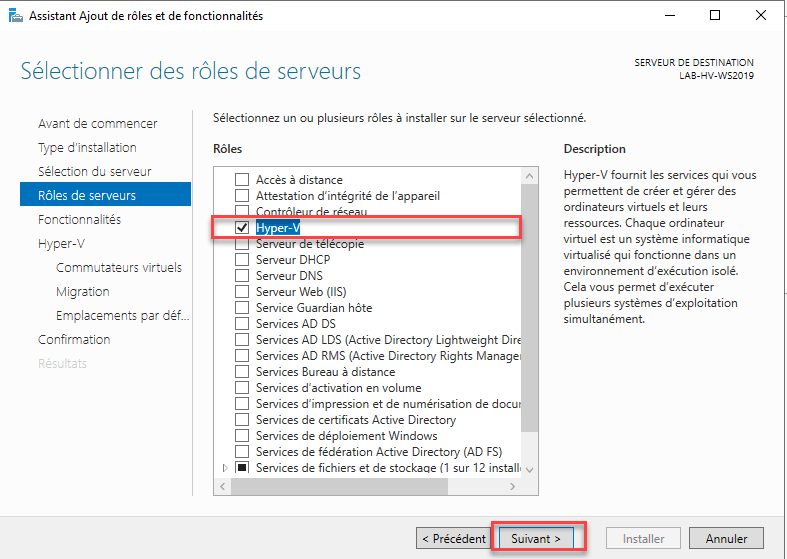
7. Validate the selection of the Hyper-V role
Once the addition of the required functionalities has been validated, the Hyper-V role is selected, click on the Next button.
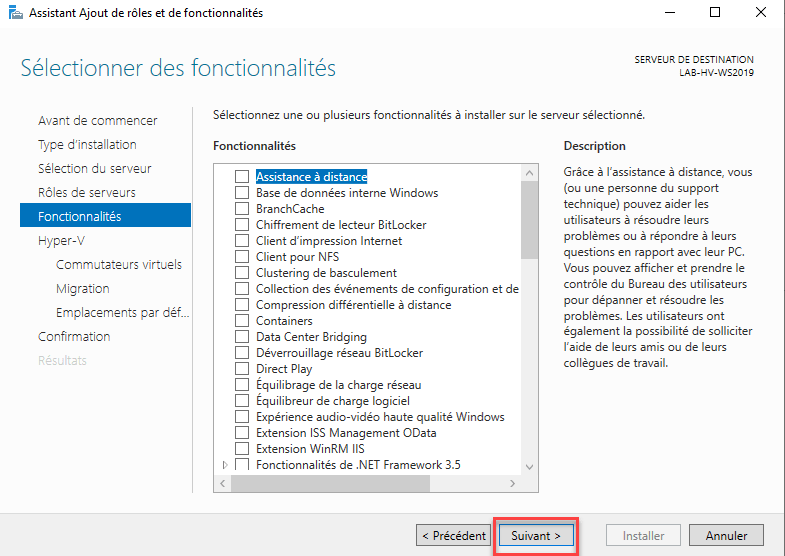
8. Select the features to install
By default, it is not necessary to select features, click on Next.
If you plan to set up a Hyper-V cluster, you must check the Failover Clustering functionality, also if you plan storage high availability (SAN), you will need to install the MPIO functionality.
9. “Configuration” of the Hyper-V role
The parts of the wizard that will follow will suggest that we configure the Hyper-V role with:
- The creation of the virtual network (virtual switch)
- Dynamic migration
- Default location for virtual machines
Skip the presentation of the Hyper-V role on Windows Server 2019 by clicking the Next button.
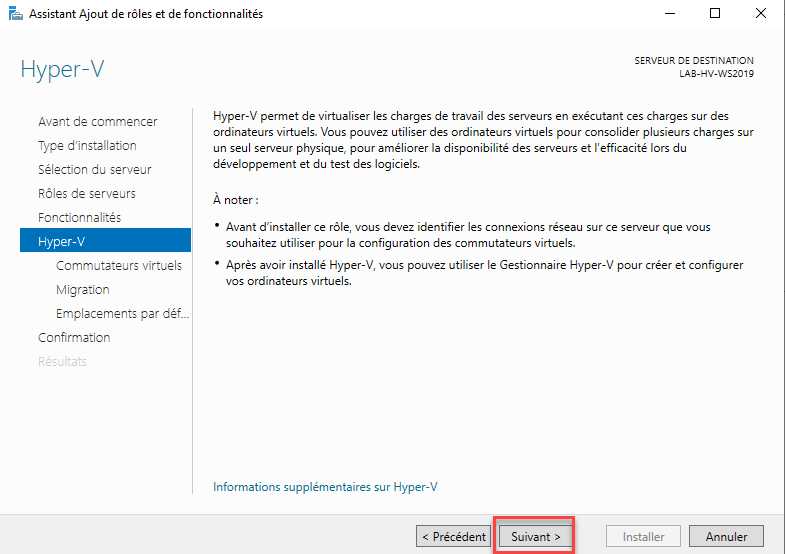
All the elements configured during the installation wizard are configuration with the Hyper-V administrator console.
10. Virtual switch configuration
In order for virtual machines to access the network, the installation wizard suggests configuring a virtual switch.
Select a network card and click Next.
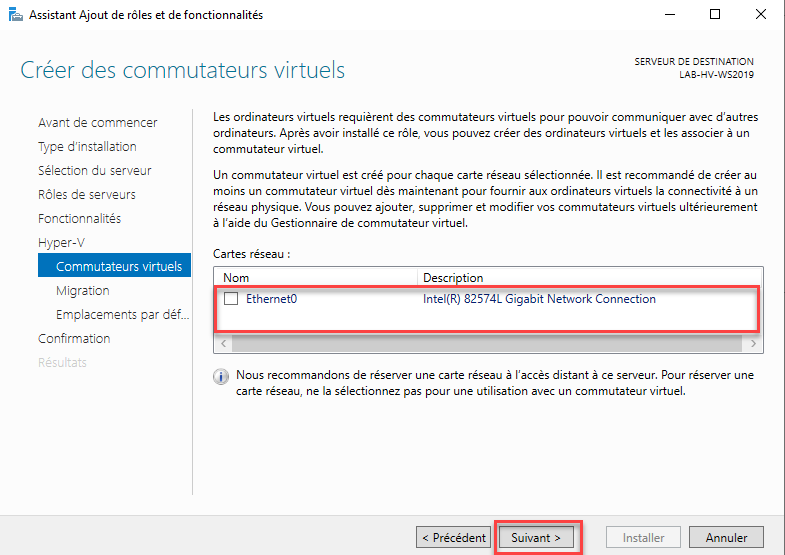
If you use the wizard to create an external virtual switch, a virtual network adapter will be added to the Hyper-V host and it will be attached to that switch in order to continue providing network access to the virtualization host by the physical map.
Personally, I prefer to create the switch (s) after installation by admin console
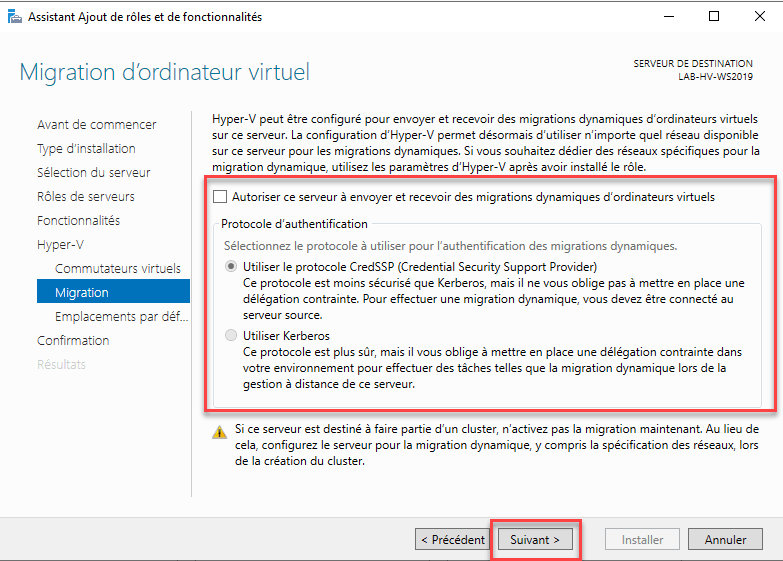
11. Migration configuration
This feature allows virtual machines to be moved from one Hyper-V host to another while keeping the virtual machine powered on.
To work properly, this feature needs:
- To have the same generation of processor see the same processors Hyper-V hosts.
- Be a member of the same Active Directory domain.
Configure the migration according to your environment and click on the Next button.
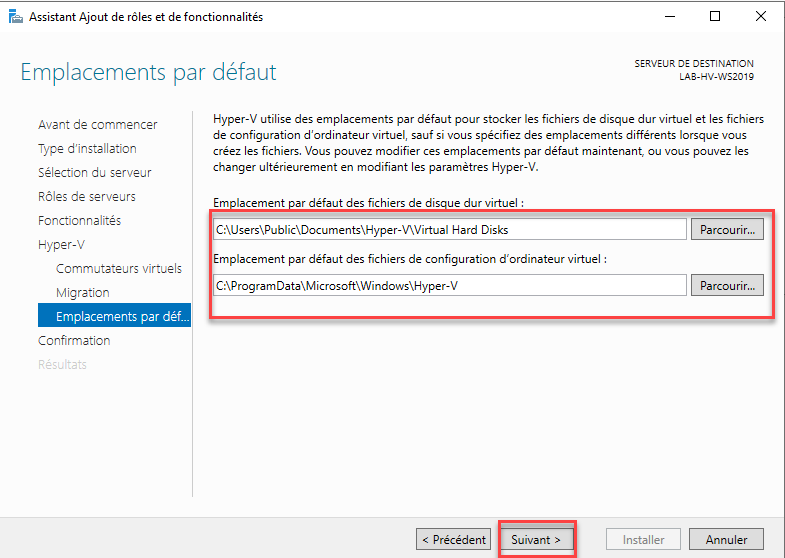
12. Default location for virtual machine files
The installation wizard also offers to configure the default location of the virtual machines, if you have a dedicated partition, I advise you to configure another path than the default.
The configured path, click on Next.
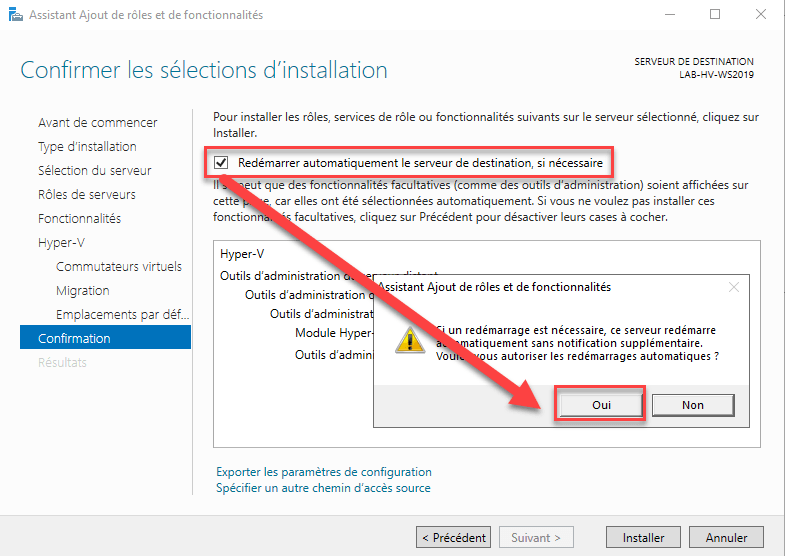
13. Enable automatic restart for installation
Check the box Automatically restart the destination server, if necessary and validate by clicking on Yes.
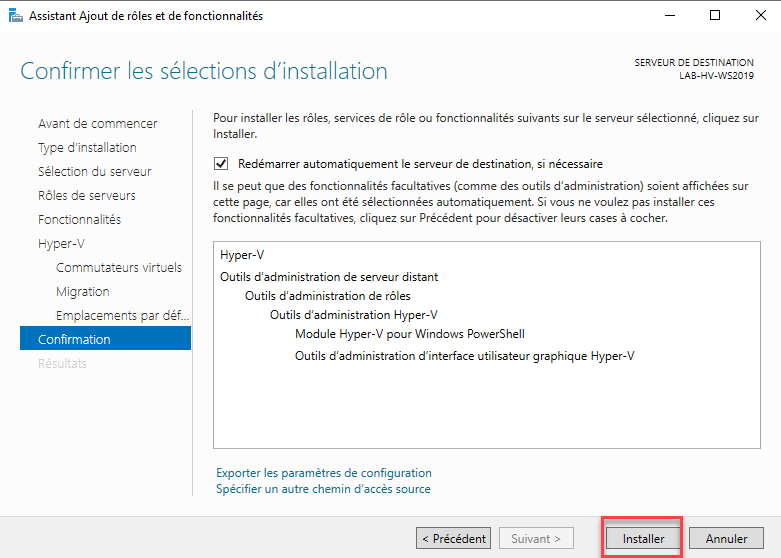
14. Start the installation of the Hyper-V role
Confirm the installation of the Hypervisor on the server by clicking on the Install button.
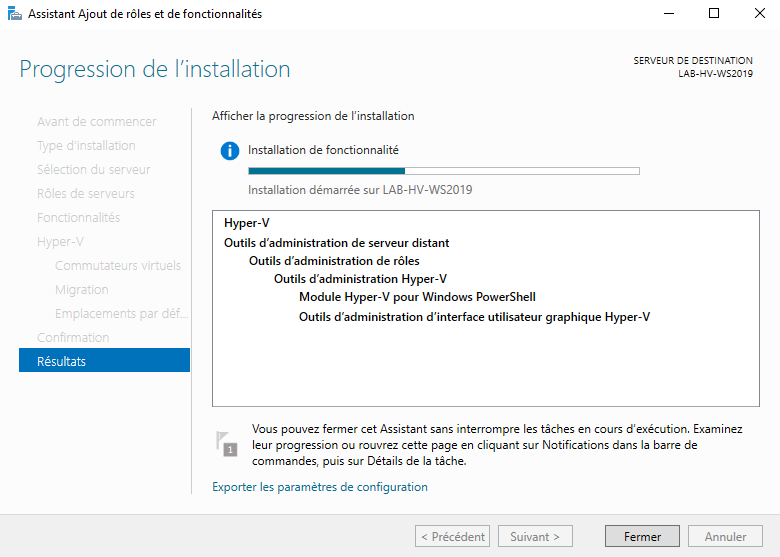
15. Wait during the installation …
Wait while the role is installed on the server, it should restart twice, the installation wizard will open again.

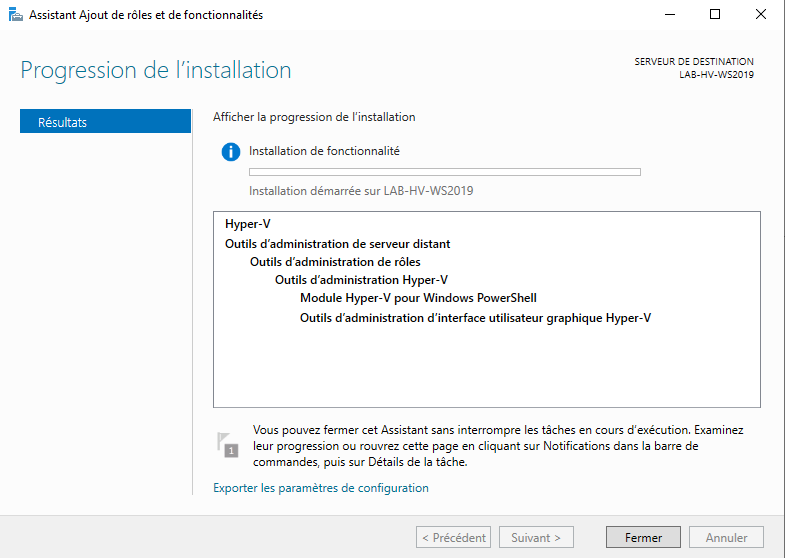
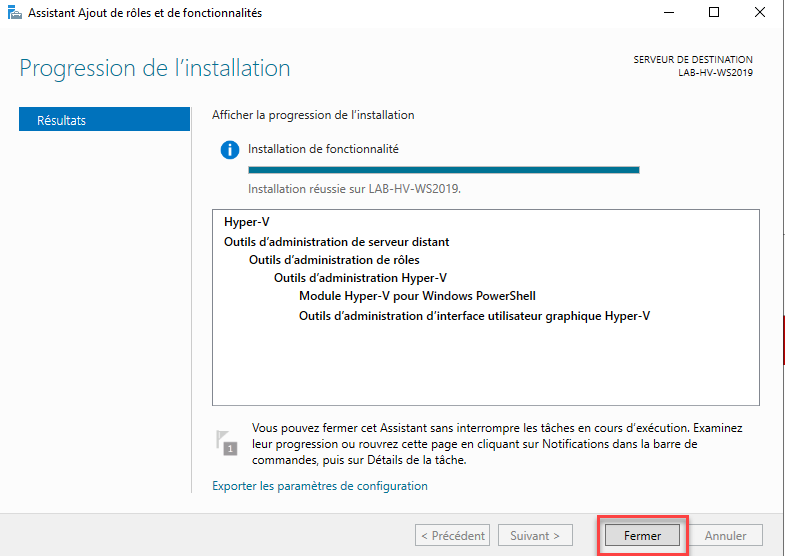
16. Once the installation is complete, close the wizard
Once the installation is complete, click on the Close button to exit the wizard.
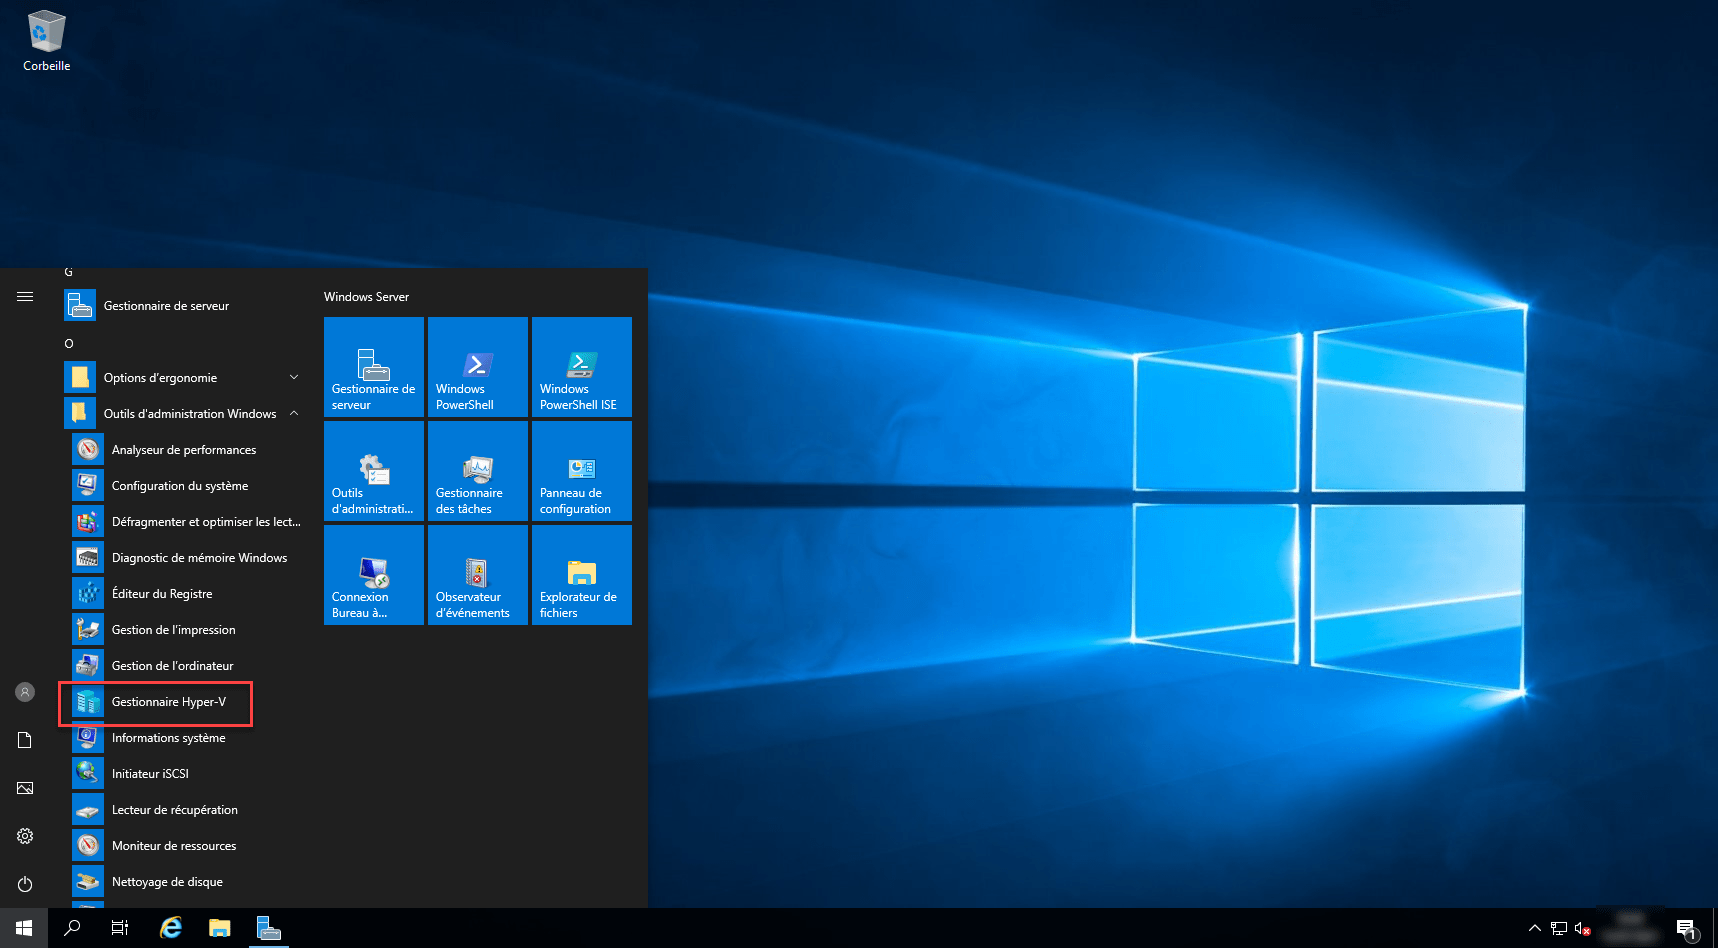
17. How to use Hyper-V
You can start using Hyper-V to create your virtual machines.
The Hyper-V Manager console is accessible from the Start menu in the Administrative Tools folder.

If this is your first steps with Hyper-V, I recommend reading the following articles:
