This tutorial explains how to create a virtual machine in Hyper-V using the Hyper-V Manager console.
Prerequisites :
- Have the role of Hyper-V installed.
- Have a virtual switch configured for virtual machine networking.
Open the Hyper-V Manager console
This console allows the administration of the Hyper-V service and therefore the creation of virtual machines.

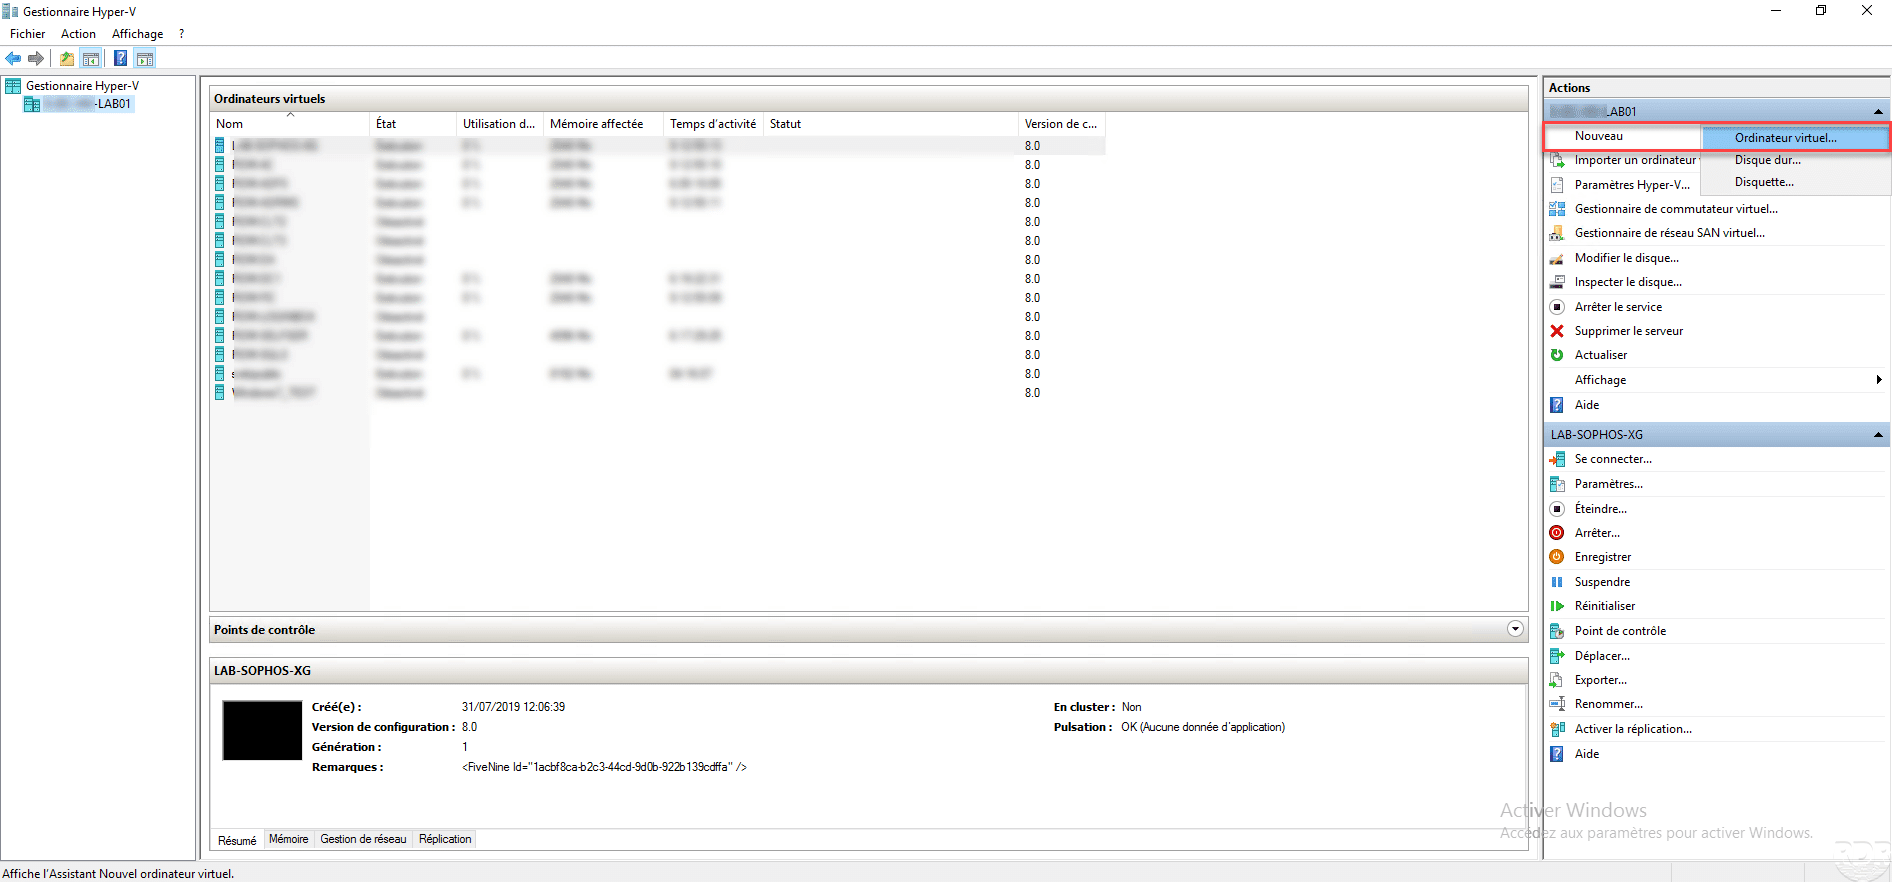
Start the virtual computer creation wizard
From the Actions menu on the left of the console, click on New / Virtual machine.
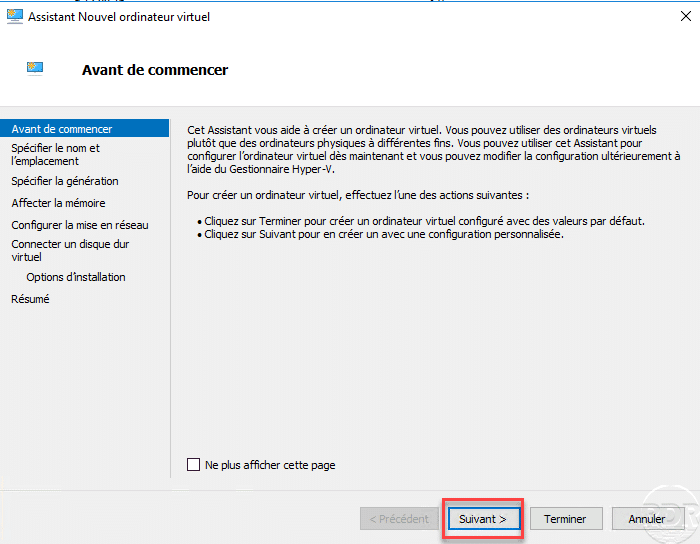
Click on Next when launching the wizard
The first step of the wizard very briefly summarizes the role of a virtual machine.
Virtual machine name and location
Enter the name of the virtual machine that will be visible in the console, if necessary configure the location of the computer on the server and click on Next.

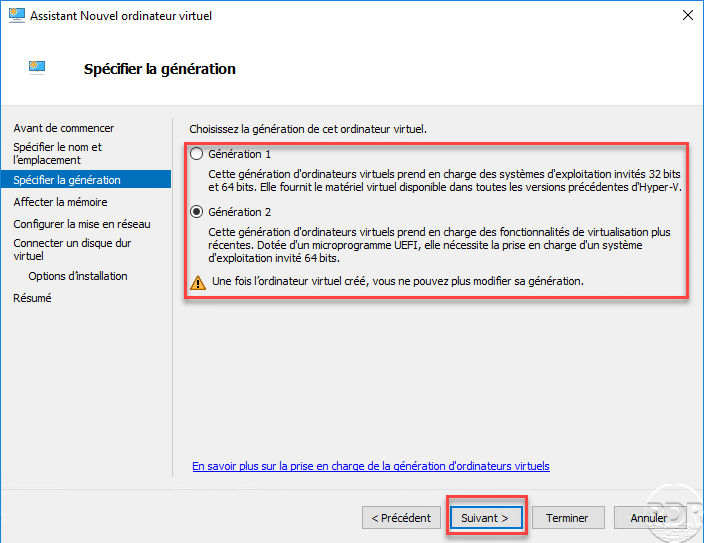
Specify the generation of the virtual machine
The generation of the virtual machine must be configured according to the guest operating system that will be installed.
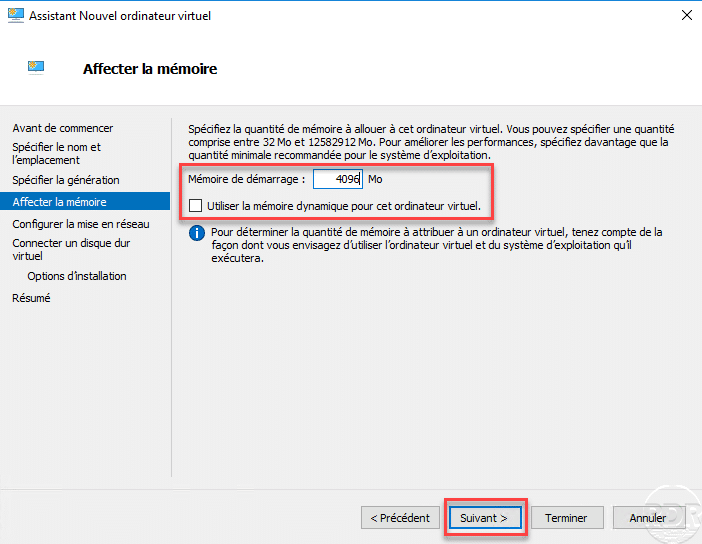
Memory configuration
Enter the amount of memory for the virtual machine, it is possible at this stage of the configuration to configure the memory dynamically. Go to the next step by clicking Next.
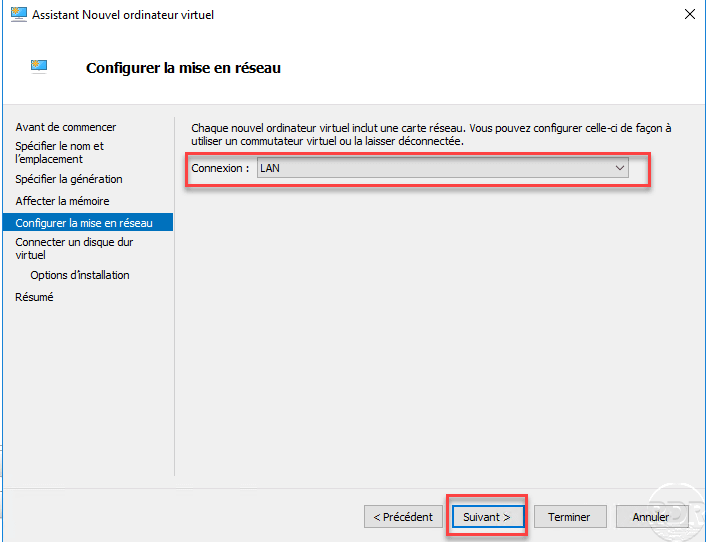
Network configuration
Configure the connection of the network card on the virtual switch and click Next.
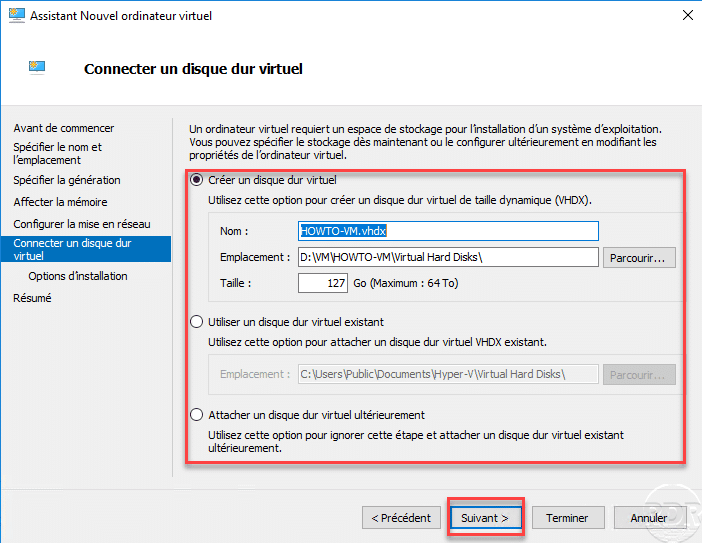
Virtual hard drive
Configure the virtual hard disk (file name and size) and click Next.
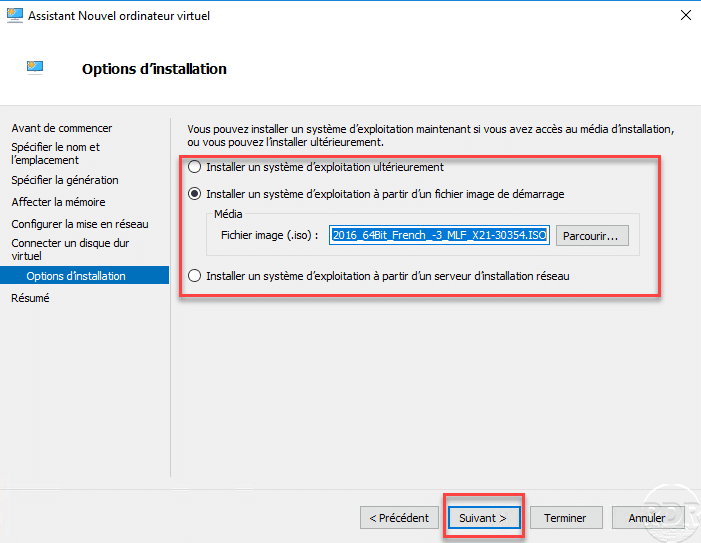
Installation option
Configure the option for installing the operating system (ISO, PXE …) and click Next.
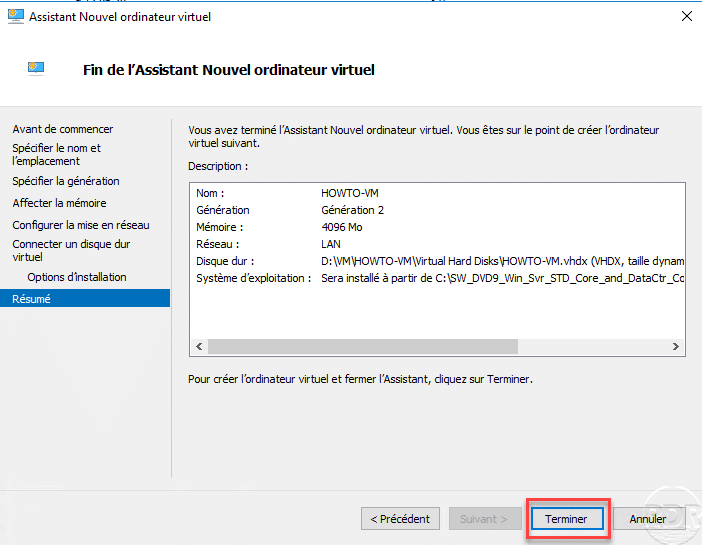
Confirm the creation of the virtual machine
A summary of the computer settings is displayed, click Finish to create it.
The computer is created and available in the Hyper-V Manager console
The computer is ready, all you have to do is start it up to install the operating system.

By default the virtual machine is configured with 1 CPU.
