In this tutorial, we will see how to create a mailbox on Exchange 2019 using the admin interface.
When creating a mailbox, there are two possibilities:
- Create a mailbox for an existing user in the Active Directory.
- Create a new user and the mailbox at the same time.
Table of Contents
Create a mailbox
On the administration interface go to recipients 1 / mailbox 2 .
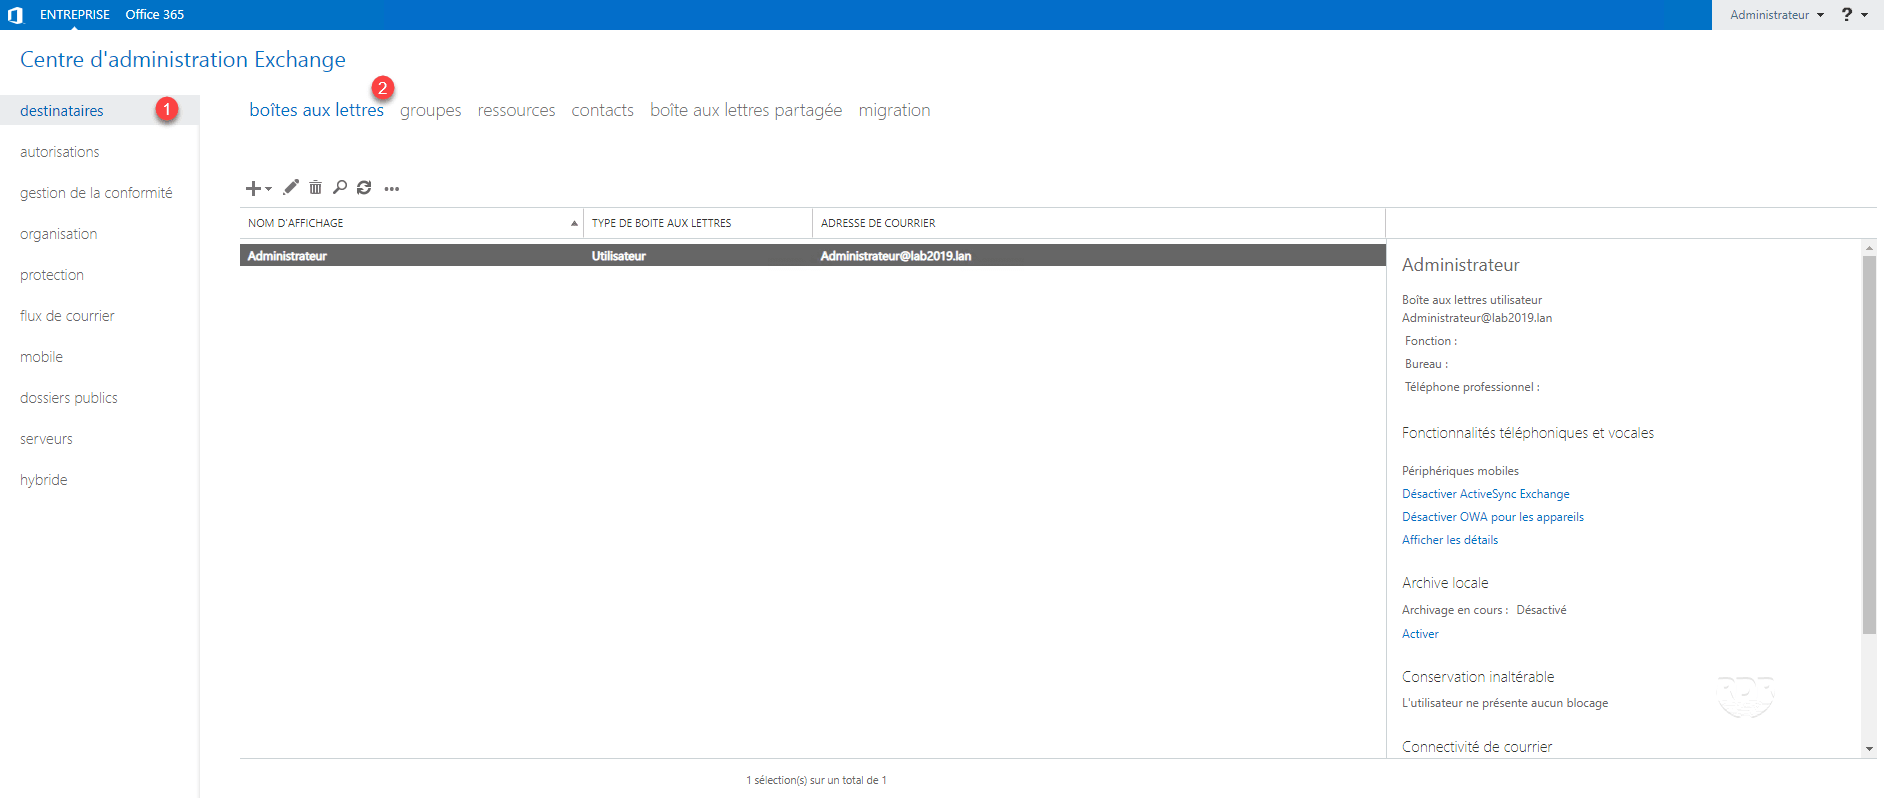
Click + 1 and User Mailbox 2 .

For an existing user
Enter the mailbox alias (part before the @) 1 , select the user 2 then the database 3 and click on Save 4 .

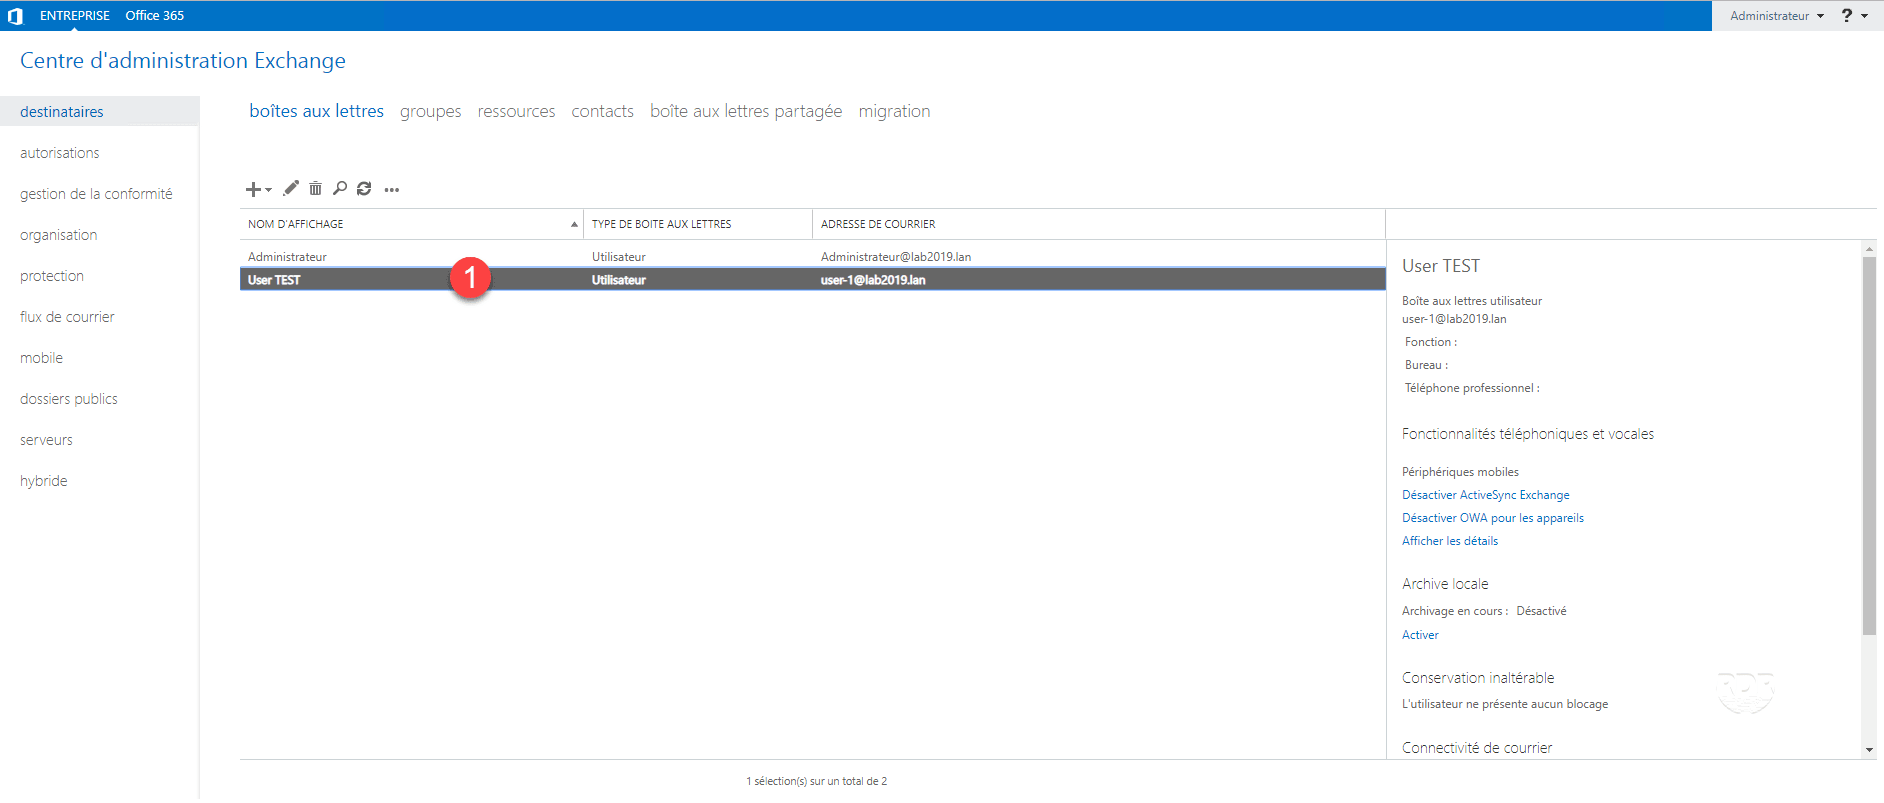
The mailbox is added 1 .
For a new user
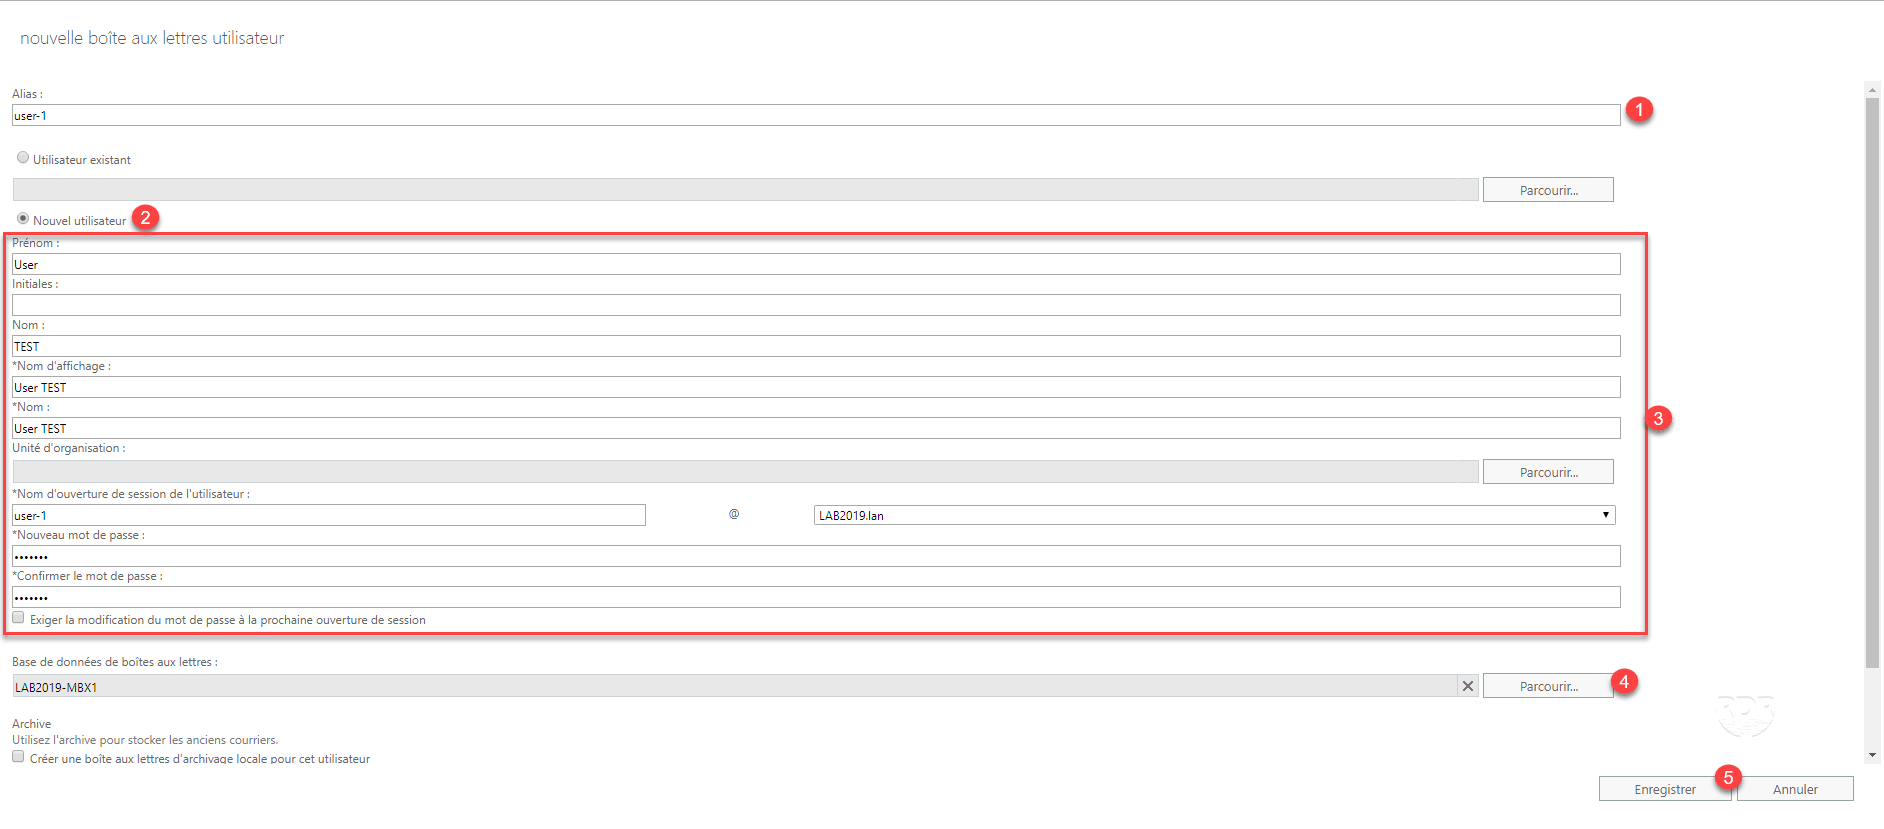
Enter mailbox alias (part before @) 1 , New user 2 , enter account information 3 , choose database 4> > and click on Save 5 .
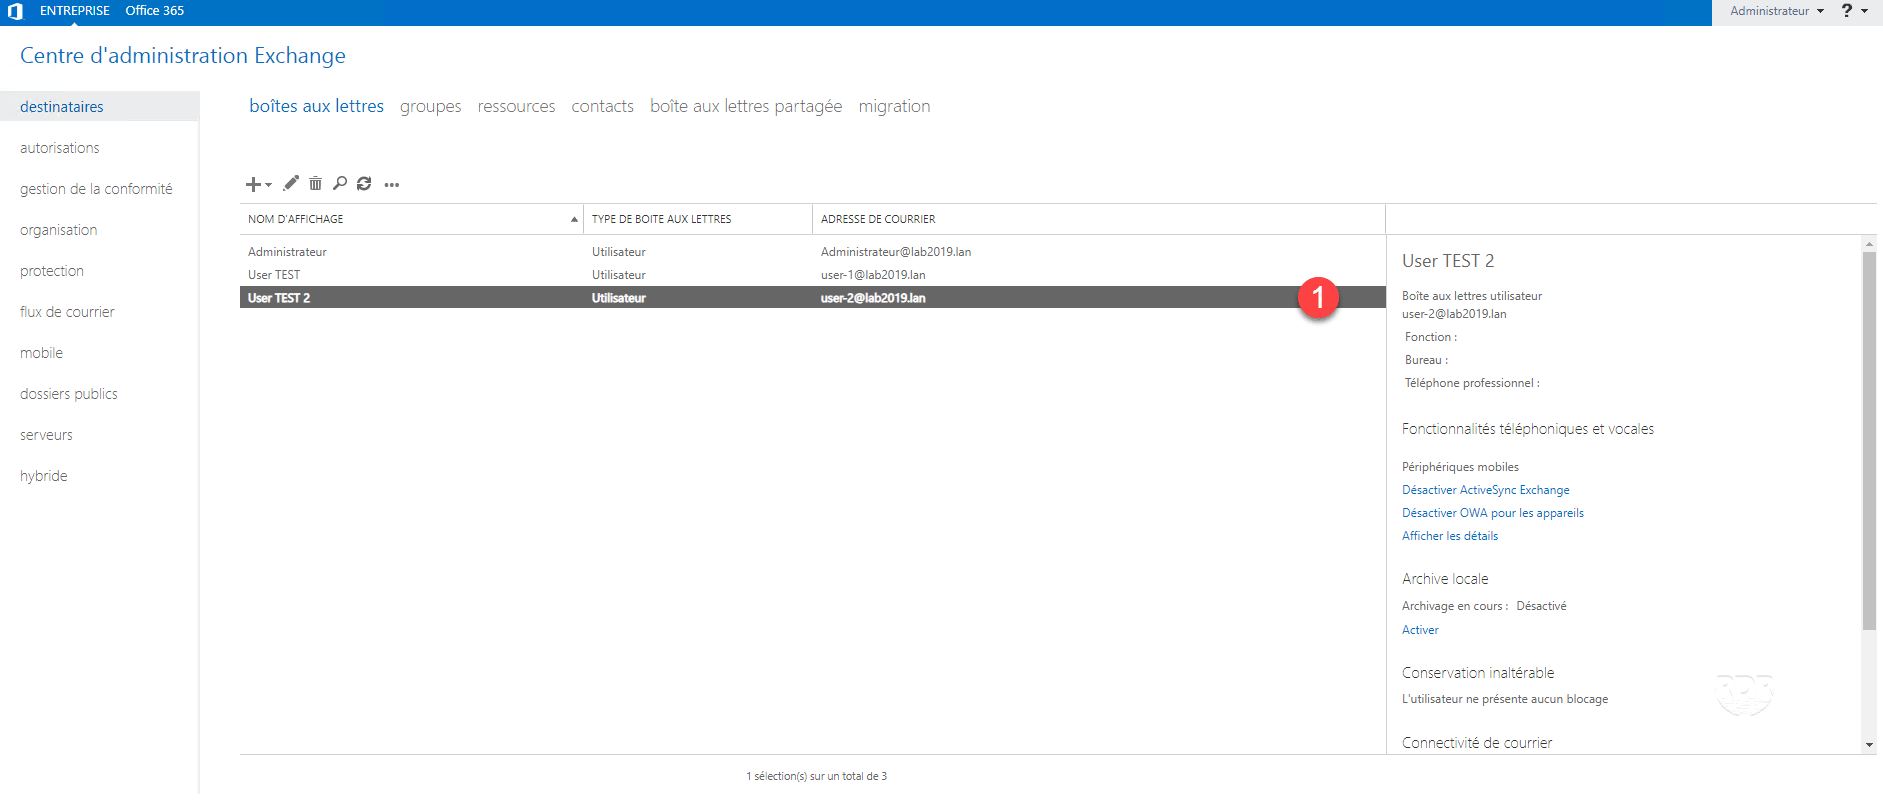
The user and the mailbox are created 1 .