In this tutorial, we will have how to create a virtual machine with the Admin Center interface on a Hyper-V host.
Prerequisites:
- Admin Center installed
- Hyper-V server
- Server added in the Admin Center
Table of Contents
Create a virtual machine
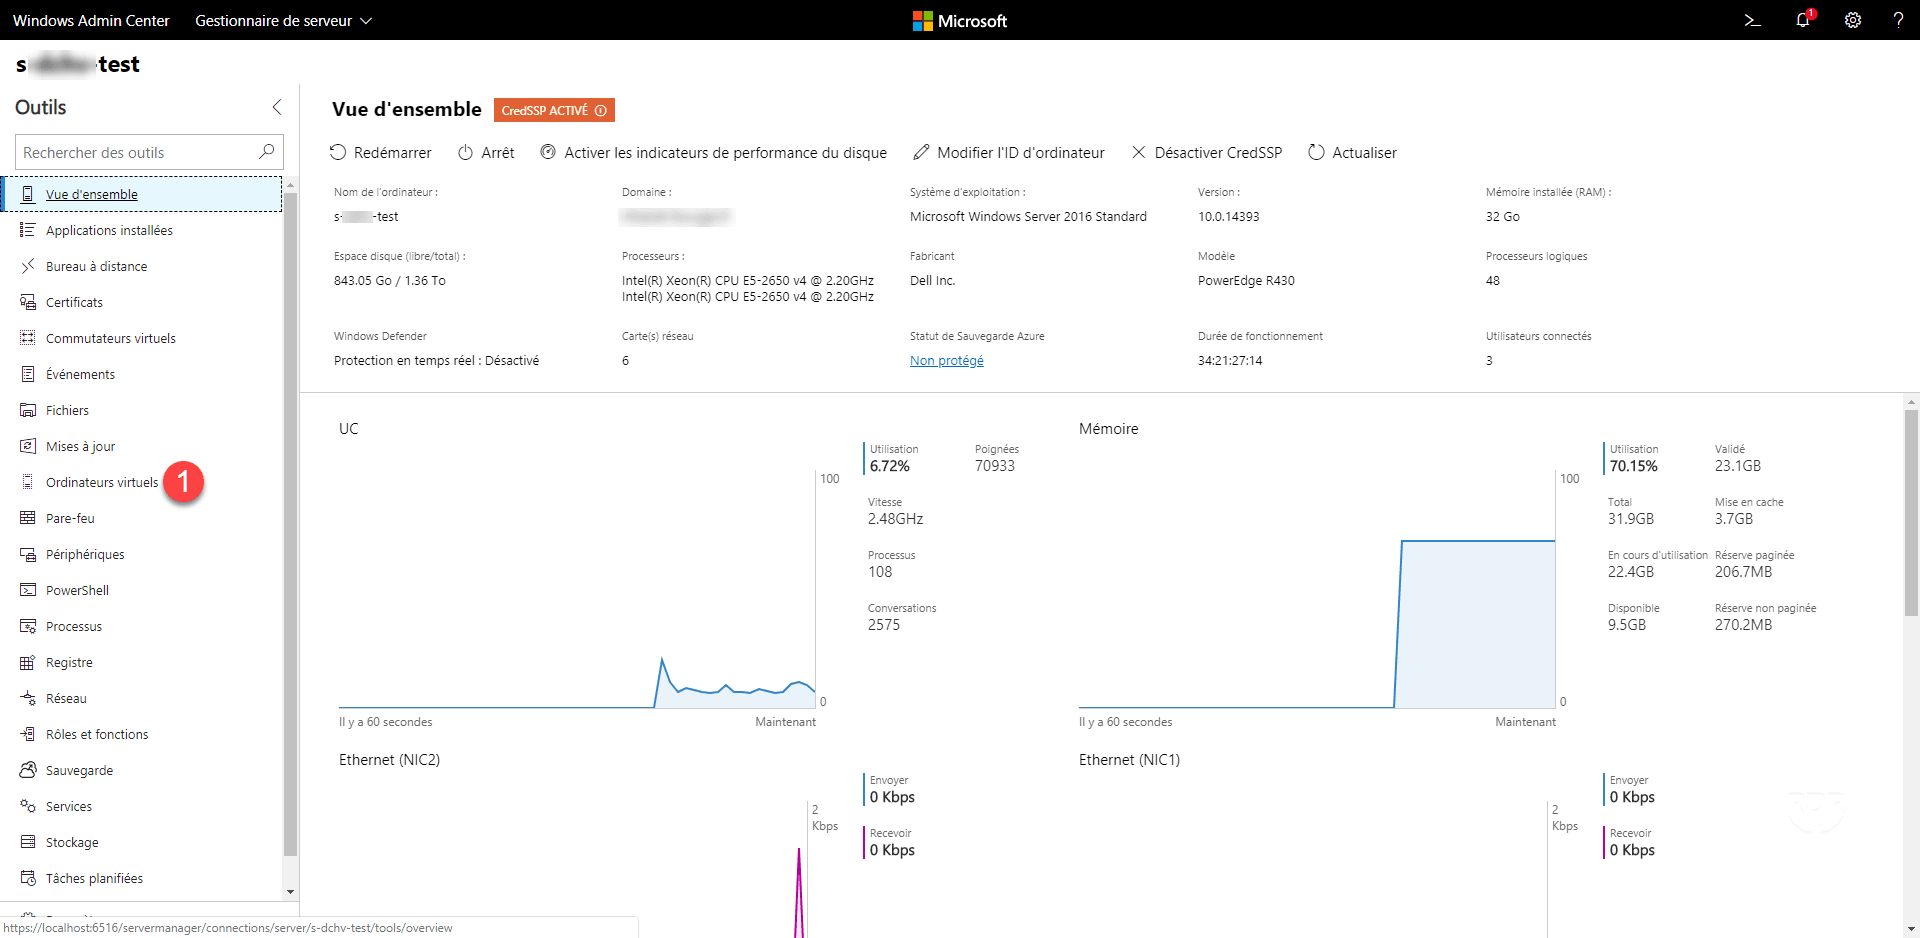
1. On the Admin Center, from the list of connections, click on the Hyper-V server.

2. If the Hyper-V role is available, on the Tools menu, Virtual Machines appears, click 1 .
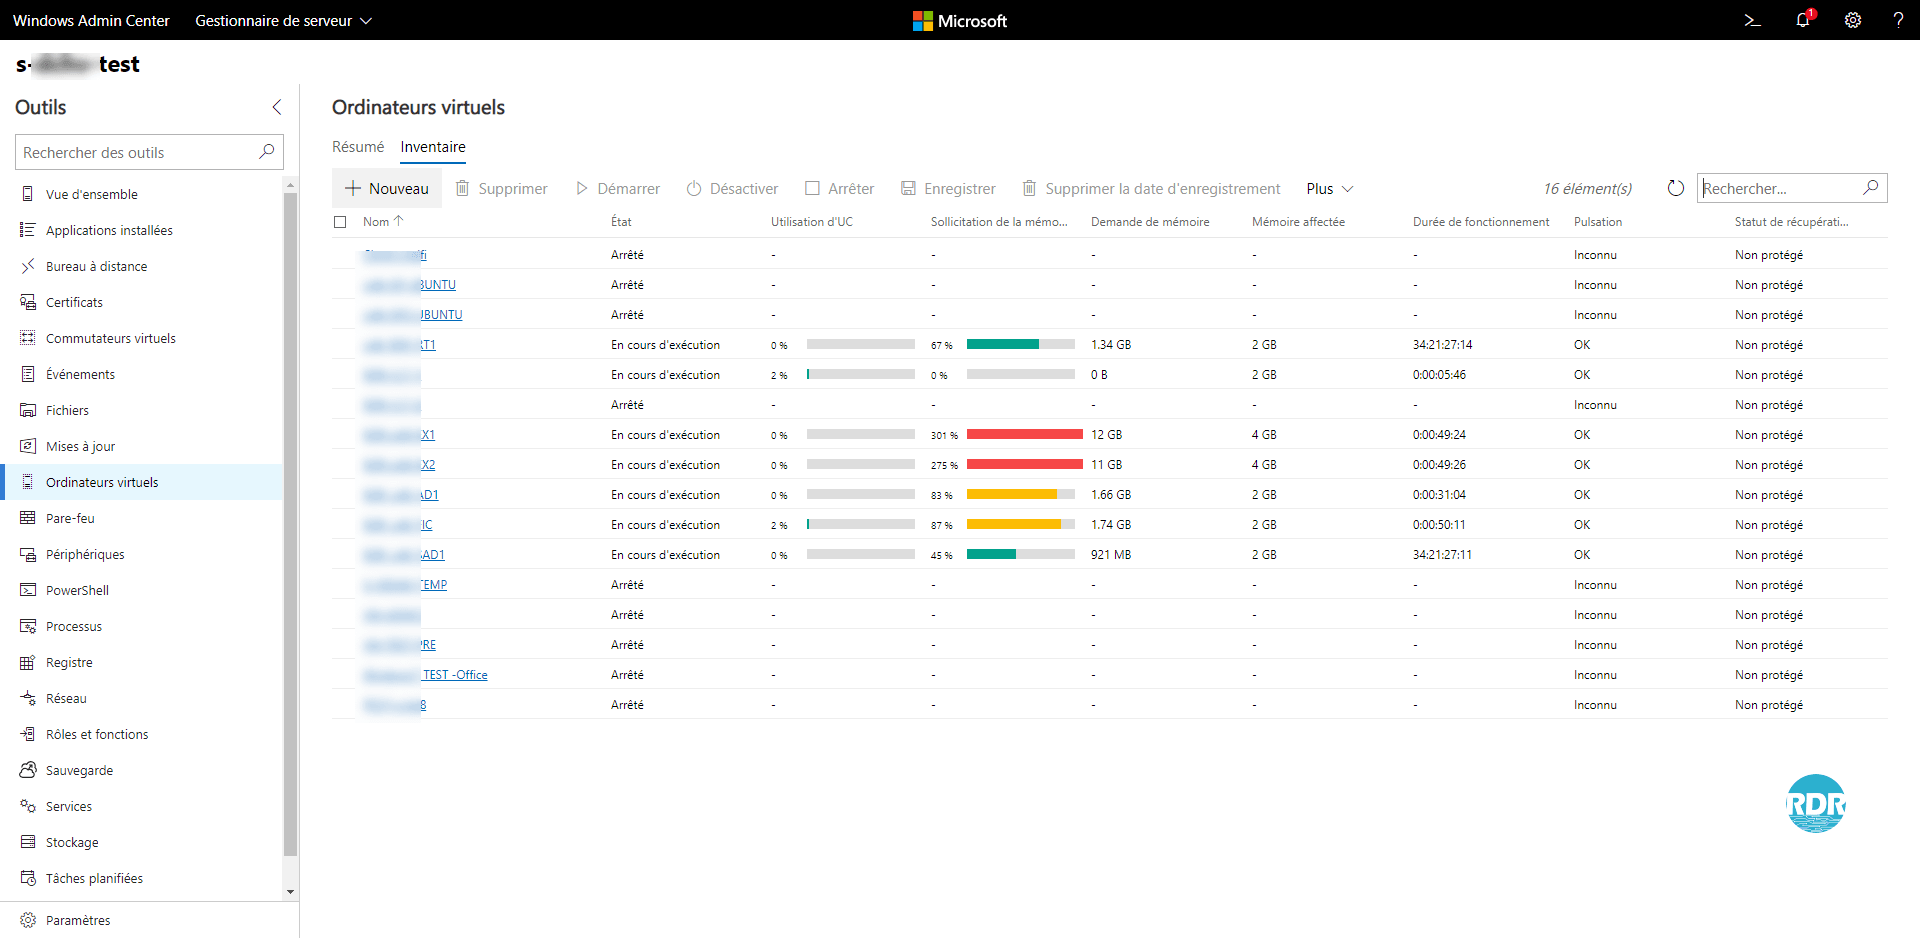
3. On this is a summary of the virtual machines with the top CPU and memory consumption. Click on Inventory 1 .

4. The list of virtual machines on the server is displayed with their status and a summary of the resource consumption. Click on + New 1 .
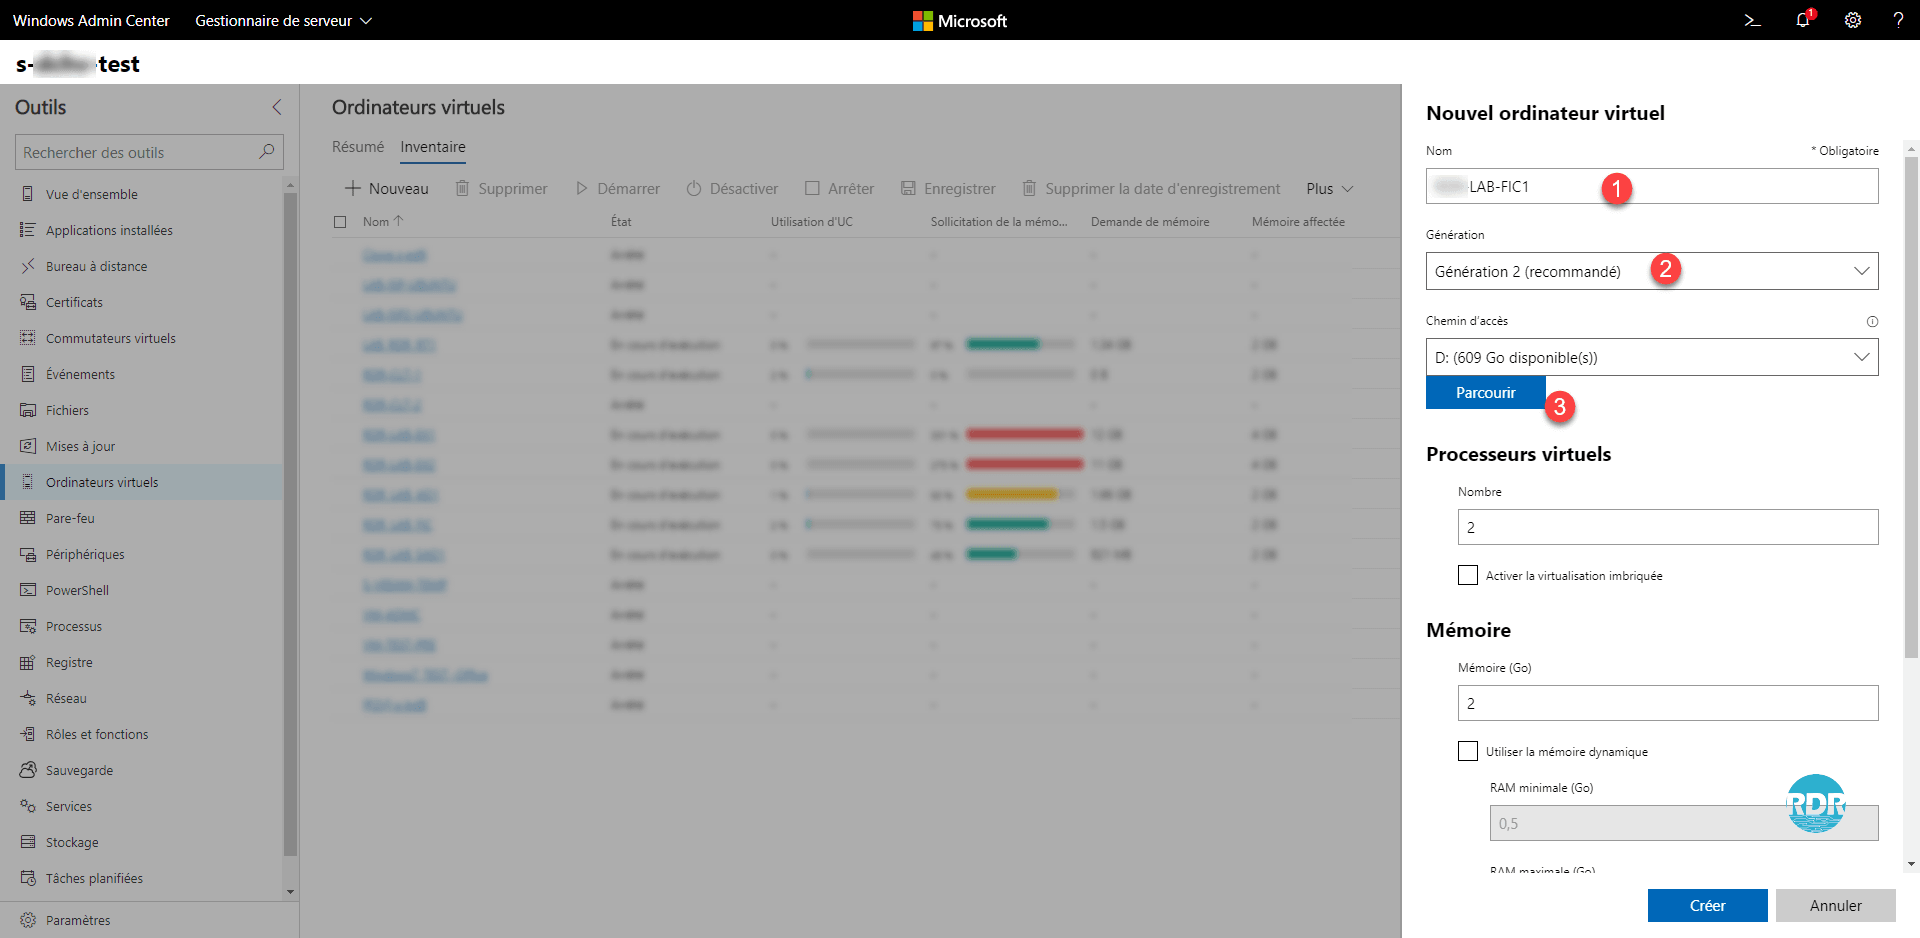
5. Entrer le nom de l’ordinateur virtuel 1, sélectionner la Génération 2 puis cliquer sur Parcourir 3.
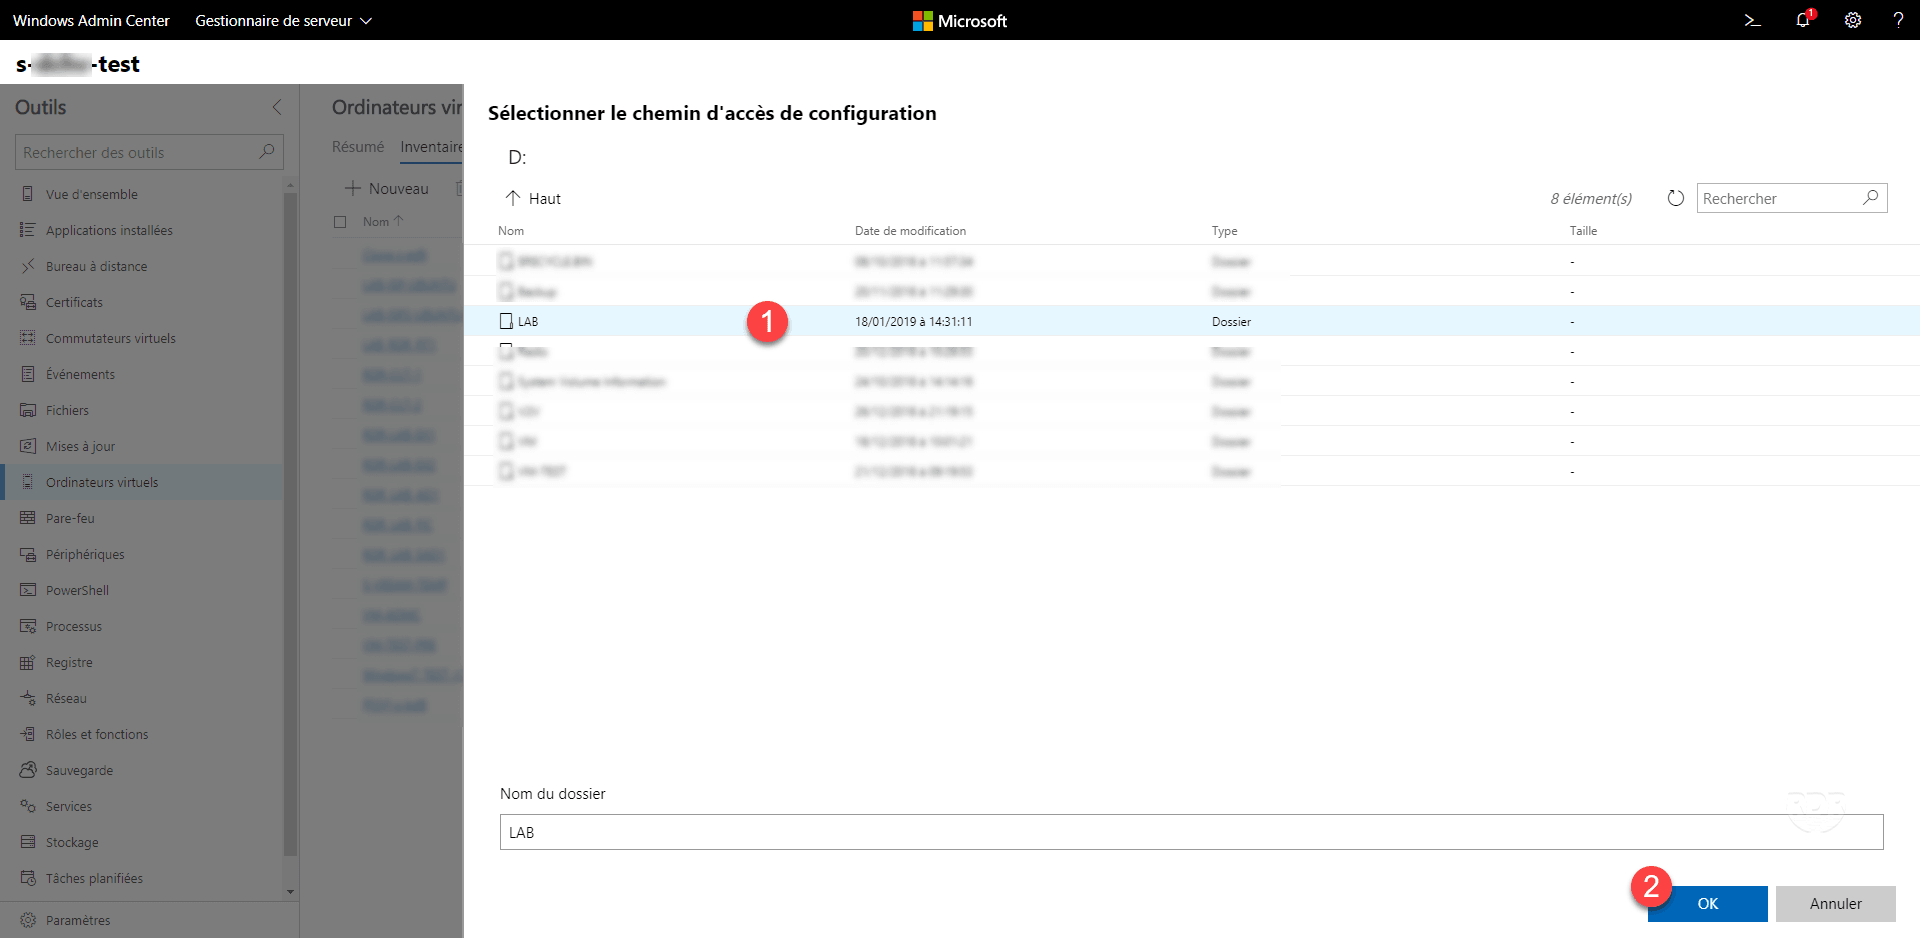
6. Choose the storage folder 1 of the VM and click OK 2 .
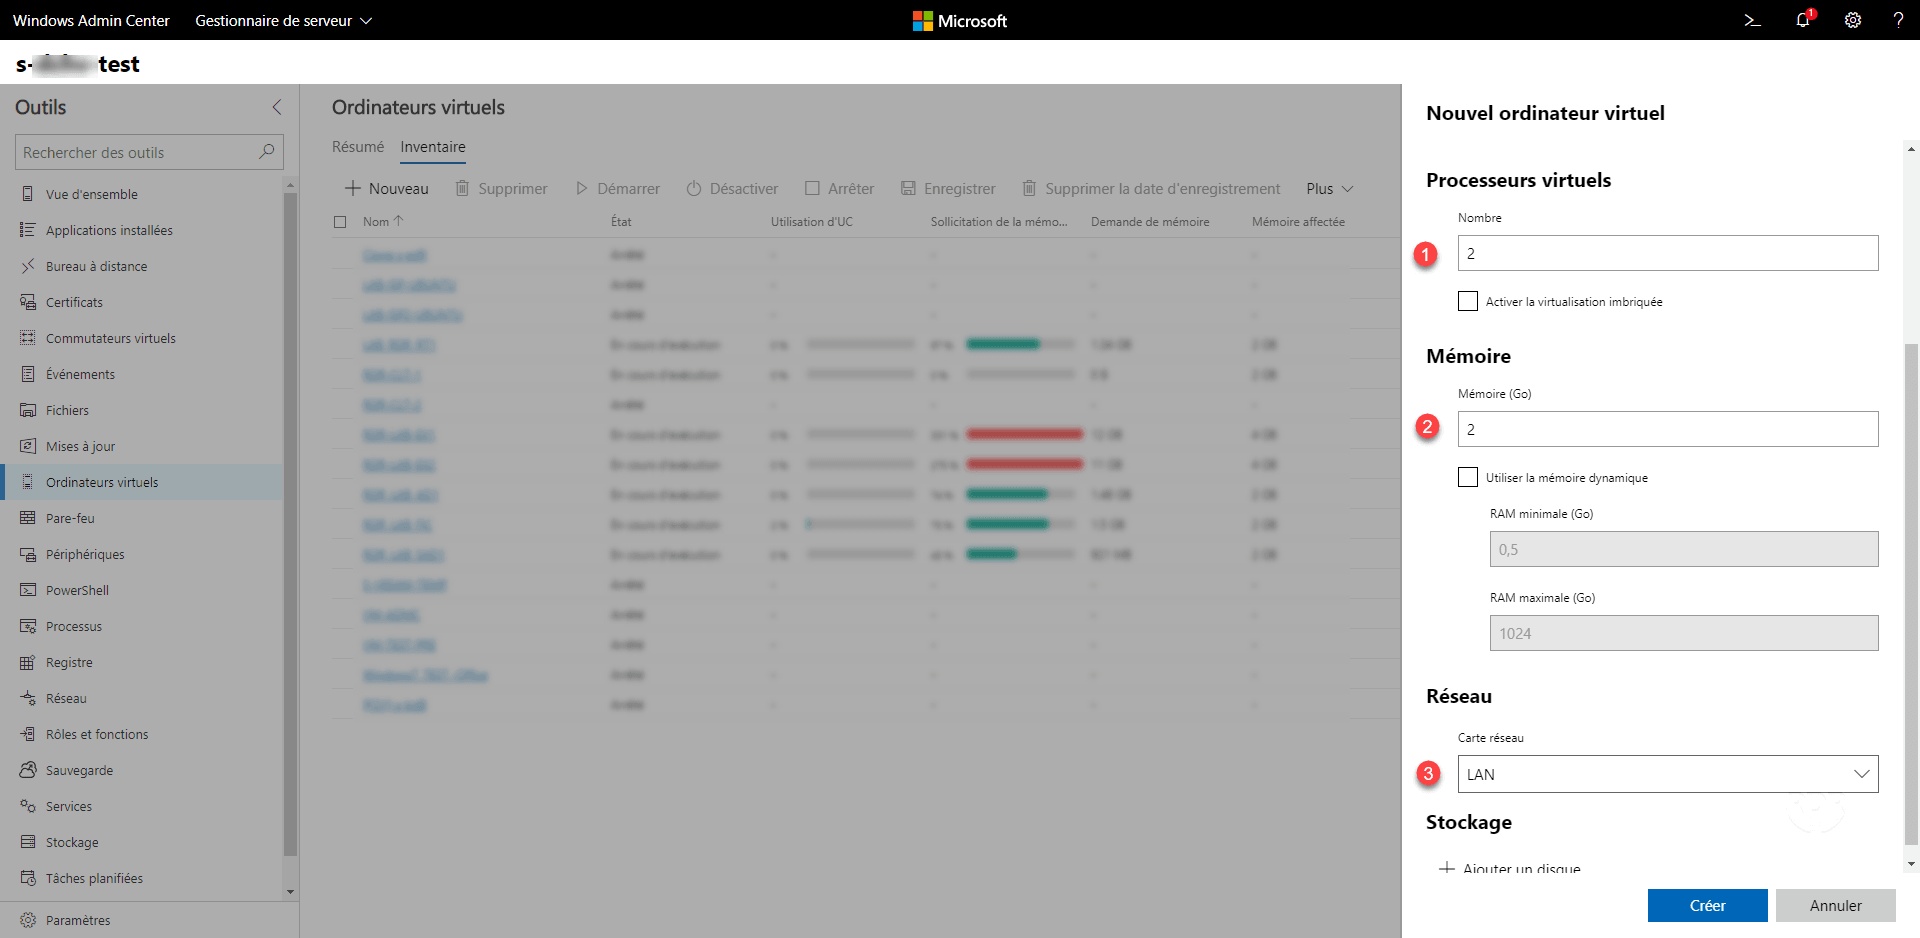
7. Configure CPU 1 / Memory 2 / Network Card 3 .
8. Click on Add a disk 1 and indicate its size 2 .
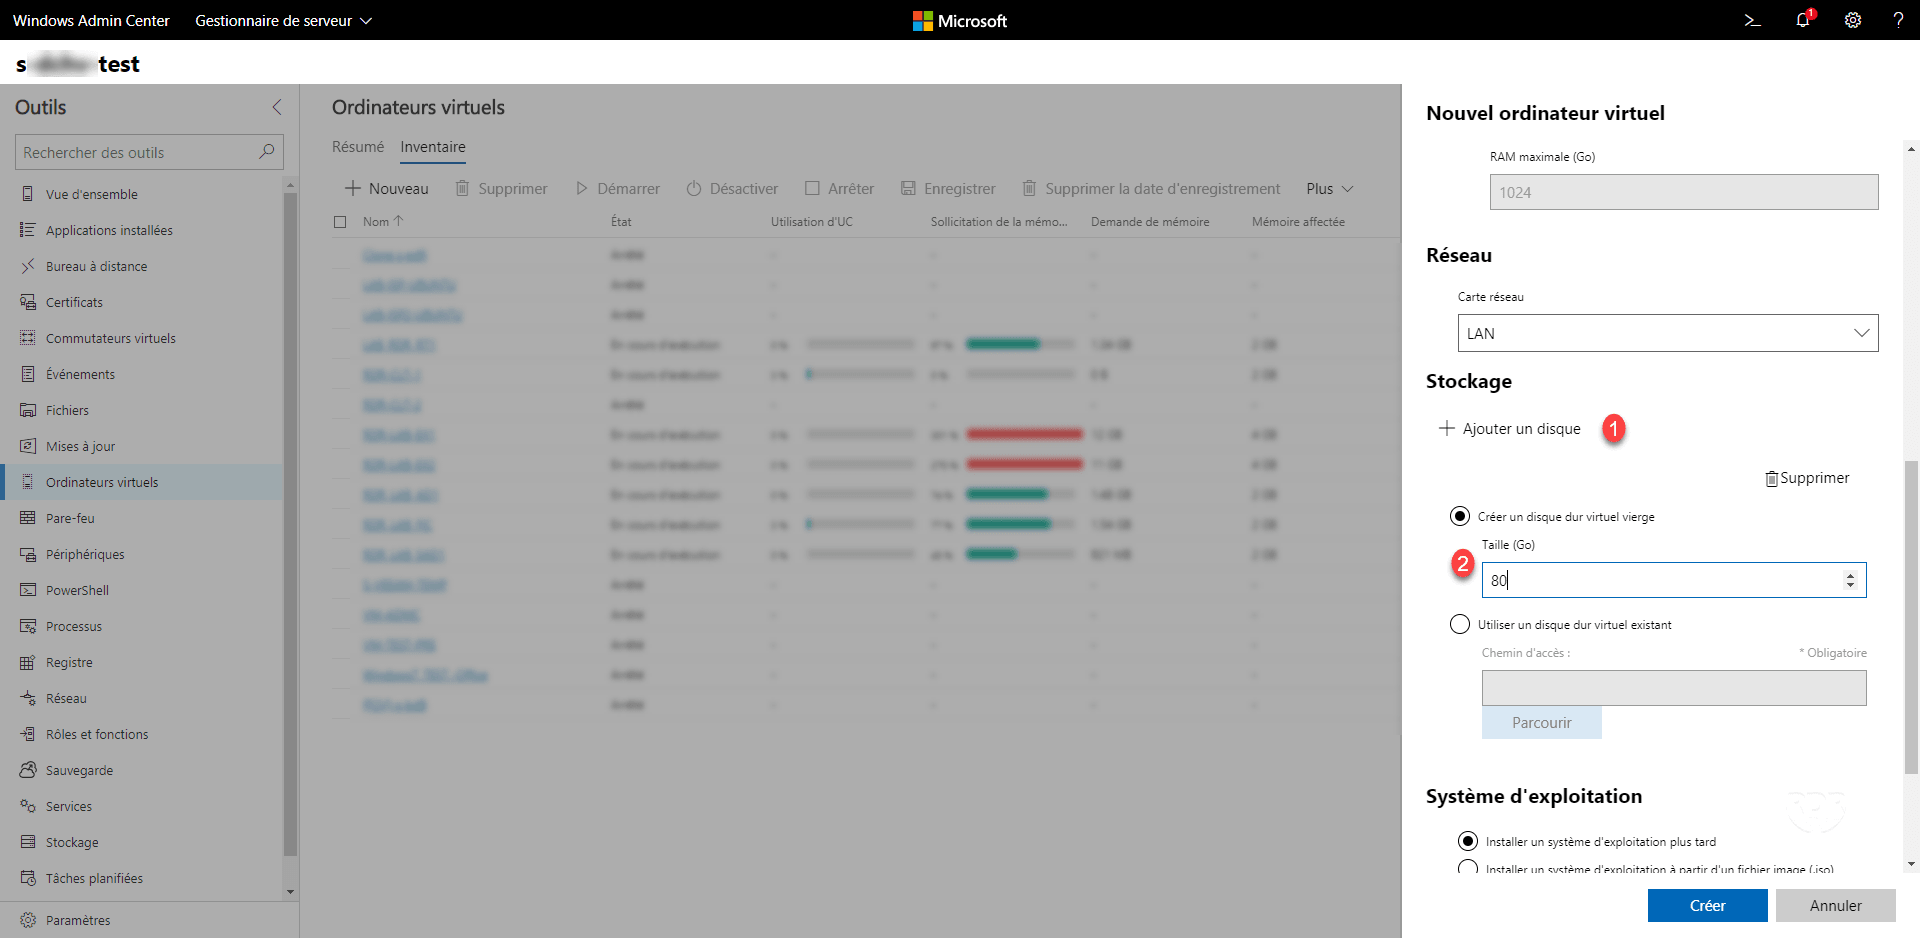
If you add multiple hard drives, the hard drive added last will have the lowest number on the scsi controller, in case of automatic deployment the installation will be done on this volume.
9. Configure operating system installation mode 1 and click Create 2 .

10. The virtual machine is created 1 .
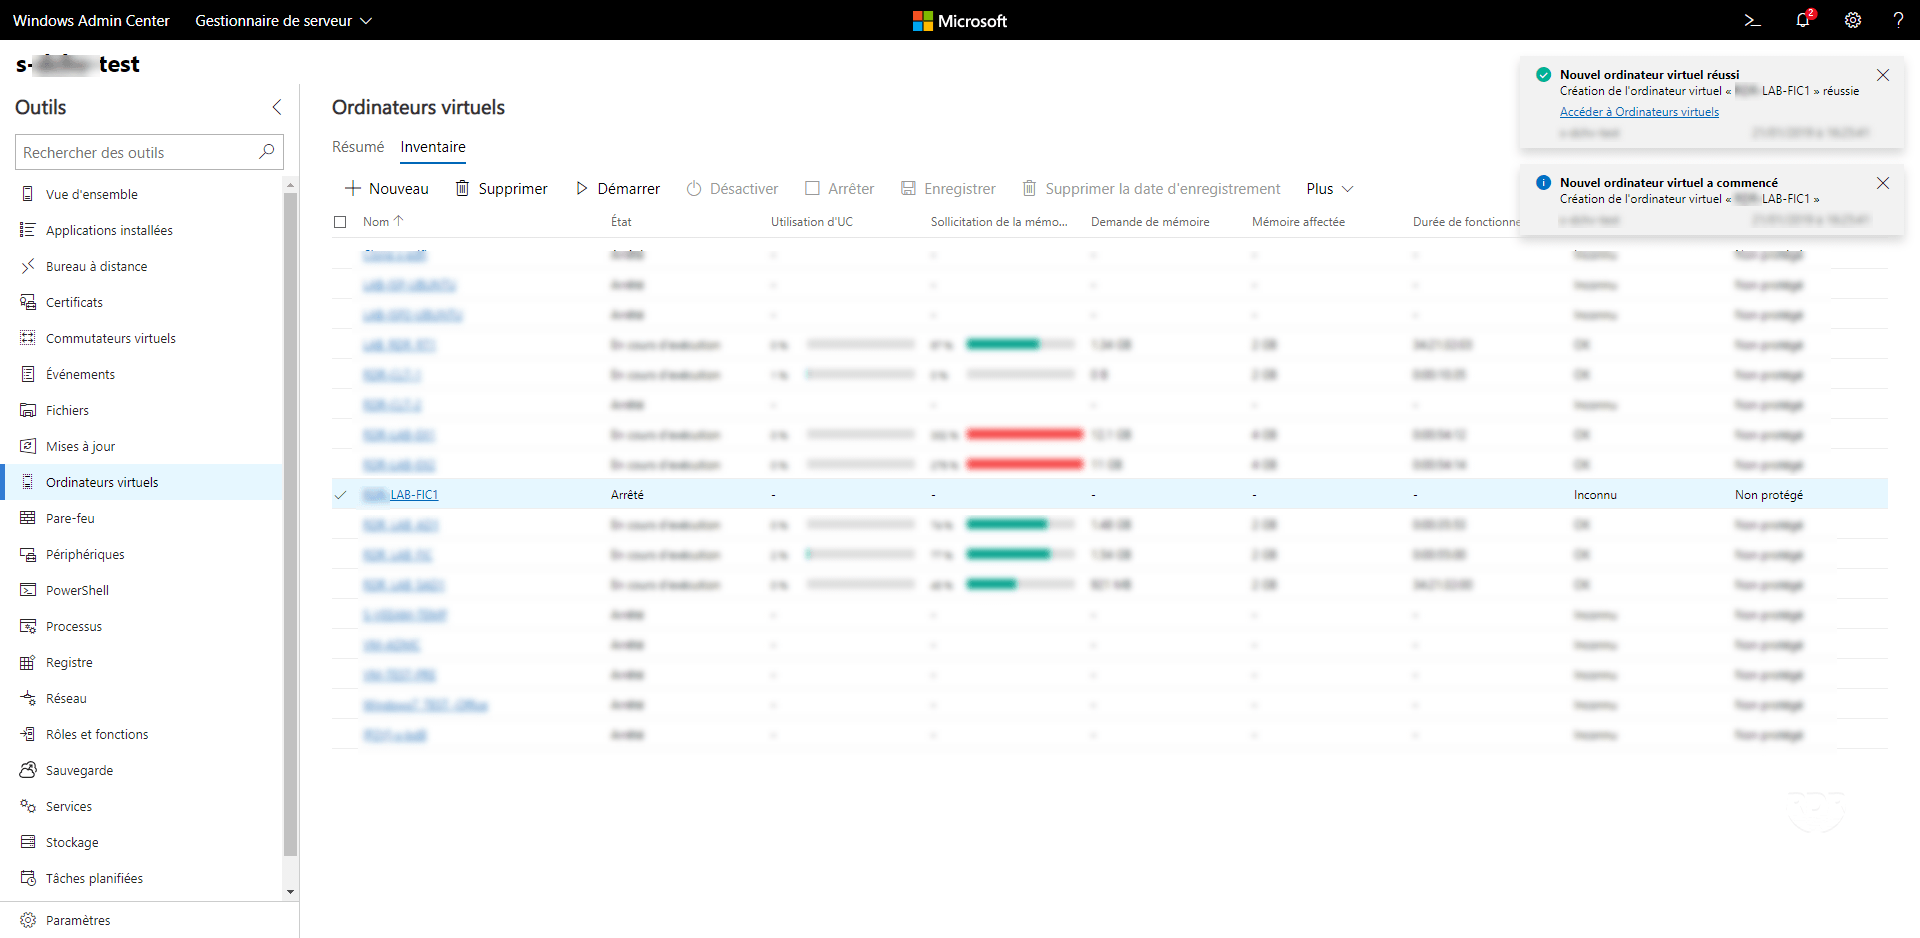
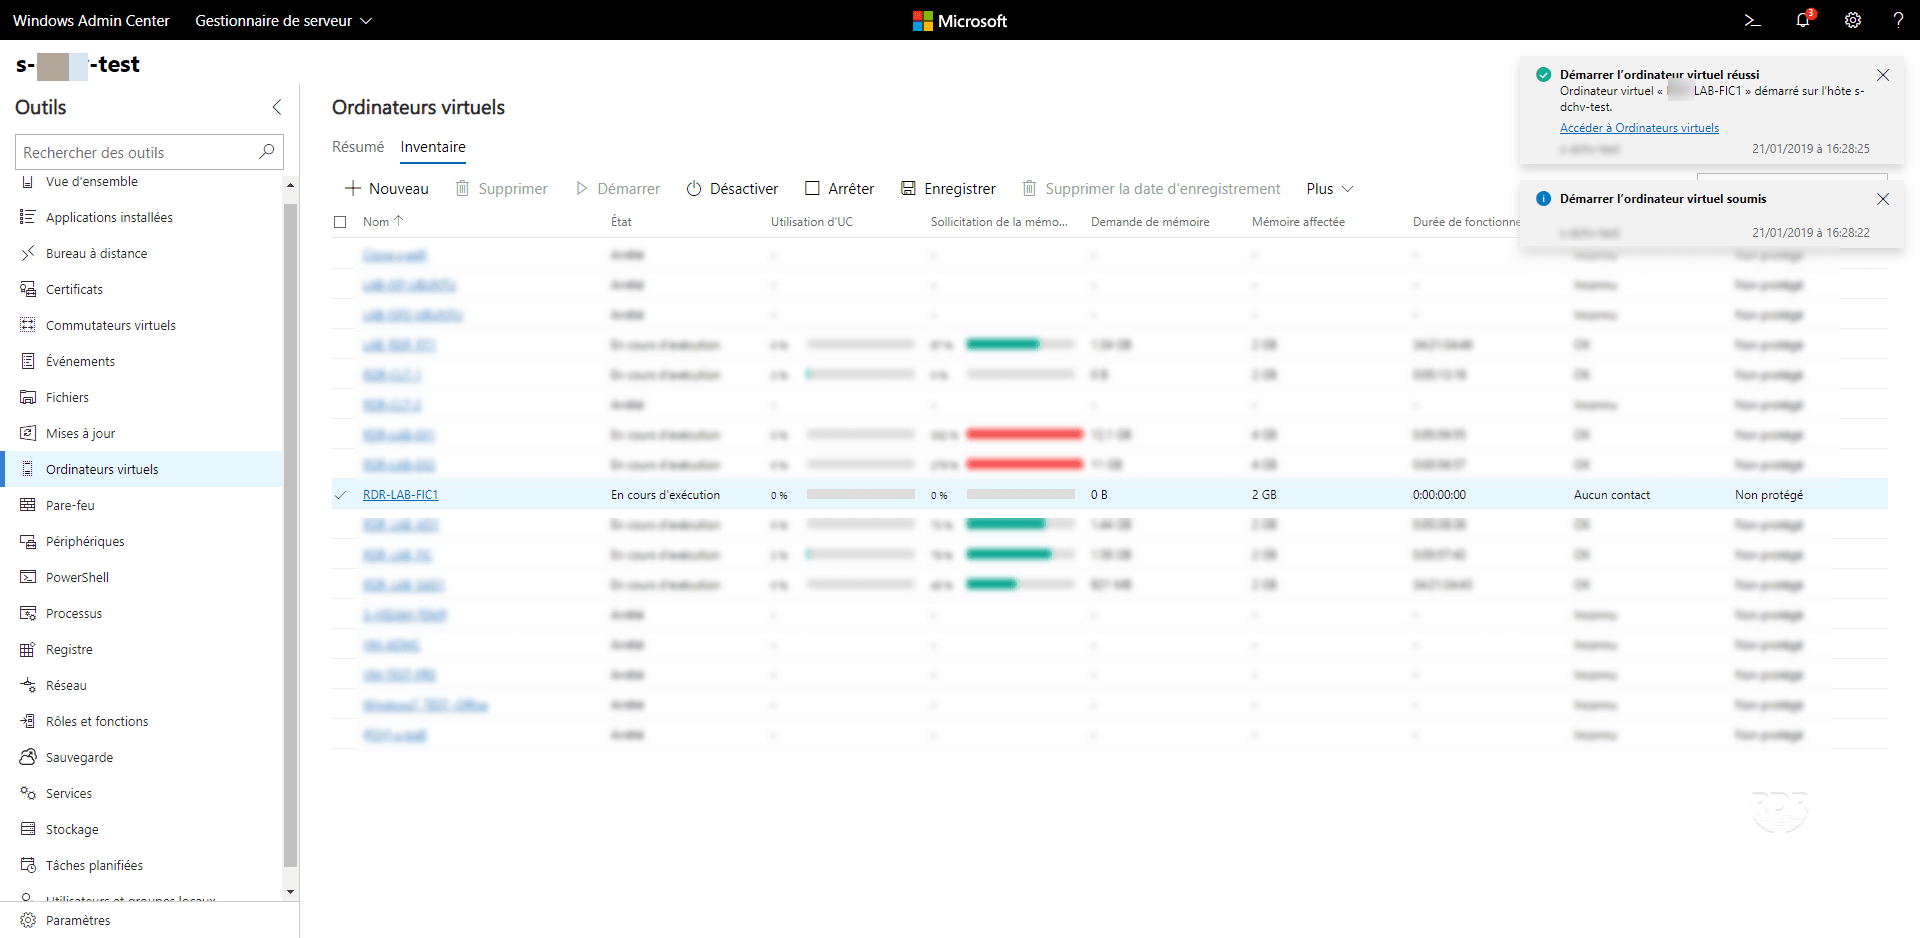
The Admin Center has a notification center that also allows you to follow current and completed actions.
Modify the virtual machine
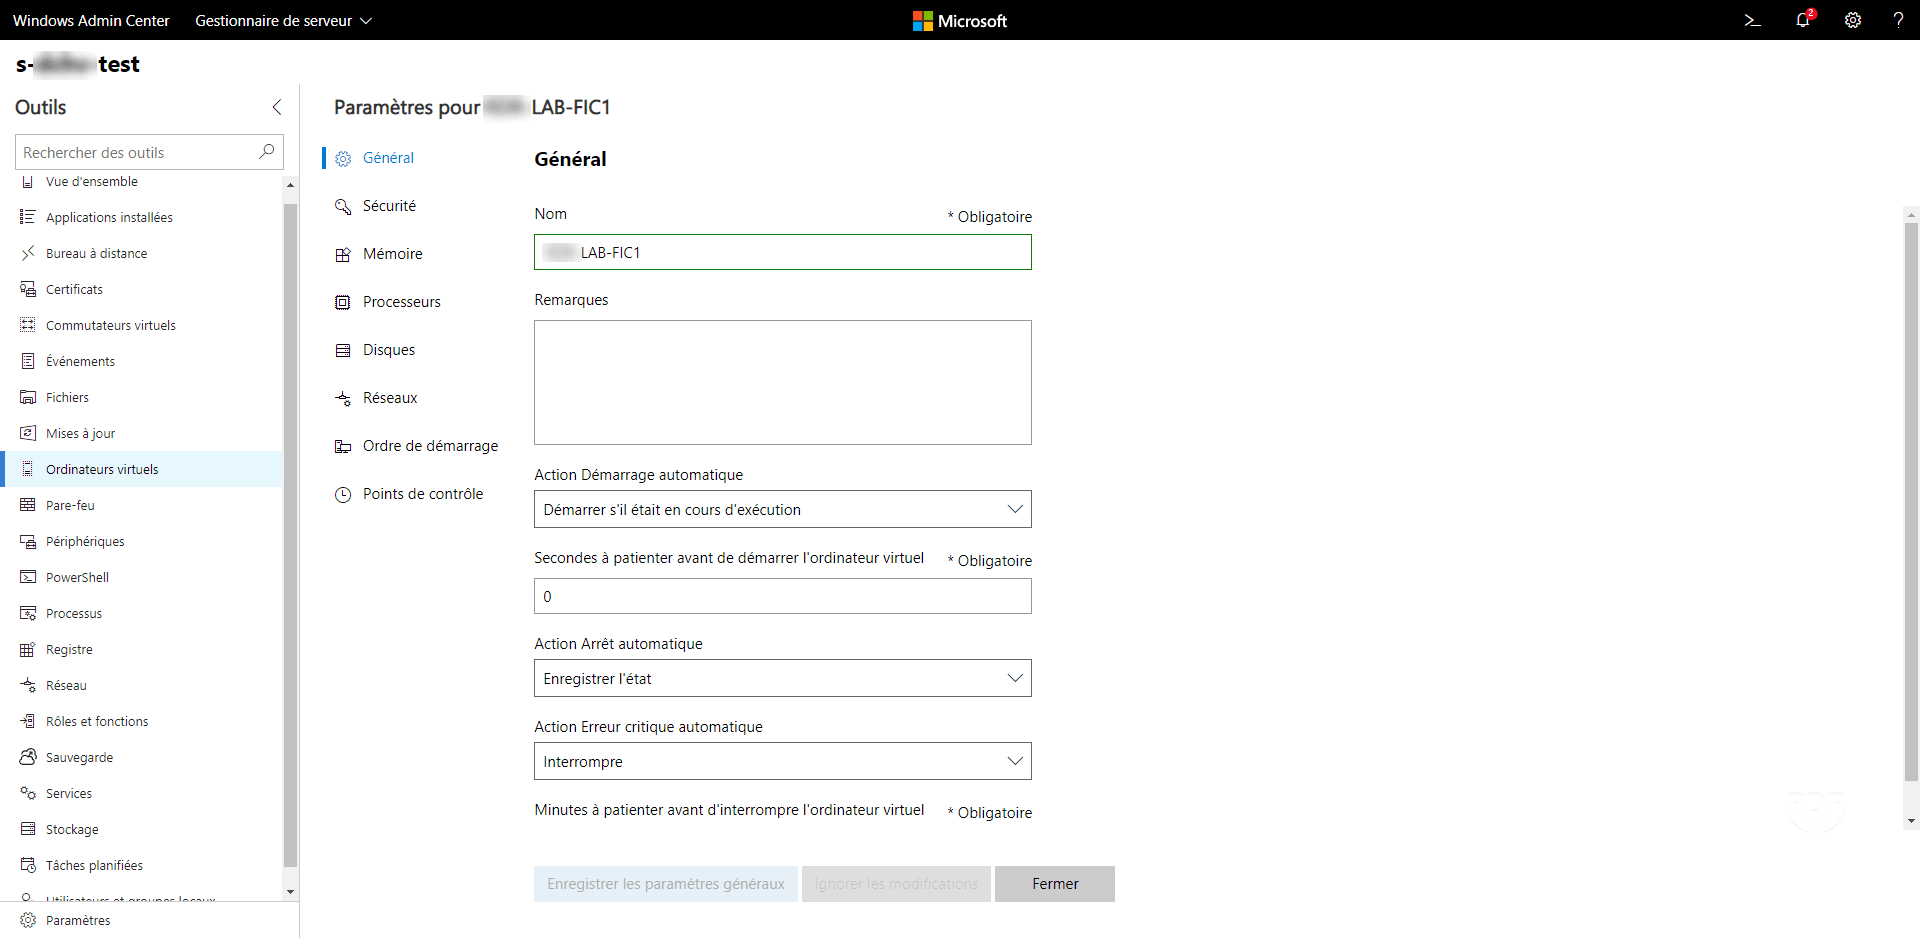
1. Select virtual machine 1 by clicking on line 1 then click on More 2 / Parameters 3 .
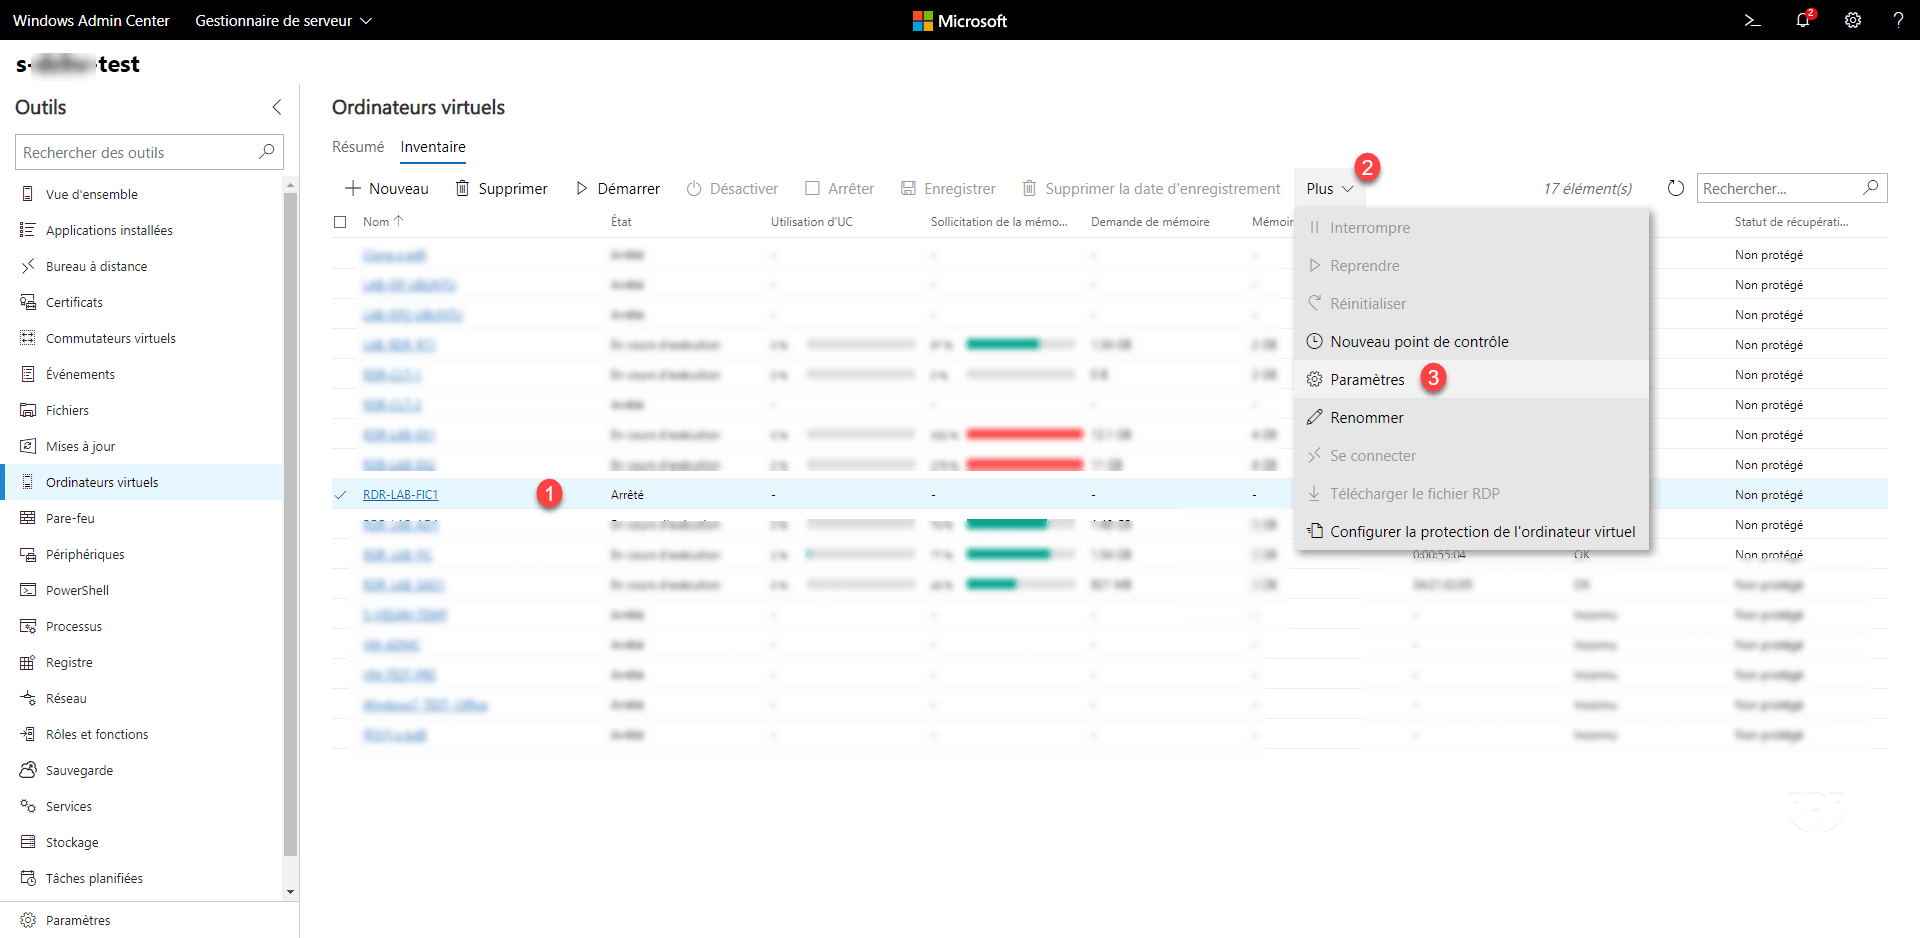
2. As on the Hyper-V console, it is possible to change the settings of the virtual machine.
Start the virtual machine
1. Select virtual machine 1 by clicking on line 1 and then click on Start 2 .
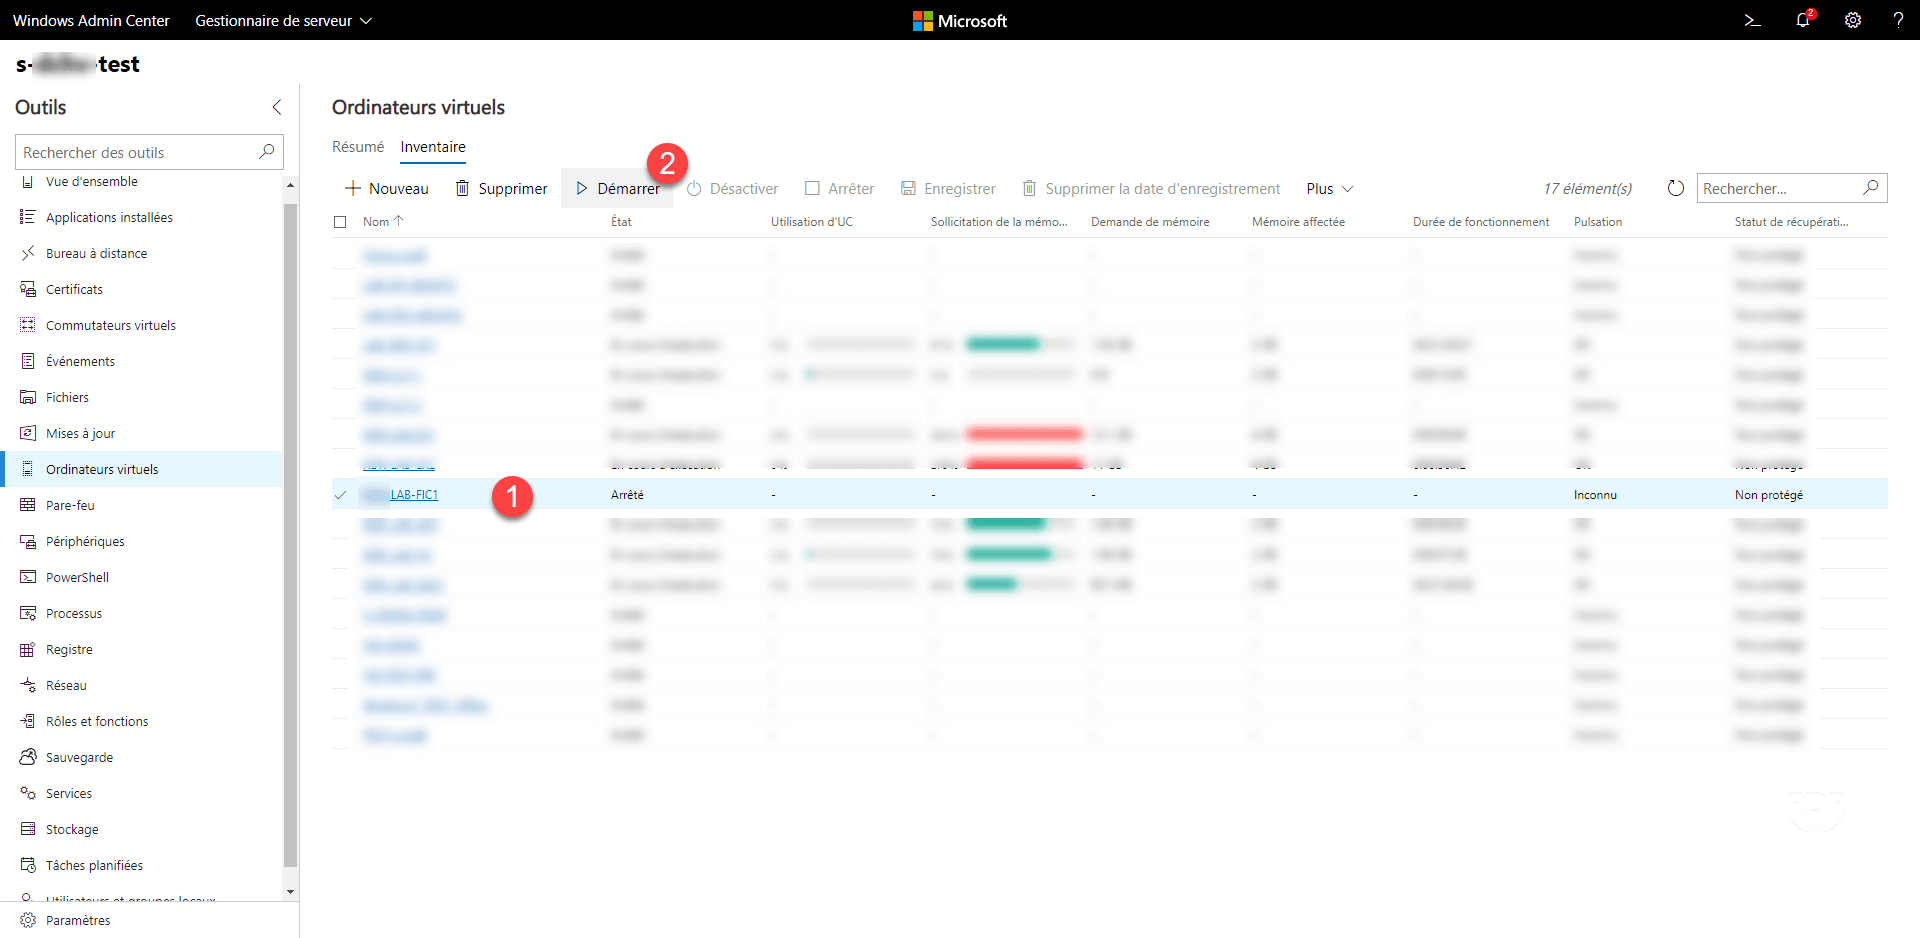
2. The computer is started.
Connect to the virtual machine
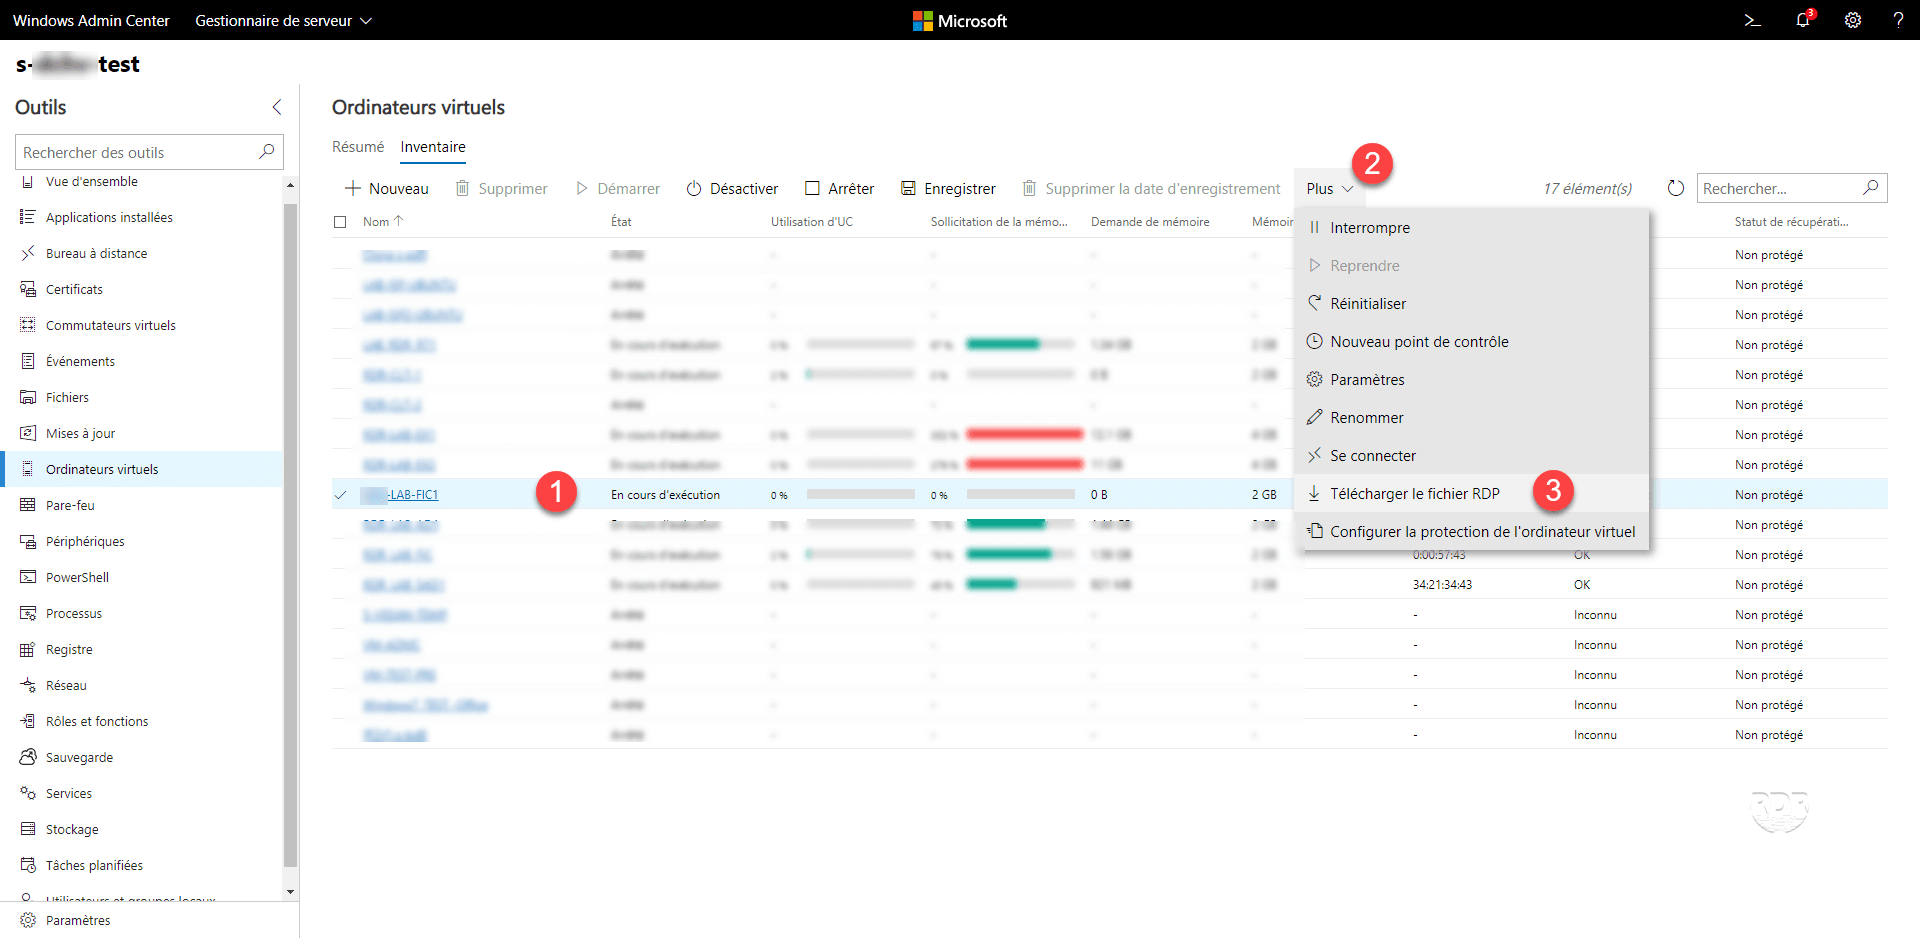
1. Select the 1 virtual machine, click More 2 and then Download the RDP 3 file.
2. Save the RDP file.
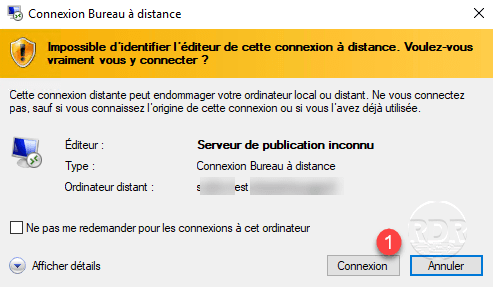
3. Run the file, click on Connection 1 .
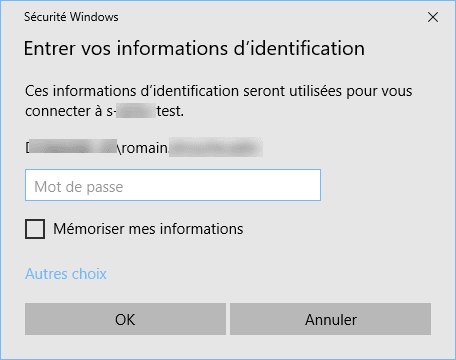
4. Enter the credentials to connect to the Hyper-V server.
5. Connection to the virtual machine established in RDP.

Conclusion
Using the Admin Center allows you to manage Hyper-V servers and virtual machines with a single interface.
The Web interface allows you to have more information at a glance than through the Hyper-V console.
The virtual machine creation is also more complete because it is possible from the moment of creation to modify the number of CPUs, which is not possible with the consoles.
