In this tutorial, I suggest you discover the dynamic access control available on Windows Server in an Active Directory environment.
Before getting to the heart of the matter, I will introduce you to dynamic access control also called DAC (Dynamic Access Control).
DAC adds additional control over NTFS access rights which allows rights to be extended. Here are some examples :
- Right according to a classification (subject of the tutorial)
- Right depending on the computer
- Entitlement based on an Active Directory attribute
- …
To configure dynamic access control, the File Server Resource Manager (FSRM) role must be installed on the file server and “master” the classification of files.
Rules creation is done through the ADAC console.
Course of the tutorial: to illustrate dynamic access control, we will add a classification (Yes / No) to the file which contains the word “DSI”, in dynamic access control it is a resource property. Then we will create a central access rule where we will configure the access rights by authorizing only the users of the GRP_USERS_IT group to be able to access files that have the File Tag DSI classification set to yes, to finish we will create a Policy of central access that we will publish by GPO in order to be able to apply it.
It is also possible to use claims based on AD attributes of computers and users. In order to facilitate the understanding of dynamic access control, this subject will be discussed in another tutorial.
Table of Contents
Creating the resource property in the ADAC console
On a domain control, open the Active Directory Administration Center (ADAC).
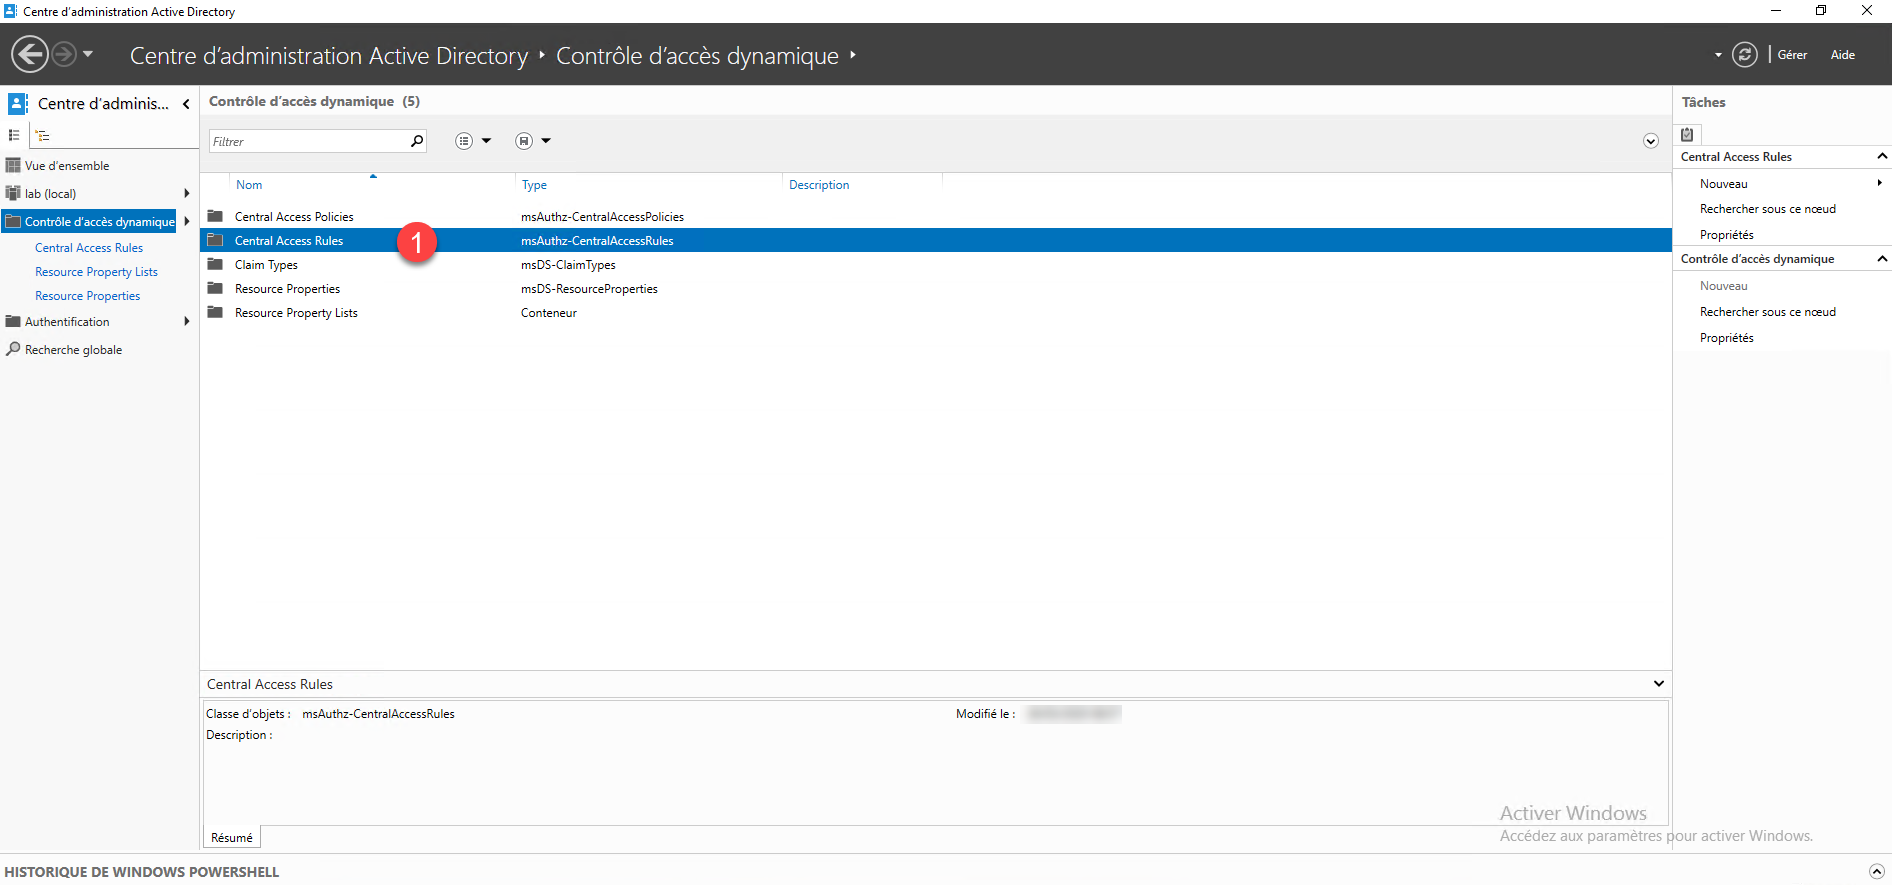
In the navigation menu, click on Dynamic access control 1.
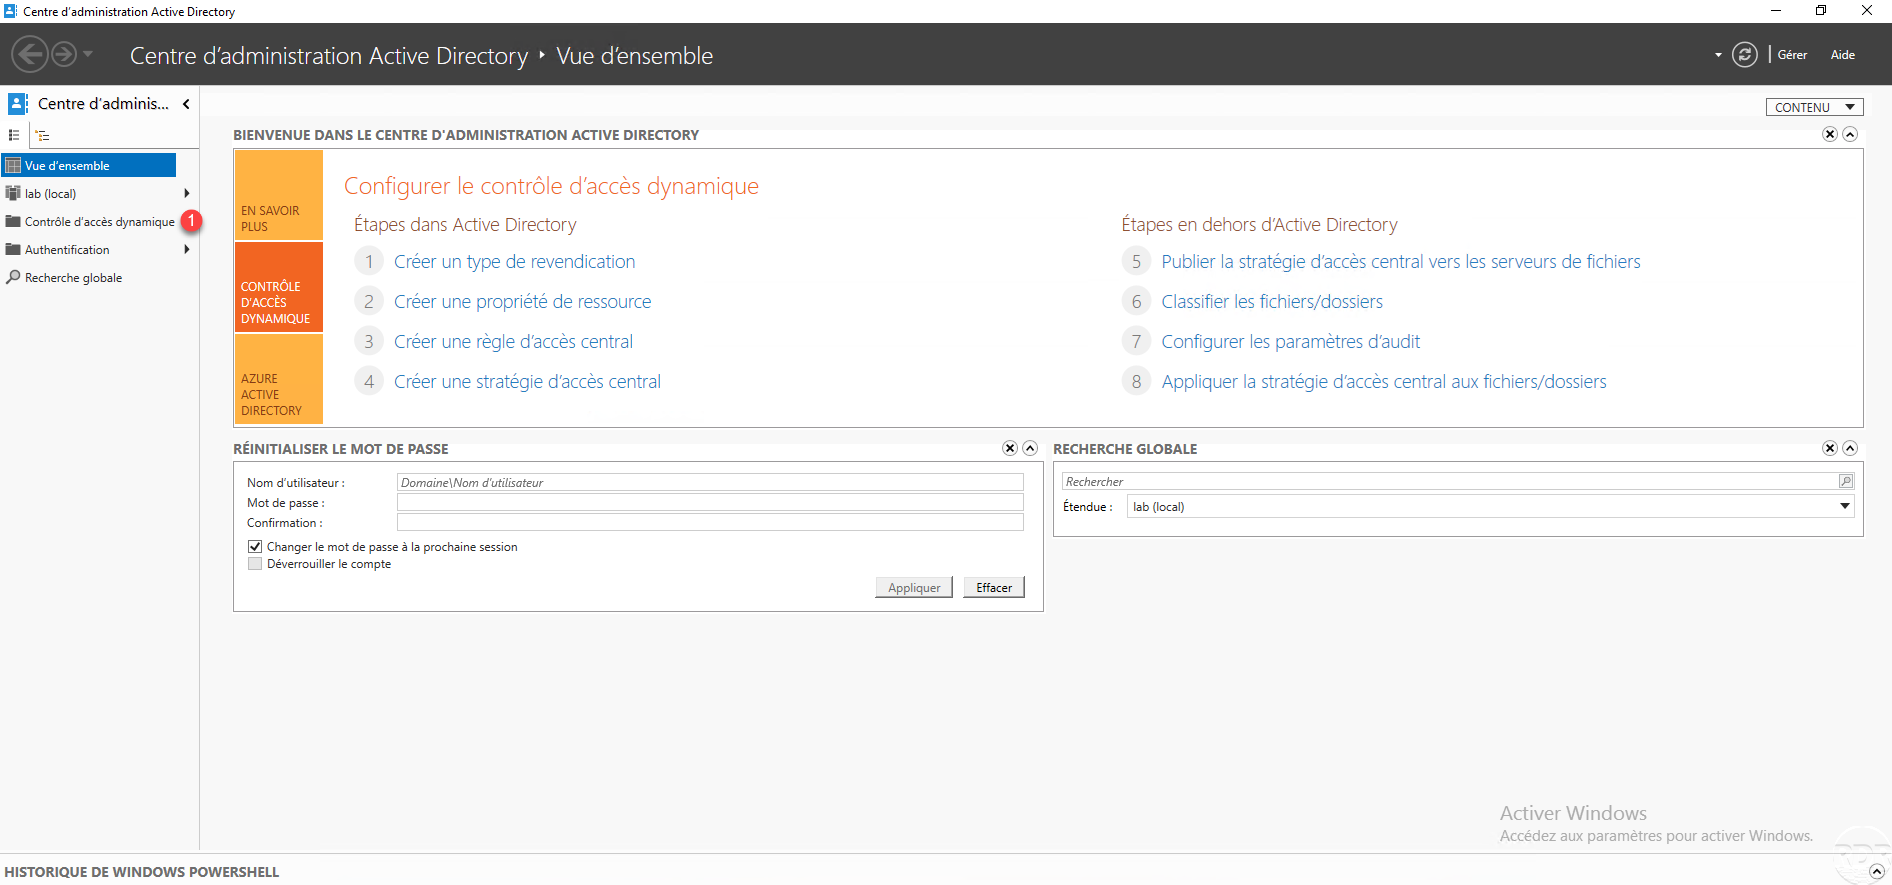
It is also possible to go through the overview by clicking on Dynamic access control and clicking on Create a resource property. For the tutorial, I prefer to show you the full path.
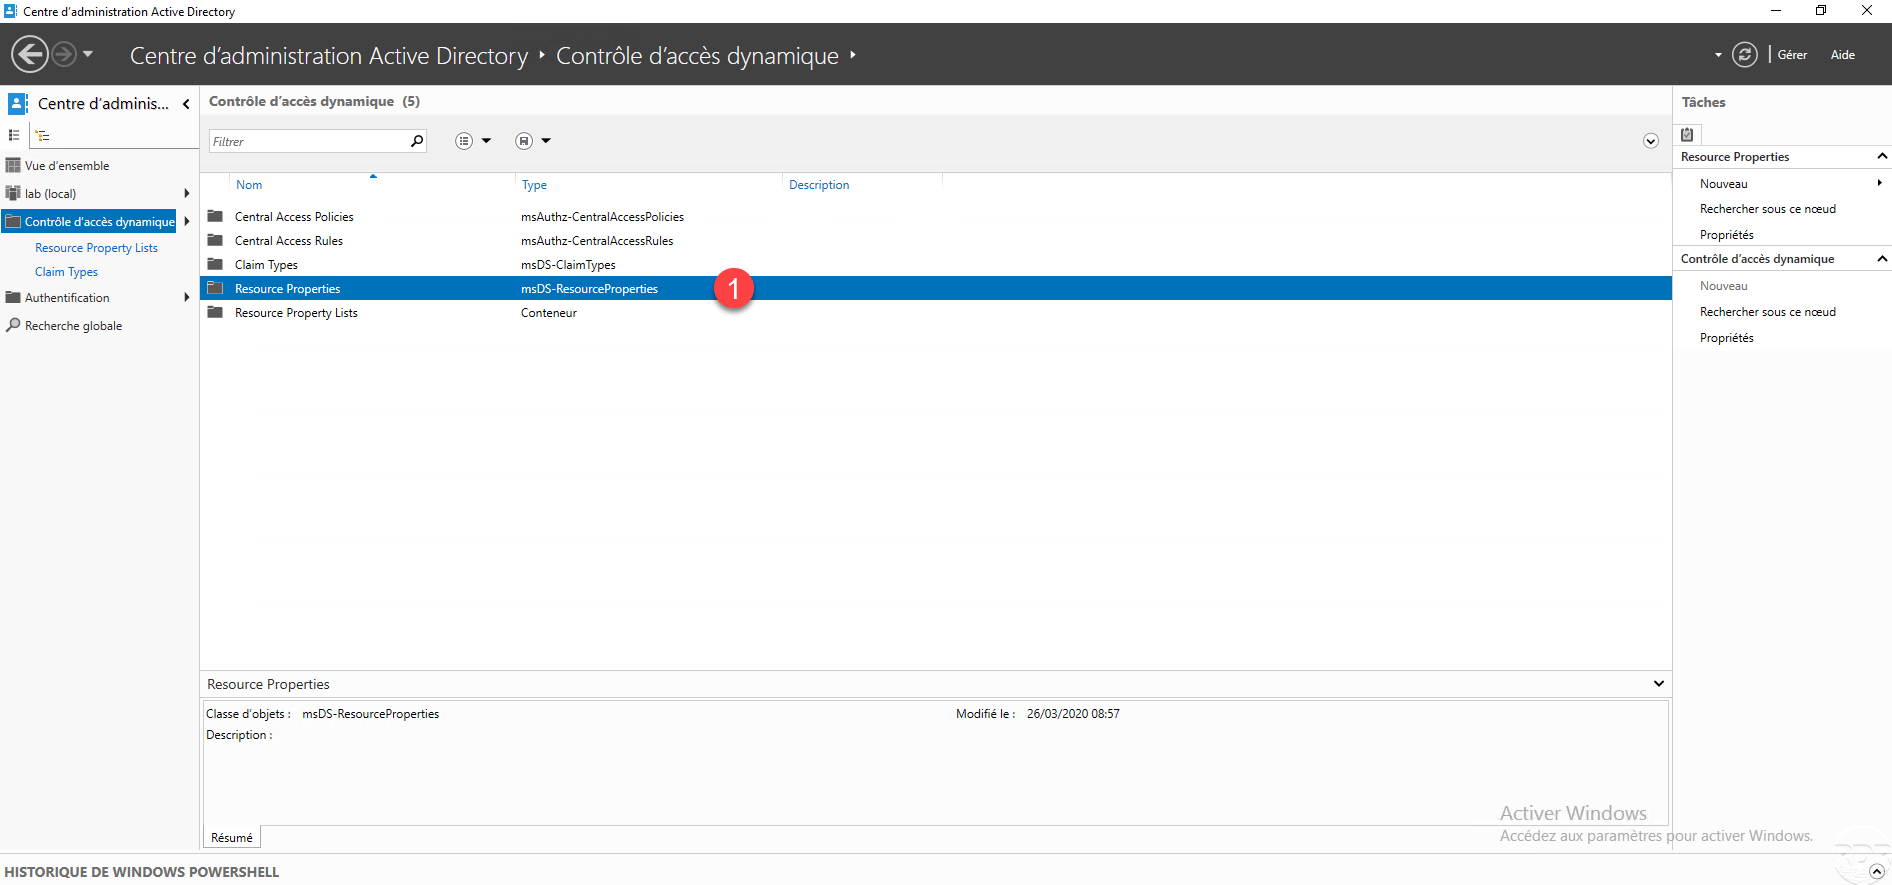
The various DAC configuration elements are displayed, double-click on Resource Properties 1.
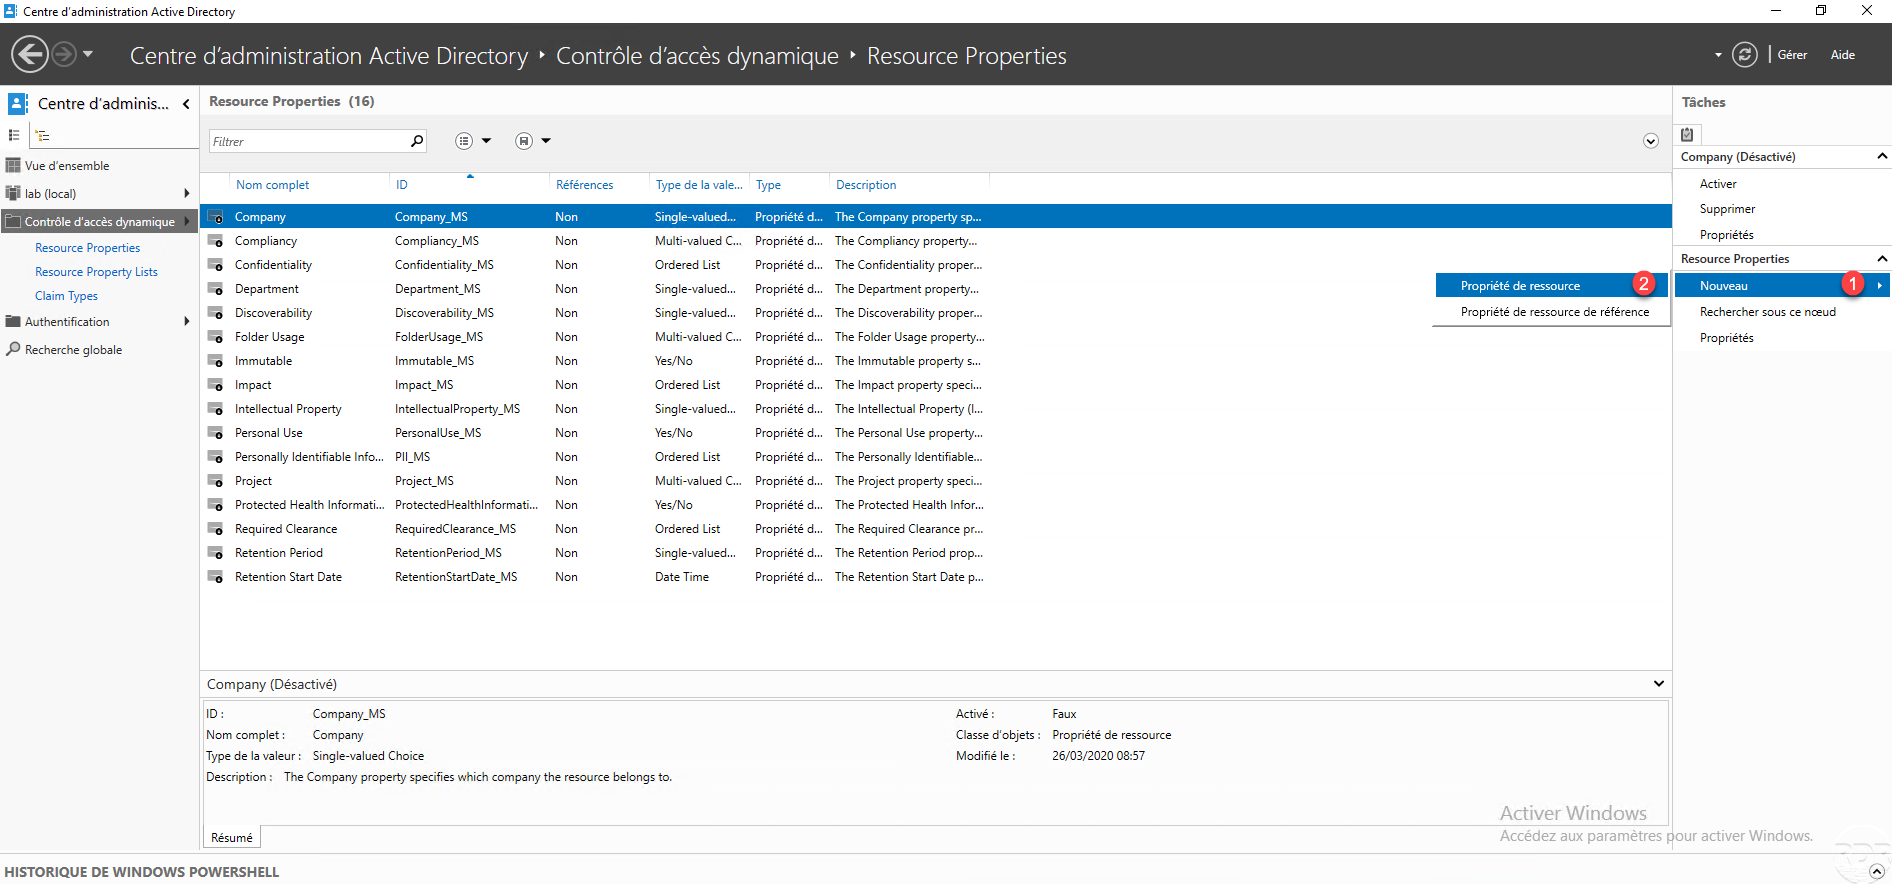
A list of predefined properties is displayed, in the Tasks pane, go to New 1 and click on Resource property 2.
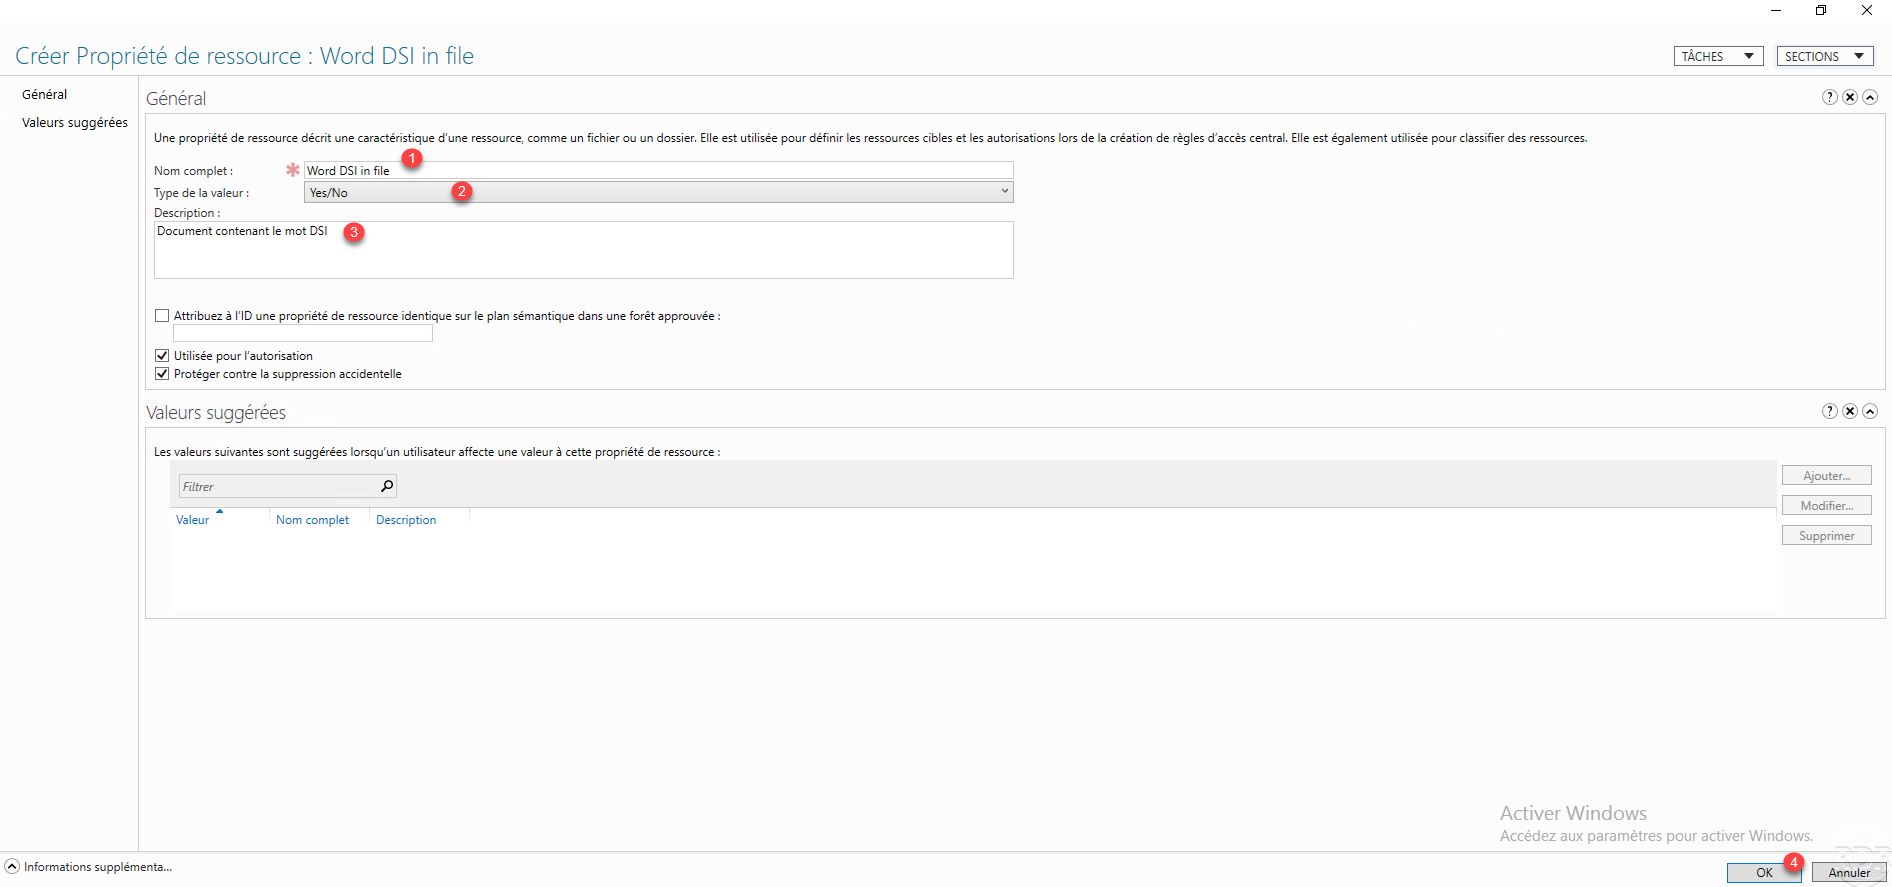
Configure the Resource Property, specifying its name 1 and the type of value 2 (Yes / No). Give a description if necessary 3 and click OK 4 to create the resource property.
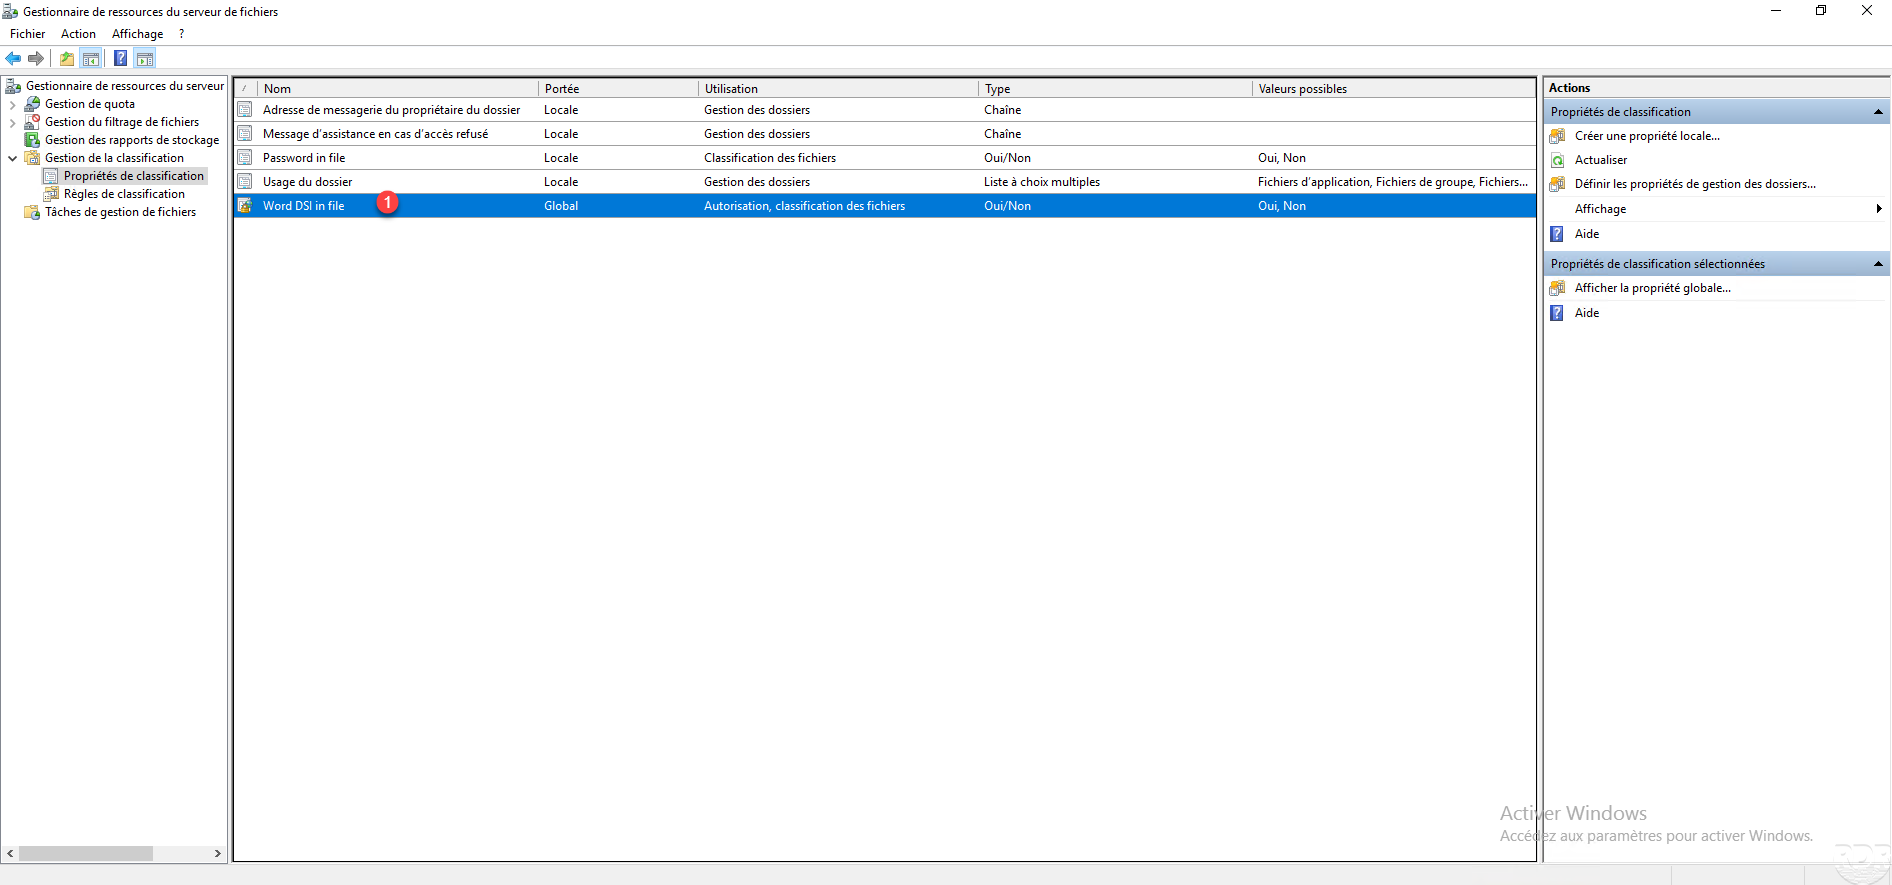
The resource property is created 1, we can also see that it is activated by its icon.

Configuring the classification rule
Now you need to create a classification rule on the file server. I will not go into this part in detail, because the tutorial: deals with the subject.
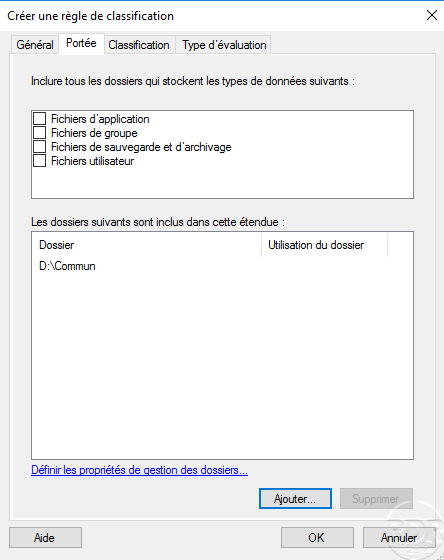
Before creating the classification rule, verify that property 1 is available in the console of the FSRM role.
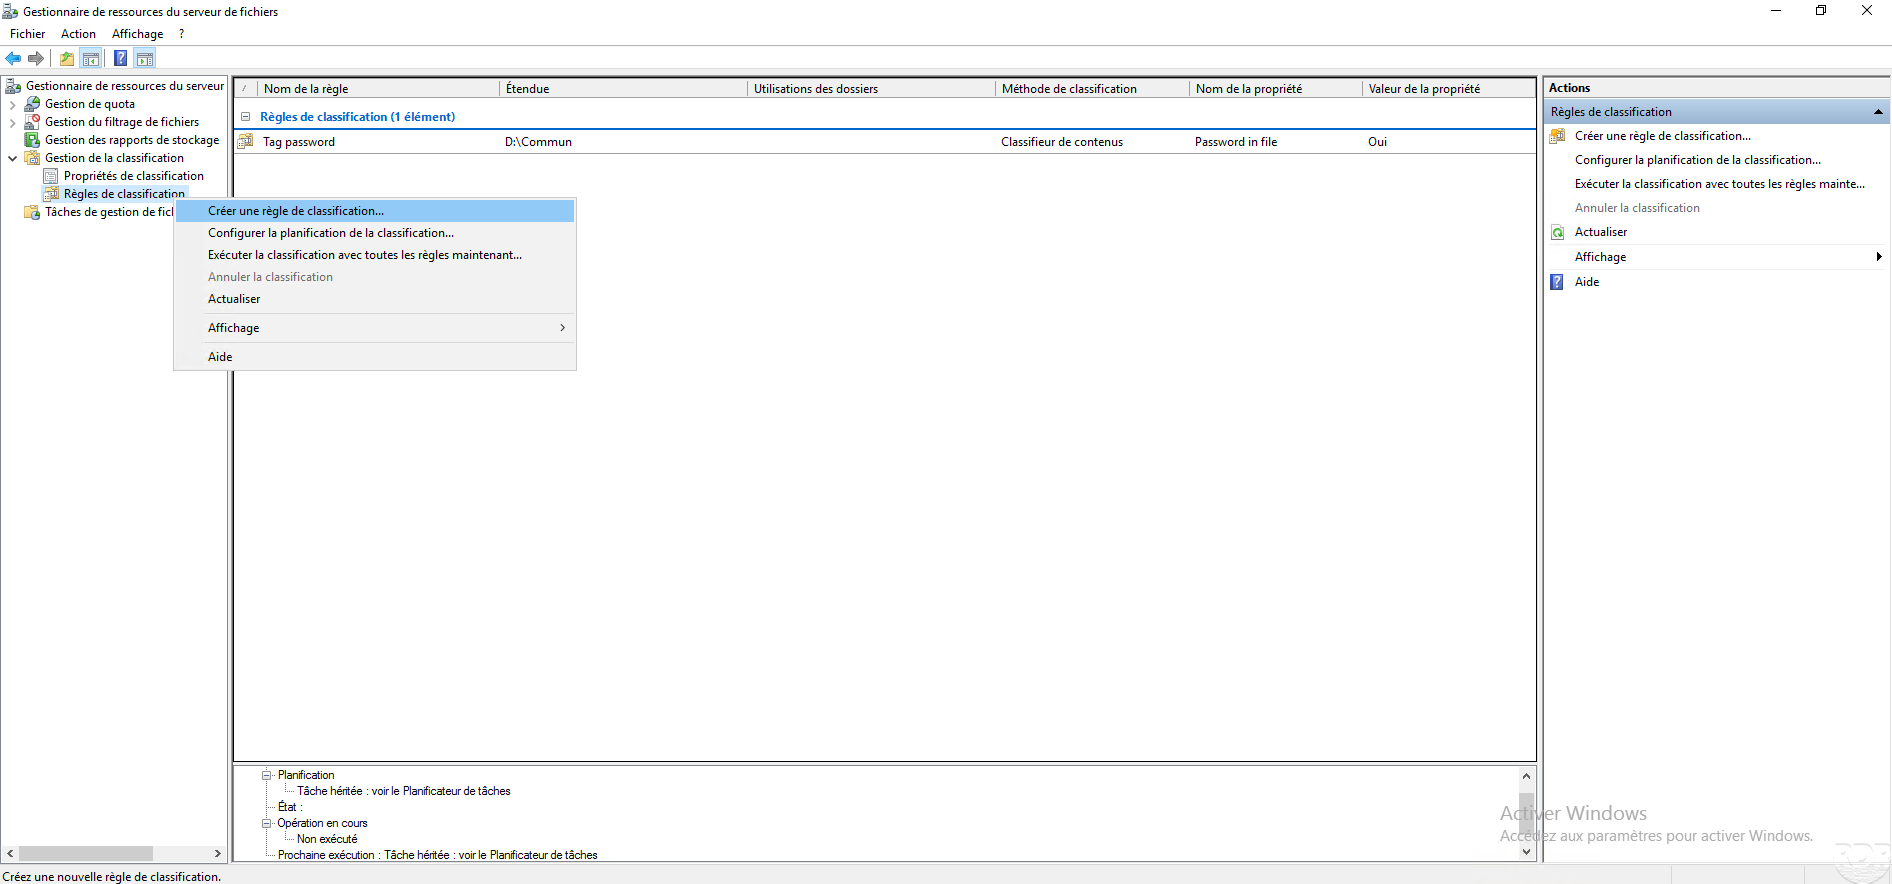
Create a new classification rule :
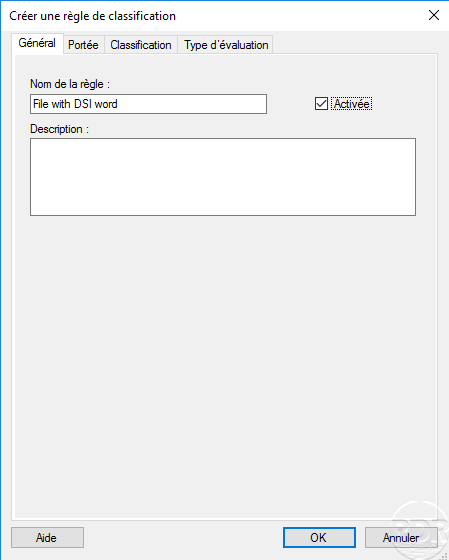
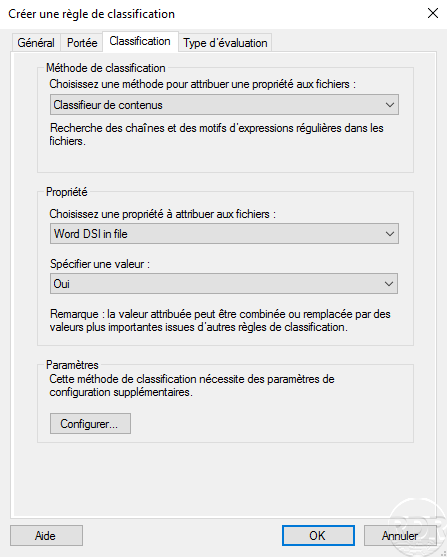
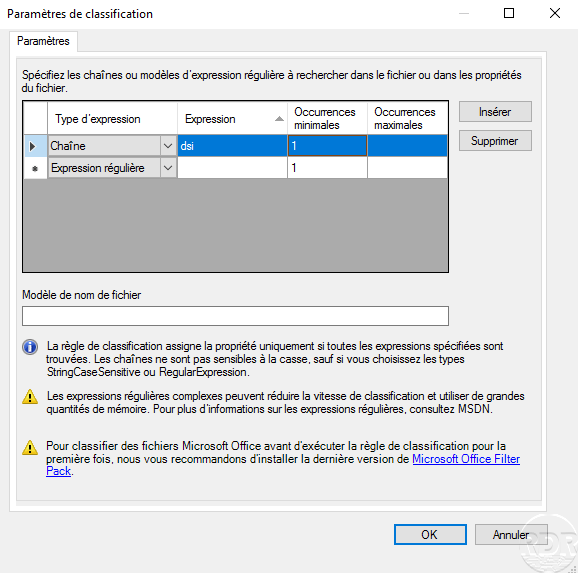
Configure the rule :
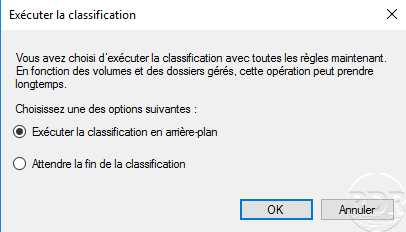
Run the classification rule …
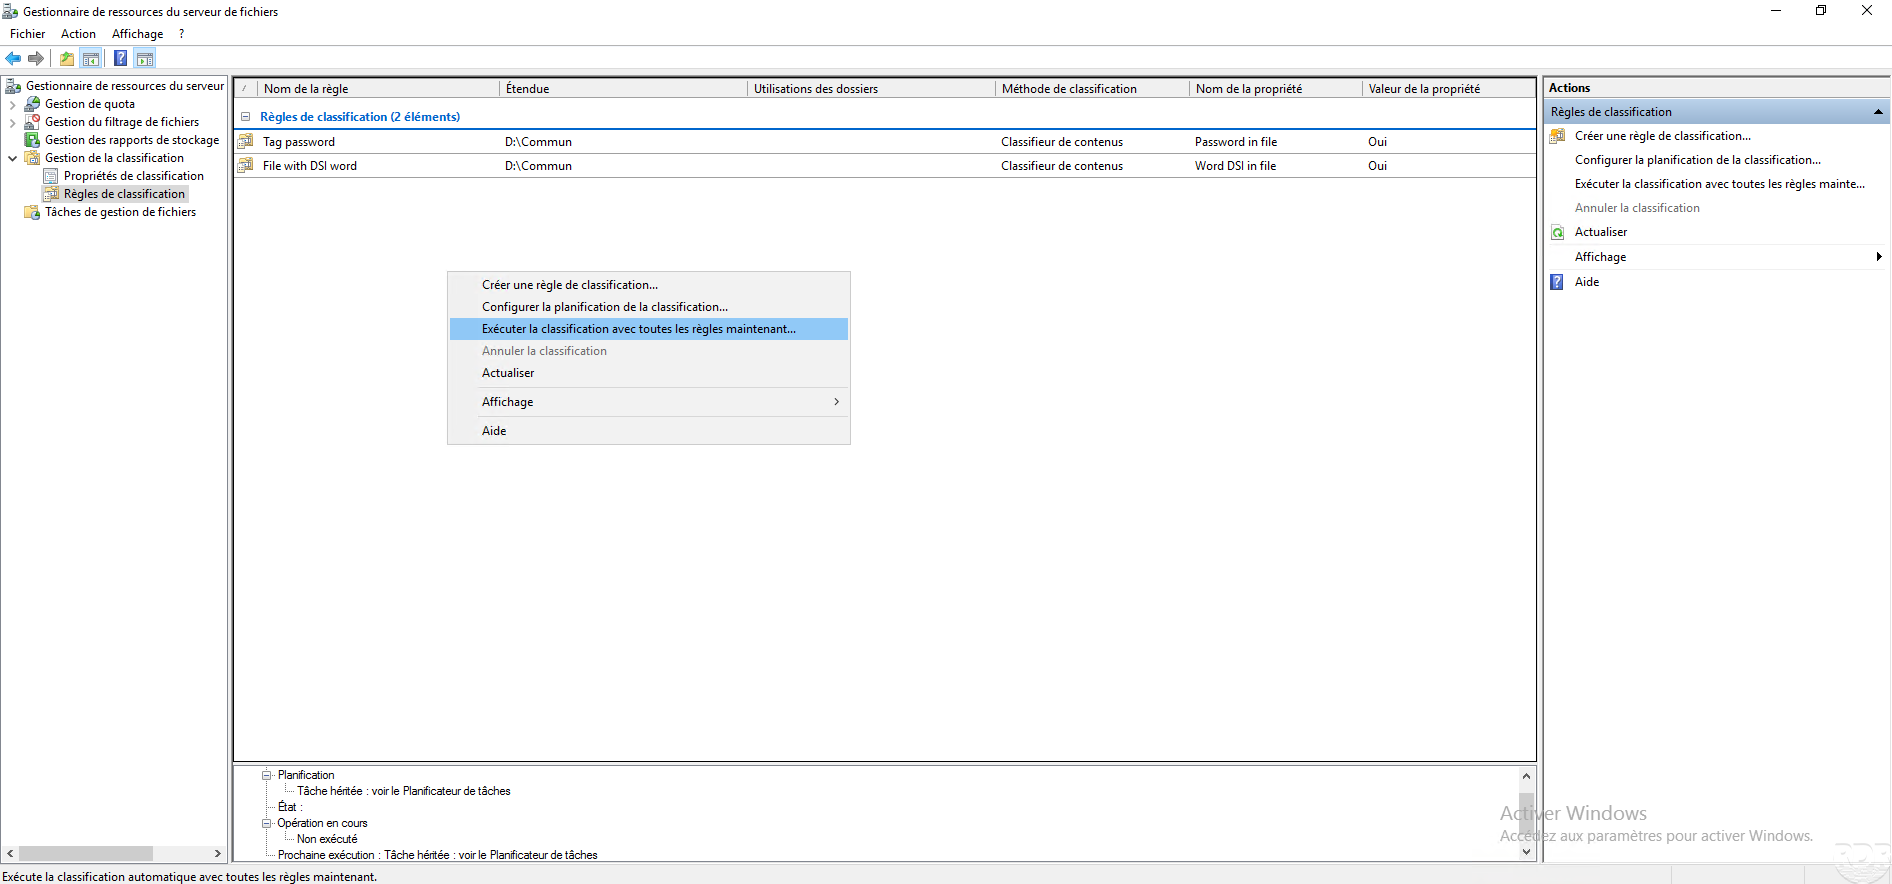
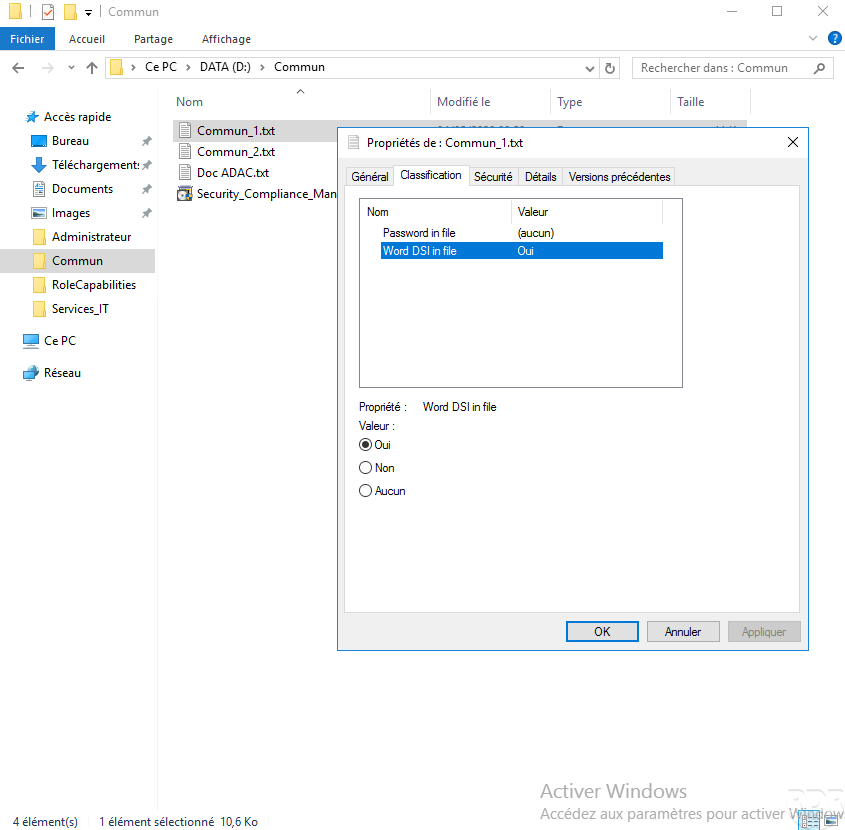
Check that the classification has been made.
Creating the central access rule
In this part, we will create the central access rule, which allows you to configure access rights according to the property and the user group.
As a reminder, we will only allow users in the GRP_USERS_IT group to access files with the File Tag DSI property set to Yes.
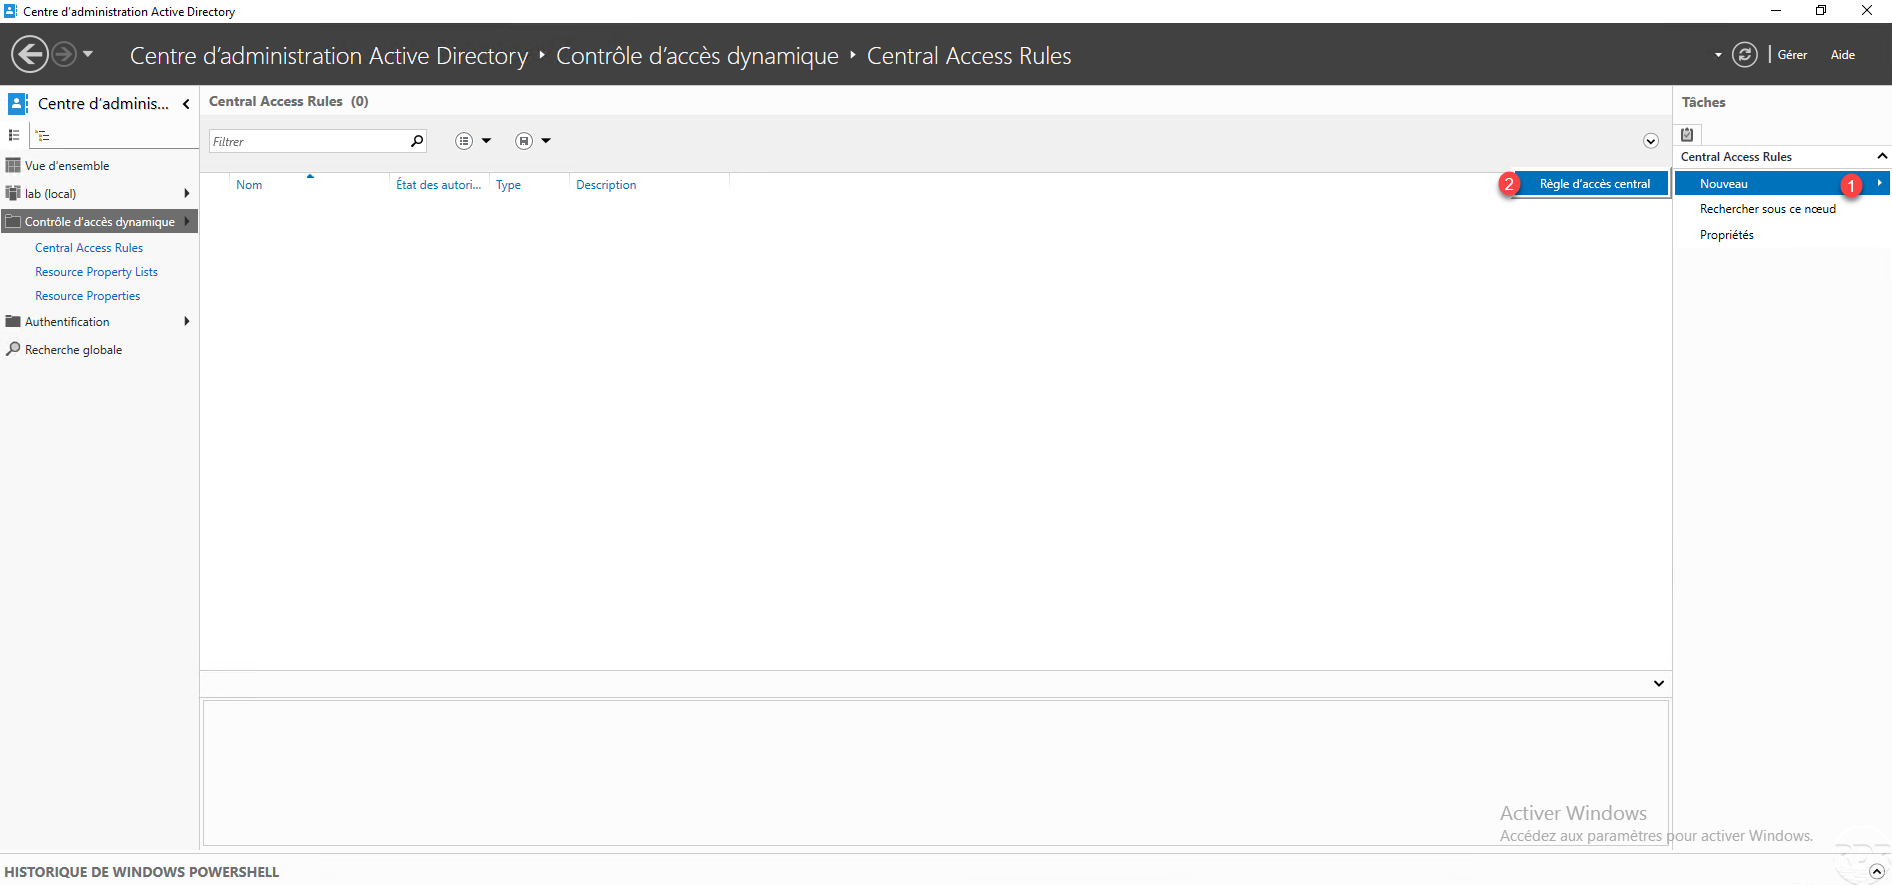
Return to the ADAC console, in the Dynamic Access Control container, go to the Central Access Rules 1 container.
In the Tasks section, click on New 1 then on Central access rule 2.
Enter the name 1 of the central access rule then click on the Modify button 2 in the Target resources section.
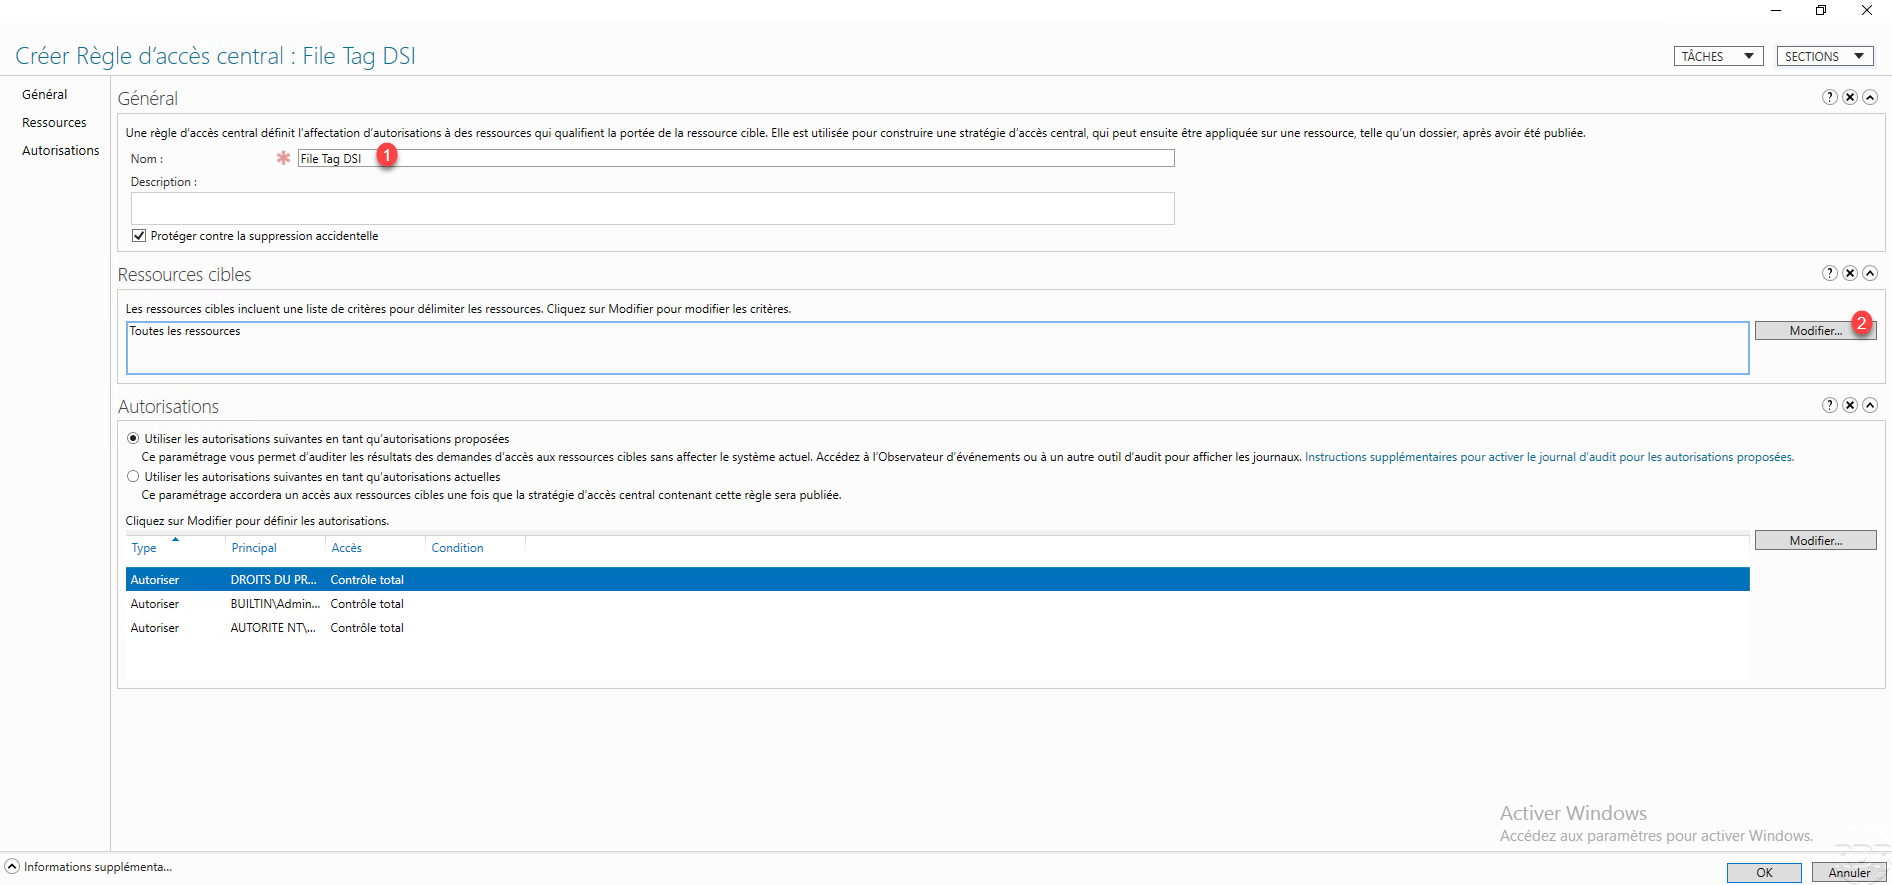
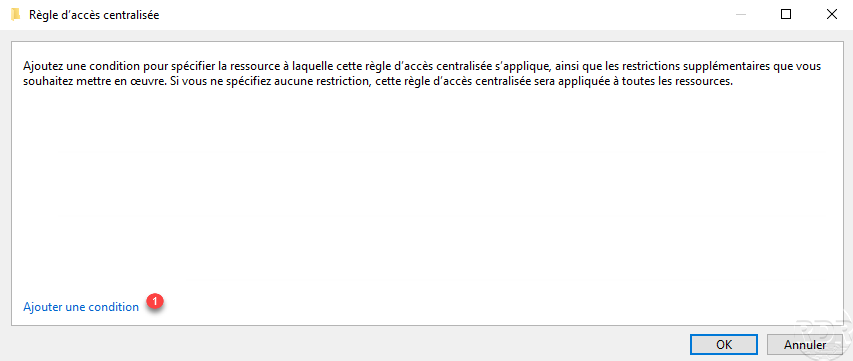
A window opens which allows you to configure the conditions for applying the rule to the resources, click on Add a condition 1.
Configure the condition of the resource, in the example below, we configure the property created previously to the value Yes 1, once the condition has been configured, click OK 2.
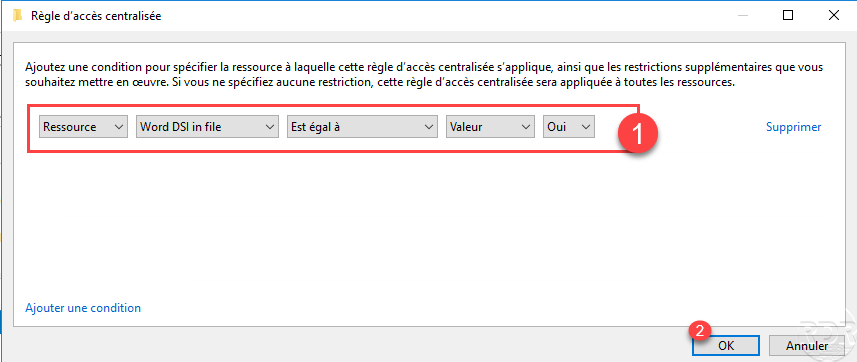
It is possible to configure several conditions, depending on the operator used (OR or AND), they will have a different scope. At first, I advise you to use simple conditions.
In the Target resources section, you can see the application condition (s) of the central access rule 1. We will now configure the access rights on the resource, click on the Modify 2 button in the Authorizations section.

The following operation is optional but recommended, select the Administrators group 1 and click on Remove 2.
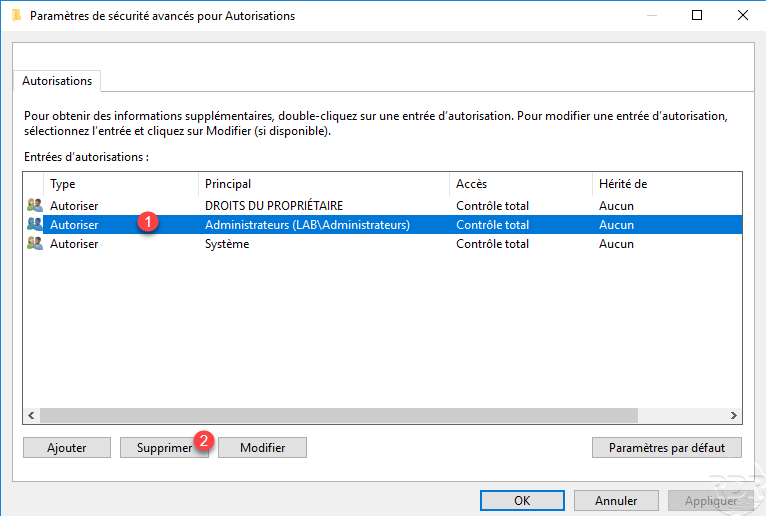
Removing the Administrators group prevents the rule from applying to this group.
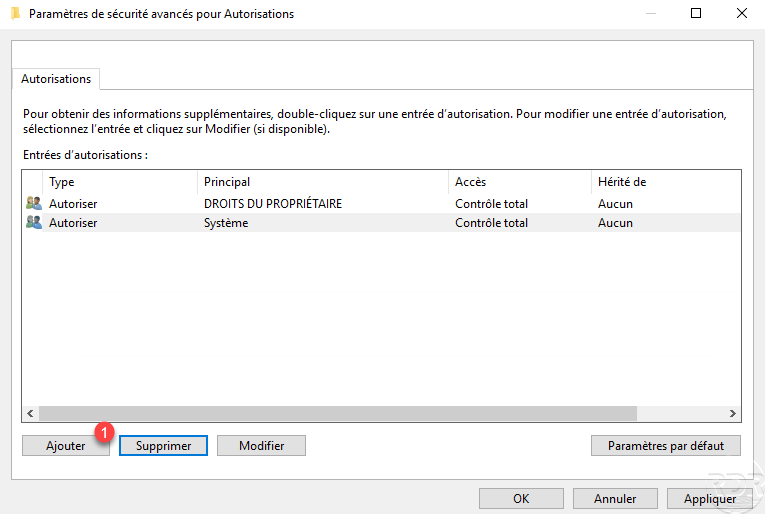
We will now configure to whom the rule applies, click on the Add button 1.
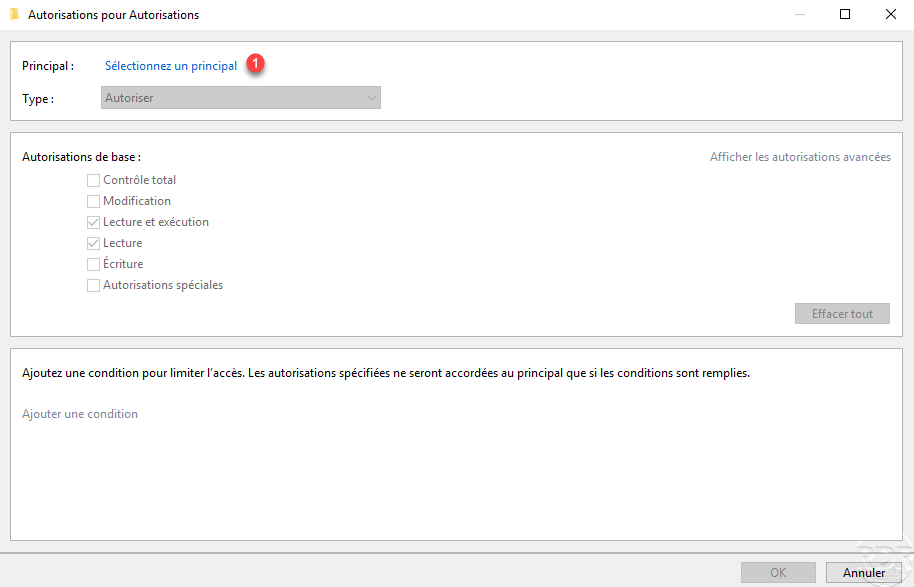
In the Authorizations for Authorizations window, in the first part click on Select a principal 1.
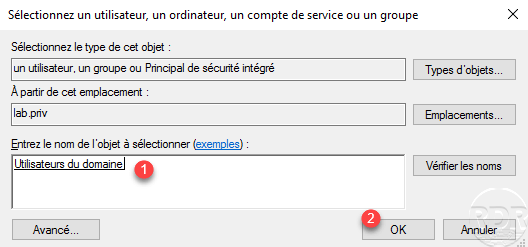
Select the Domain Users group 1 and click OK 2.
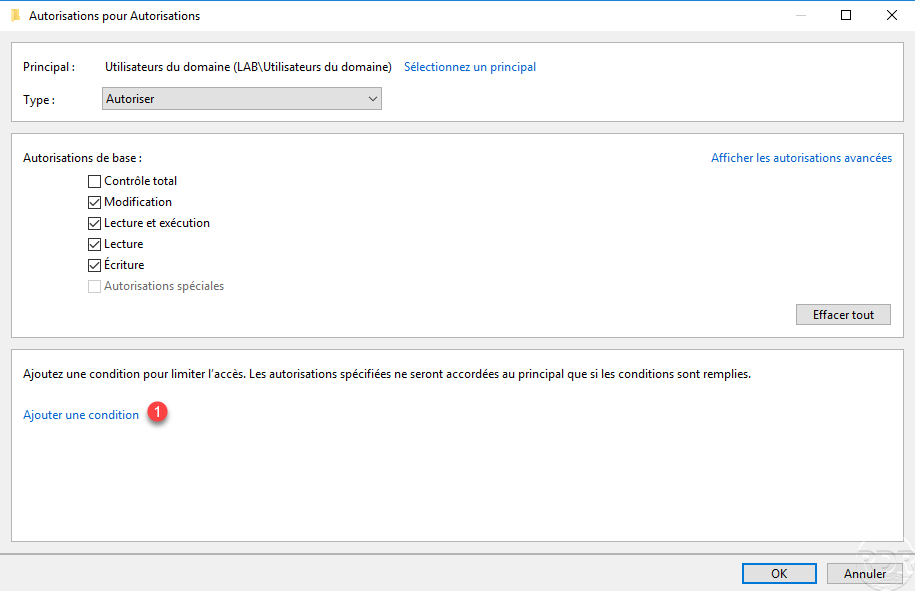
If necessary, modify the Basic Authorizations, we will now add a condition in order to limit access to the user of the GRP_USERS_IT group. In the bottom section, click on Add a condition 1.
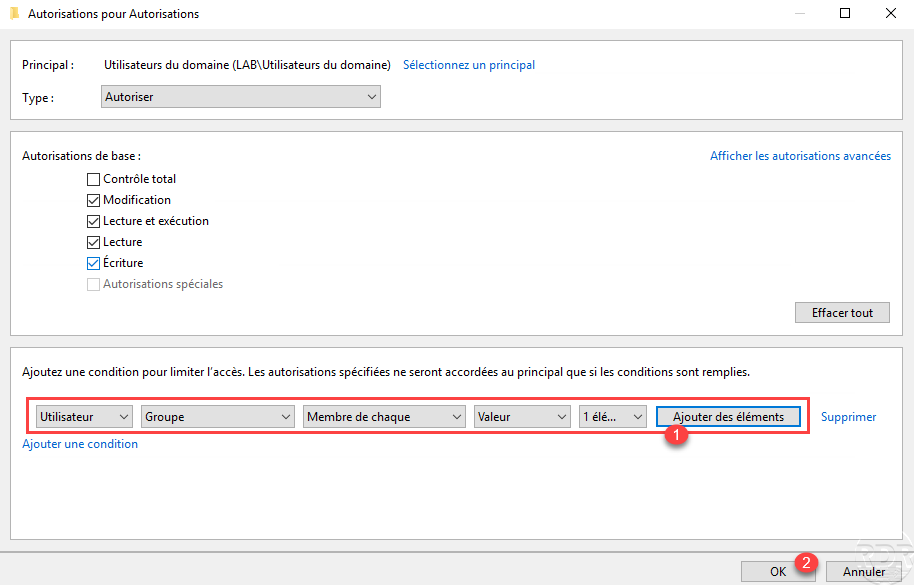
Configure the condition string as in the screenshot below 1 and click on Add elements 2.

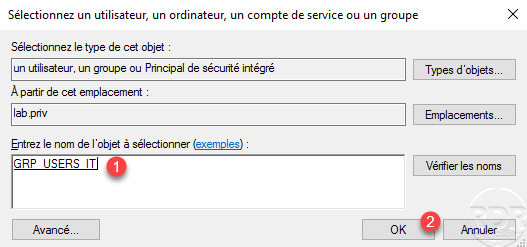
Select the group 1 to which the permissions will apply and click OK 2.
The condition is configured 1, click on OK 2 to validate the authorizations.
The authorizations are configured, we can see the condition 1, click on Apply 2 and OK 3.

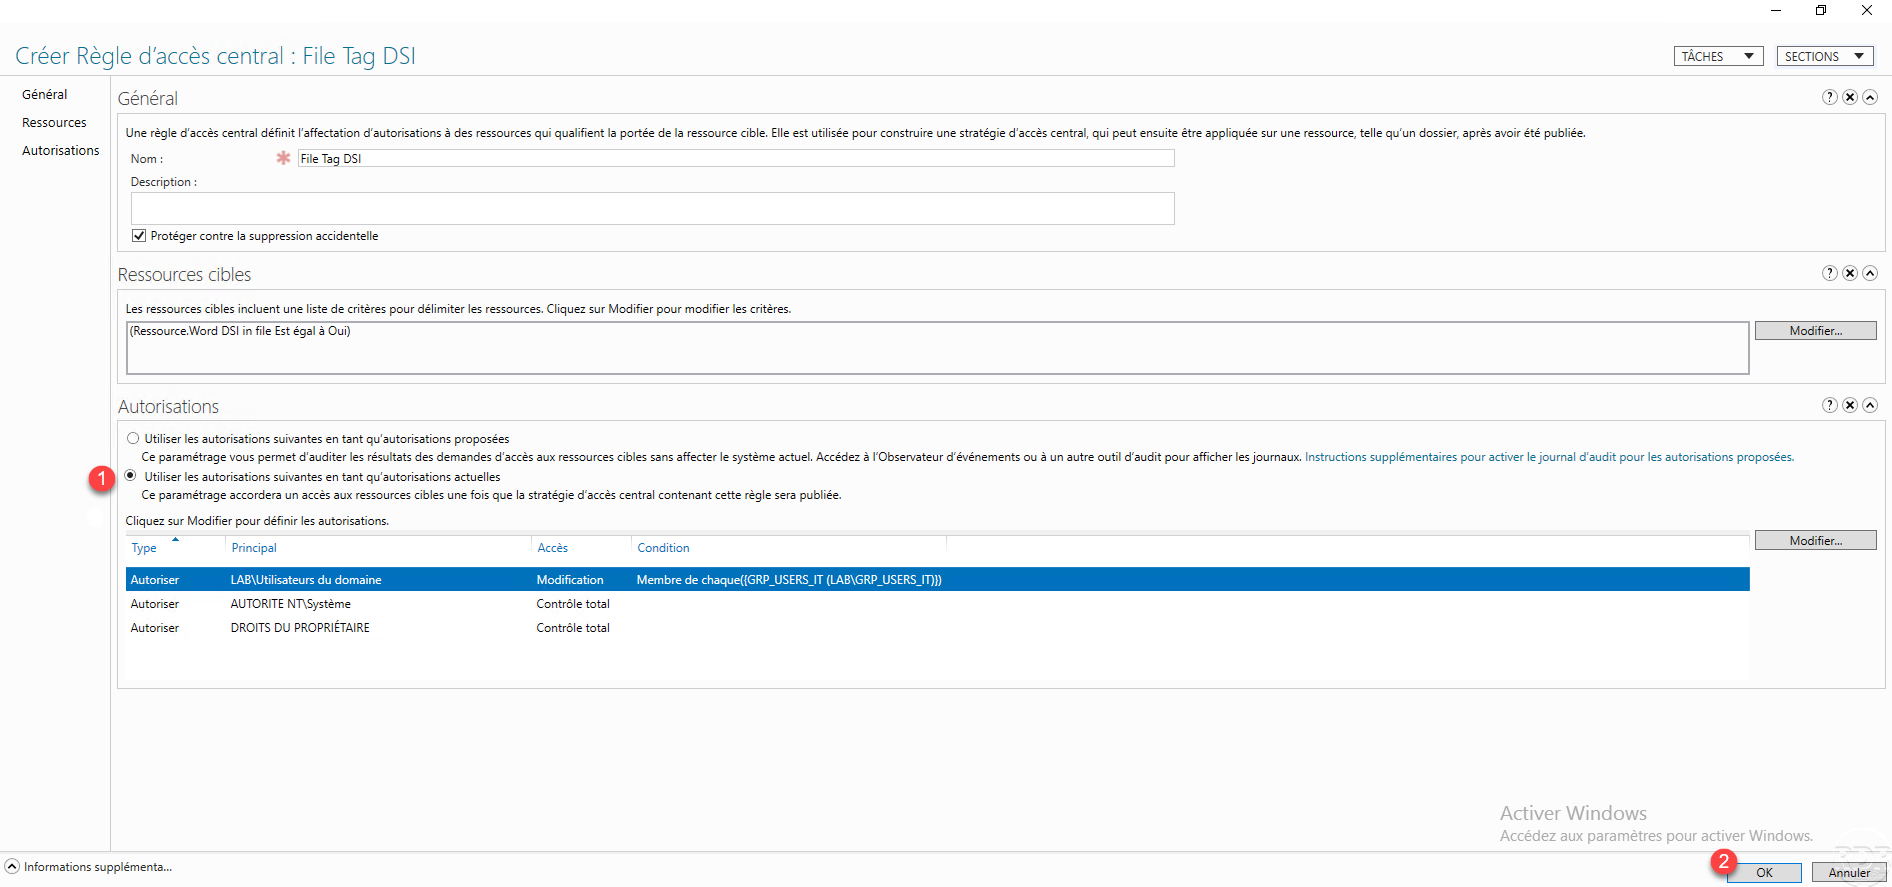
Select Use the following permissions as current permissions 1 and click OK 2 to create the central access rule.
If you leave Use the following authorizations as proposed authorizations and you wish to audit before, to apply the authorizations later, you must reopen the rule and at the level of authorizations click on the Apply proposal button.
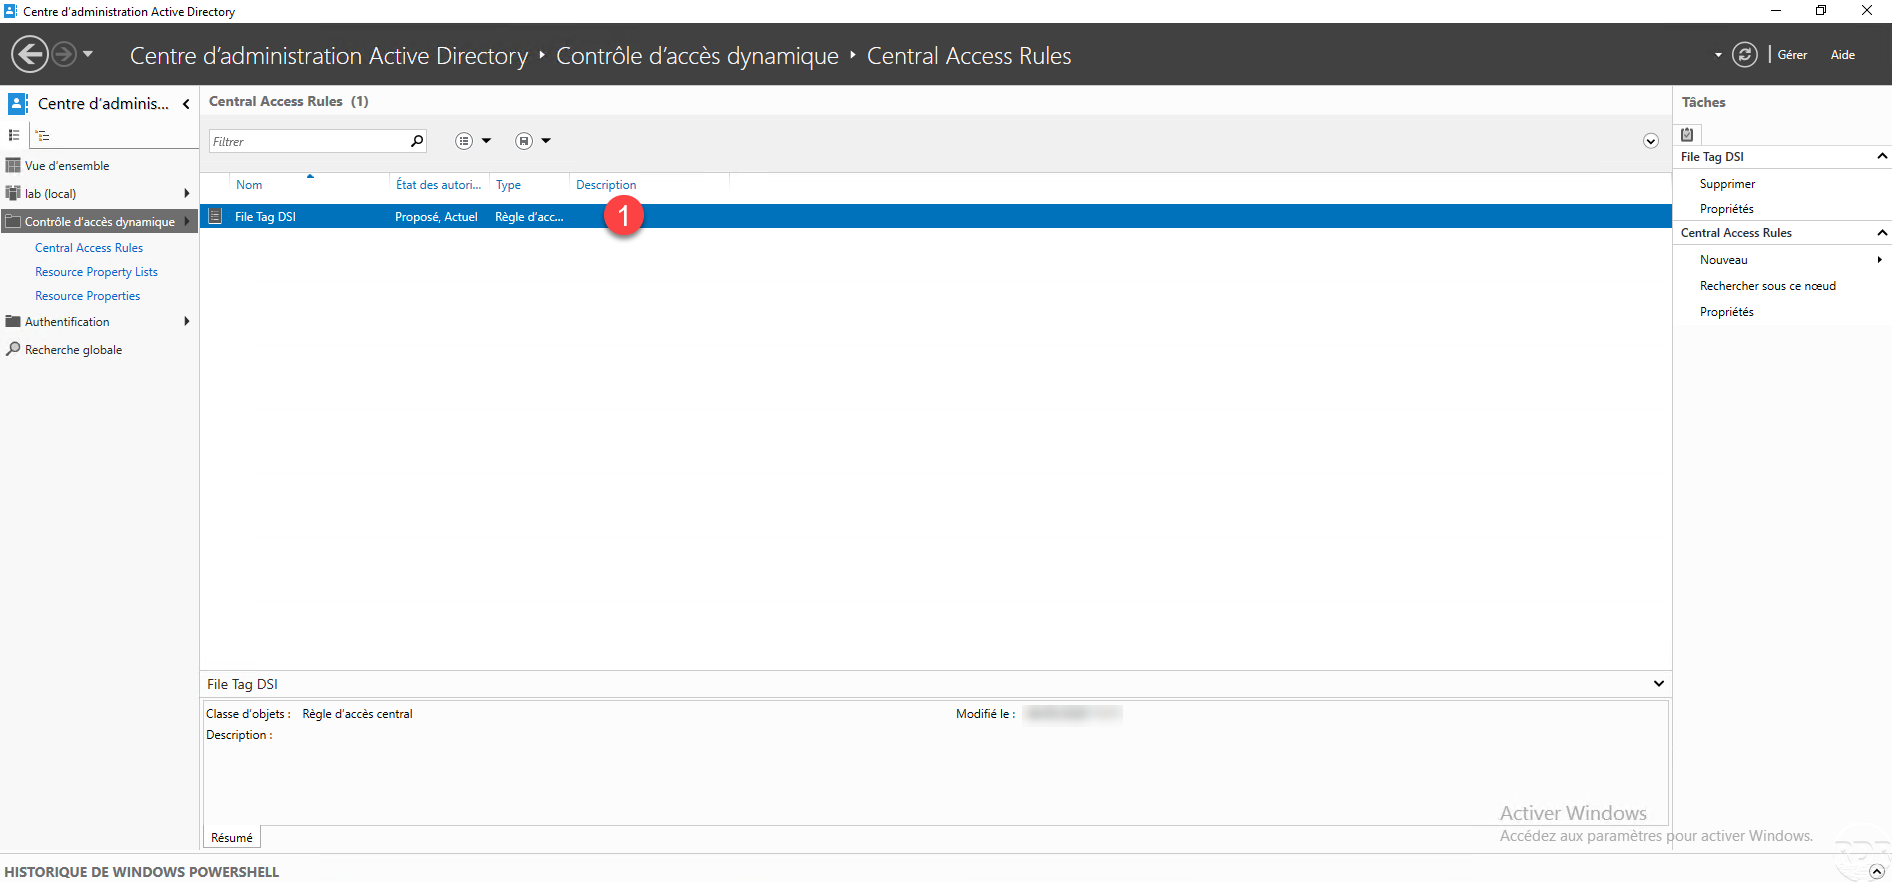
Central access rule is created 1.
Creation of a central strategy
The central access policy is applied to folders / files and contains one or more central access rules, which allows dynamic access control to be applied.
Policies are published after creation using Group Policies.
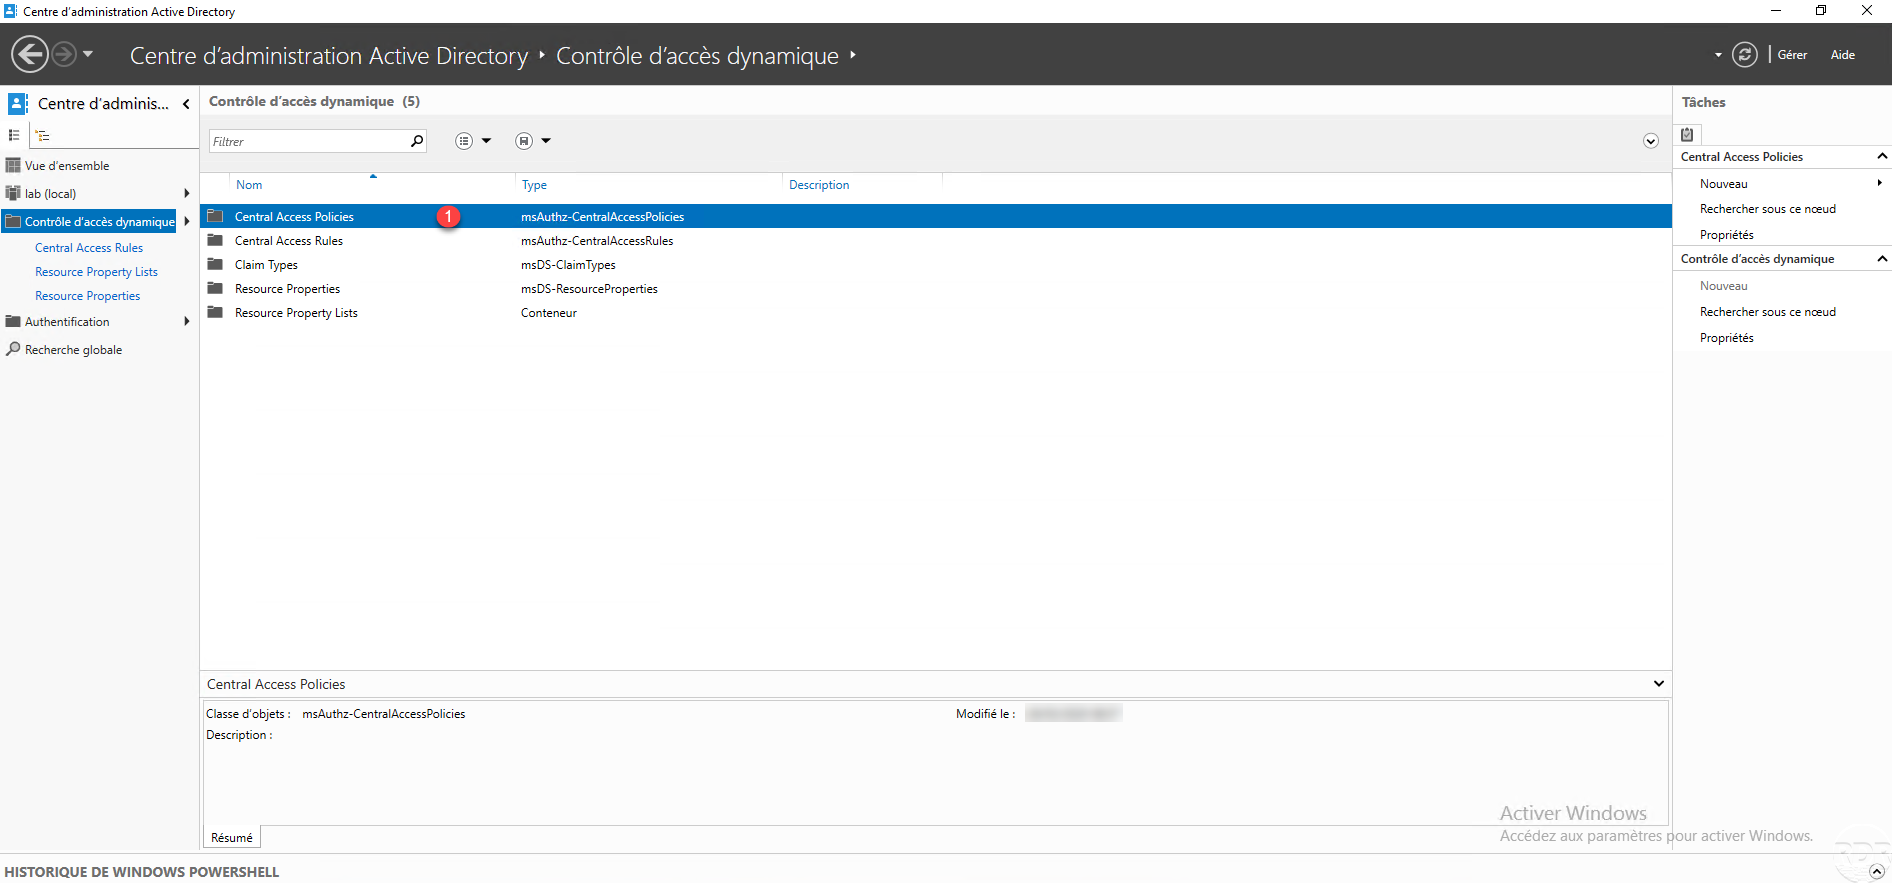
From the ADAC console in the Dynamic Access Control container, go to the Contral Access Policy 1 container.
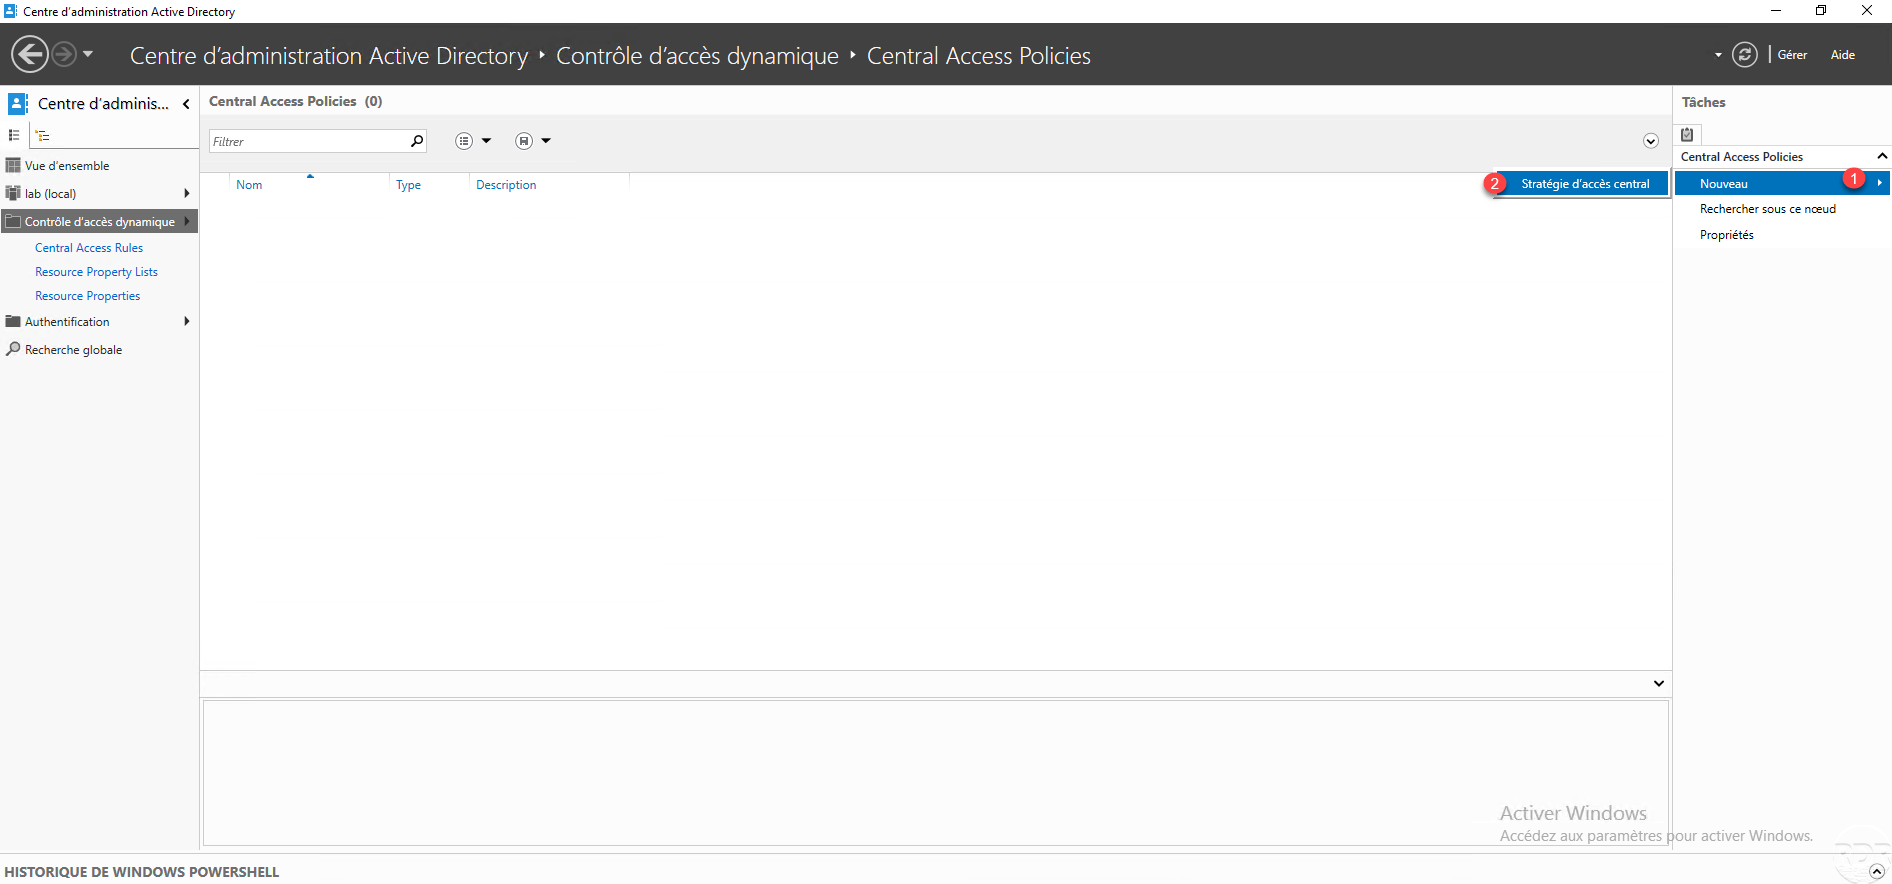
In the Tasks section, click on New 1 then on Central access policy 2.
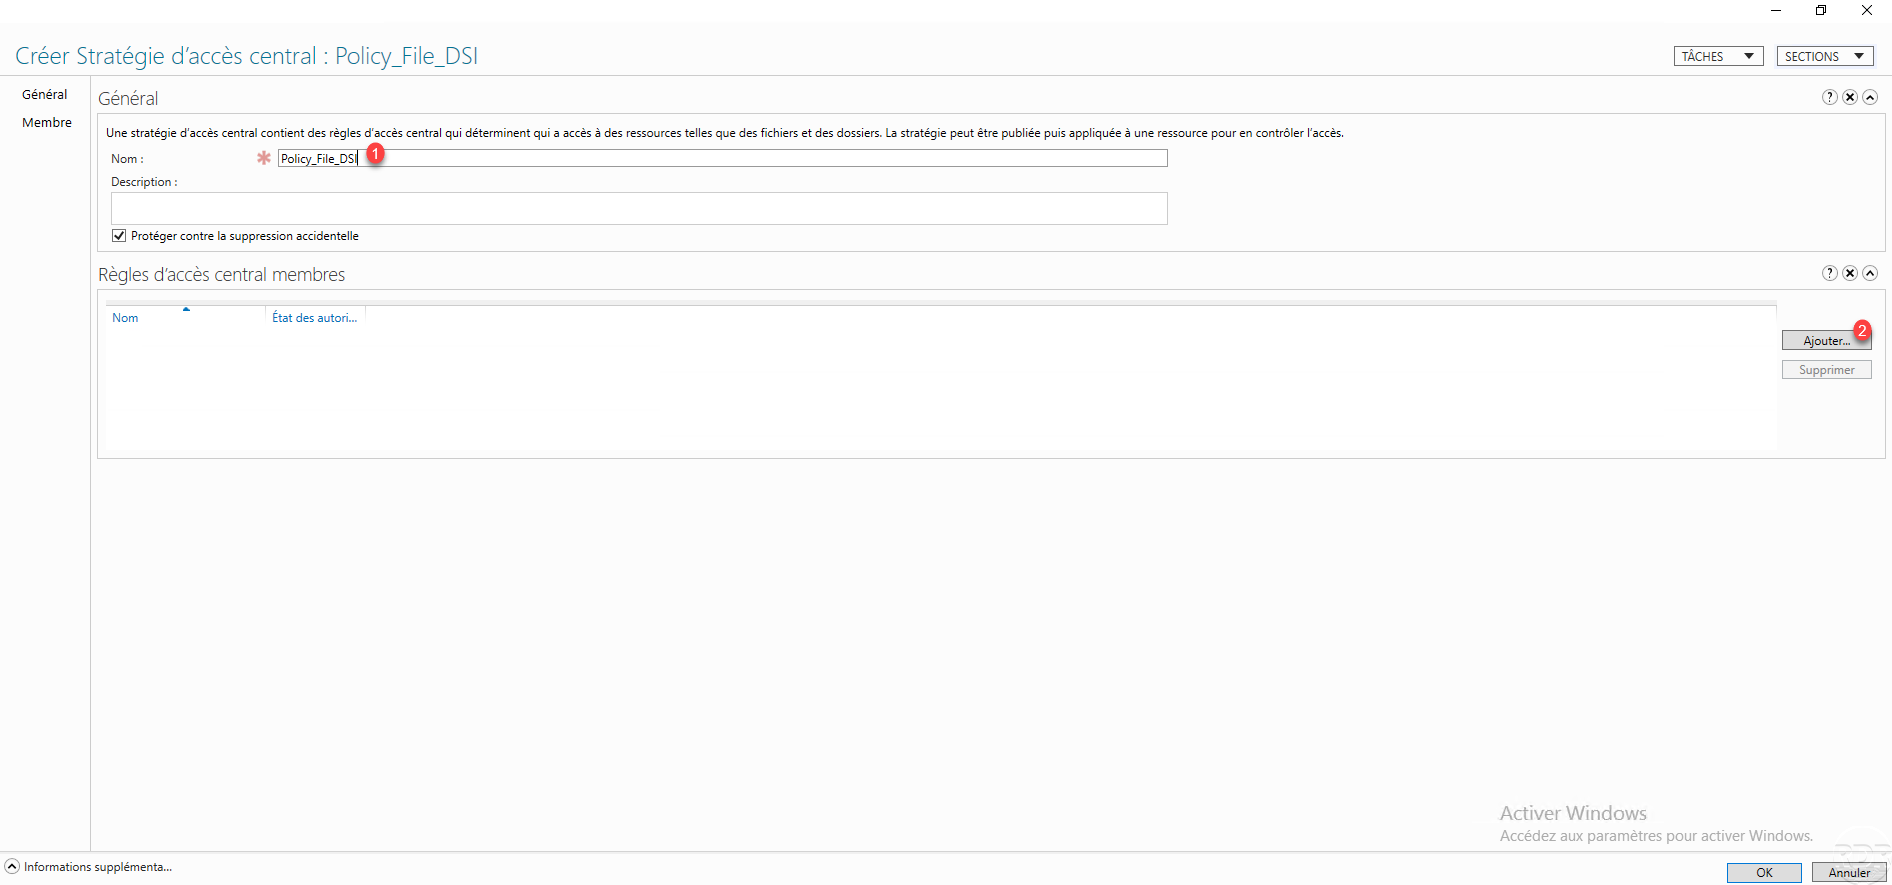
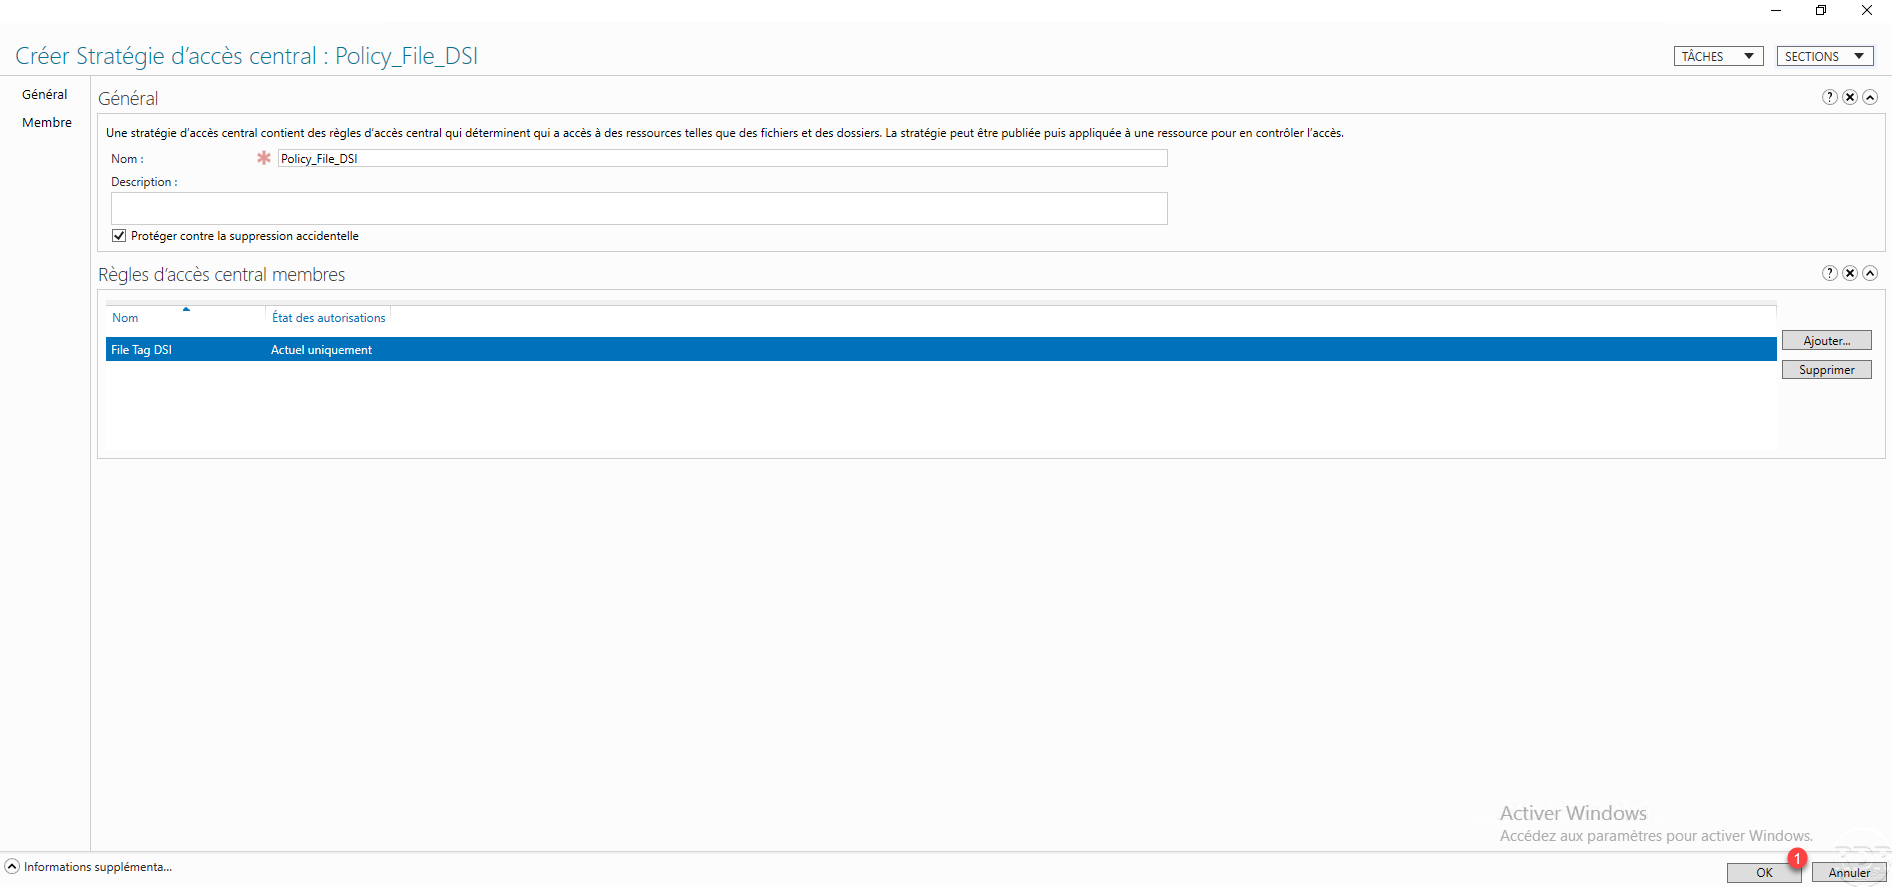
Name the central access policy 1 then click on the Add button 2 to select the central access rules.
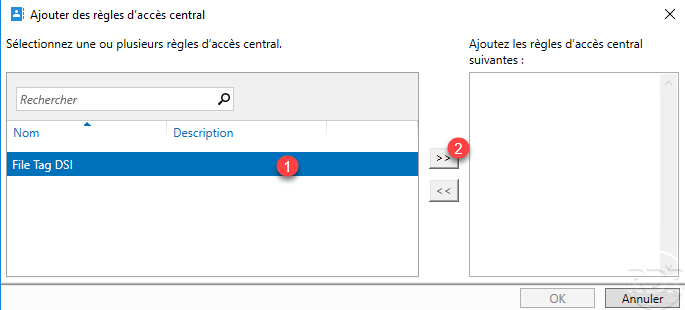
Select the rule (s) 1 and click on the 2 button to add it (s) to the policy.
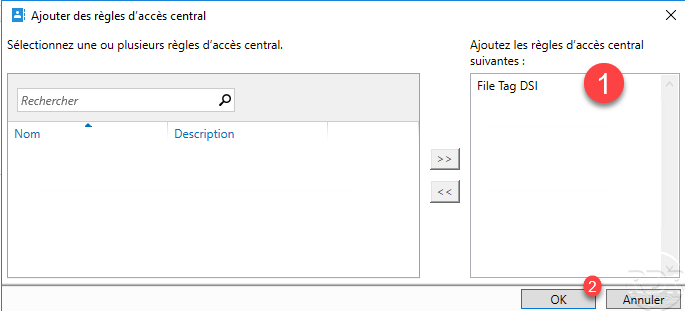
Once the rules have been added 1 to the policy, click OK 2.
Now that the policy is configured, click OK 1 to create the central access policy.
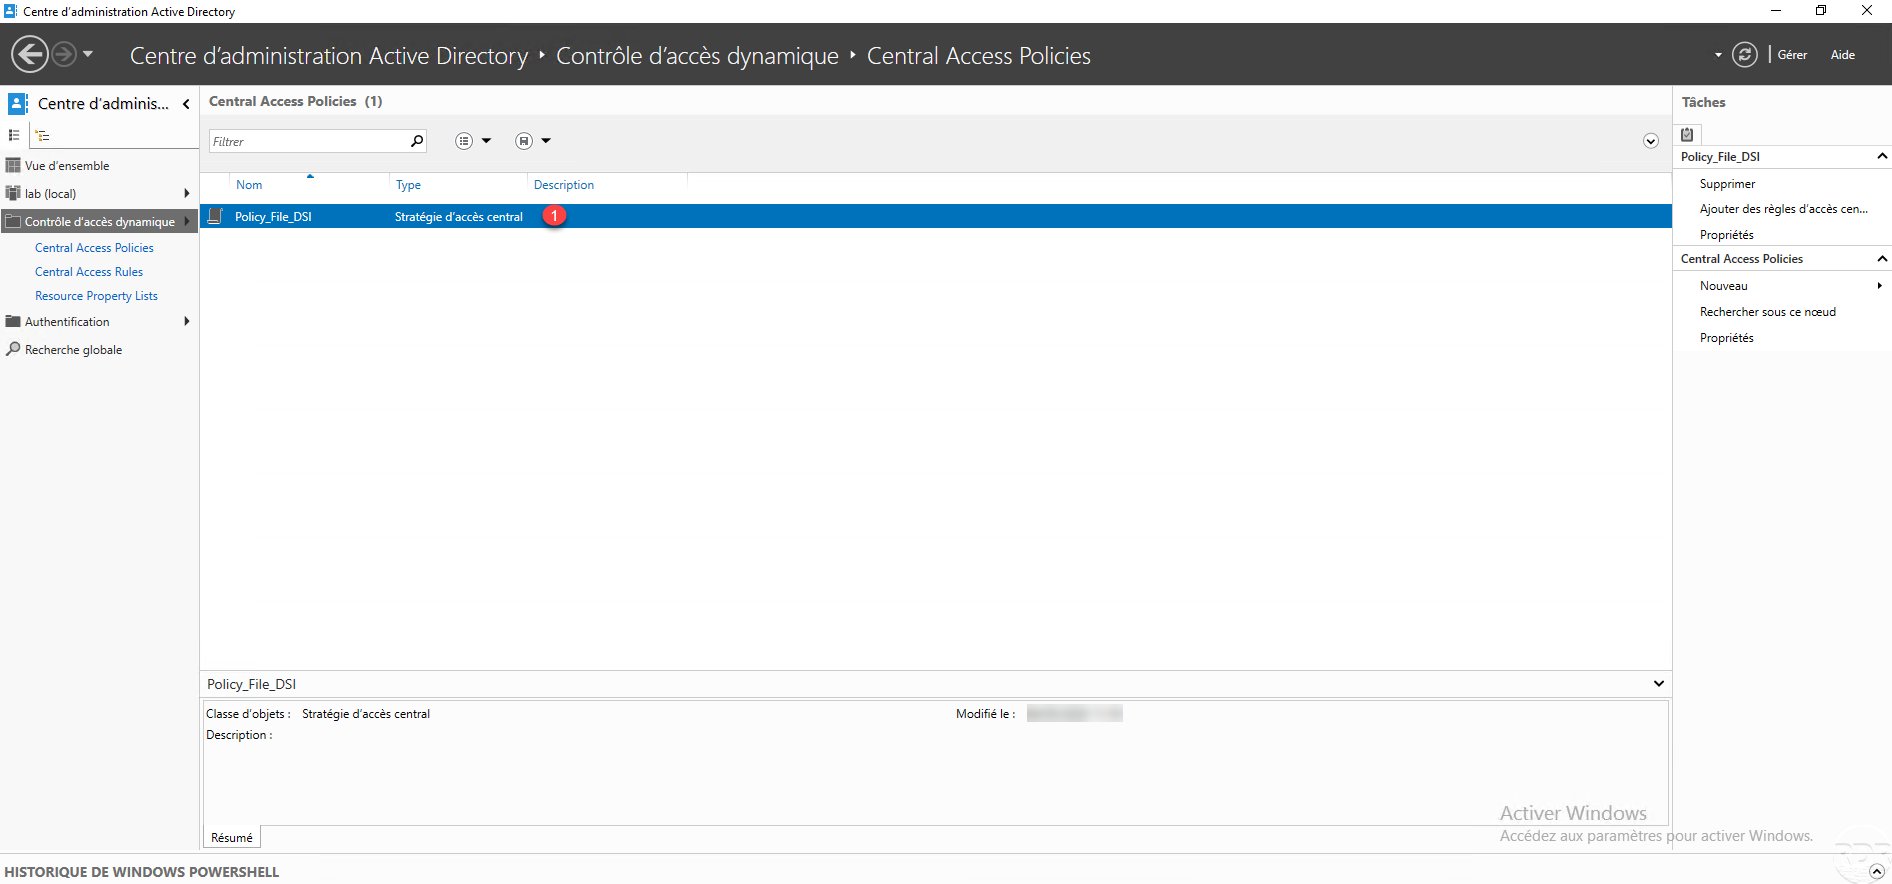
Central Access Policy 1 is created.
Publish the central access policy
Now that the central access rules and policies are created and configured, the policies must be published, this operation is done by GPO (group policy).
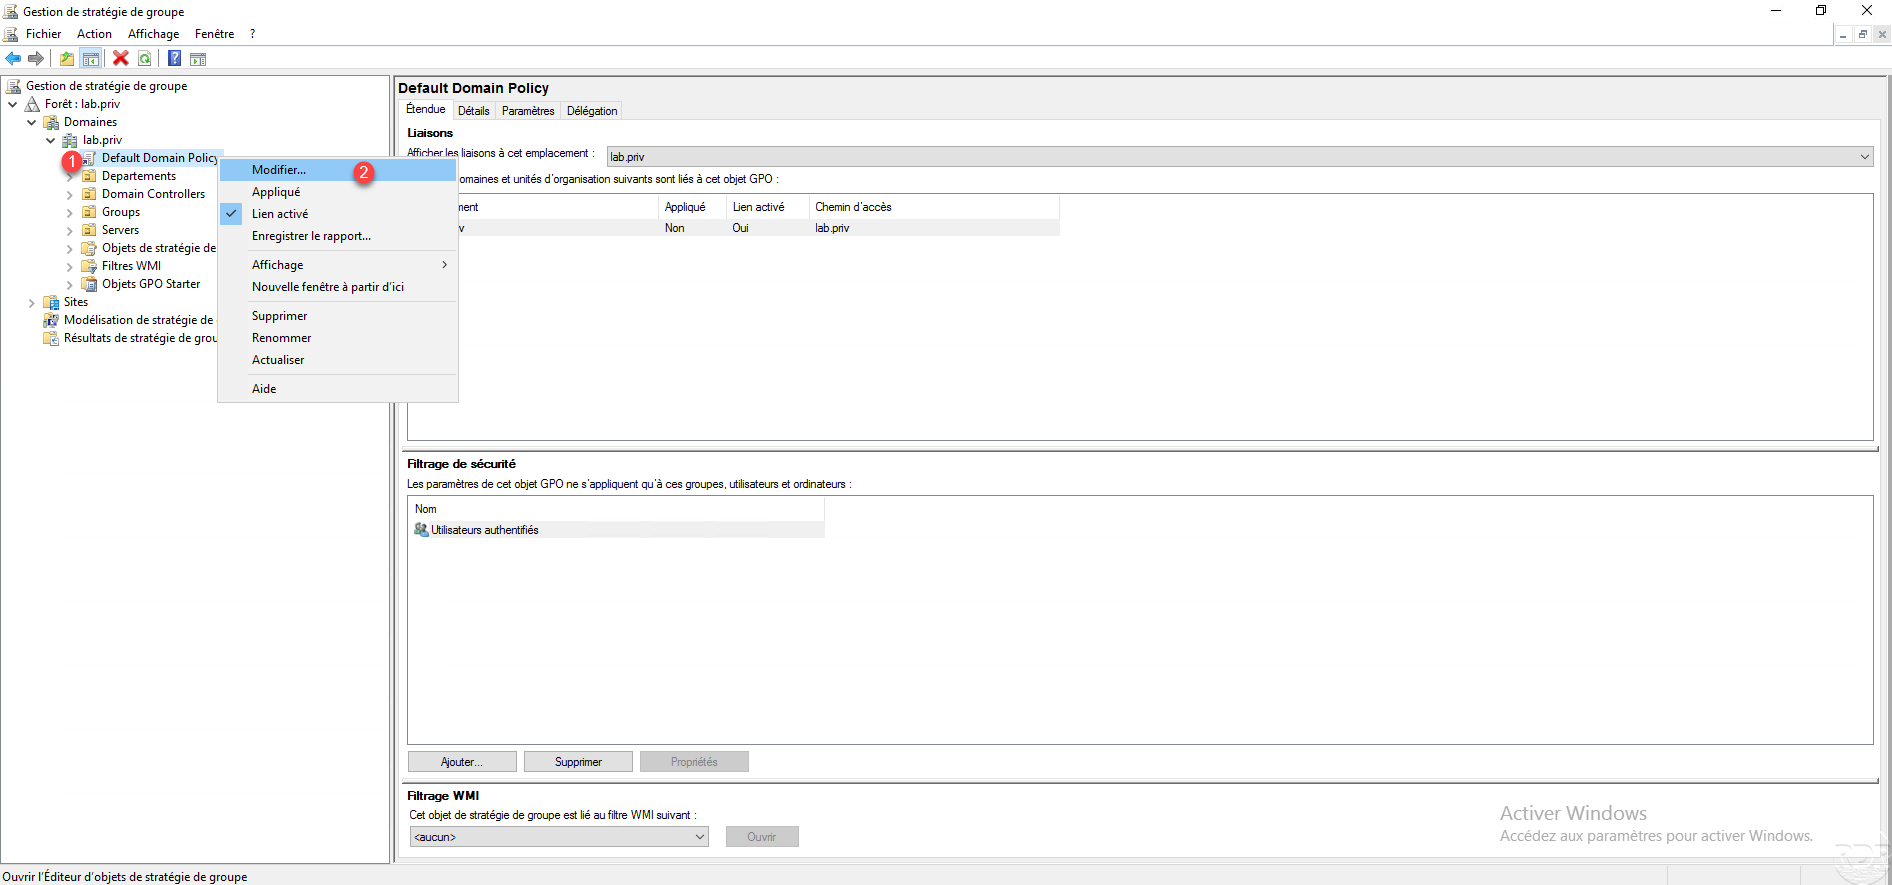
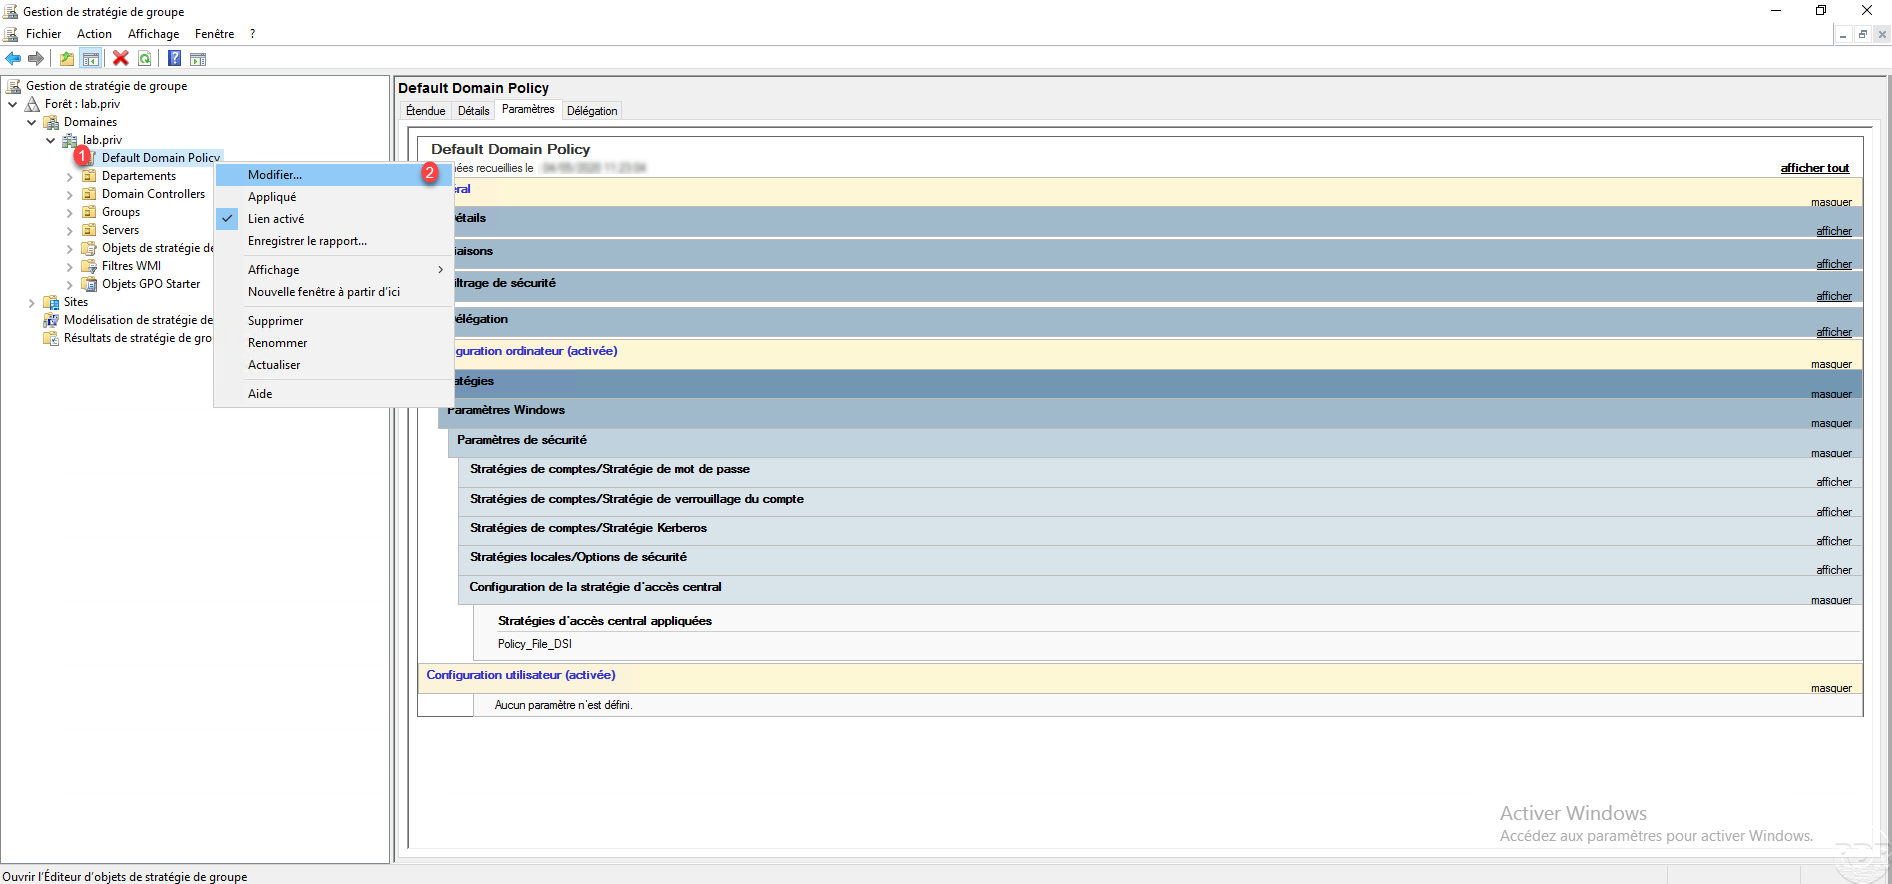
In the LAB, I used the Default Domain Policy, in production, I advise you to create a group policy dedicated to the publication of central access policies placed at the root of the domain.
Create and / or modify a group policy, to do this right-click on it 1 and click on Modify 2.
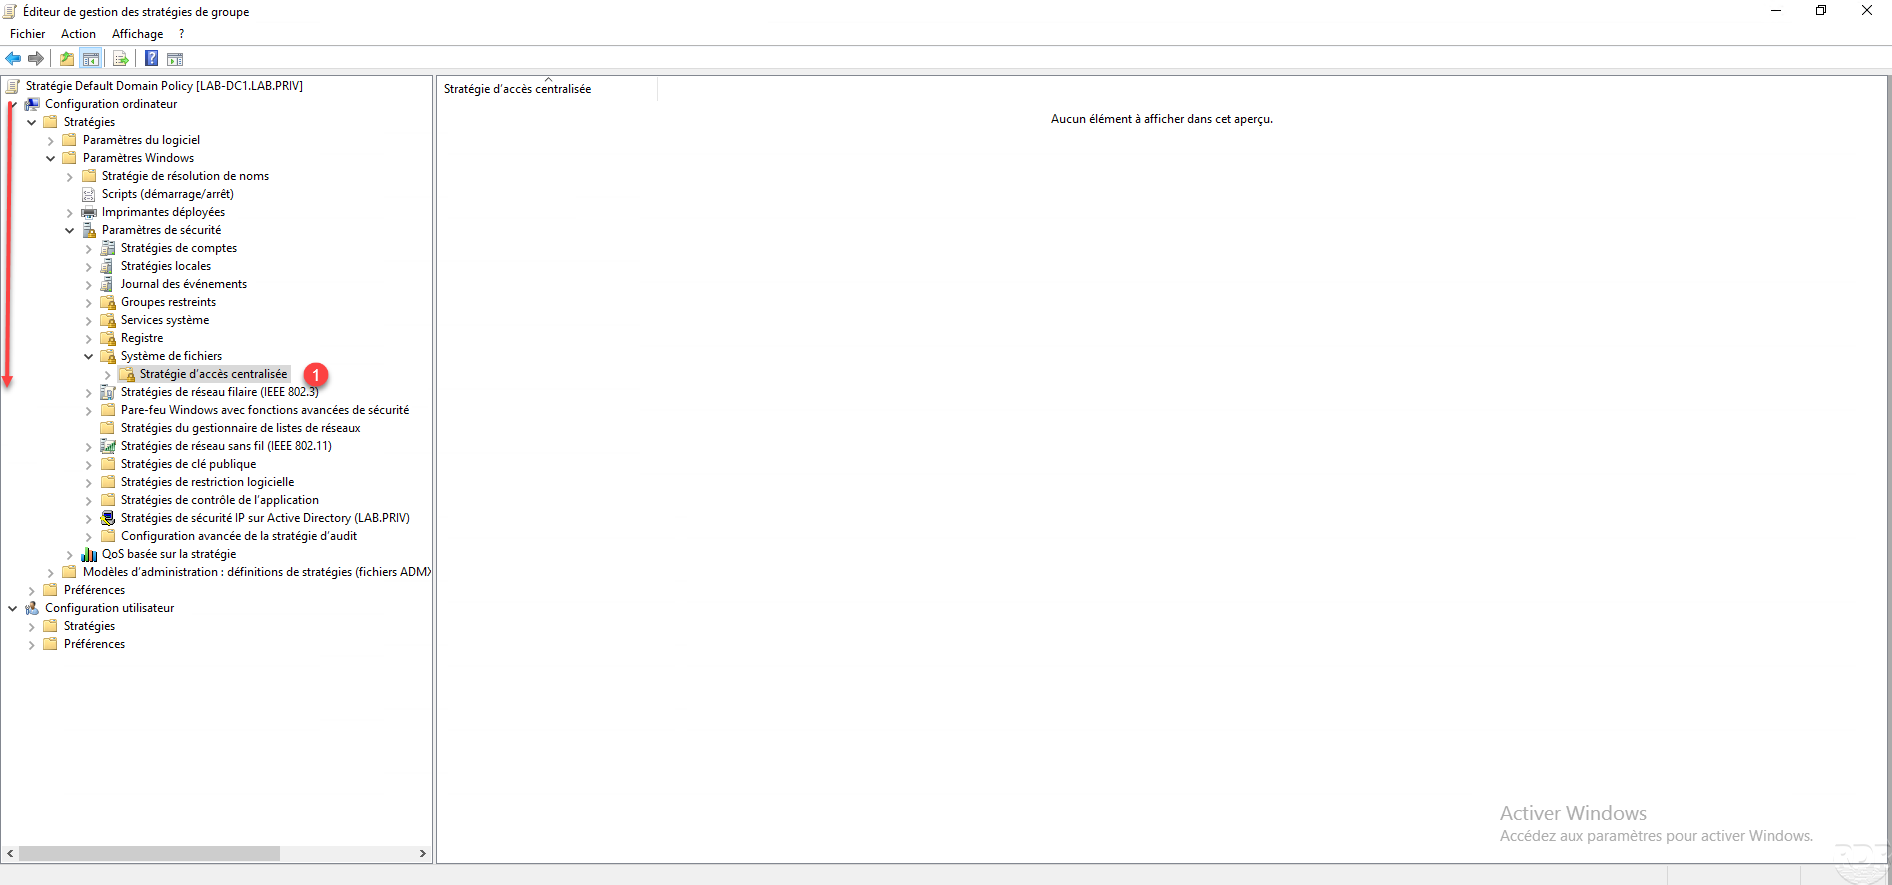
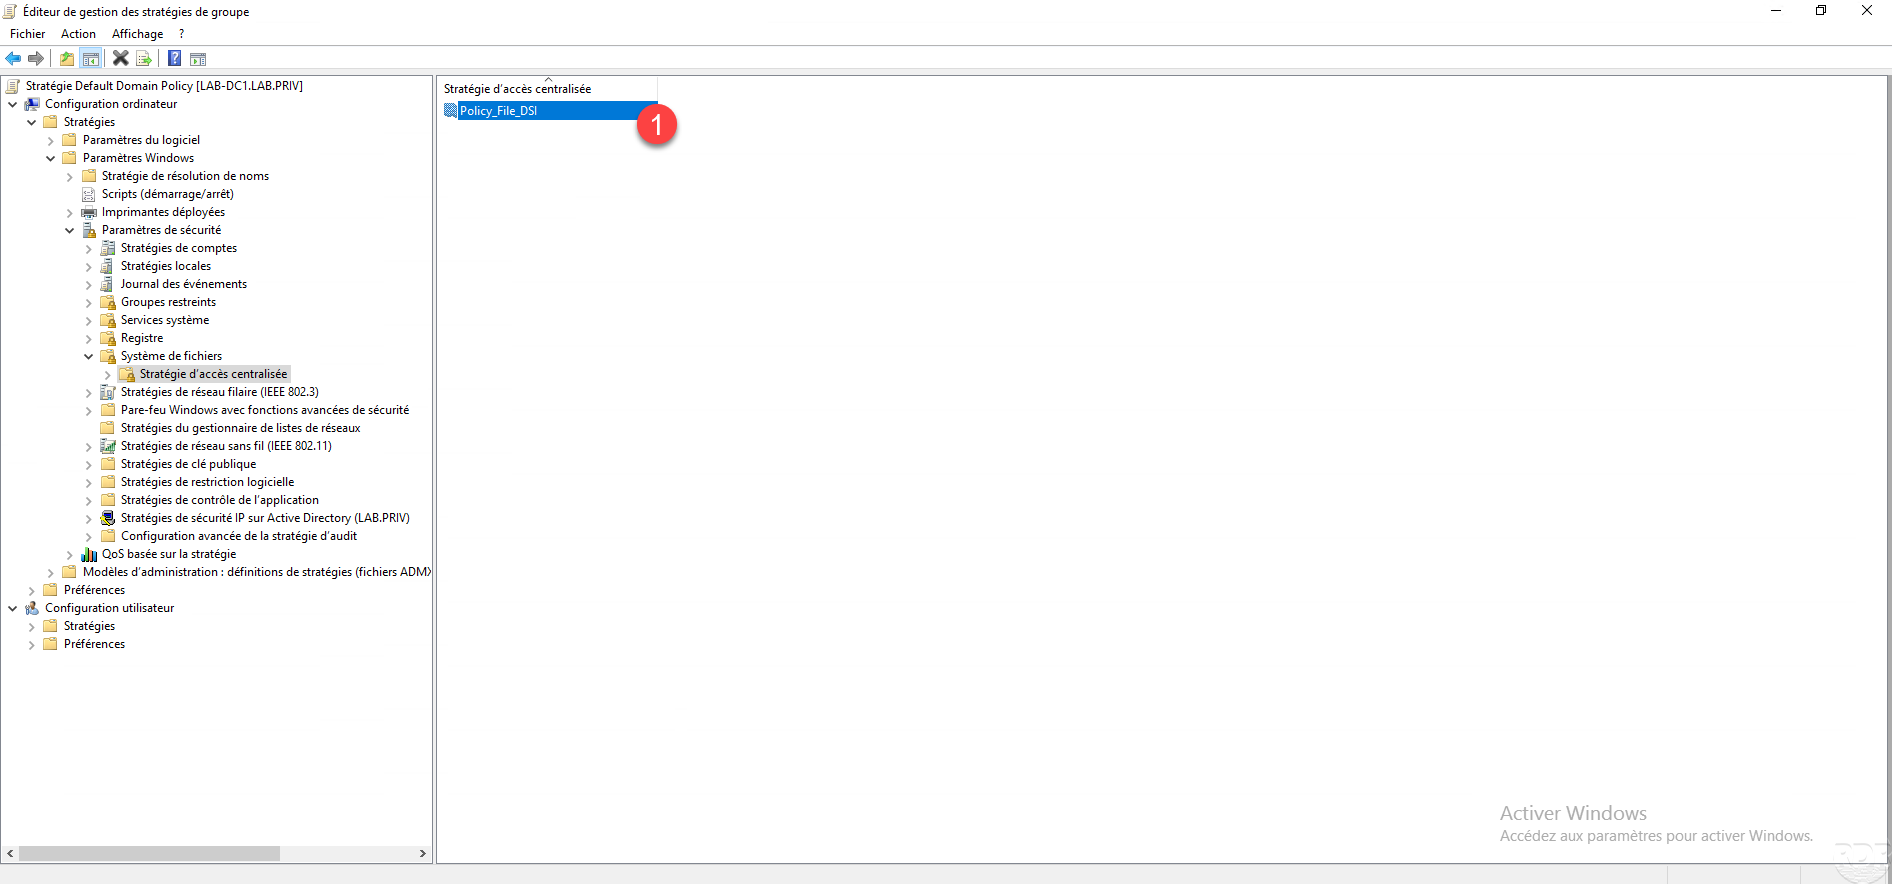
Open the Central Access Policy 1 container located in Computer Configuration / Windows Settings / Security Settings / File System.
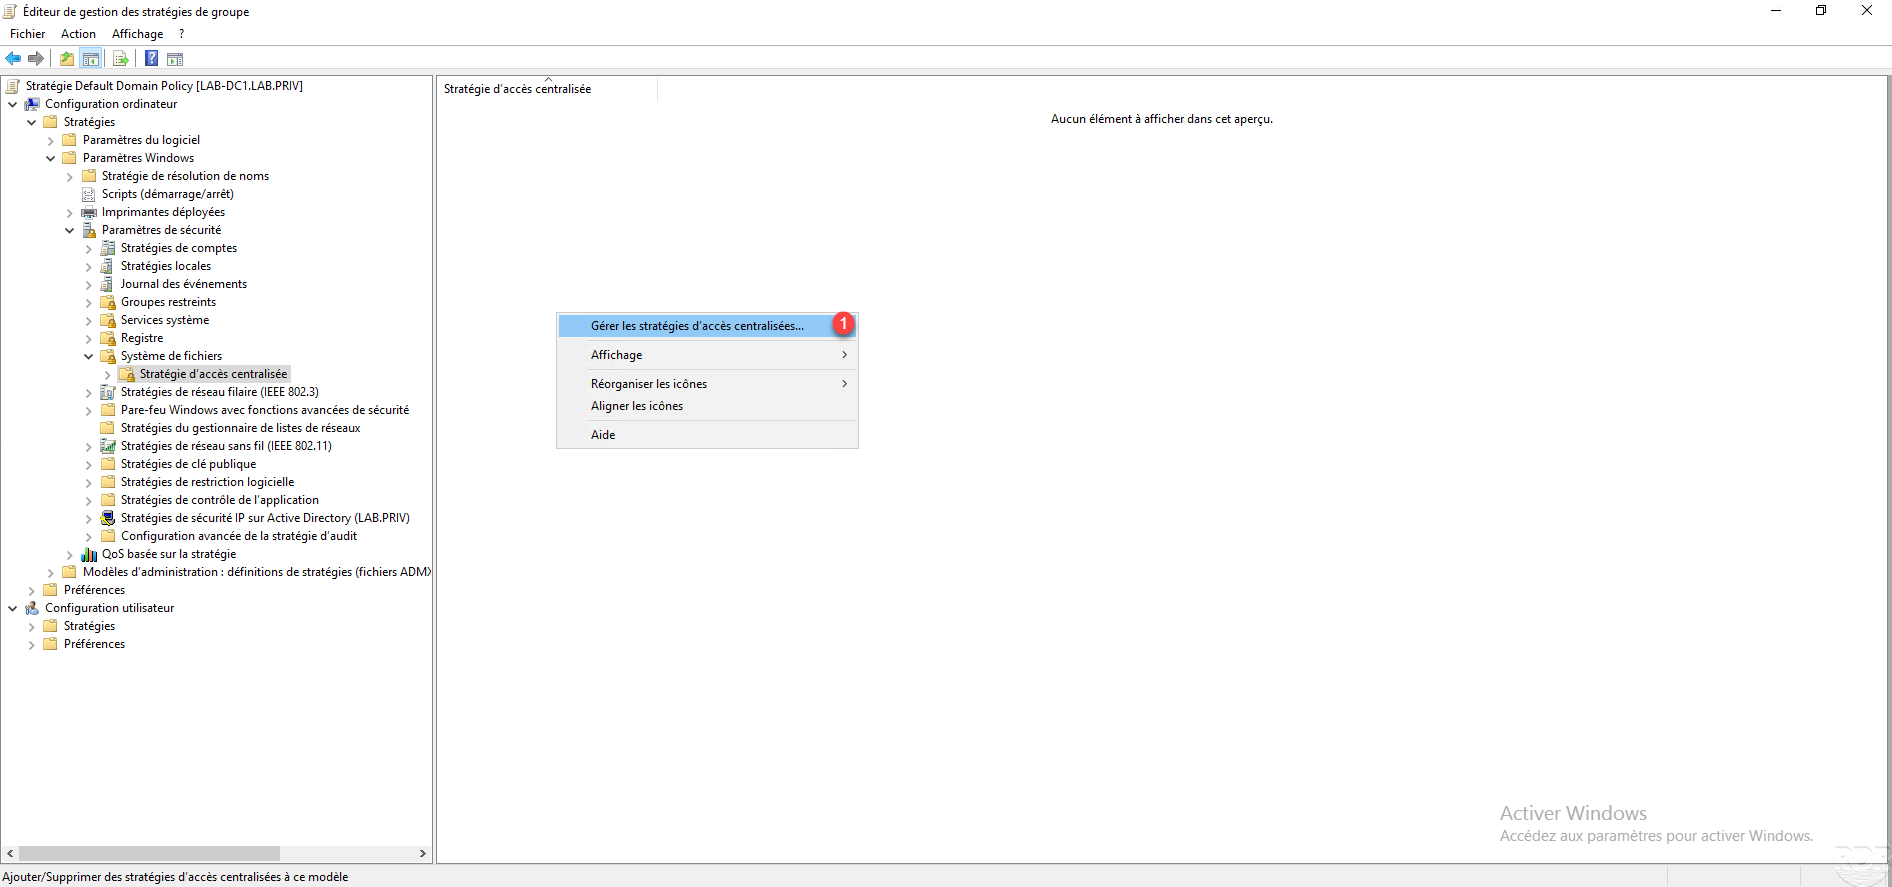
In the central zone, right-click and click on Manage centralized access policies 1.
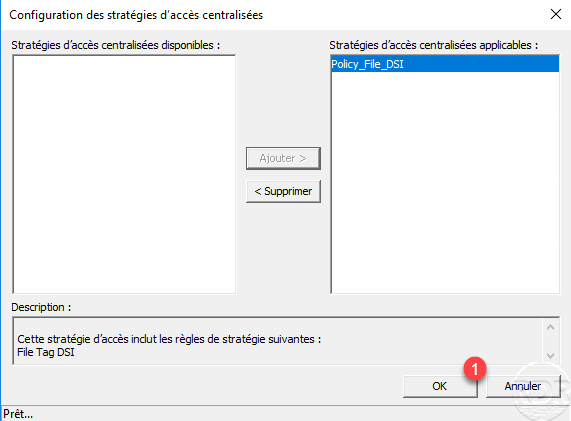
Choose the central access policy (s) 1 and click on the Add button 2.

With the strategies selected, click OK 1.
The policy or policies published by the GPO are visible in the central part 1.
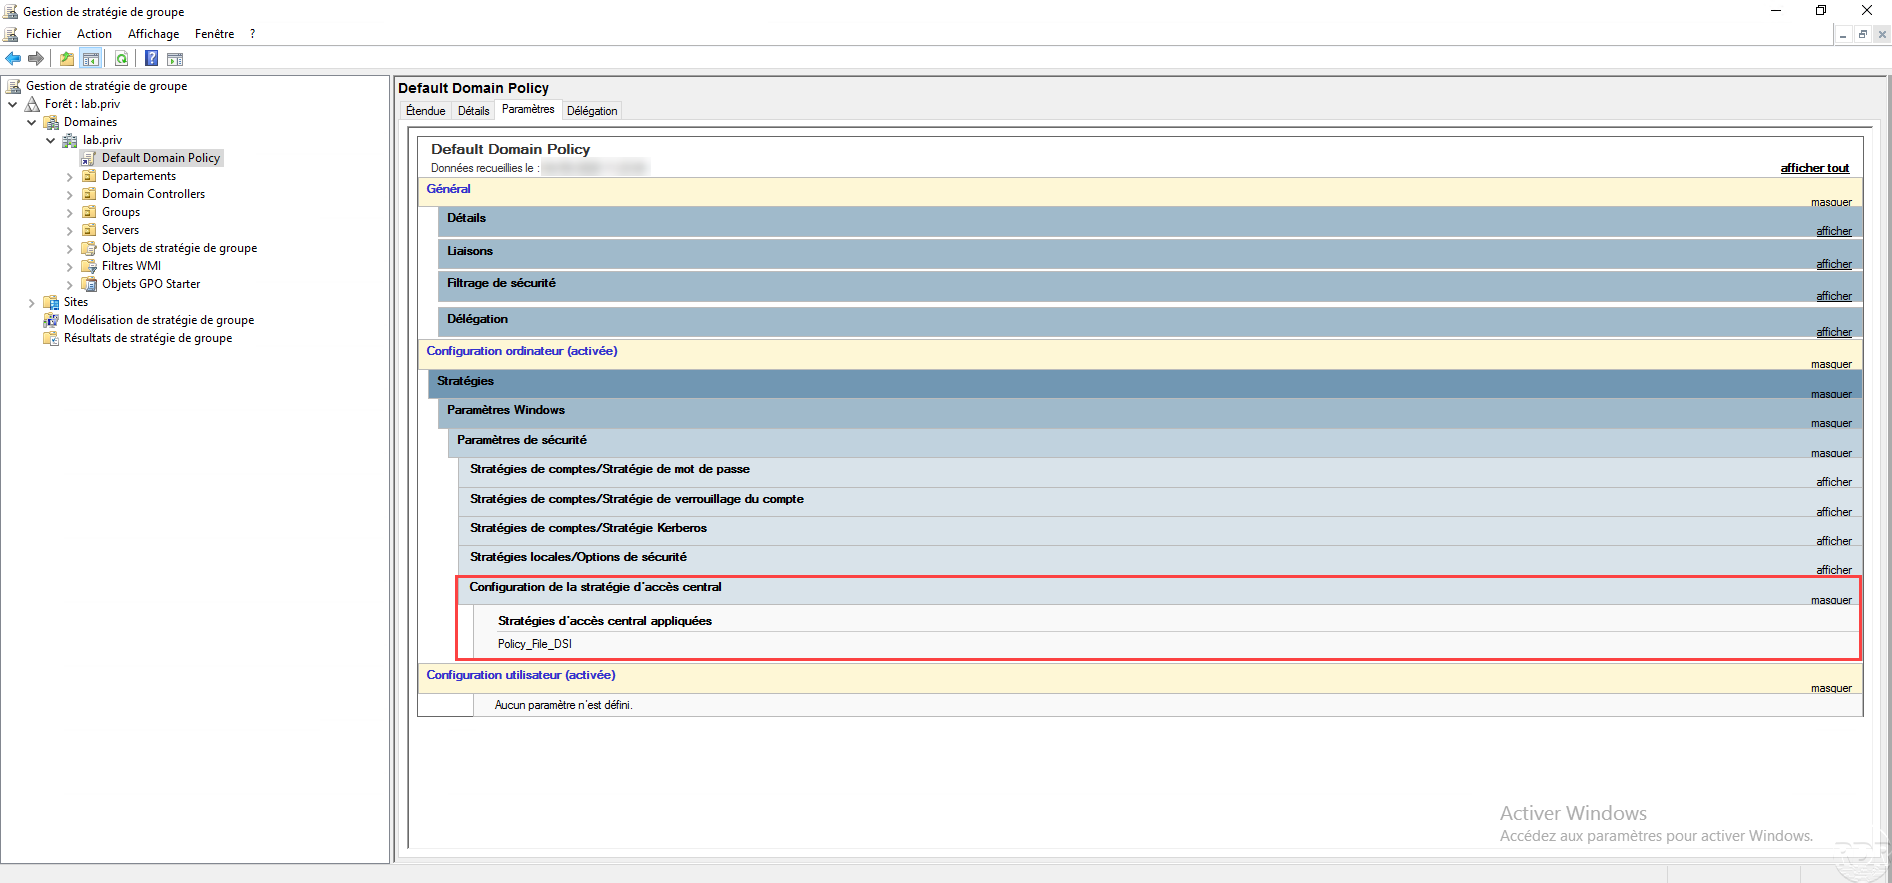
Close the group policy management editor. Overview of Group Policy (GPO) settings.
On the file server (s) where you want to use DAC, force an update of the group policies using the gpupdate command.

Configure a centralized access policy on a folder
Now that we have configured properties, rules and policies for Dynamic Access Control (DAC), we will move on to its configuration (use) on folder in order to configure permissions.
As a reminder :
Dynamic access control (DAC) complements NTFS rights and does not replace them.
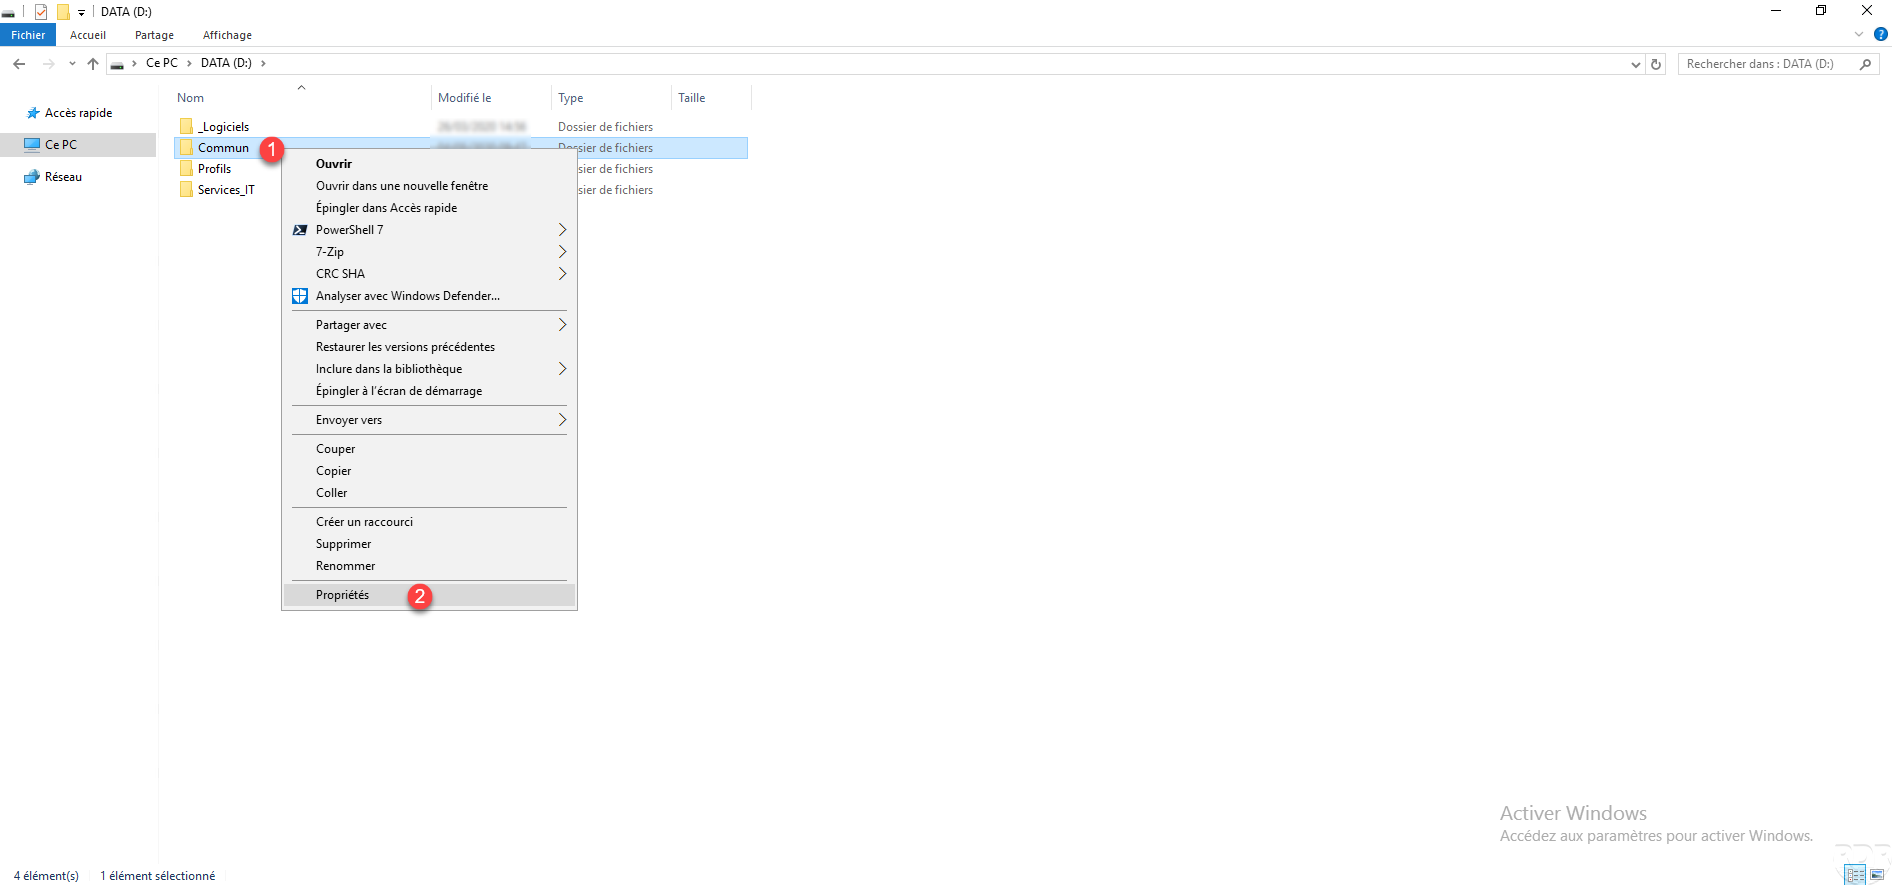
Go to the desired folder, right click on it 1 and click on Properties 2.
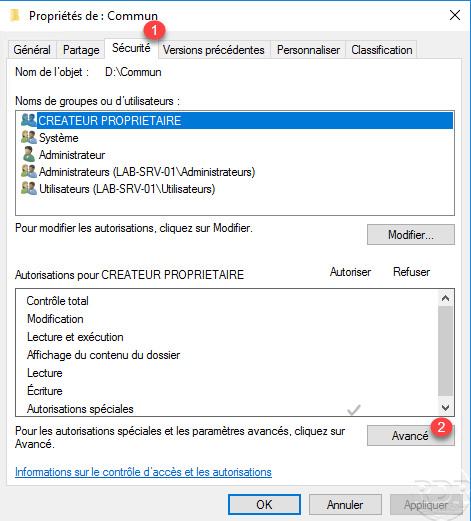
Go to the Security 1 tab and click on the Advanced 2 button.
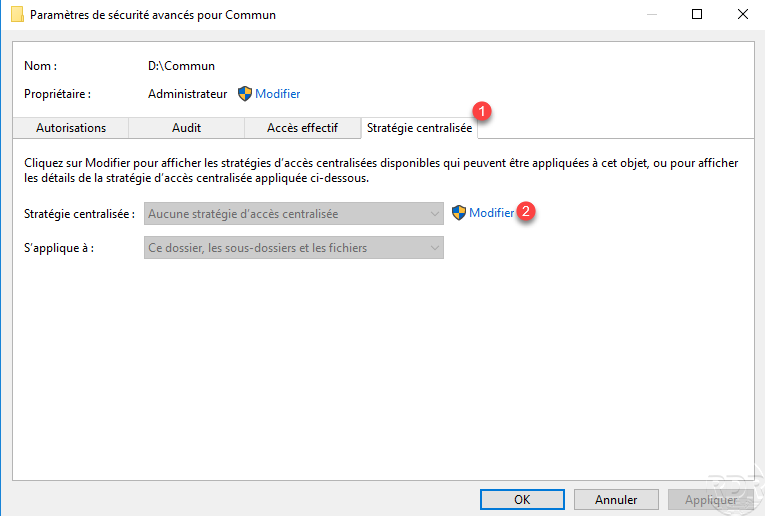
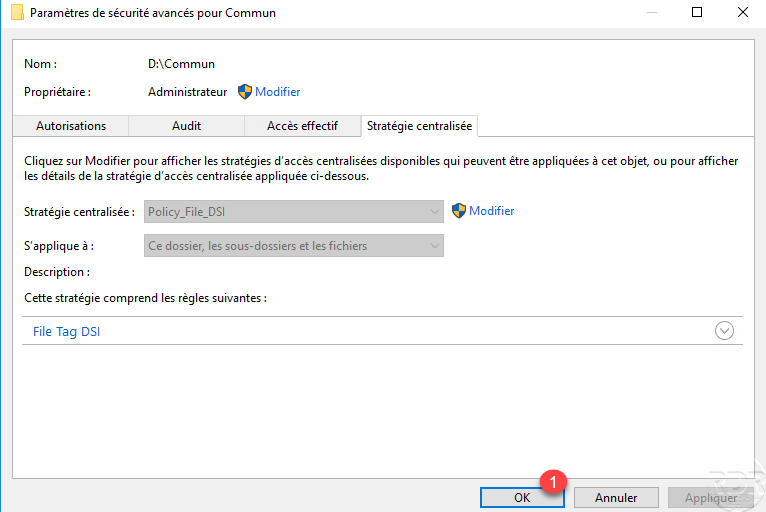
In the advanced security settings, go to the Centralized Policy 1 tab and click on Edit 2.
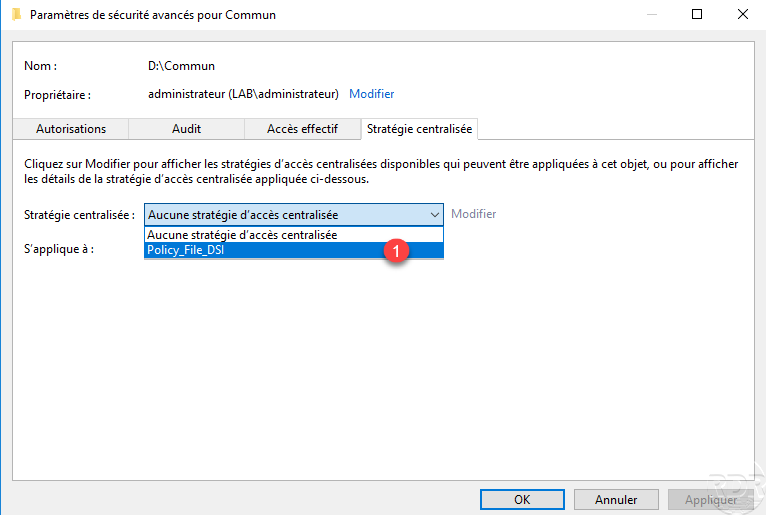
Choose a centralized access policy from the 1 drop-down list.
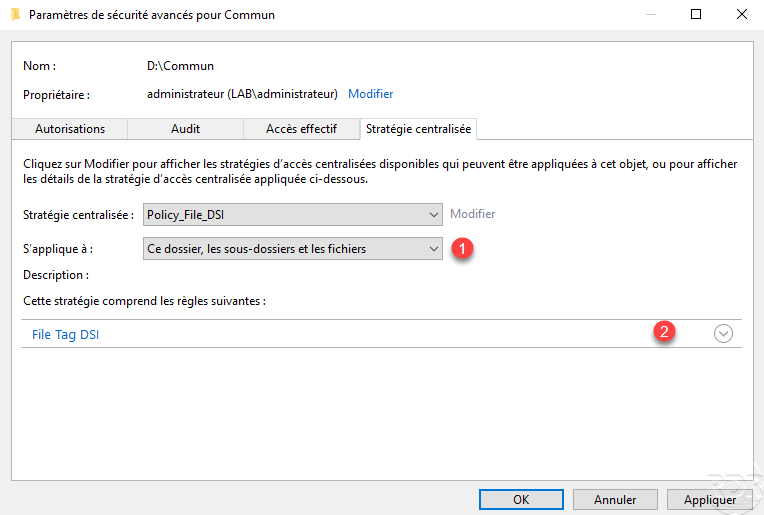
Once the policy has been selected, it is possible to configure its application 1 and to have an overview 2 of the rules of the central access policy by clicking on its name.
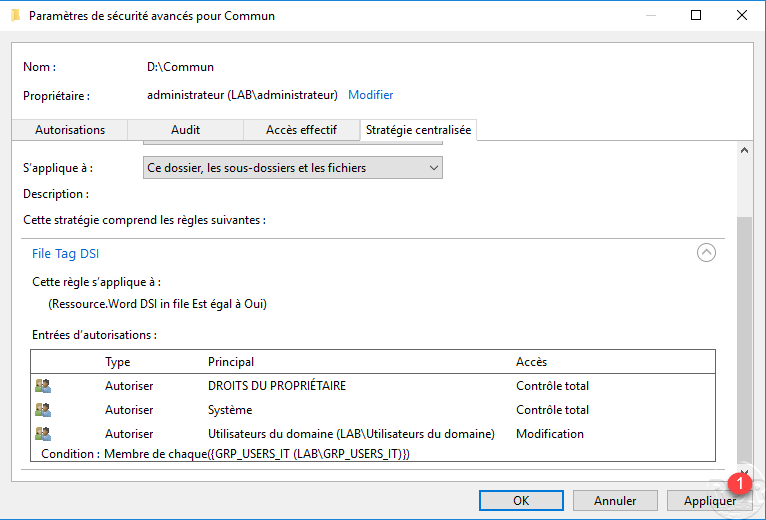
On the screenshot below, we can see the rule, once configured click on Apply 1.
Close the advanced settings by clicking on OK 1 and if the NTFS rights are correct also close the folder properties window.
Dynamic Access Control Test – DAC
Now that the configuration is complete, we will move on to testing. For the tests I used a Windows 10 client computer and two users:
- user1.it: member of the GRP_USERS_IT group which must therefore have permission to open the file.
- user1.hr : not member of the group, he must not be able to open the file.
Test 1 with user1.it
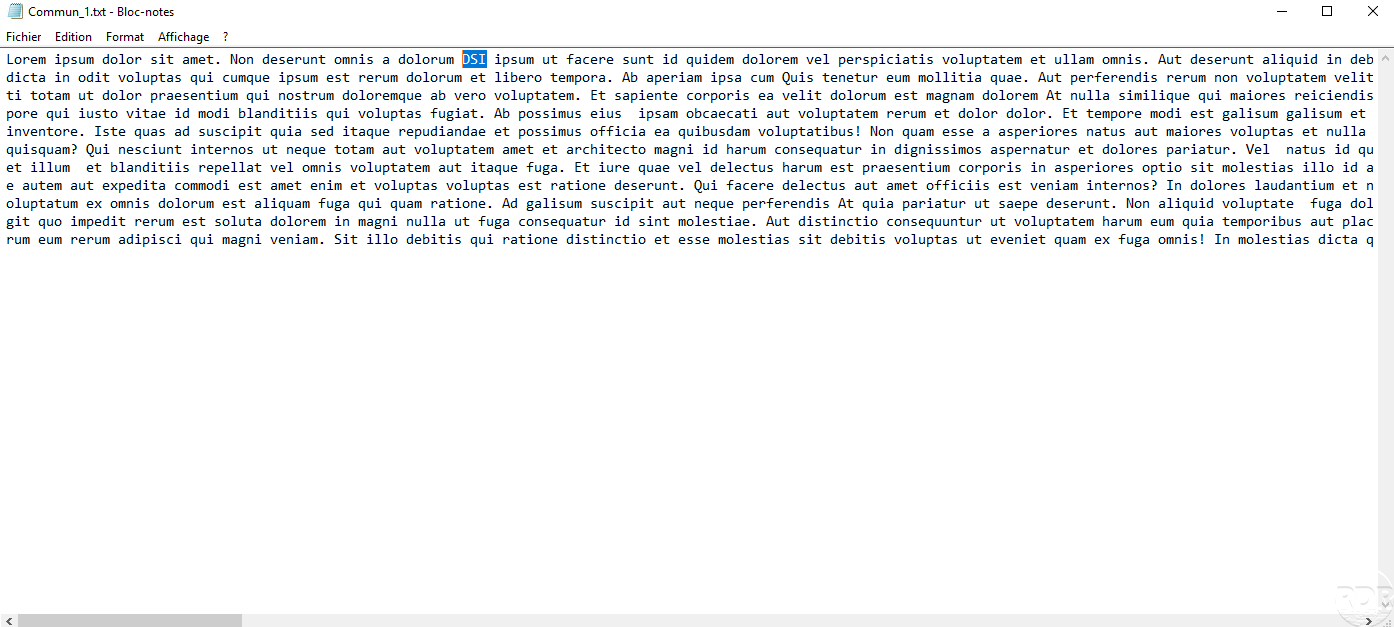
With this user, the document Commun_1 which contains the word DSI opens.


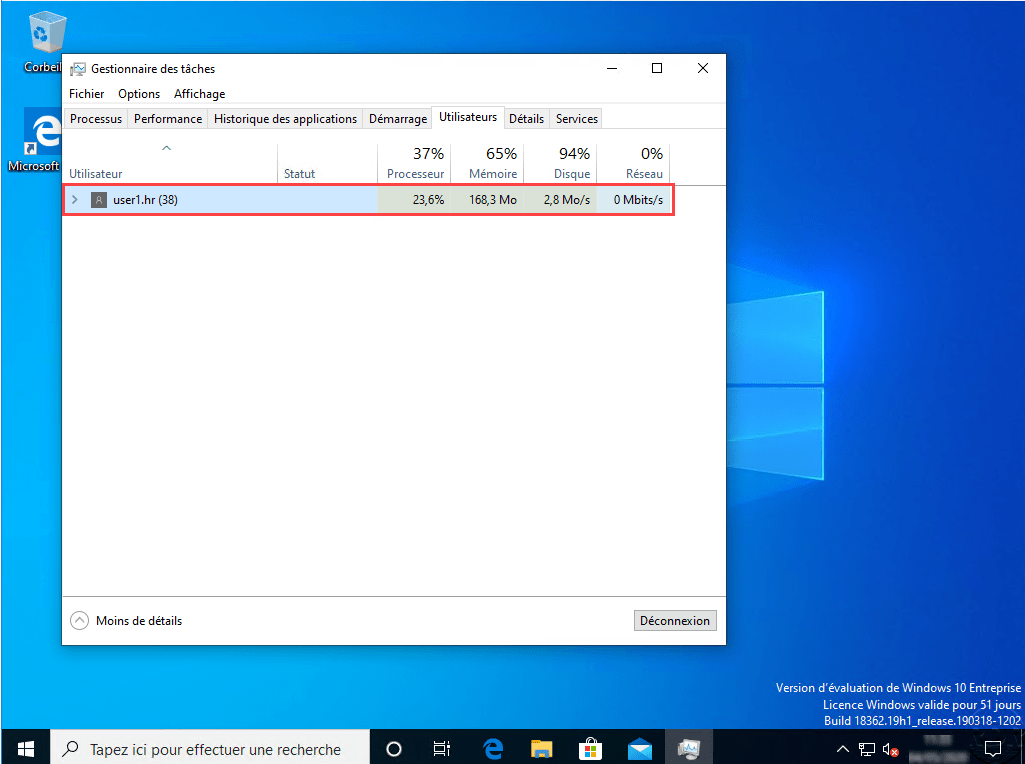
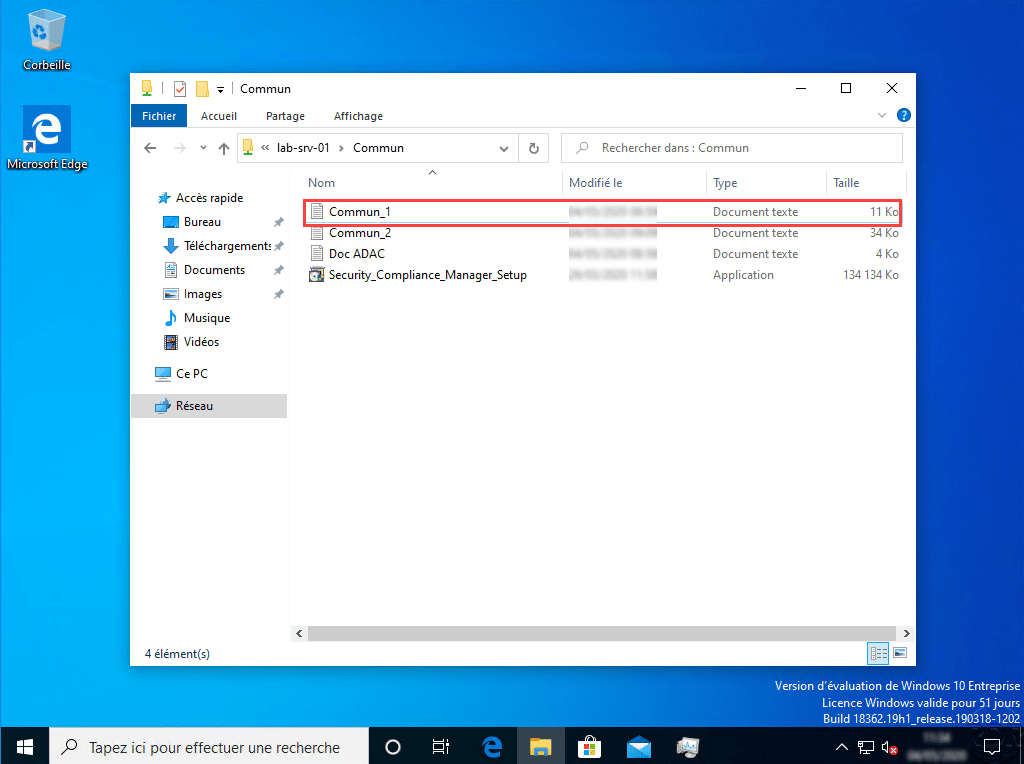
Test 2 with user1.hr
With this user, the document Commun_1 which contains the word DSI does not open because it is not part of the GRP_USERS_IT group, on the other hand it can open the other documents which do not have the File with DSI word property set to yes. We can see below that an error message is displayed.
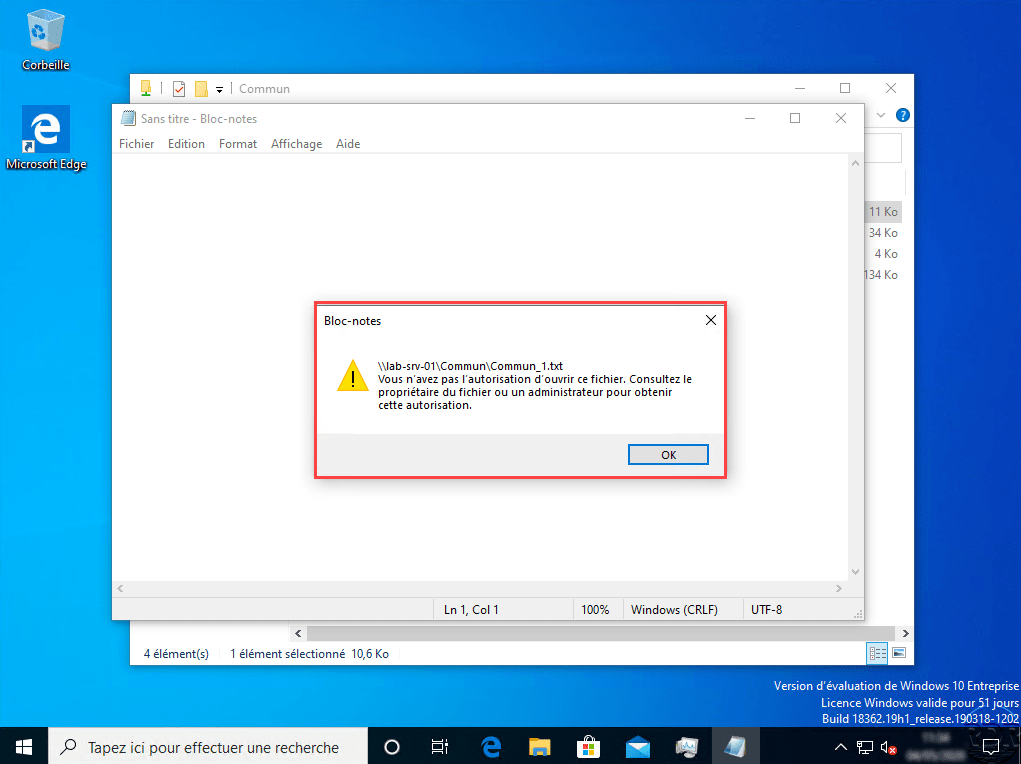
Dynamic access control works, we will now see how to customize the error message.
Dynamic access control: customize the error message
The customization of the error message is done using a group policy by activating two settings, as for the publication of the central access policy, I used the Default Domain Policy, in production it is advised to dedicate a Group Policy (GPO) for these settings.
From a control, create or modify a group policy at the domain root level, right-click on it 1 and click on Modify 2.
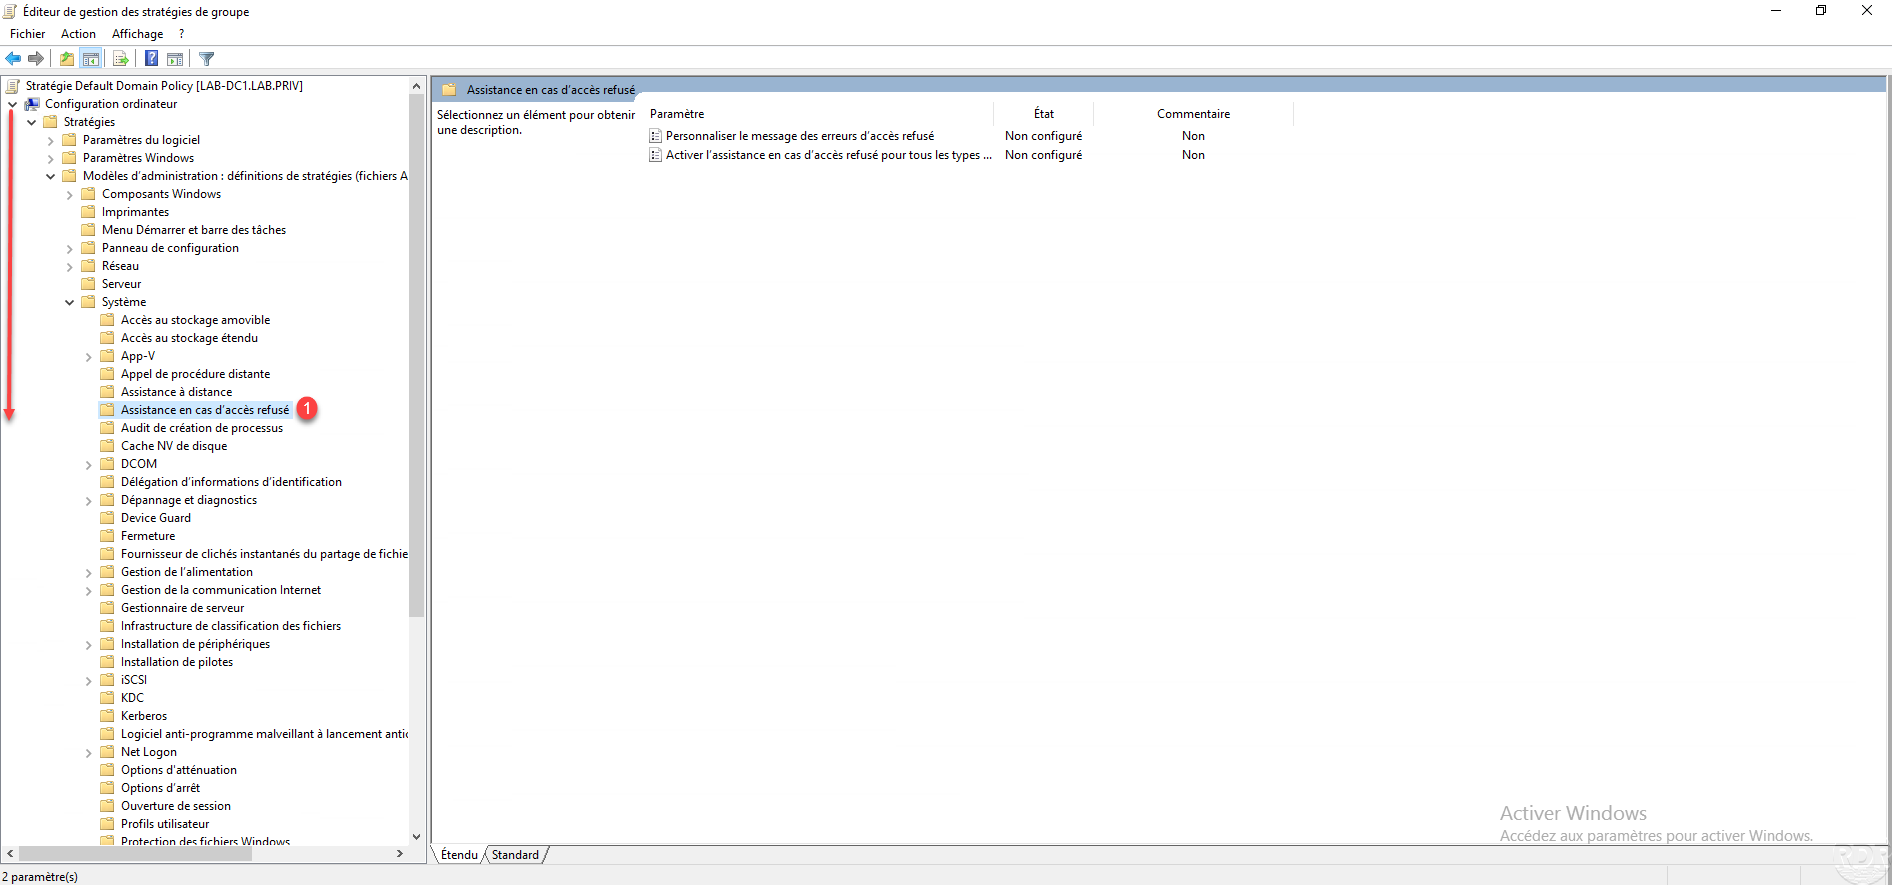
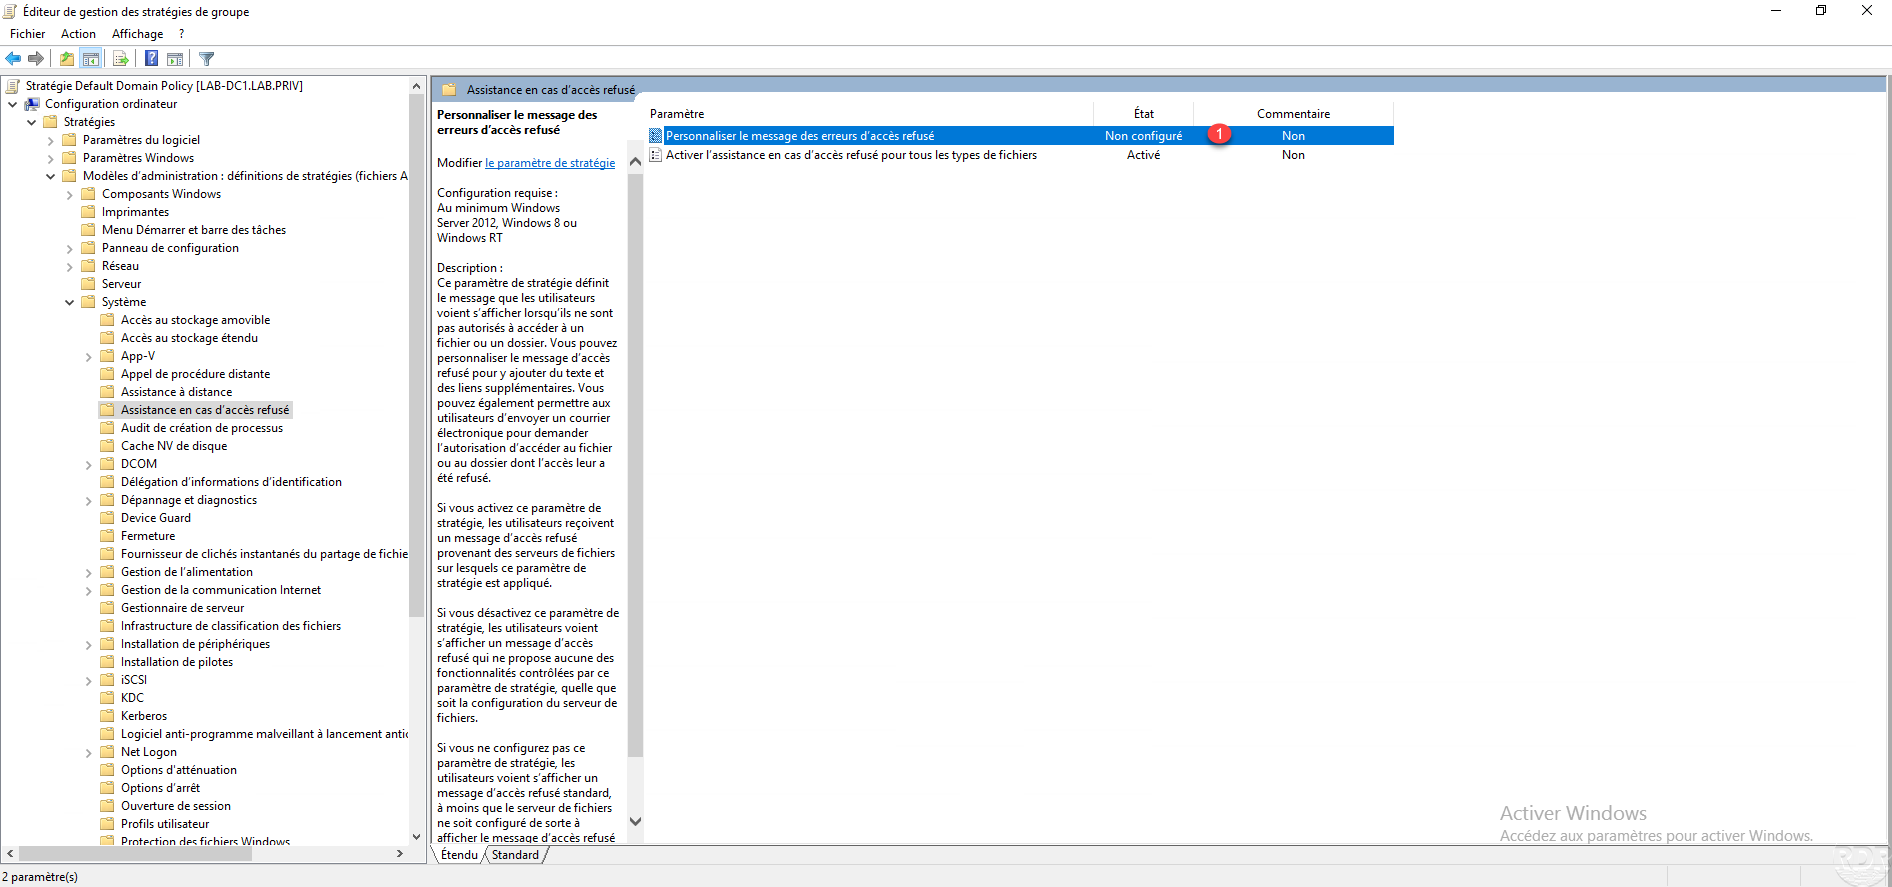
Go to the Assistance in the event of access denied 1 folder located in Computer Configuration / Policies / Administrative Templates / System.
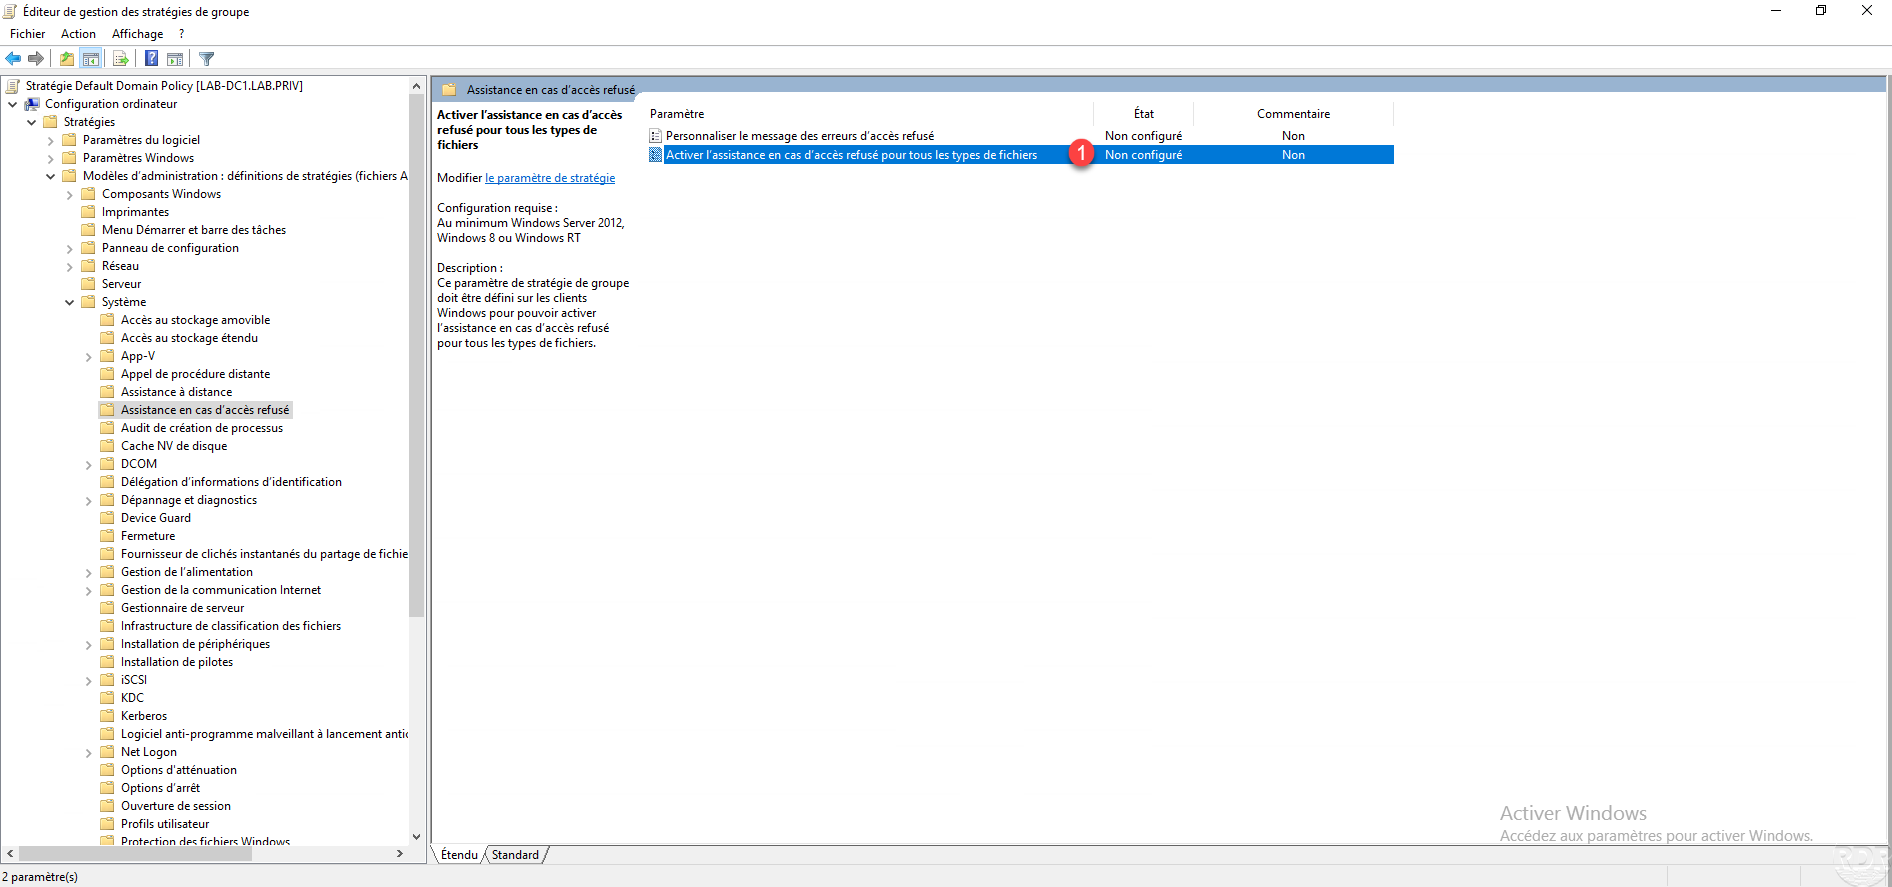
Open the Enable access denied assistance for all file types 1 setting by double-clicking on it.
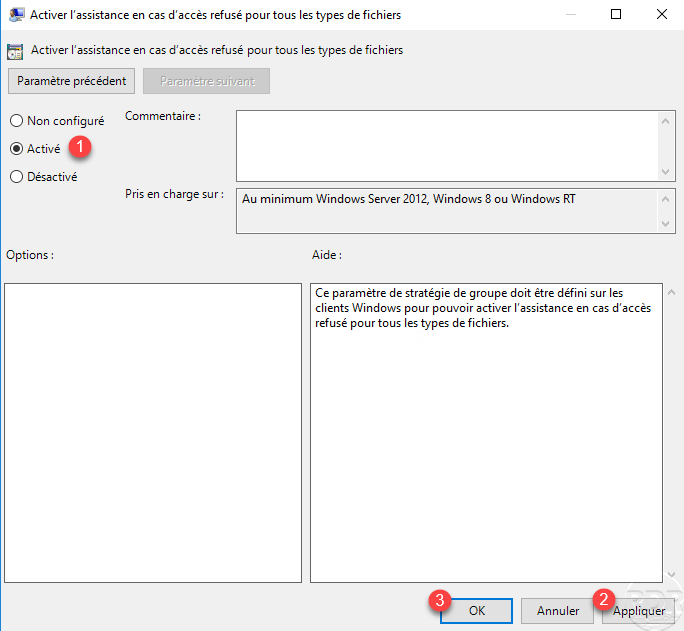
Activate 1 the parameter then click on Apply 2 and OK 3.
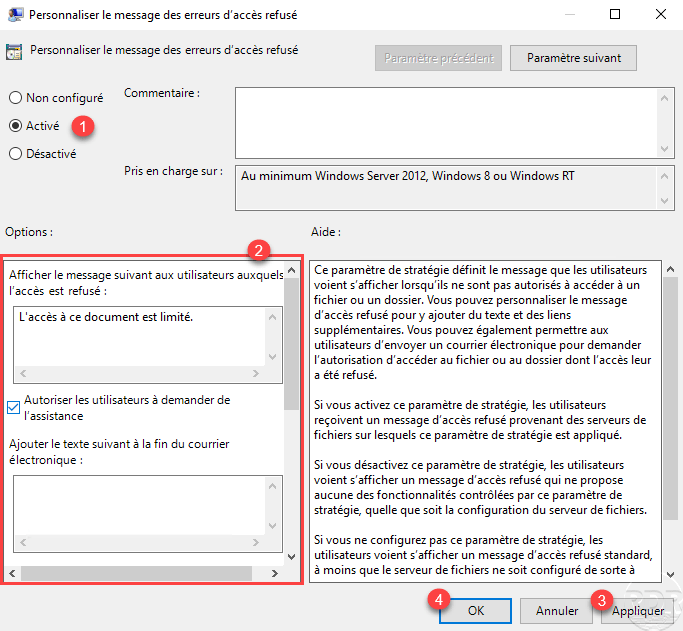
Open the Customize access denied error message 1 parameter by double-clicking on it.
Activate 1 the parameter then configure the options 2. To finish click on Apply 3 and OK 4.
The settings are enabled.
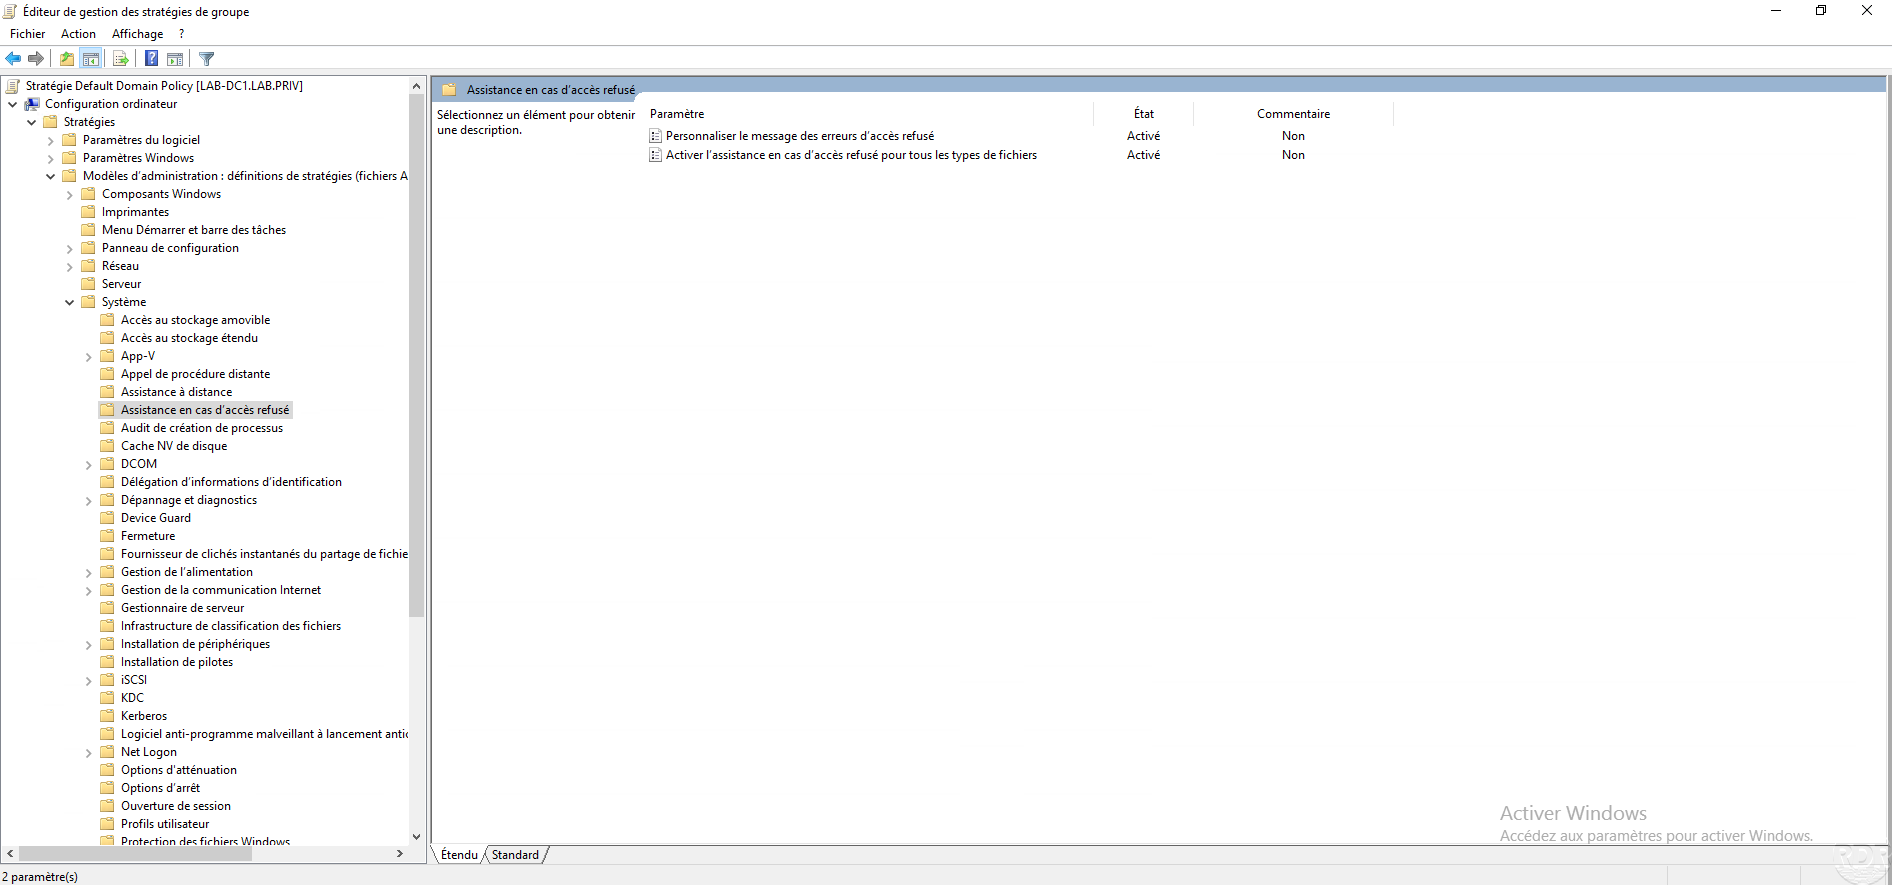
Refresh group policies on the file server and clients.
You should receive a customize error message when accessing a denied file.

Conclusion
Dynamic Access Control (DAC) is a Windows Server feature that uses multiple roles (Active Directory / FSRM) and allows you to set up more granular permissions.
The use of the DAC can quickly become complex and be a source of problems if the implementation has not been done with great care
I advise you to do labs and master dynamic access control before going into production.

It doesn’t work if the file owner is user1.hr. could you please help me find a solution in that case?