Creating the template virtual machine
Before configuring a collection for the deployment of virtual desktops, it is necessary to create a template virtual machine that will be used to generate the other machines.
Only Enterprise versions of Windows are supported
In this part, I will not go into detail on the creation of virtual machines with Hyper-V, I will assume that you have a minimum mastery of the technology. If necessary, several tutorials are available on the site and available here.
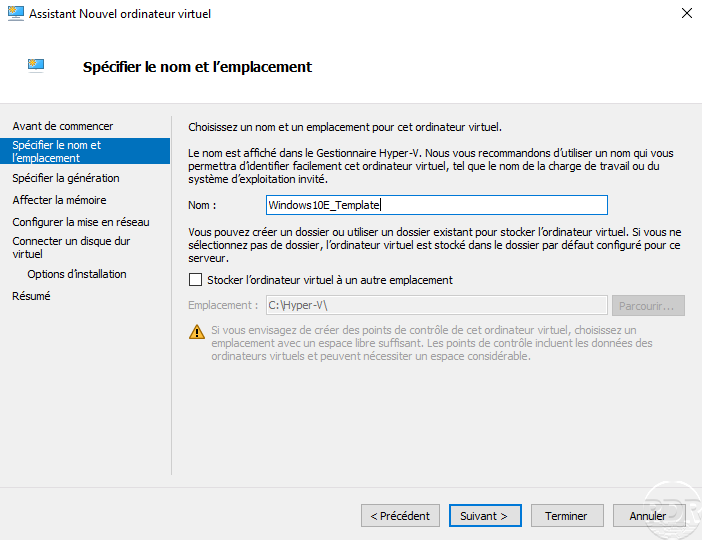
On the Hyper-V host, create a virtual machine that will serve as a template by configuring the resources you want to allocate (CPU, RAM, DISK …).
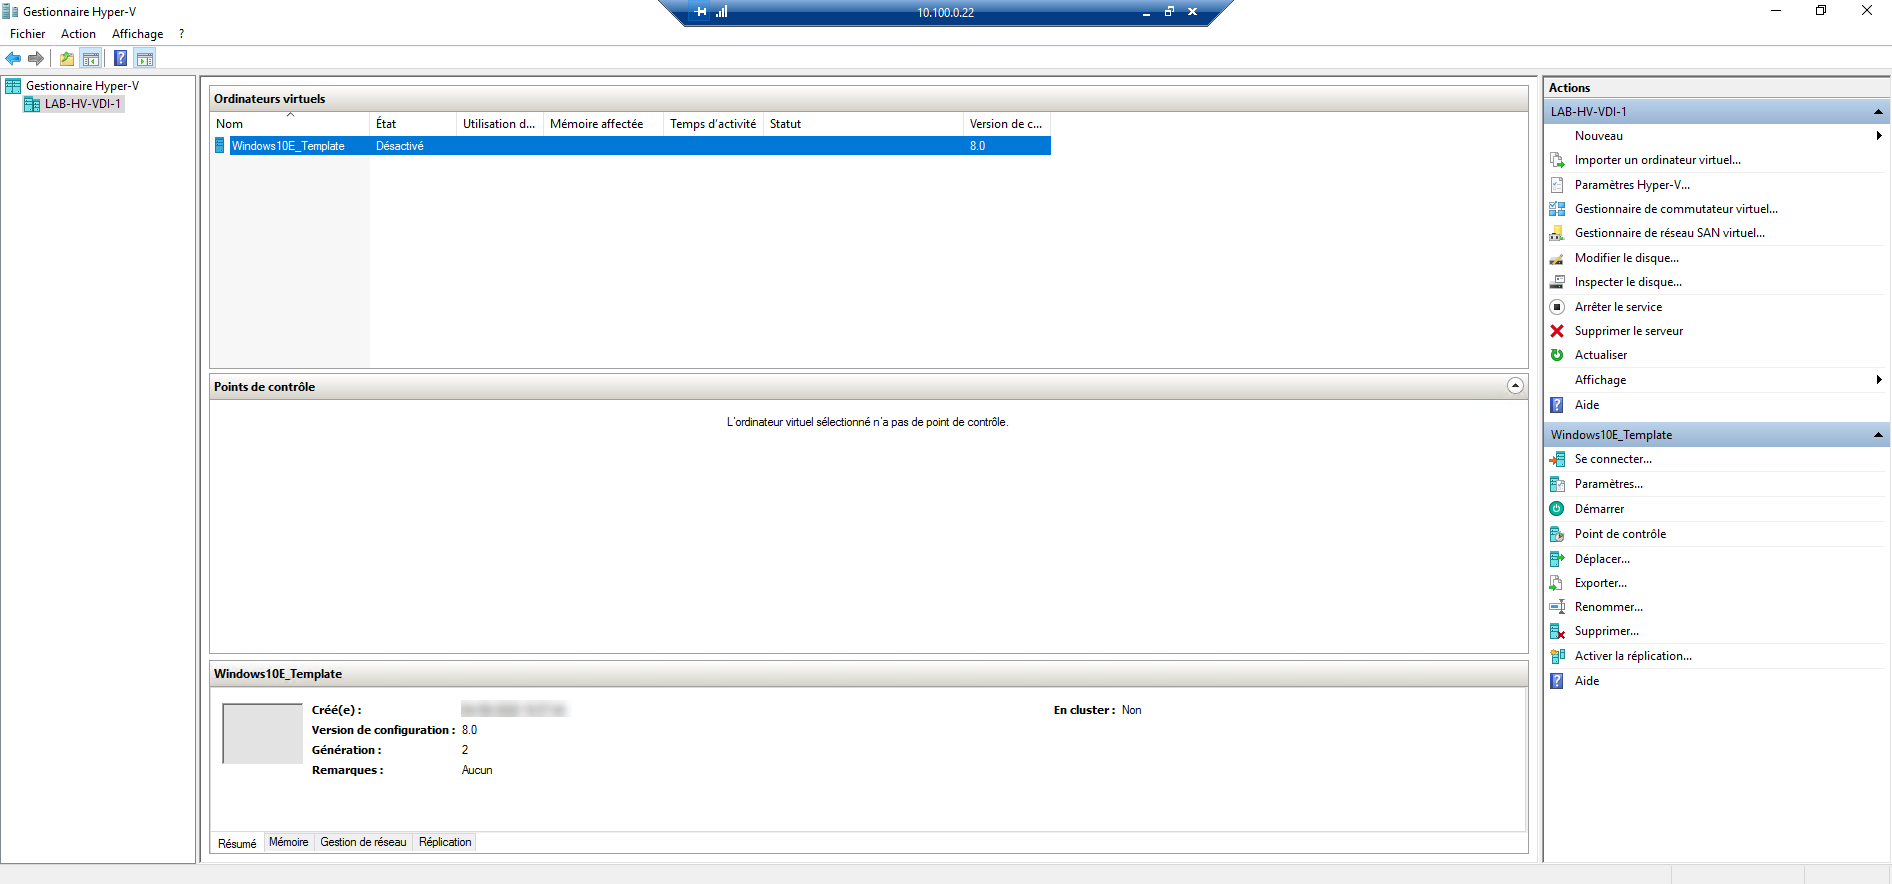
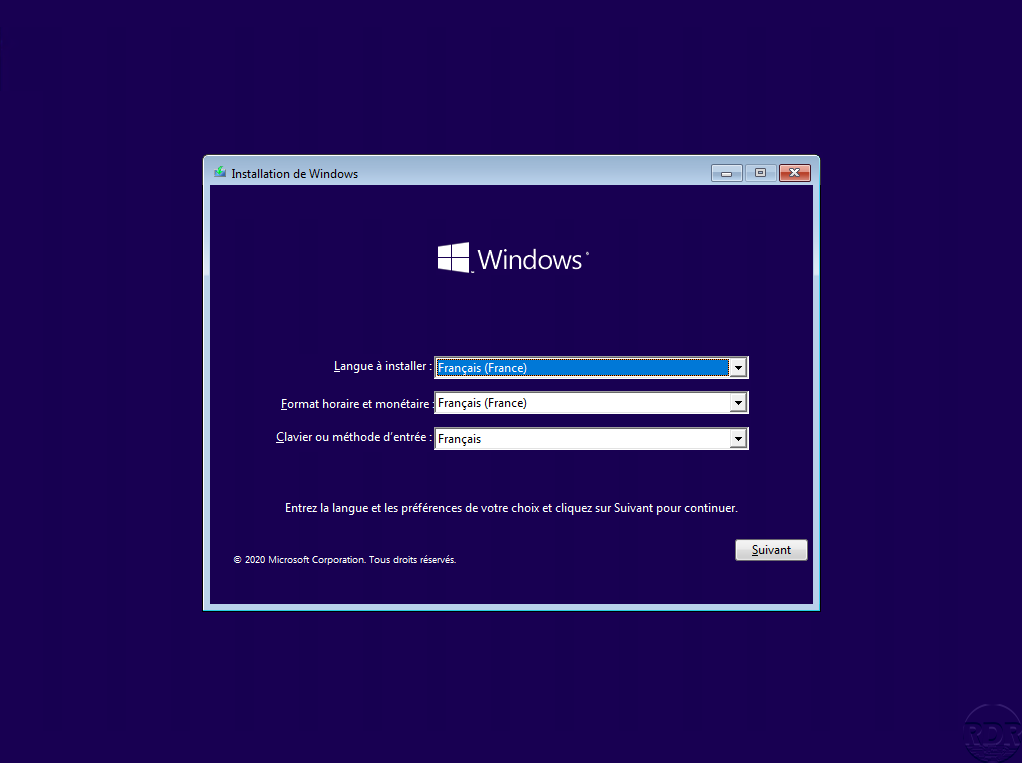
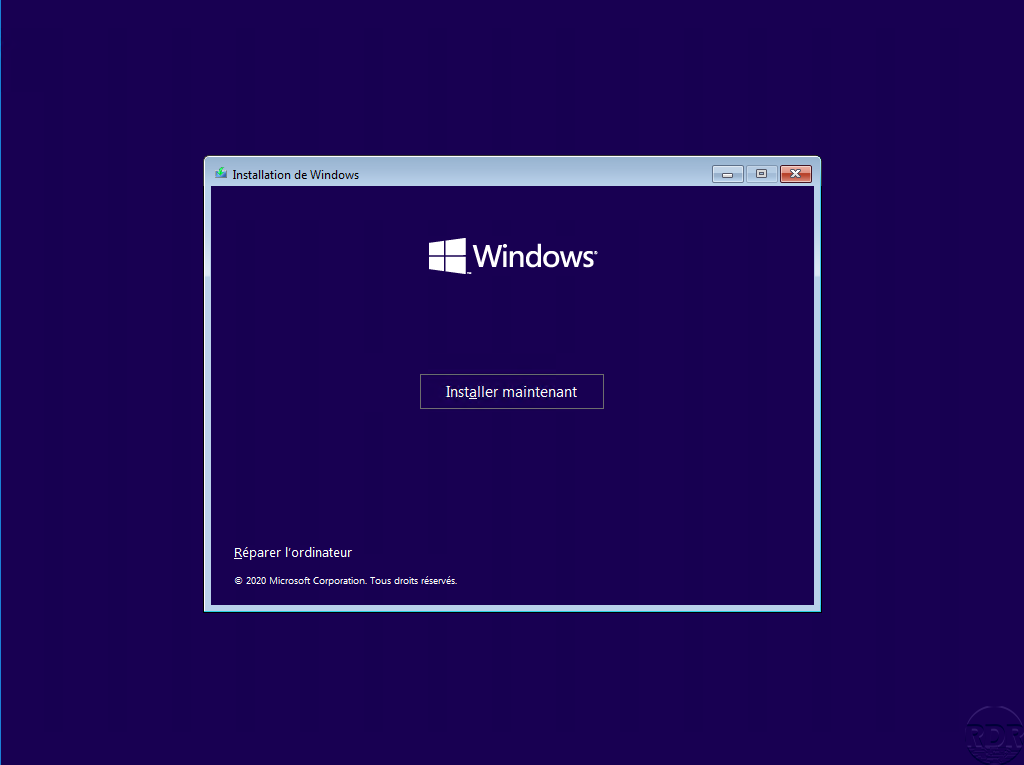
Start the virtual machine and start the Windows installation.
Once the installation is complete, install and configure the programs you want to make available. On the screenshot below we can see that I have installed notepad ++.
It is not necessary to enable remote desktop on the VDI model.
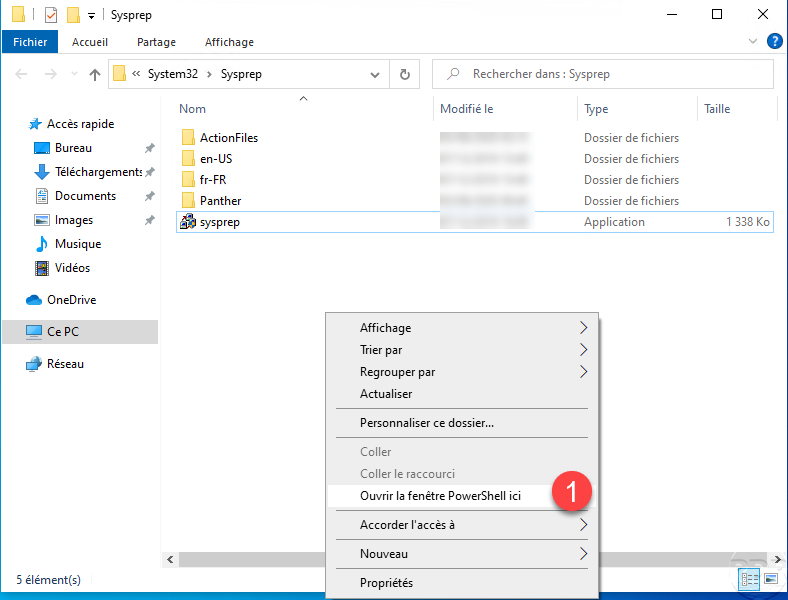
Now that the virtual machine is ready, you have to do a sysprep, go to the C: \ WIndows \ System32 \ Sysprep folder.

In the explorer press the shift key on the keyboard and right click and click on Open the PowerShell window here 1.
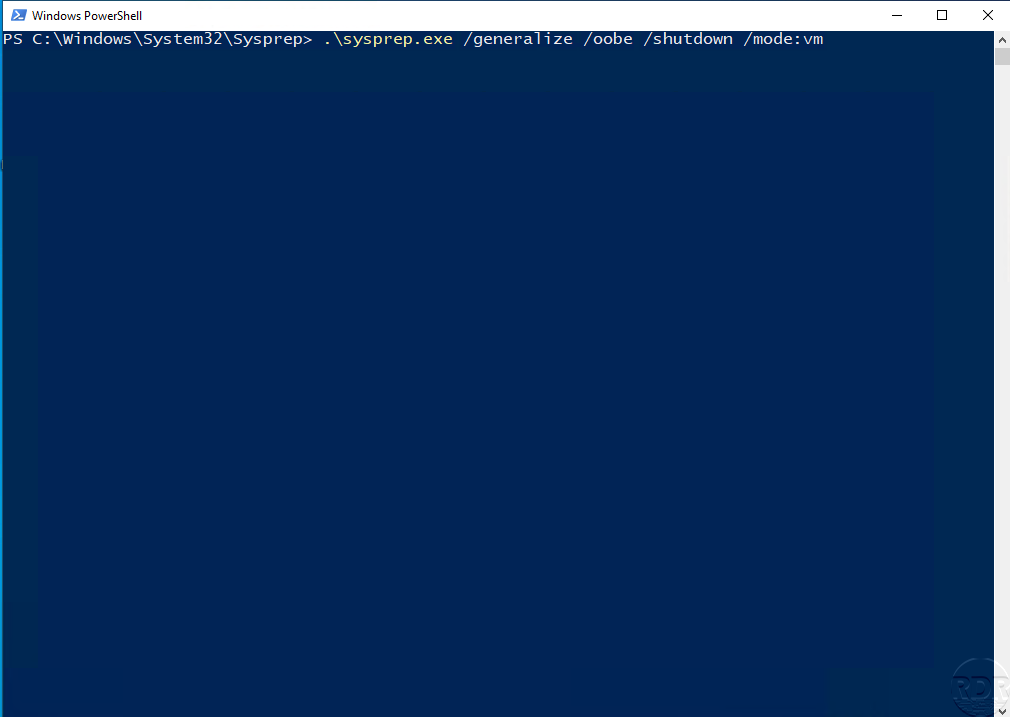
The sysprep must be carried out on the command line because you must pass the mode: vm option which is not available with the graphical interface.
In the window enter the command below to do the sysprep :
.\sysprep.exe /generalize /oobe /shutdown /mode:vm
Wait while sysprep is running.
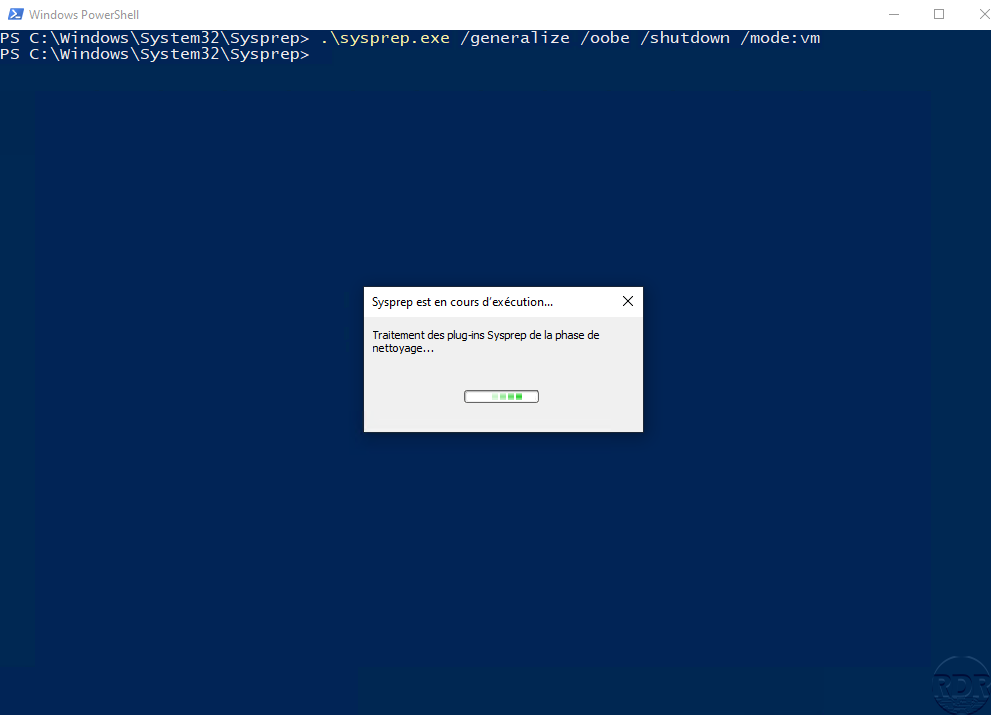
If the sysprep is successful, the computer turns off.
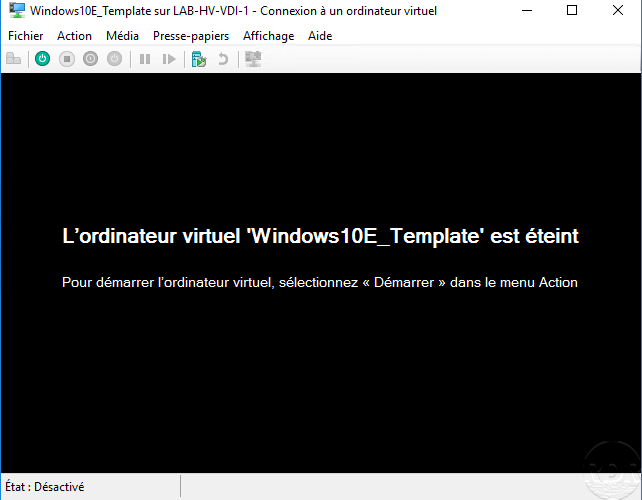
From now on, the model computer should not be started any more.
If you used an ISO to create the virtual machine, remove it from the virtual machine configuration.
Now that we have the loan model, we will move on to publishing Virtual Offices.


