Install Jenkins on Windows Server
Installation of Jenkins
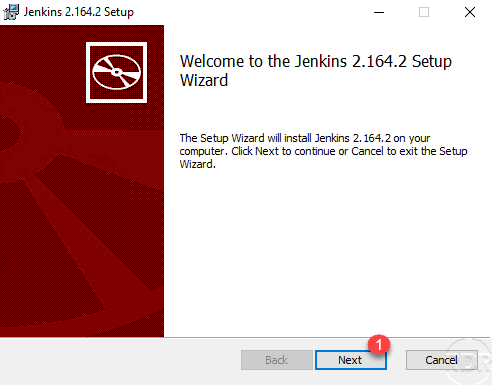
Download the latest version of Jenkins, unzip the archive and run the installation wizard. When launching it, click Next 1 .
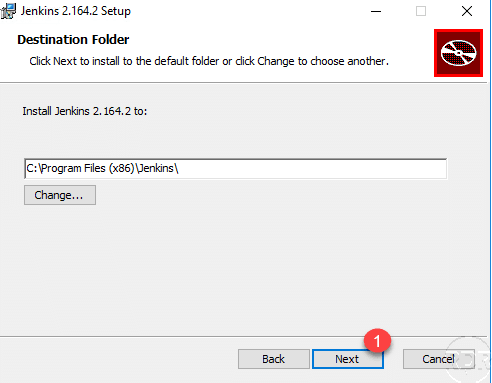
If necessary change the installation folder then click on Next 1 .
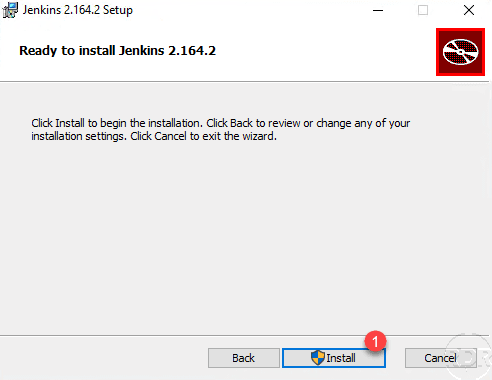
Start the installation by clicking the Install 1 button.
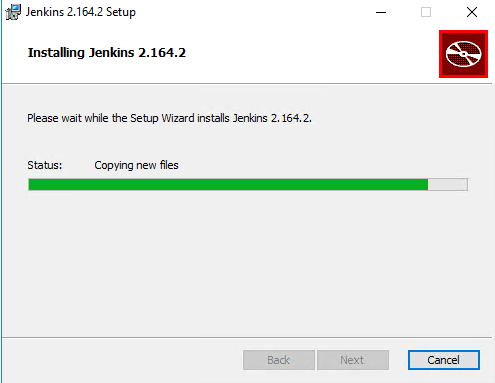
Wait during the installation …
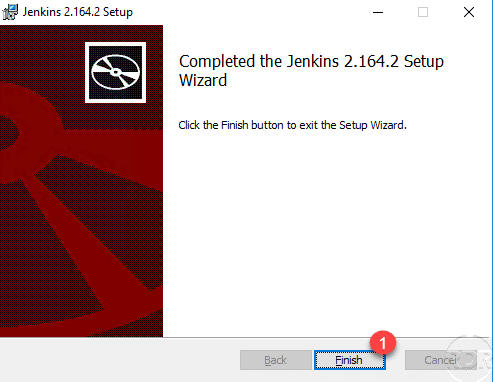
Once the installation is complete, close the wizard by clicking Finish 1 .
Now that the installation of Jenkins is done, we will go to the post-installation configuration.
Jenkins post-installation configuration
If your browser does not open automatically at the end of the installation, run it manually and enter the following address: http: // localhost: 8080. Wait during Jenkins full start.

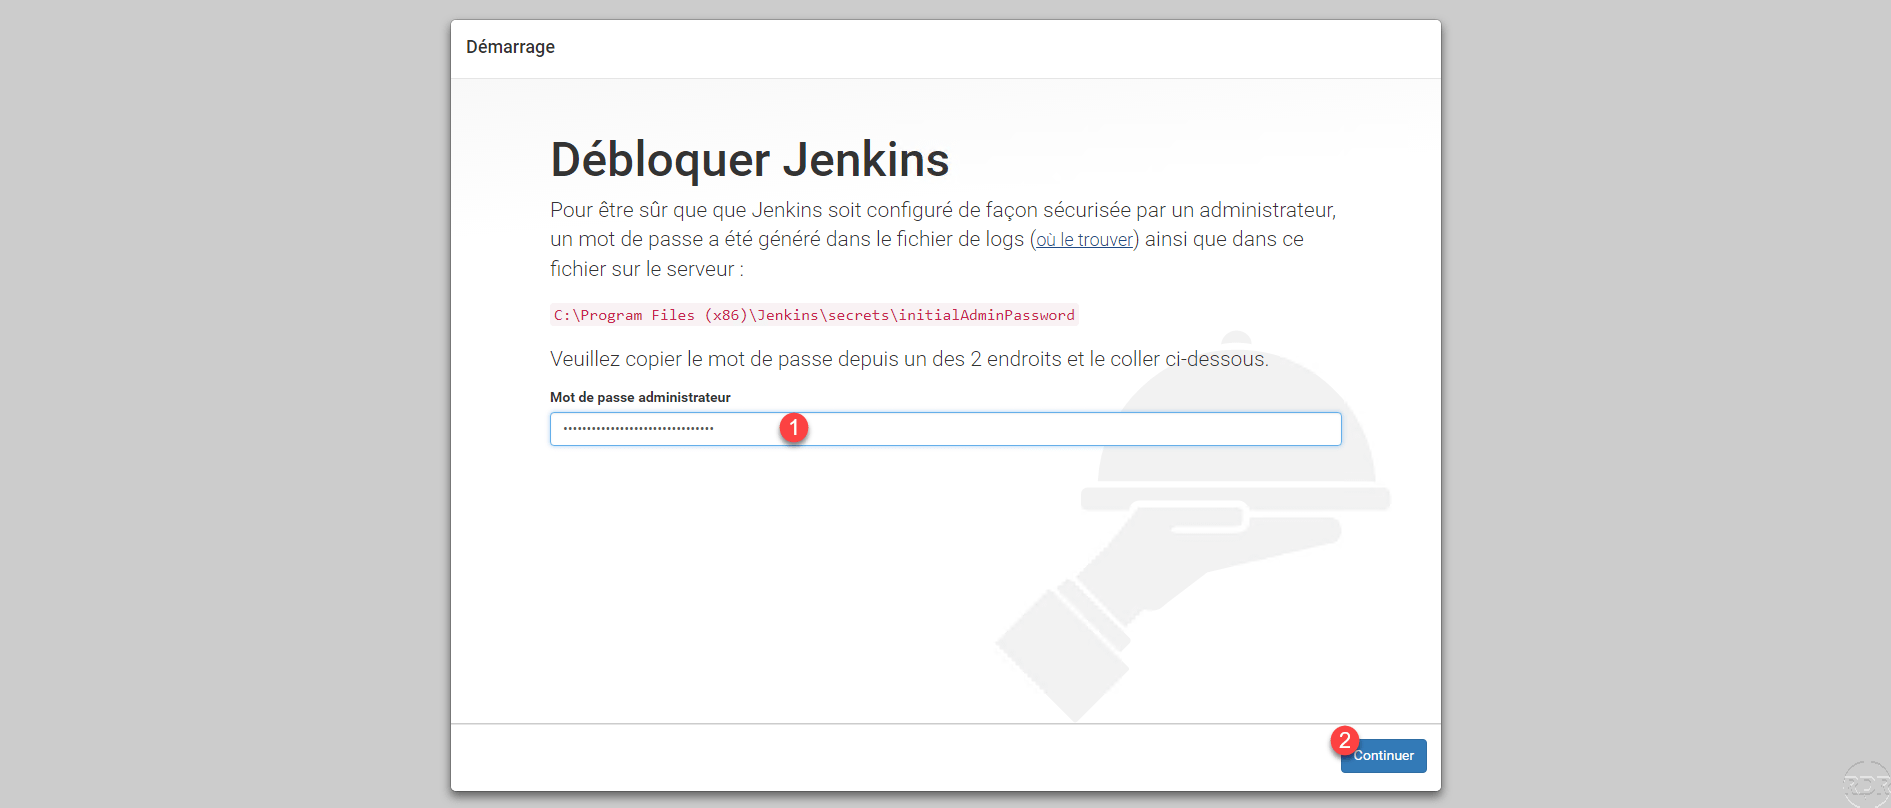
Before starting the configuration, you must unblock it following the instructions.

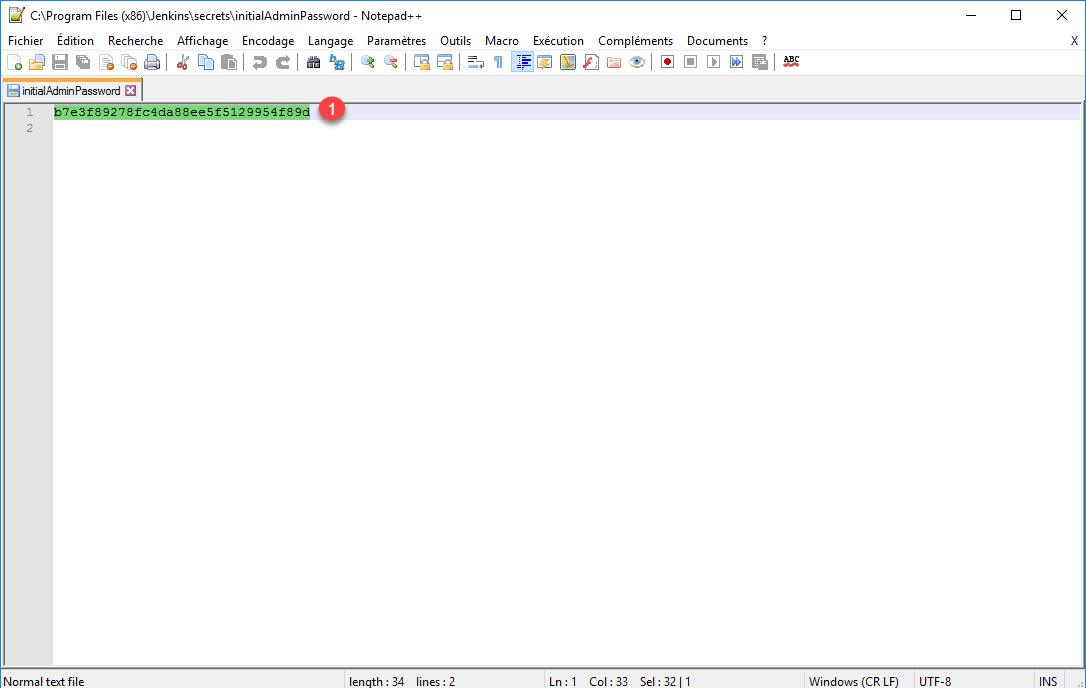
Open the file initalAdminPassword and copy the password 1 .
Paste the password in the field 1 and click Continue 2 .
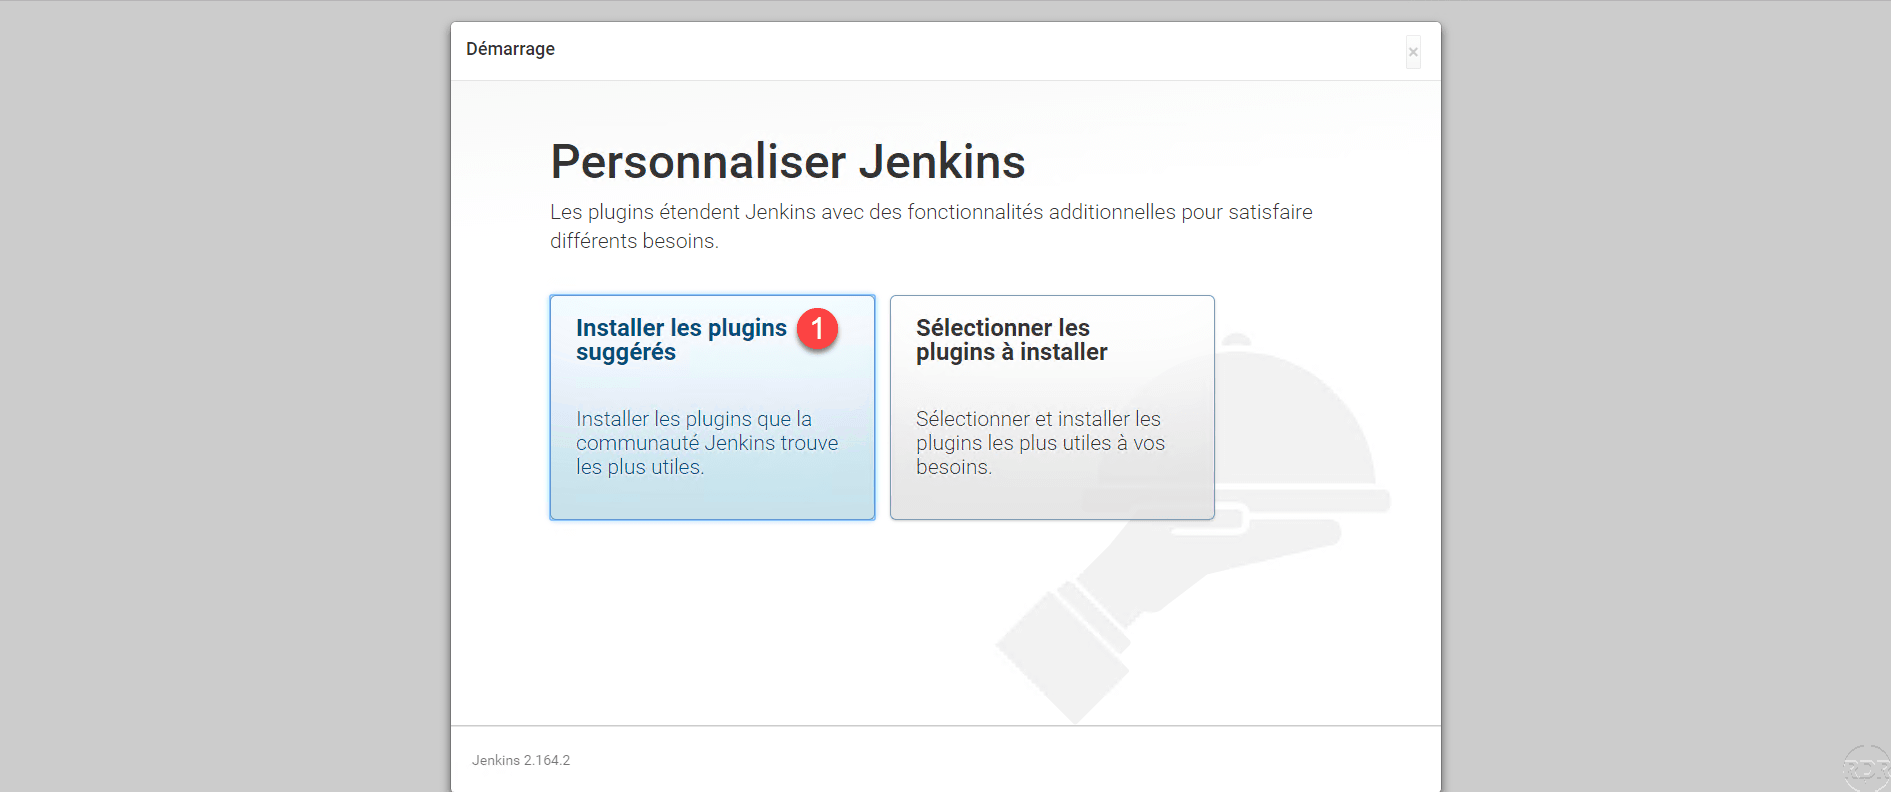
Click Install Suggested Plugins 1 .
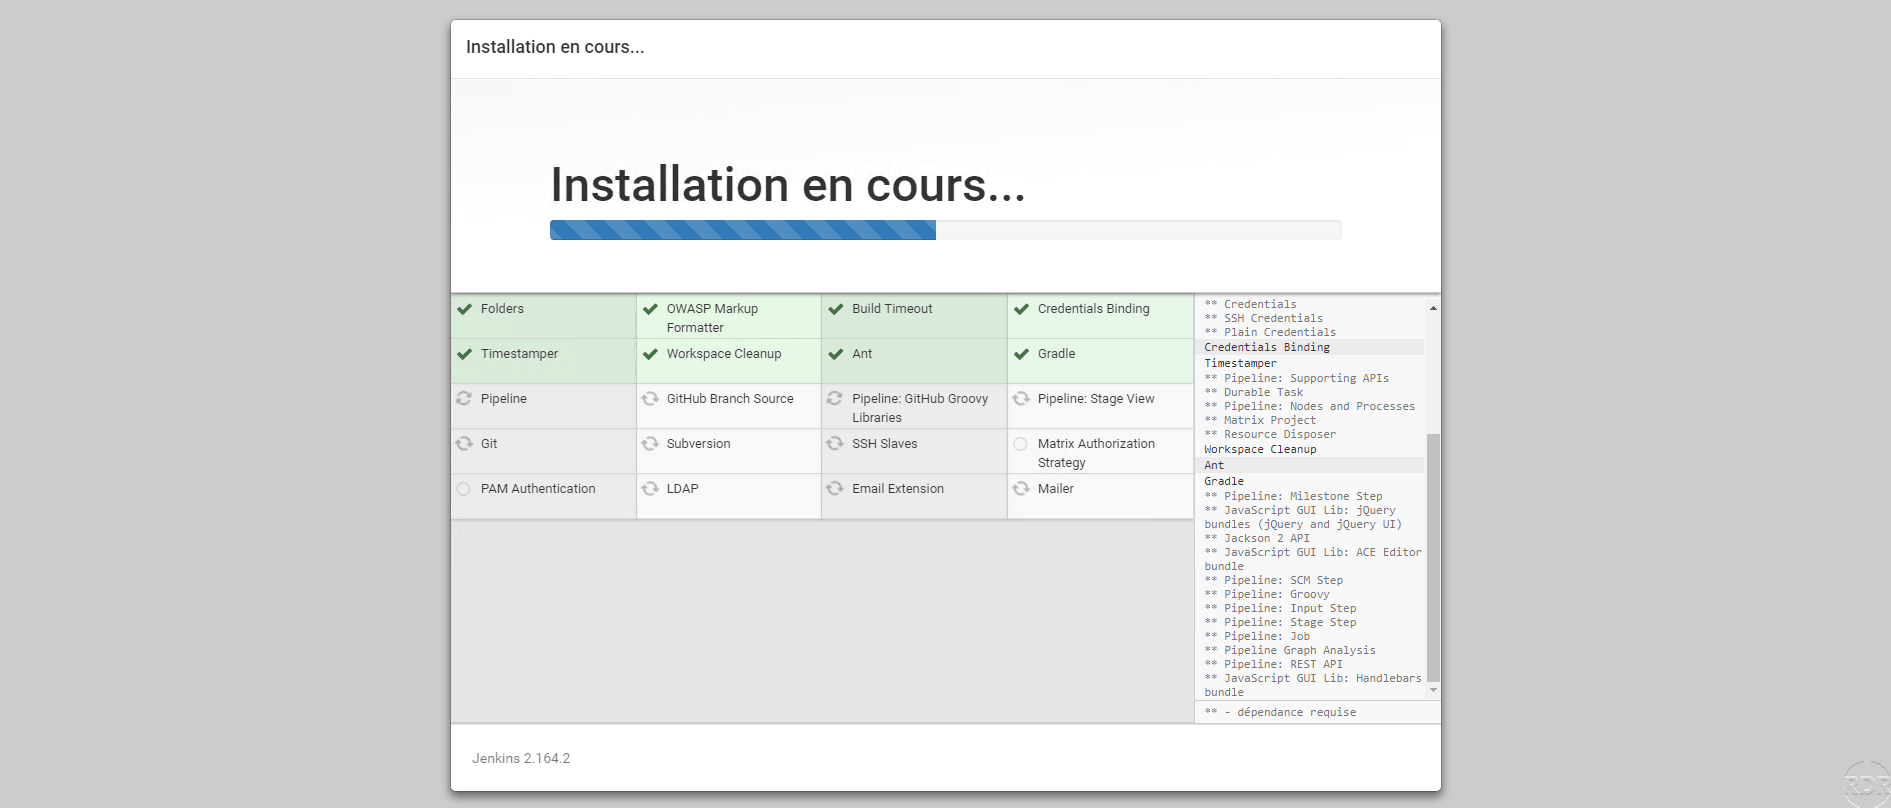
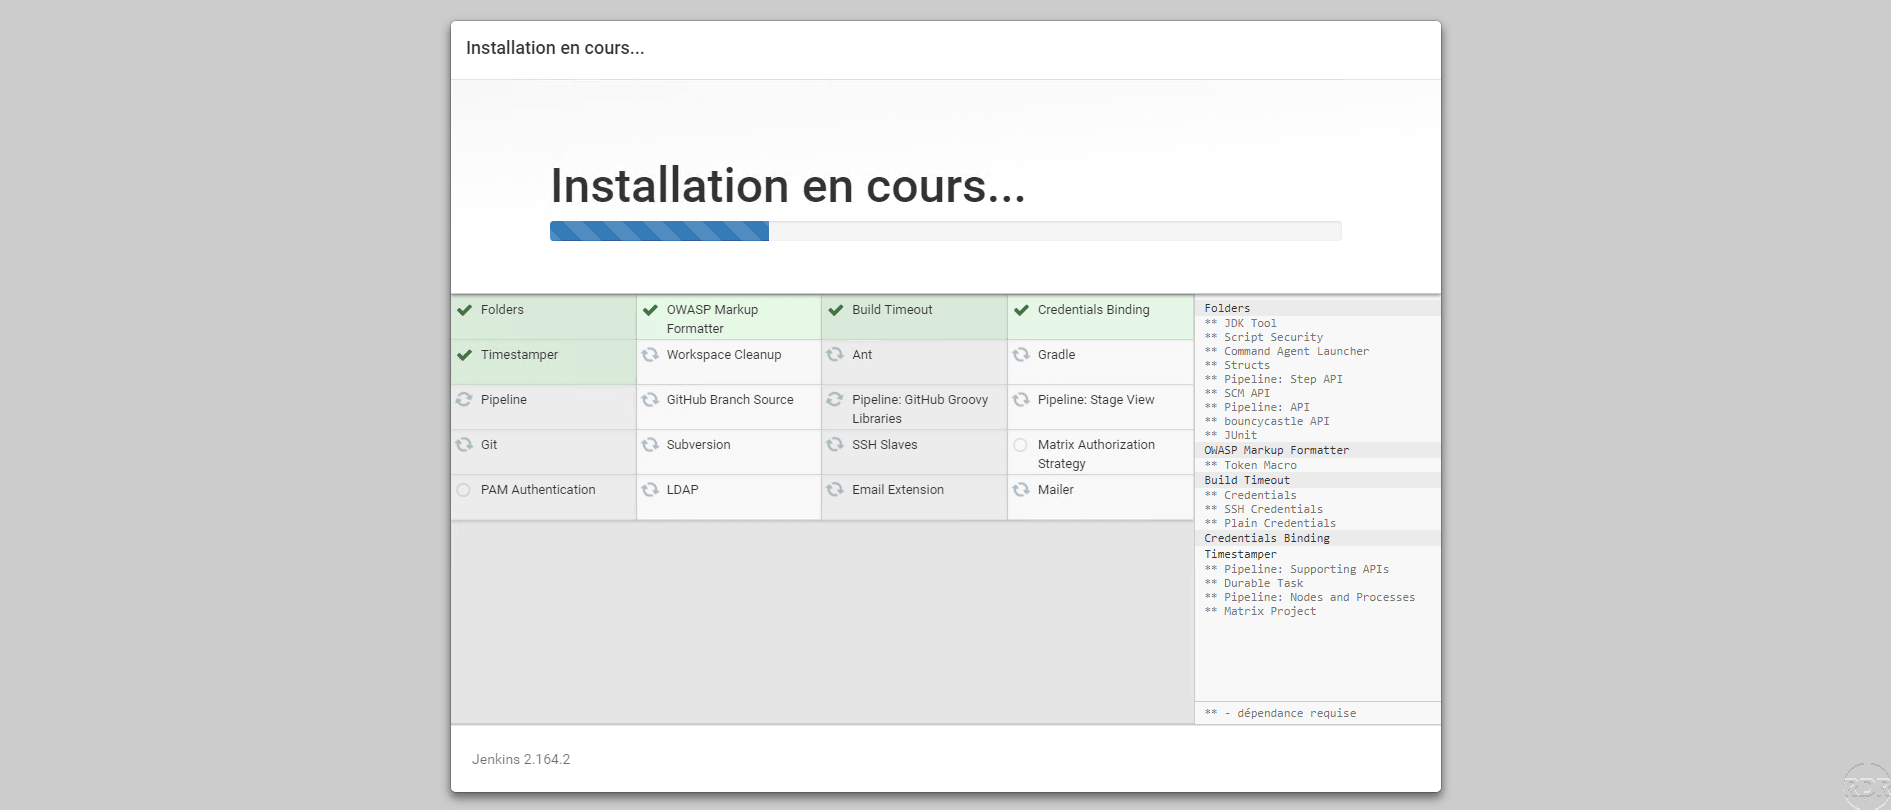
Wait while installing the plugins …
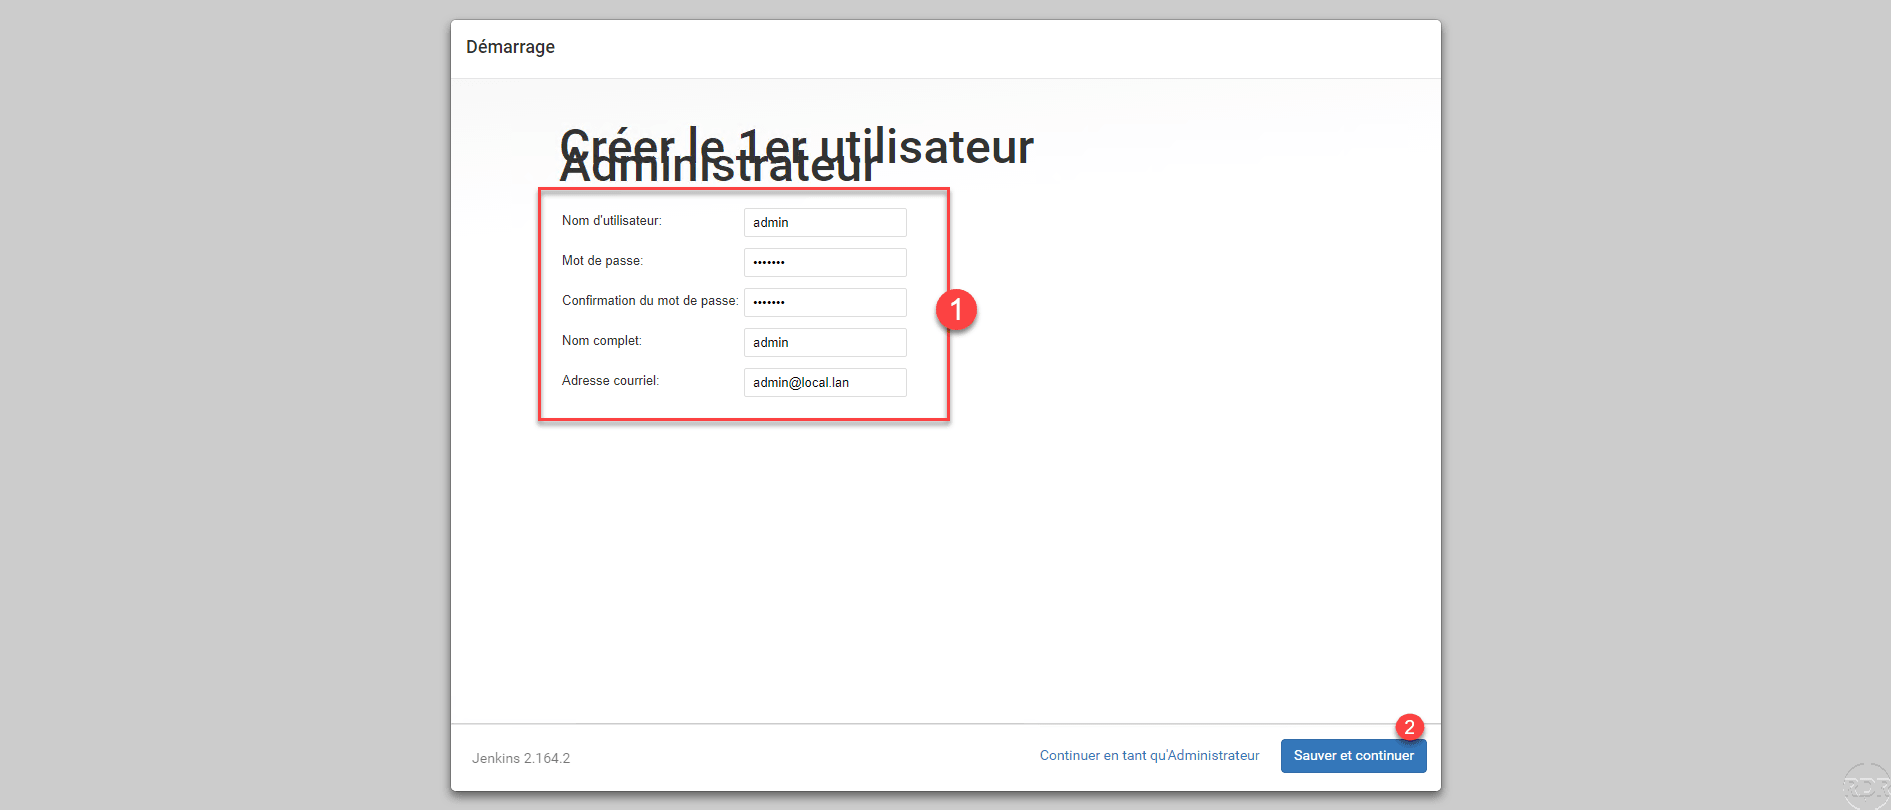
Create an administrator account by filling in the form 1 and clicking on Save and Continue 2 .
Configure the Jenkins Service URL 1 and click Save and Complete 2 .
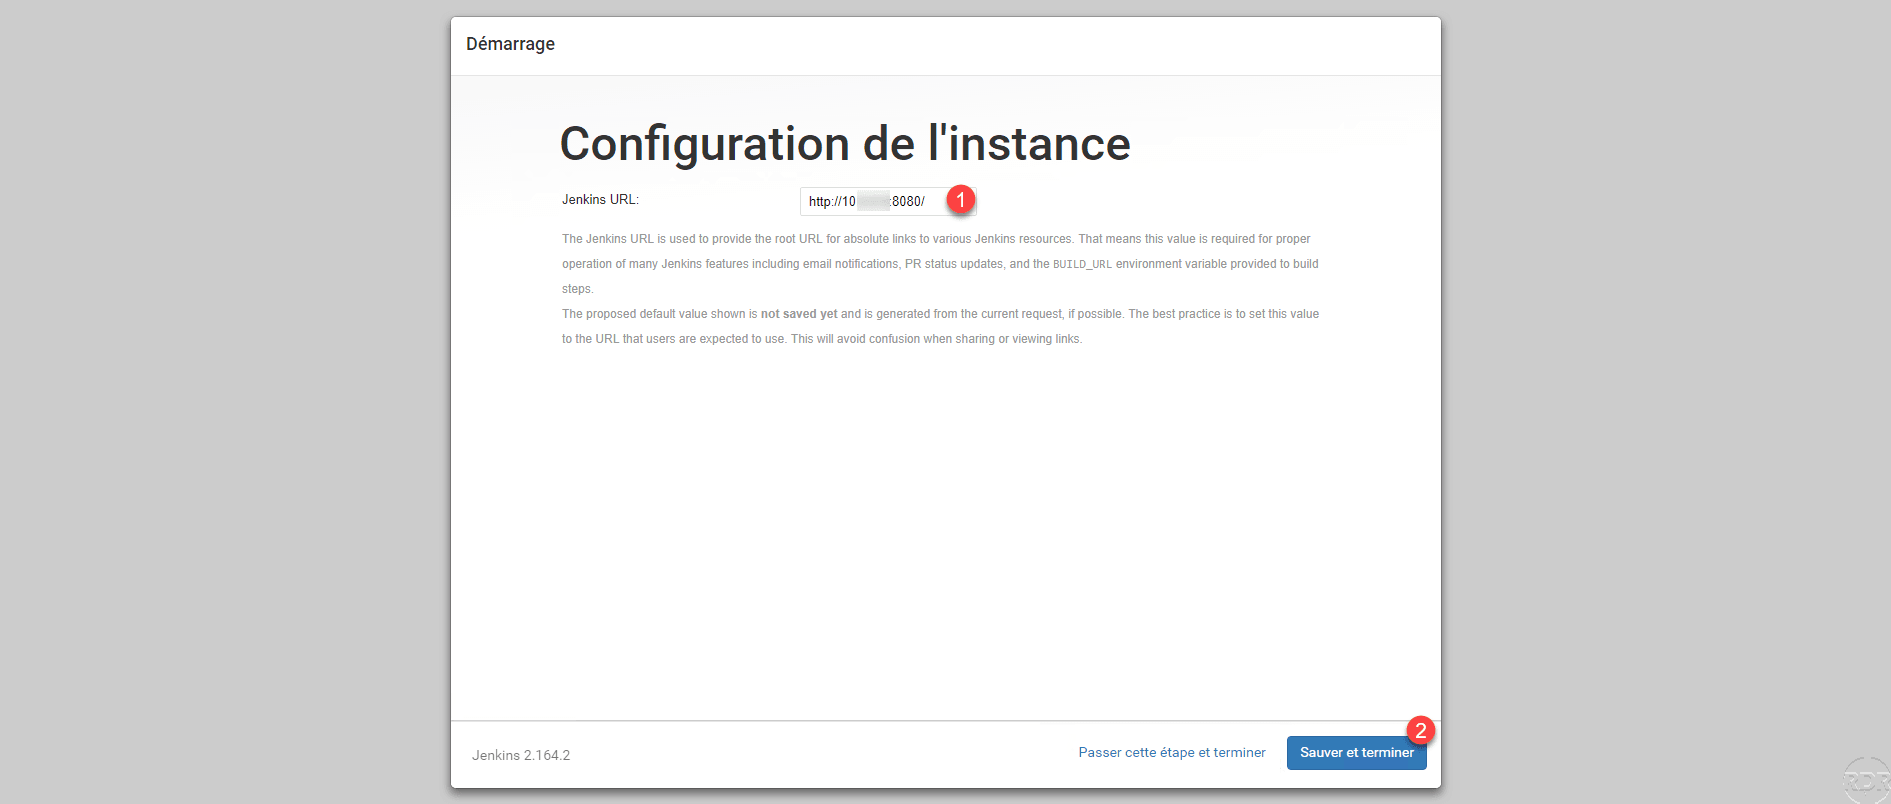
The configuration of the URL will allow access to the remote agent to communicate with the server, if you leave 127.0.0.1 or localhost the agents will not be able to be installed.
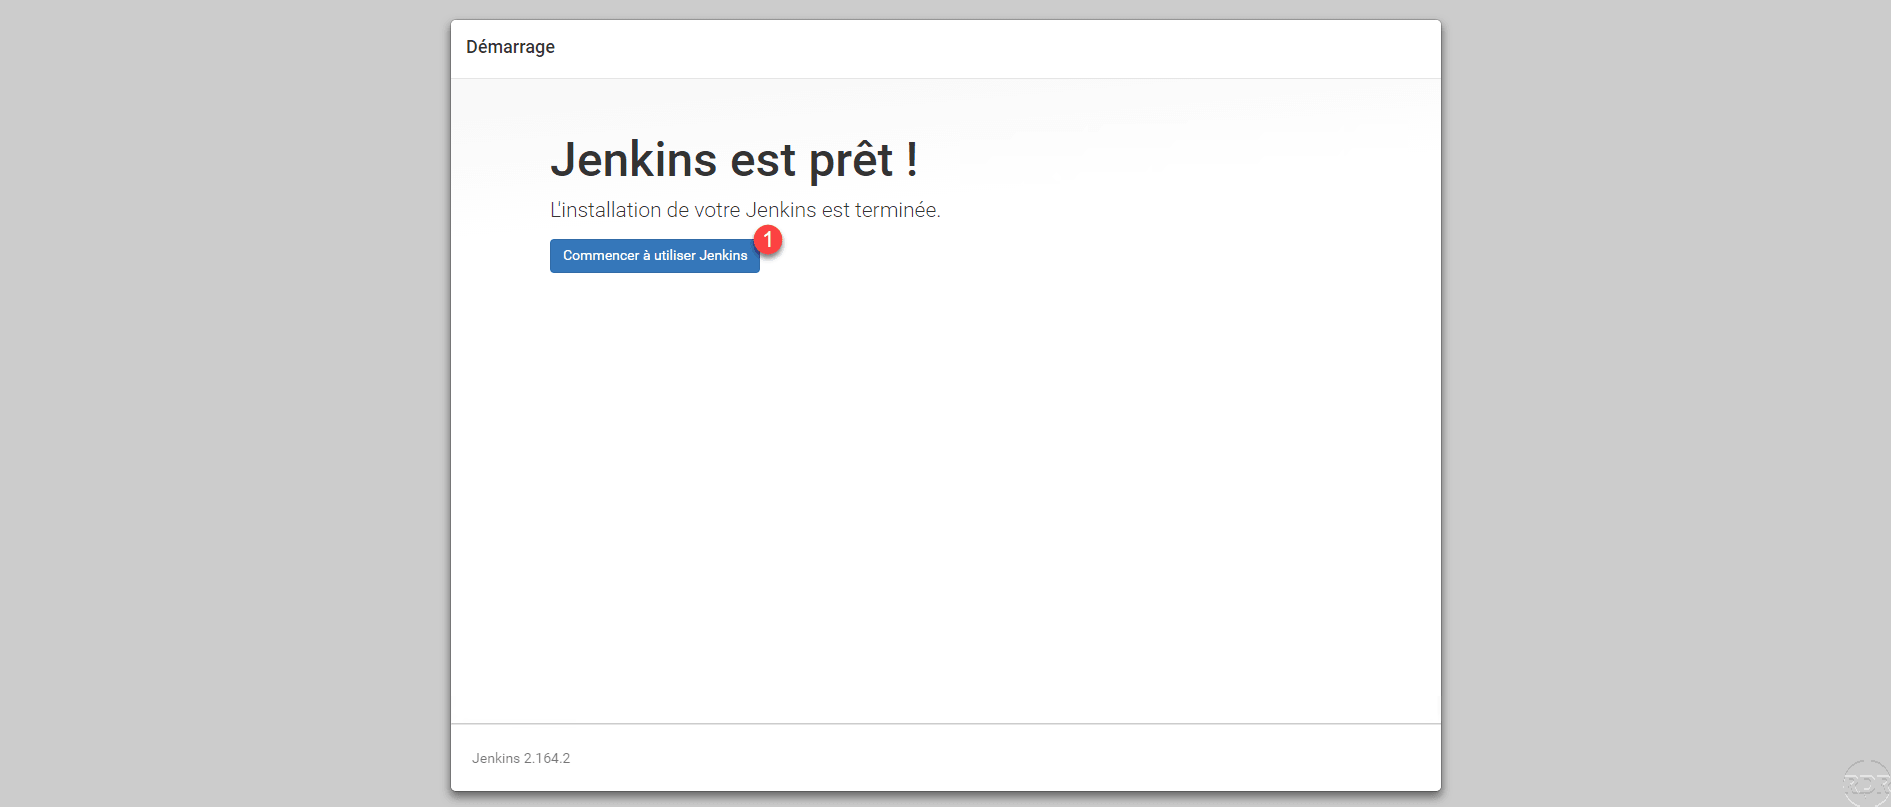
The post-installation configuration is complete, click on the button Start using Jenkins 1 .