In this tutorial, we will have how to install a Sophos XG firewall on a virtual machine with Hyper-V.
For this article, I used the Sophos XG home version which is available for free.
Prerequisites
Download the ISO firewall on the site sophos and recover the license key that will be sent by email.
Create a virtual machine with the following characteristics:
- Generation 1 VM
- 2 CPU (max 4)
- 2Go de RAM (max 6)
- One disc at least 100GB
- Two network interfaces:
- Lan : card on a private switch
- Wan : map on the lan
Installing Sophos XG
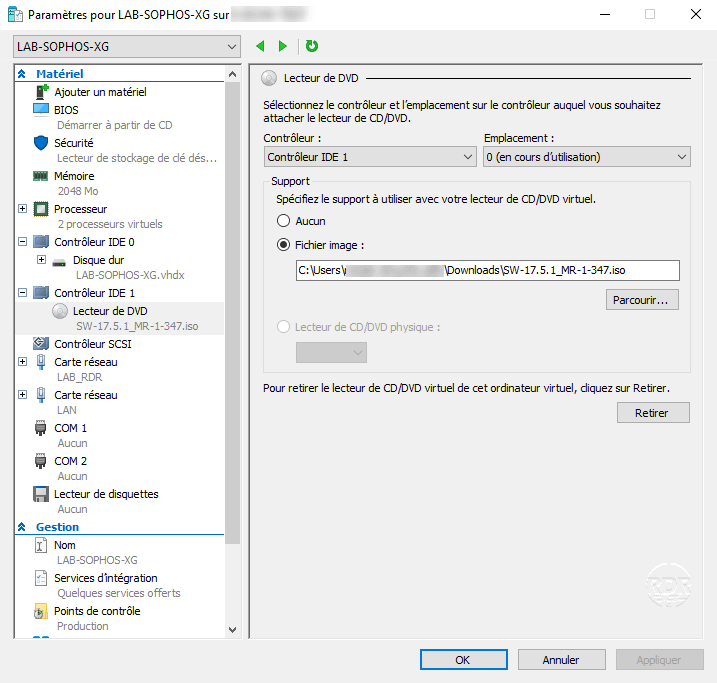
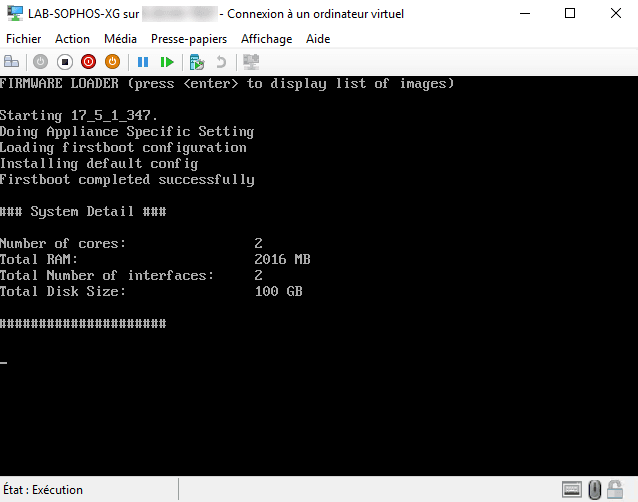
1. Start the virtual machine and boot to the CD drive.
2. Confirm the installation and formatting of the drive by entering Y and confirm by clicking Enter.

3. Wait during the installation …

4. When the installation is complete, remove the ISO from the virtual machine, confirm the restart by entering Y, and confirm by clicking Enter.

5. Wait while restarting …
6. The system is ready when the Password line is displayed.

Now that the firewall is installed, we will move to the post-installation configuration.
Post-installation configuration
In order to configure the firewall, you must configure a computer with an IP address in the default segment of the Sophos XG address (example: 172.16.16.100/24).
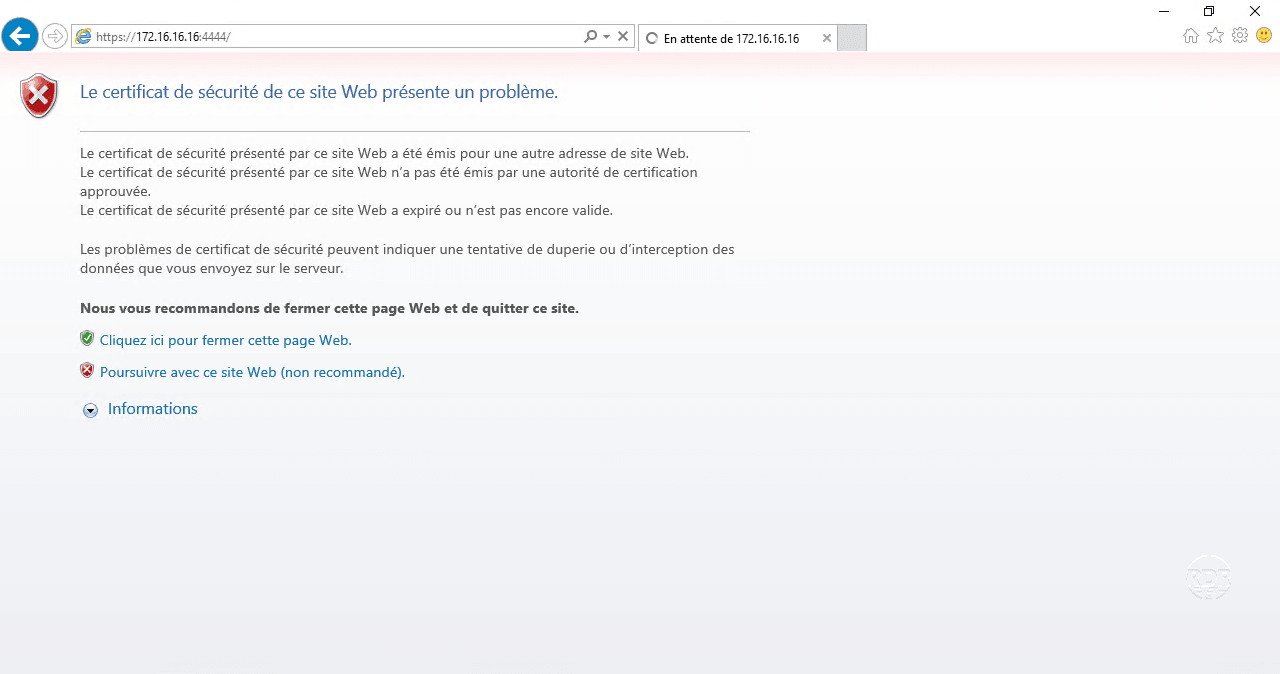
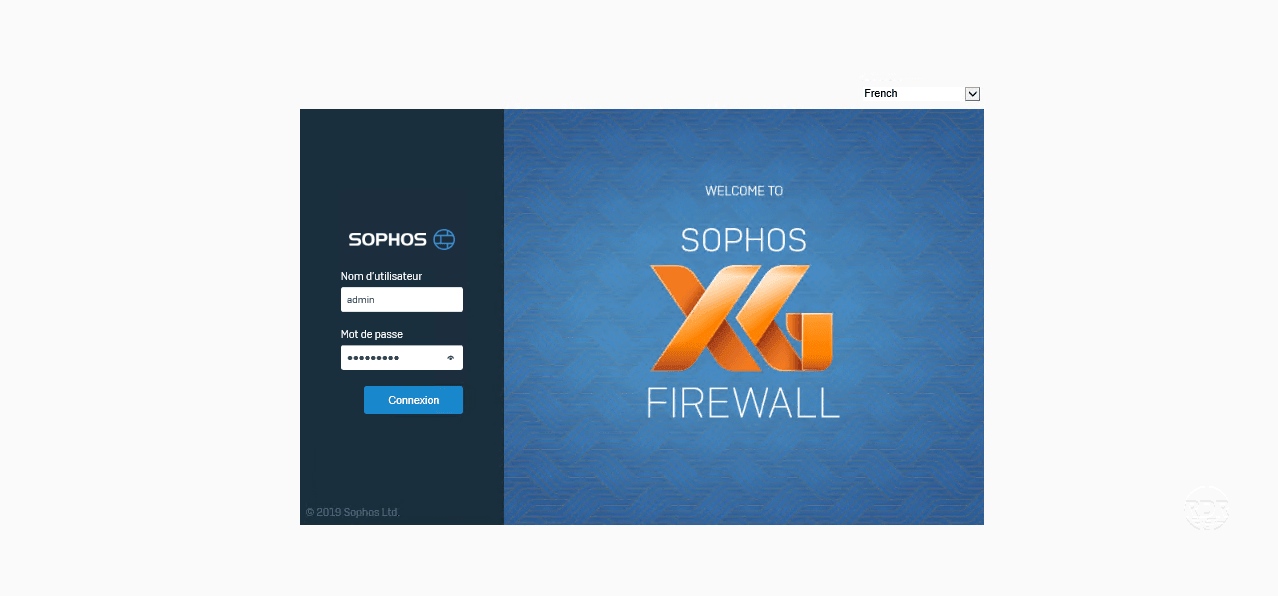
1. Launch an internet browser and enter the firewall address https://172.16.16.16:4444 and pass the certificate alert.
2. Click on Click to begin 1 .

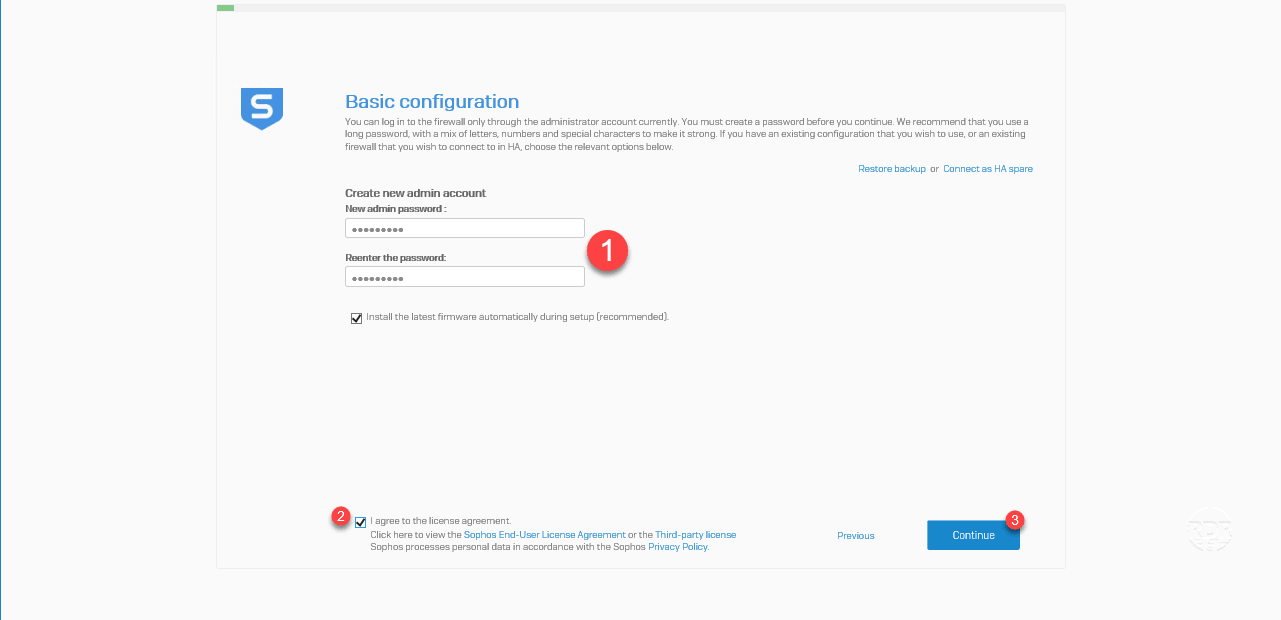
3. Set the password for the admin account 1 , check the box to accept the license 2 and click Continue 3 .
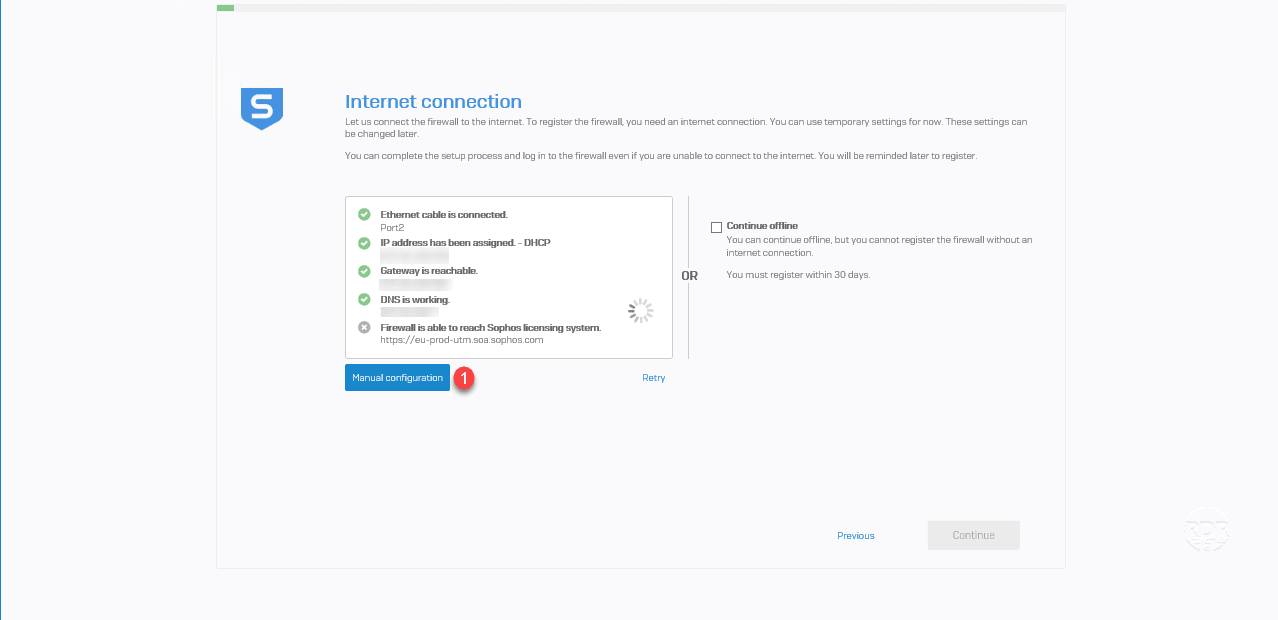
4. To configure the IP address of the WAN interface (port2) click on Manual configuration 1 .
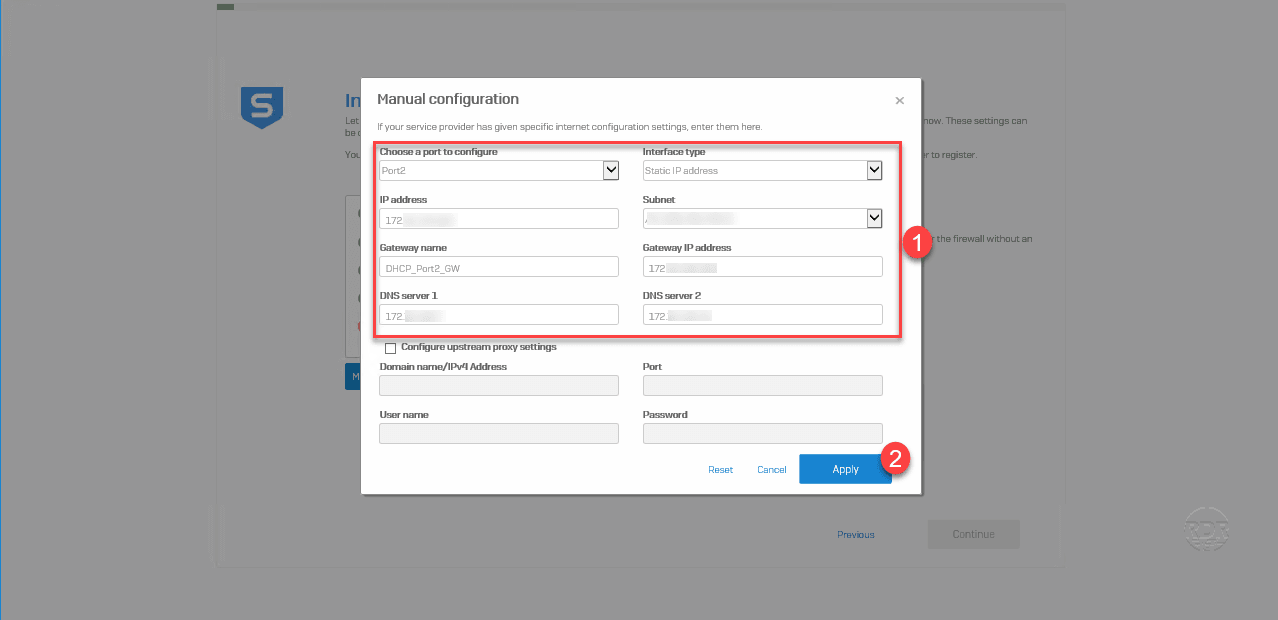
5. Enter the IP configuration of the WAN interface (port2) 1 and click Apply 2 .
6. Click OK 1 to close the information message.
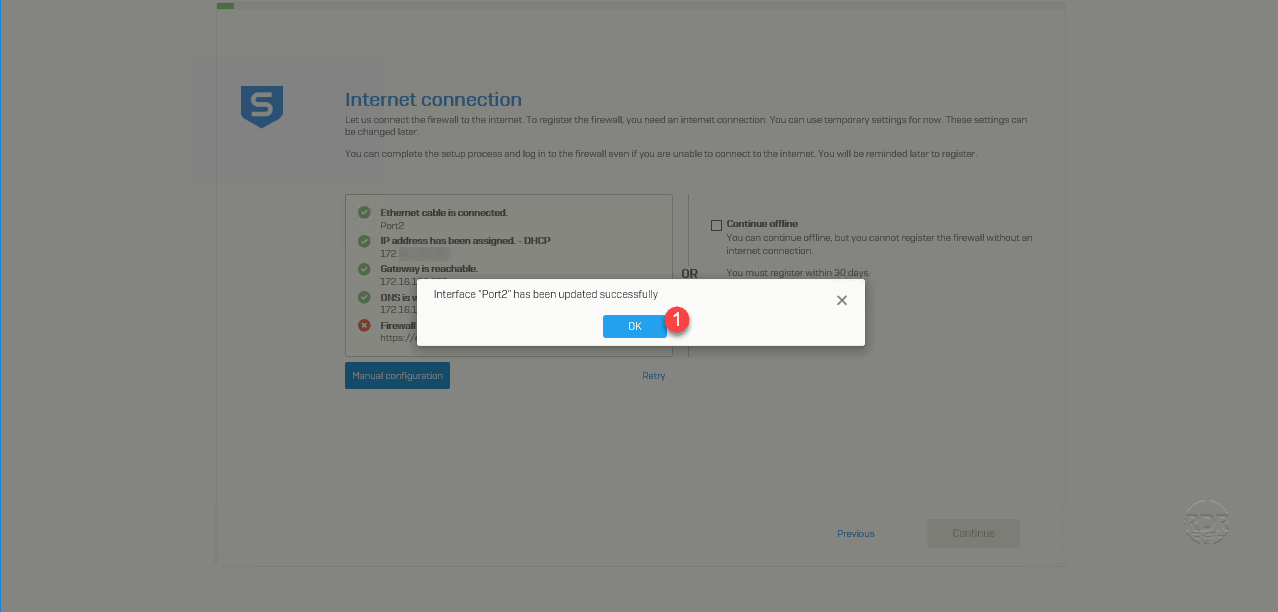
7. The firewall is connected to the internet, click on Continue 1 .

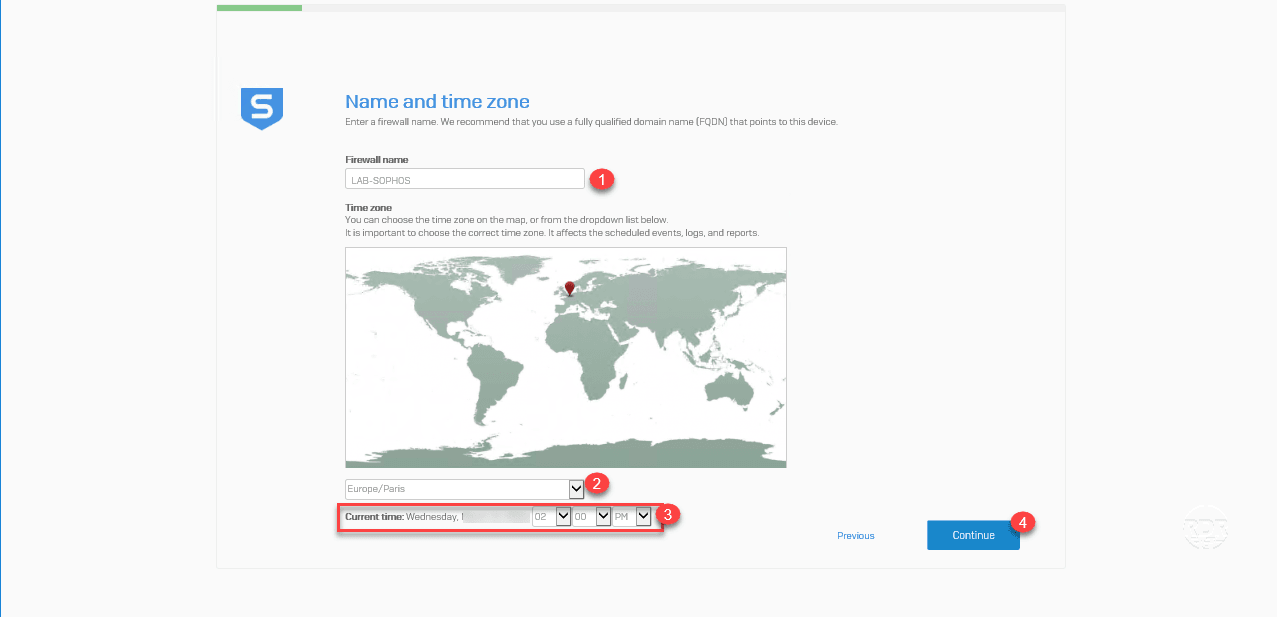
8. Enter the name of the firewall 1 , select the time zone 2 , check the time and date 3 and click on Continue 4 .
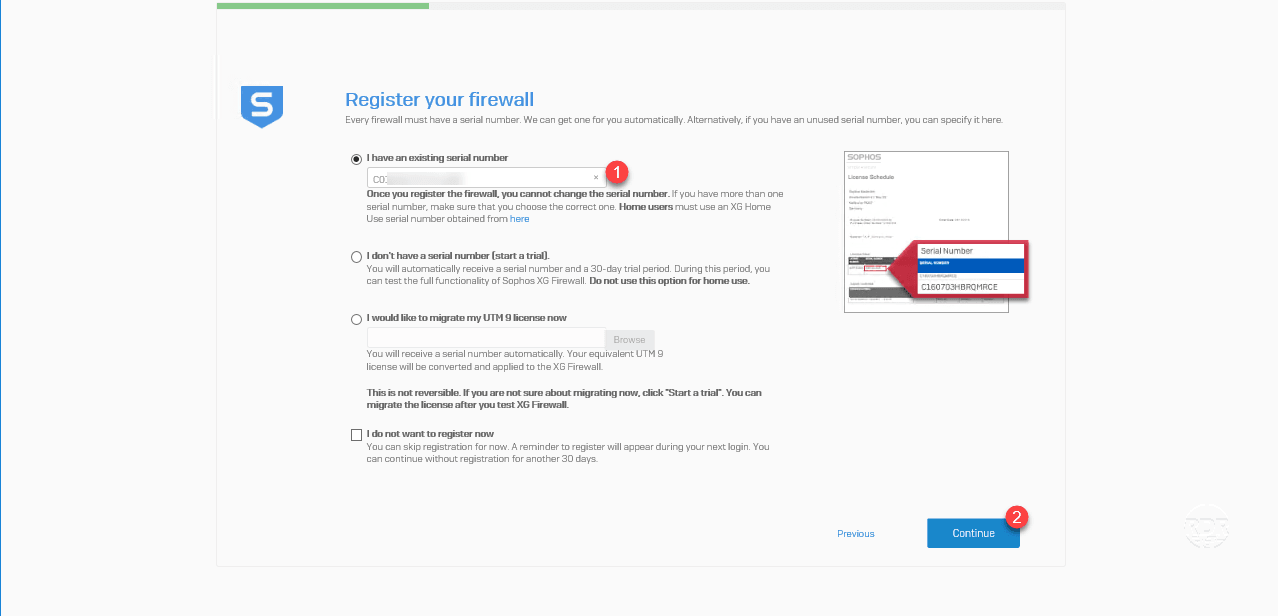
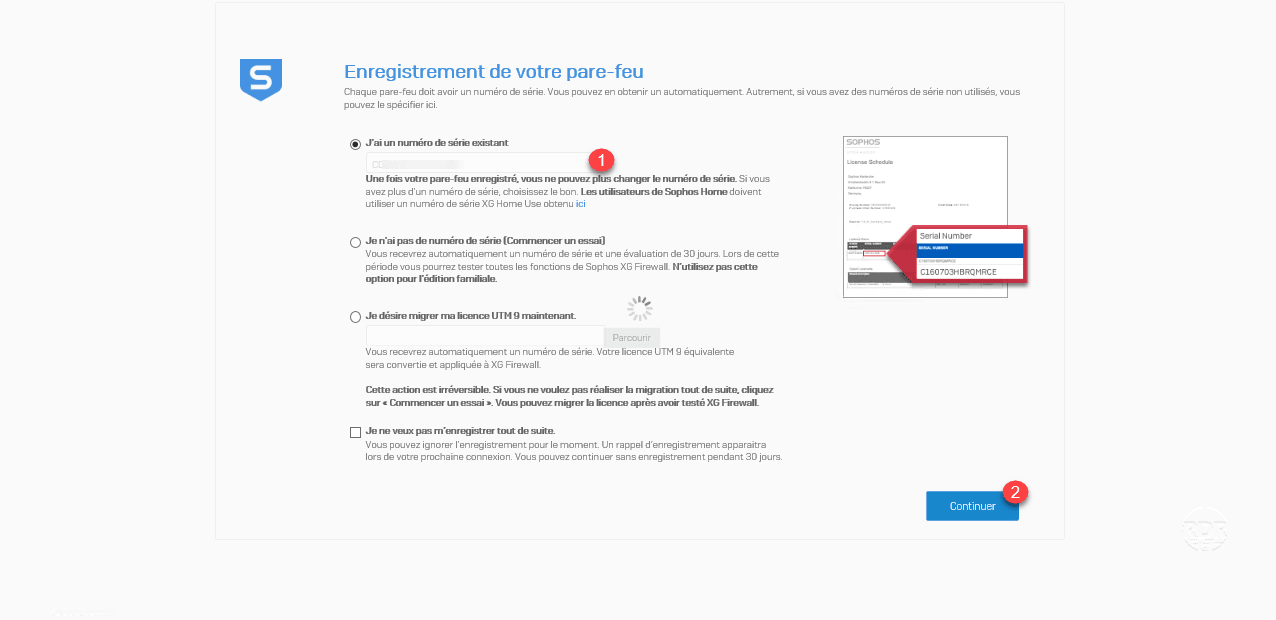
9. Enter the serial number 1 received by email and click Continue 2 .
10. A summary of the license is displayed, click Continue 1 .
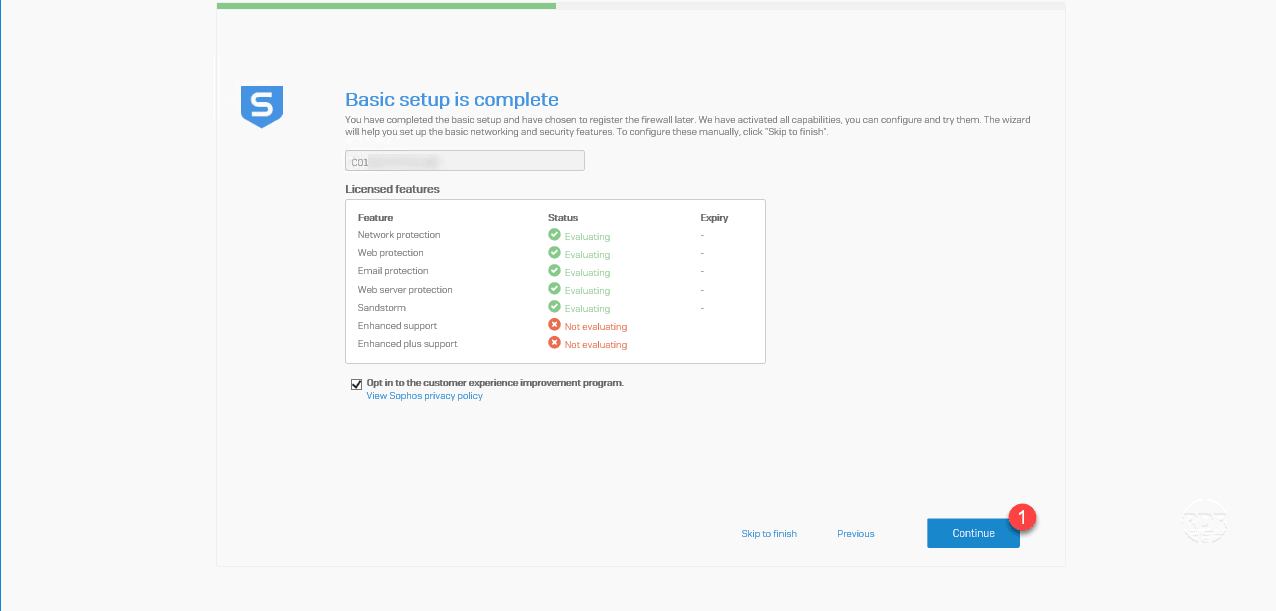
At this stage, it is possible to finalize the configuration of the firewall by clicking on Skip to finish.
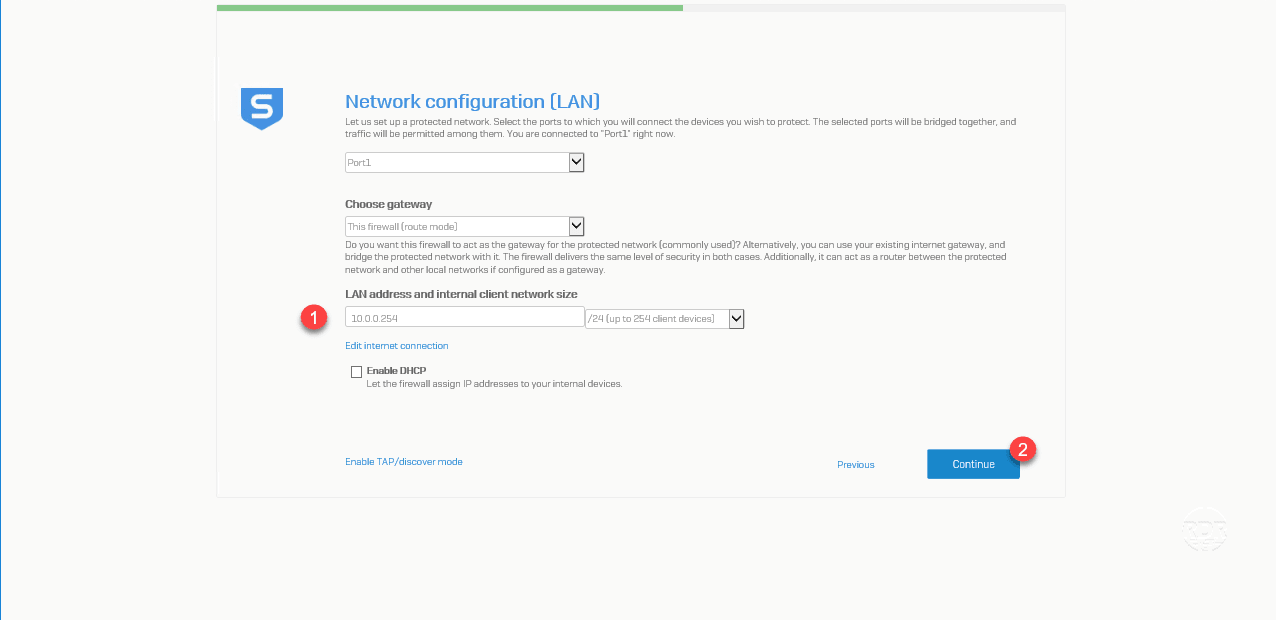
11. Configure the IP address of the LAN port (port1) of firewall 1 and click on Continue 2 .
12. Activate the security options for the default rules 1 then click Continue 2 .
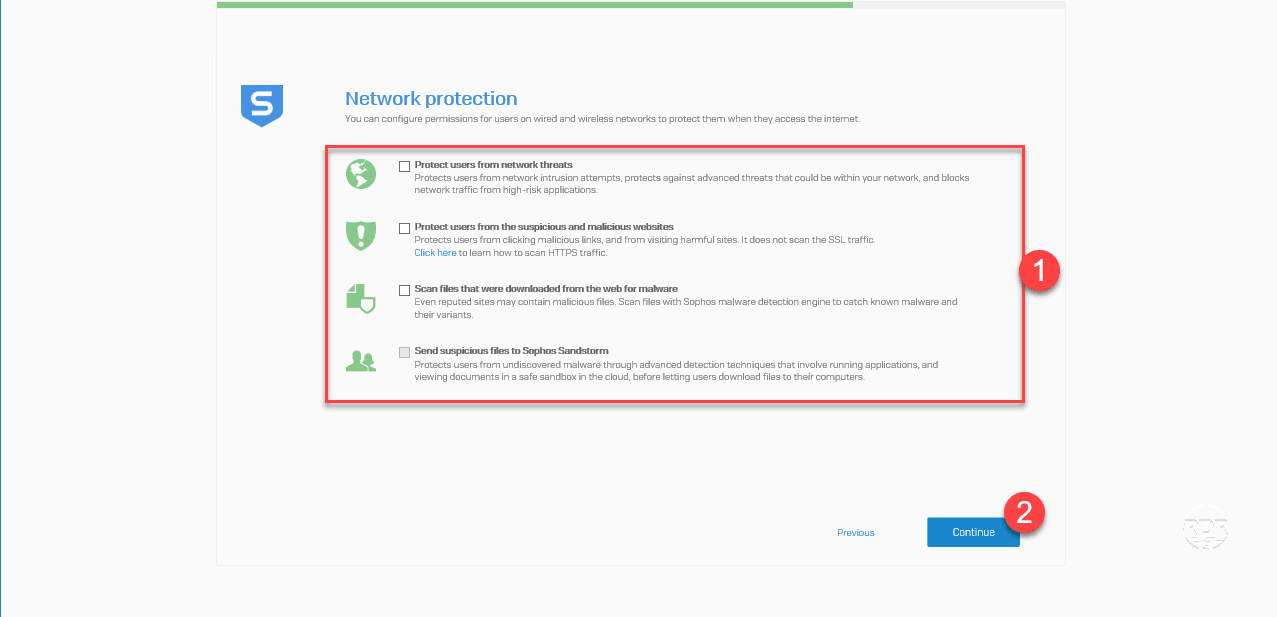
Personally, I do not activate any protection at the time of configuration.
13. Configure the email addresses (sender / recipient) 1 to receive notifications and click Continue 2 .

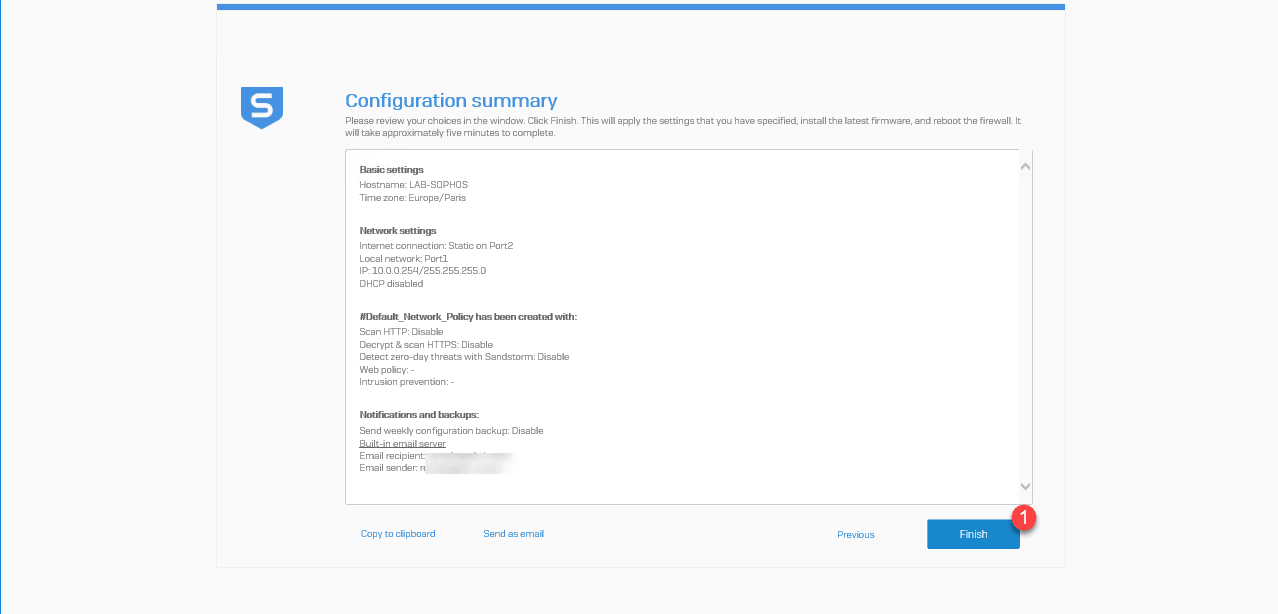
14. A configuration summary is displayed, click Finish 1 to apply the configuration.
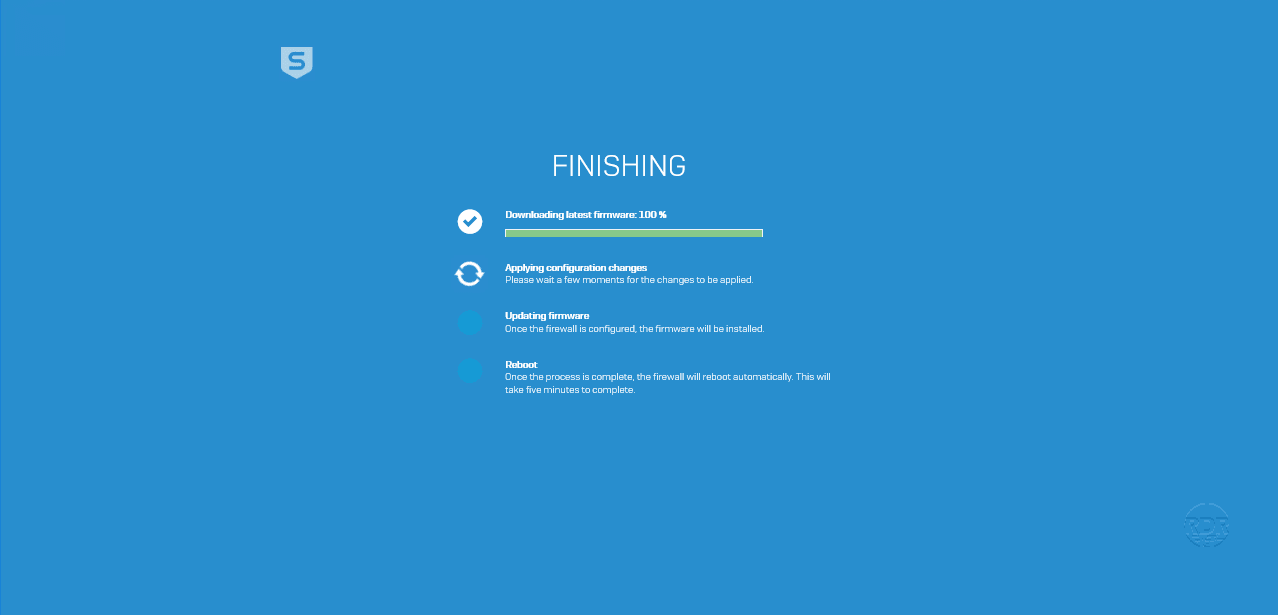
15. Wait while the configuration is applied and install updates if there are any.
16. The firewall configured and up to date, go to the web interface with the IP address configured and connect with the admin account and the password set during the configuration.
Firewall registration at Sophos
In order to use the Sophos XG firewall, it must be registered and linked to a user account at Sophos.
1. Check the serial number is present 1 and click Continue 2 .
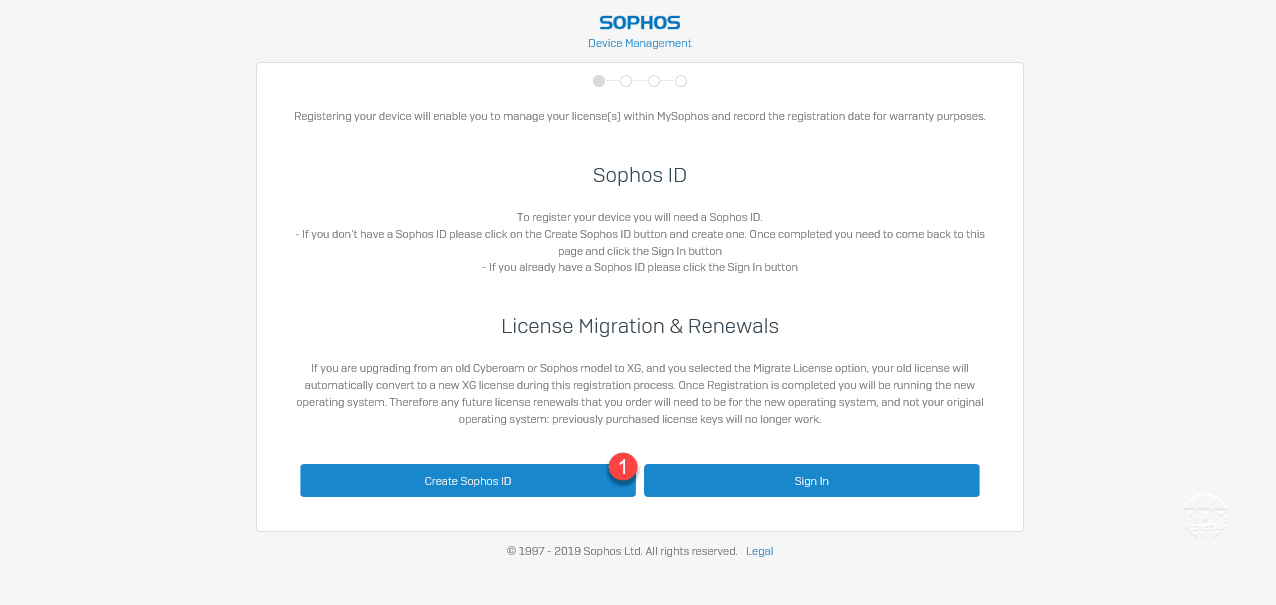
2. Click Create Sophos ID 1 if you do not have an account.
3. Enter the requested information 1 and click Register 2 .

4. A confirmation email is sent, click on the activation link present in the message.

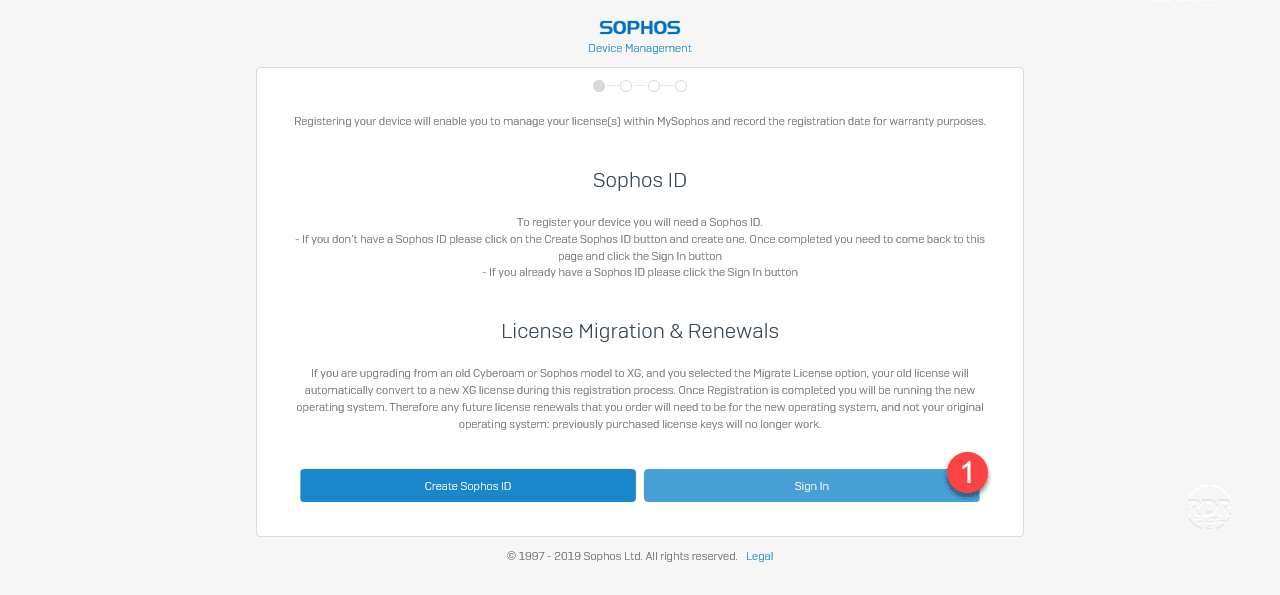
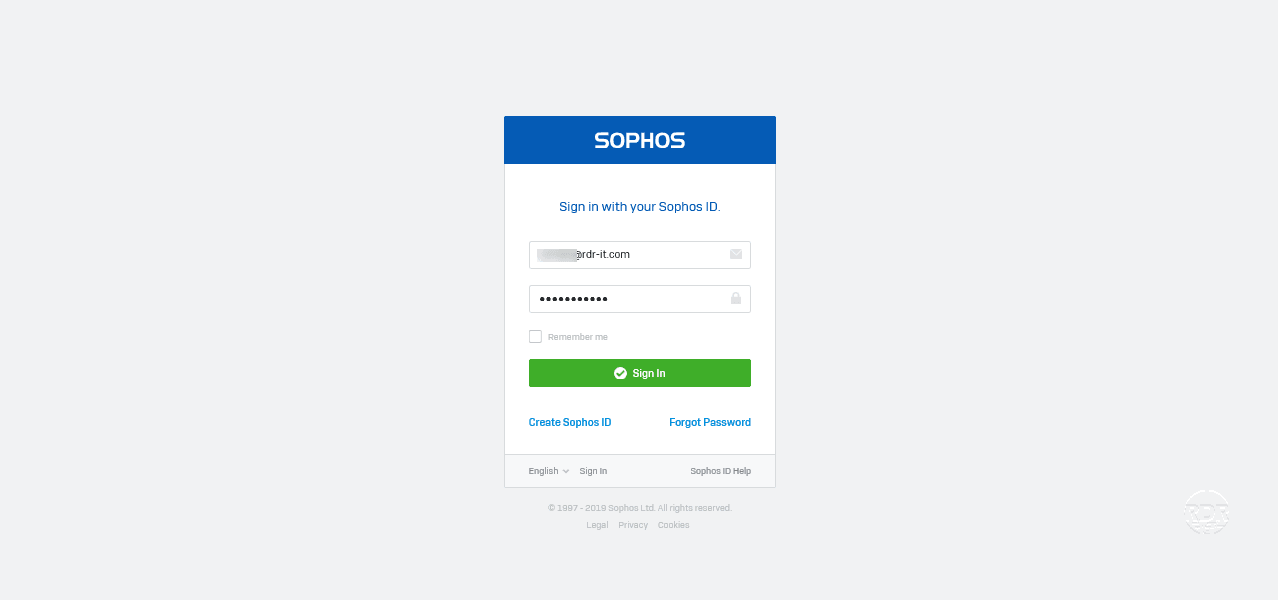
5. Return to the firewall registration page and click now on Sign In 1 .
6. Log in with the account created previously.
7. Click Continue 1 .

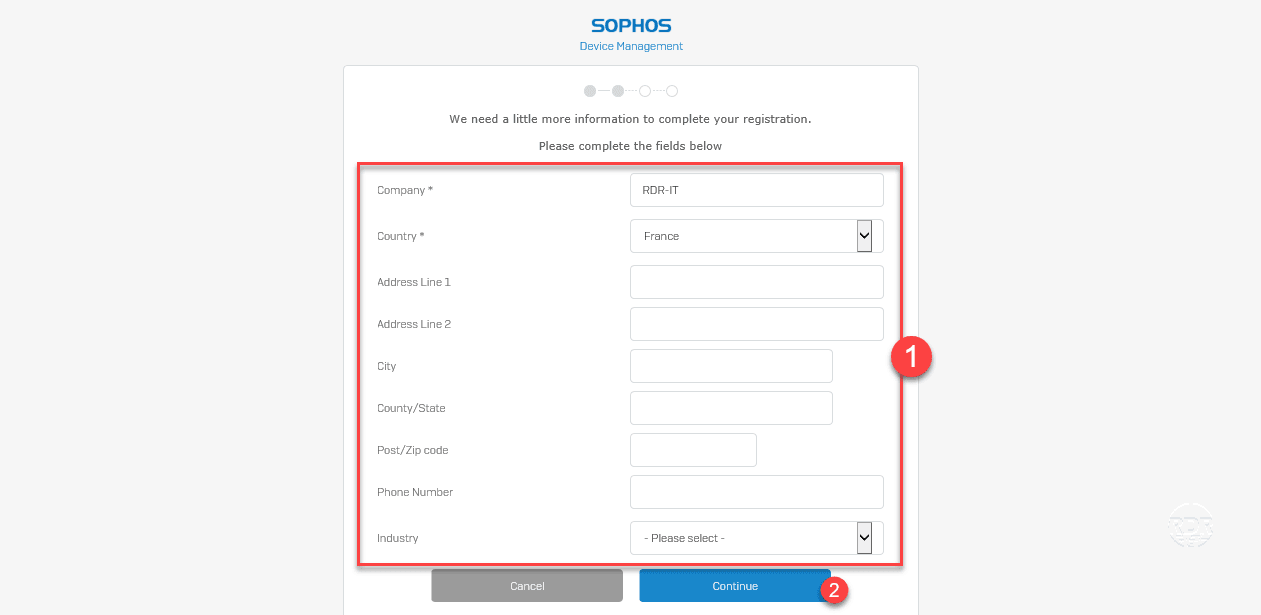
8. Enter your 1 information and click Continue 2 .
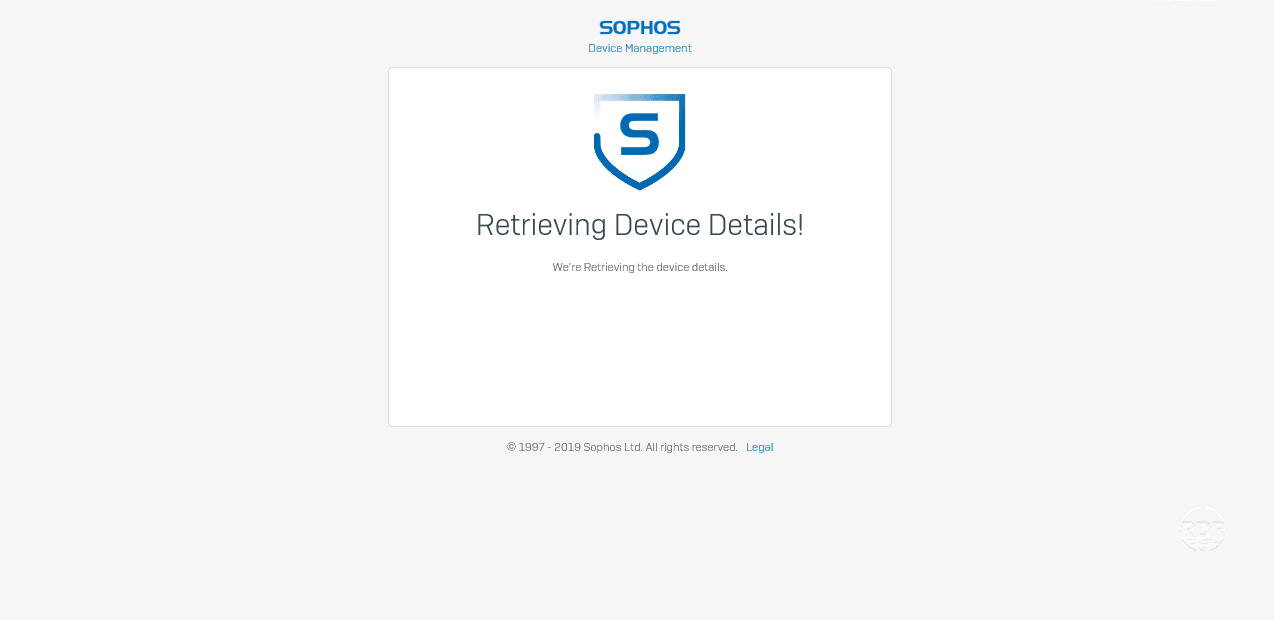
9. Wait …
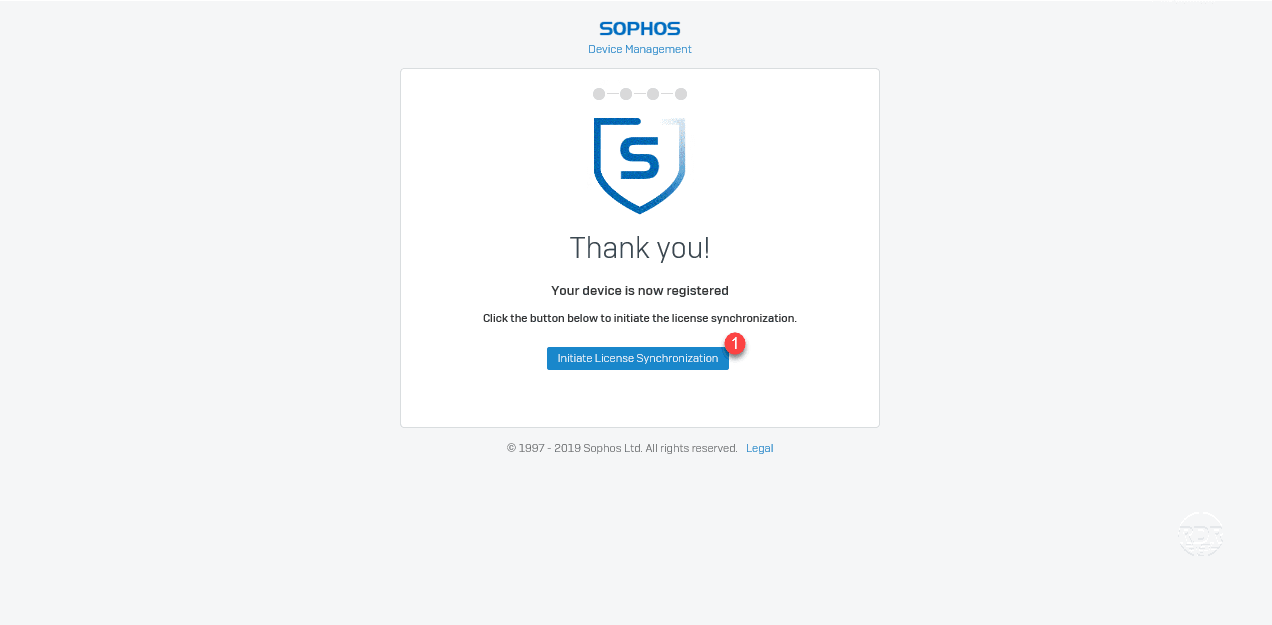
10. Click Confirm Registration 1 .

11. Registration is complete, click on Initiate License Synchronization 1 .
12. During the recovery of the license, I had the failure message below, For the passage, I handed the url of the firewall and I reconnected to the web interface and the license was installed correctly.

Overview of the Sophos XG Firewall
Now that the firewall is ready, we will take a look at the administration interface.
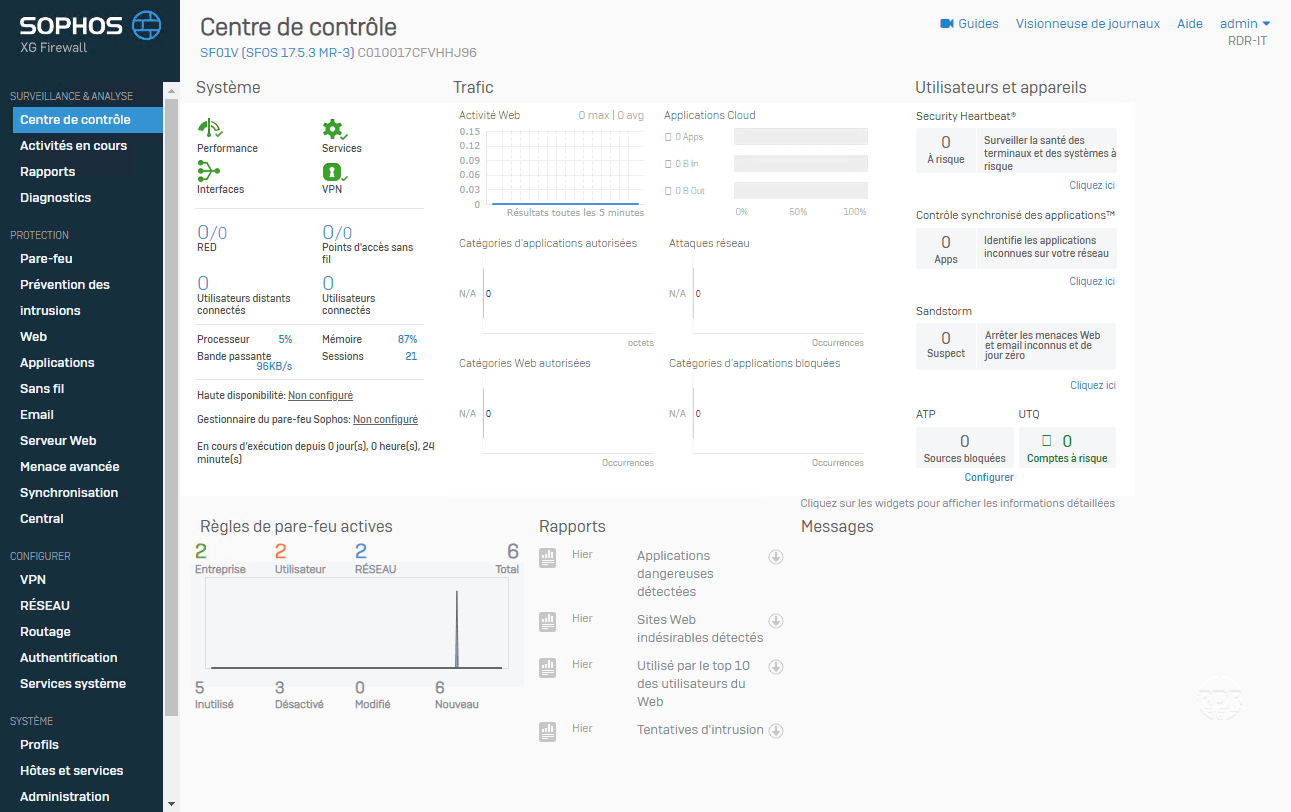
Control center
Also called Dashboard, it is the home page of the firewall, it allows at a glance with the important information of the firewall on the state of security, hardware statistics and status of services.
Reports
This part provides access to the different reports available on the firewall (statistics by protocol / web browsing / applications …).

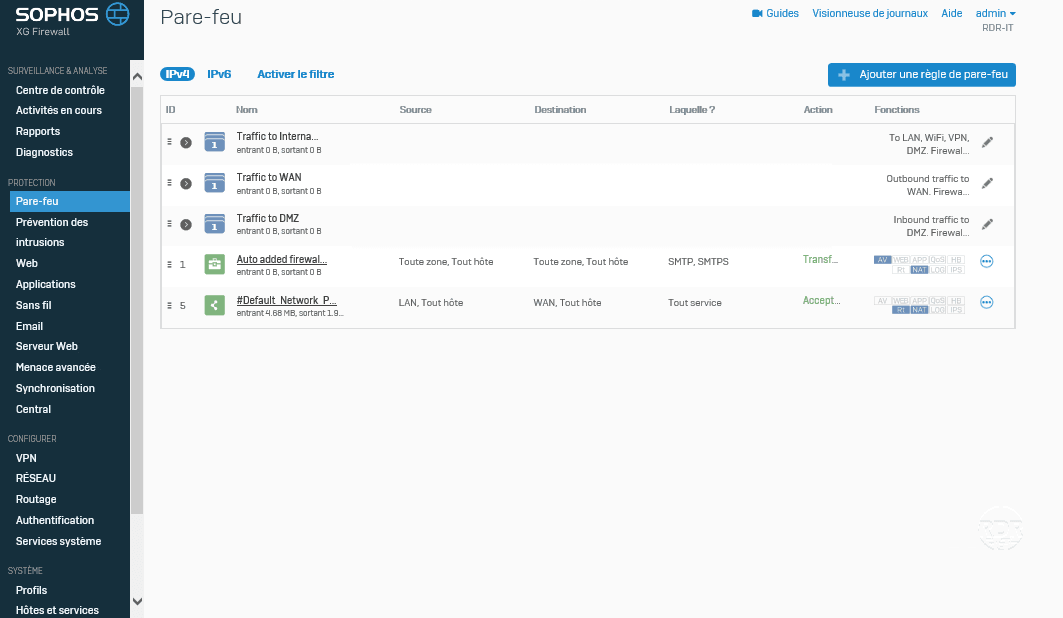
Firewall
Contains the list of inbound / outbound control rules.
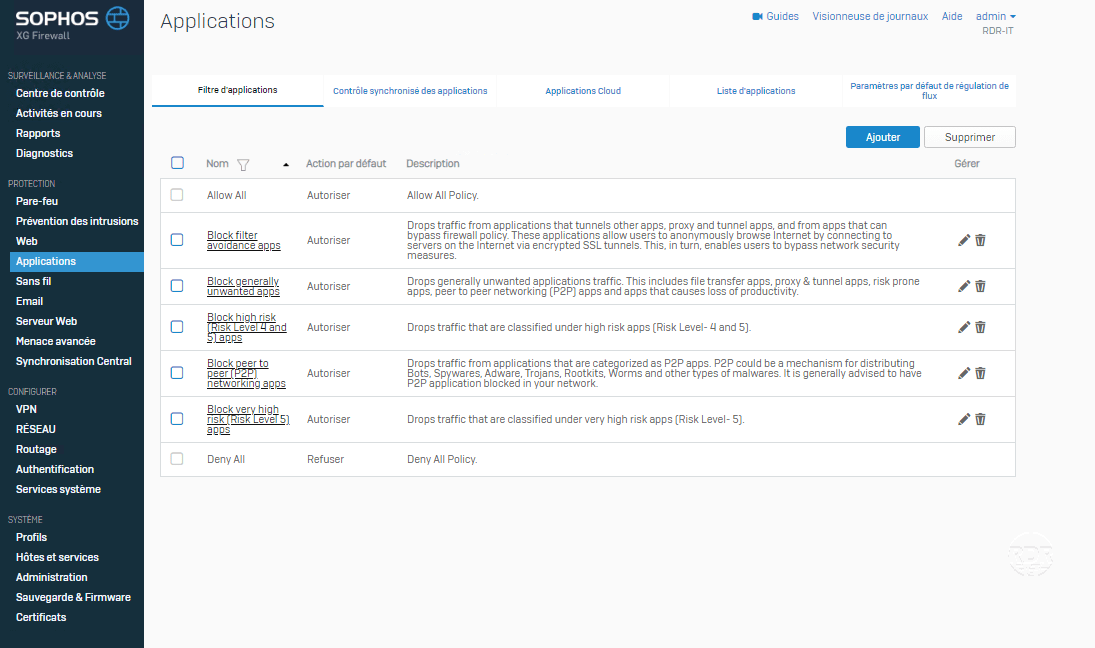
Web / Applications
Contains the list of web browsing filtering rules and applications. Web and application policies are assigned to one or more firewall rules.

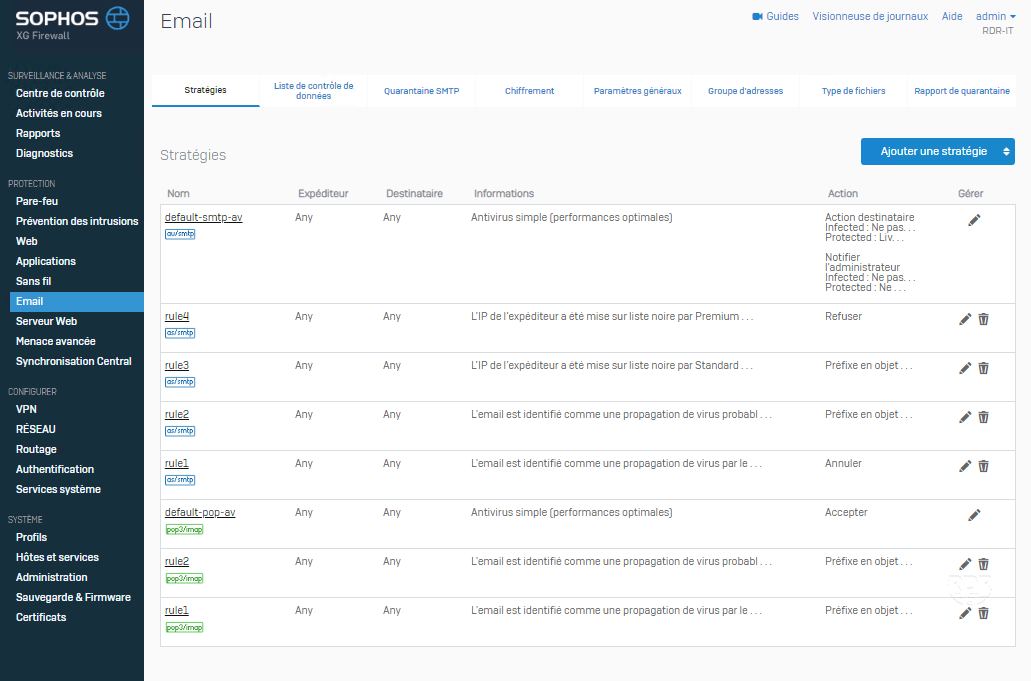
This part contains the entire configuration and email filtering strategy.
Web server
Management of the reverse proxy configuration (WAF).

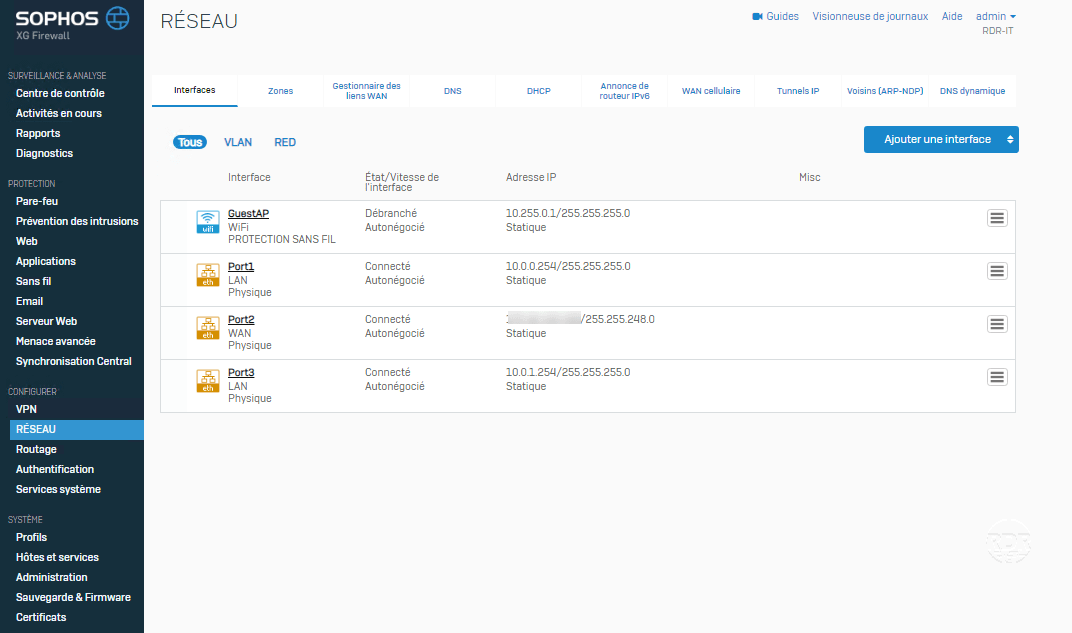
Network
Allows configuration of the different interfaces of the firewall, configuration of DNS zones and redirector.
Hosts and services
Configuration of all objects (Computers / Ports / …) that can be called in different firewall policies.

Administration
Contains license information and all system configuration settings.

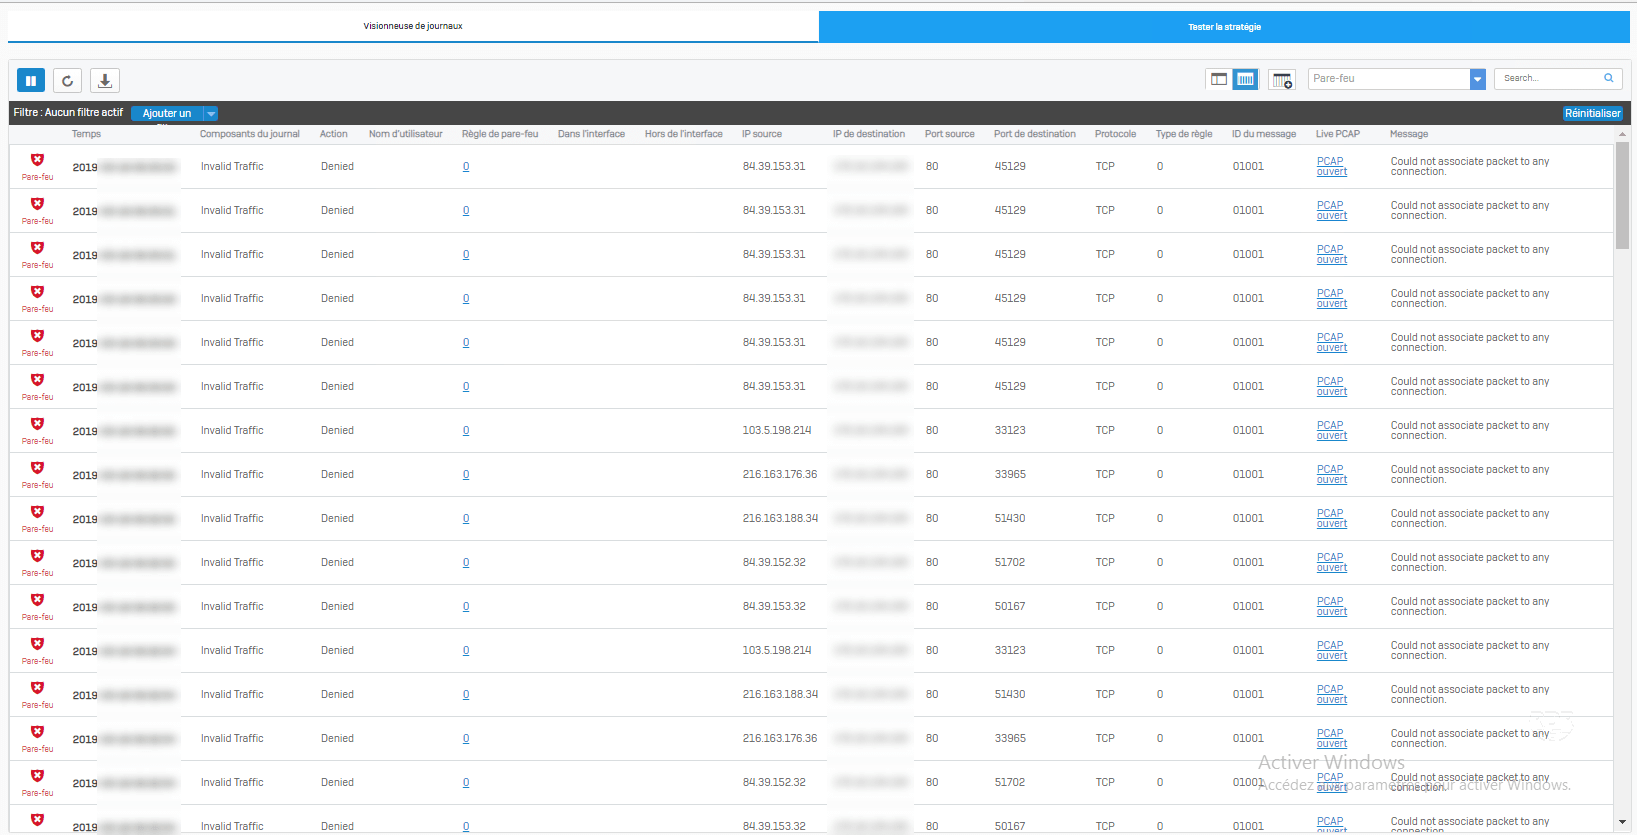
Log Viewer
This page is available from all pages of the firewall by clicking Log Viewer located at the top right. This makes it possible to display the real-time logs of the different filtering elements of the firewall.