In this tutorial on “scripting”, I suggest you discover or see how to manage network drives with PowerShell and you will see that it is not that “simple”.
In the tutorial: Network Drive Mapping: GPO and Script, I explain how to map a network drive with Group Policy using and how to do it with a script.
With PowerShell, there are several ways to map a network drive and here we are going to see 3 of them and you will see that each one has its peculiarities with its advantages and disadvantages.
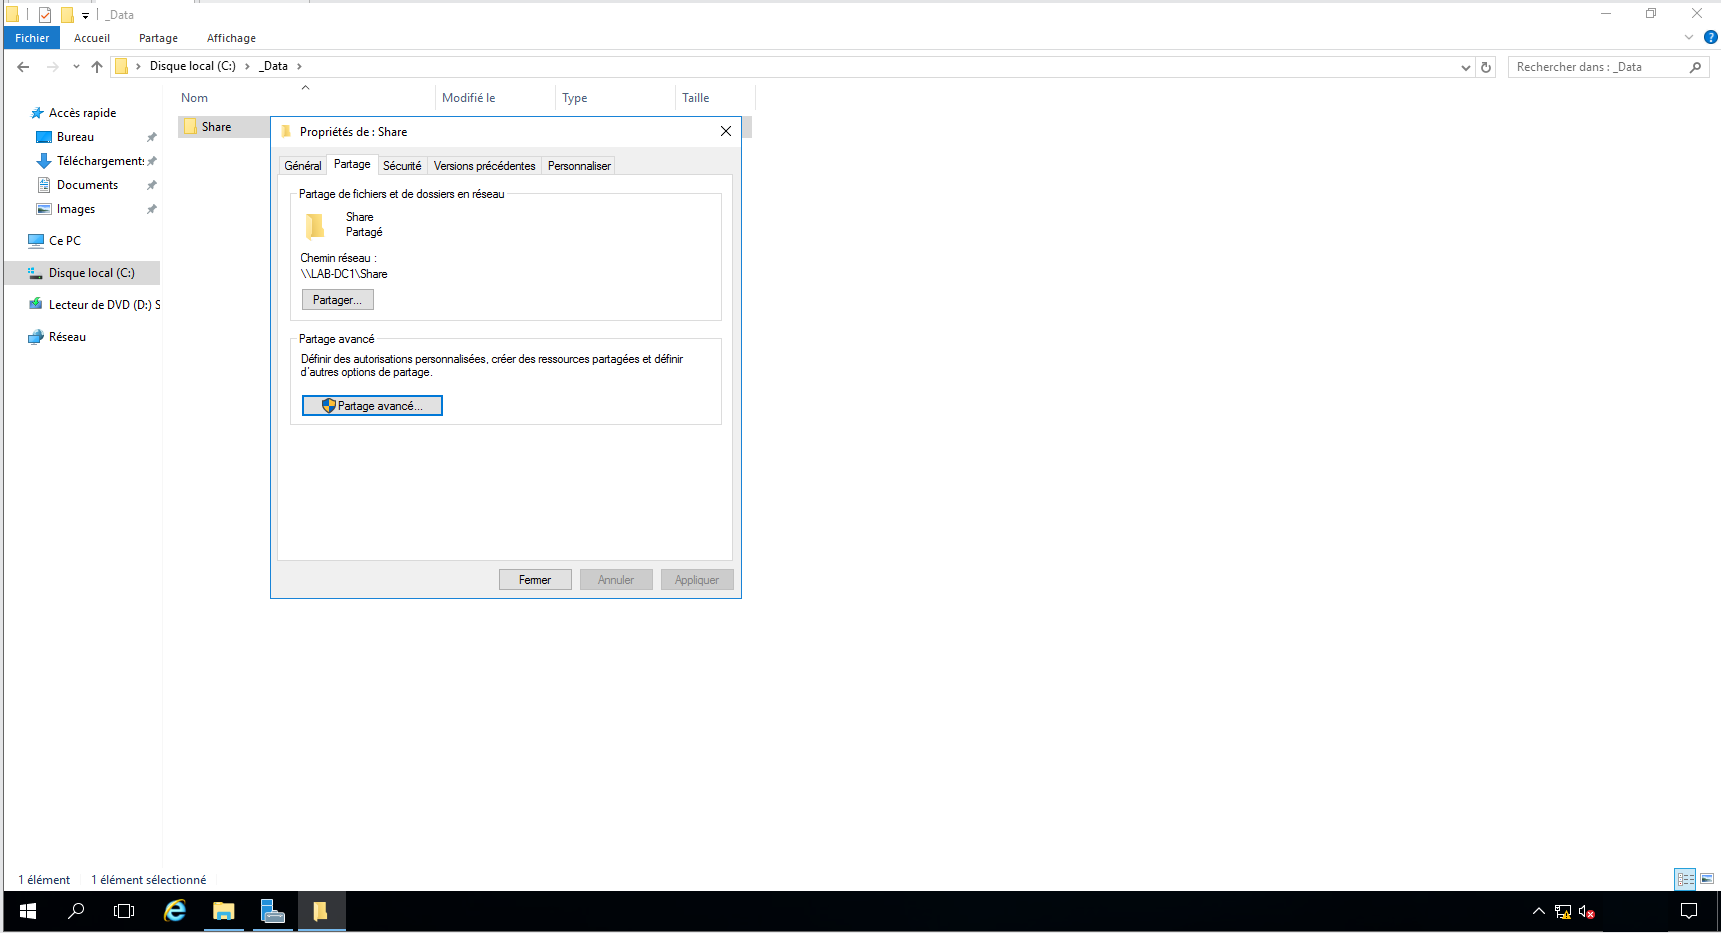
To illustrate this tutorial, I shared a share folder (C: \ Share) accessible to everyone on a server (LAB-DC1).
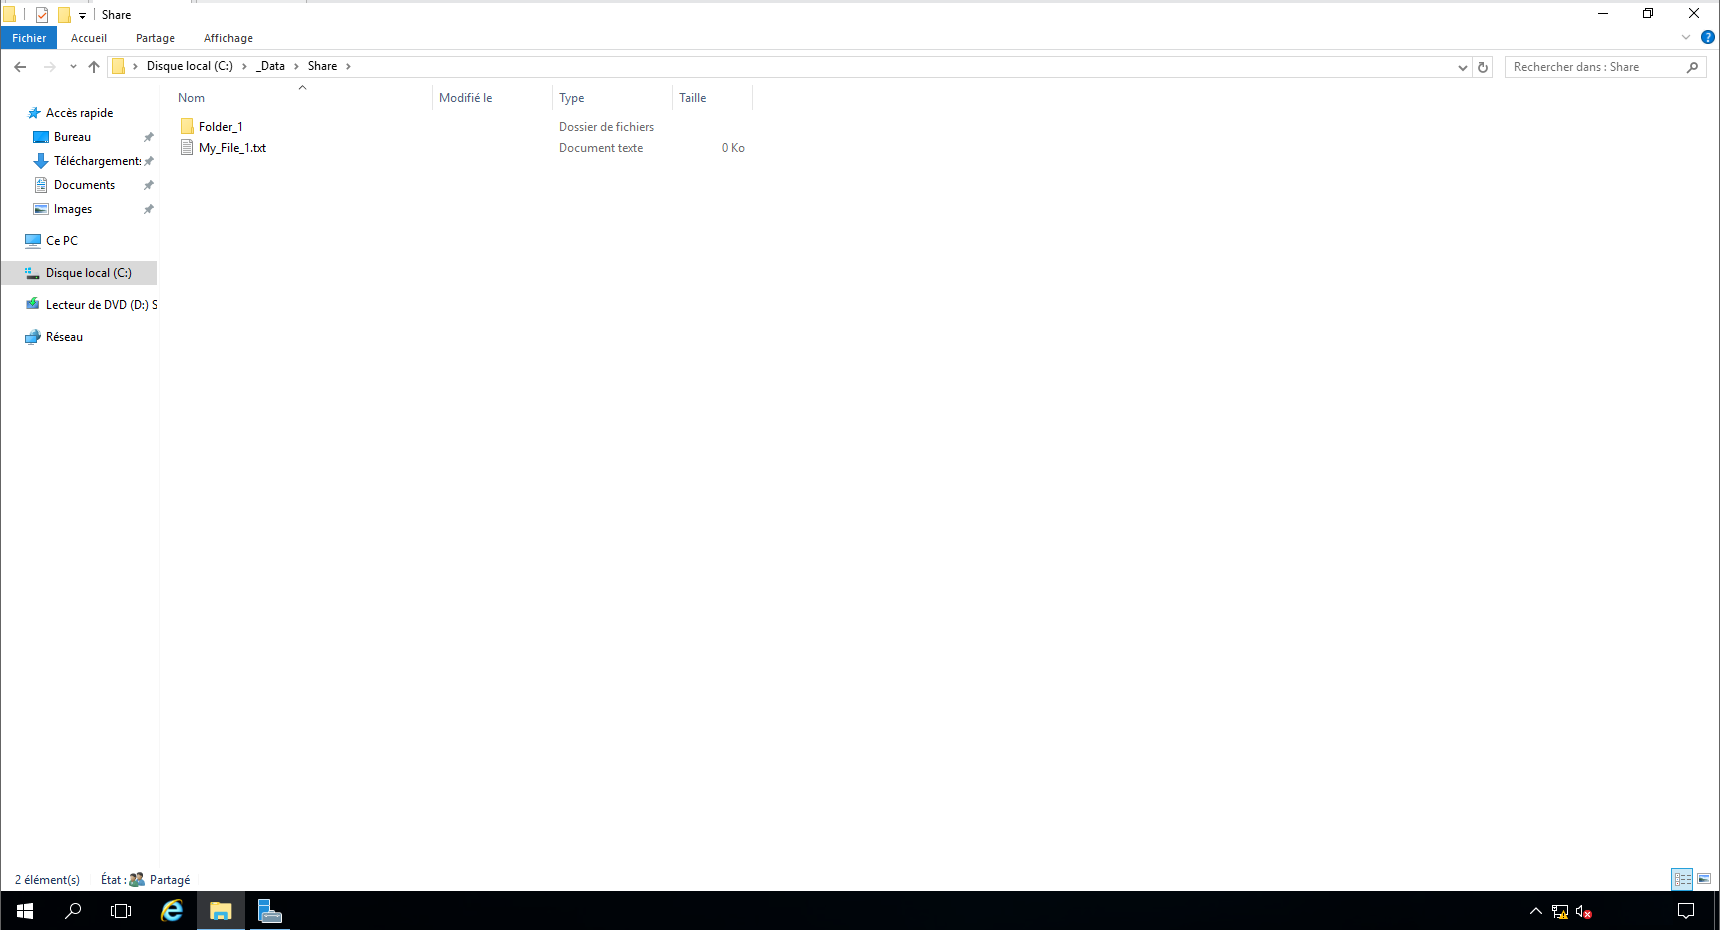
In the Share folder, I added a Folder_1 and My_File_1.txt subfolder.
Now that we have the context, let’s see how to map a network drive with PowerShell.
All PowerShell commands were executed in a PowerShell window opened as administrator.
Being in an Active Directory environment, I did not need to use authentication parameters (Credential).
Table of Contents
New-PSDrive
The first Cmdlet, which we’ll see is New-PSDrive. If we break down PSDrive here is what we have: PowerShell Session Drive.
This command maps a network drive in the PowerShell session, so the network drive will not be available from Windows Explorer.
To map a network share using the New-PSDrive cmldlet, you must pass at least the following parameters:
| Parameter | Value |
|---|---|
| -Name | Corresponds to the name that will be used to map the drive, it is not mandatory to use a letter |
| -Root | Corresponds to the UNC path of the share. |
| -PSProvider | FileSystem : we indicate here the type of mapped drive |
The following settings are optional depending on your environment and what you want to do.
| Parameter | Value |
|---|---|
| -Credential | Allows you to specify identification information other than the account in use. You have to use the cmdlet Get-Credential. |
| -Persist | Allows you to make the reader permanent (persistent), by indicating $true or $false.Default value is $false. |
| -Description | Allows you to enter a short description. |
I will now show you how to use New-PSDrive to map a network share in the PowerShell session.
If the command was successfully executed, it returns the equivalent of Get-PSDrive:

To navigate on the share, you must use the Set-Location cmdlet.
On the screenshot below, we can see that we have moved to the share that has been mapped.
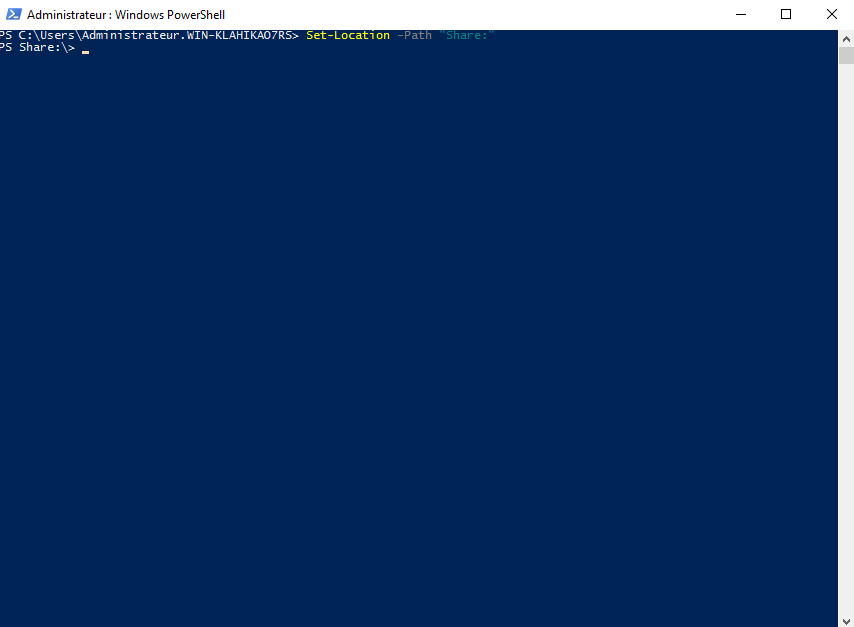
Using the dir command, I have the contents of the folder displayed.

To remove the mapped share, you must use the Remove-PSDrive cmdlet “NameOfMappage”
You will understand, mapping a share with New-PSDrive is useful when working with PowerShell or on a server without a graphical interface.
New-SmbMapping
Now we will see the cmdlet New-SmbMapping, which will allow us to map an SMB share.
With this cmdlet, the network share will be mapped to a letter and will be accessible by File Explorer as a network drive.
The use of New-SmbMapping requires passing at least the following two parameters:
| Parameter | Value |
|---|---|
| -LocalPath | Letter used to map the server (P 🙂 |
| -RemotePath | UNC path of the share. (\ SERVER \ Share) |
It is also possible to pass the following parameters:
| Parameter | Value |
|---|---|
| -Username | username |
| -Password | Password for the -Username parameter |
| -SaveCredentials | Allows saving the parameter pair -Username / -Password |
| -Persistent | Allows you to make the reader permanent (persistent), by indicating $true or $false.Default value : $false. |
Other parameters are available, you will find them on the Microsoft page dedicated to the cmdlet New-SmbMapping.
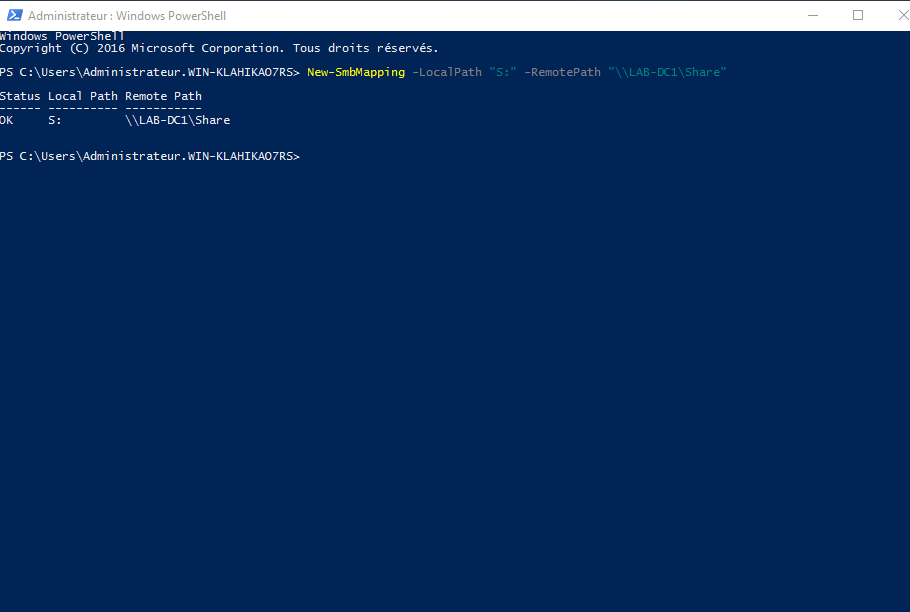
To map the network share as a drive enter the command below:
The command returns a summary of Get-SmbMapping.
If you go to Windows File Explorer, the player is available.
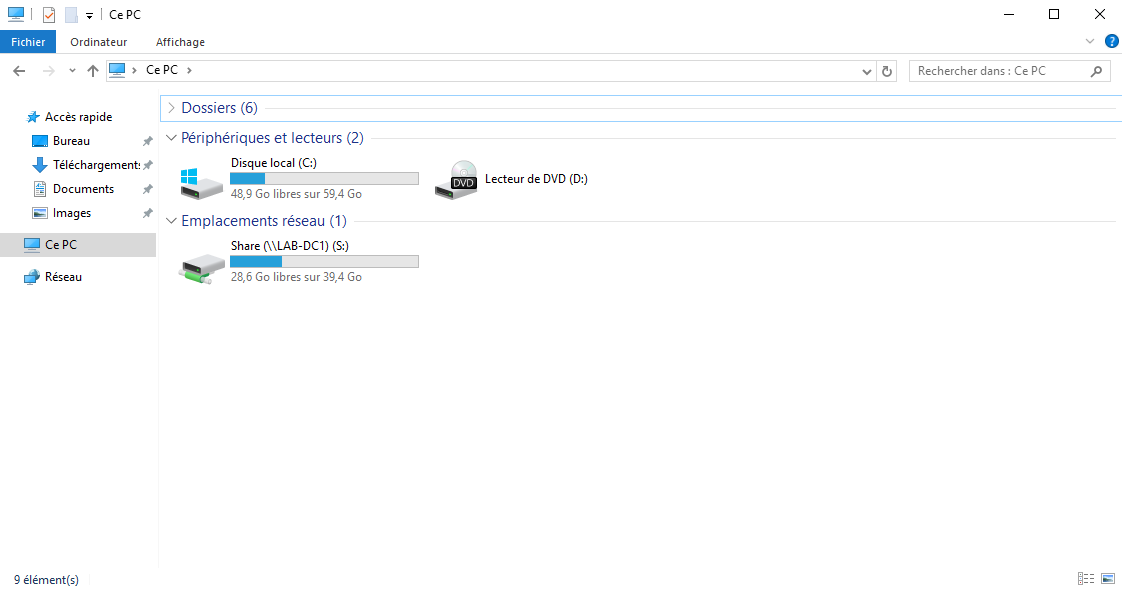
If the drive is not available, just restart Windows Explorer. From the task manager, right click on it and click on Restart.

If you used the -Persistent $ true parameter, the network drive will be available the next time you log on normally.
La cmdlet New-SmbMapping peut être utilisée dans des scripts d’ouverture de session, vue qu’elle nécessite de redémarrer l’Explorateur Windows, elle n’est pas forcément la plus adapté.
New-Object
The third and final solution, which I offer you to map a network drive with PowerShell, is the user of the New-Object cmdlet and the use of the WScript.Network object, it looks like the script that l ‘you can do with VBS.
Still the same example, here’s how to map the network drive:
As in VBS, the player will be available immediately in Windows Explorer, it can also be used without problem in a logon script.
Conclusion
You now know how to map a network drive with PowerShell, it’s up to you to choose the solution that works best.
