Since Windows 2016 server, it is possible to install the Windows Server Update Service (WSUS) directly with a SQL Server database.
In this article we will see how to proceed.
Table of Contents
Prerequisites
To install WSUS with a SQL Server database you need:
- Windows 2016 or 2019 server for the WSUS role
- An instance of SQL Server (Express) that can be installed on the WSUS server.
Install the WSUS role
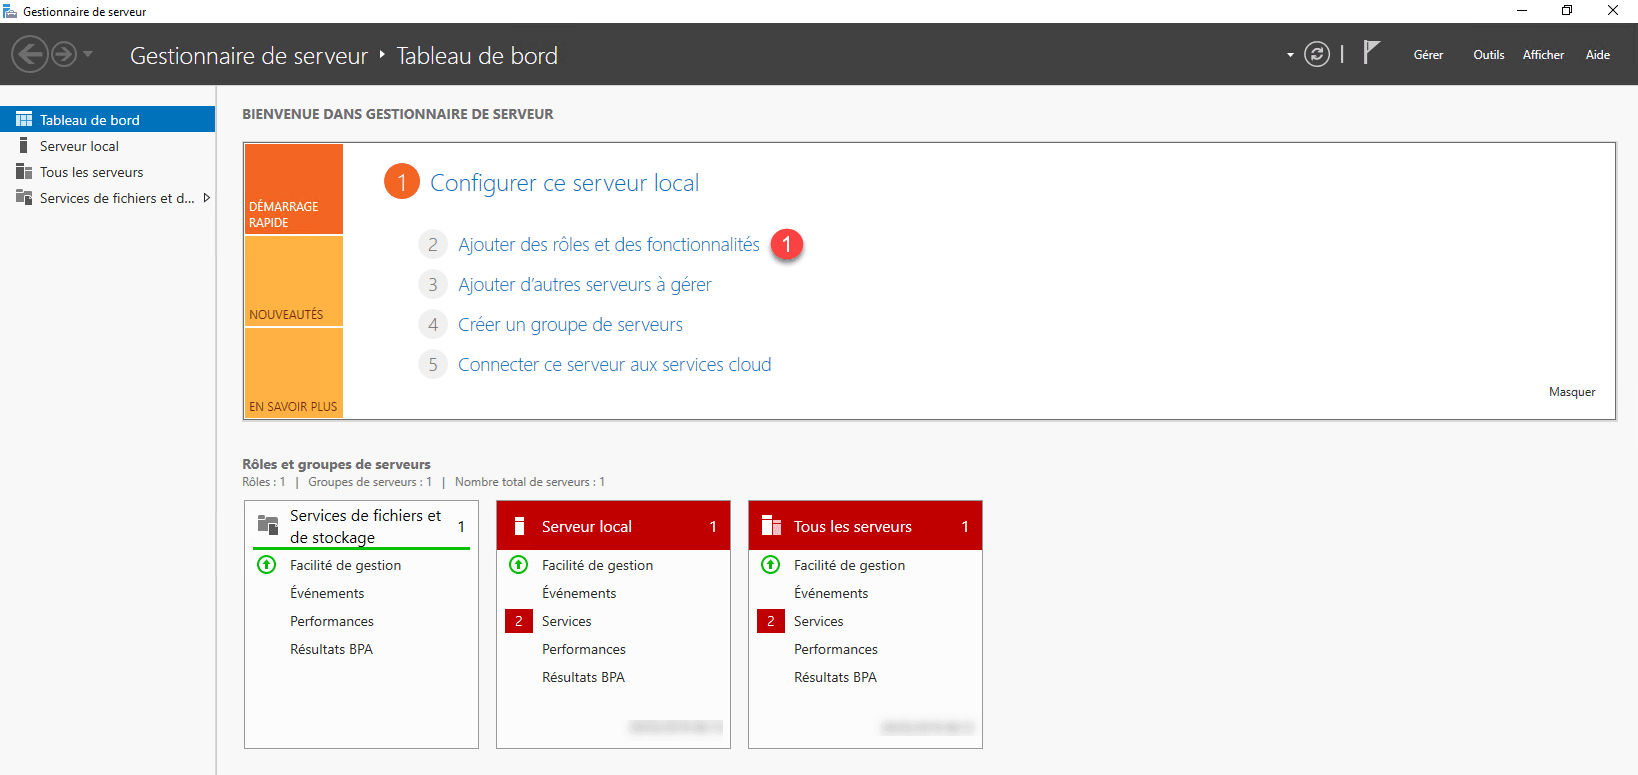
From the server manager, click Add Roles and Features 1 .
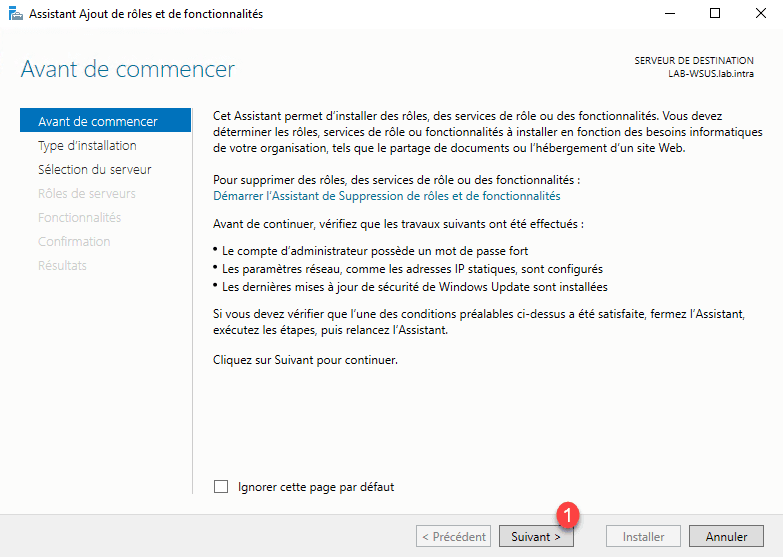
When launching the wizard, click Next 1 .
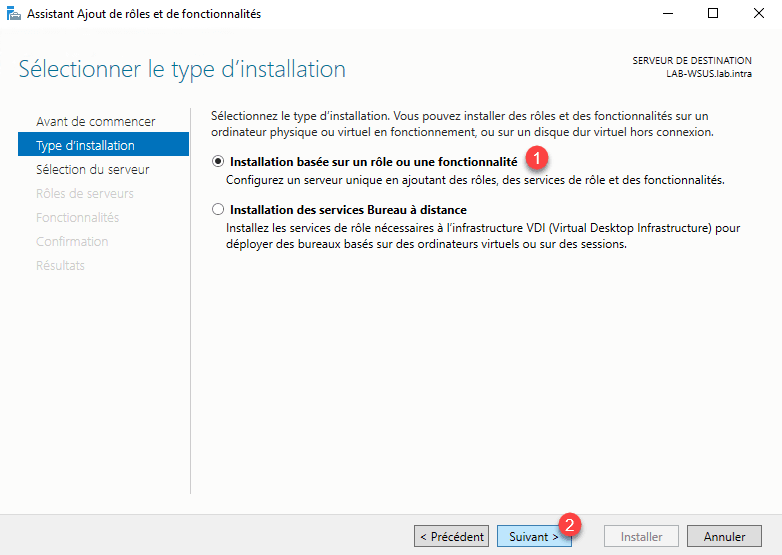
Select Role Based Installation or 1 Functionality and click Next 2 .
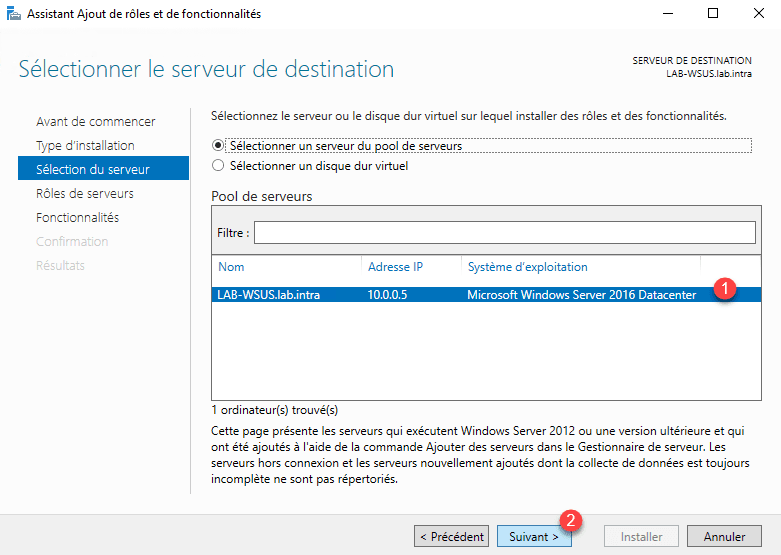
Select server 1 and click Next 2 .
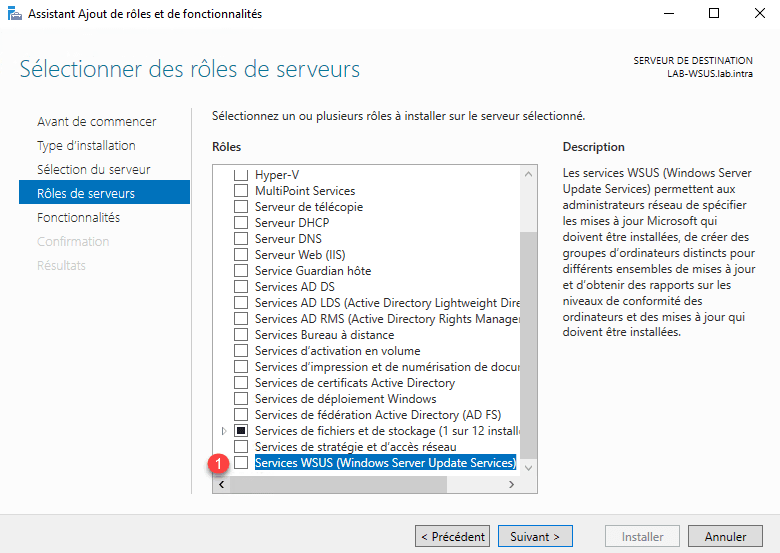
Check the box for Windows Server Update Services (WSUS).
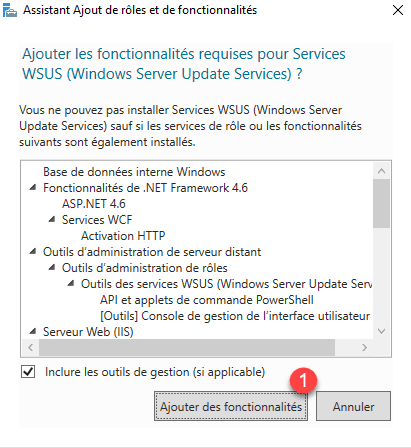
Validate dependencies by clicking Add features 1.
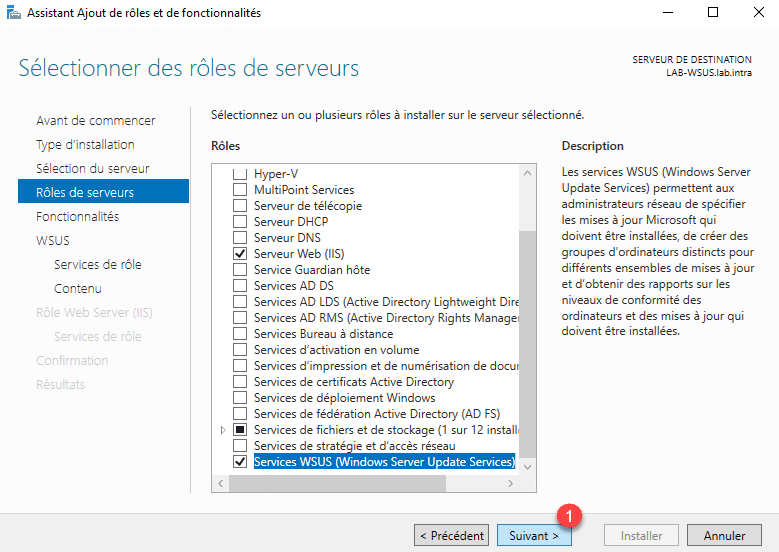
Click Next 1 .
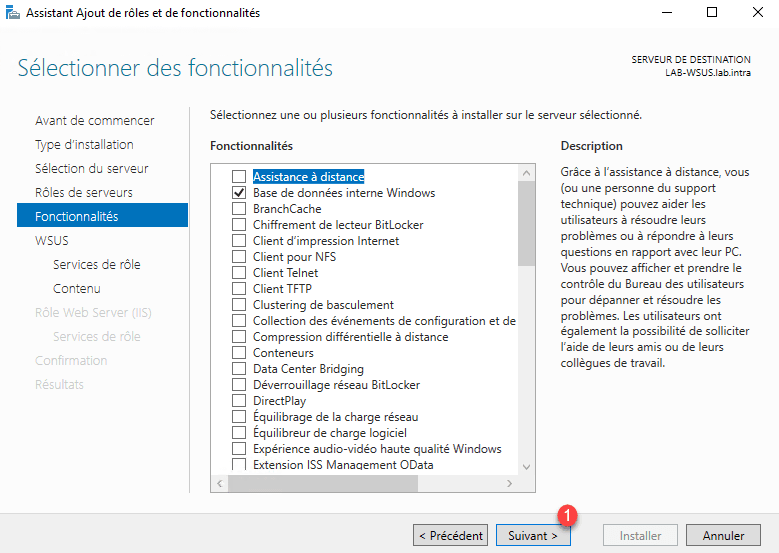
Click Next 1 , no functionality is needed.
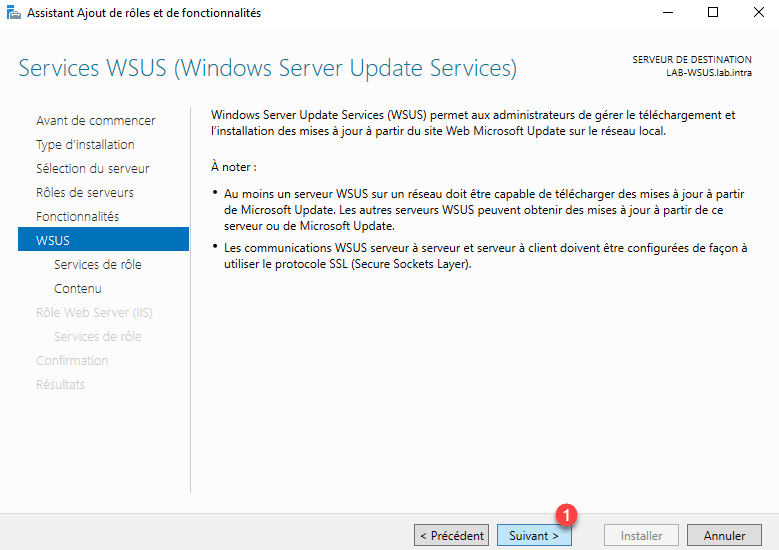
A summary of the WSUS role is displayed, click Next 1 .
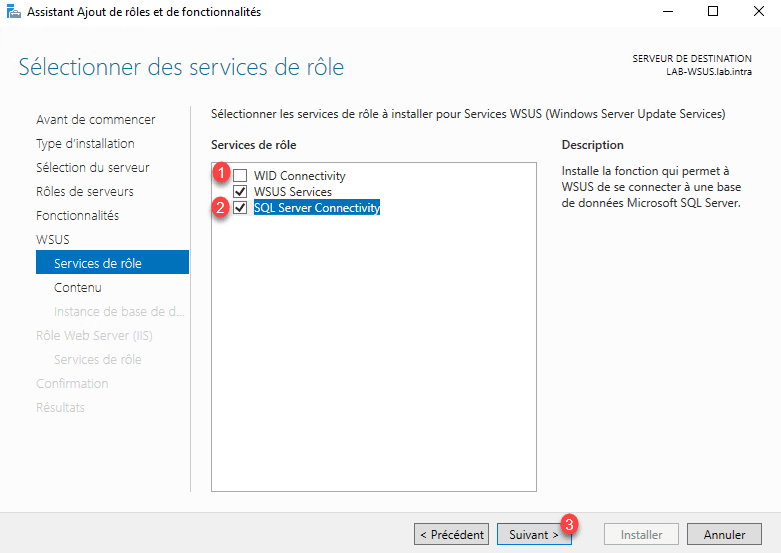
Uncheck WID connectivity 1 box and check SQL Server Connectivity 2 then click Next 3 .
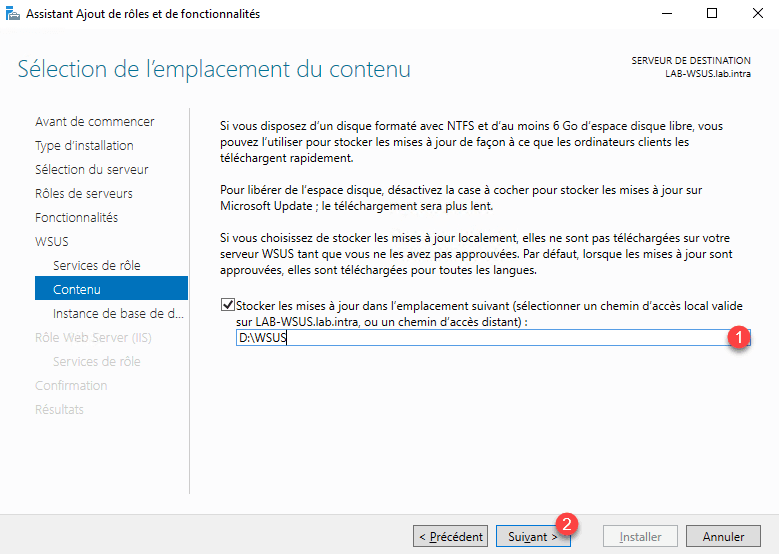
Configure the storage location for 1 updates on the server and click Next 2 .
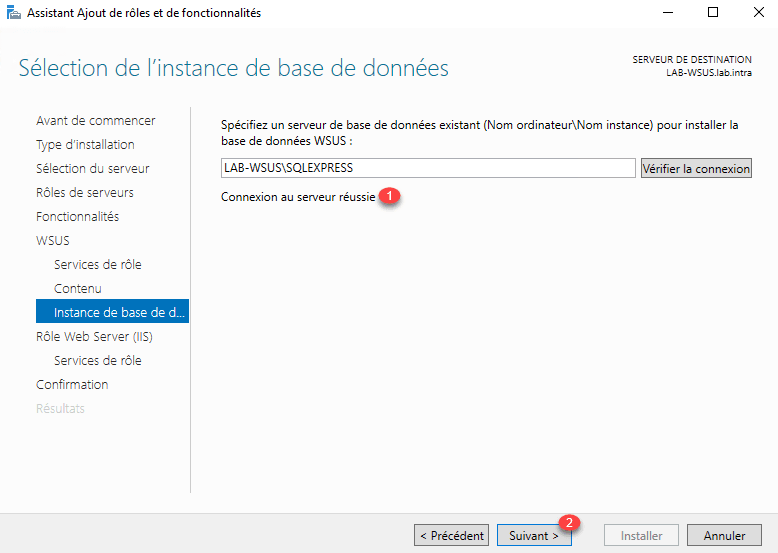
Configure access to the SQL server (SERVER\INSTANCE) 1 and click on Check connection 2 .
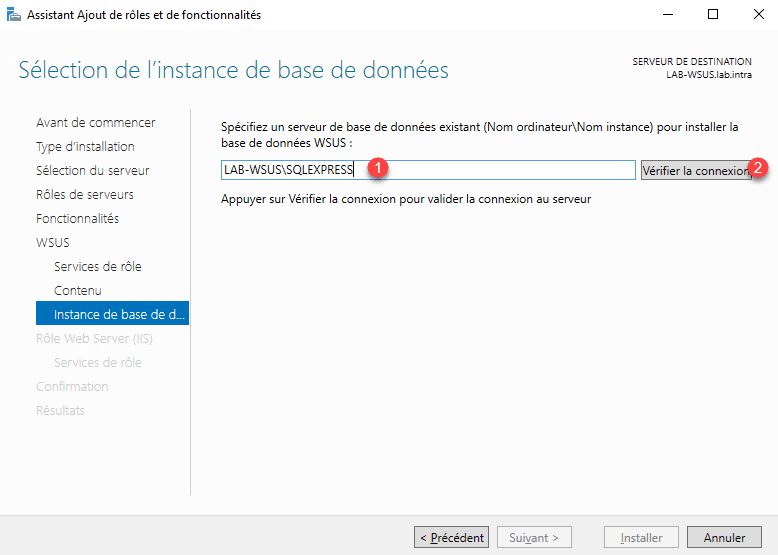
Once the connection is validated 1 , click the Next 2 button.
A summary of the IIS role is displayed, click Next 1 .

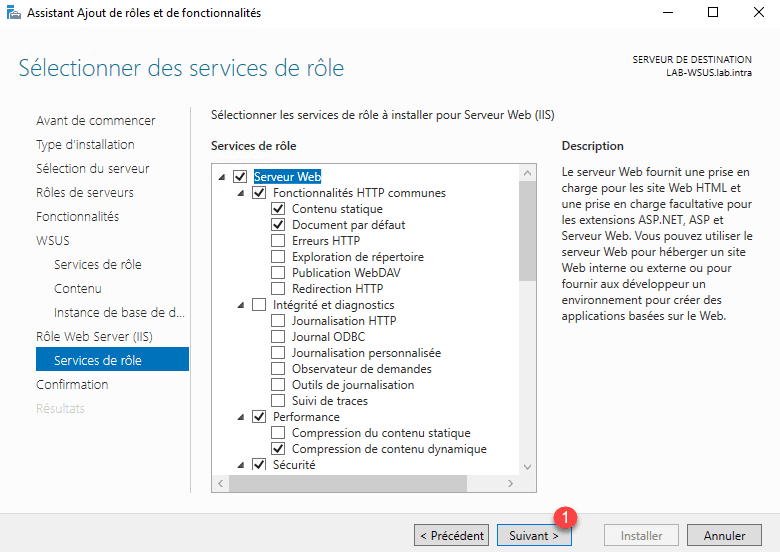
Validate IIS features by clicking Next 1 .
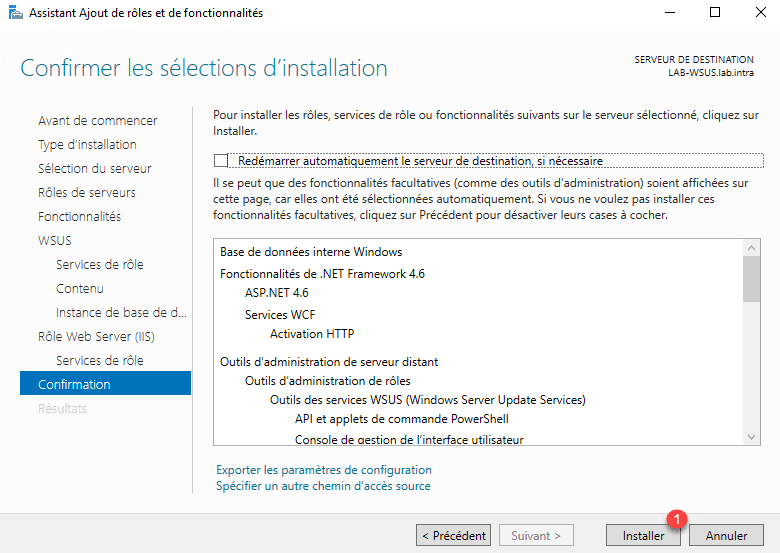
Confirm the installation by clicking Install 1 .
Wait during the installation …

When the installation is complete, exit the wizard by clicking Close 1 .

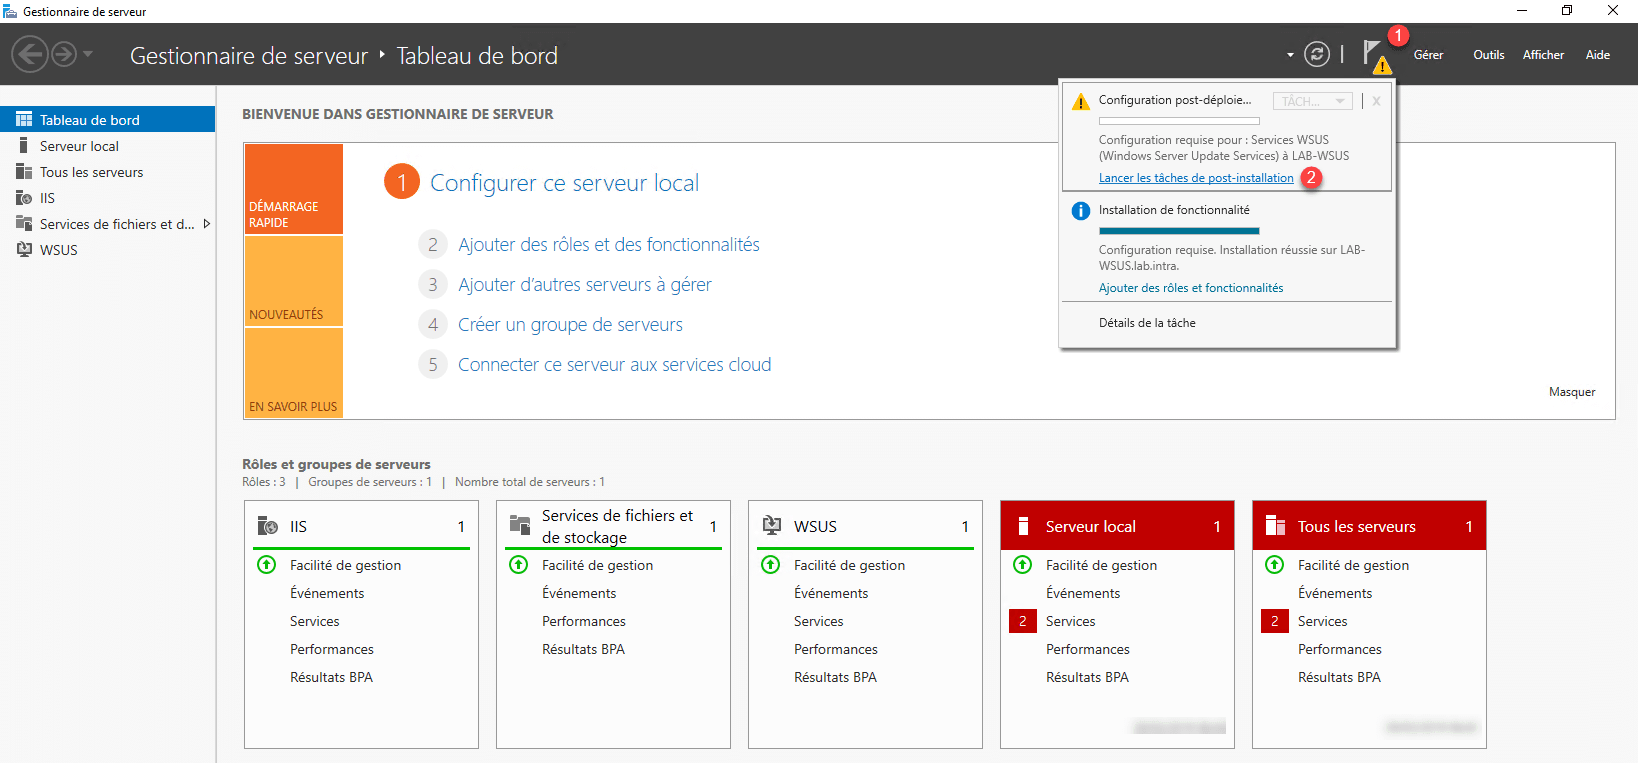
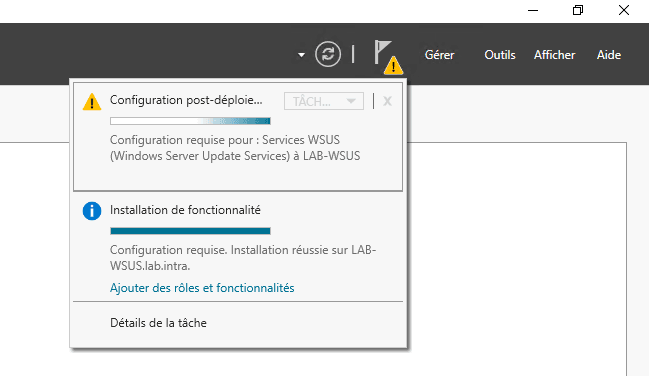
Now that WSUS roles and features are installed, you must run the post-installation tasks that will create the database. On the server manager, click on the notification icon 1 and then on Launch post-installation tasks 2 .
Wait during the execution which may take several minutes.
The WSUS service is now installed and ready to be configured.

At the location configured to store the databases on the SQL Server instance, you can see that the SUSDB database files have been created.

Configuration
Launch the WSUS Administration Console to launch the configuration wizard.

For the rest of the WSUS configuration, I invite you to read the tutorial: Installing and Configuring WSUS on Windows Server that explains how to configure and install the service.
