Table of Contents
Presentation
SQLExpress is a free and limited version of the Microsoft SQL Server engine.
The main limitations:
- The size per database is limited to 10GB
- No high availability functionality.
SQL Express can be used with certain Windows Server features such as WSUS or RDS Broker instead of the WID engine.
It is also possible to use SQL Express with SharePoint.
SQL Express offers better performance, more flexibility in configuration, administration using SQL Studio Manager, backup possibilities, remote connections to WID.
To make this tutorial, I used SQLExpress 2014.
Prerequisites
- Have the executable version of SQL to install.
- Install SQL Studio Manager to facilitate the administration of the instance.
Installation of SQLExpress

Run the installer file for your version of SQL Server.
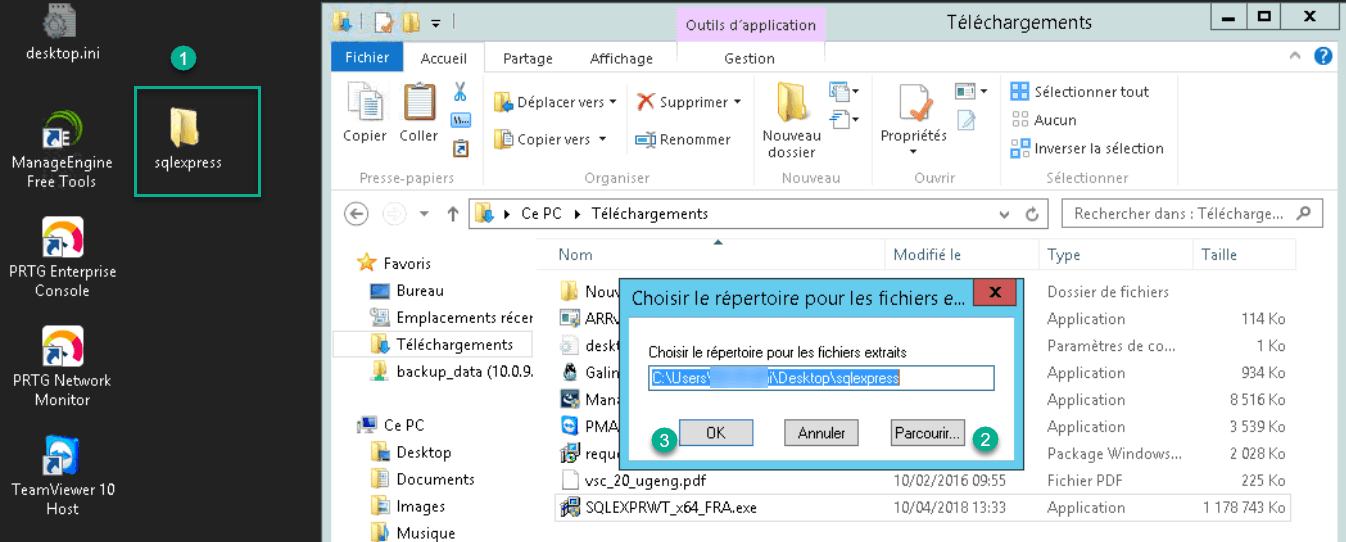
Select where to extract the installation files. In the example, I created a folder on desktop 1 that I selected 2. Click OK to start decompression.

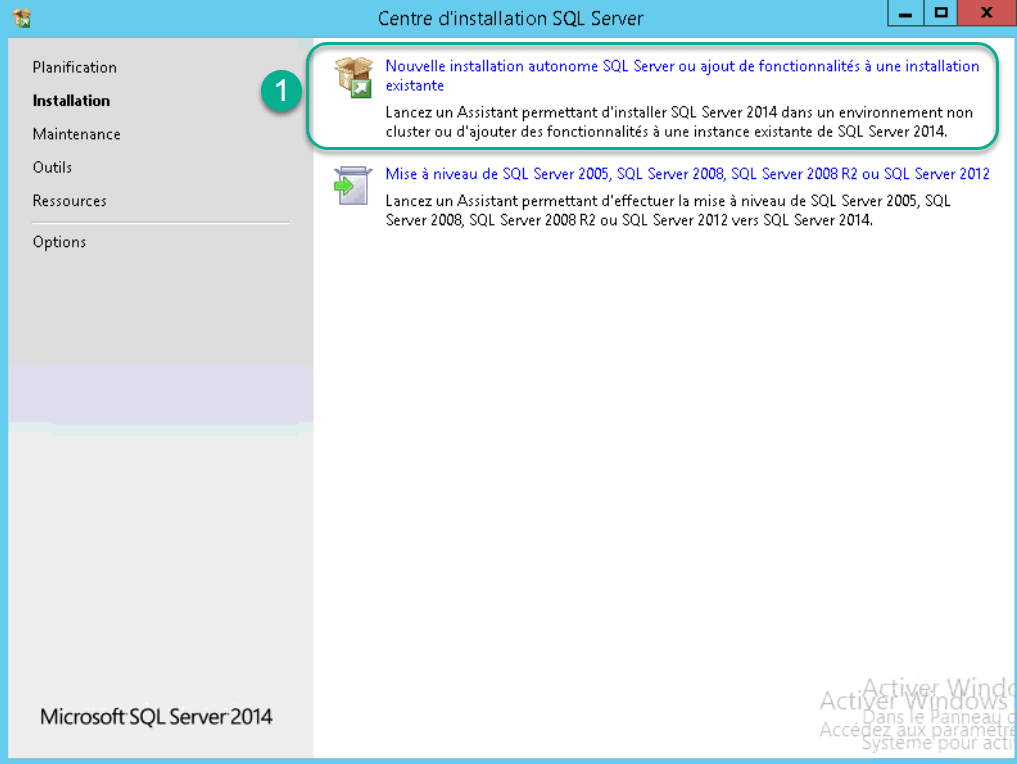
Click on New stand-alone SQL Server installation or add functionality to an existing installation 1.
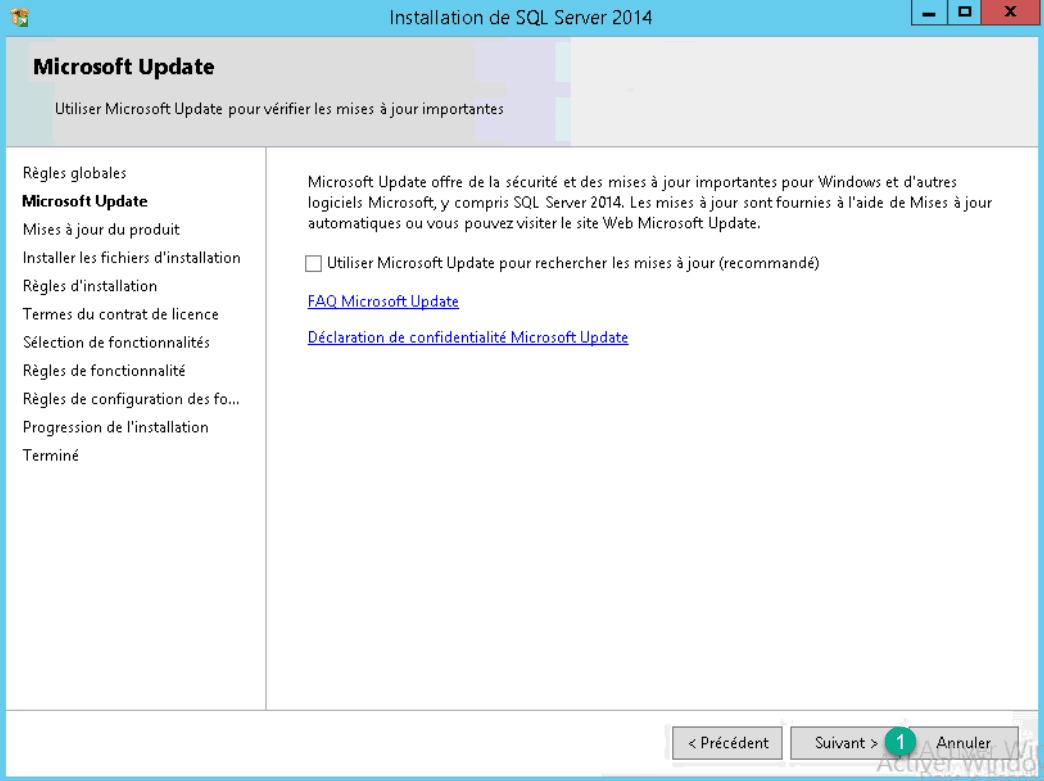
Click on Next 1.
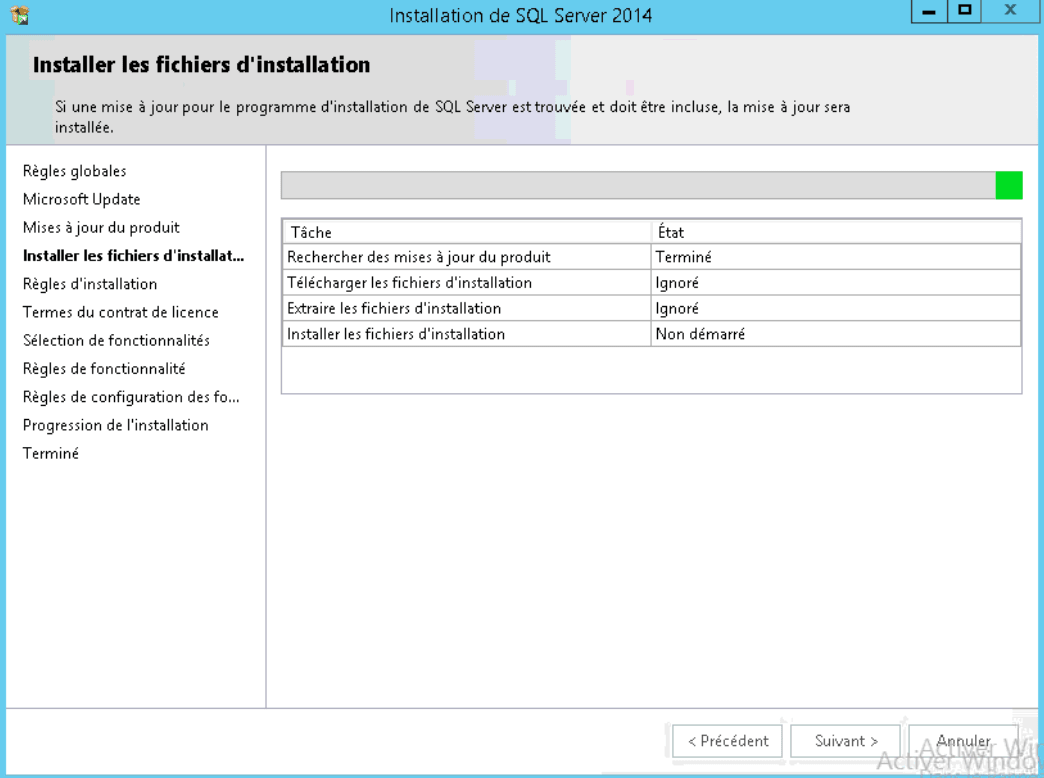
The program prepares to install sqlexpress.
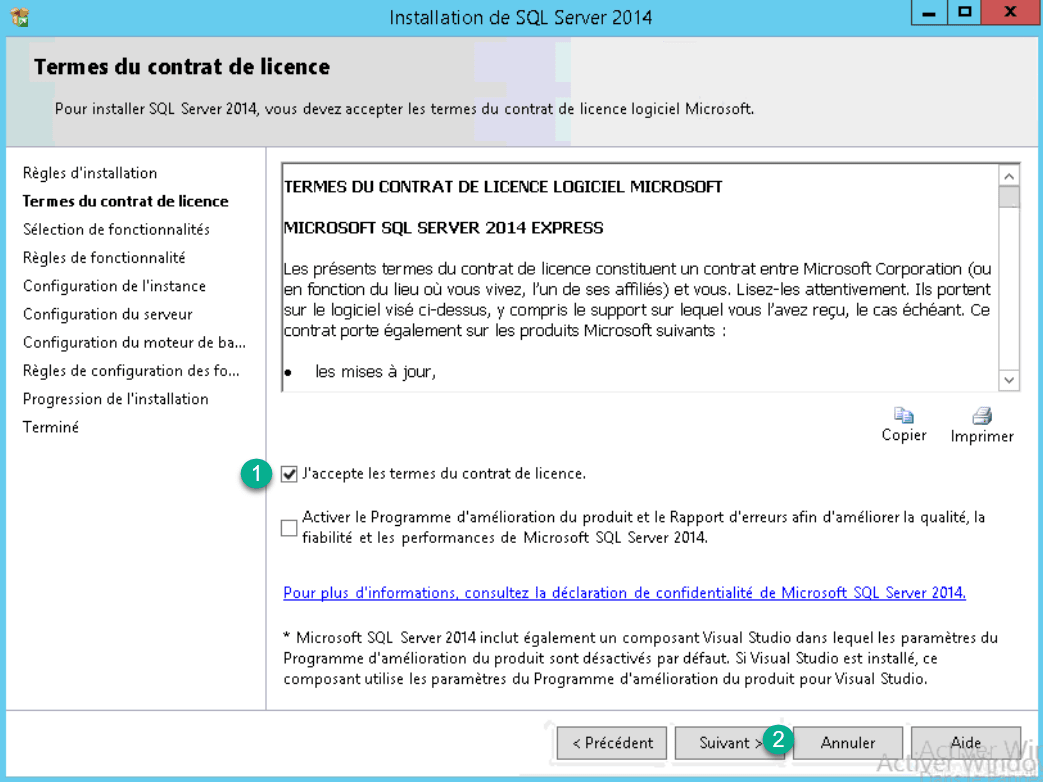
Accept the terms of the license 1 and click on Next 2.
Choose the features you need, change the installation location if necessary and click Next 1.

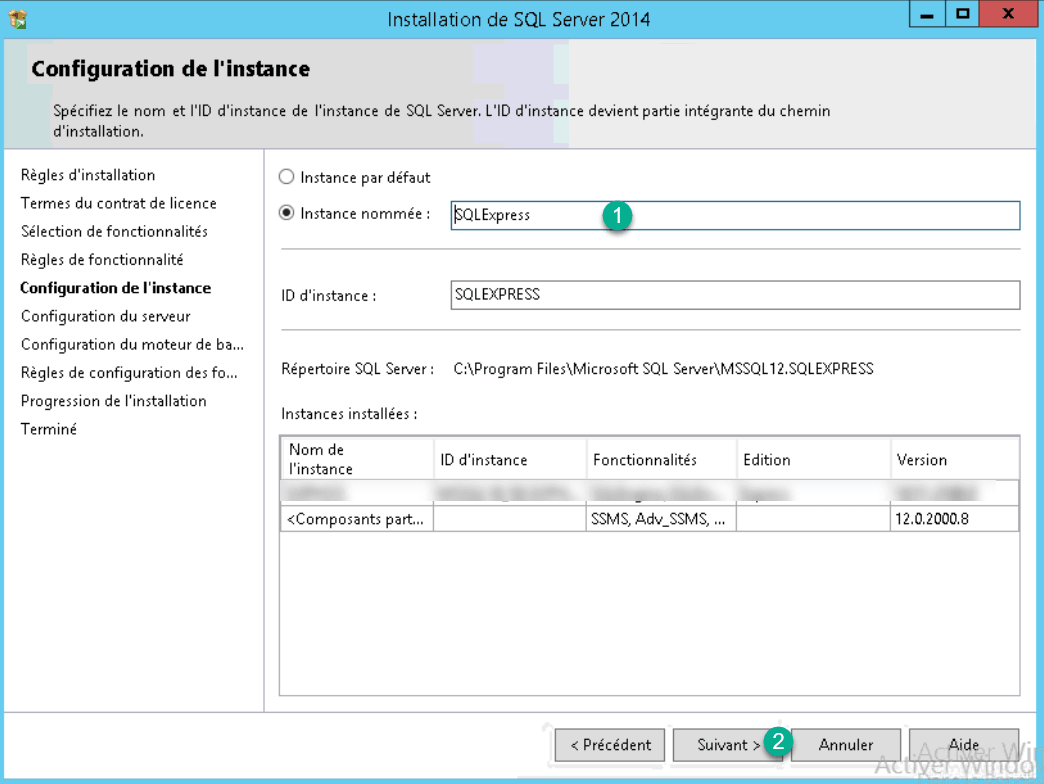
Instance configuration. Change name 1 if necessary and click Next 2.
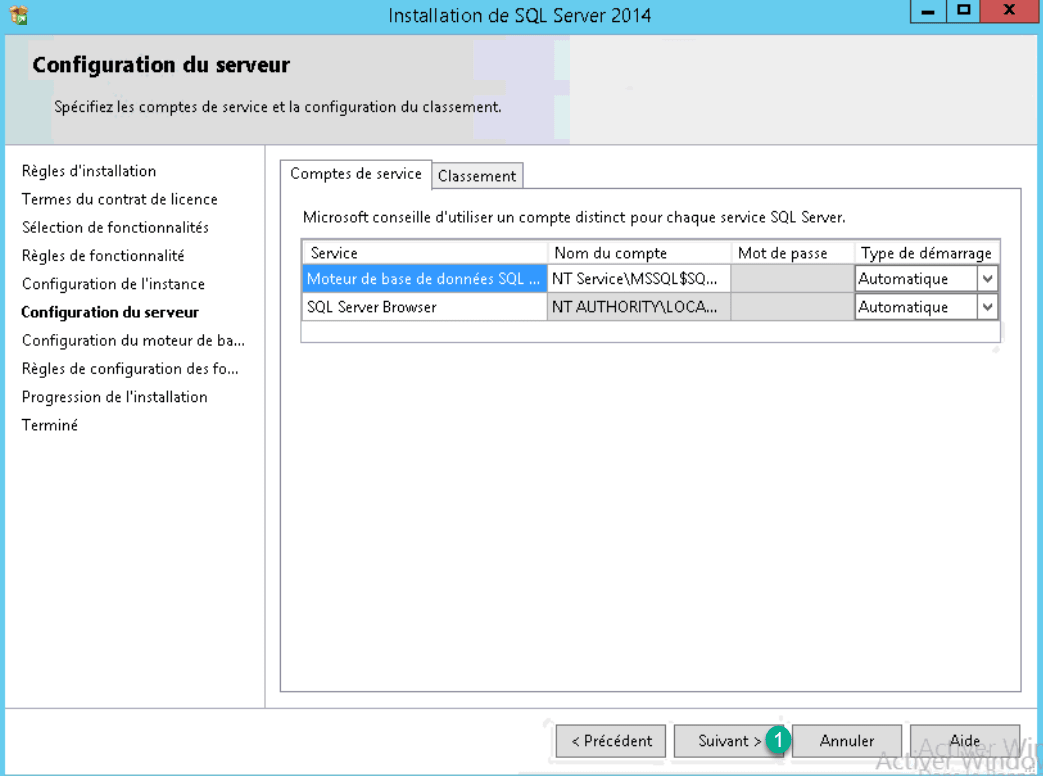
Click on next 1.
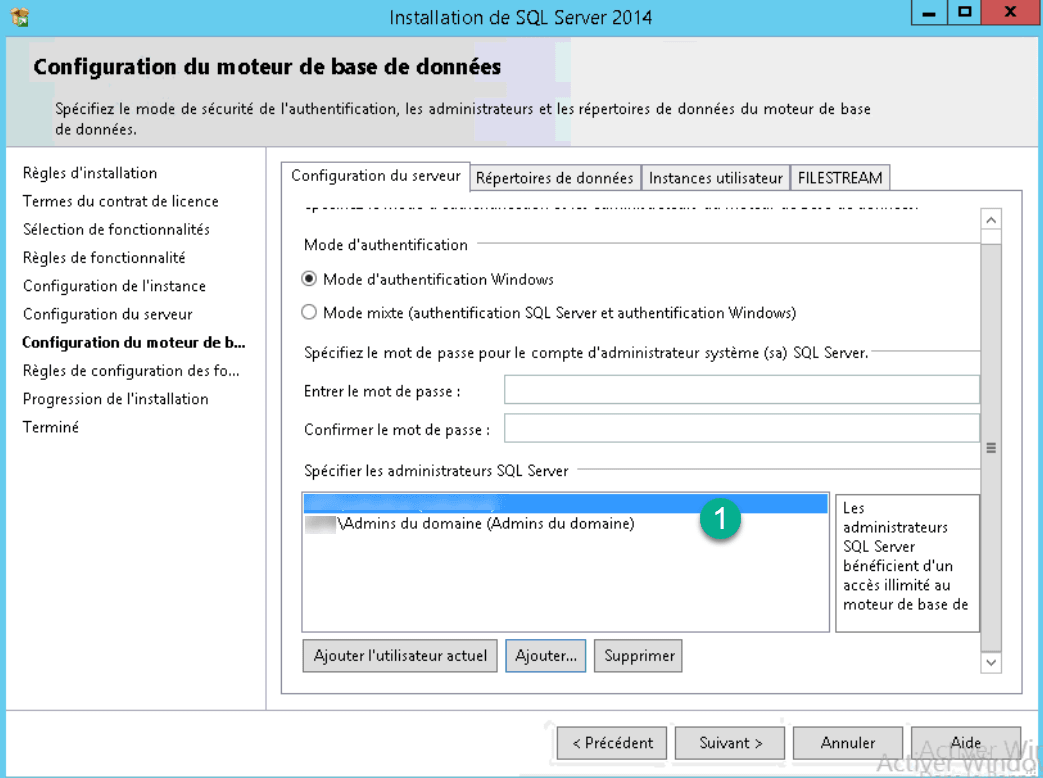
Add the Domain Admins group as SQL Server Administrator. Click on the Add button 1, then add the accounts you want 2 and click on OK 3.

Check the addition of users 1.
Modification of the base storage folder (optional). Click on Data directory 1, select the location where databases 2 will be stored and click Next 3.

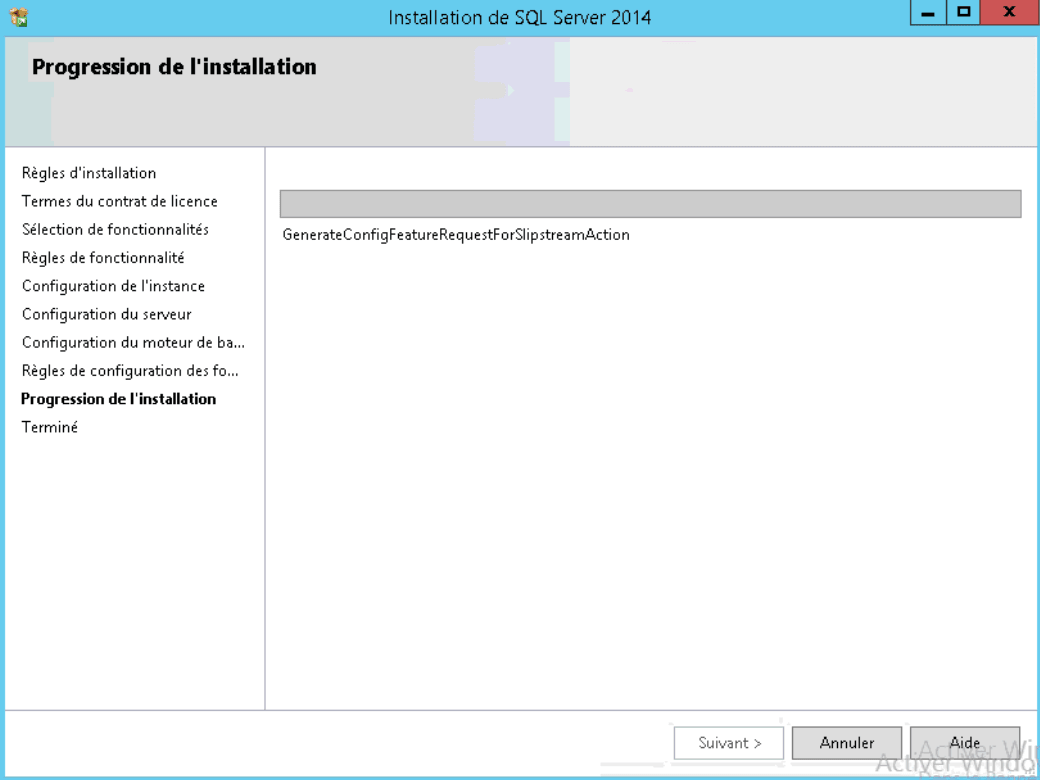
Installation of SQL Server
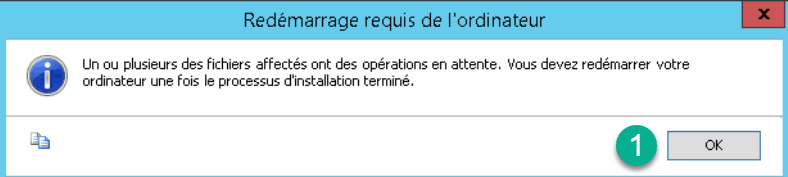
Click OK 1 to confirm that the server must be restarted.
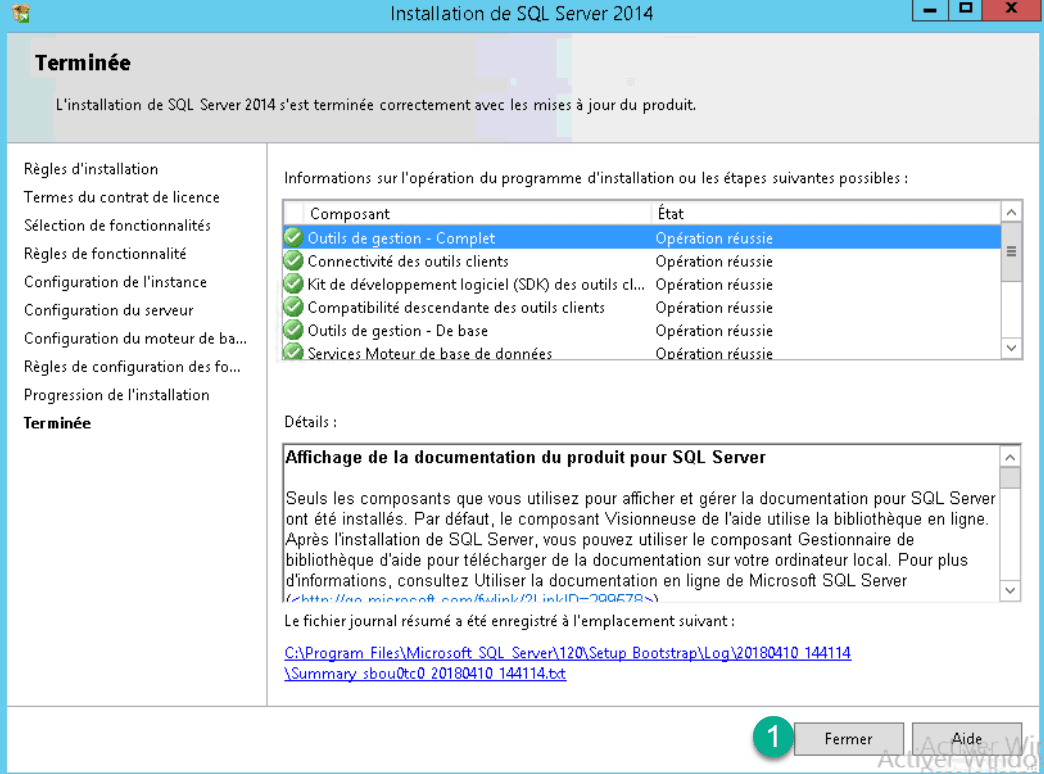
Click on Close 1. The installation of SQLServer is now complete.
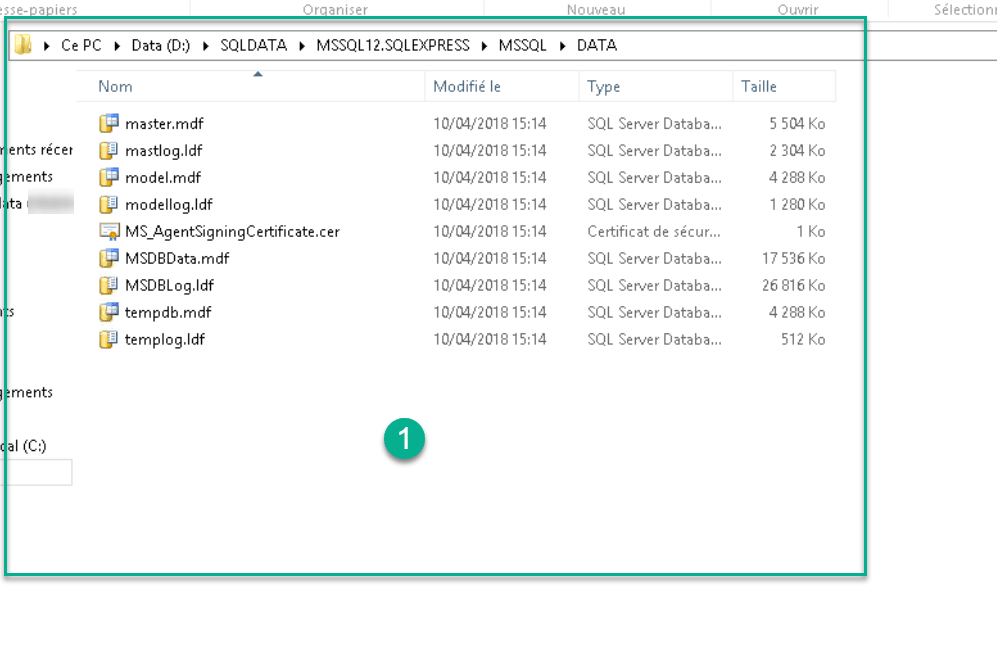
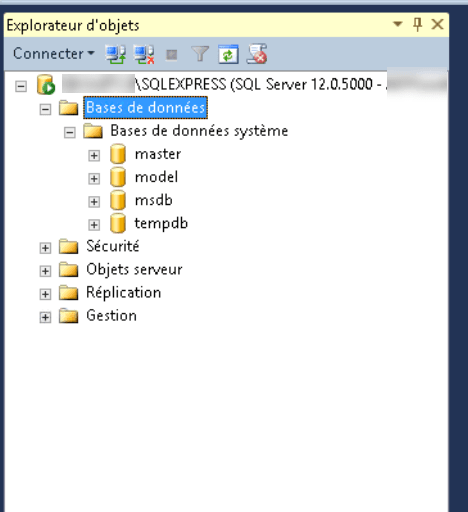
List of bases 1 of the system.
Management
To administer your databases you will need to install SQL Server Management Studio also known as SSMS.
Run SSMS.
Loading the application …
(optional) If your instance is not visible, click on Server name: 1 and on 2.
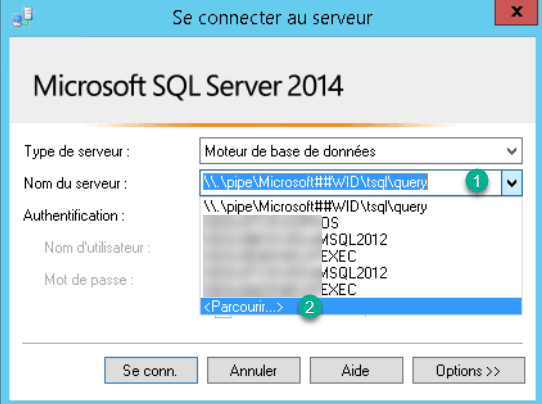
Expand Database engine 1, select instance 2 and click OK 3.

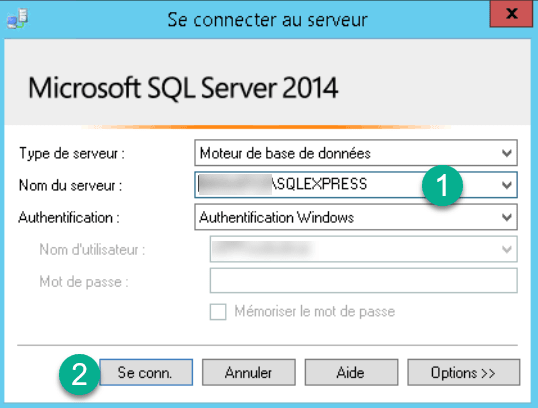
Check the server name and authentication method 1 and click on Connect. 2.
On the left you can navigate between the different bases.
View server properties.

