Table of Contents
Introduction
In this tutorial, I will explain how to configure a network share on Windows Server to store virtual machines created on Hyper-V on it.
Since Windows 2012, it is possible to store virtual machines created on Hyper-V on an SMB3 network share.
This solution allows to use the available storage of a physical computer to put virtual computers with Hyper-V. Since using a server is from my point of view more reliable than a NAS.
There are no real hardware prerequisites, but in order to guarantee correct access times and good performance, “fast” hard disks and RAID (5) must be provided and also a 10Gb network. It works in 1Gb too.
Regarding the software part, the servers (storage + hyper-v) must be under Windows Server 2012 minimum and member of the same Active Directory domain.
It is possible on paper to do this with NAS that supports SMB3, from experience it does not always work very well …
Network sharing configuration on Windows Server
To configure sharing, you have to go through the server manager and not the Windows file explorer.
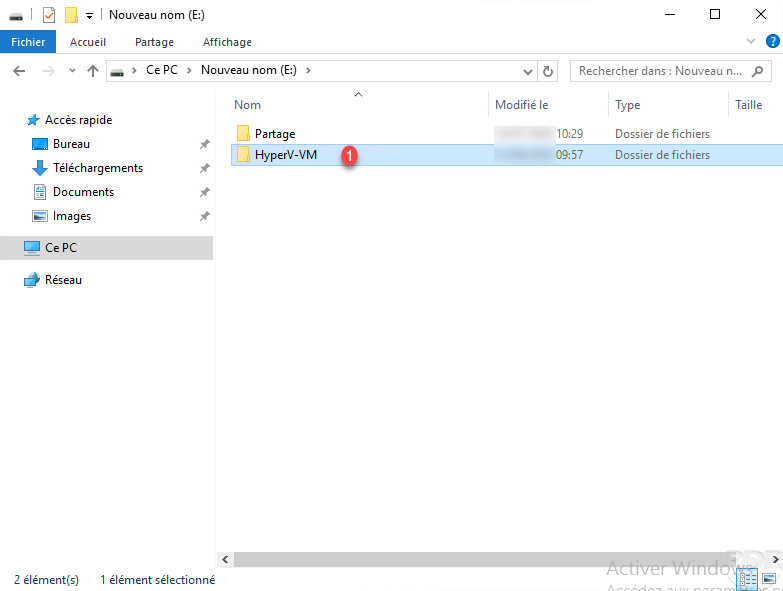
First create the folder 1 which will be shared.
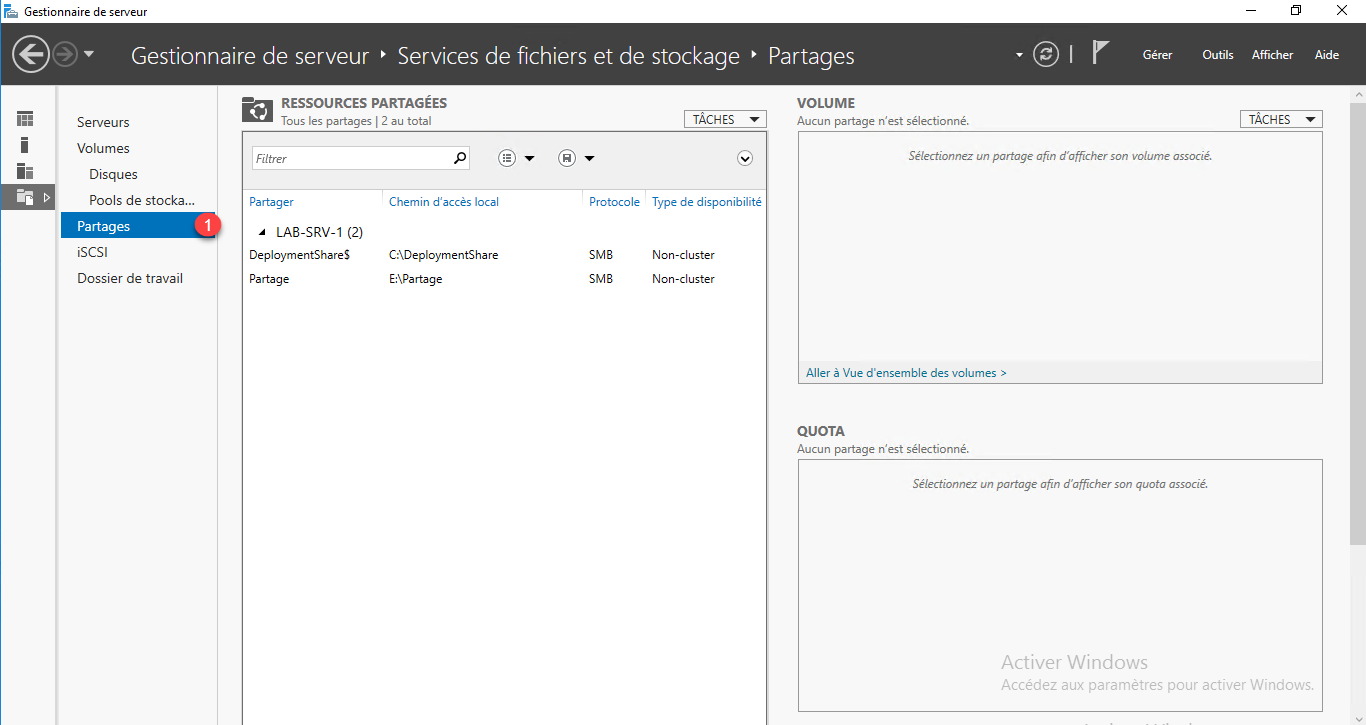
Open server manager and go to share management 1.
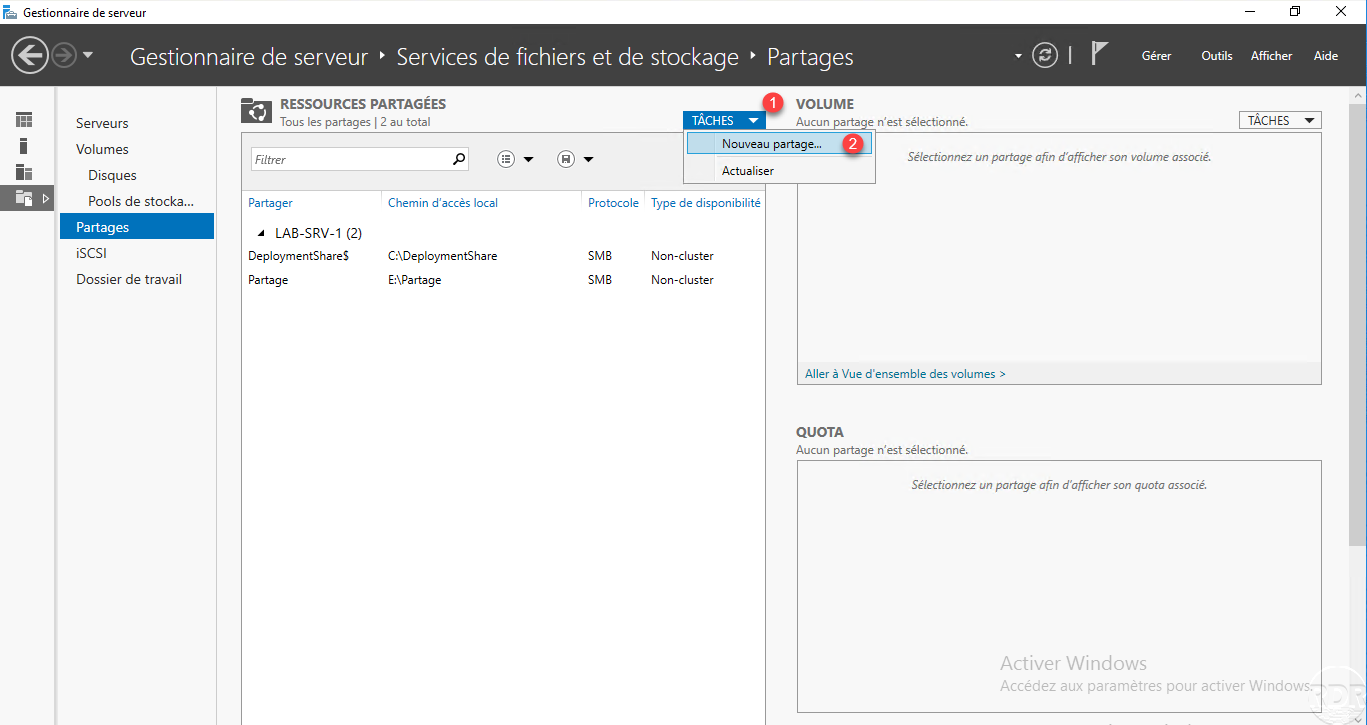
Open the wizard for creating a share by clicking on TASKS 1 then on New share 2.
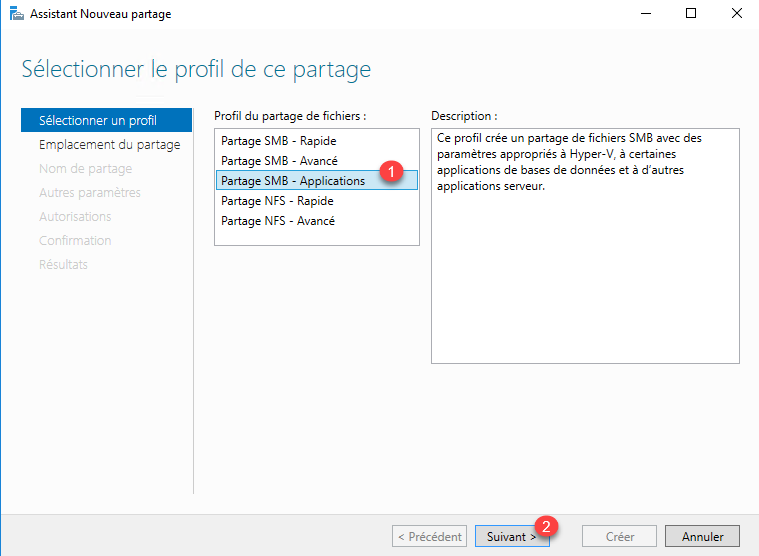
Select the SMB Share – Applications 1 profile and click Next 2.
Indicate the location of the 1 folder that will be shared, and click Next 2.

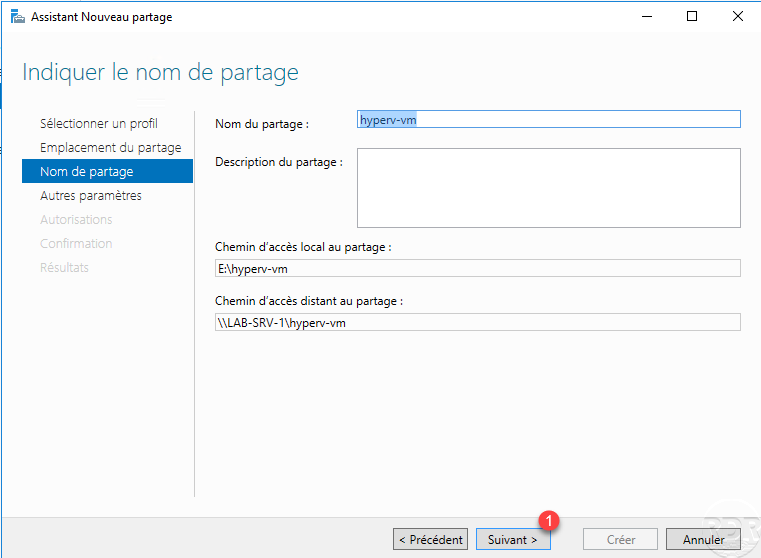
If necessary change the name of the share and enter a description and click on Next 1.
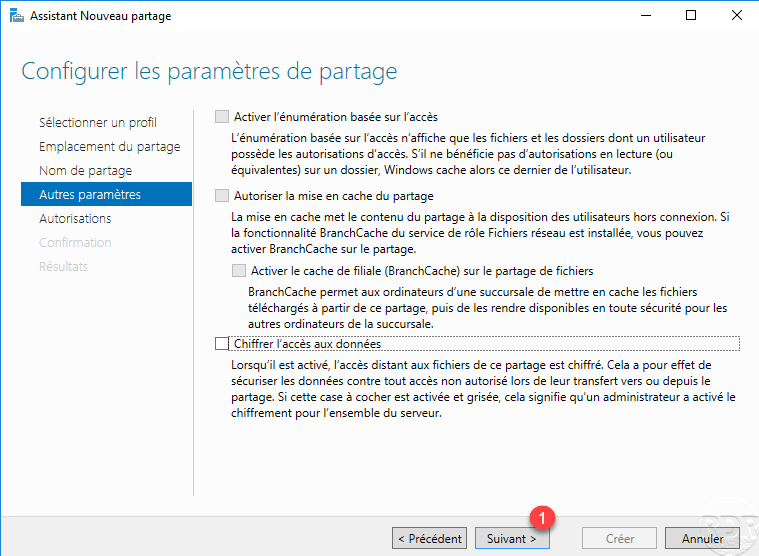
Pass the other parameters by clicking on Next 1.
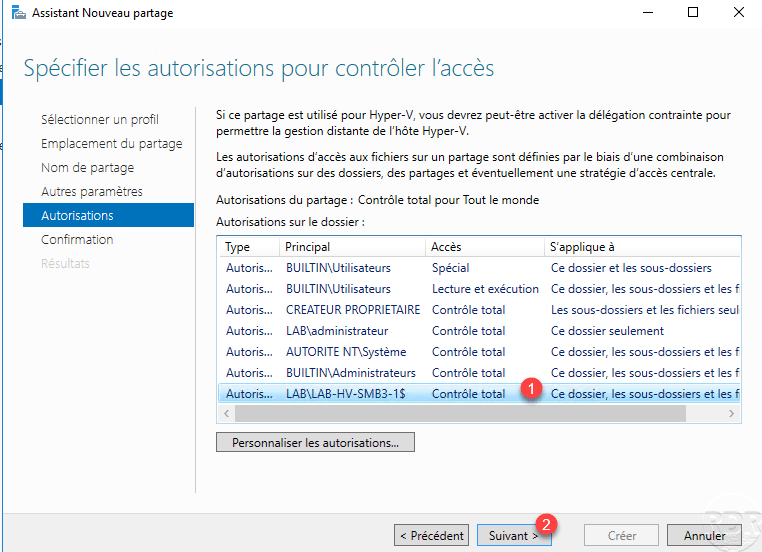
Add the Full Control permission to the computer object 1 of the Active Directory of the Hyper-V server and click Next 2.
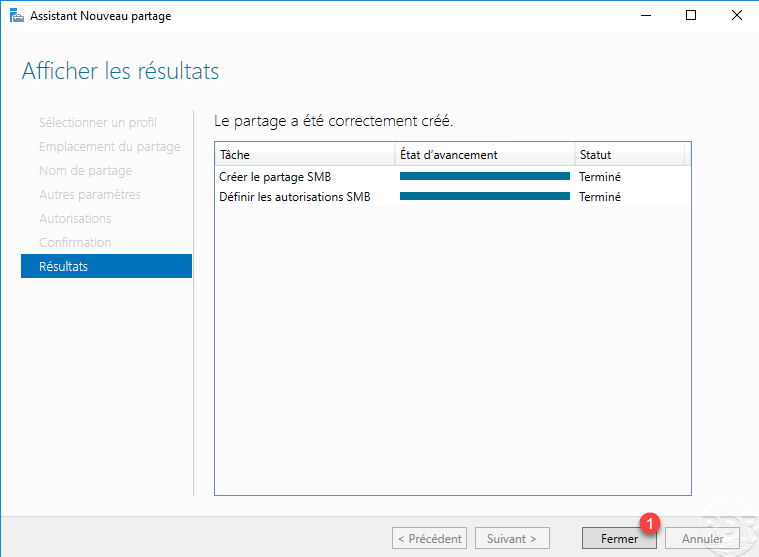
A preview of the sharing parameters is displayed, confirm the creation of it by clicking on Create 1.

Once the share has been created, exit the wizard by clicking on Close 1.
Share 1 is visible in the list of shares.

Creating the virtual machine with Hyper-V on the network share
Now that the network share is ready, we will see how to create the virtual machine with Hyper-V so that it is stored on the network share.
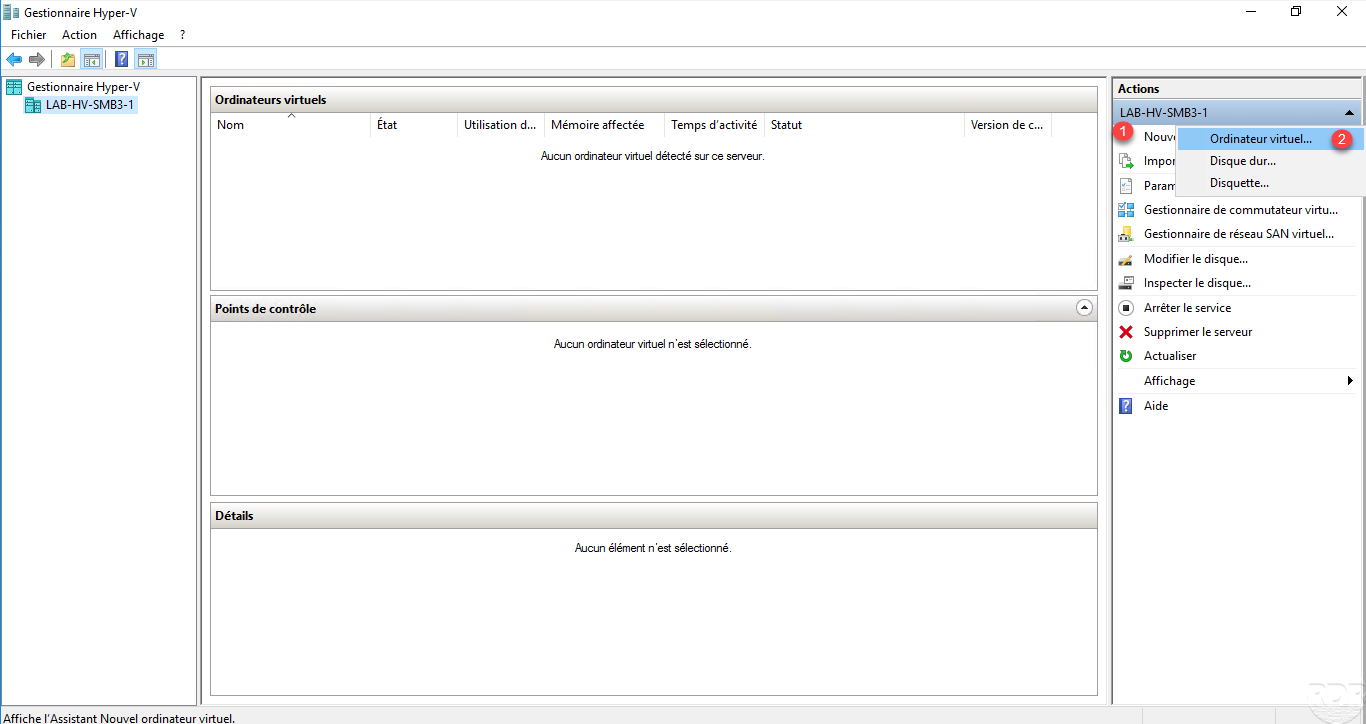
From the Hyper-V console, create a new virtual machine by clicking on New 1 / Virtual machine 2.
When the wizard starts, click on Next 1.

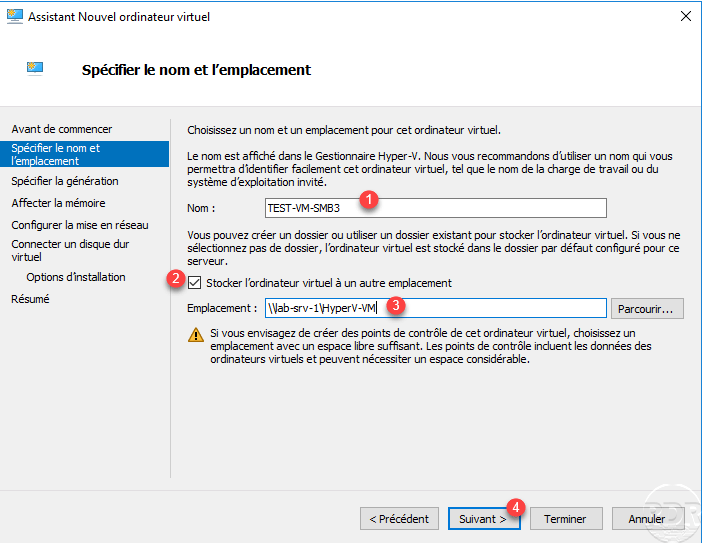
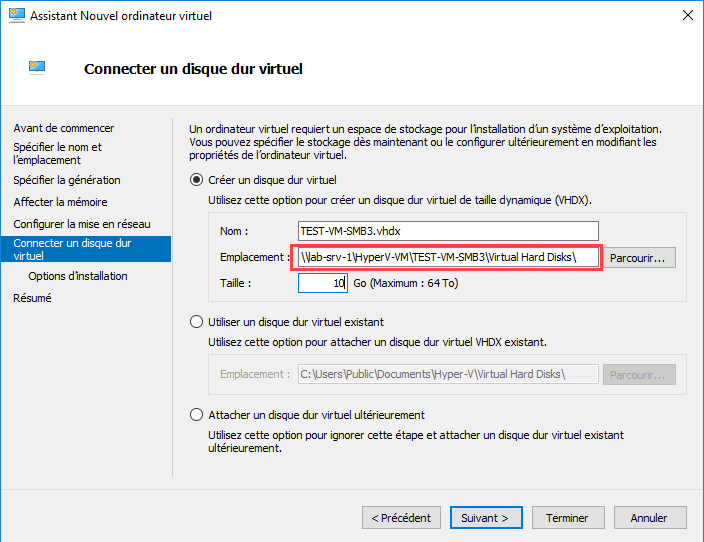
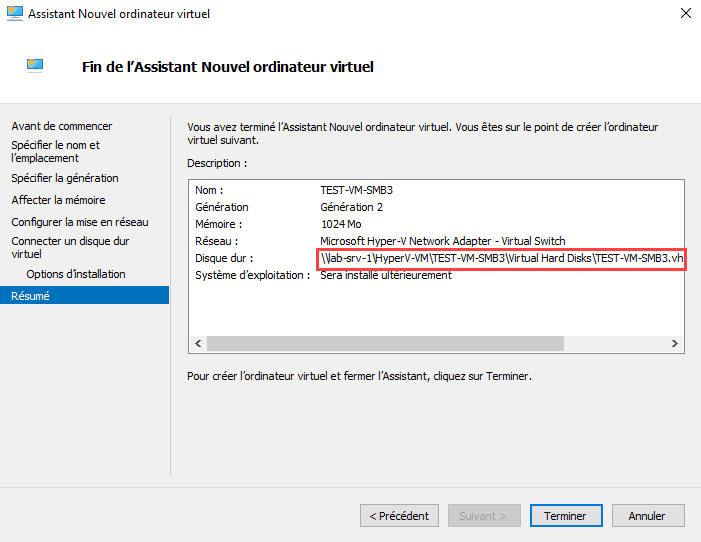
Indicate the name of the virtual machine 1, check the Store virtual machine in another location 2 box then indicate the UNC path of the share that was created 3 and click on Next 4.
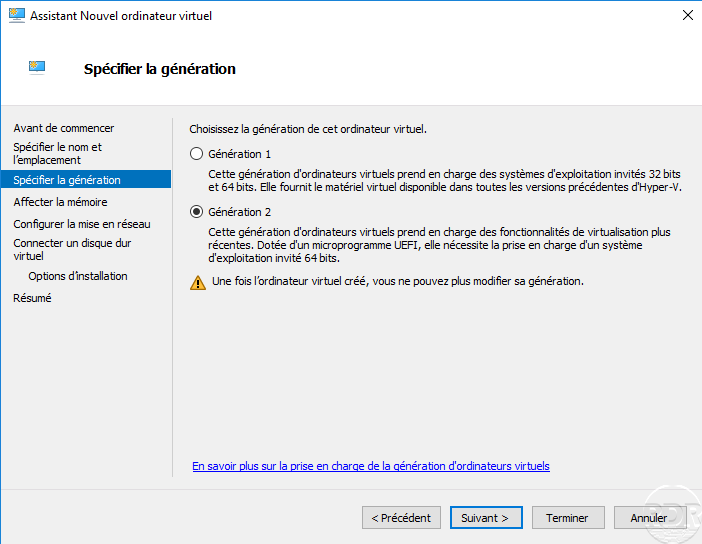
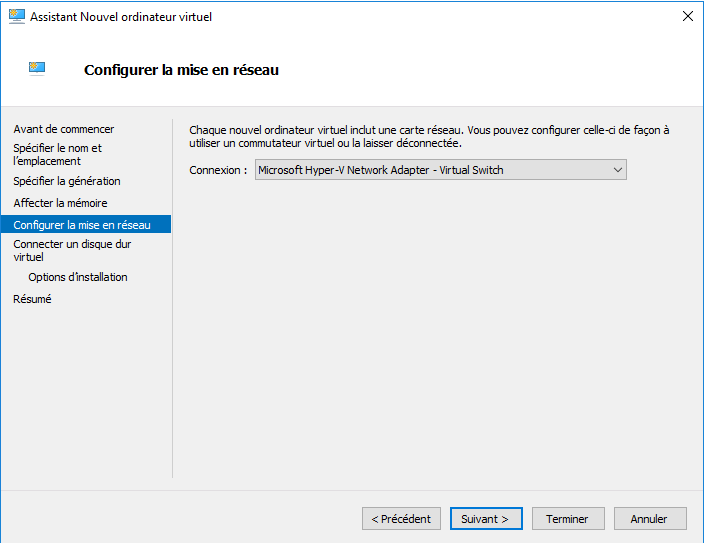
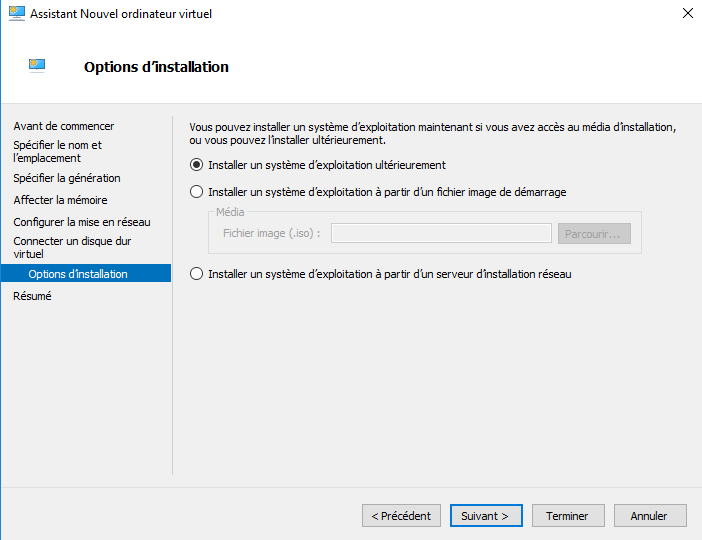
Then follow the wizard for creating the virtual machine.

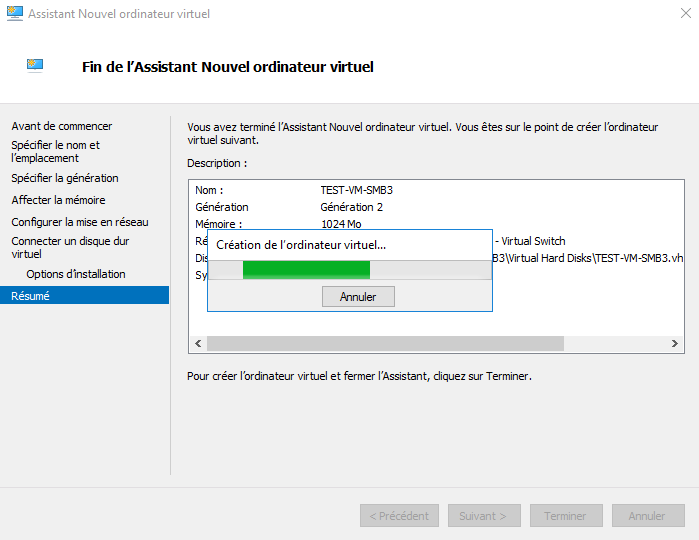
Wait while the virtual machine is created.
The virtual machine is created 1 and available in the Hyper-V console.

Looking in the shared folder, we can see that a folder with the name of the virtual machine has been created containing the various files of the VM.

You now know how to store virtual machines on an SMB3 share.
