The collectors in GLPI allow the creation of tickets automatically in the assistance part by sending an e-mail.
A user sends an email to [email protected]. GLPI will use the automatic tasks to retrieve the email in the box and create a ticket in the helpdesk.
Table of Contents
Prerequisites
- Have the PHP IMAP extension enabled.
- Have configured the automatic actions in GLPI.
- Enter the users’ e-mail address.
Environment
For the implementation of this article, I’ll use a real-life case that I put into production.
The company has a mailbox dedicated to the IT department ([email protected]) with an alias [email protected] reserved for incidents and requests.
A support folder has been created on the inbox with a rule that stores all emails sent to the support address in this folder.

Two other folders have been created so that the GLPI collector can store the e-mails collected.
- support_ok : all e-mails which enabled a ticket to be opened automatically are stored in this folder.
- support_non : all e-mails that could not be treated as an incident are stored there. (spam, unknown users …).

To work, the GLPI collector must know all the users with their e-mail addresses. For this you must make a connection with your LDAP directory (AD) and have the e-mail field to fill in.
Configuration of the collector on GLPI
1. Go to your GLPI installation.
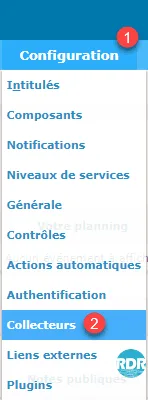
2. From the navigation menu, go to Configuration 1 > Collectors 2.
3. Click on the + 1 to add a new collector.

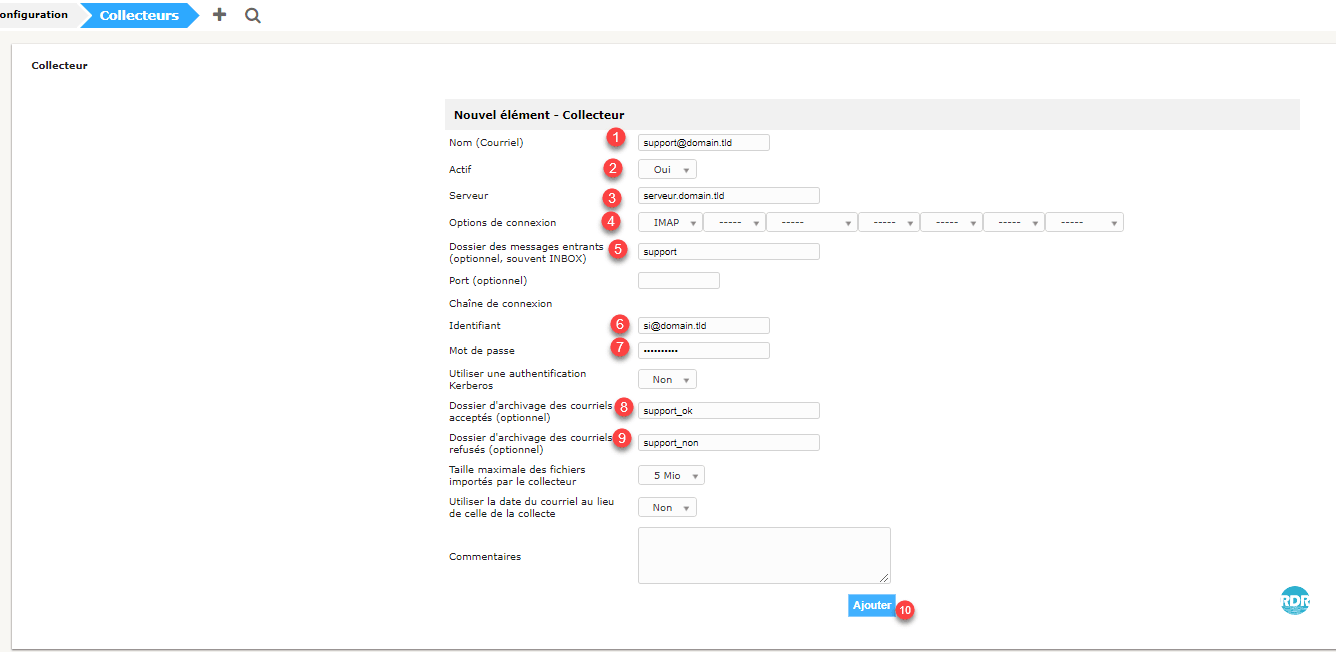
4. Collector configuration:
1 Enter the collector’s email address.
2 Activated the collector.
3 Mail server address.
4 Server Connection Protocol (IMAP)
5 Email recovery folder
6 Identifier to connect to the box.
7 Password
8 Archive folder for valid emails.
9 Invalid email archive folder.
10 Click on Add.
5. Return to the list of collectors and click on the one just added.
6. Go to the Actions tab 1 and click on the Retrieve emails now 2 button to test the connection.

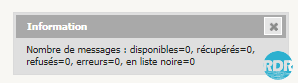
7. If all is well you should see a message like this then a notification: