File Server Resource Manager Overview
In this tutorial, I will introduce the File Server Resource Manager FSRM, which is a feature of the File Server role.
FSRM allows several things at the file server level:
- Quota application on a folder
- Automatic tasks on folders and files (automatic archiving of unopened files from xxxx)
- Storage report (Volumetry by file group, duplicates …)
- Filter files, what we will see in this tutorial
- …
In the tutorial, we will see how to set up a file filter to prevent storage on the server, and then add a layer of protection against cryptolockers.
Installing the FSRM feature
From the server manager, click Add Roles and Features 1 .

When launching the wizard, click Next 1 .
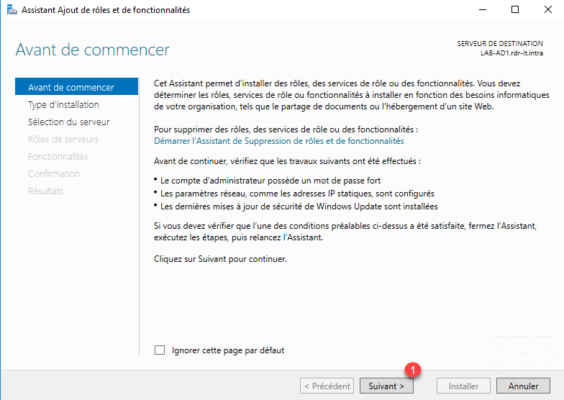
Installation type: based on a role or feature, click directly on Next 1 .
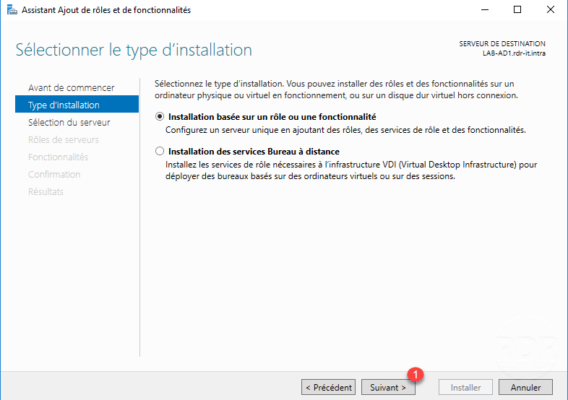
Select server 1 where the installation is to be done and click the Next 2 button.
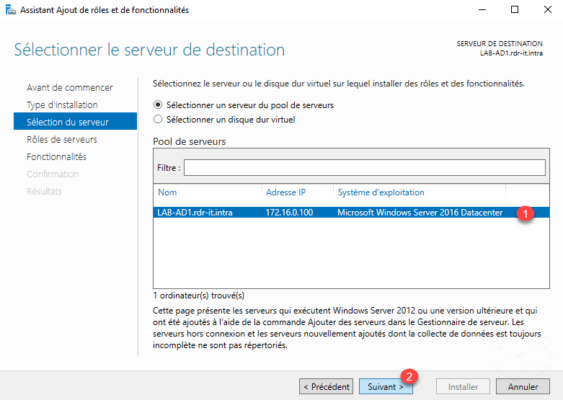
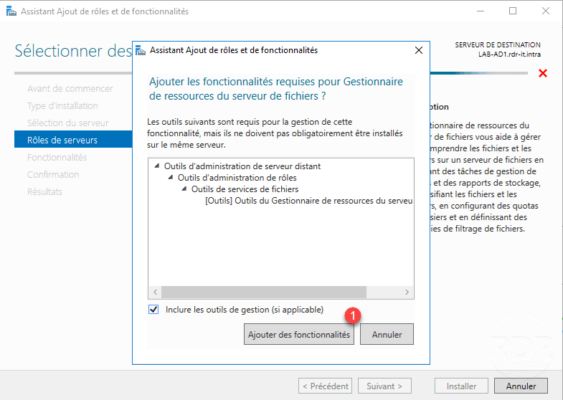
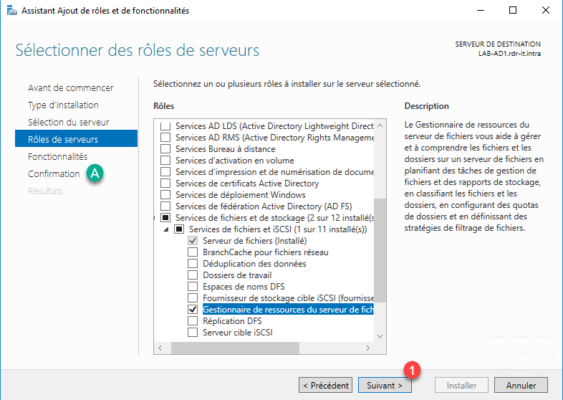
In the list of roles, go to File and Storage Services> File Service and iSCSI 1 and then check File Server Resource Manager 2 .
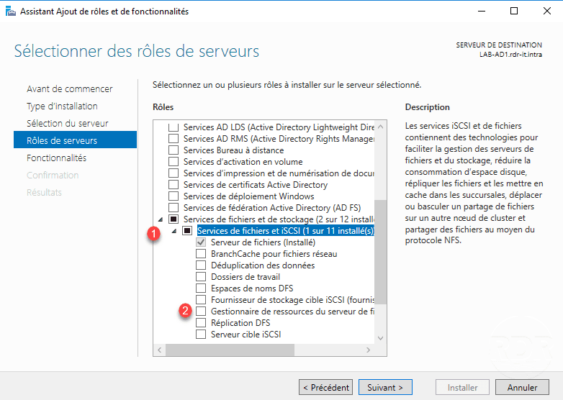
Click the Add Features 1 button.
To go directly to the installation click on Confirmation A or click Next 1 .
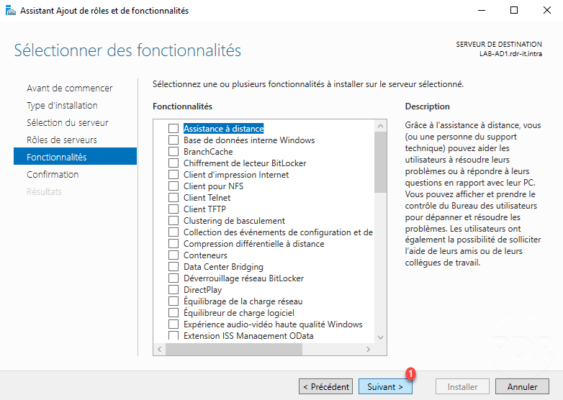
Skip the features by clicking Next 1 .
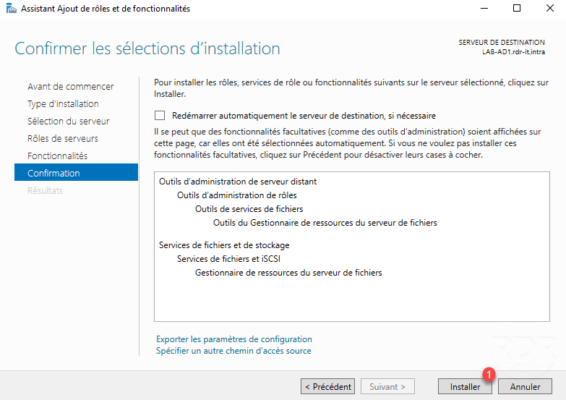
Click on the Install 1 button.
Wait during the installation …
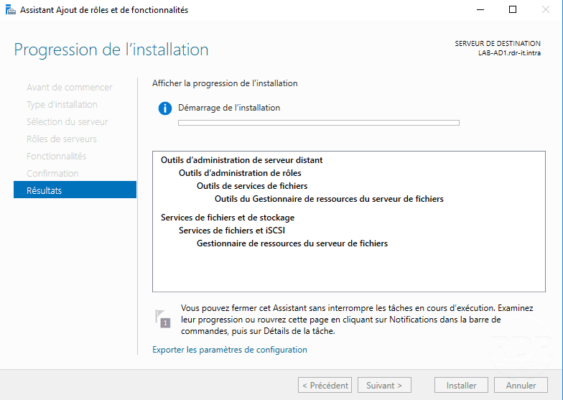
The installation is complete, click Close 1 to exit the wizard.
Open the File Server Resource Manager console using the following icon available in the start menu
Overview of the Admin Console:

Configure email notifications in FSRM
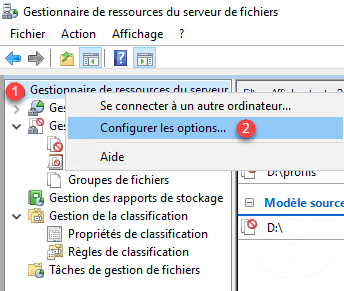
From the console right click on File Server Resource Manager 1 and click on Configure options 2 .
Go to the Email Notification tab 1 , enter the SMTP server 2 and a recipient 3 . It is possible to test the A configuration. Click on OK to validate 4 .
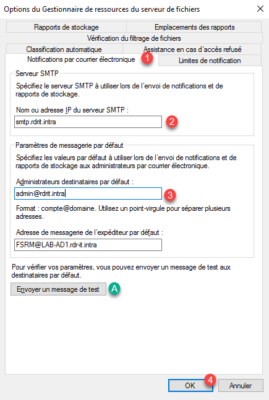
The SMTP server configuration allows you to receive an email when a prohibited file tries to be copied to the server or warn when approaching the quota limit …
Use file filtering
Use a predefined filter
In this part, we will see how to add a predefined file filter (block executable files) to the directory that contains the user profiles.
From the console, go to Manage File Filtering> File Filter 1 and click Create File Filter … 2 . Select or enter the path “3” of the folder where the filter is to be applied. Select filter 4 (Block executable files) and click on the button Create 5 .
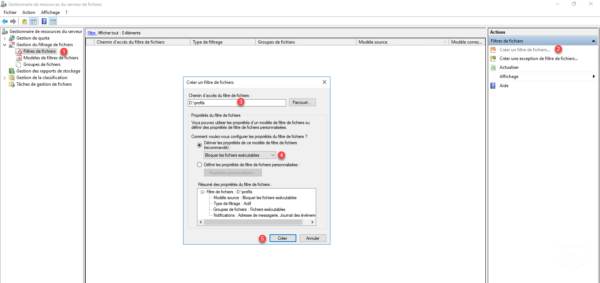
The filter is active 1 .

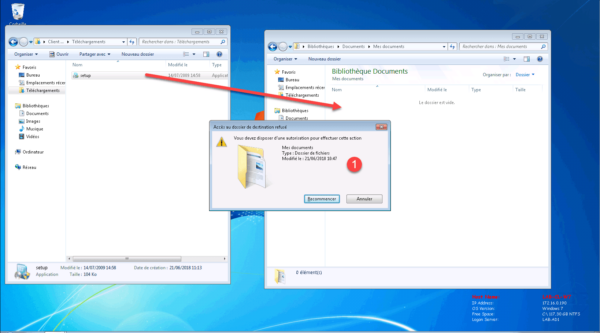
From a client workstation and a user with redirected documents, I copied an executable to the My Documents folder. Here is the message 1 that appears:
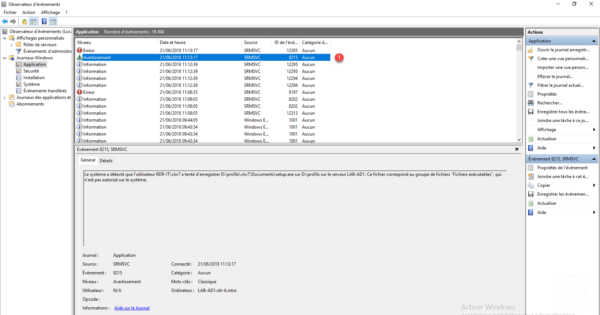
From the event viewer it is also possible to see the FSRM message under ID 8215 1 .
If an SMTP server is configured, an email is sent to notify the action.
Use a custom filter
To illustrate this tutorial, we will create a filegroup that contains known cryptolocker extensions, then create a filtering template, and then apply it to a reader.
With this filter, it will not be possible for the virus to write encrypted files to the server.
Using a custom filter goes through 3 steps:
- The creation of a group of files, which will contain all the extensions of cryptolockers. Groups can be used in several models.
- A file filter template, which aims to choose the type of filtering (active / passive) as well as the configuration of notifications.
- A file filter, which is the application of the template to a location on the server.
Creating a group of files
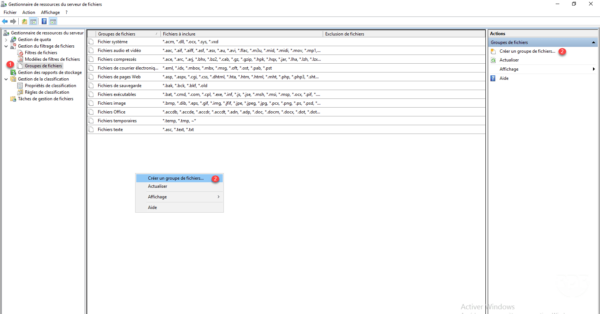
From the console, go to File Filtering Management> File Group 1 . Right-click in the central area and click Create File Group .. 2 or go through the Actions menu.
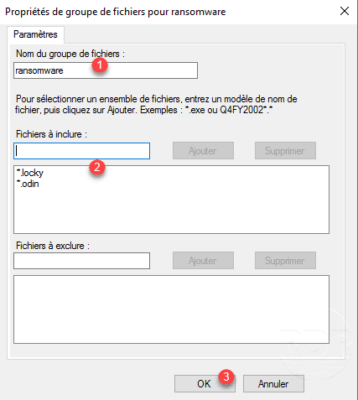
Name the group 1 , enter the extensions of the files to block in the form * .extension 2 and click on the OK 3 button.
The group is added 1 .

Creating the file filter template
Go to File Filter Template 1 , right click and then click Create File Filter Template … 2 or go through the Actions menu.

Name the model 1 , choose how the filter is applied * 2 then select the file group (s) 3 that make up the model.
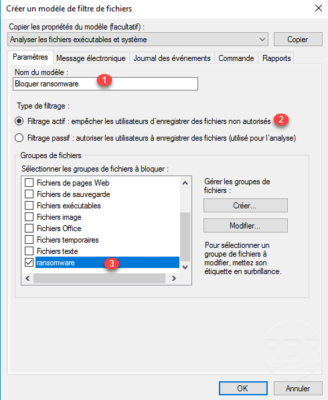
* There are two types of filtering, the active filter will prevent the writing of the file type, the passive mode is used for auditing purposes.
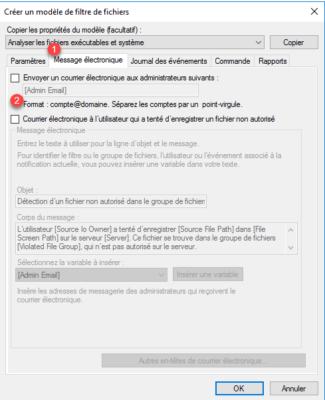
Go to the Email tab 1 and tick 2 email alerts if needed.
Go to the Event Log tab and select the Send warning to event log 2 check box. Click on the OK 3 button to validate the creation of the model.
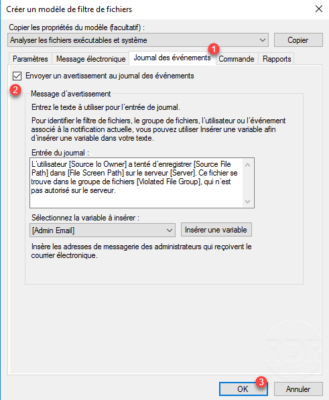
The model 1 is available in the list.

Apply a file filter
In this part, we will see how to apply a file filter using the previously created group.
Go to File Filters 1 and create a new 2 .

Indiquer le chemin racine où doit être appliqué le filtre 1, sélectionner le filtre 2 et cliquer sur Créer 3.
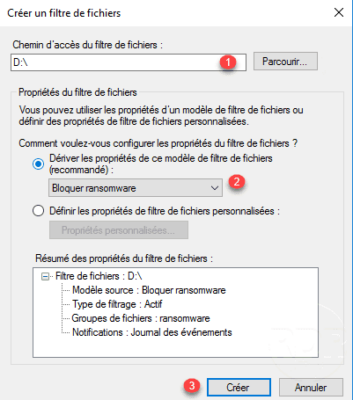
The filter is created, in this way the creation of encrypted files is blocked on the D partition of the server.
You can find on the Internet the list of known cryptlocker extensions
Troubleshooting
Apply multiple filters on the same folder
It is not possible to create several filters on the same folder. Here is the error message that you will get: Can not create a file filter on the specified path because a file filter already exists for this path.
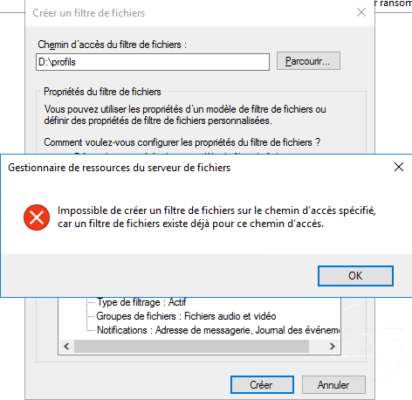
Select filter 1 and right click on it and click on Edit properties of the file filter … 2 .

Check the groups you want to filter 1 and click OK 2 .
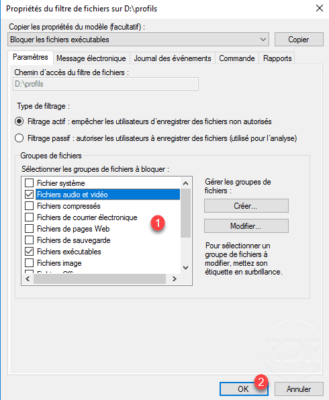
From the list, we see that the filter is applied to several groups of files 1 .

One could also add the execution of a PowerShell script where at X attempt (s) of encryption, we activate a firewall rule that blocks SMB access to the server or turns it off.


