In this tutorial, I will explain how to add a DNS forwarder on Windows Server using PowerShell.
The Cmdlets used in this tutorial are launched in a PowerShell window run as Administrator.
To begin displaying the redirectors enter the following command:
Get-DNSServerForwarder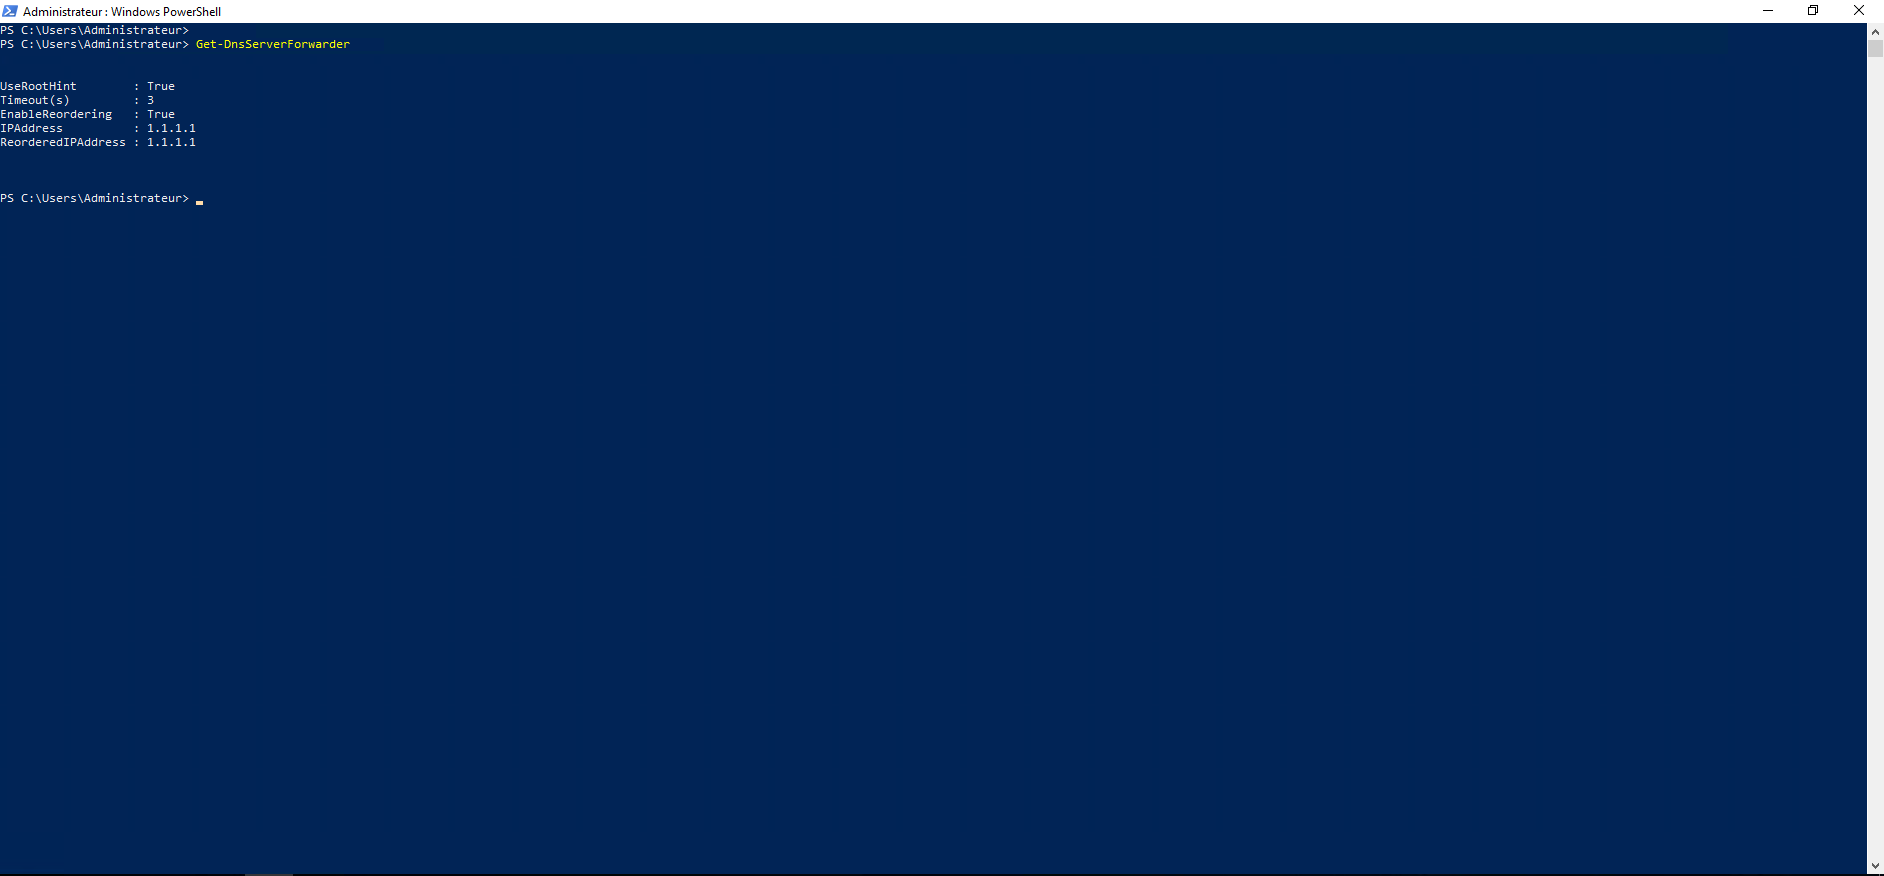
As you can see, there is already a DNS forwarder configured on server 1.1.1.1 (Cloudflare).
To add a DNS server as a forwarder:
Add-DnsServerForwarder -IPAddress 8.8.8.8 -PassThru
With this command, I added the DNS server 8.8.8.8 (Google) as a forwarder. The -PassThru parameter allows you to get feedback by displaying the list of forwarders, which is an equivalent of the Get-DNSServerForwarder cmdlet.
To remove a DNS forwarder:
Remove-DnsServerForwarder 8.8.8.8 -Force -PassThru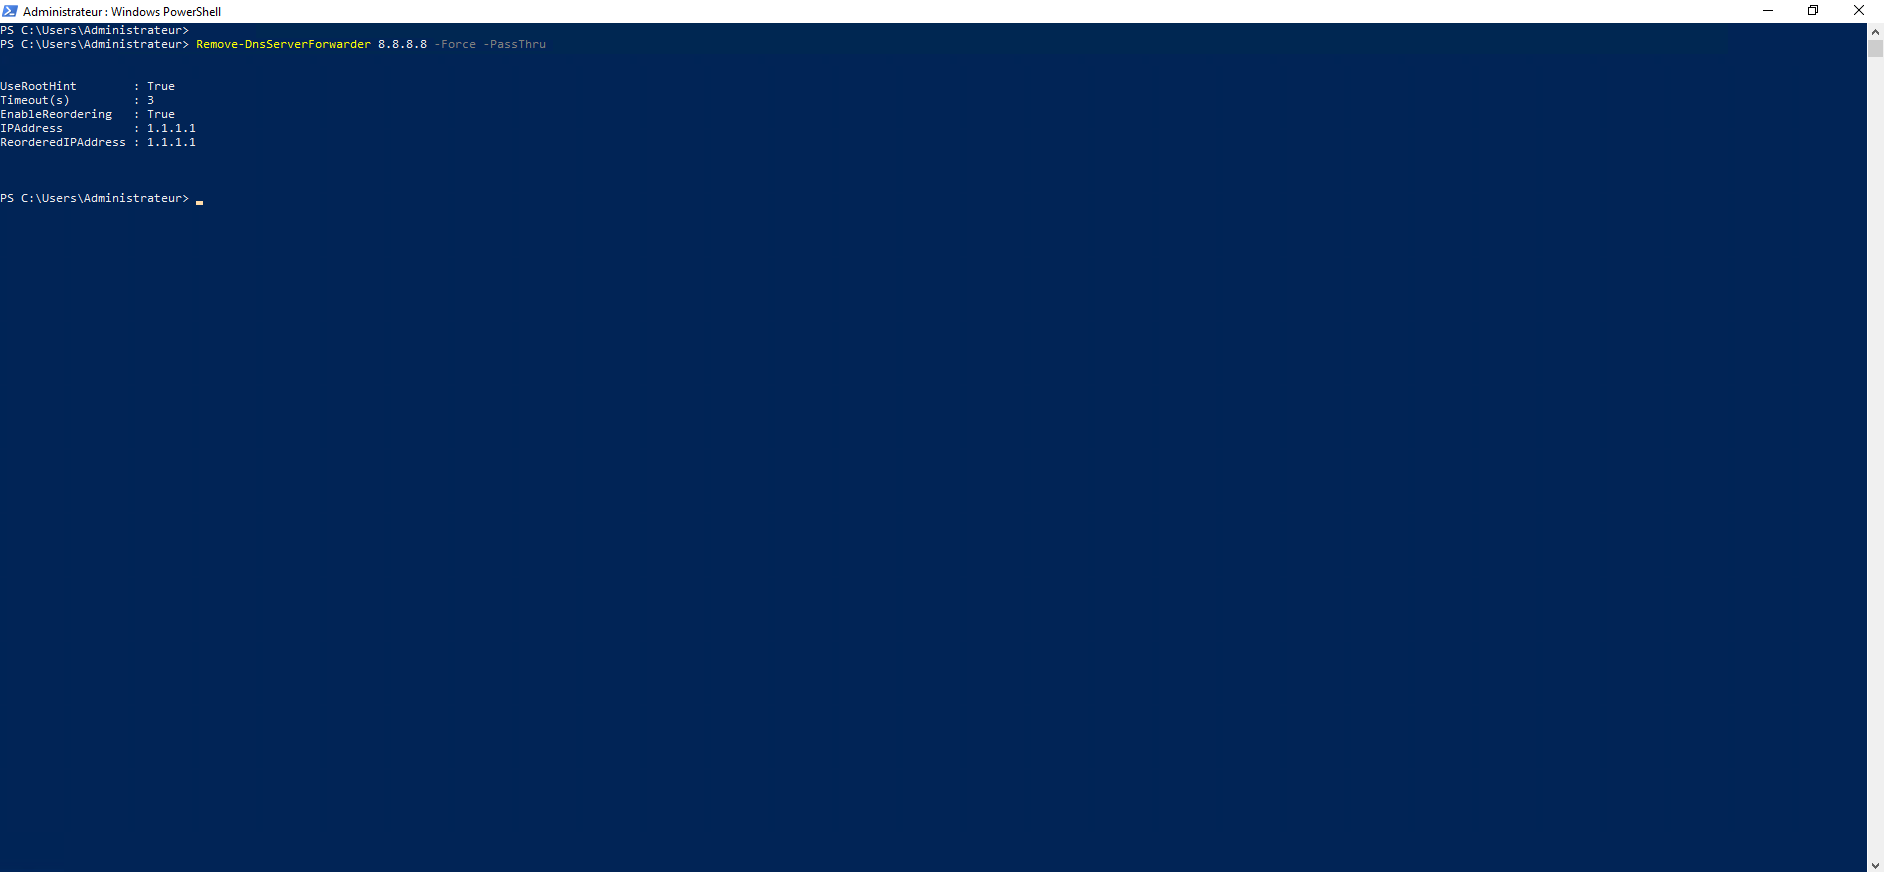
DNS server 8.8.8.8 has been removed from DNS forwarders, the -Force parameter allows you to not have to confirm the action and -PassThru to have a return on the Cmdlet.
