In this tutorial, we will have how to install Hyper-V on Windows Server (2012R2/2016/2019).
Hyper-V presentation
Hyper-V is the Microsoft hypervisor, built into the Windows server since the 2008 64bit version.
Hyper-V is a type 1 hypervisor, that is to say that the hardware resources (CPU, RAM, network cards …) are managed directly by it, unlike a type 2 hypervisor which is a software which installs on the operating system like Virtual Box
Since Windows 8, it is also integrated in the client version to replace Virtual PC.
Hyper-V can be installed on the following versions of Windows:
- Graphic mode
- Core mode
- Nano Server since Windows 2016 Server
More about : https://docs.microsoft.com/fr-fr/windows-server/virtualization/hyper-v/hyper-v-on-windows-server
Prerequisites
- 64-bit processor with second level address translation (SLAT).
- Processor with virtualization technology (AMD-V or IntelVT).
- 4GB of RAM minimum.
- Hardware and component compatible Hyper-V.
It is strongly recommended that the server be dedicated to Hyper-V and not to install any other role.
Installing Hyper-V
PowerShell
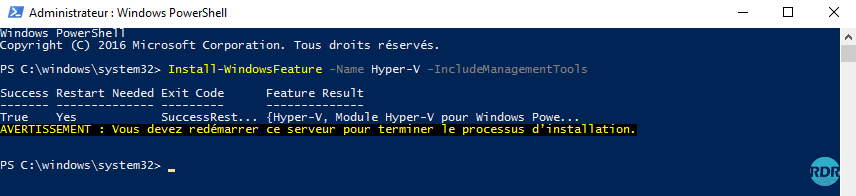
Start a PowerShell prompt and enter the following command:
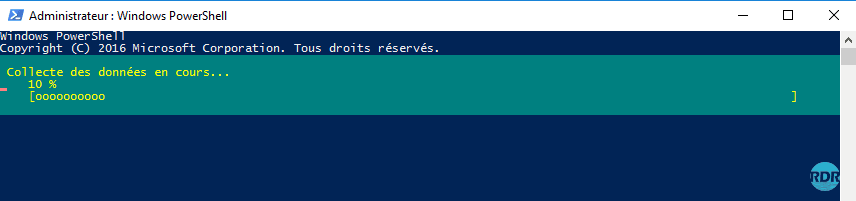
Install-WindowsFeature -Name Hyper-V -IncludeManagementToolsWait during the installation:

When the installation is complete, restart the server.
Graphic mode
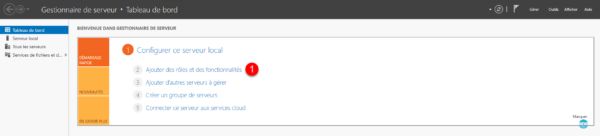
From the server manager, click Add Roles and Features 1 .
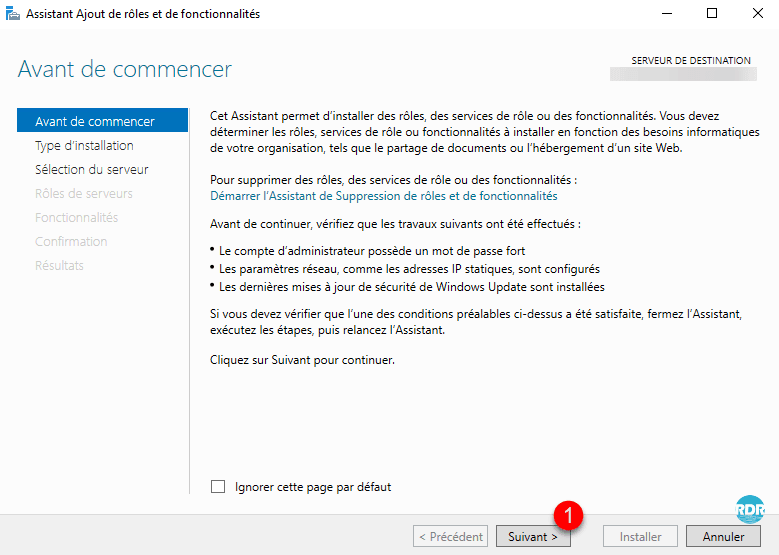
When launching the wizard, click Next 1 .
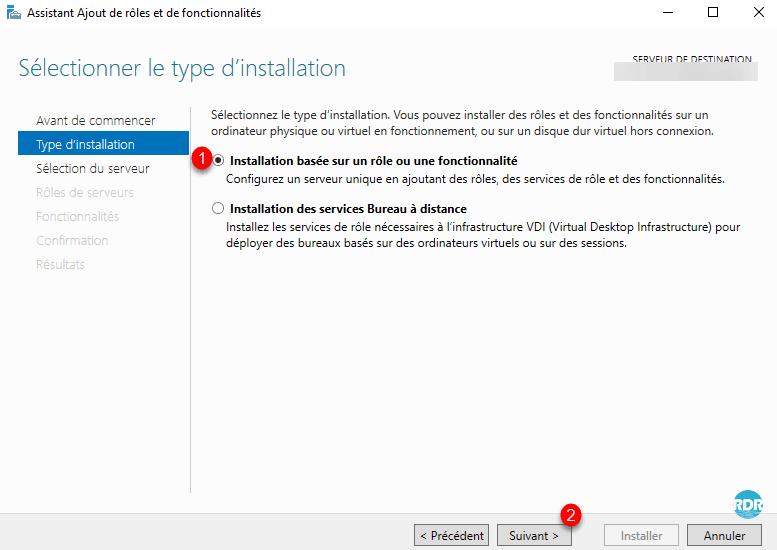
Choose the Role Based Installation option or 1 feature and click Next 2 .
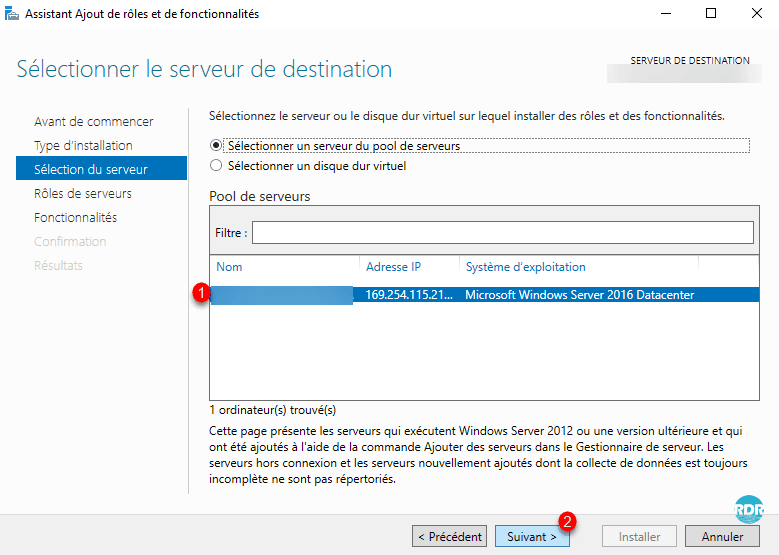
Select the target server 1 and click the Next 2 button.
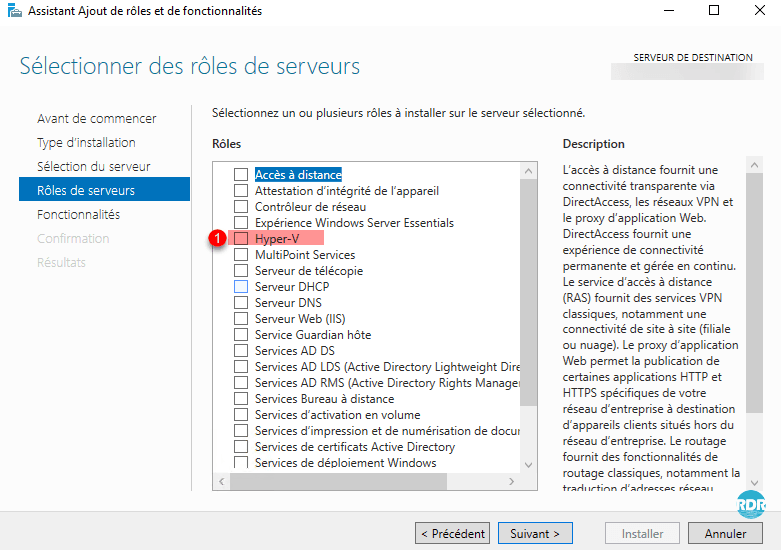
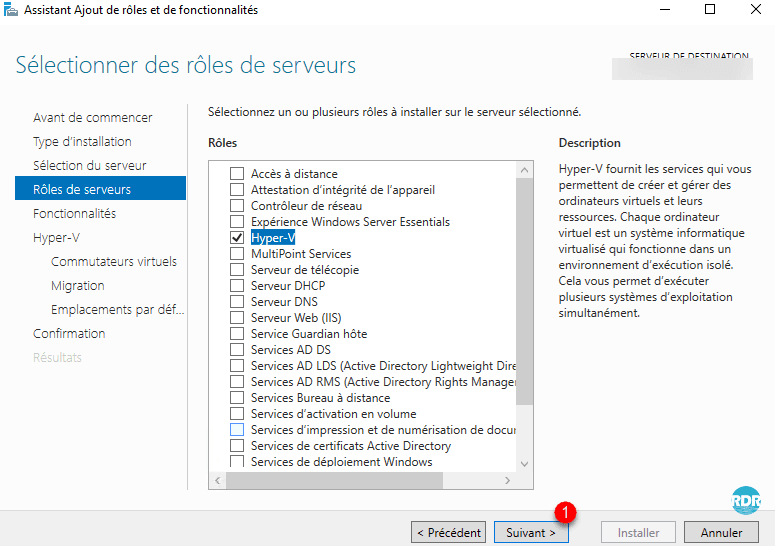
Check the Hyper-V role 1 .
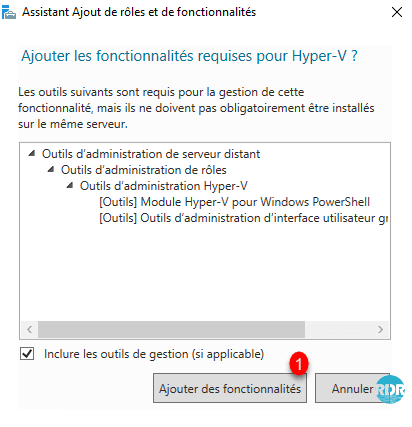
Validate adding the administration tools by clicking Add 1 features.
Press the Next 1 button.
Click Next 1

In the context of setting up a cluster, it is possible to check the Failover Clustering and MPIO features.
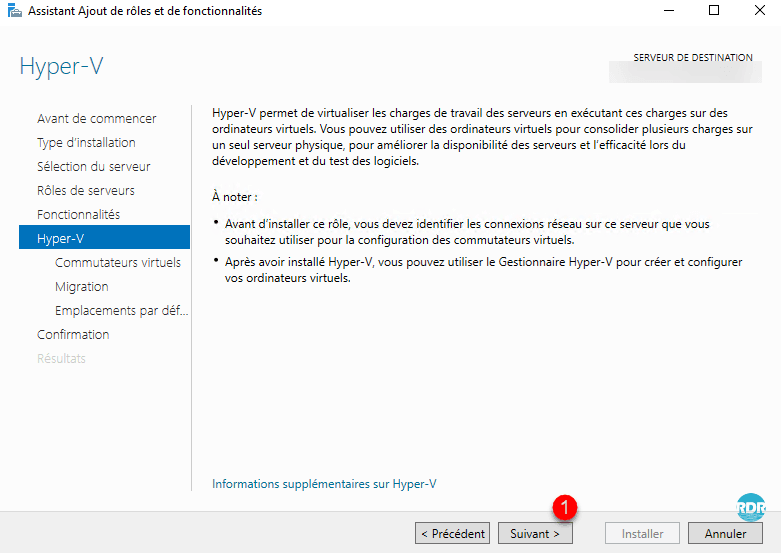
The role installation wizard lets you configure Hyper-V during installation, click Next 1 .
Several tutorials are available on the site for configuring and administering the Hyper-V role.
Click Next 1 to switch the configuration of the virtual switches.
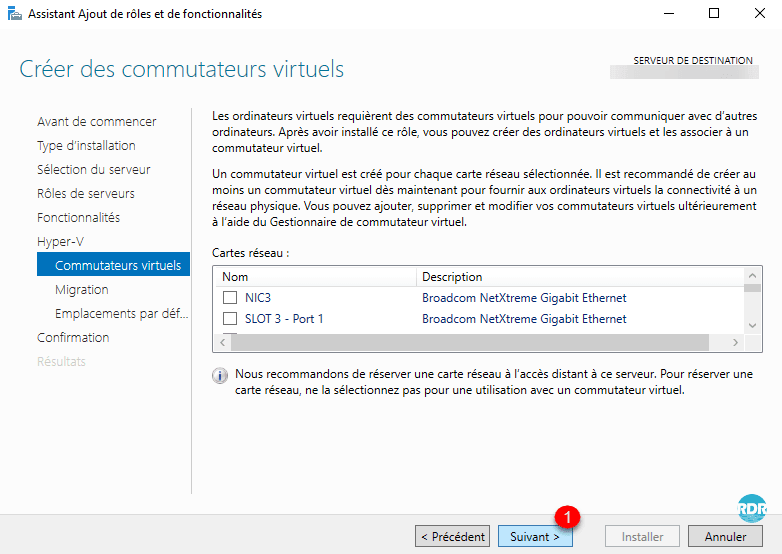
A virtual switch is a switch that is used to connect virtual machines to the network. There are 3 types.
Allow dynamic virtual machine migrations to and from this server if necessary, then click Next 1 .
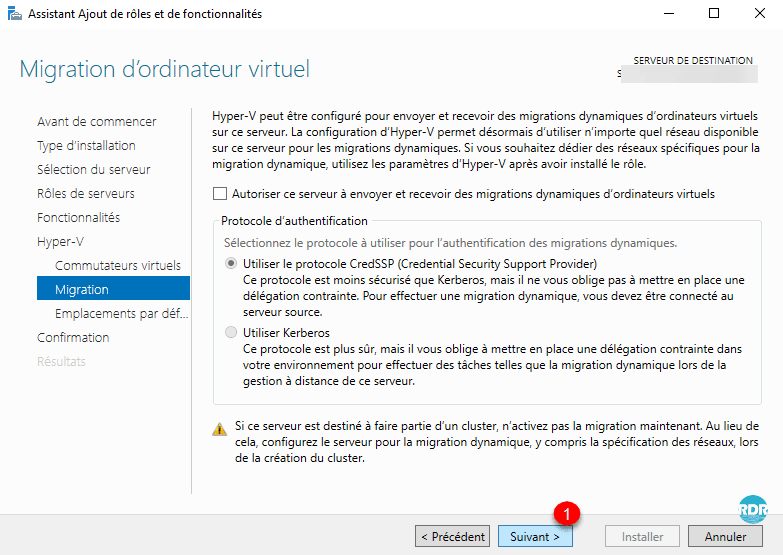
Live Migration allows two Hyper-V hosts (same version) in an Active Directory environment to move a virtual machine from one server to another (vm on). This facilitates maintenance operations.
In an environment outside the cluster, live migration does not allow failover of VMs.
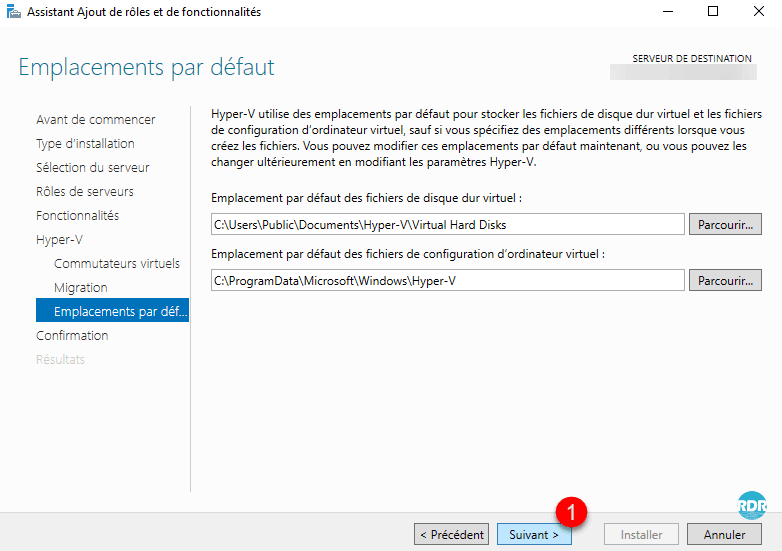
Click Next 1 , it is possible to change the default location of the virtual machines.
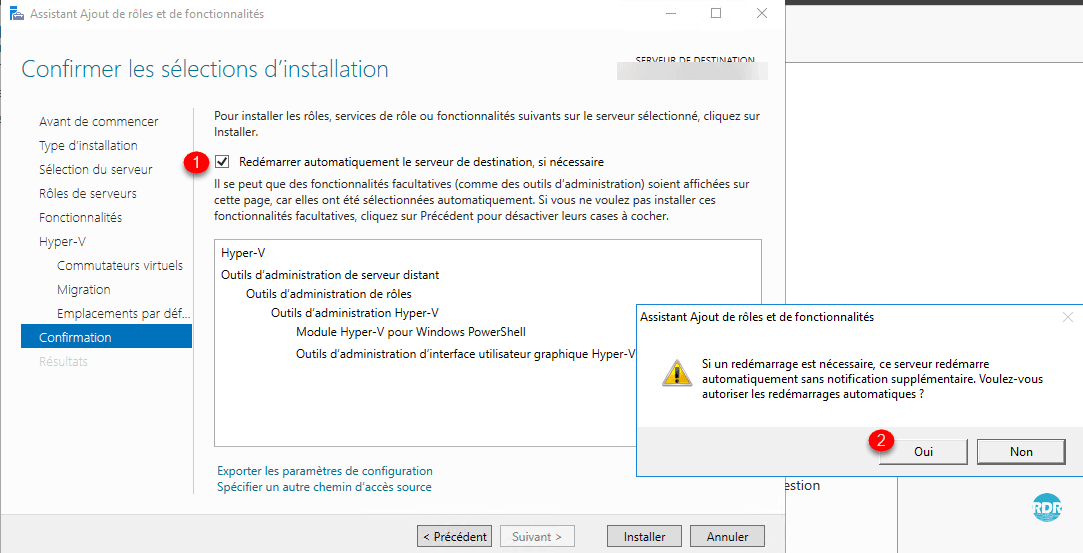
Check the box Automatically restart the destination server, if necessary 1 , click on Yes 2 to confirm.
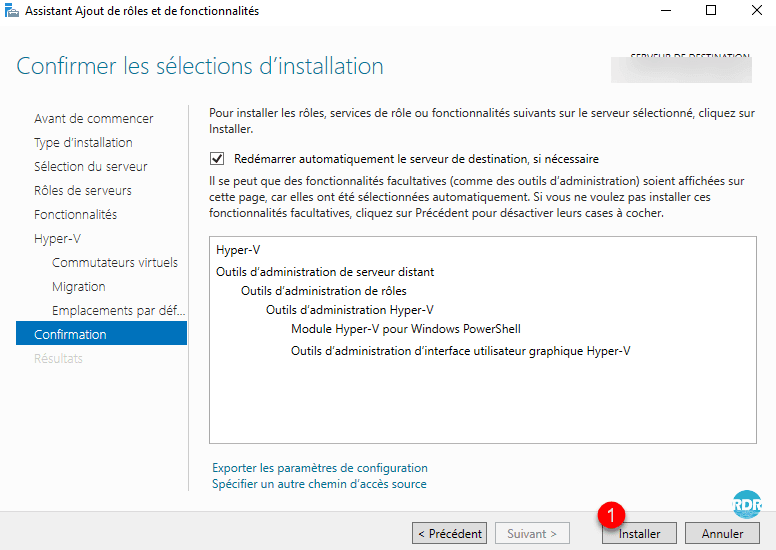
Click on Install 1 .
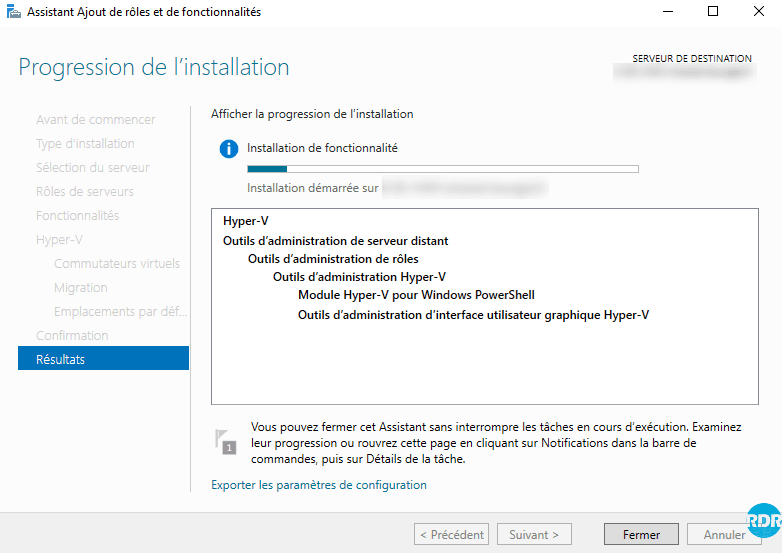
Wait during the installation, the server should restart …
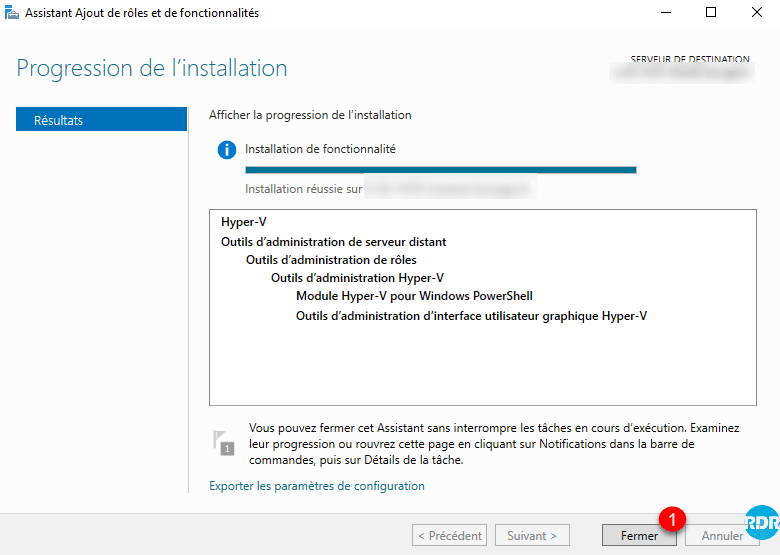
After restarting the server, log in, the installation is complete. Click Close 1 to exit the wizard.
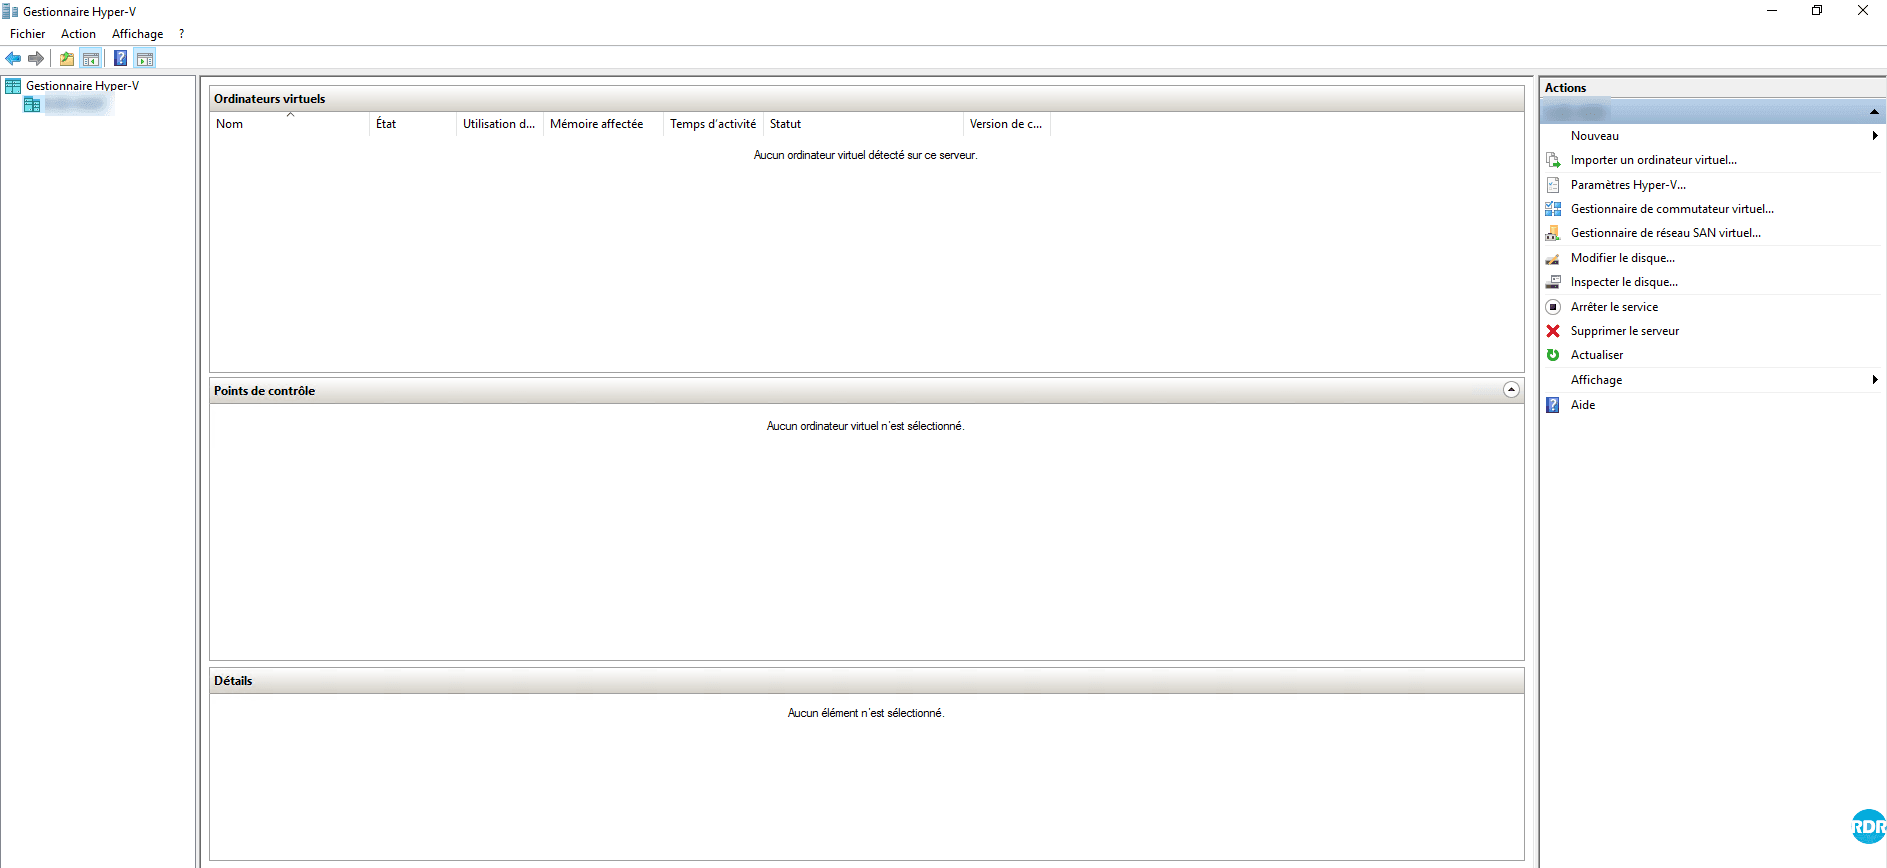
You can now launch the Hyper-V Management Console to set up the hypervisor (virtual switch) and then start adding Virtual Computers.