In this tutorial, I will (re) introduce you to Veeam Backup for Microsoft Office 365 Community Edition (V5).
As its name suggests, it is a backup software dedicated to backing up Microsoft Office 365 tenants (Exchange, OneDrive, SharePoint, etc.).
The Community Edition is a free edition of Veeam Backup Office 365 that allows you to back up 10 users and 1TB of SharePoint data.
The implementation of a backup solution for Microsoft 365 Cloud services allows you to restore items that would be deleted, the provider’s responsibility is to provide access to the service, the customer’s responsibility is to back up the data.
I will take a concrete example, one of the users has his account hacked, the “hacker” deletes the contents of his mailbox, Microsoft will not restore data, this is the customer’s responsibility.
Veeam Backup Office 365 will allow you to back up data and restore it when needed.
Veeam Backup Office 365 can also be used to back up On-Premise (on-premises) environments of Exchange and SharePoint.
Table of Contents
Download Veeam Backup Office 365
The first step is to download Veeam Backup Office 365 directly from the Veeam site. It is necessary to create an account.
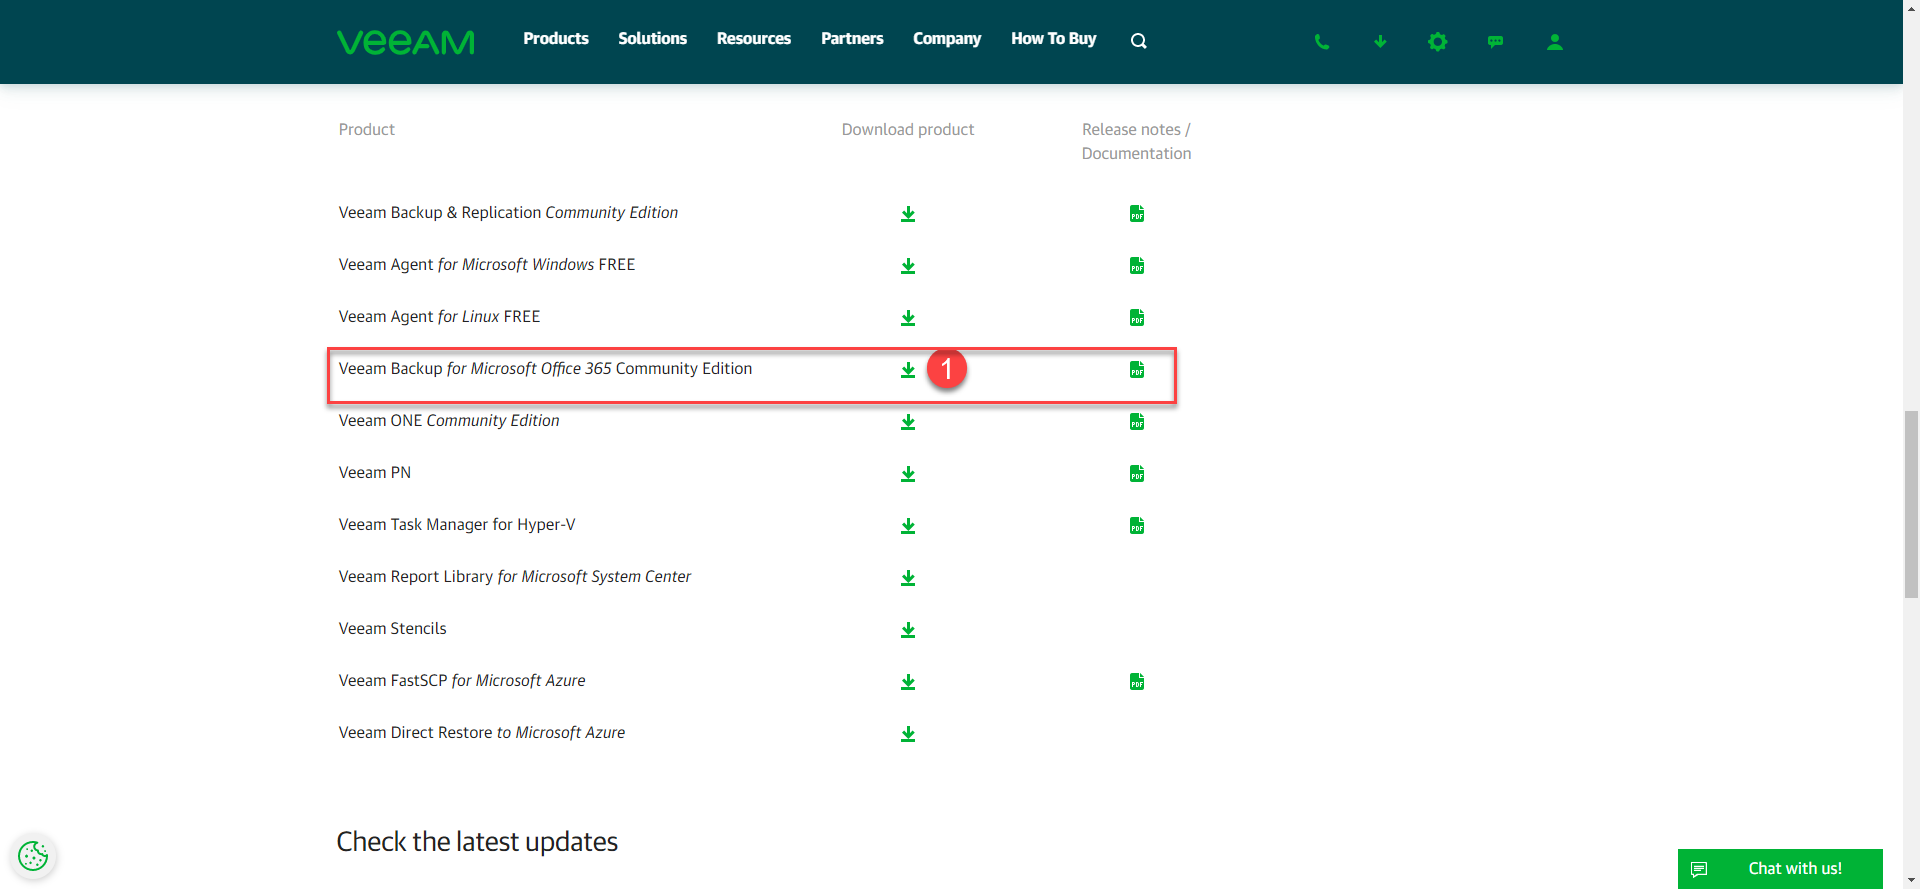
Once logged into the site, go to the download page and search the Free Veeam Backup For Microsoft Office 365 Comminuty Edition Products section.
Click on the download icon 1 to access the product file.
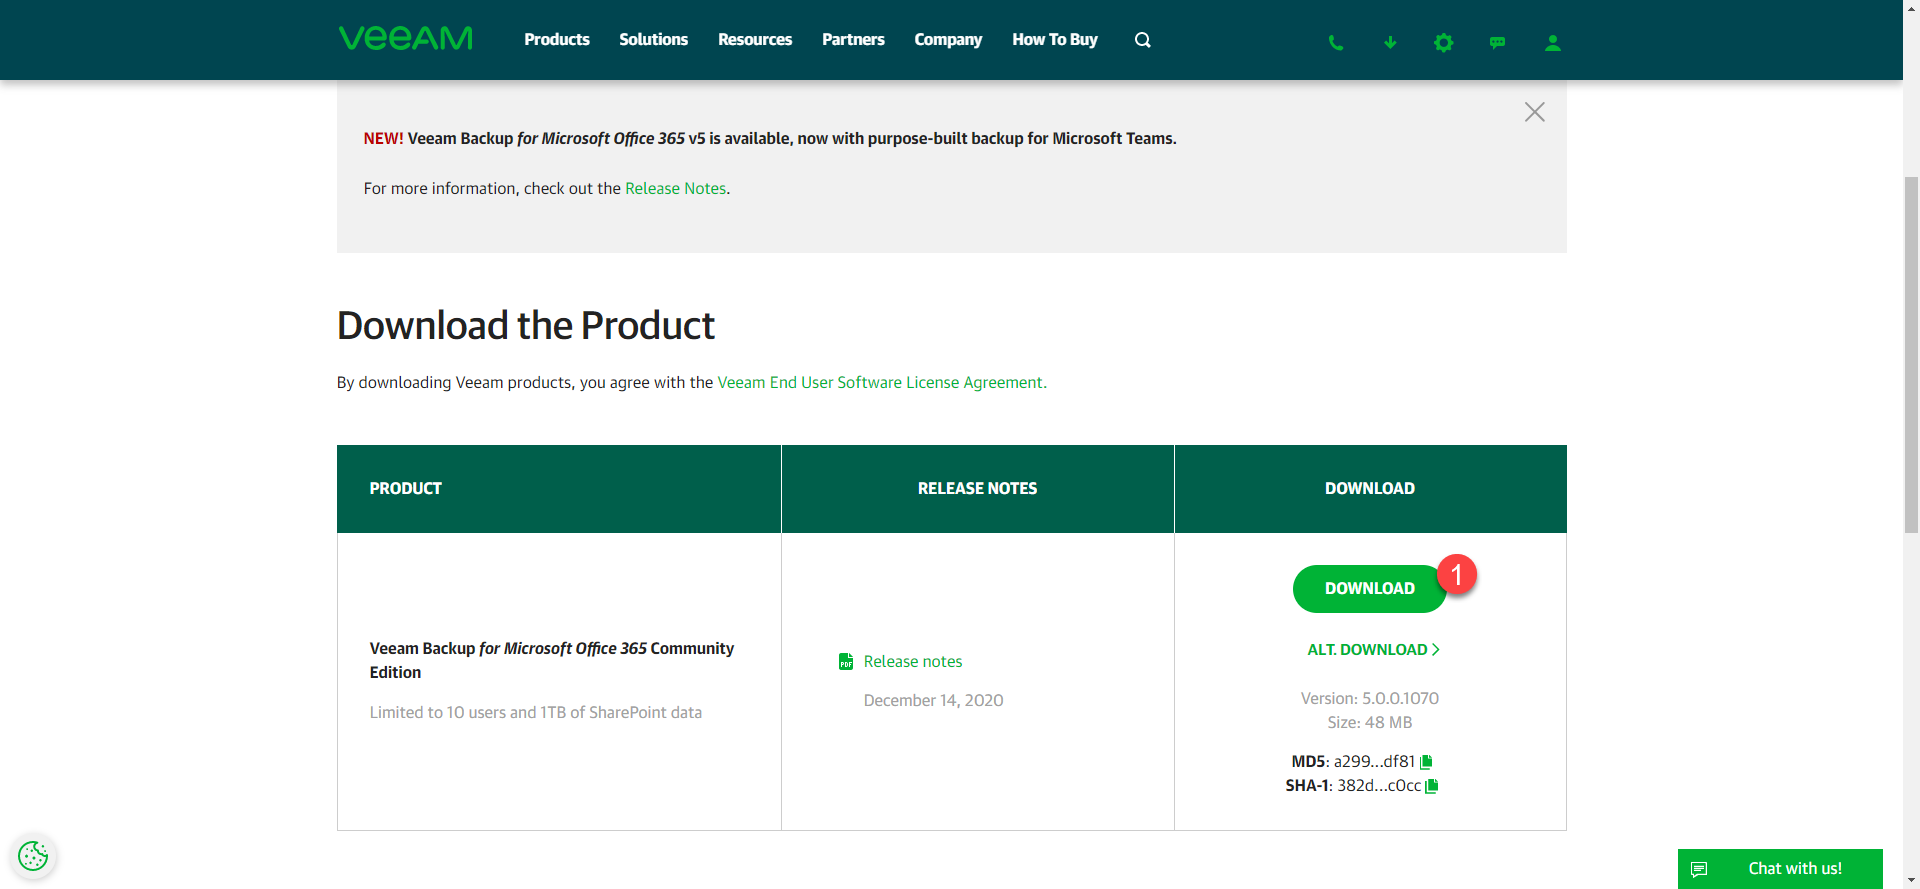
On the product page, click on the Download 1 button.
Install Veeam Backup Office 365
Now that you have downloaded the Veeam Backup Office 365 archive, unzip it and go to the new folder. There are normally 4 executables. There is one that contains backup software and the other 3 are add-ons for exploring backing up and restoring files.
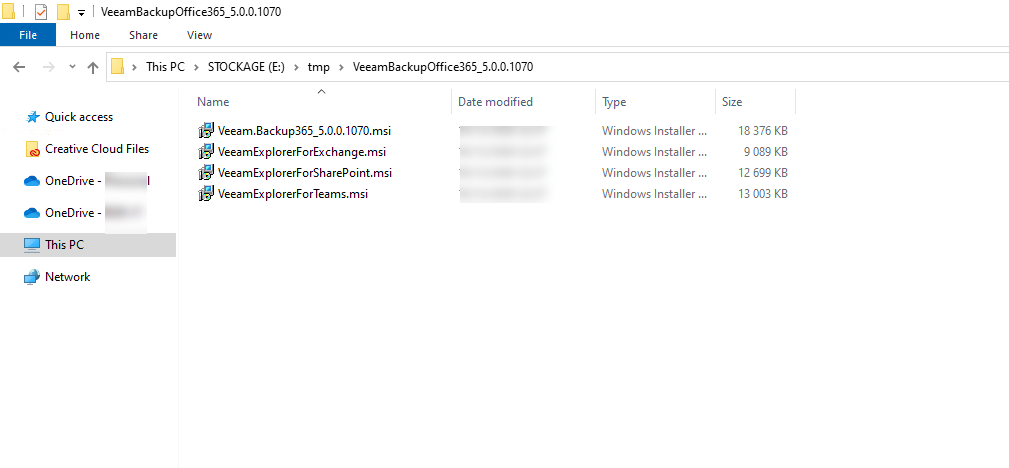
Run the file called Veeam.Backup365_X.X.X.Y.Y.Y.msi.

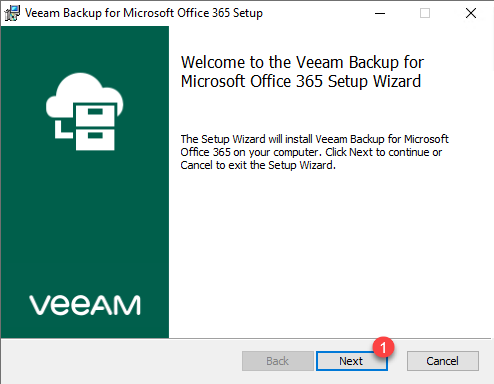
When the wizard starts, click on Next 1.
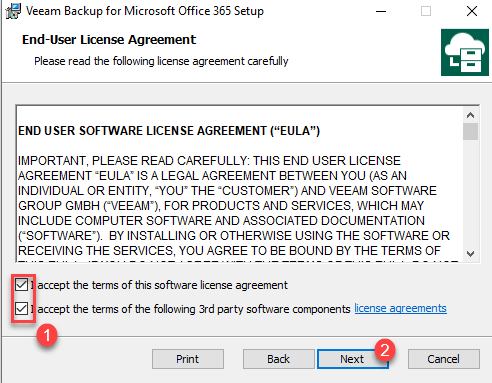
Accept the terms of the different licenses 1 and click on Next 2.
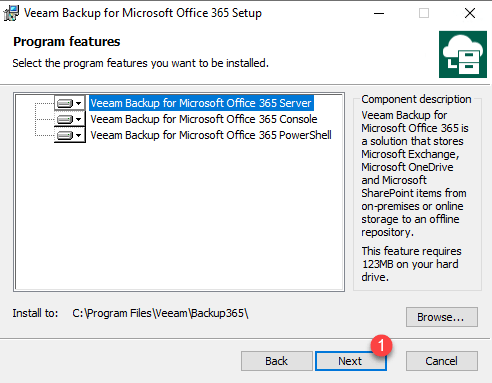
Install all the components, if necessary modify the installation path and click on Next 1.
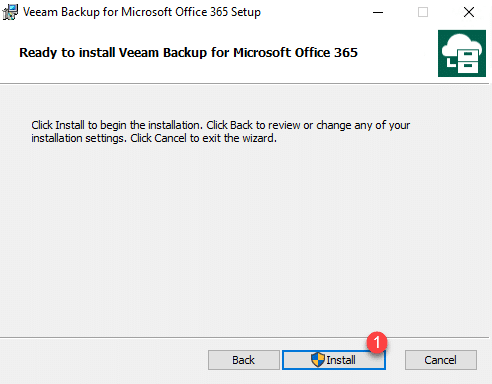
Confirm the installation of Veeam Backup Office 365 by clicking on the Install 1 button.
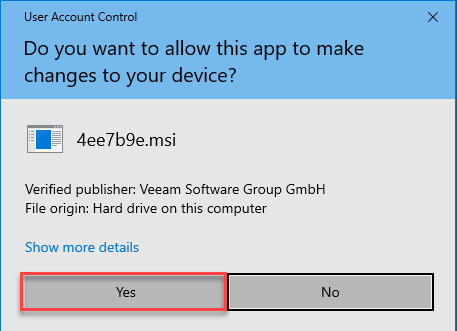
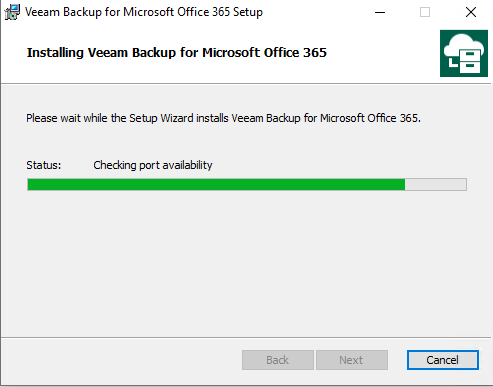
Confirm the execution of the MSI file and wait during the installation …
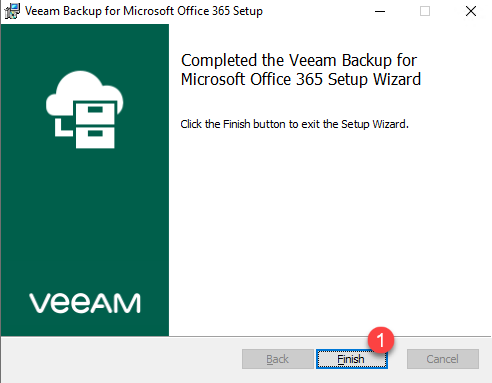
Once the installation is complete, close the wizard by clicking on Finish 1.
Depending on your needs, install the different catering consoles
Configuring Veeam Backup Office 365
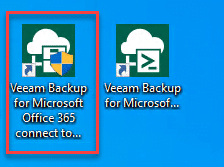
Launch the Veeam Backup for Microsoft Office 365 console which can be found as a shortcut on the desktop.
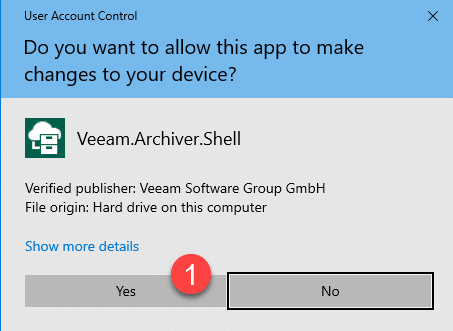
Allow the application to open by clicking on Yes 1.
Comment for Veeam Backup & Replication, click Connect 1 to open the console.
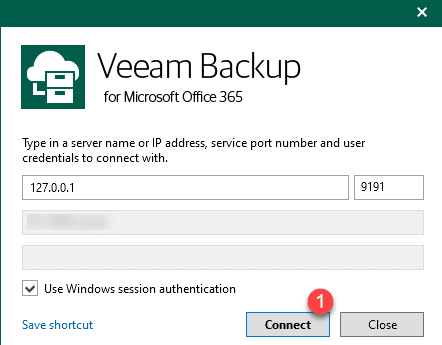
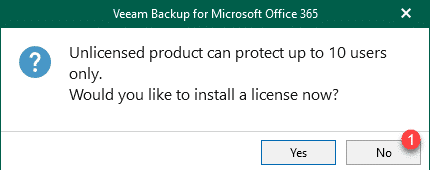
At the first connection, Veeam offers to install a license if you have one, click on No 1 to close the message and use the Community Edition version, free for 10 users.
If you are used to using Veeam Backup & Replication, the Veeam Backup Office 365 console is similar.
Add a tenant / organization / Microsoft Office 365 account
The first step is to configure the organization / account to be saved.
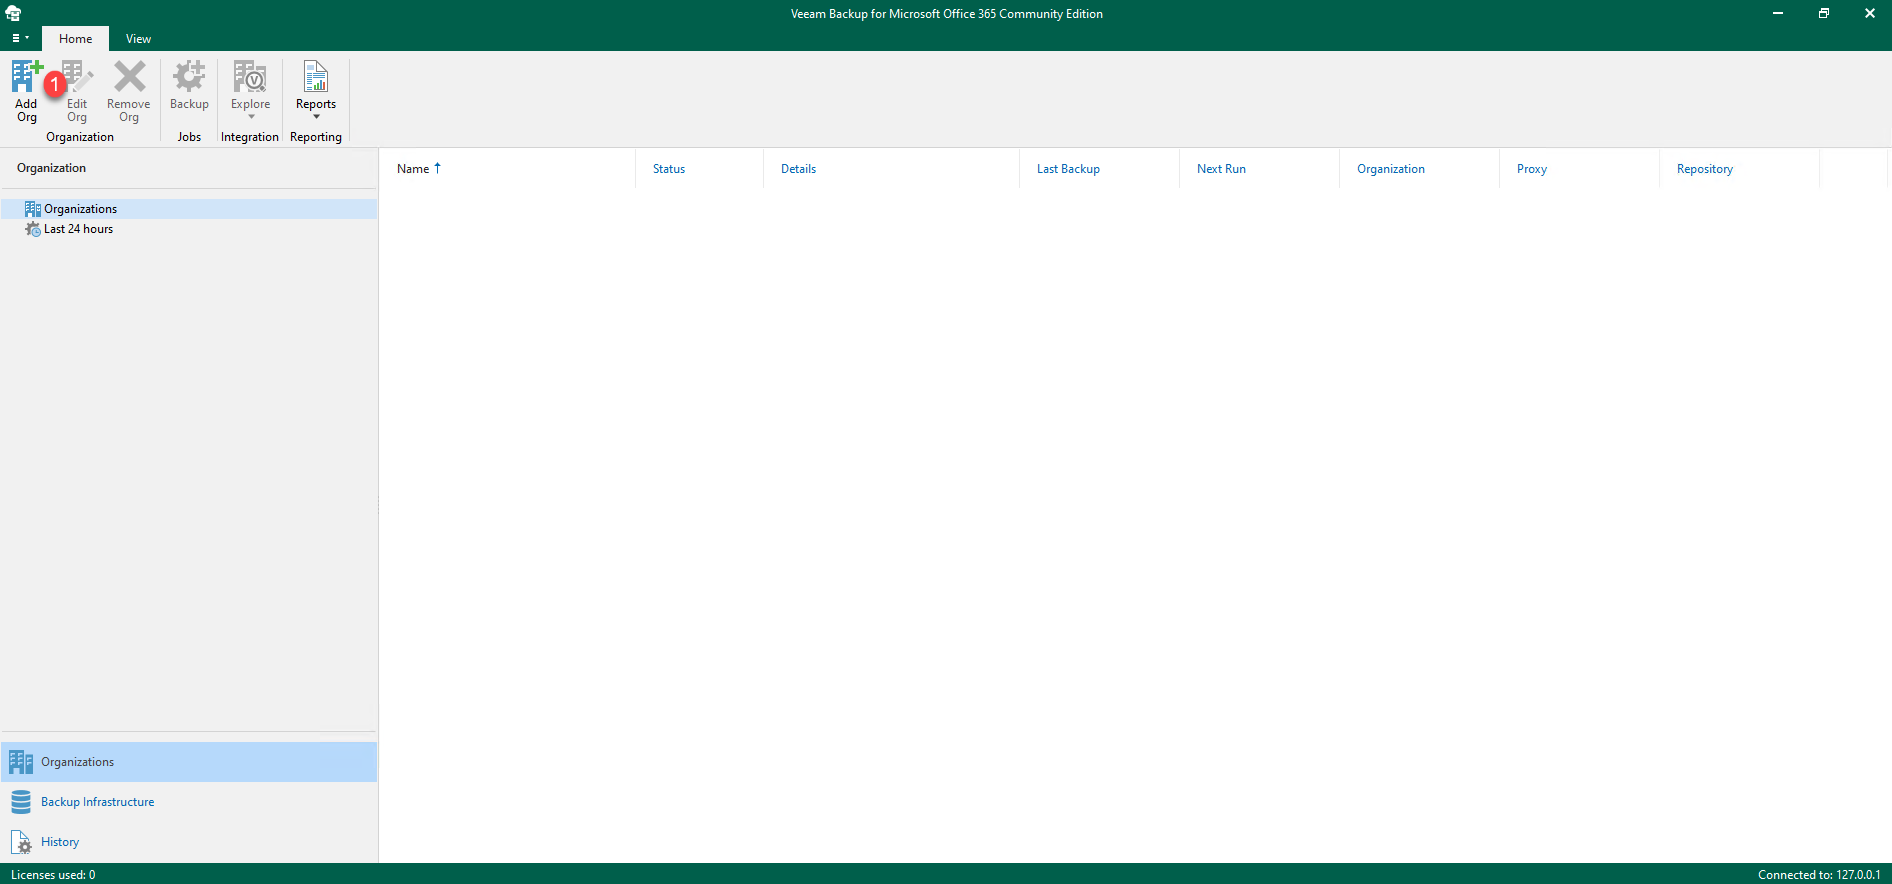
From the console, click on Add Org 1.
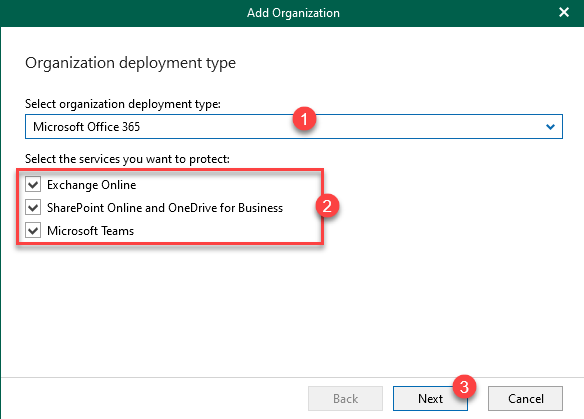
When the wizard is launched, leave an organization of Microsoft Office 365 Type 1, configure the services to be backed up 2 and click Next 3.
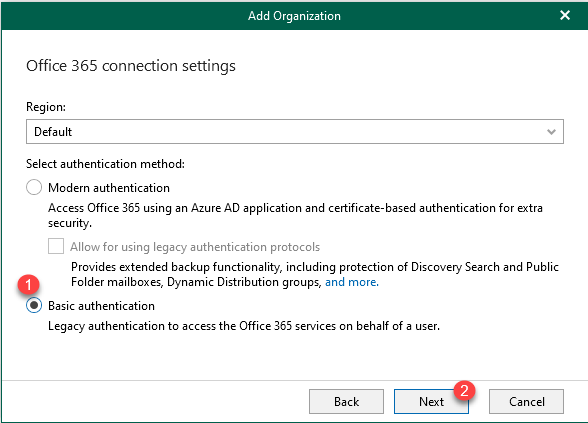
Choose the authentication method with Office 365, in the Basic authentication 1 tutorial and click on Next 2.
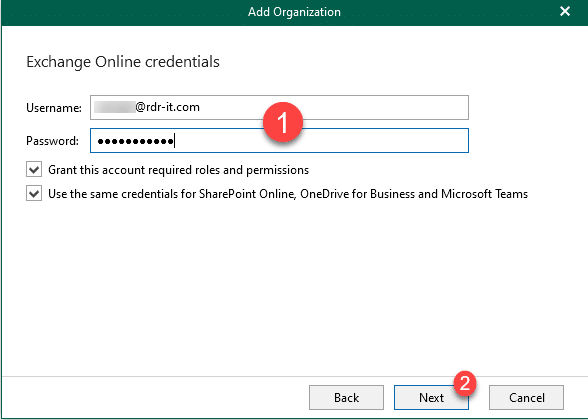
Enter the identifications 1 of an administrator account of the tenant and click on the Next 2 button.
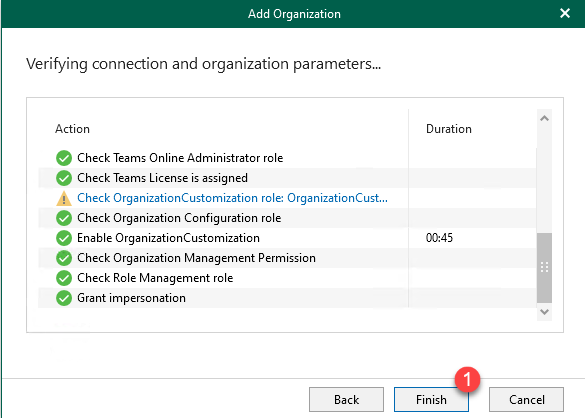
Wait while logging into the MS 365 account.

Once the tests are validated, click on Finish 1 to close the wizard and add the account.
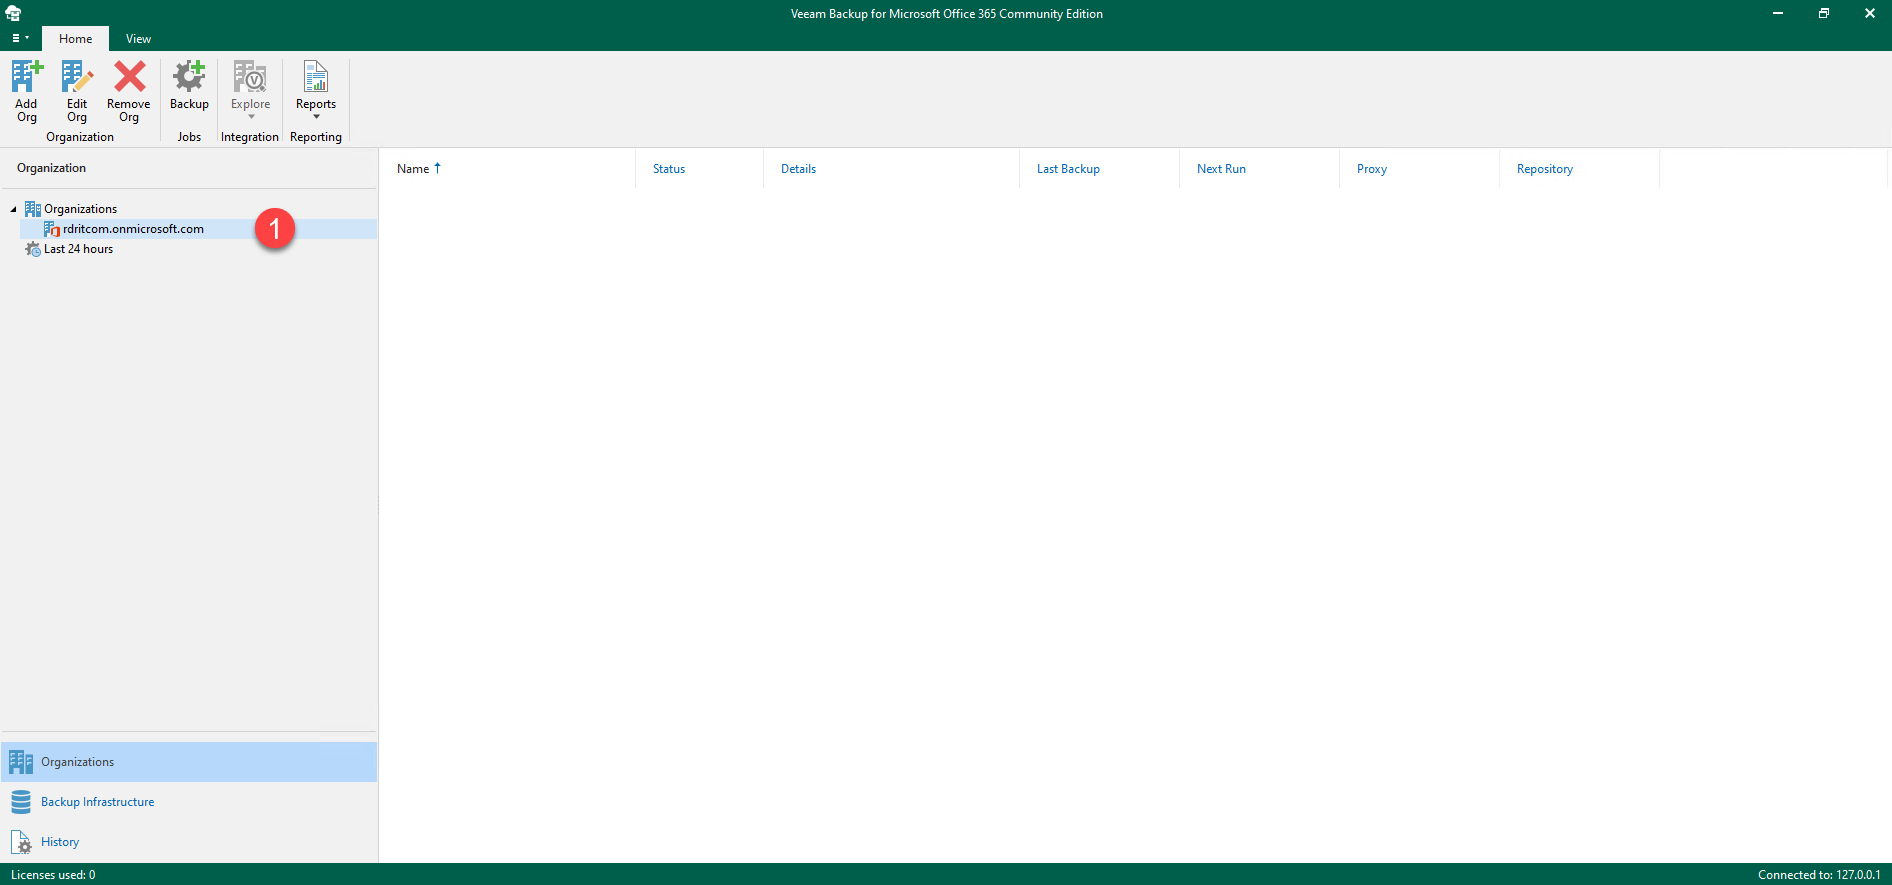
In the console, we can see that the account is added 1 in the Organizations part.
Configure the Repository
The configuration of the repository is a “critical” element of Microsoft Office 365 backup, because it will determine the type of backup (Item-level / snapshot) and the data retention period.
I explain the difference between the two at the time of configuration.
On the console, click on Backup Infrastructure 1.

Go to Backup Repositories 1.

In the central area, right click and click on Add Backup repository 1 (or go through the banner).

Name the repository 1 and click on the Next 1 button.

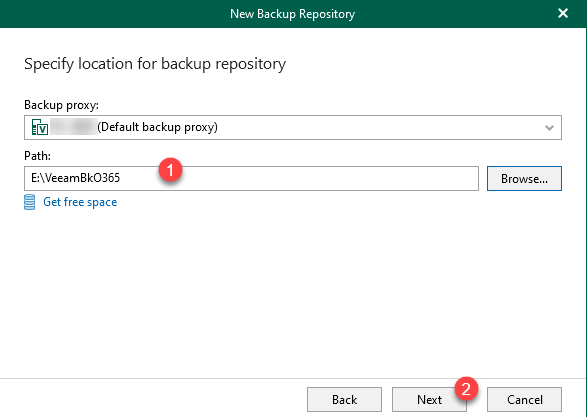
Indicate the location of the repository 1 and click on Next 2.
Pass the Object storage backup repository configuration by clicking Next 1.

This option allows you to save on Cloud storage type Amazon S3 / Azure Blob Storage
Configure the retention period (days / years / always) 1 and the type of backup 2 then click on Finish 3 to create the repository.

The retention time is how long the file will remain in the backup since it was last modified.
Example: I configure a 2-year retention, I have a Word file on my OneDrive whose last modification date is 2 years 1 day, it will no longer be saved, this parameter is very important.The repository offers two types of retention:
– Item-level retention: Backs up data only based on retention (recommended).
– Snapshot-Based retention: create restore points on each backup (day).
More information on: Retention Policy – Veeam Backup for Microsoft Office 365 Guide
Choosing one of the modes does not prevent you from browsing the backup on a specific date.
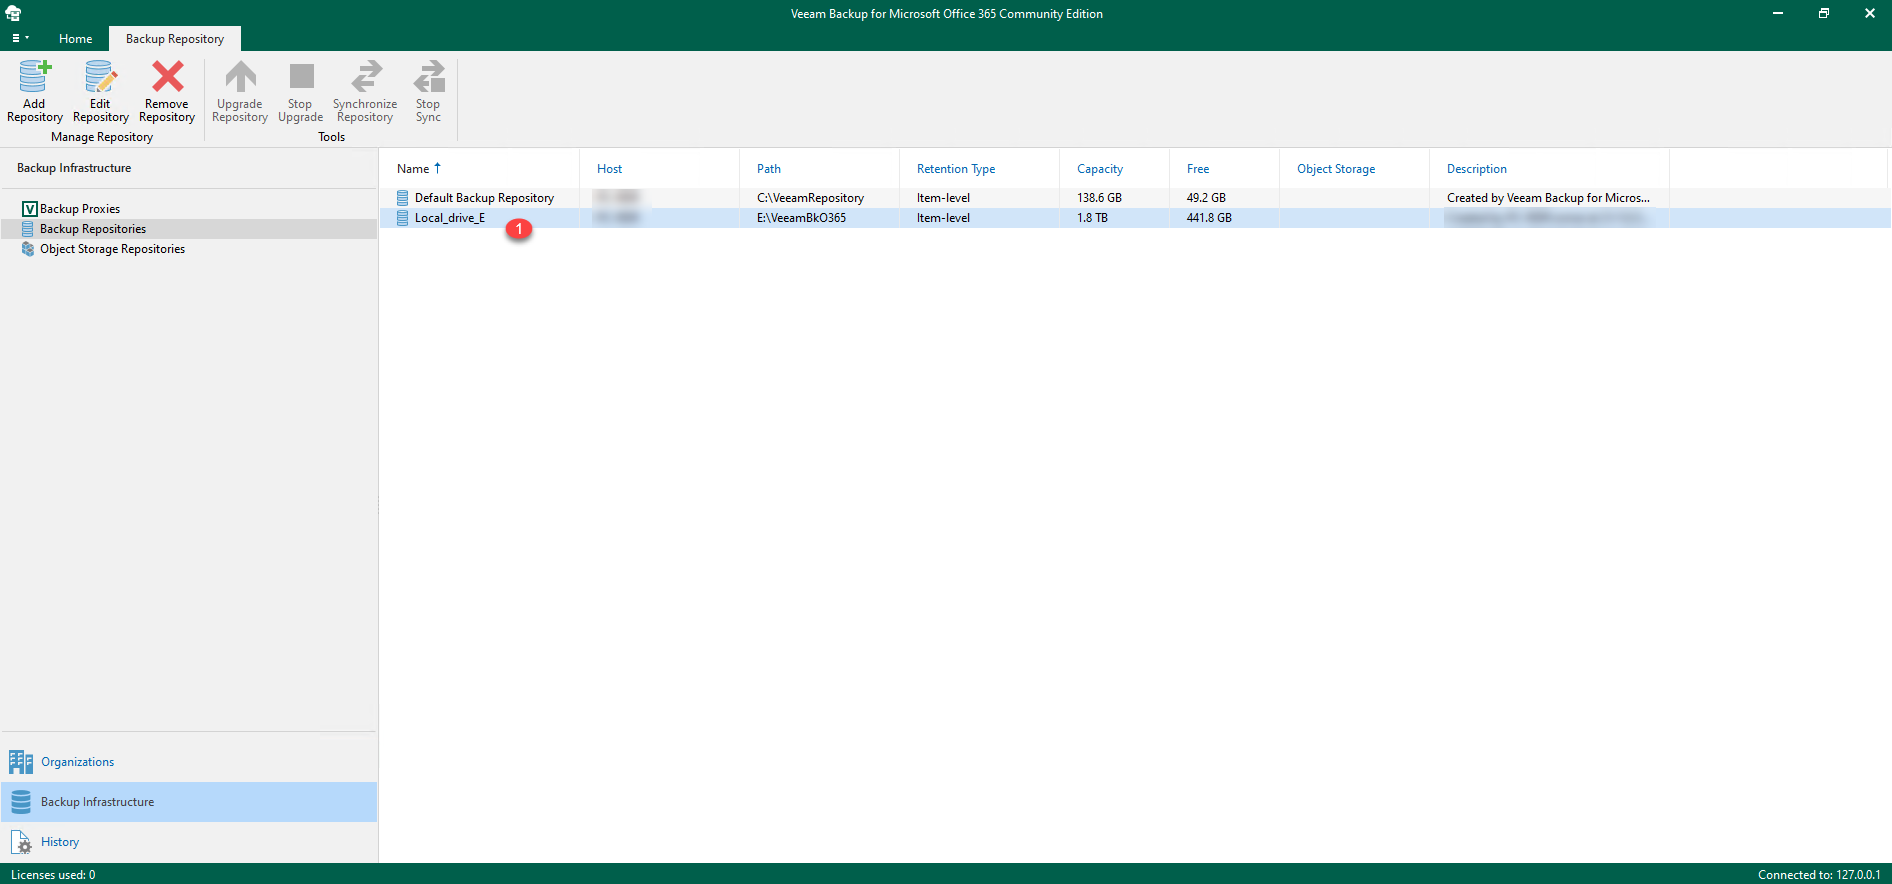
The repository is added 1.
Configure backup
From the console, right-click on the Office 365 account and click on Add to backup job 1.

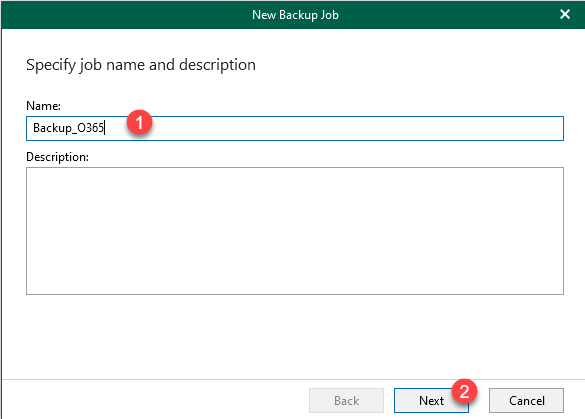
Name the job 1 then click on the Next 2 button.
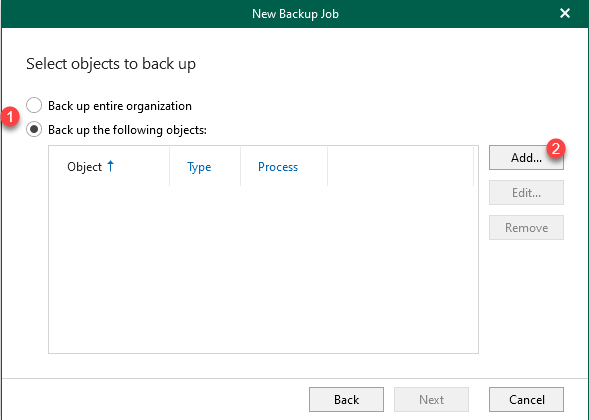
We must now configure the elements to back up, for the tutorial, we will choose the accounts to back up, choose Back up the following objects 1 and click on Add 2.
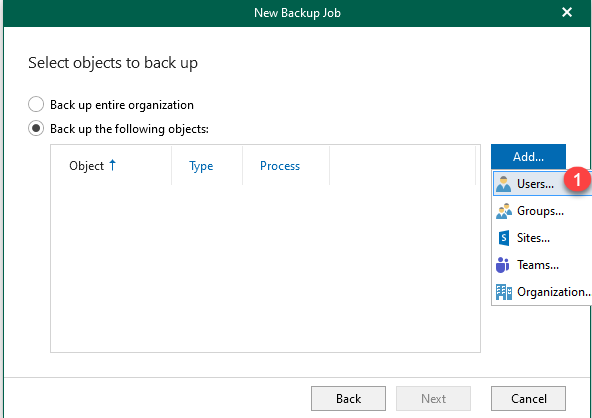
Choose the object to save 1 (Users).
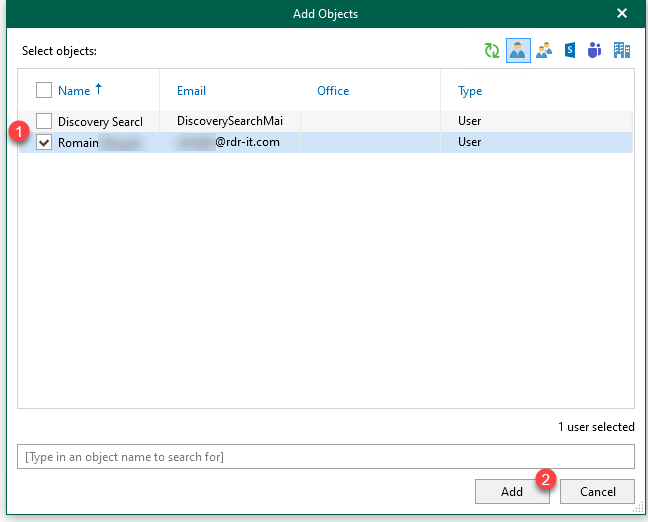
Select the object (s) by checking the boxes 1 and click on Add 2.
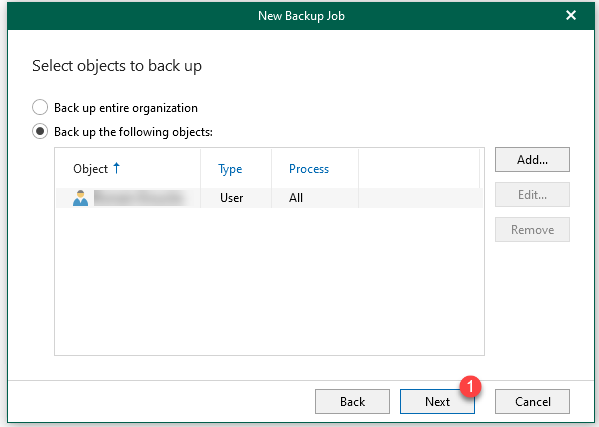
Once the objects to be saved have been selected, click on Next 1.
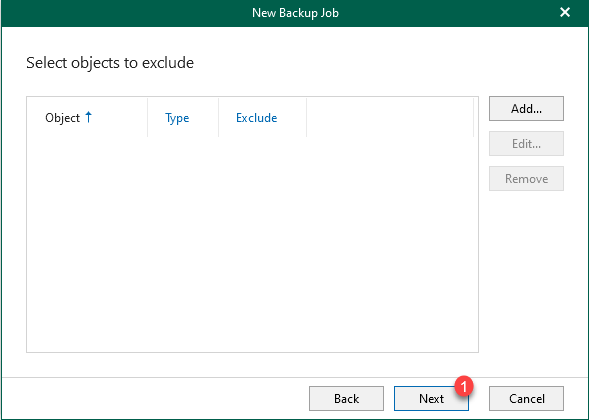
It is possible to exclude elements from the backup, it works the same way as to add an element, then click on Next 1.
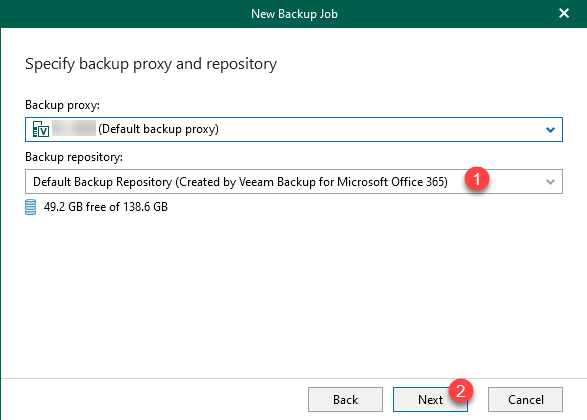
Select the repository 1 and click on Next 2.
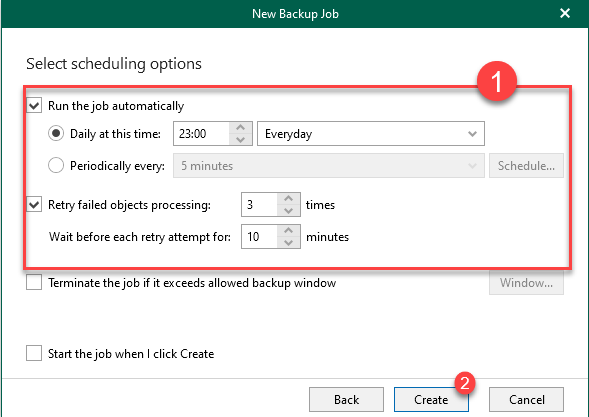
Then configure the backup schedule 1 and click on Create 2.
The backup job is added 1.
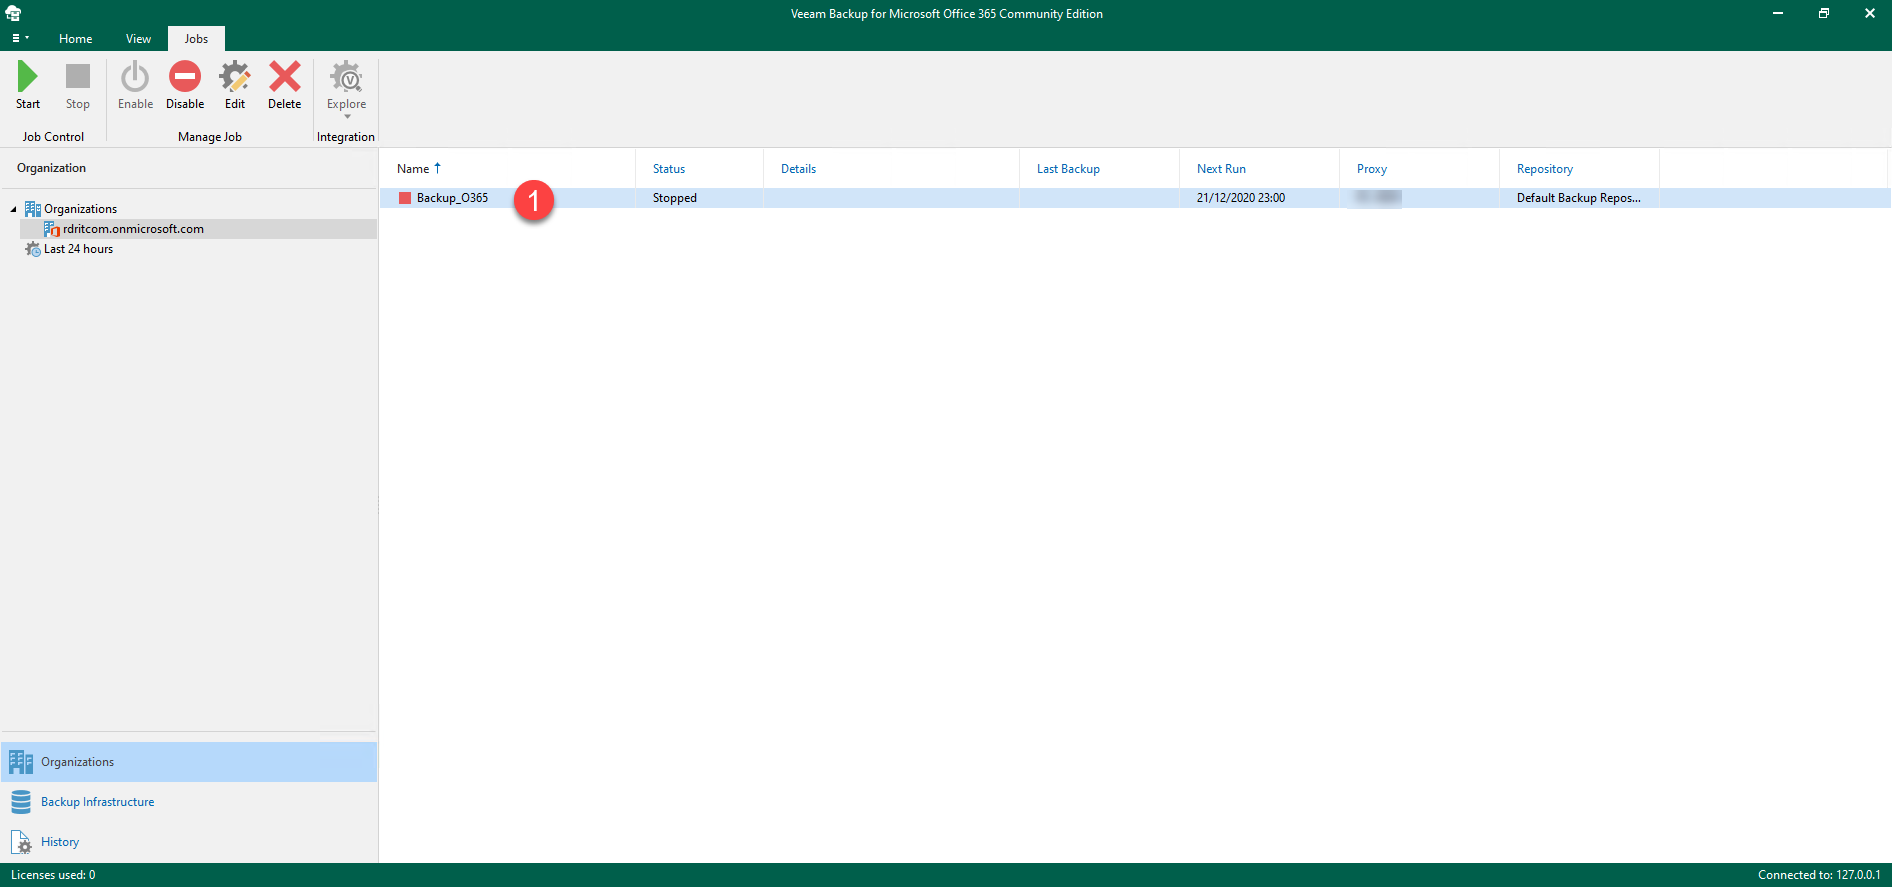
You just have to wait for the backup to be triggered according to the schedule …
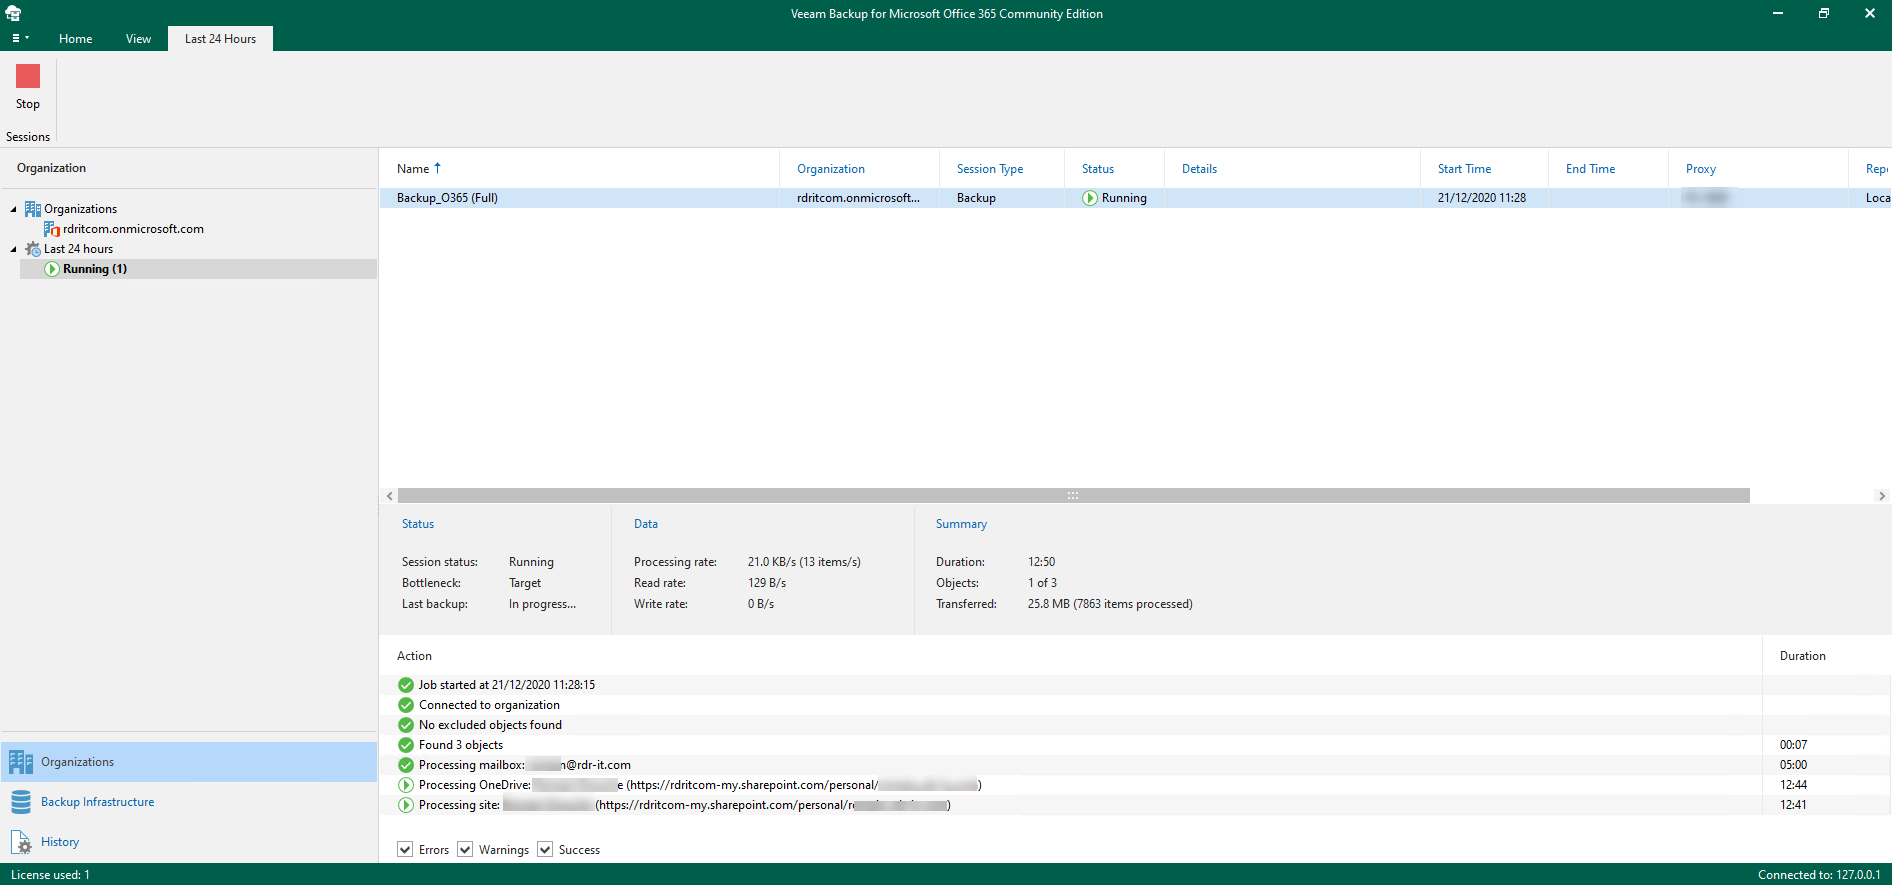
It is possible to force the start of the backup, right click on the job -> Start
The first backup can take a long time depending on the volume to be backed up.
Restoration
Now that we have a backup, we’re going to see how to restore an email and a OneDrive file.
Exchange restore
Right-click on the Office 365 organization and click on Explore lastest Exchange state of 1.

Wait while the Explorer Exchange opens and the backup is changed …

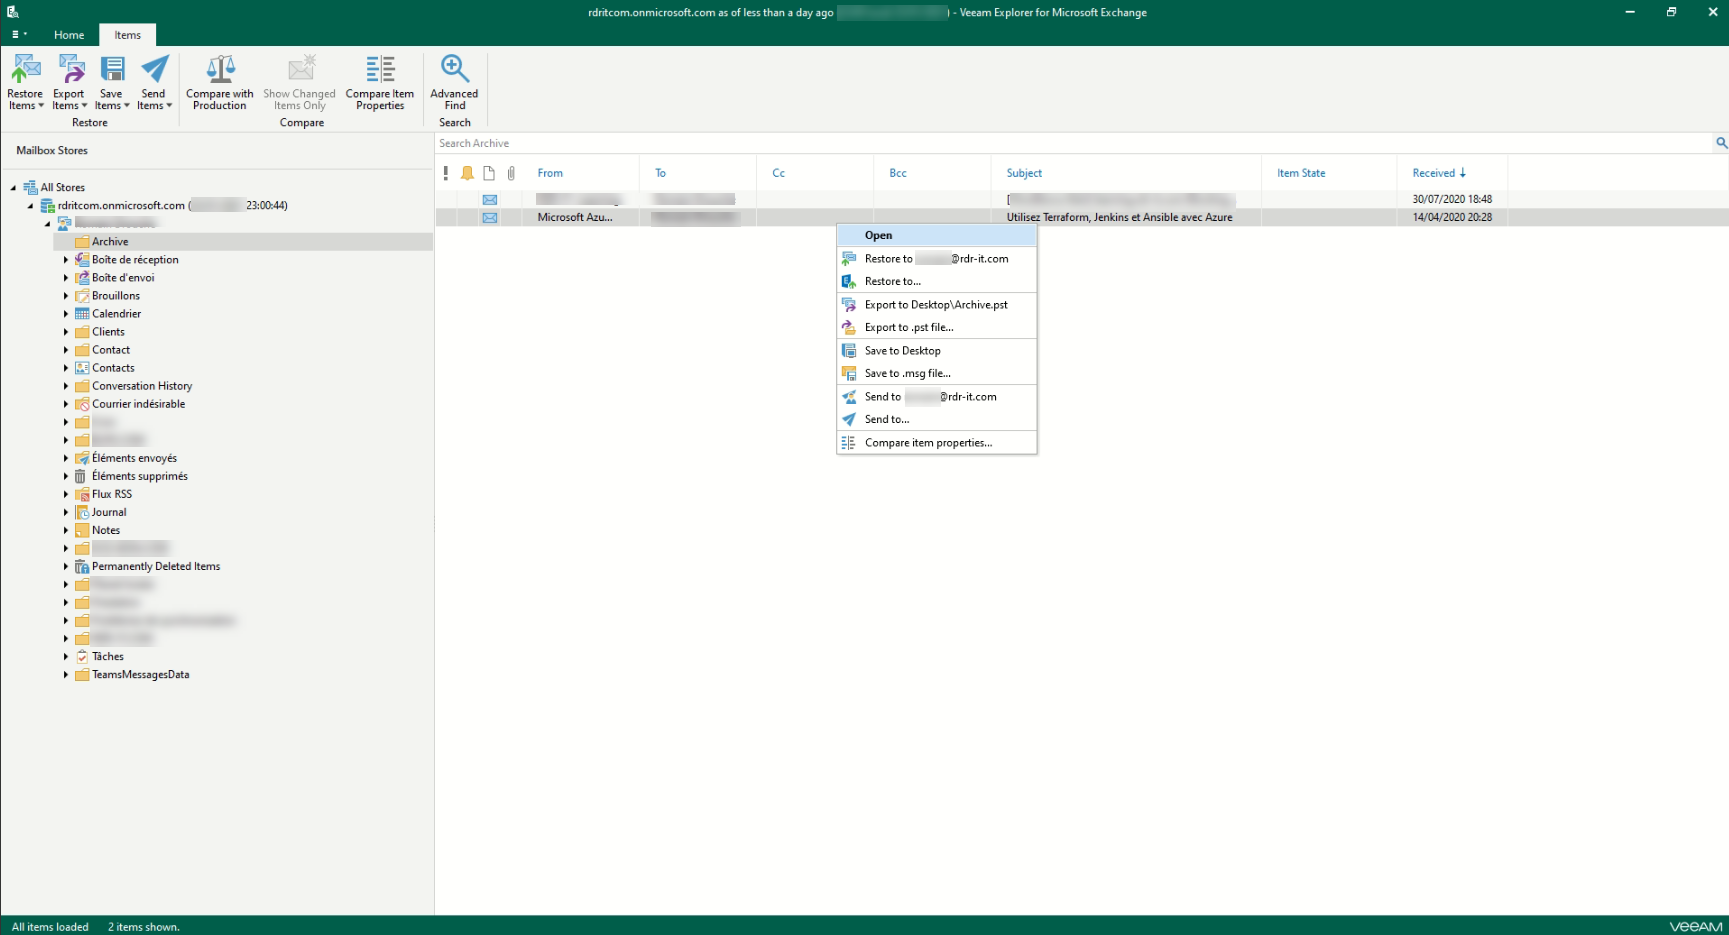
When the backup is loaded, navigate in it and find the item to restore. With the message found, right click on it and choose a restore method.
OneDrive restore
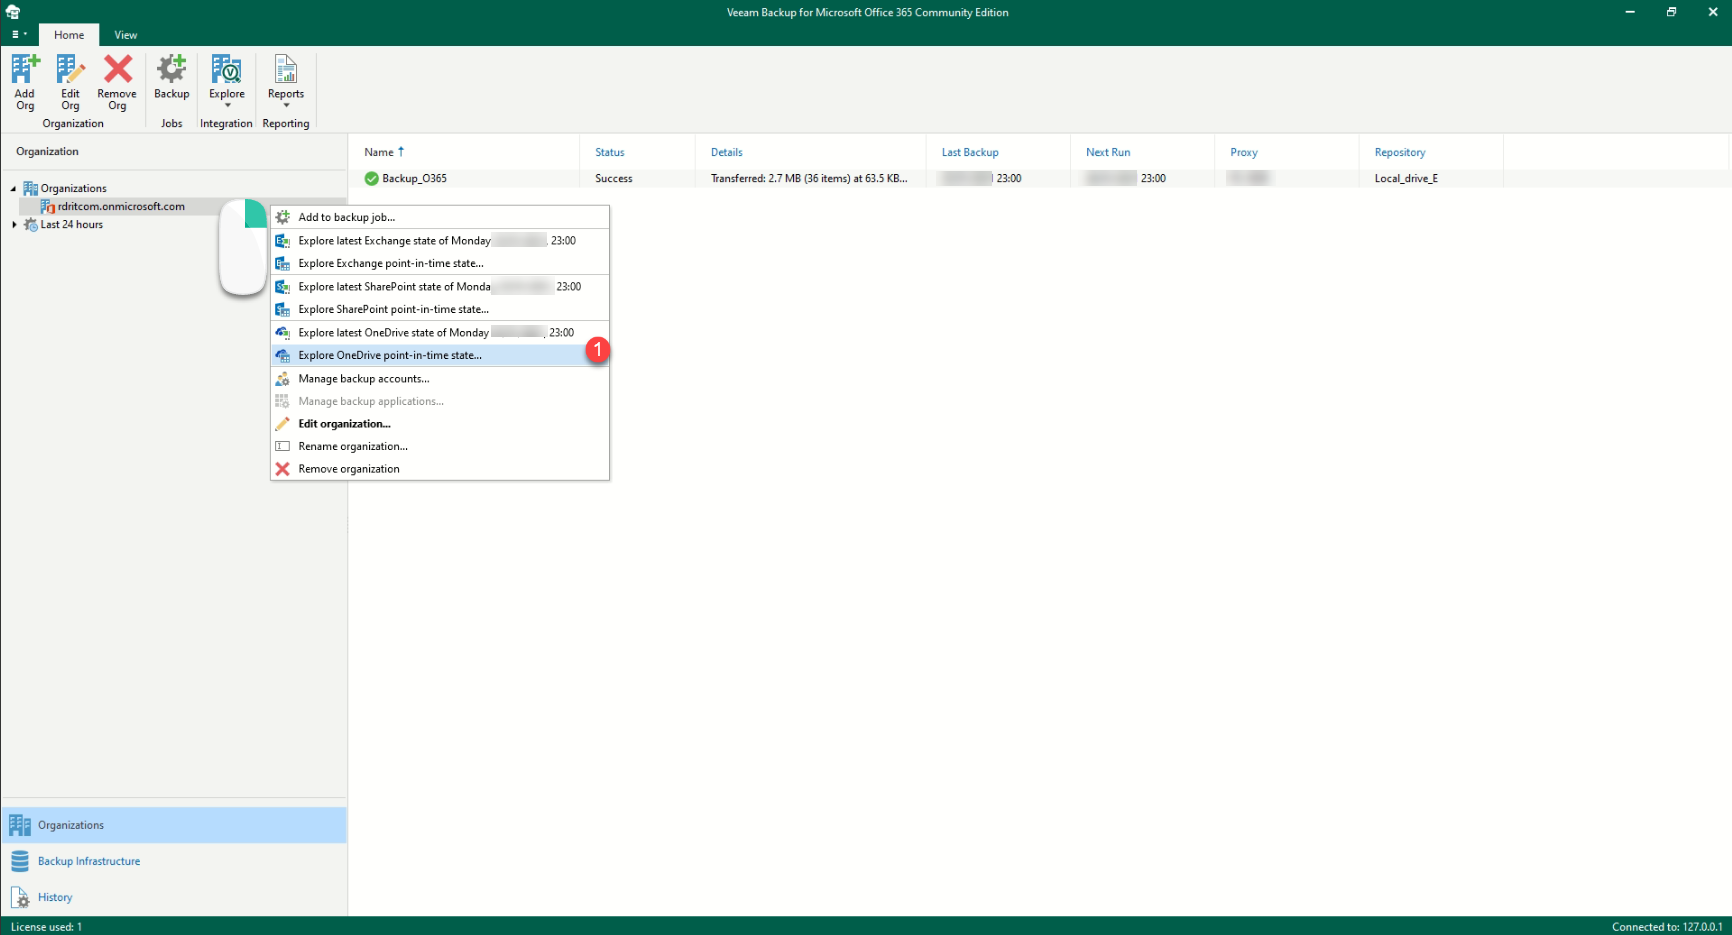
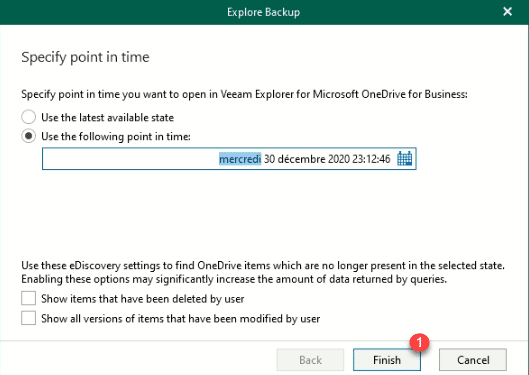
As for Exchange, right-click on the organization and click on Explore OneDrive point-in-time state 1.
For OneDrive, I will show you how to choose a date for the restore
Select Use the following point in time 1, click on the calendar 2 and select a date.
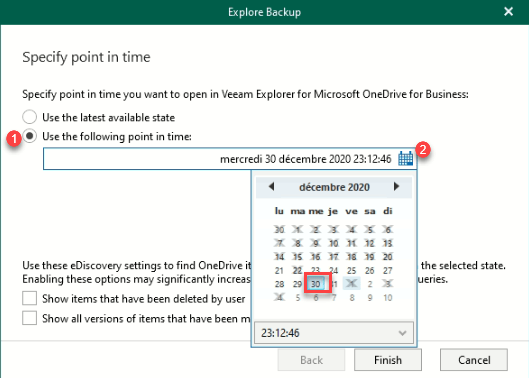
With the selected date, click on the Finish 1 button to load the save.
Once the backup is loaded, navigate to OneDrive to find the file and right click on it to access the different restore options.
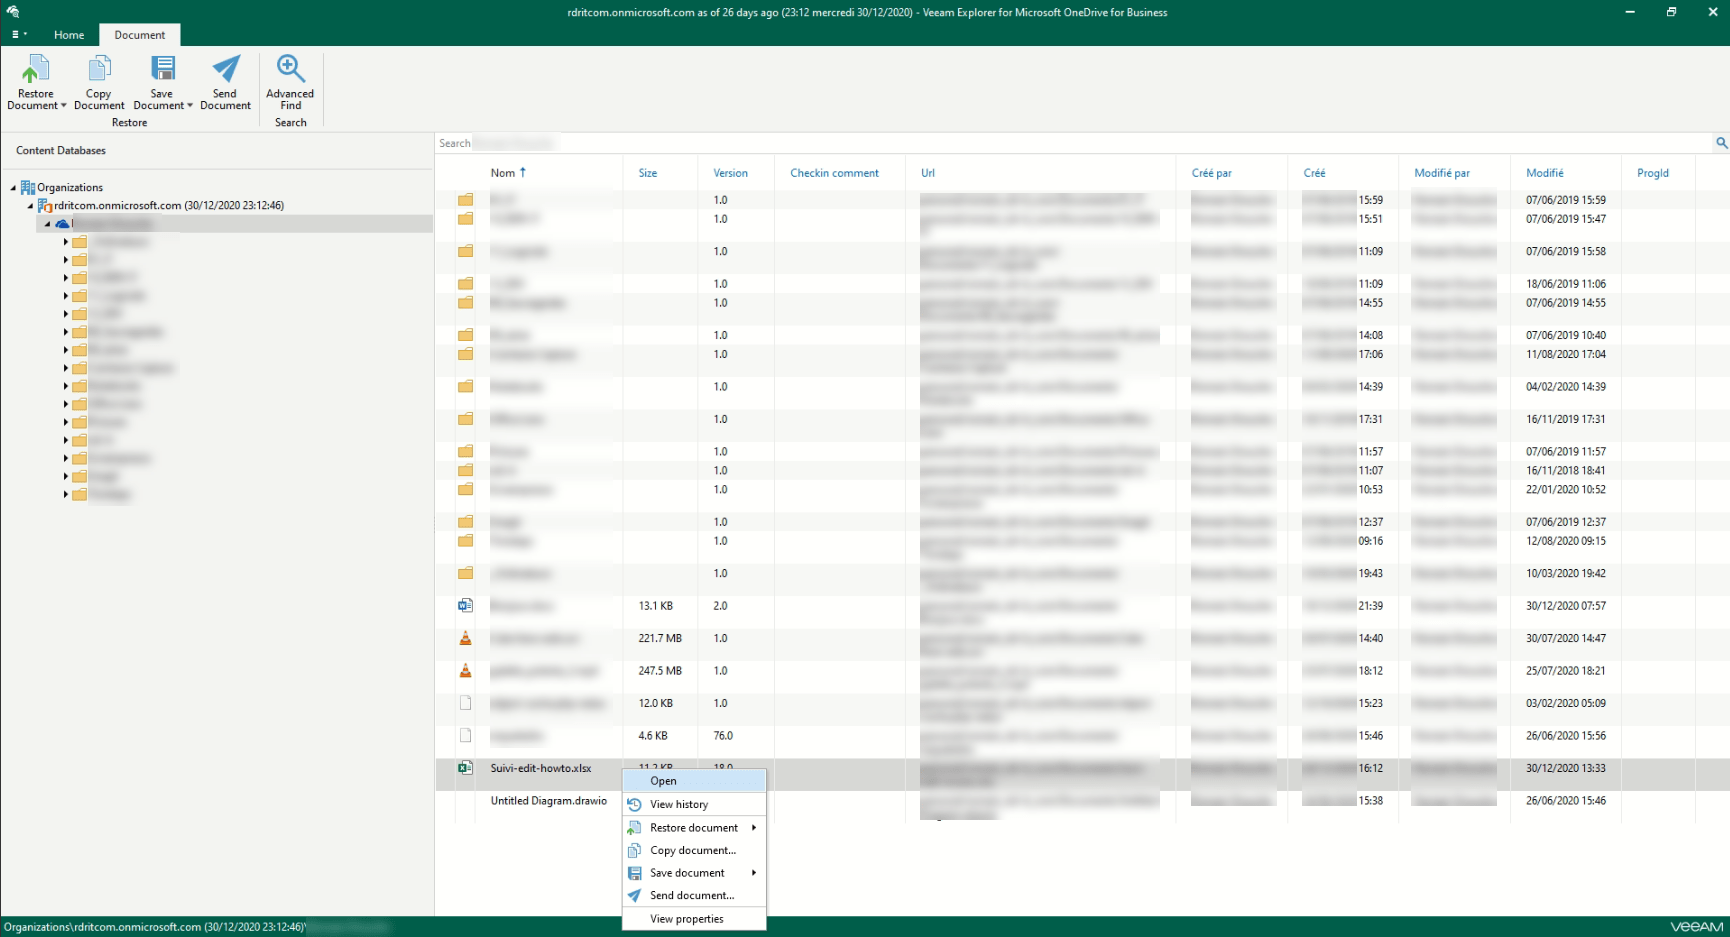
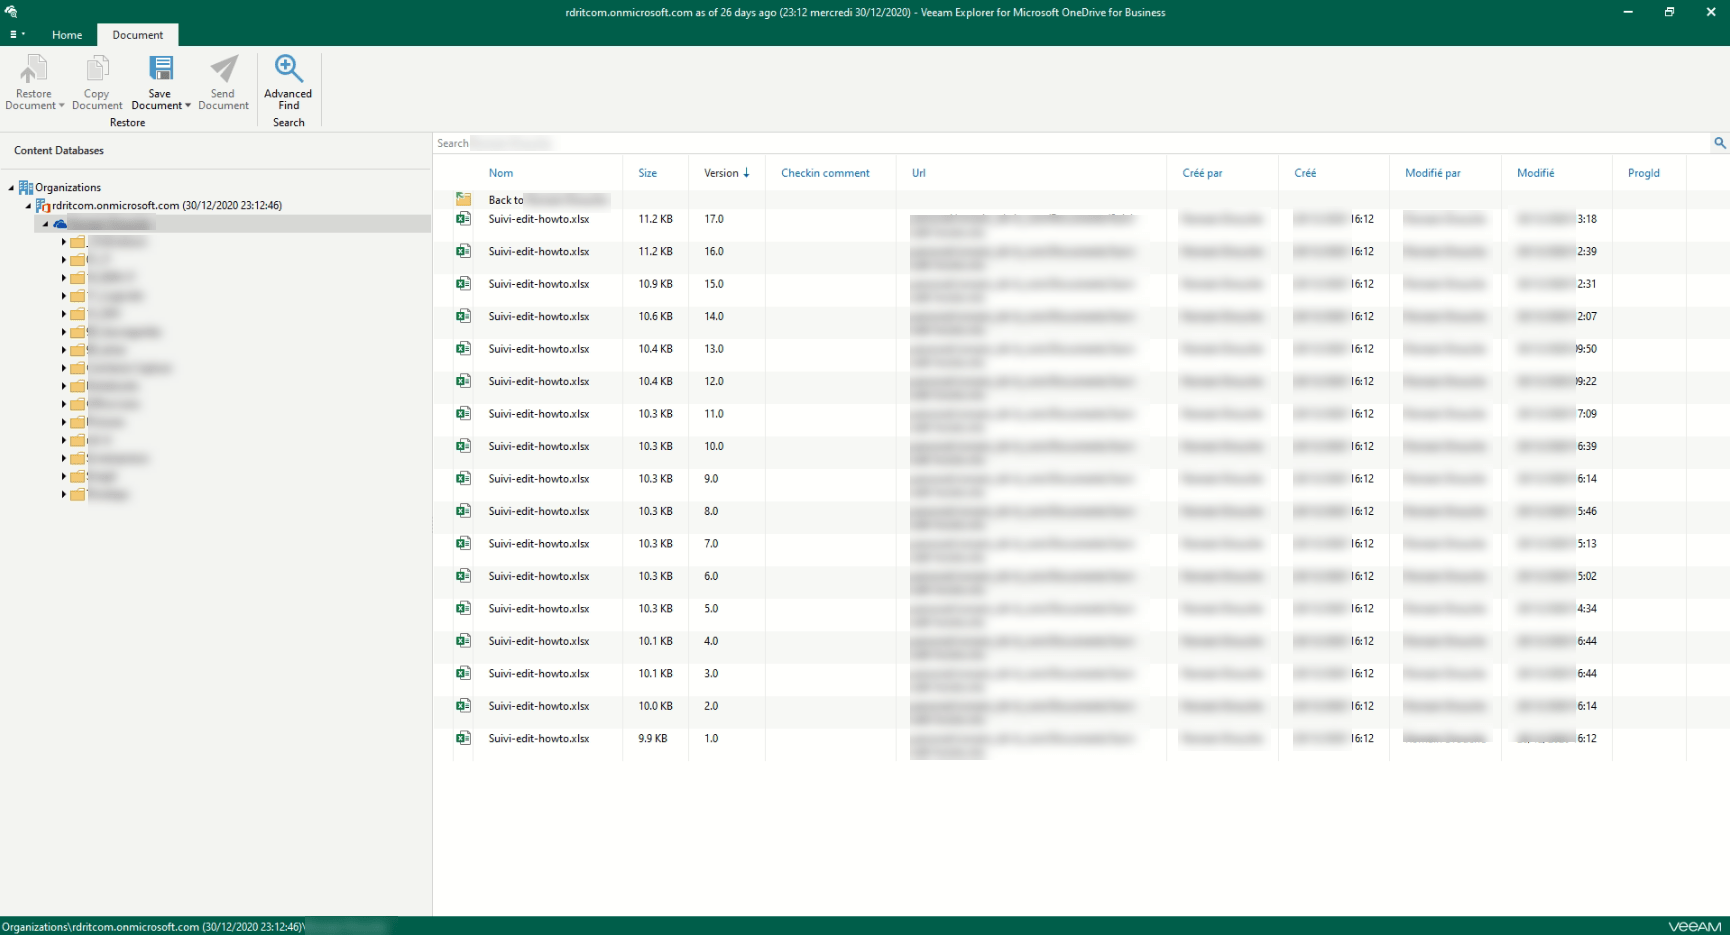
It is also possible to access the different available versions of the file, which can allow you to find the “right” file without having to reload a backup.
Conclusion
Hope this tutorial helps you set up a backup solution for Microsoft 365 and put you to sleep soundly.
Personally, in an organization with several hundred mailboxes, I don’t think it is necessary to save all the mailboxes but to concentrate on critical accounts like management.
