Introduction
This tutorial follows the following article: Deploy a Windows 2012R2/2016/2019 RDS farm
In this tutorial, we will see how to add a second collection to an RDS deployment.
Adding several collections to the same deployment allows you to share the broker, gateway, license server and web access.
Add a collection to an RDS deployment
In the following example, the collection is made up of a single server.
If users connect through the broker, a second RDP file will need to be created, indicating the name of the collection in it.
In the case where the connection is established by a DNS name, a DNS record must be provided for the RR.
Add the server in the console: Server Manager
Add the server in the console: Server Manager
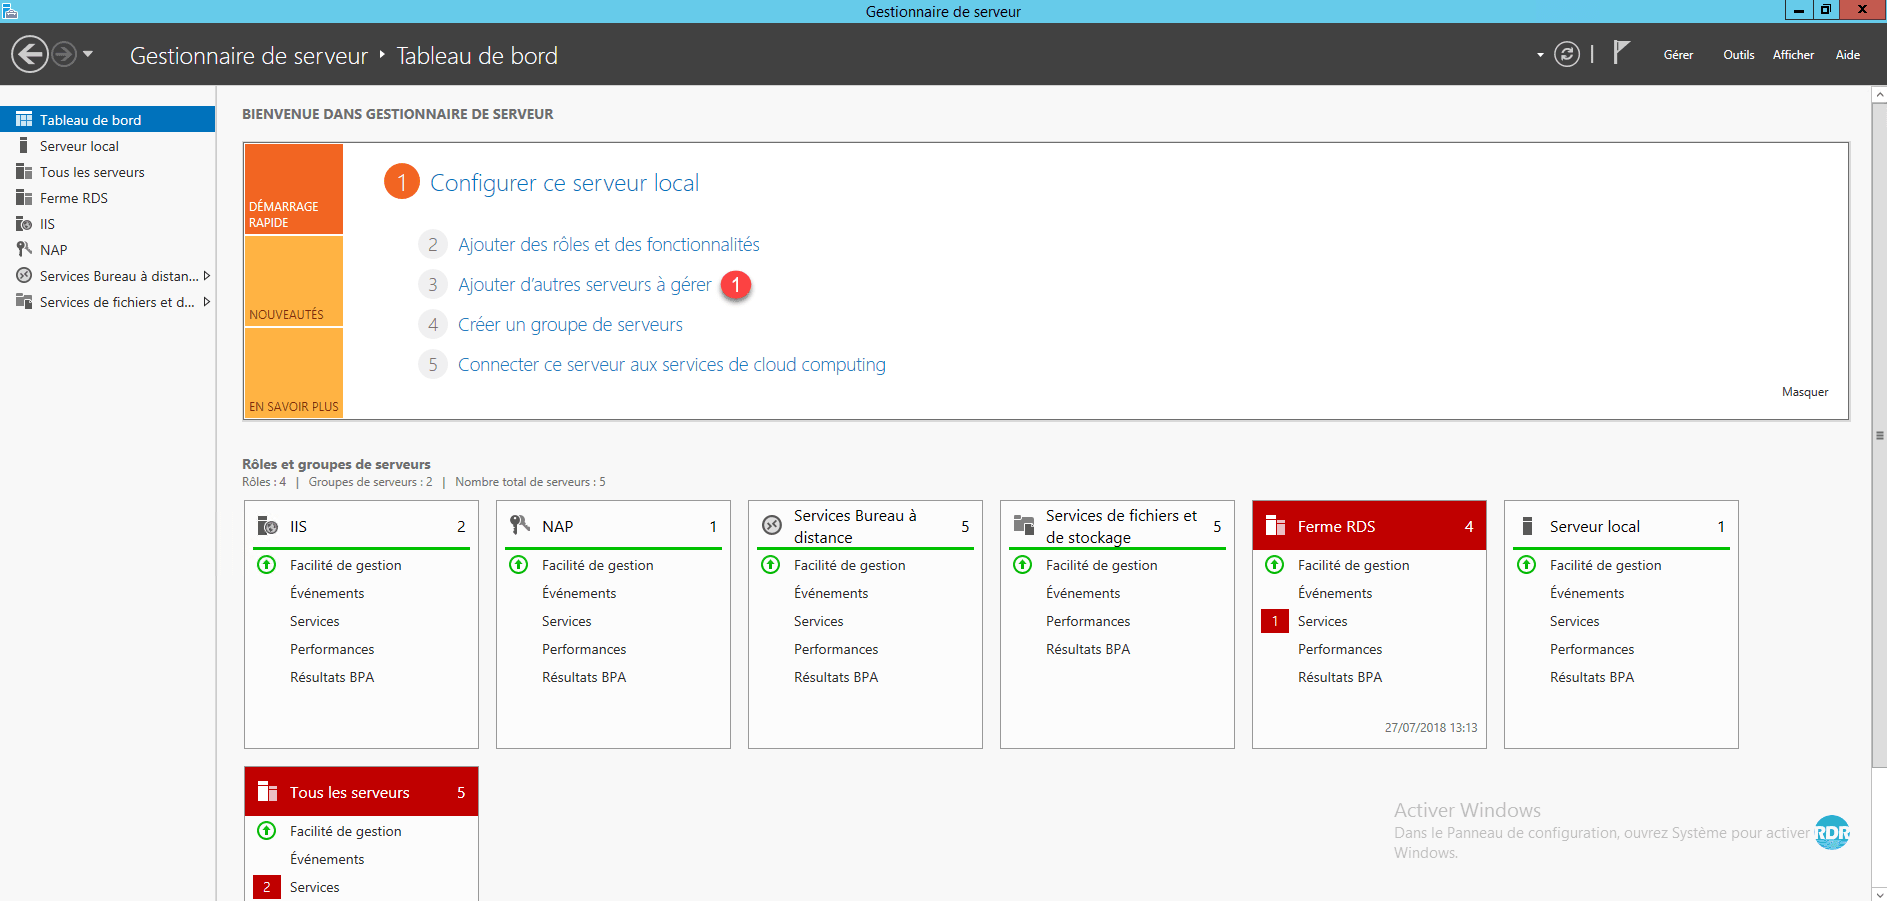
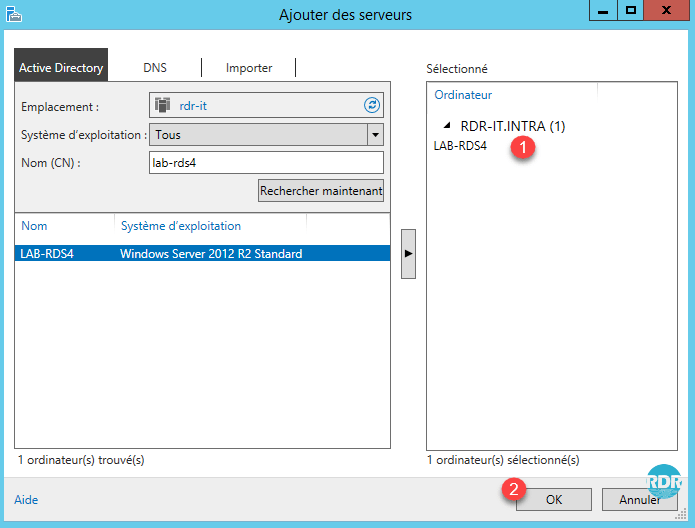
Select the server to add 1 and click OK 2 .
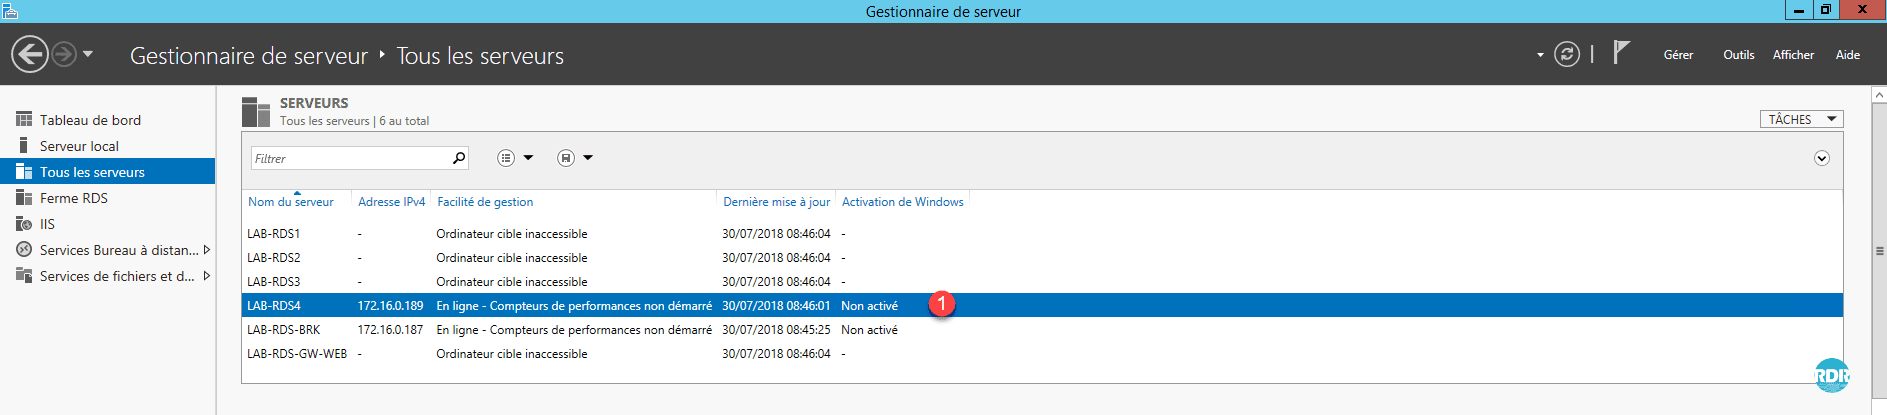
Server 1 is visible in the All Servers section of Server Manager.
Add the server to the RDS deployment
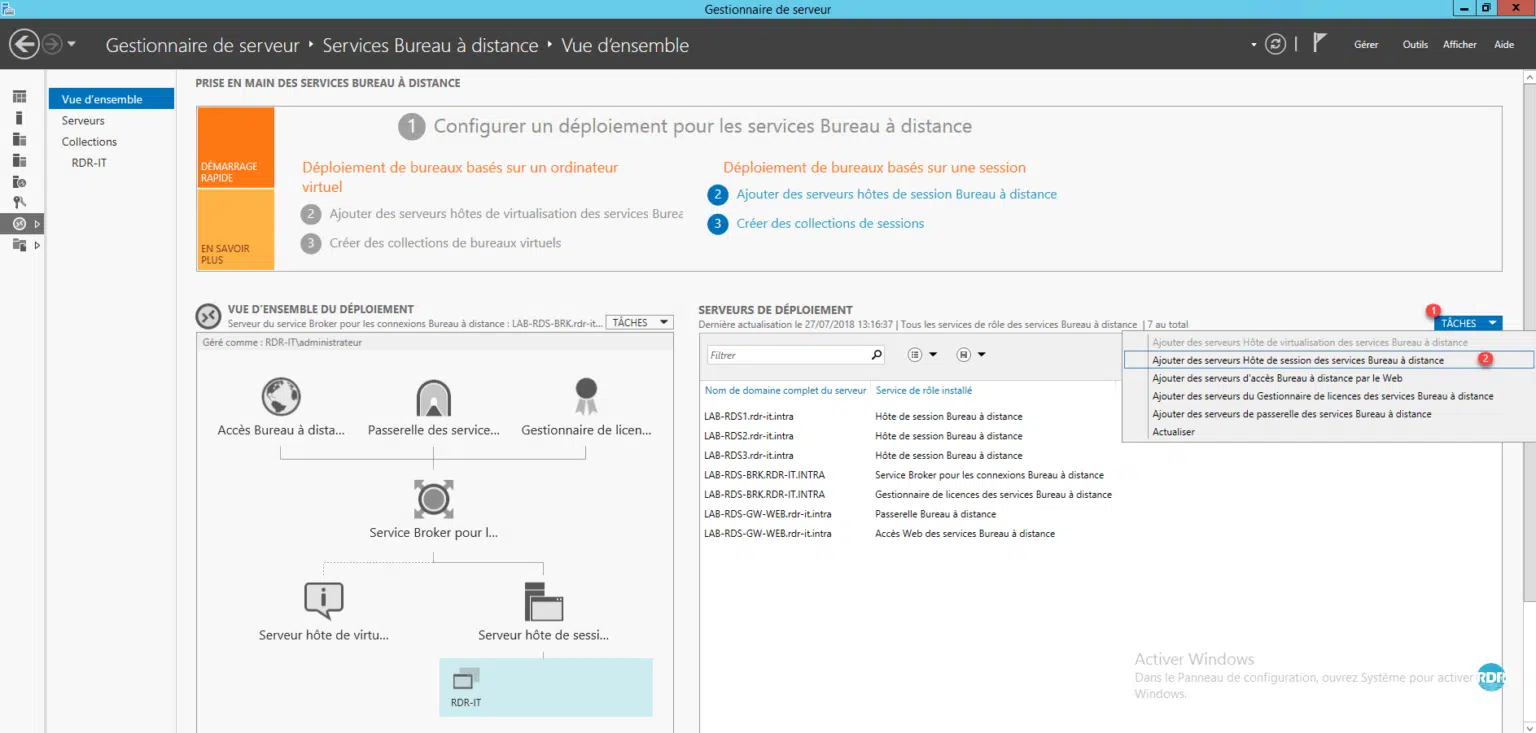
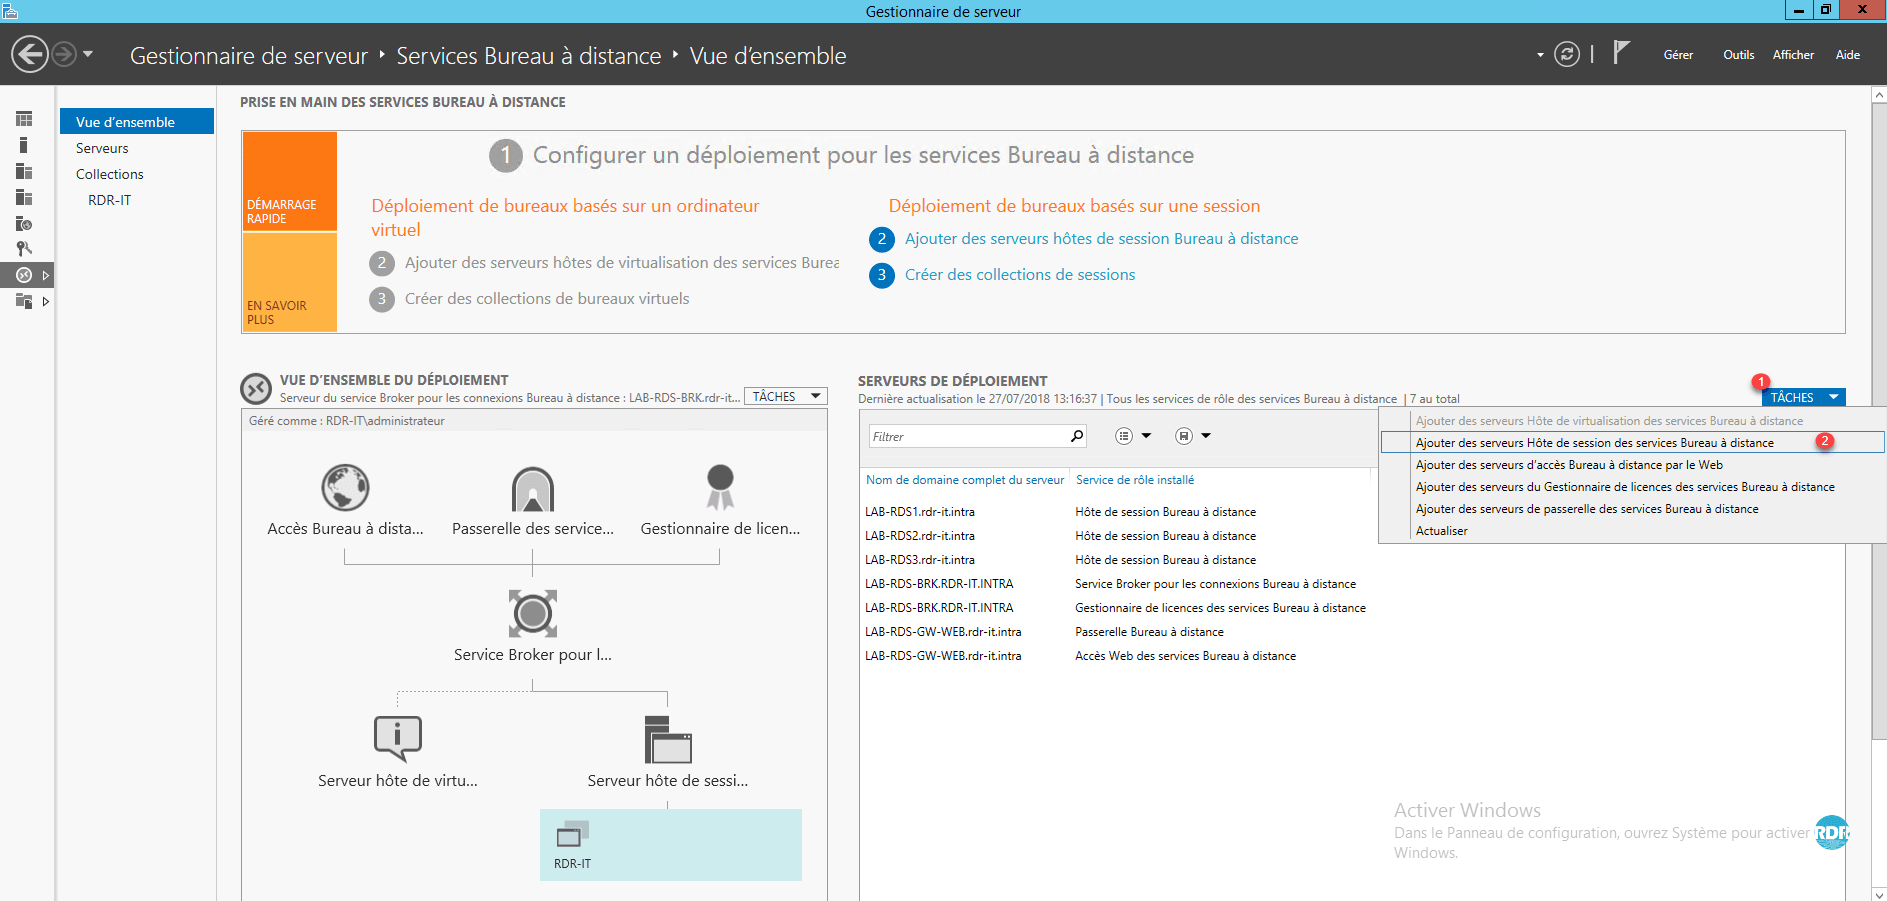
From the Overview of your deployment, in the DEPLOYMENT SERVERS box, click on TASKS 1 then Add Remote Desktop Session Host servers 2 .
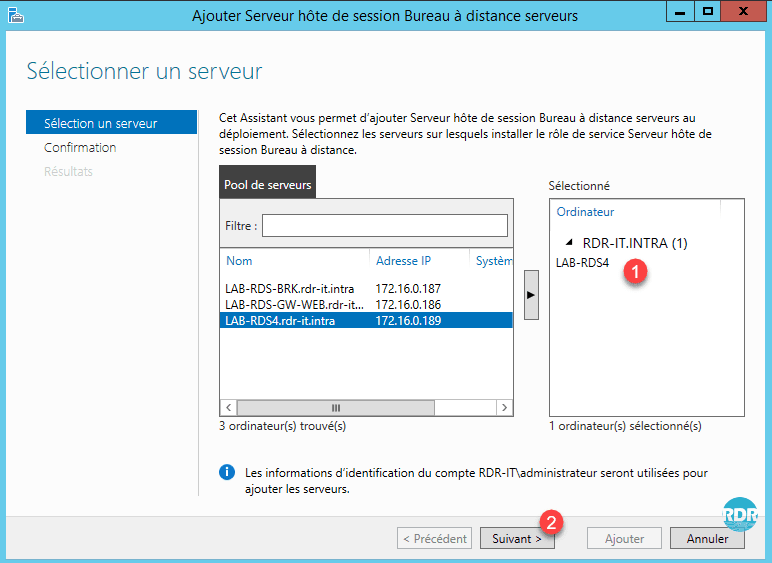
Select the server(s) to add 1 and click Next 2 .
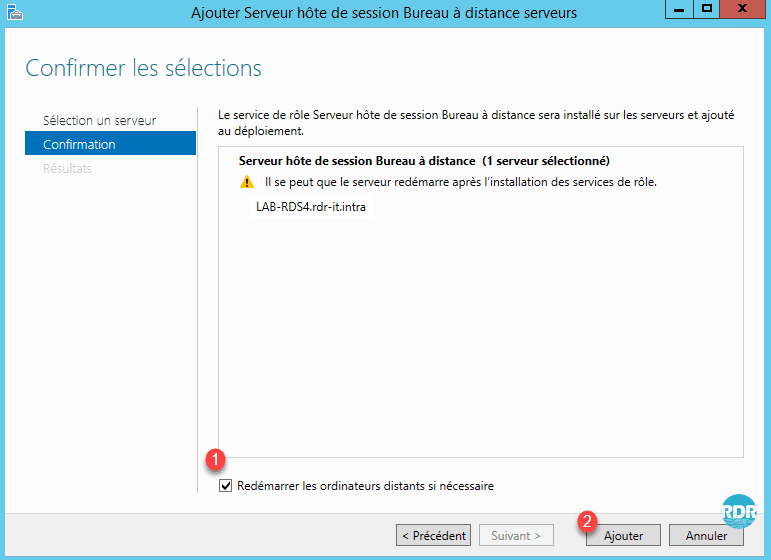
Check the box 1 Restart remote computers if necessary and click Add 2 .
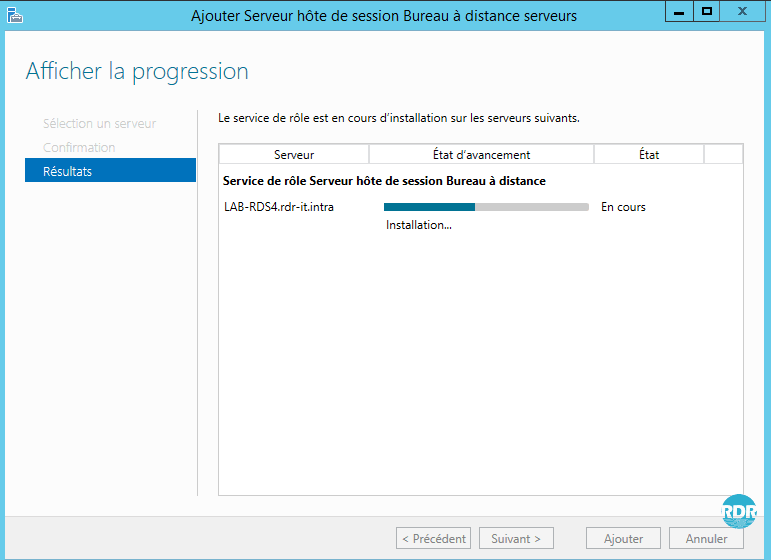
Wait while the Remote Desktop Session Role is installed on the server.
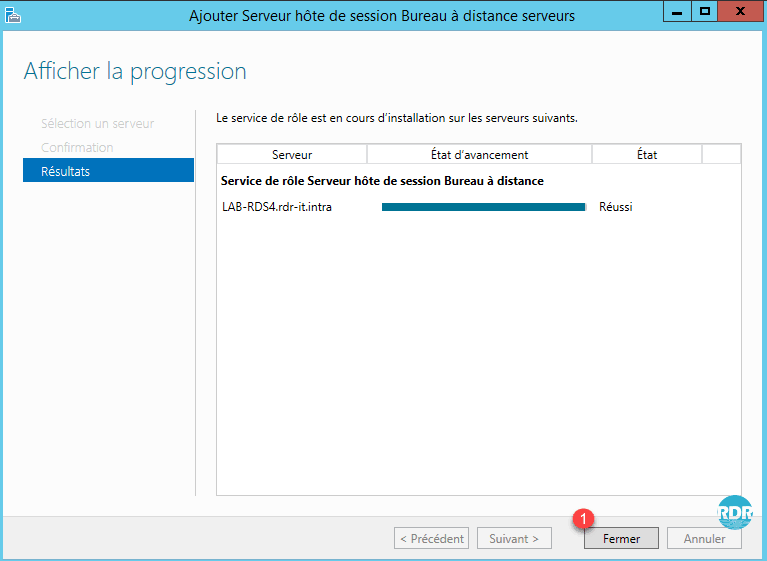
The installation is complete. Exit the wizard by clicking Close 1 .
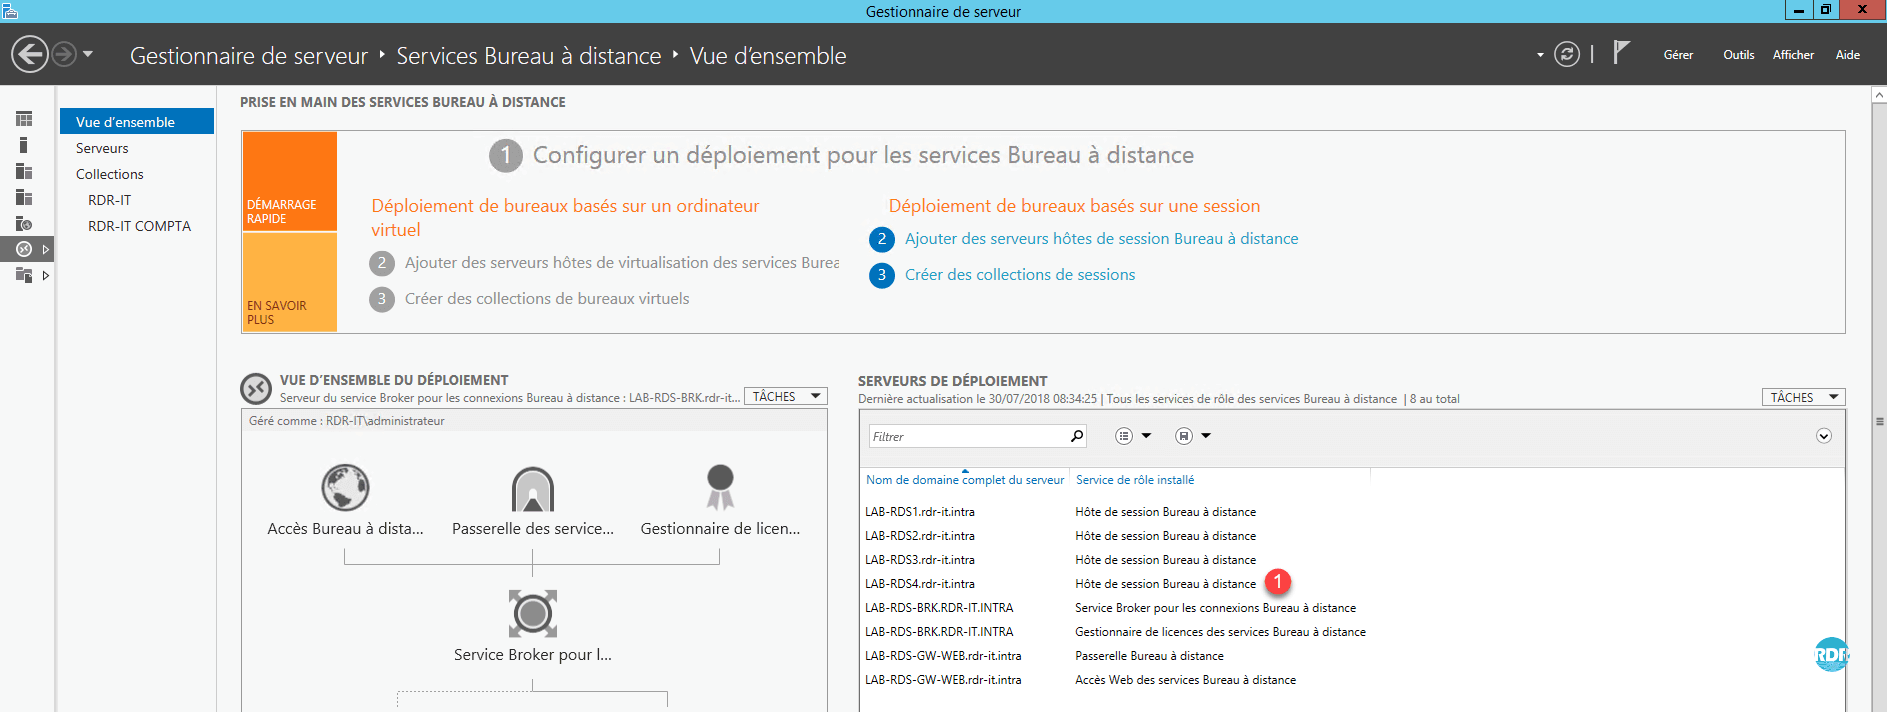
In the DEPLOYMENT SERVERS section, the new server is visible 1 .
Add a collection
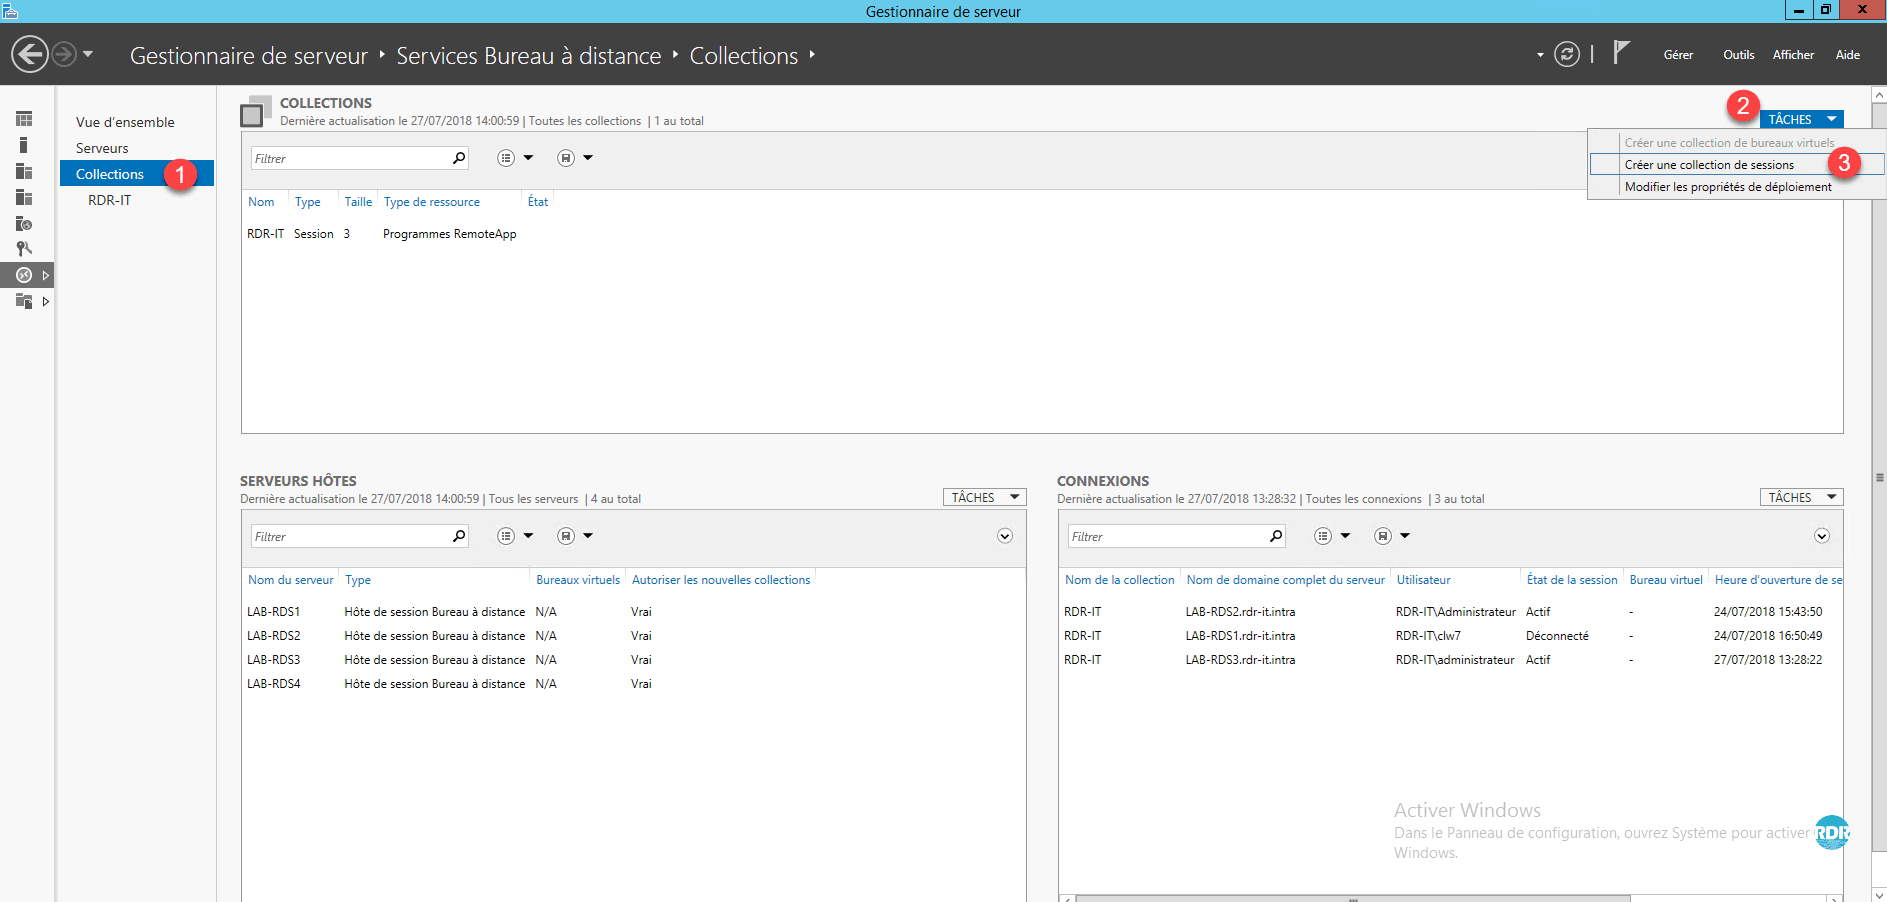
Go to Collections Administration Server Manager / Remote Desktop Services / Collections 1 . In the COLLECTIONS section, click on TASKS 2 then Create session collection 3 .
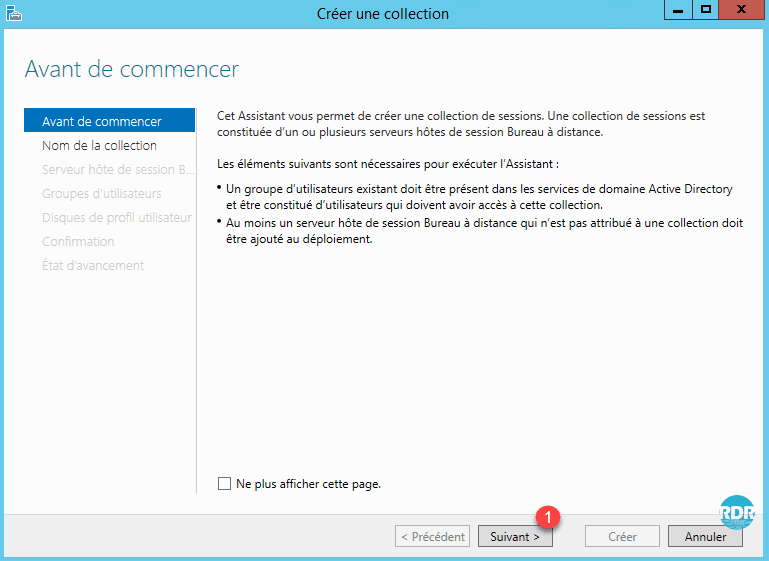
When launching the wizard, click Next > 1 .
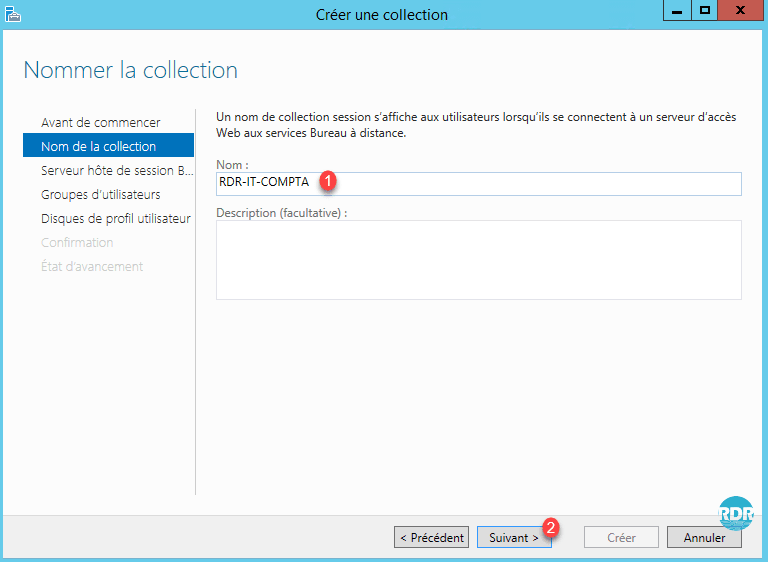
Name the collection 1 and click Next >2 .
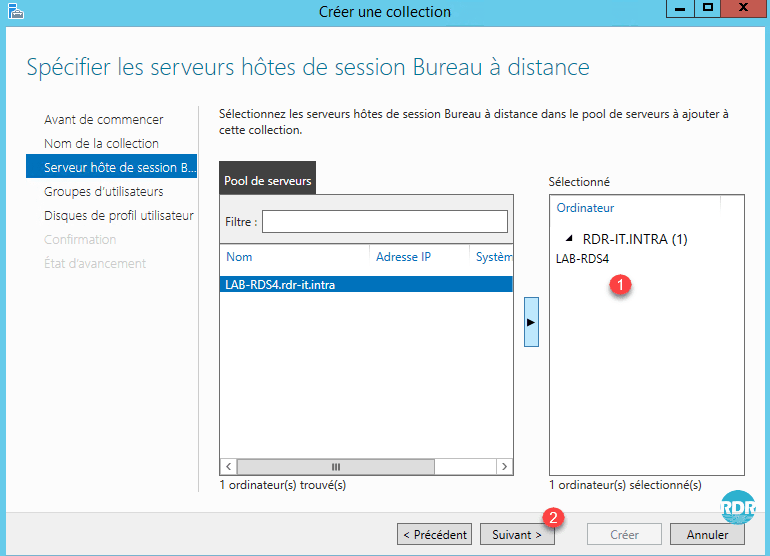
Select the host server(s) 1 for this collection and click Next > 2 .
Select the group(s) 1 that can access the collection then click on Next >2 .
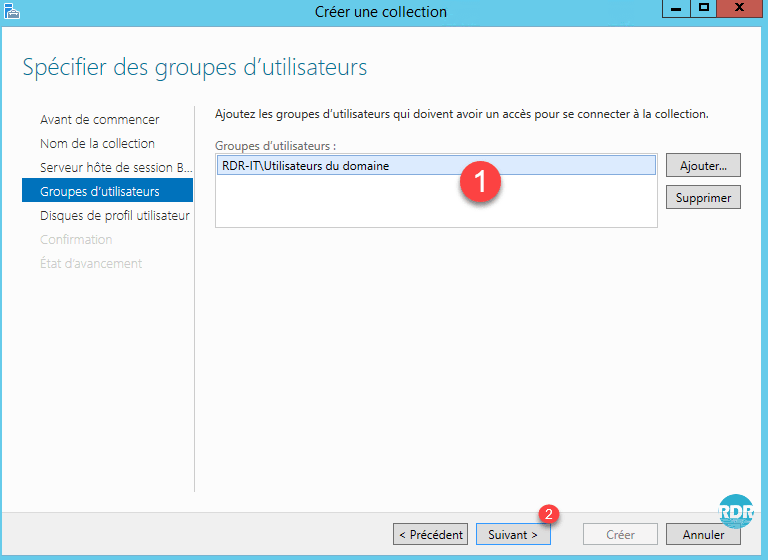
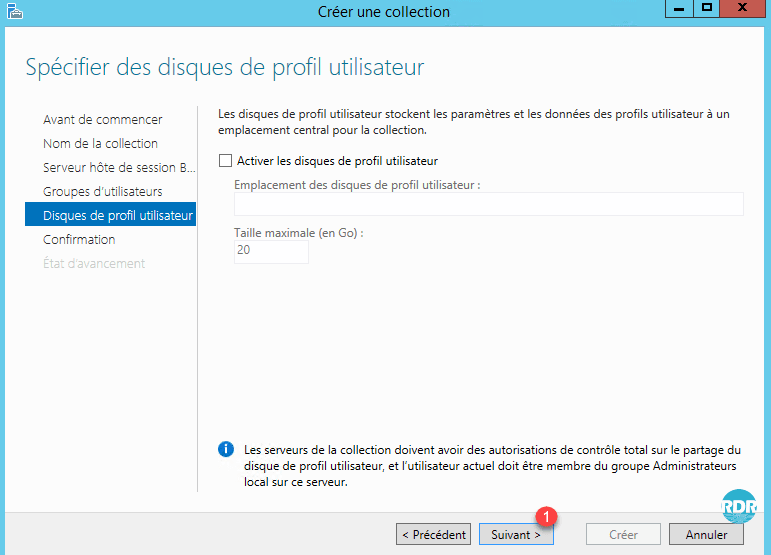
If necessary, activate the UPDs and click on Next > 1 .
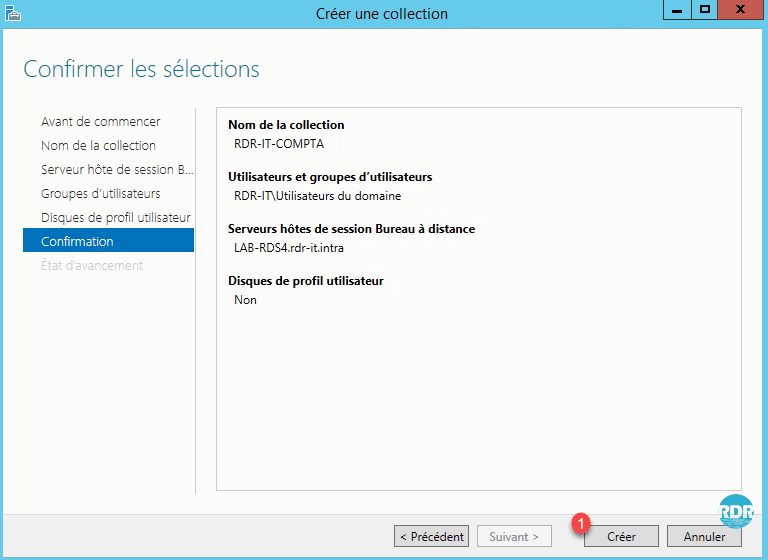
Confirm the creation of the new collection by clicking on Create 1 .
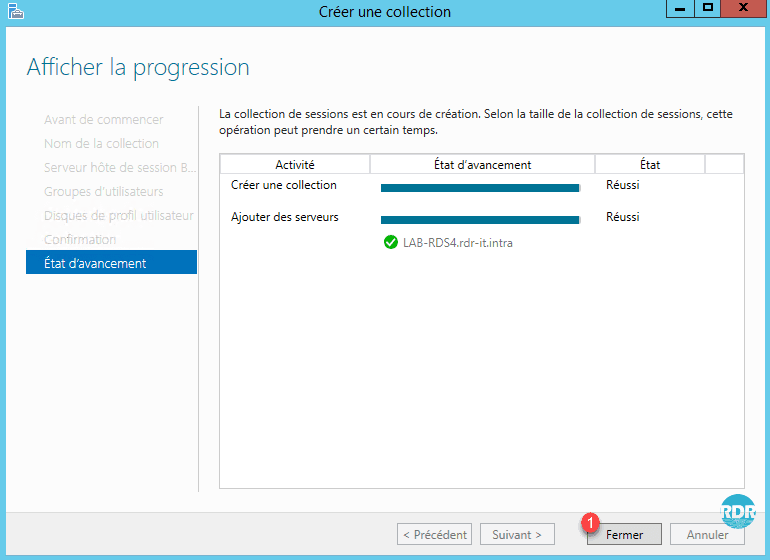
Click Close 1 to exit the wizard.
Collection 1 is available in the Collections administration.
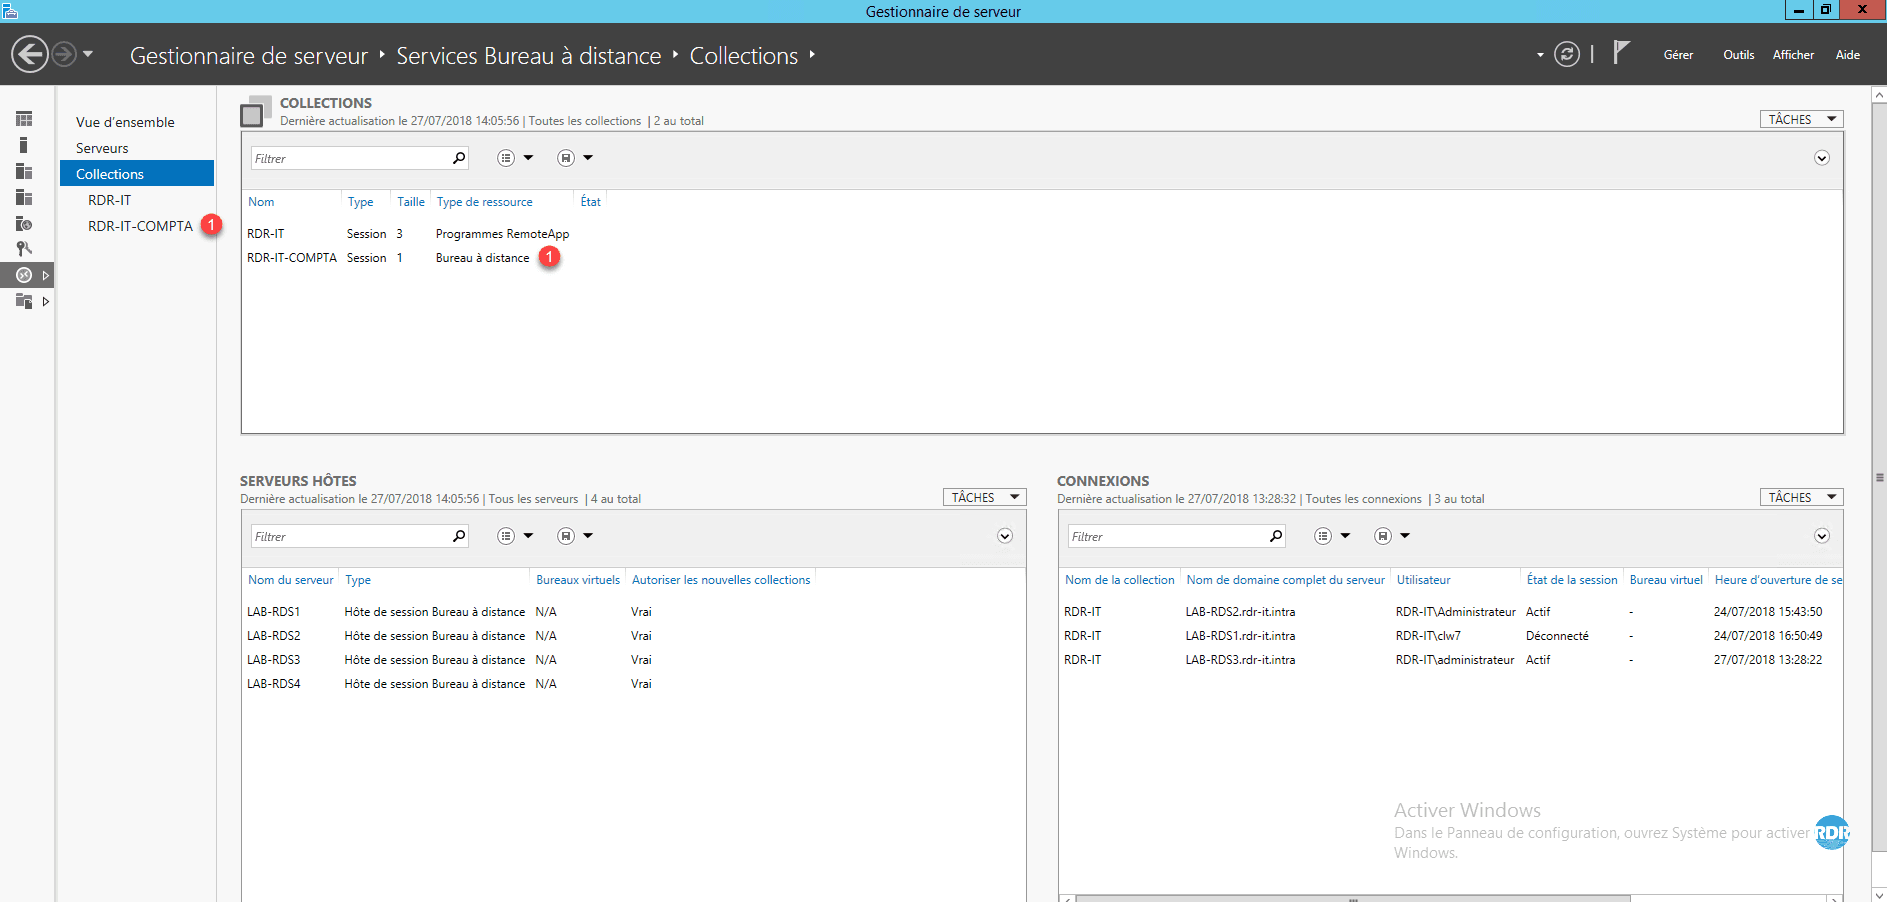
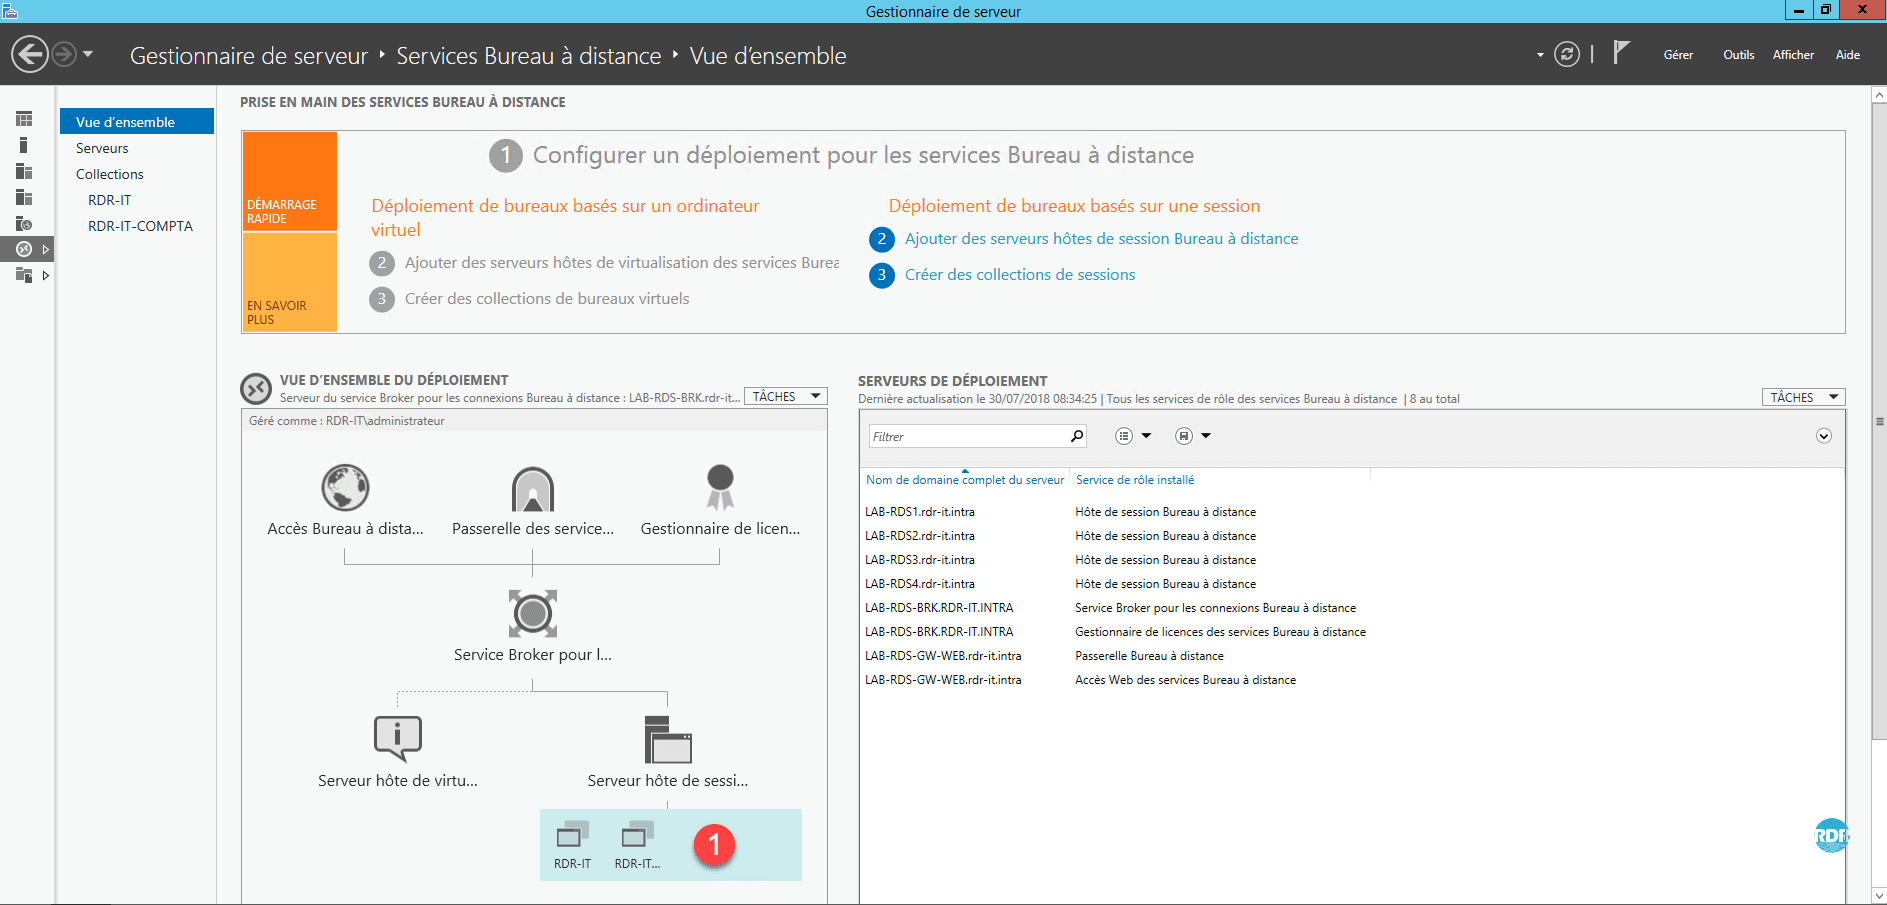
From the deployment overview, the two collections 1 are visible.
RemoteApp: organize collections in web access
In this part, we will see how to organize the RemoteApps from different collections in a different folder on Web Access
The deployment of RemoteApps is covered here .
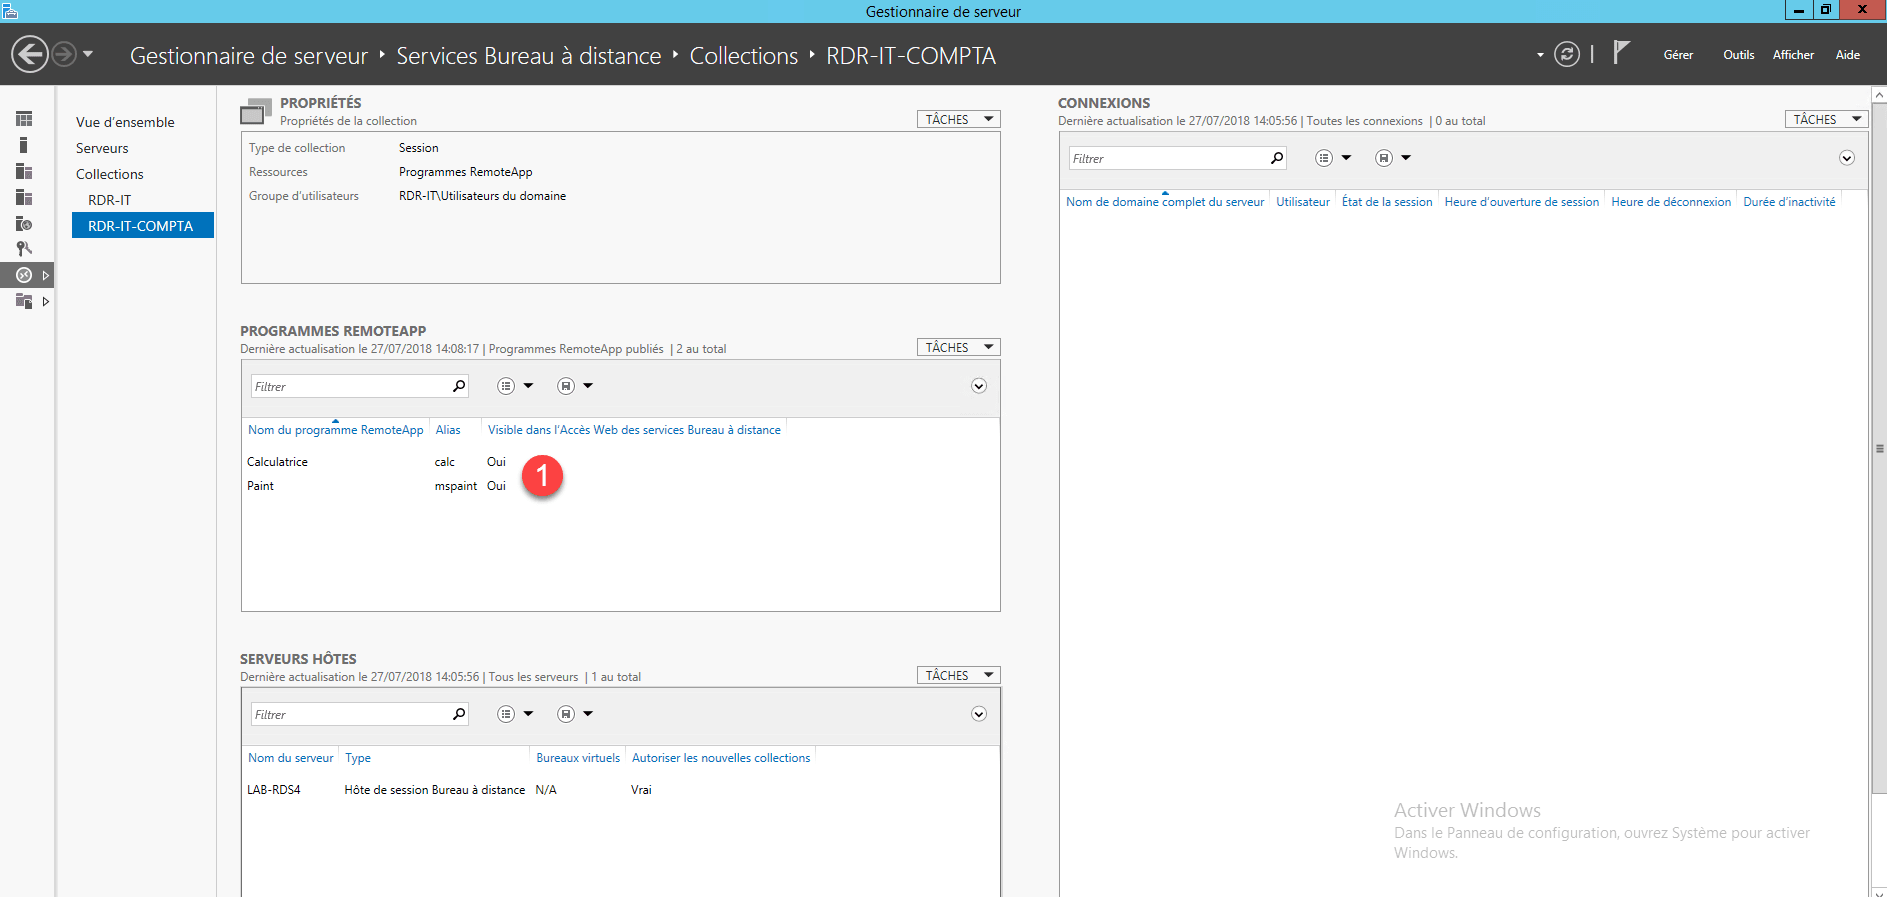
The collection is published with the following RemoteApp 1 :
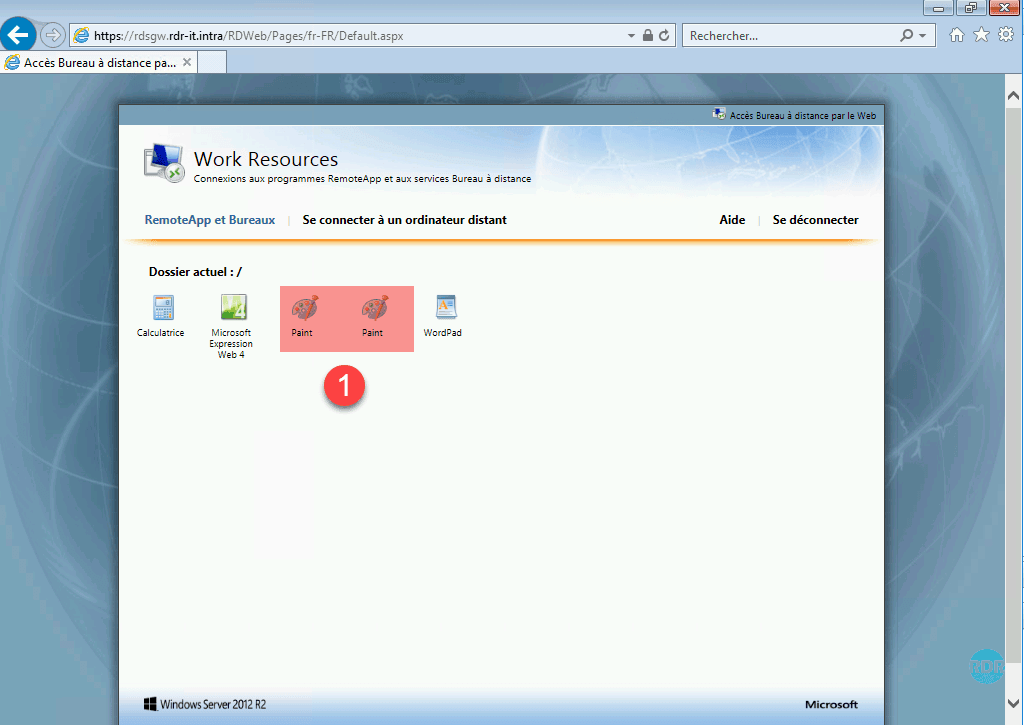
Opening a session on the RDS farm web access, we see that Paint is published twice 1 and that all the programs are available without knowing their collection.
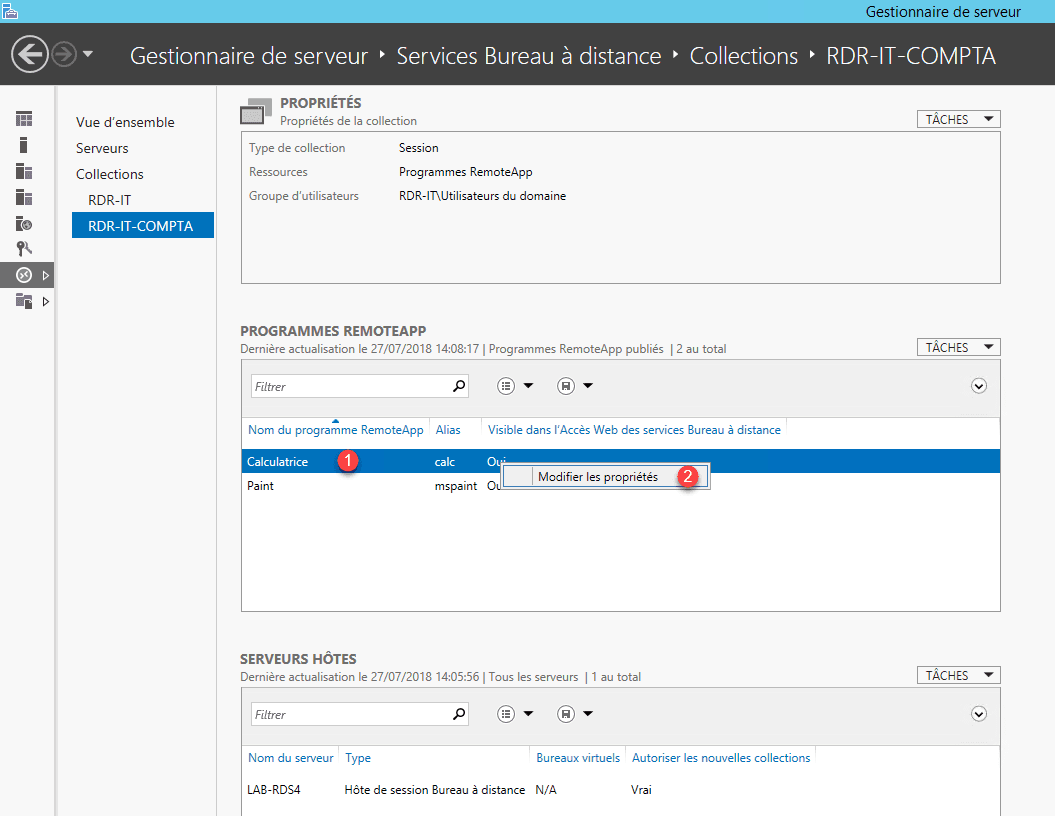
Return to the administration page, right-click on a program 1 and click on Modify properties 2 .
In the General 1 section, enter the name of a folder to create it or select an existing folder 2 . Then click on Apply 3 and OK 4 .
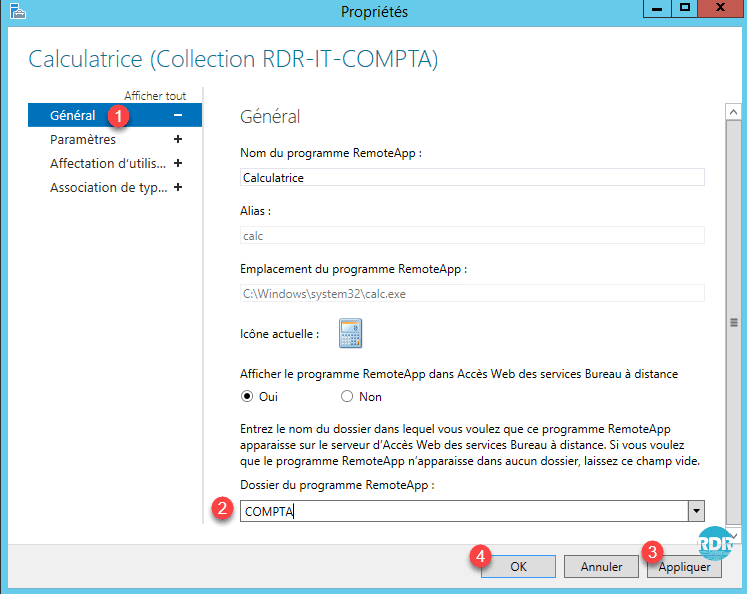
Repeat the operation for all programs.
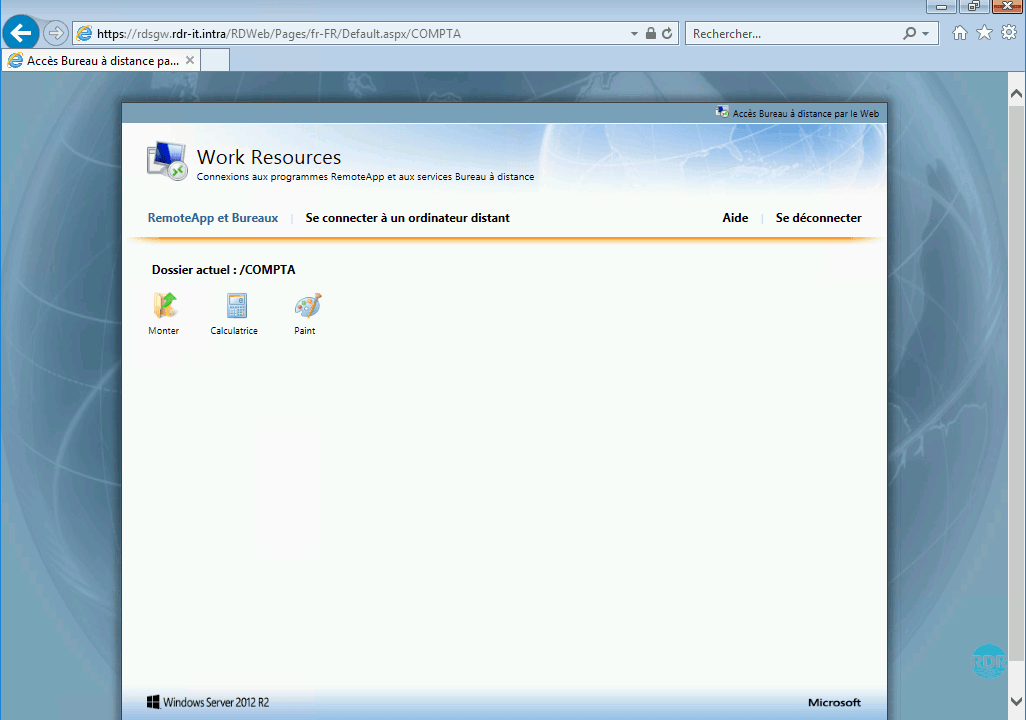
Return to the Web access page and refresh it. The created folder is displayed 1 , click on it.
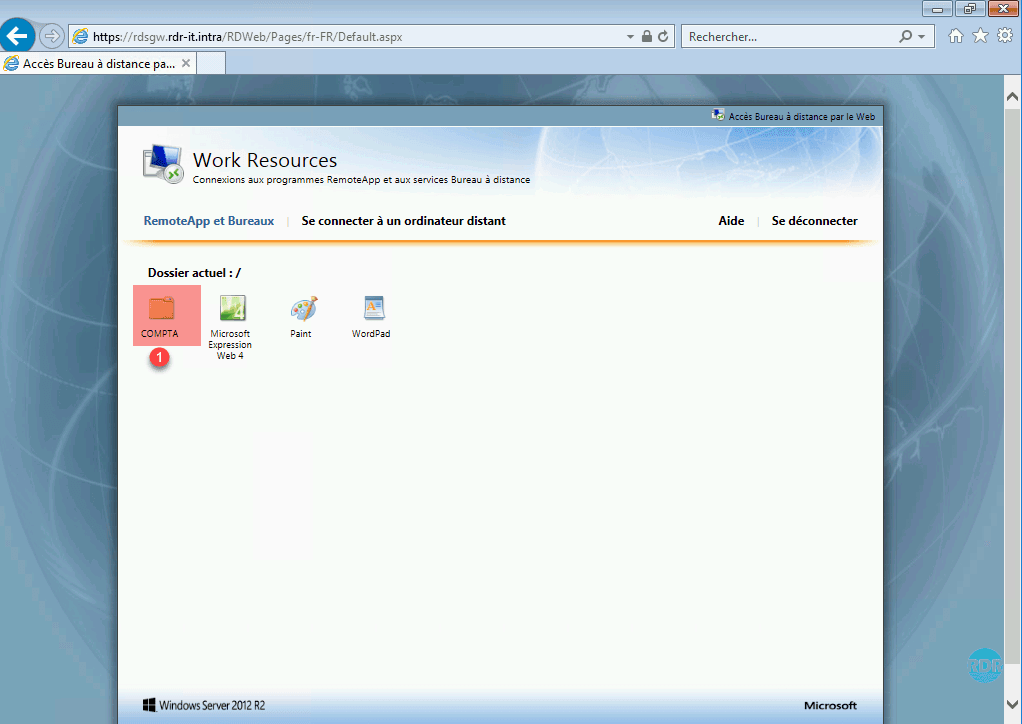
The applications are stored in the folder.