In this “How To” tutorial, we will see how to install the Microsoft Visual Studio Code IDE on Ubuntu.
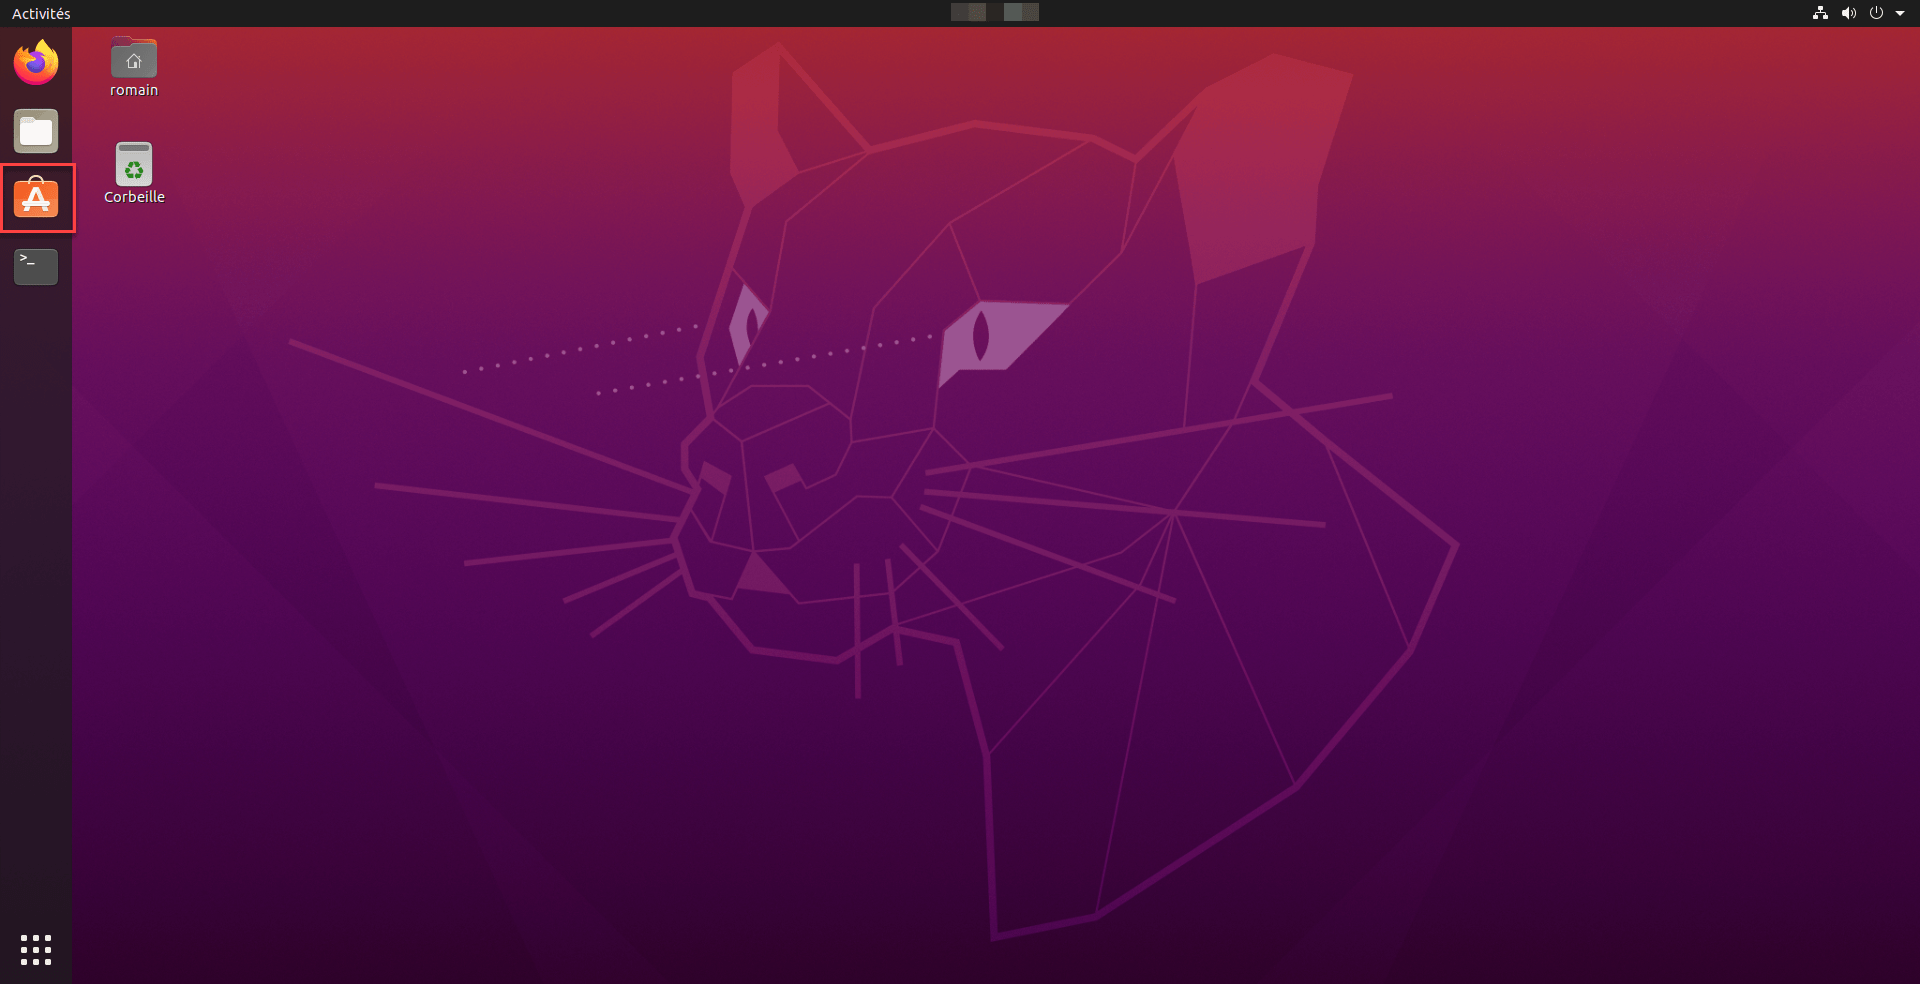
Open Ubuntu Software
From the Unity desktop, open the Ubuntu application manager.
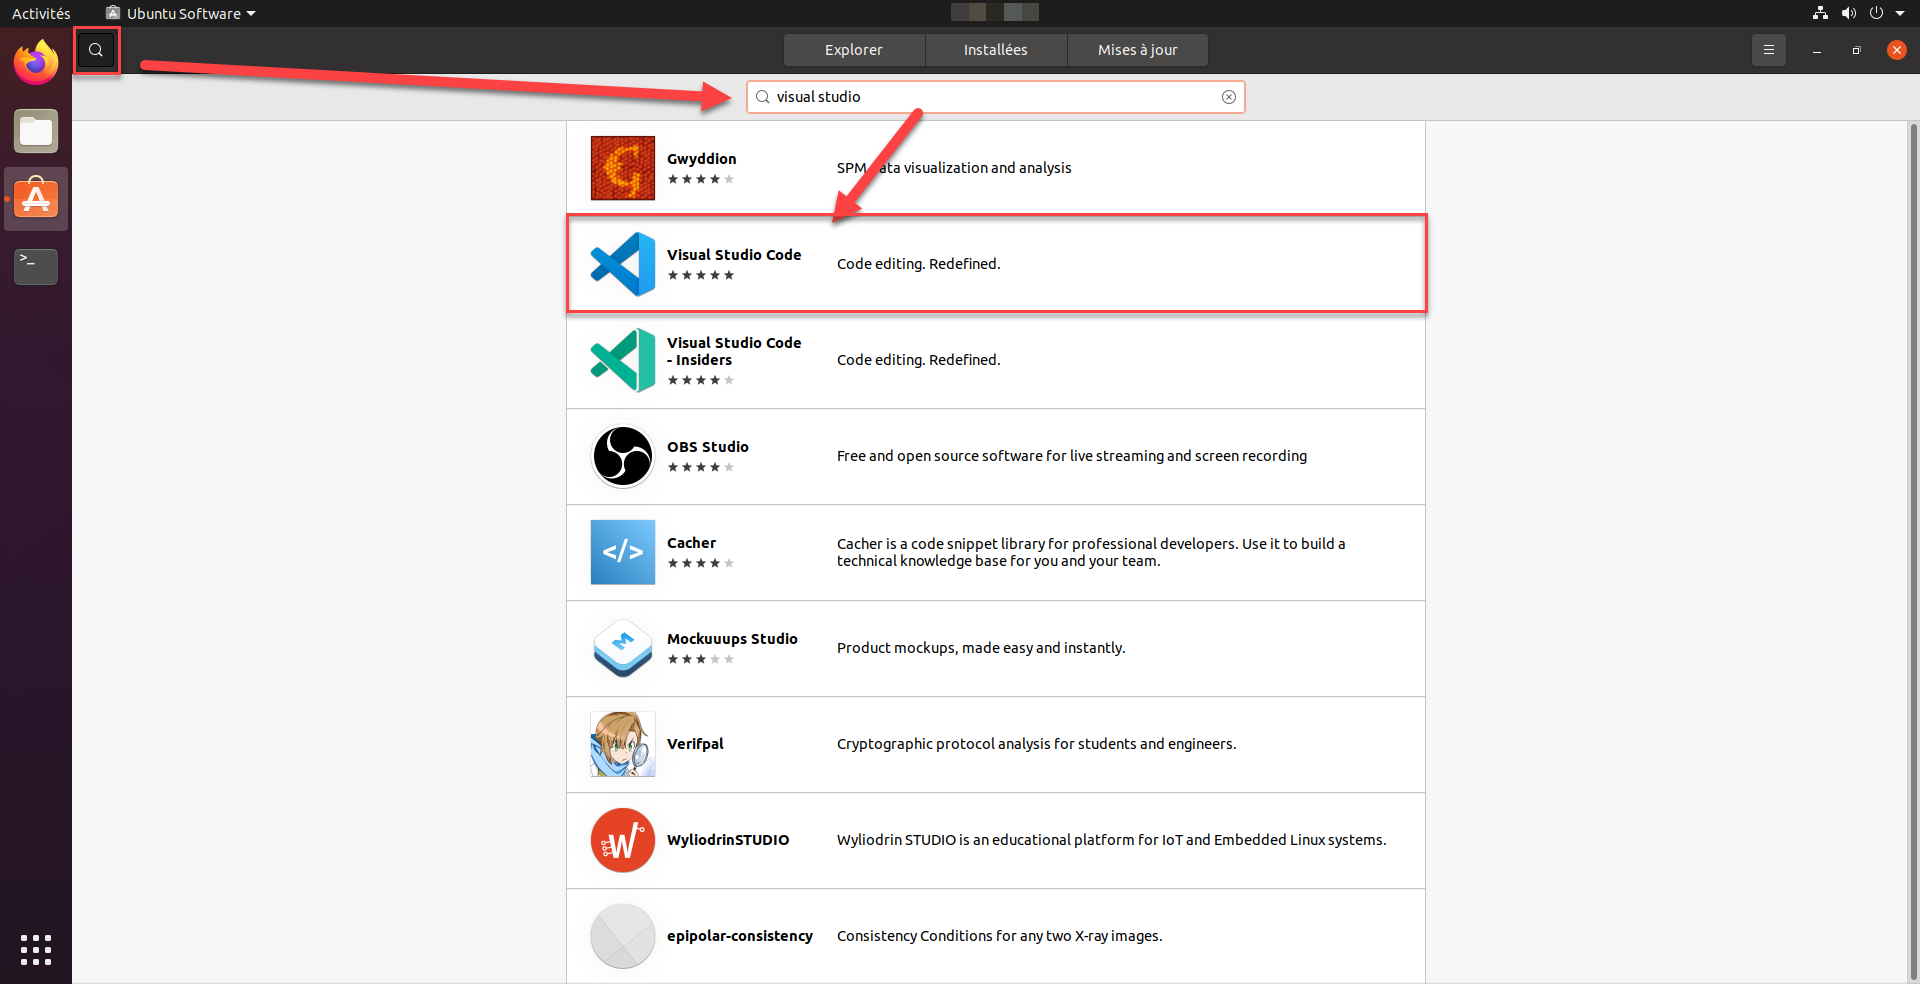
Search for Visual Studio Code
Click on the magnifying glass, to access the search area, enter visual studio and click on the VIsual Studio Code application.
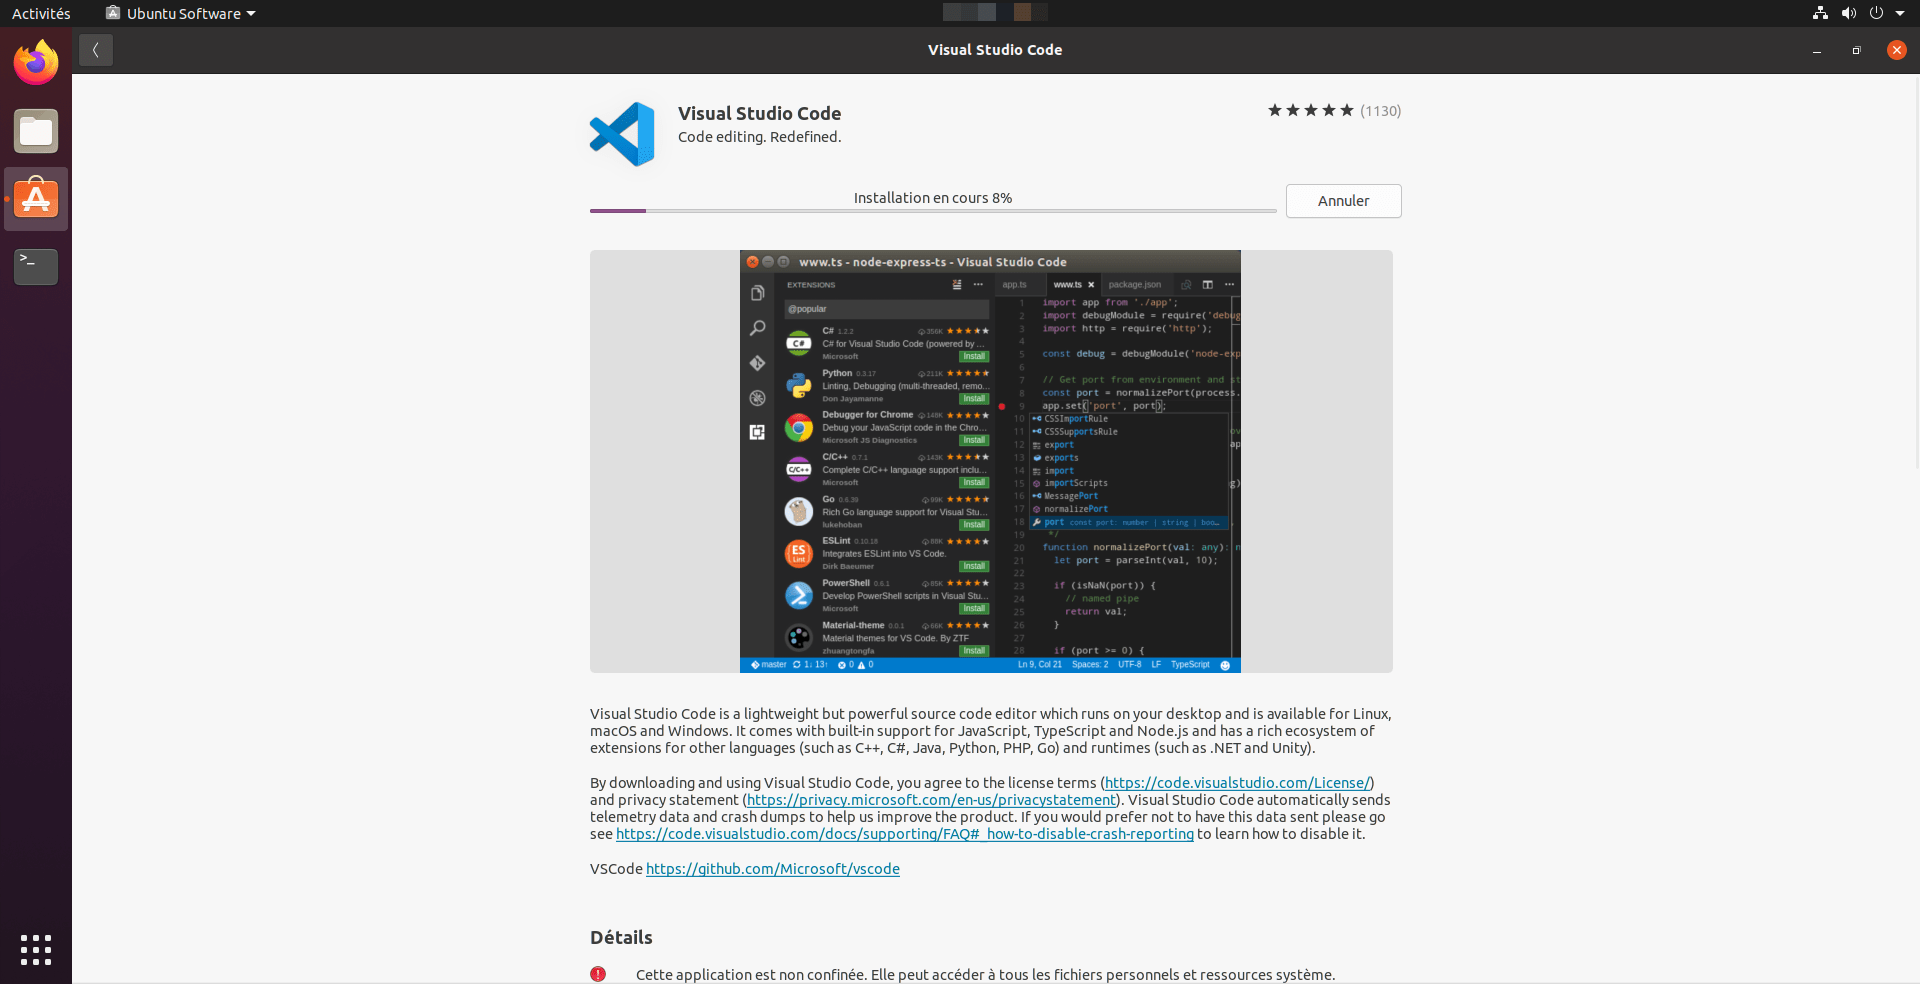
Install Visual Studio Code
On the application page, click on the Install button.

Enter your session password
Enter the password for your session and click on Authenticate.

Wait while installing Visual Studio Code on Ubuntu
Wait while the application is downloading and installing.
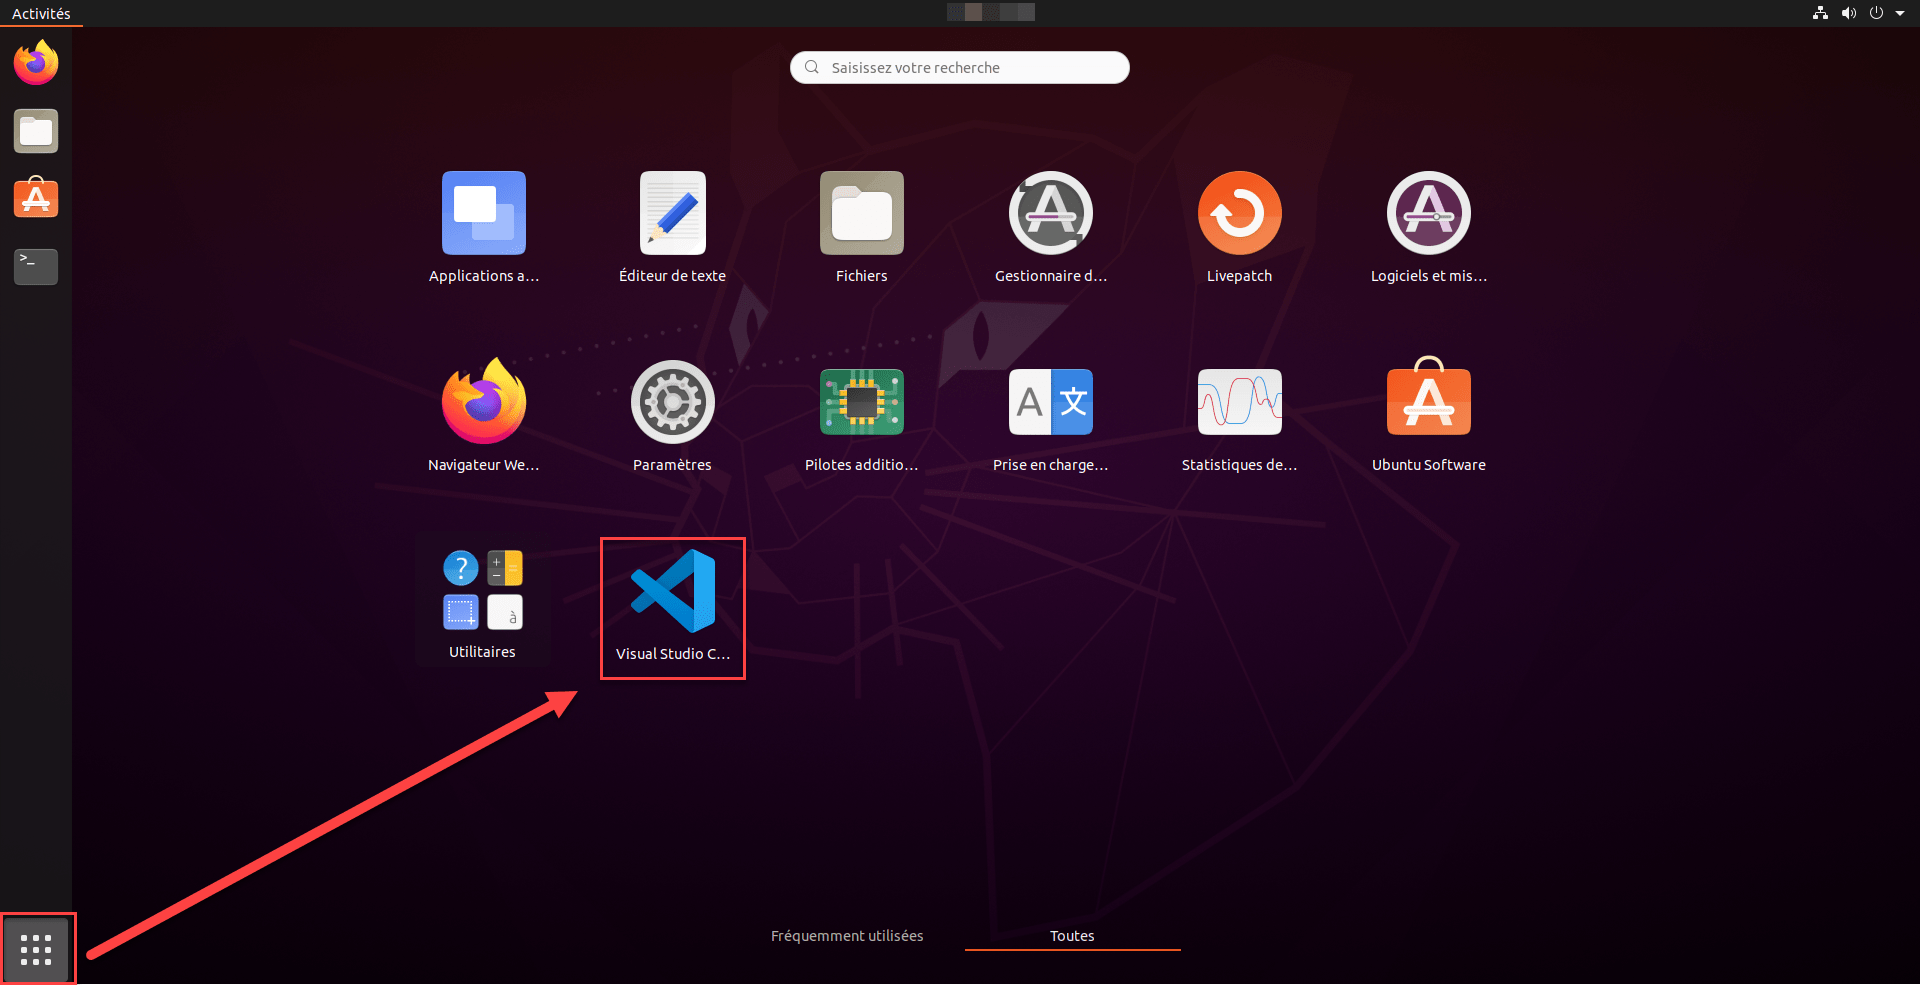
Open Visual Studio Code
Once the installation is complete, close Ubuntu Software, click on the Application icon to access the programs and click on the Visual Studio Code icon.
Start coding
You can code with Visual Studio Code on Ubuntu.

