The iSCSI target role makes it possible to transform a server into a SAN (bay of disks / storage) by creating virtual disks (vhdx) and by presenting them to other server using the ethernet network (iSCSI).
This type of configuration is used with Hyper-V clusters which require a volume shared between all of the nodes.
Prerequisites
At least two servers:
- a target server, which will present the volume (s).
- an initiating server which will receive the volume (s).
Recommended production:
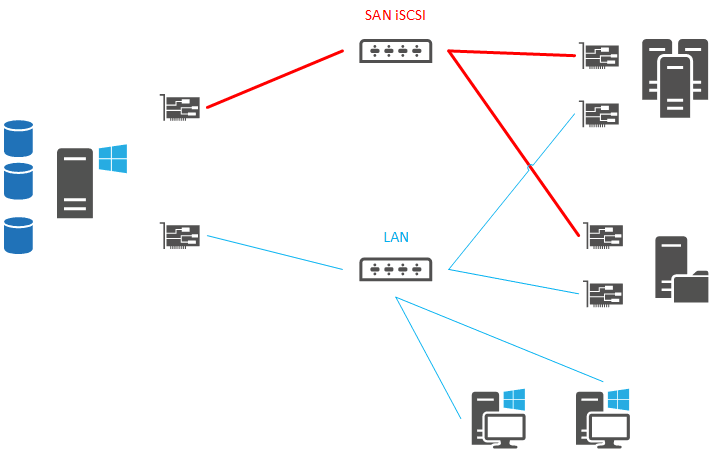
In production, it is advisable to physically separate the iSCSI SAN network from the production network with different switches and dedicated network cards on the servers.
In order to guarantee correct performance, a 10Gb network must be provided.
The target server must be Windows 2012 minimum. The client can be a client computer from Windows 7 or Windows Server.
In the example below, the positions are members of a domain. This is not an obligation.
Representation of a target architecture:
Installing the iSCSI Target Role
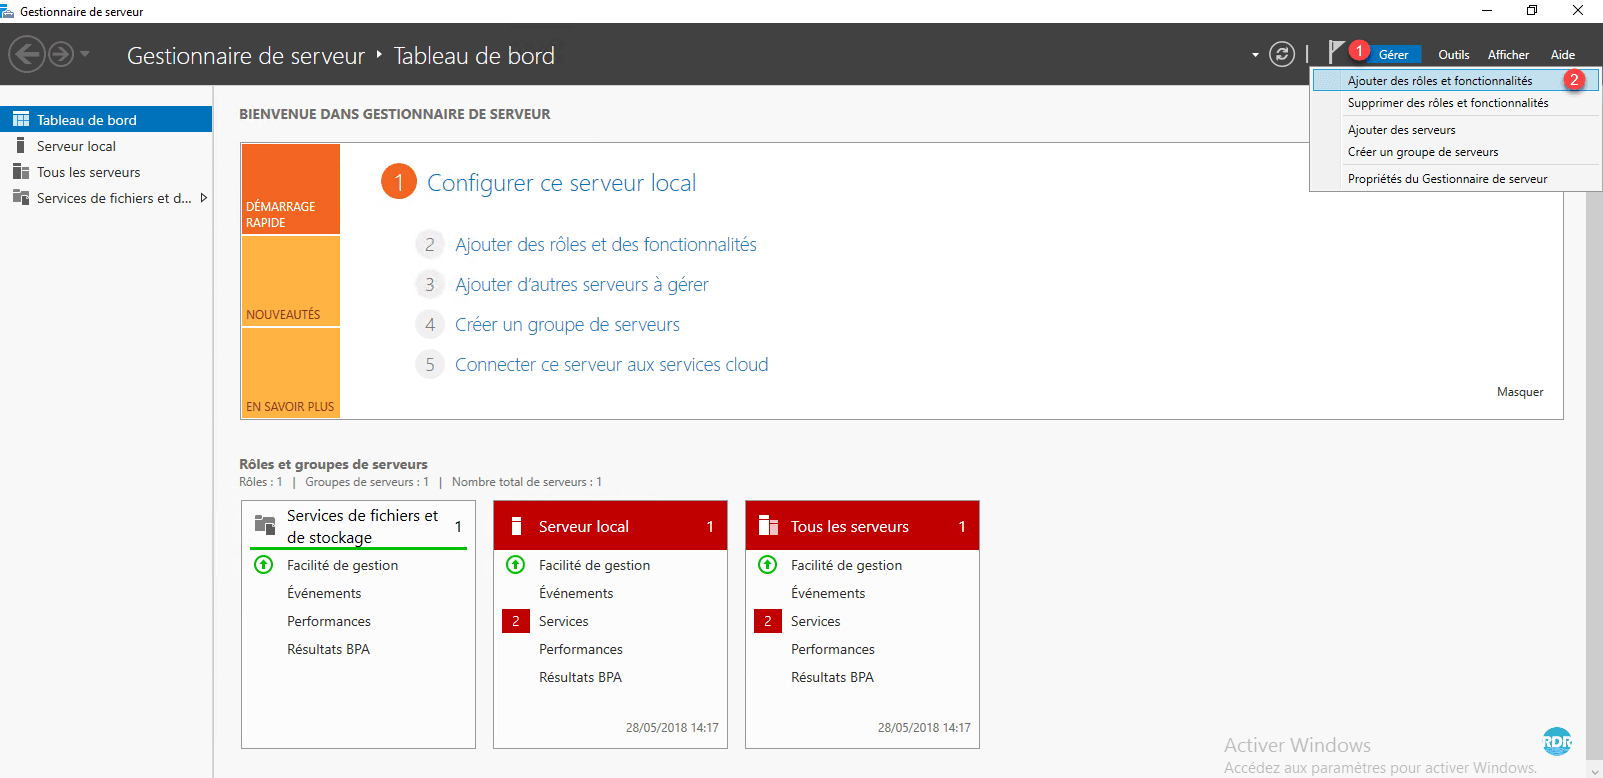
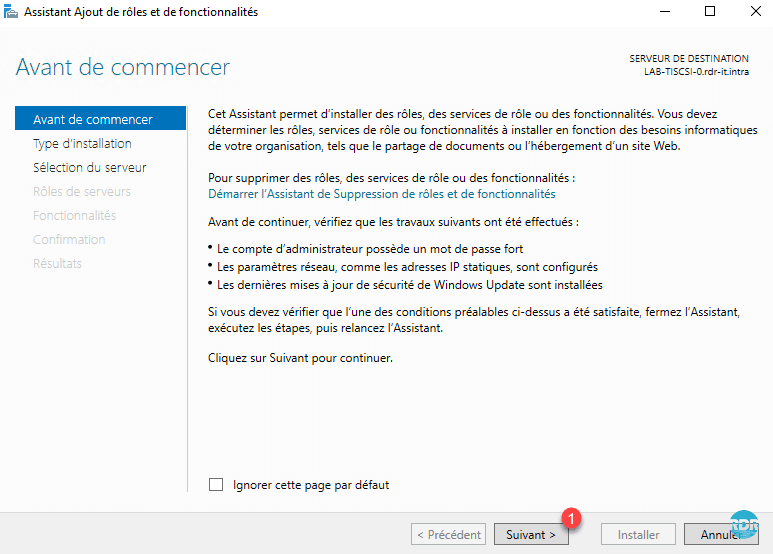
1. From the server manager, click Manage 1 > Add Roles and Features 2.
2. At this stage nothing special to do, click Next 1.
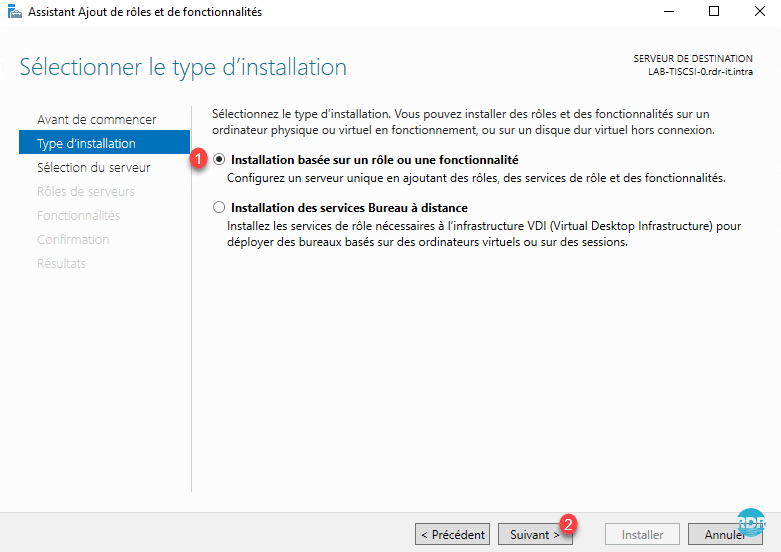
3. Install Type Select Install based on role or feature 1 and click Next 2.
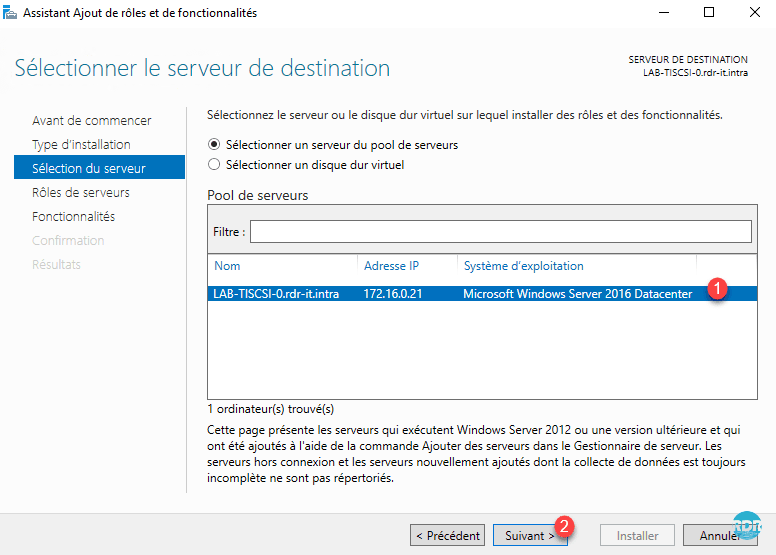
4. Select Server 1 and click Next 2.
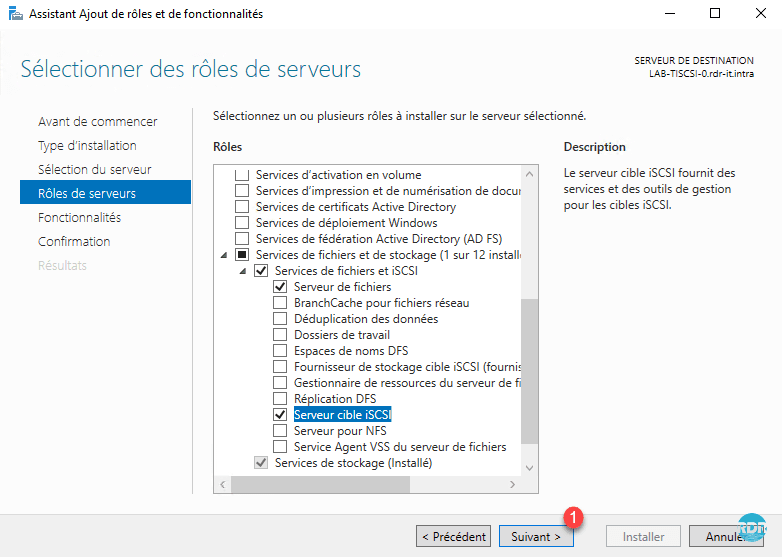
5. Check the iSCSI Target Server 1 role, located in File and Storage Services> File Service and iSCSI.
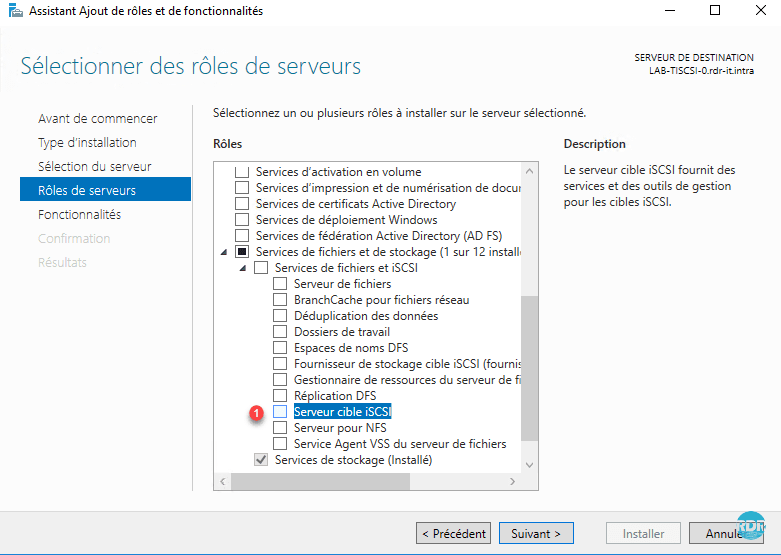
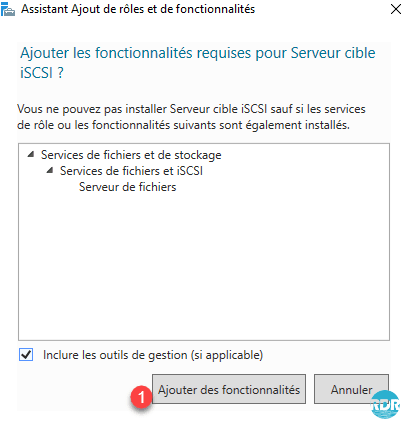
6. Another window will open, click Add Features 1.
7. Click Next 1.
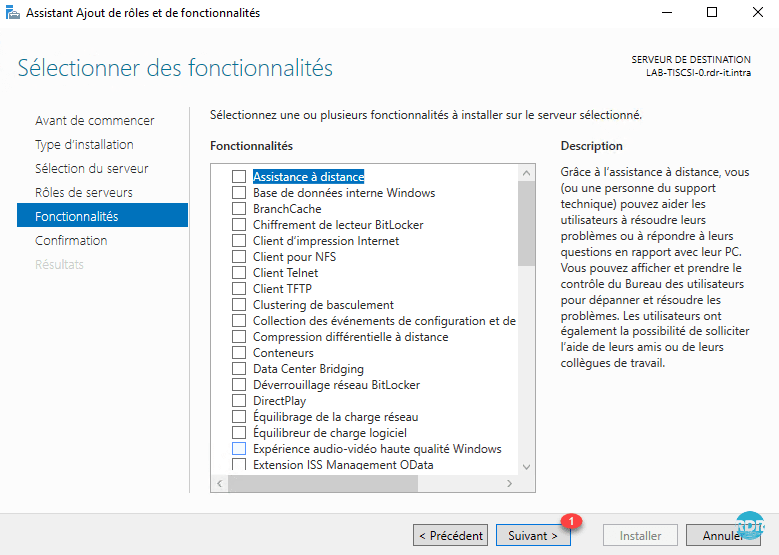
8. There is no need for additional functionality, click Next 1.
9. Click Install 1.

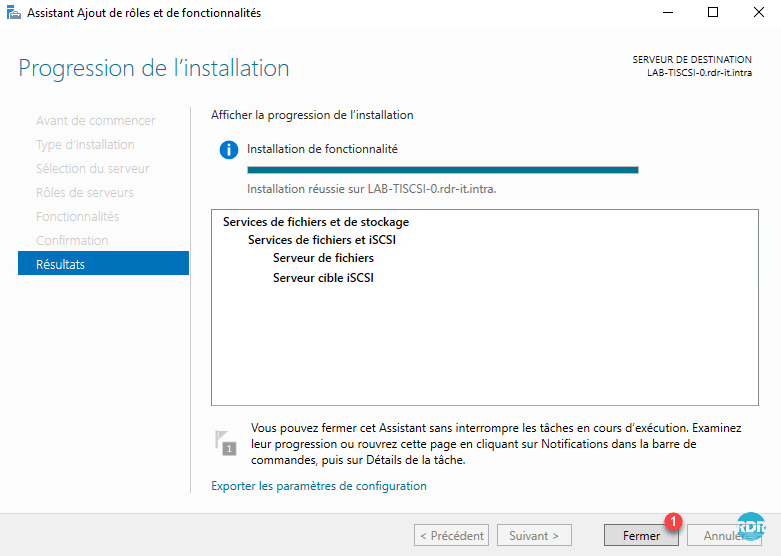
10. Wait during the installation.
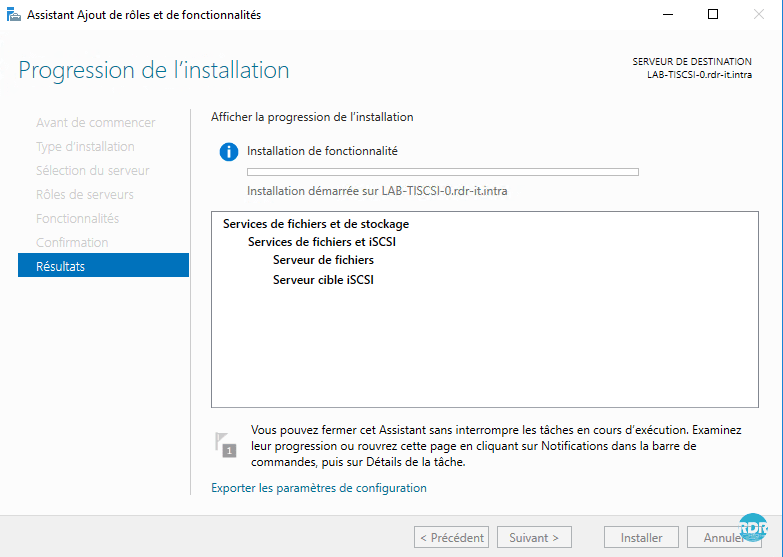
11. The role is installed, click Close 1 to finish.
Configuring the iSCSI Target
The administration of this feature is not done with a mmc console, it is done directly using the server manager.
1. From Server Manager, click File Server Role 1 iSCSI 2 and click Create iSCSI Virtual Disk, start the New iSCSI Virtual Disk Wizard 3.

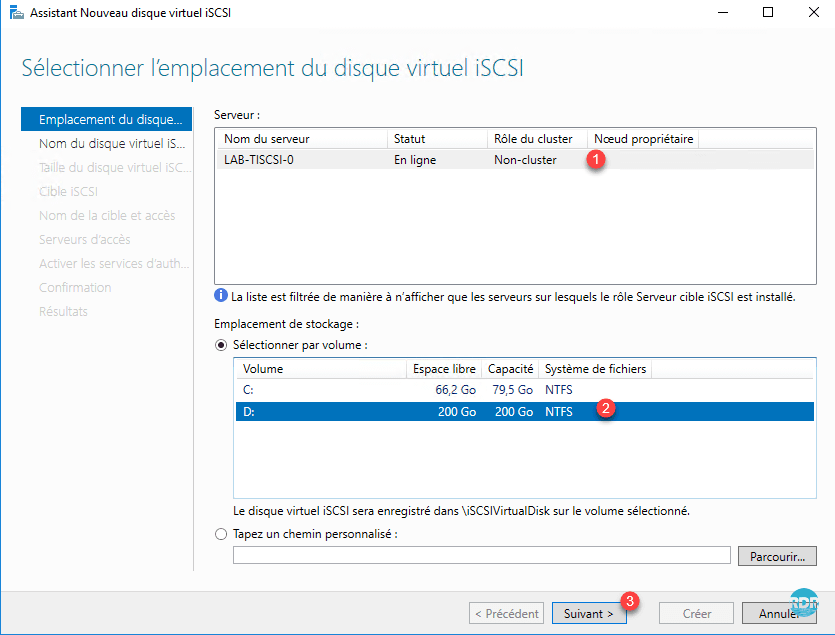
2. Select Server 1 and then Location 2 where the virtual disk will be stored and click Next 3.
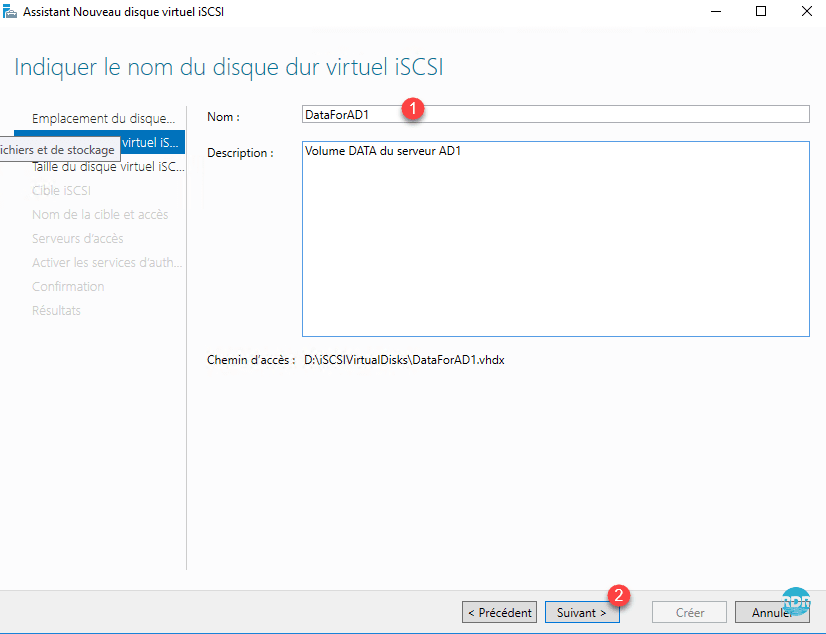
3. Give the virtual disk a name 1 and click Next 2.
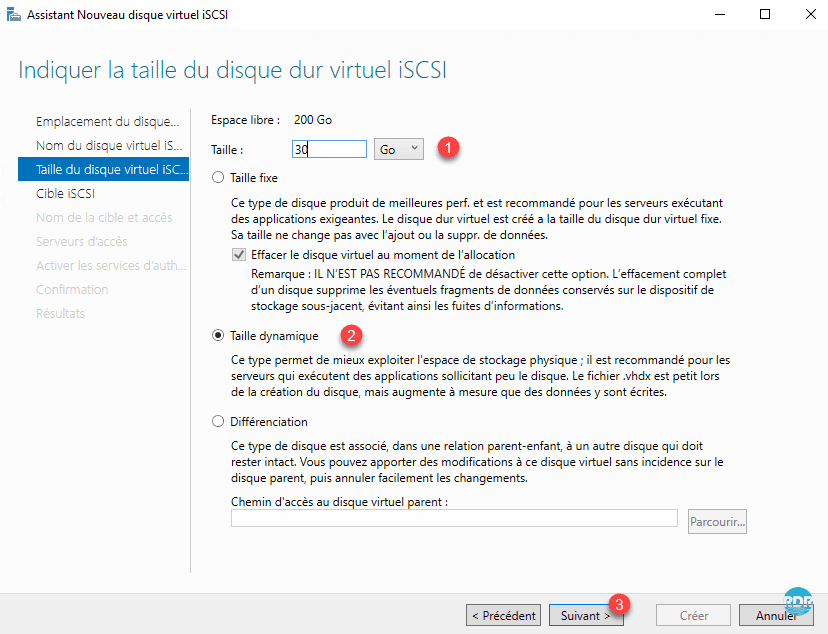
4. Specify size 1, type of virtual disk 2, and click Next 3.
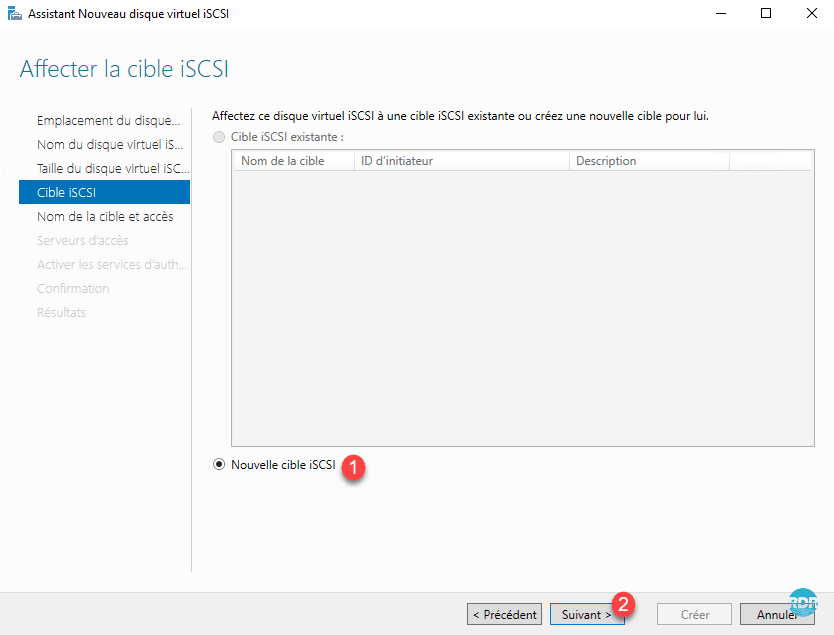
5. Select New iSCSI Target 1 and click the Next 2 button.
6. Give your target 1 a name and click Next 2.

7. It is now necessary to define the servers which will have access to the disk, click on Add … 1.

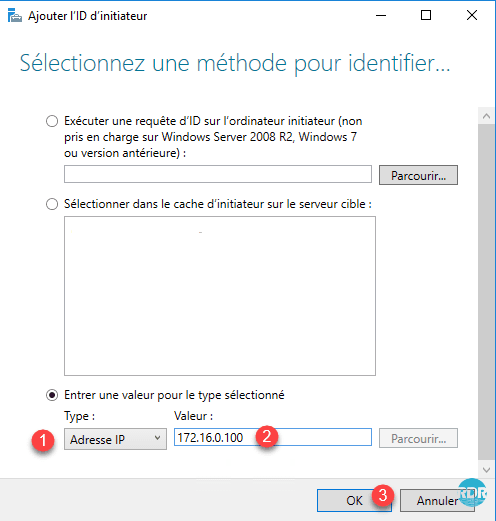
8. Select Type: DNS Name / IP Address 1 and set the FQDN / IP name of Server 2 or click Browse and click OK 3.
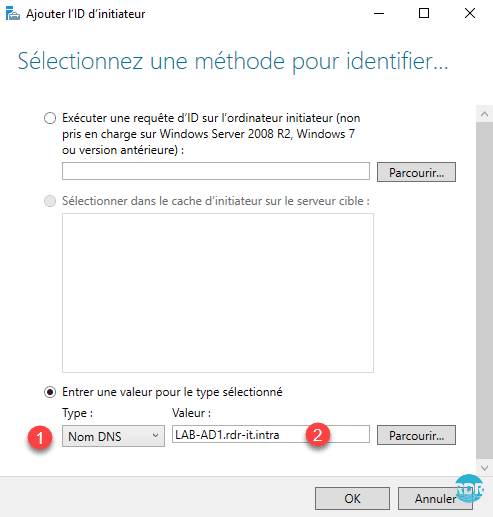
With the DNS name of the machine, I could not connect to the target, I explain after how to work around the problem with the IQN.
9. Check taking into account 1 and click Next 2.
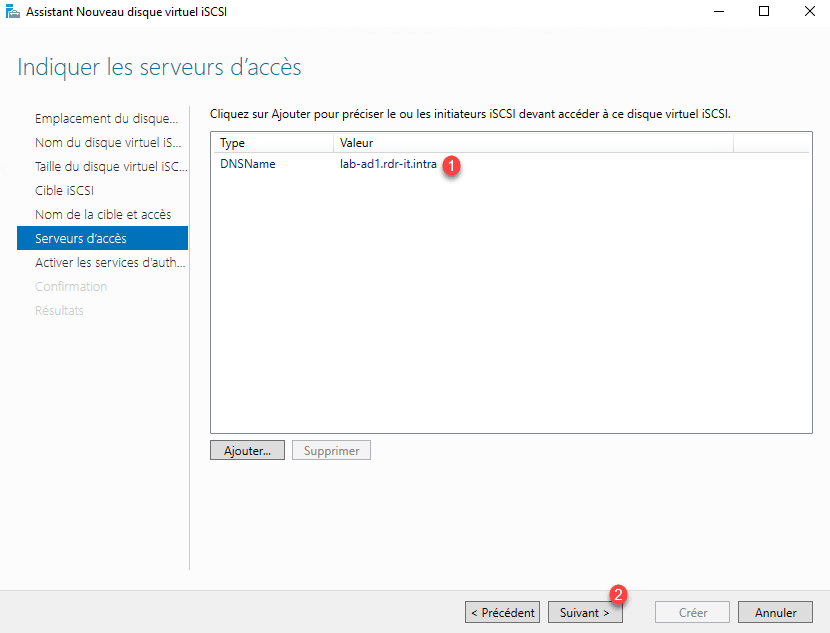
10. Click Next 1.

In production, it is recommended to secure access to your iSCSI target using authentication.
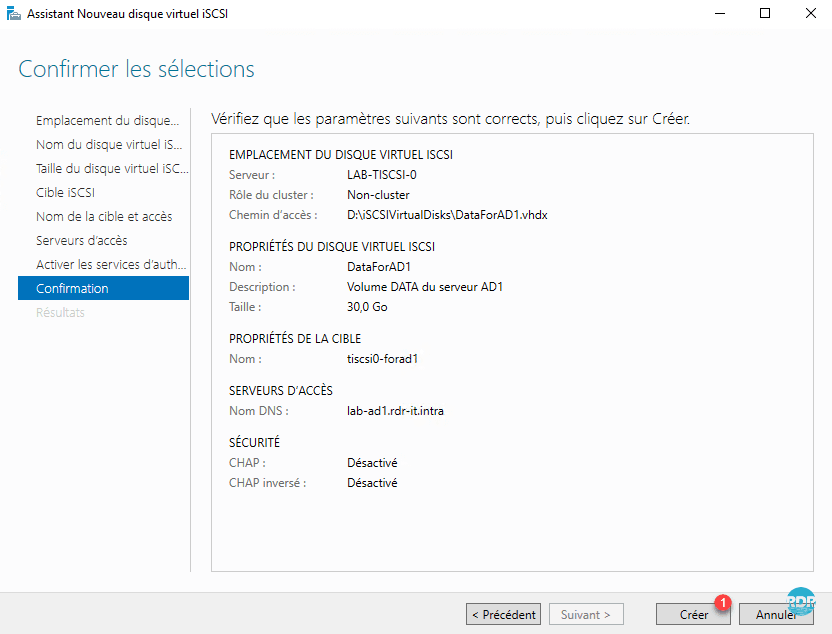
11. Click Create 1.
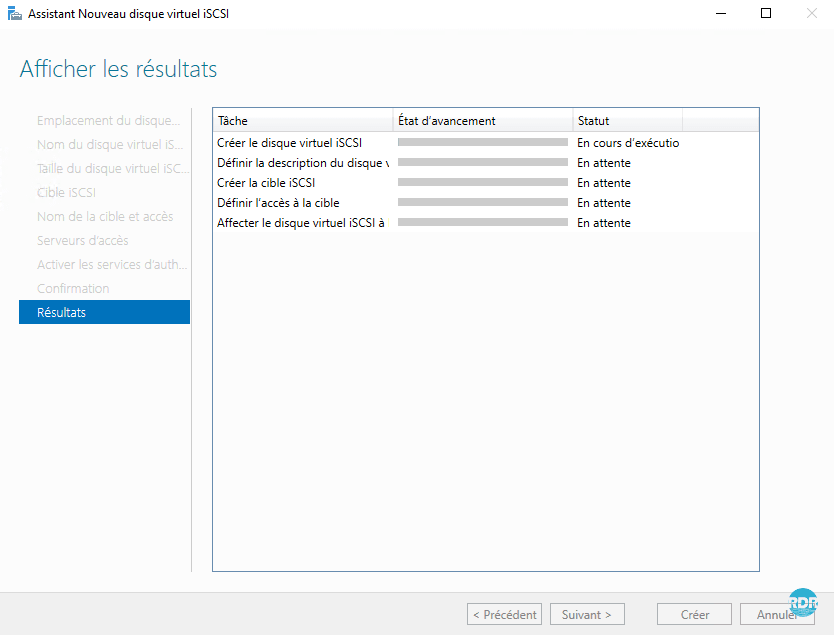
12. Wait during the creation of the virtual disk, this operation takes more or less time depending on the volume and the type of disk to create.
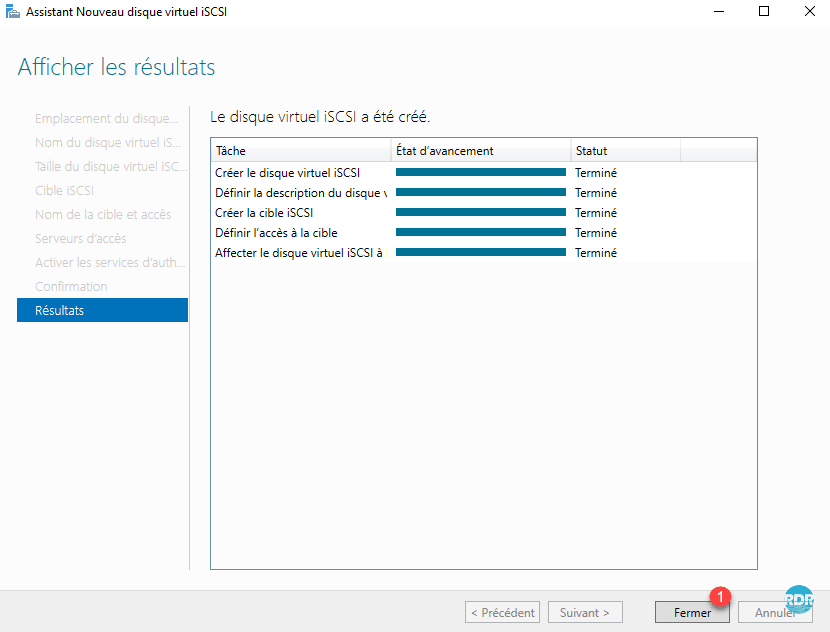
13. Click Close 1.
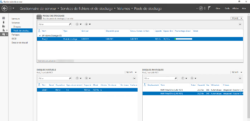
14. Return to the server manager, refresh it. Virtual Disk 1 and iSCSI Target 2 should be visible.

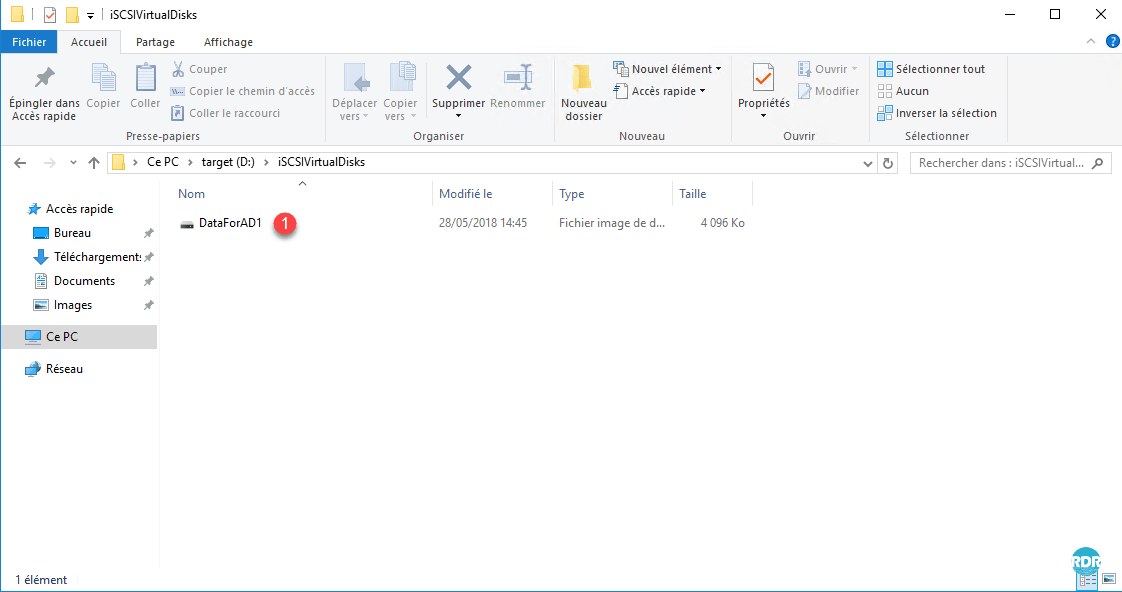
15. Open your browser and go to the path defined in point 2, the file of your virtual disk 1 should be visible.
Configuring the iSCSI Initiator
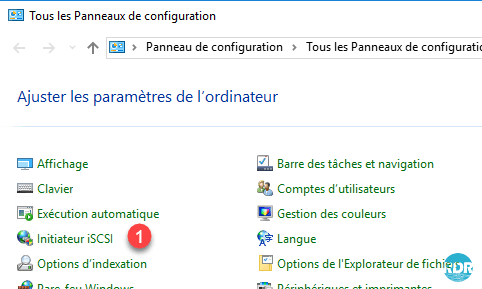
1. Open the control panel.

2. Click iSCSI Initiator 1.
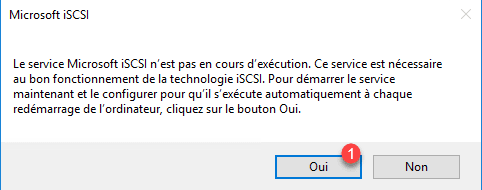
3. If this is the first time you click on it, Windows will ask you for a confirmation of the installation of the service, click on Yes 1.
4. Enter the IP address 1 of the server where the iSCSI target role is installed and click Quick Connect … 2.
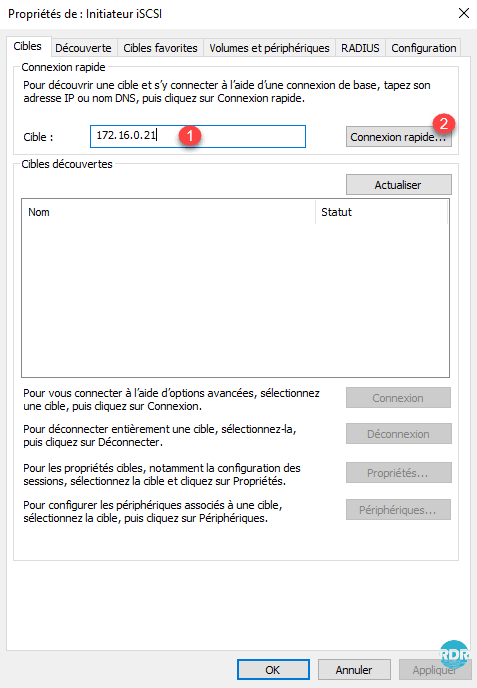
In discovered targets, if the target server is not displayed, this is because the server has not recognized the initiator and, for security reasons, the volumes are not presented, if the target is displayed go to point 11.
5. Return to the server where the target role is installed. From the manager of this server right click on the target iscsi 1 and click Properties 2.

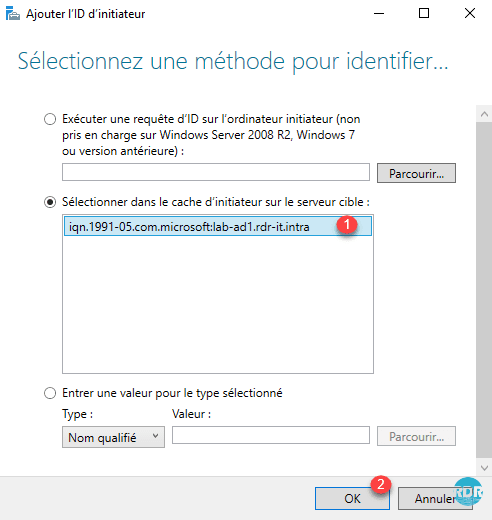
6. Go to Initiators 1 and click the Add … button.
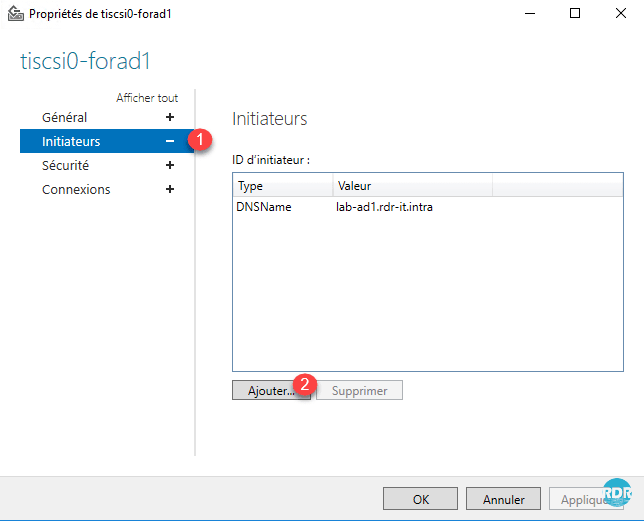
7. Normally you should see the initiatior server with its IQN 1, select it and click OK 2.
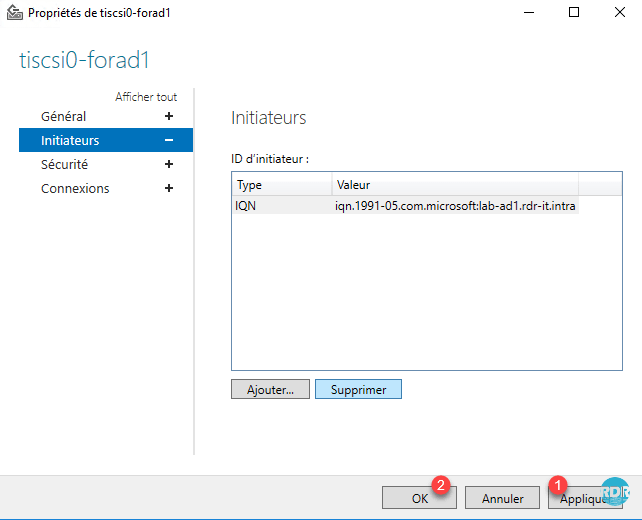
8. Select the initiator configure in DNS 1 and click the Delete button 2.

9. Apply 1 and click OK 2.
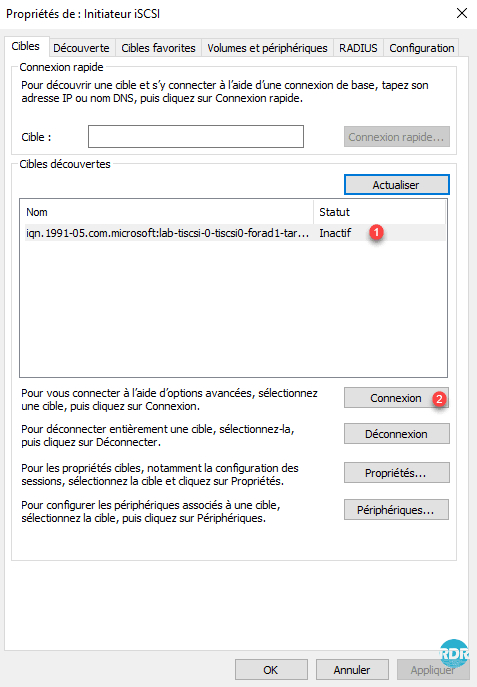
10. Return to the server where you are presenting the volume and click Refresh 1.

11. Select target 1 and click on Connection 2.
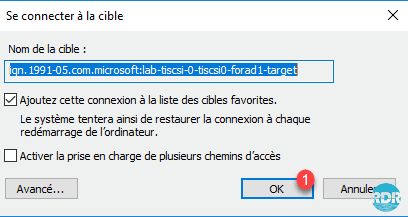
12. Click OK 1 to confirm the connection.
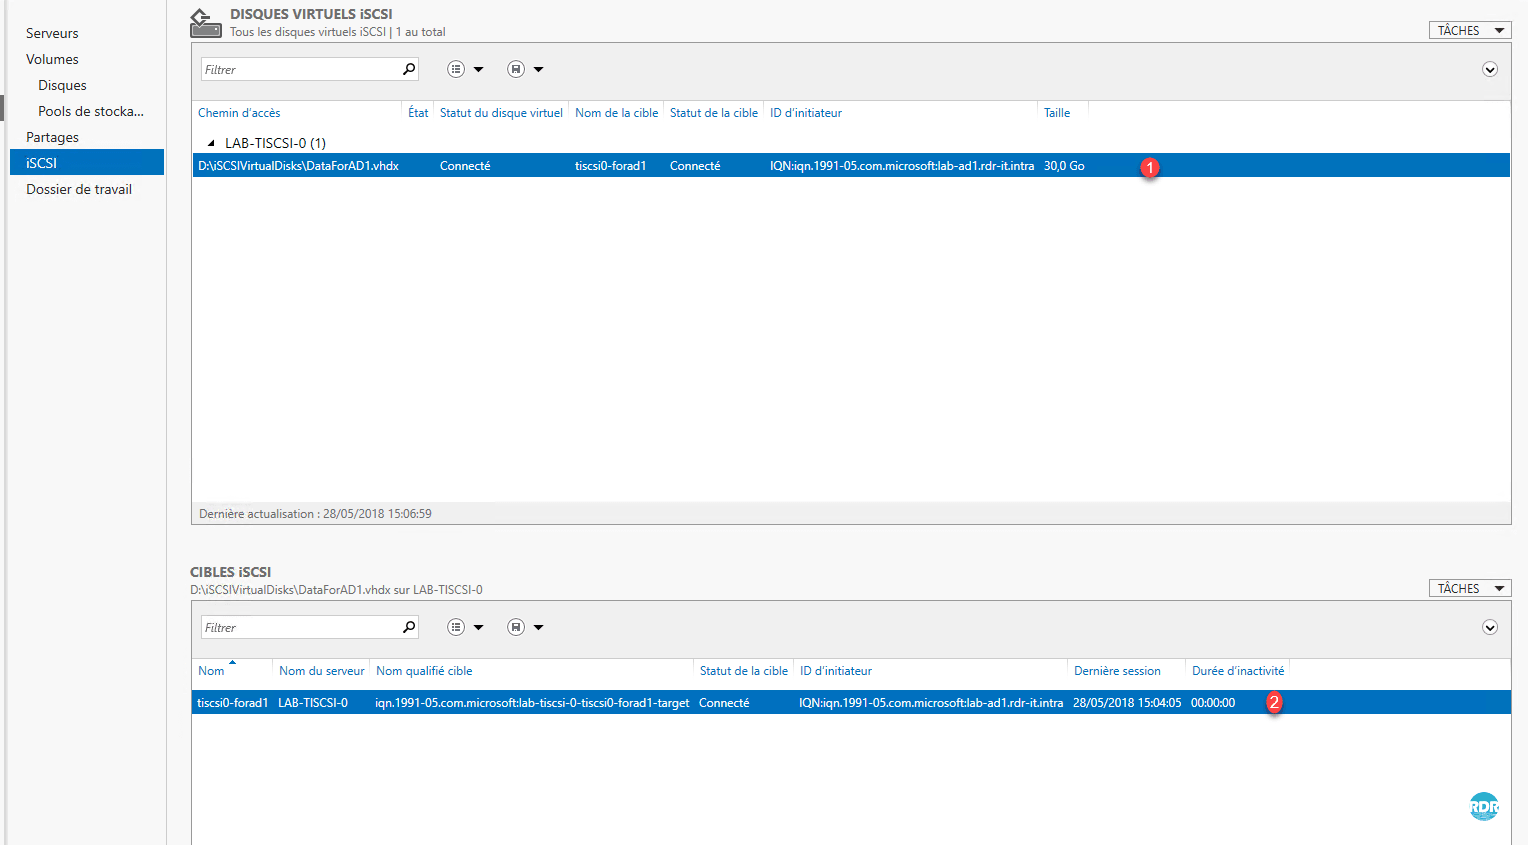
13. Return to the target server and verify that Virtual Disk 1 and Target 2 are connected.
Volume configuration
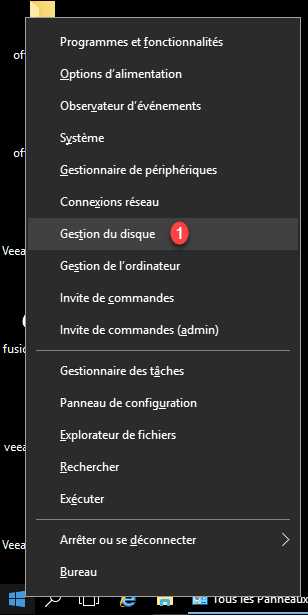
1. On the initiating server / station, launch disk manager 1.
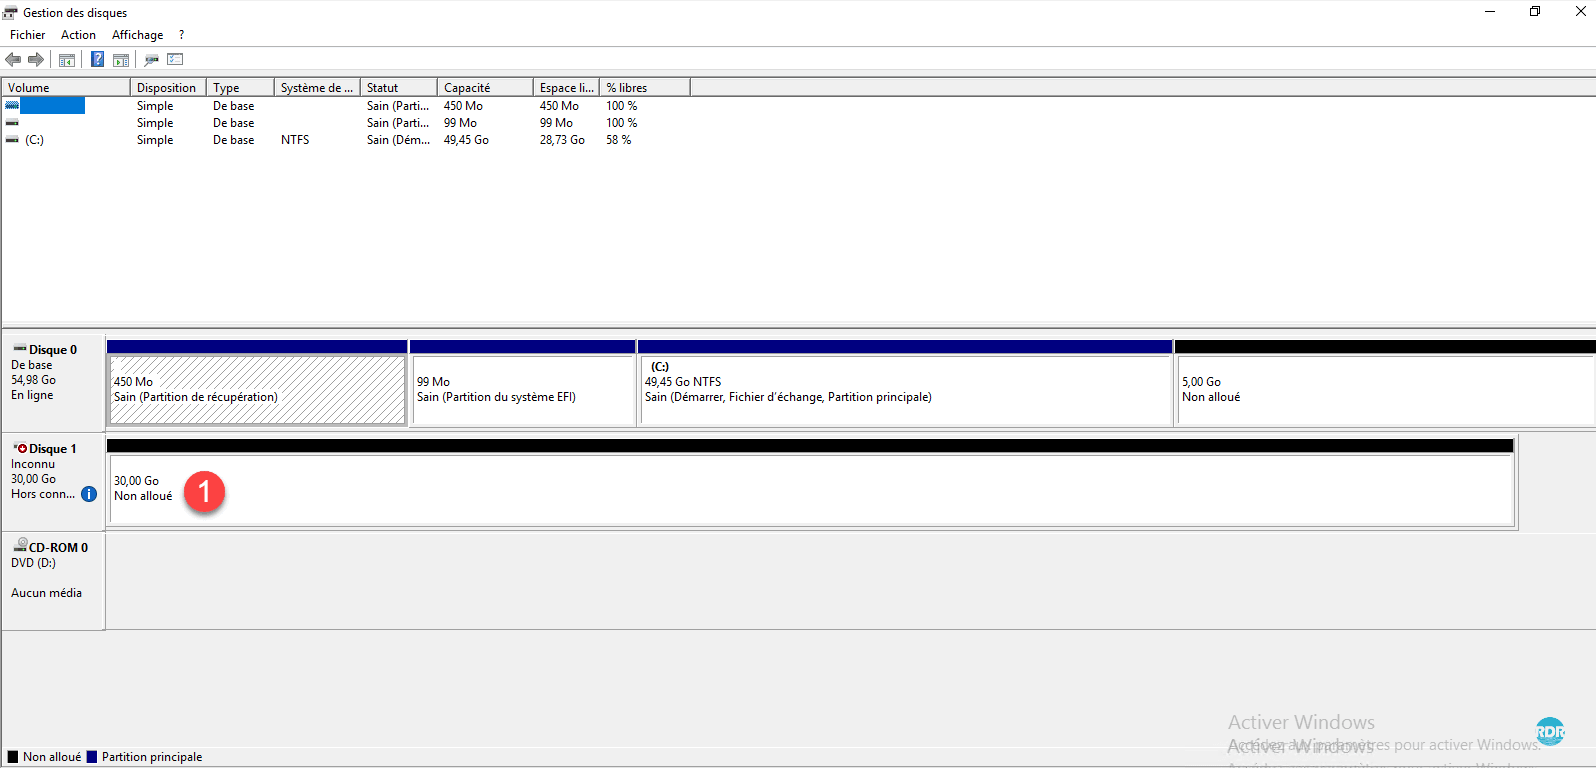
2. The mapped disk should be available 1. You just have to go online and initialize it.
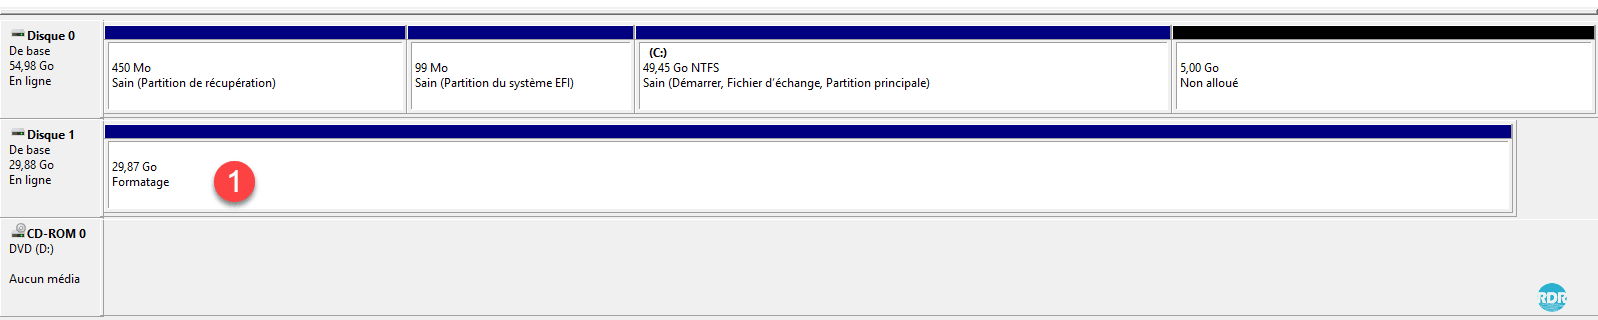
3. The volume is ready 1.
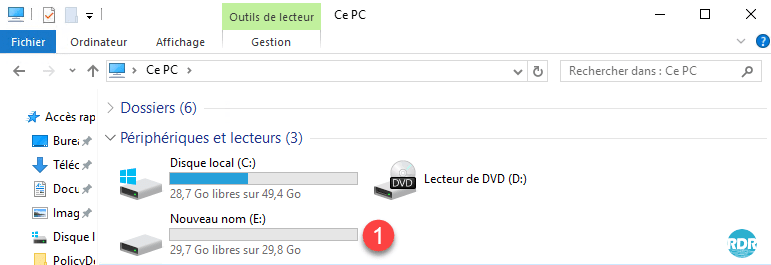
4. Open Windows Explorer, your disk is now usable.
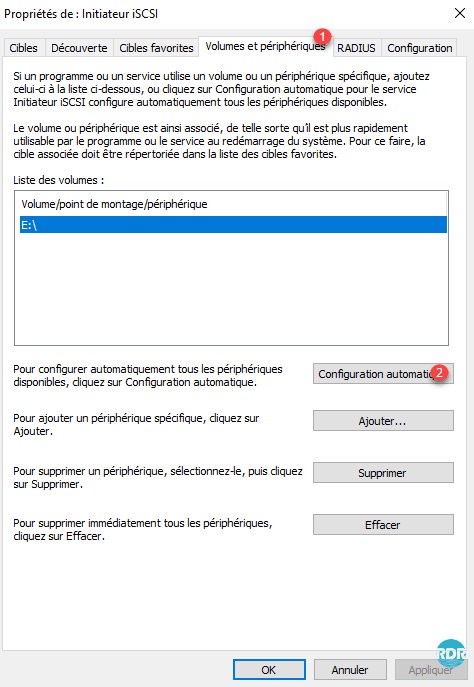
Optimize volume reconnection
On the initiating server, open the properties of the iSCSI initiator, go to the Volumes and Devices 1 tab, and click the Automatic Configuration button 2. The disk should appear in the volume list.