Introducing Let’s Encrypt
Let’s Encrypt is a free certificate authority that issues certificates for securing Internet sites.
The process is fully automated and instantaneous.
The advantage is to be able to pass your site in HTTPS free.
Installing a certificate under IIS
1. Download WACS which is a client that allows the generation of your certificates. The client must be running on the IIS server where the site is hosted.
2. Unzip the downloaded archive.

3. Copy the Web_Config.xml file to the root of your site.
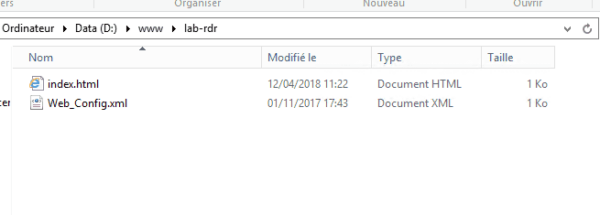
4. Restart the website. From the IIS console, right click on the site and restart.
5. Open a command prompt window in Administrator.
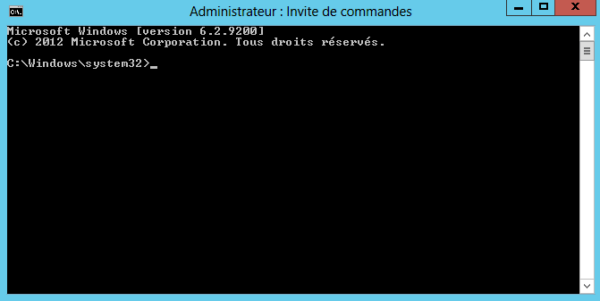
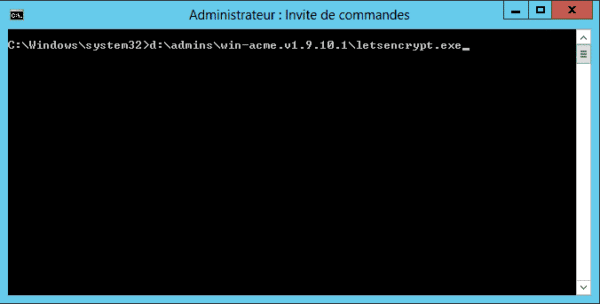
6. Run the Letsencrypt.exe file using the cmd window.
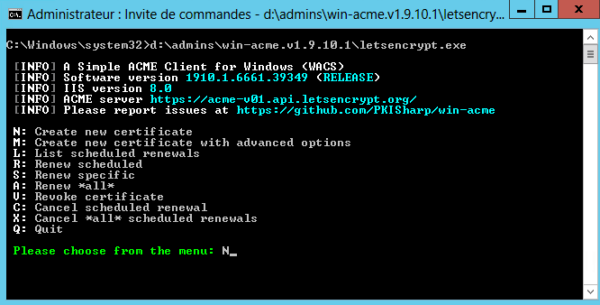
7. The following menu should appear.
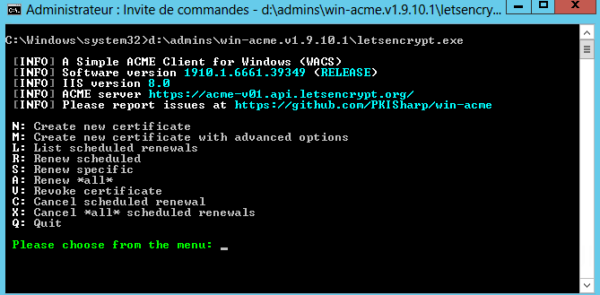
8. Make the choice N for the creation of a new certificate.
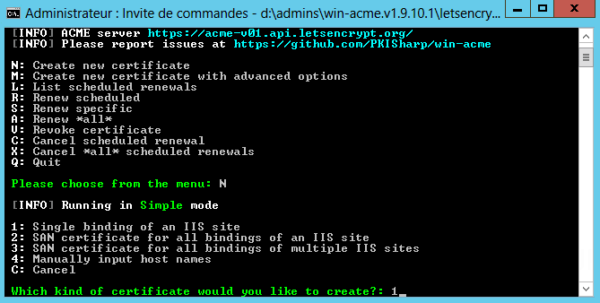
9. In our case, we will make the choice 1 because we want to generate a certificate for the site lab.rdr-it.com.
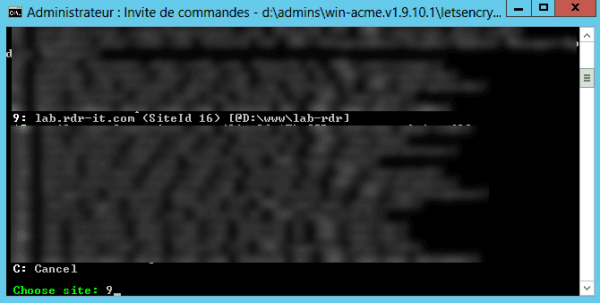
10. Select the number of your site from the list.
11. The certificate generation process begins.
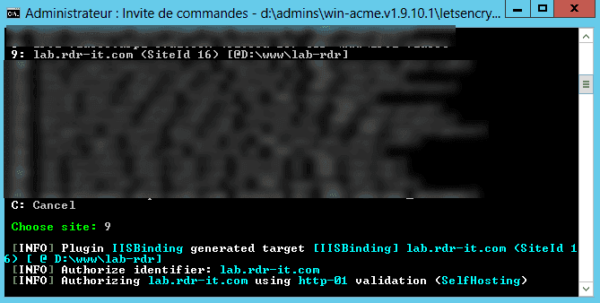
12. Result of the generation.
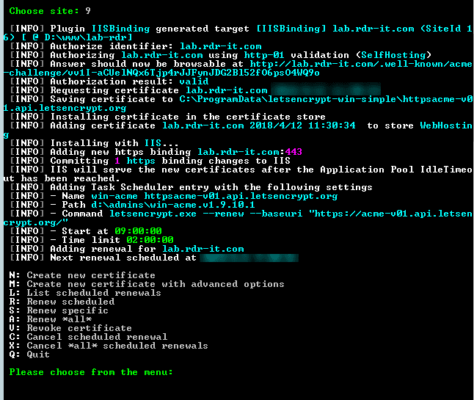
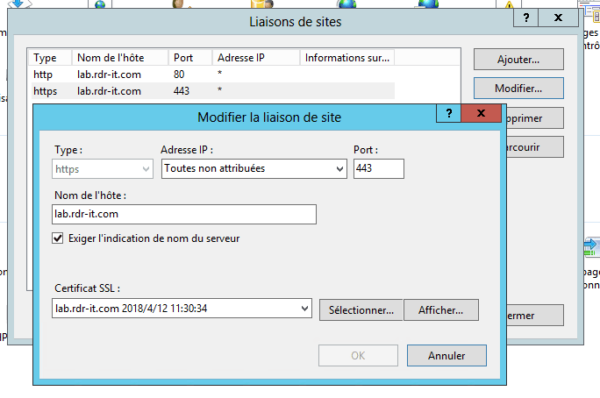
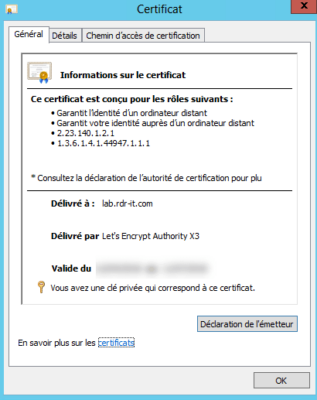
Your SSL certificate is generated and already operational. The script creates the link automatically with your site and IIS setting.
You can find the certificate in the IIS store :

Site Configuration with SSL :
Certificate Detail :
Complements :
Since version 2.X, it is no longer possible to export certificates with the private key (PFX), if you need to export the certificate in PFX format, the tutorial: Let’s encrypt generate a PFX with IIS you explain how to do it.
The certificate is valid for 3 months, so remember to renew it regularly.
I used this type of certificate for an Office 365 hybrid migration, the Microsoft servers request a certificate recognized by a certification authority. This solution made it possible to avoid the purchase of a certificate..


