In this tutorial, I will tell you how to easily generate Let’s Encrypt certificates for IIS with Certify The Web software.
I have already covered the topic of Let’s Encrypt certificates on IIS in Installing a Let’s Encrypt certificate on IIS and this one Let’s encrypt generate a PFX with IIS to generate pfx.
With Certify The Web, the generation and renewal of Let’s Encrypt certificates becomes as easy as on Linux with Certbot.
Table of Contents
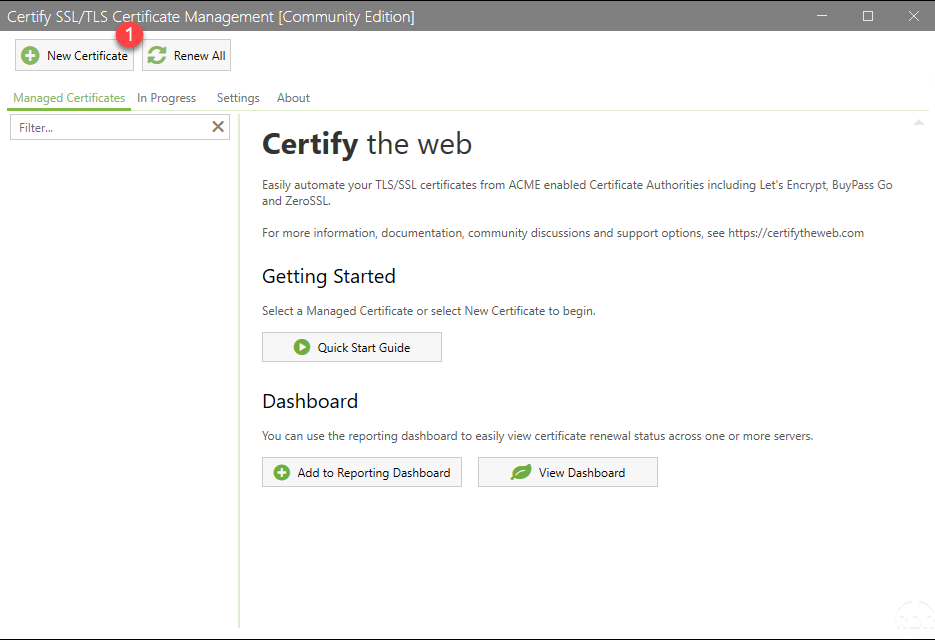
Introducing Certify The Web
Certify The Web is an application available for Windows, which allows you to manage and generate Let’s Encrypt SSL certificates.
Certify The Web is a “graphical interface” for Let’s Encrypt
Summary of features:
- Support for several certification authorities: Let’s Encrypt, Buypass Go SSL, Digicert …
- Supports multiple web servers: IIS, Apache, Nginx
- Automatic certificate deployment (Exchange, Remote Desktop, etc.)
- Automatic renewal
- ….
Complete list of features of Certify The Web.
Prerequisite
Before starting, download the latest version available on the site: Certify Your Windows IIS Website – simple free certificates powered by Let’s Encrypt (certifytheweb.com)
In order to be able to generate the certificate (s), the Host name 1 field must be configured on the IIS sites.

Installing Certify The Web
Run the setup file that was uploaded to the web server (IIS).
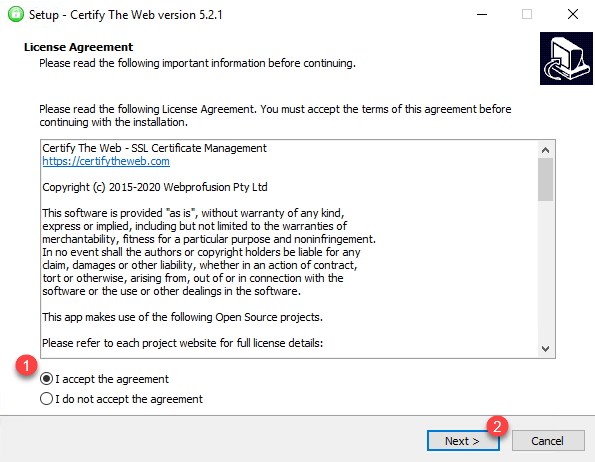
When launching the Certify The Web installation wizard, accept the license agreement 1 and click on Next 2.
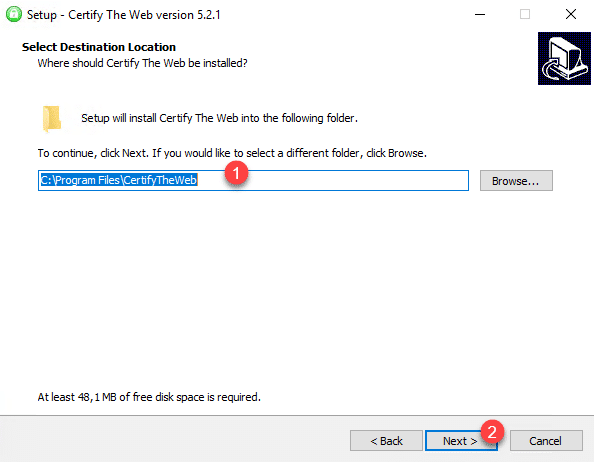
If necessary, modify the installation path 1 then click on the Next 2 button.
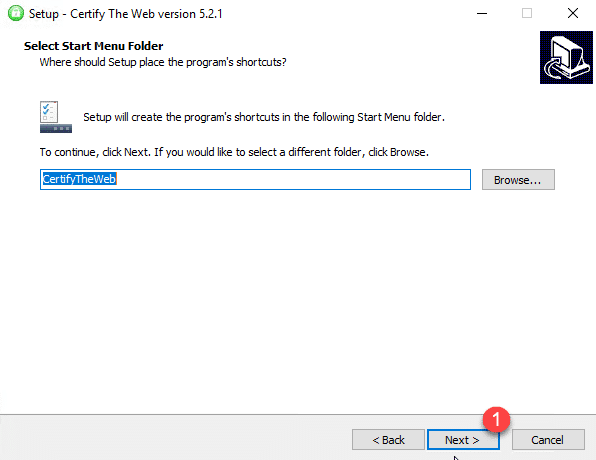
Proceed by clicking on Next 1, creating the folder in the Start menu.
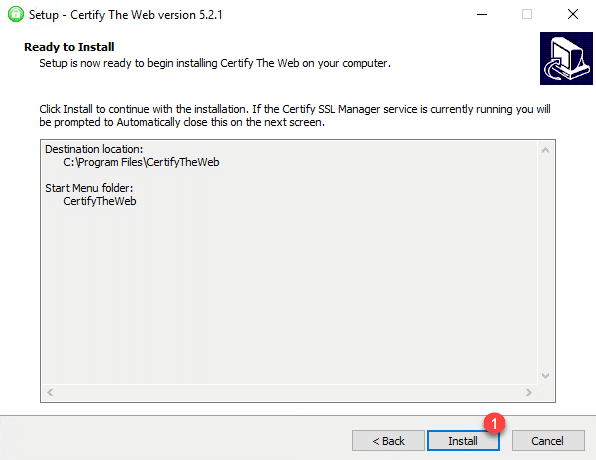
Confirm the installation of Certify The Web, by clicking on the Install button 1.
Wait during installation …
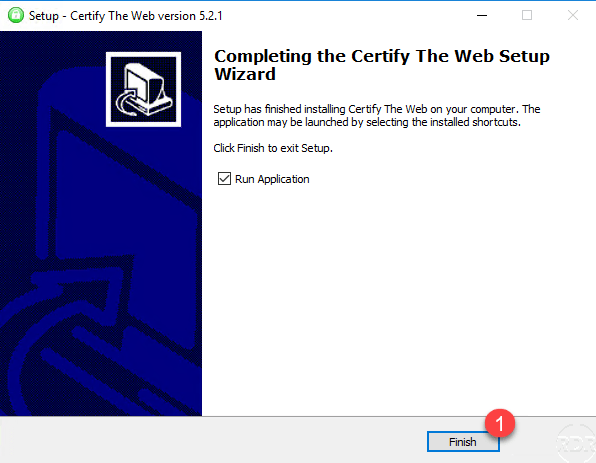
Once the installation is complete, click on the Finish 1 button, if the Run Application box is checked, Certify The Web opens after closing the wizard.
Wait while Certy The Web launches …
The installation wizard normally places a shortcut on the desktop.
Generate a Let’s Encrypt certificate with Certify The Web and IIS
Now that the software is installed, we will see how to create a Let’s Encrypt certificate, but first, it is necessary to configure an e-mail address.
Setting up an account for Let’s Encrypt
From CertifyThe Web, click on the New Certificate 1 button.
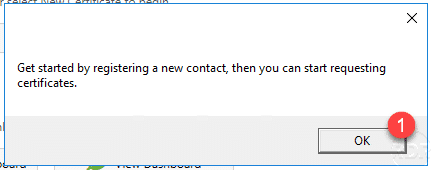
An information message is displayed, indicating that a contact must be created, click on OK 1.
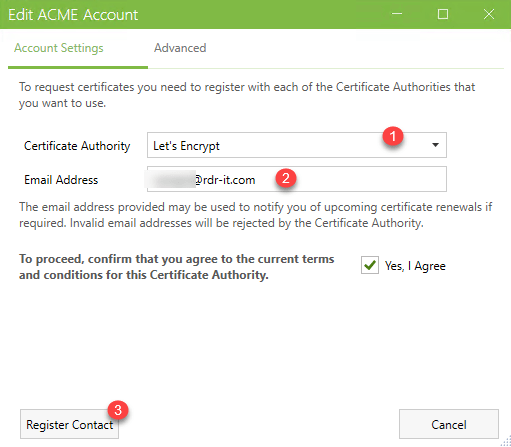
Select the certification authority 1, here Let’s Encrypt, indicate a contact email address 2 and click on the Register Contact 3 button.
We will now be able to proceed to the generation of a Let’s Encrypt certificate for an IIS site.
Generate a Let’s Encrypt certificate
Back to the Certify The Web home window, click again on the New Certificate 1 button.

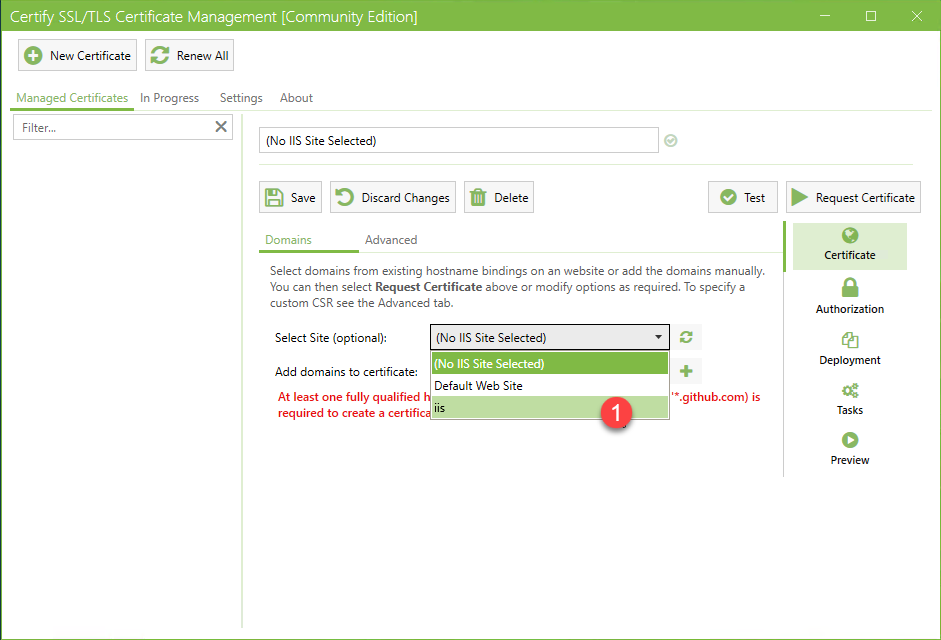
The first step will be to select the site 1 from the drop-down list.
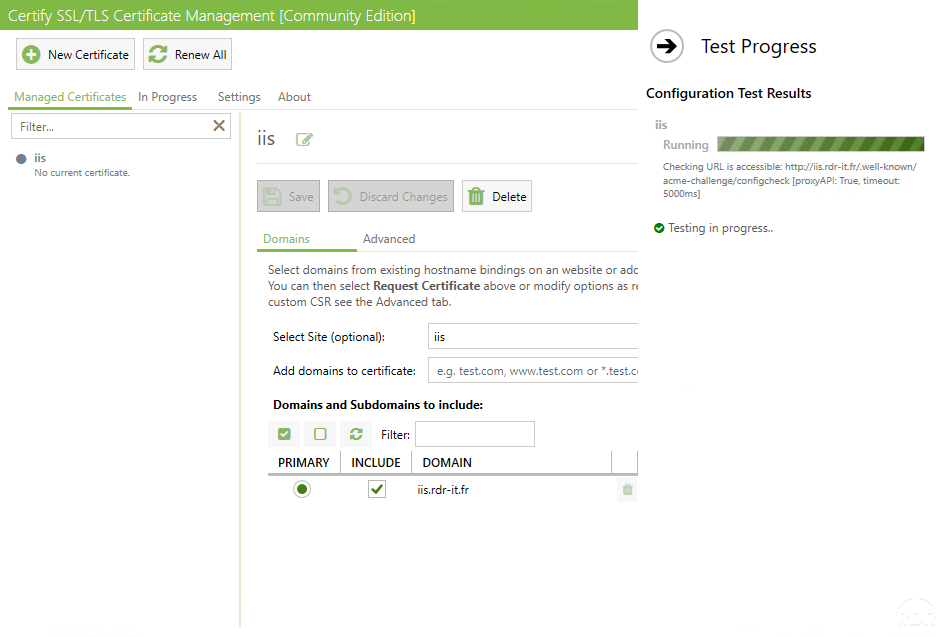
Once the site has been selected, the information for the domain (s) is displayed 1, during the first generation of a certificate for a domain or a site, I recommend doing a test before, for that click on the Test button 2.

Wait while Certify The Web runs the Test …
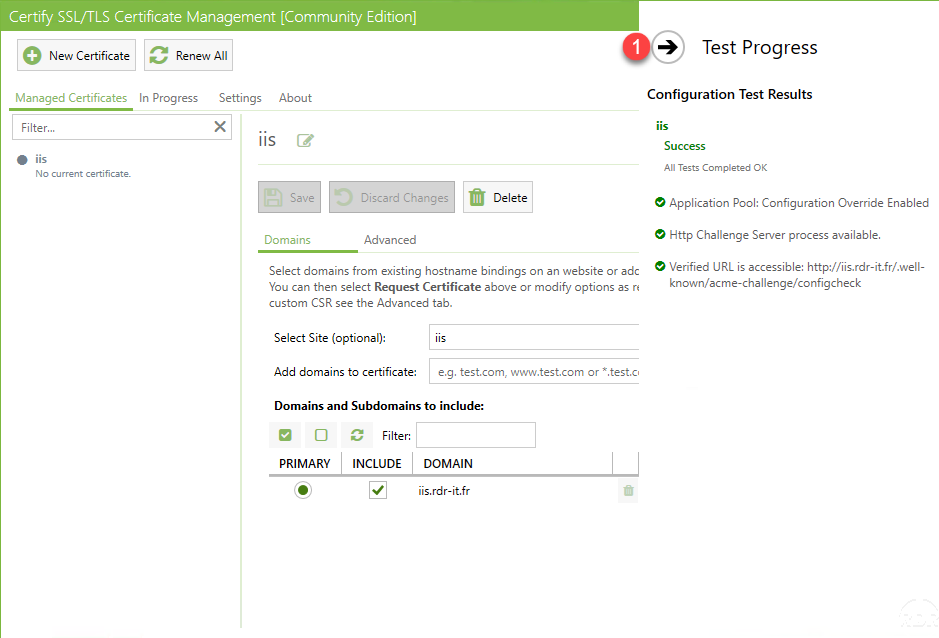
The test is finished and everything is good, we can generate the certificate. Close the test result by clicking on the arrow 1.
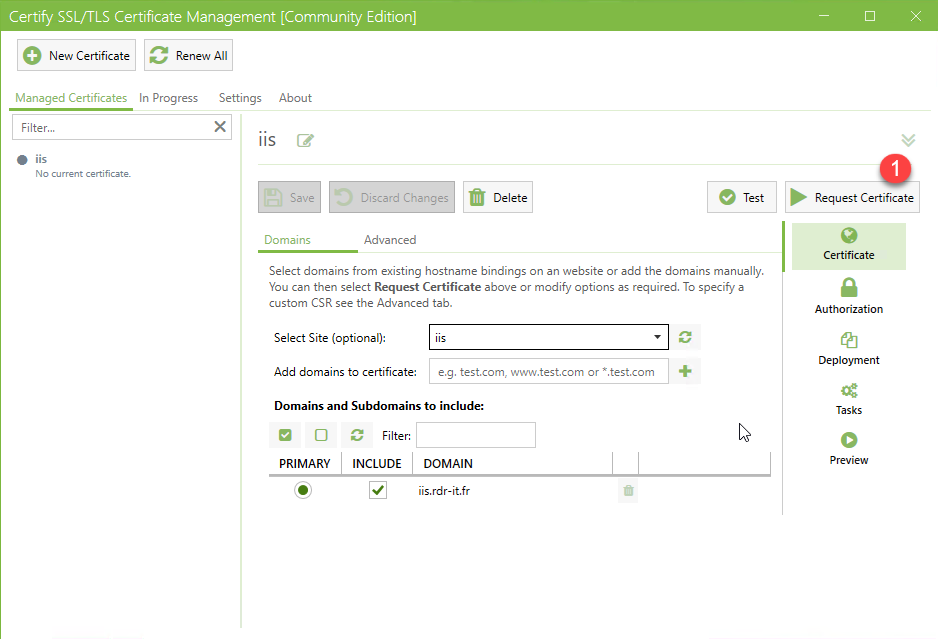
To generate the certificate, click on the Request Certicate 1 button.
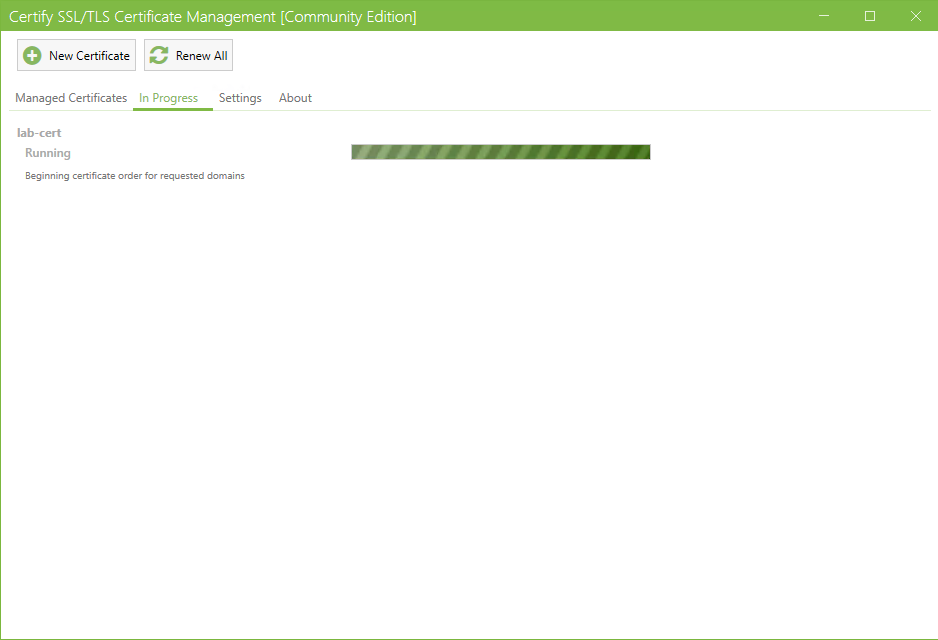
Wait while the Let’s Encrypt certificate is generated by Certify The Web …

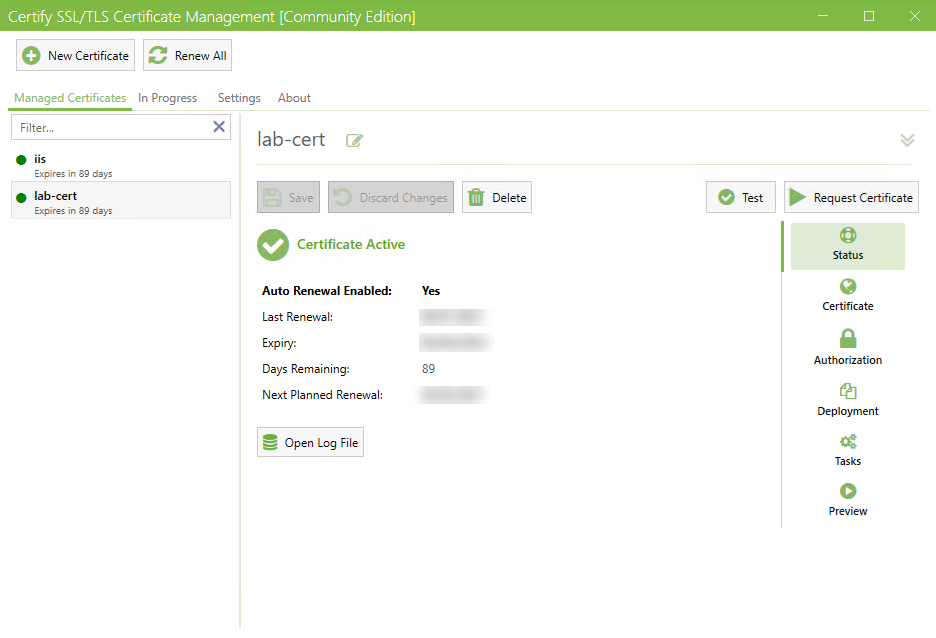
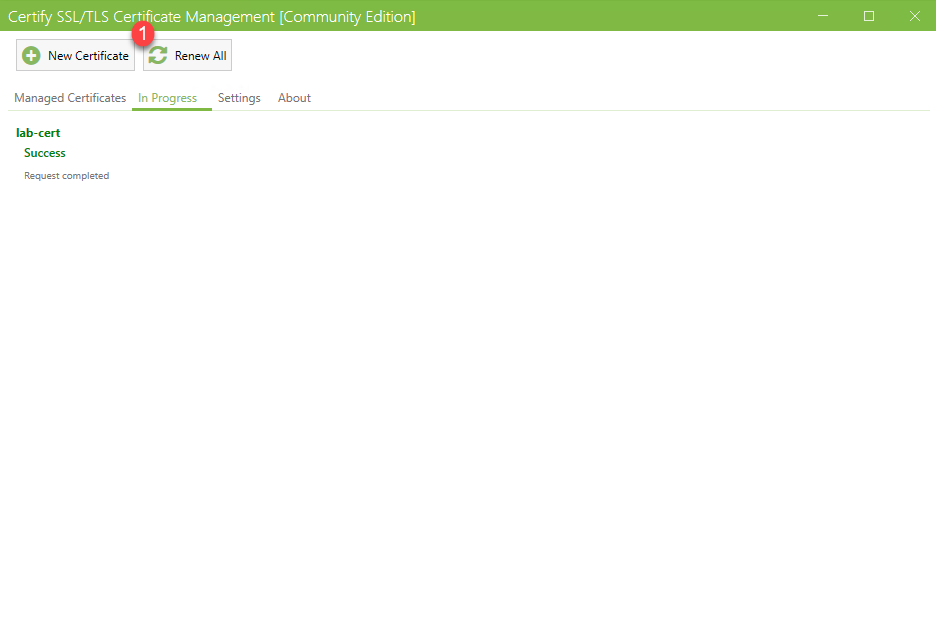
The certificate has been generated, click on Managed Certificates to return to the previous view.
In the list of sites on the left, we can now see a green dot next to the name which means that an SSL certificate is installed, we can also under the name, the time in days before expiration.

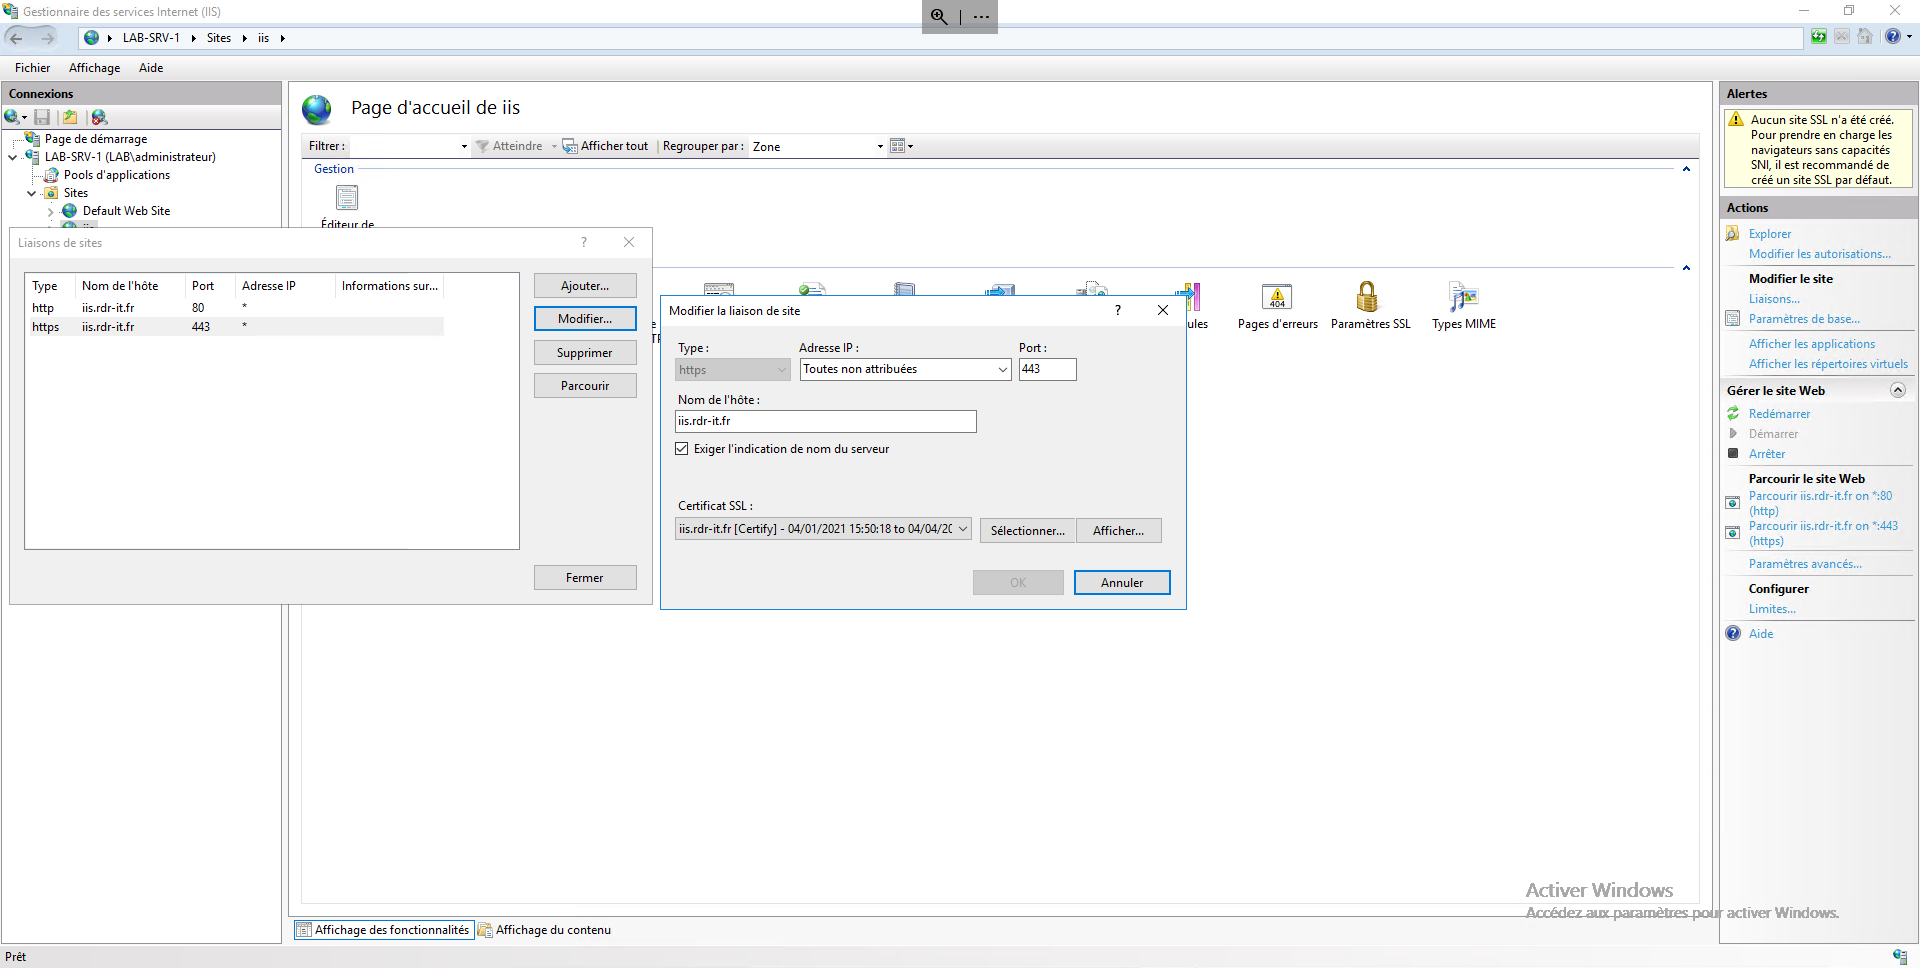
If we look in the IIS console, the site is now accessible in HTTPS with the Let’s Encrypt certificate.
Complements
Renewal of certificates
By default, certificate renewal is automatically activated and occurs every 30 days. The renewal part is configurable by going to Settings 1, you normally arrive directly on the configuration of the renewal part.

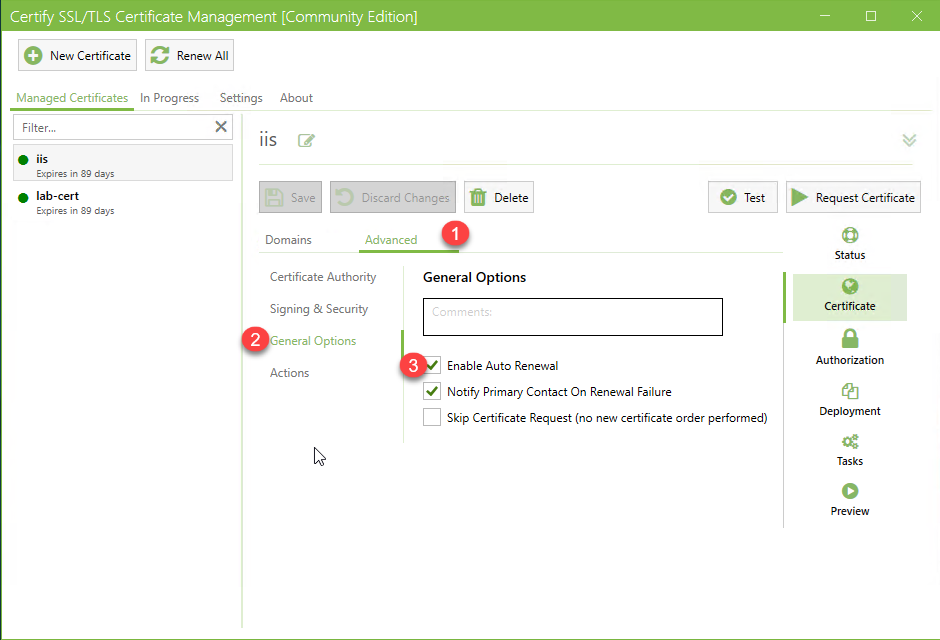
It is possible to disable the automatic renewal for a site, by going to Advanced 1, General Options 2 and you must uncheck the Enable Auto Renewal 3 box. Think about saving.
View certificate information
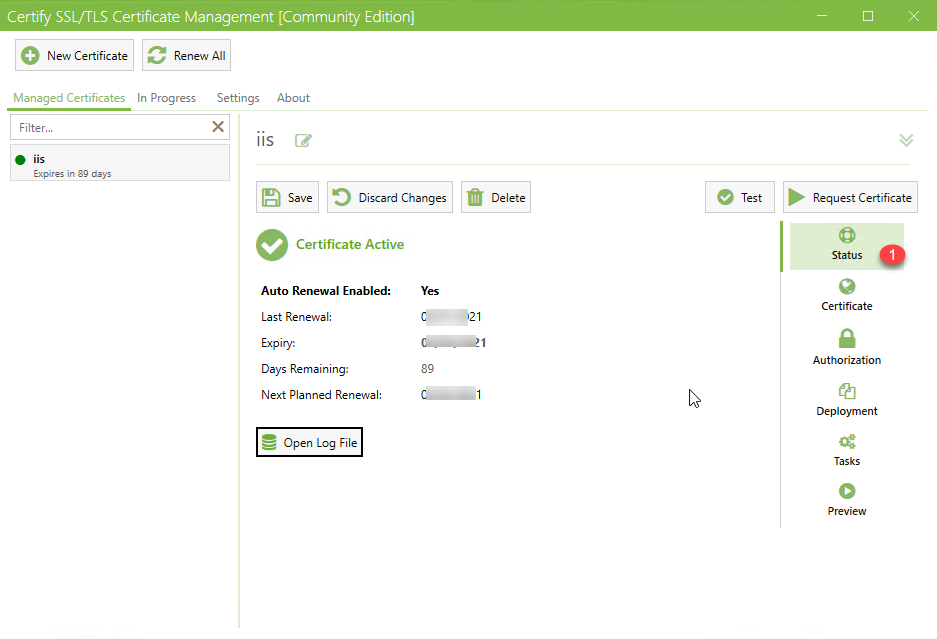
To display the certificate information, click on Status 1, from there, some information is available such as the creation / renewal date, the expiration date and the next renewal date.
Export the certificate in PFX format
Let’s Encrypt certificates generated with Certify The Web can be exported in PFX formats with their private key, which is useful if you need to install it on another web server such as in the case of a DAG with Exchange where it is necessary to ” have a certificate in PFX format with the private key.
I won’t go into detail on how to export a certificate here.
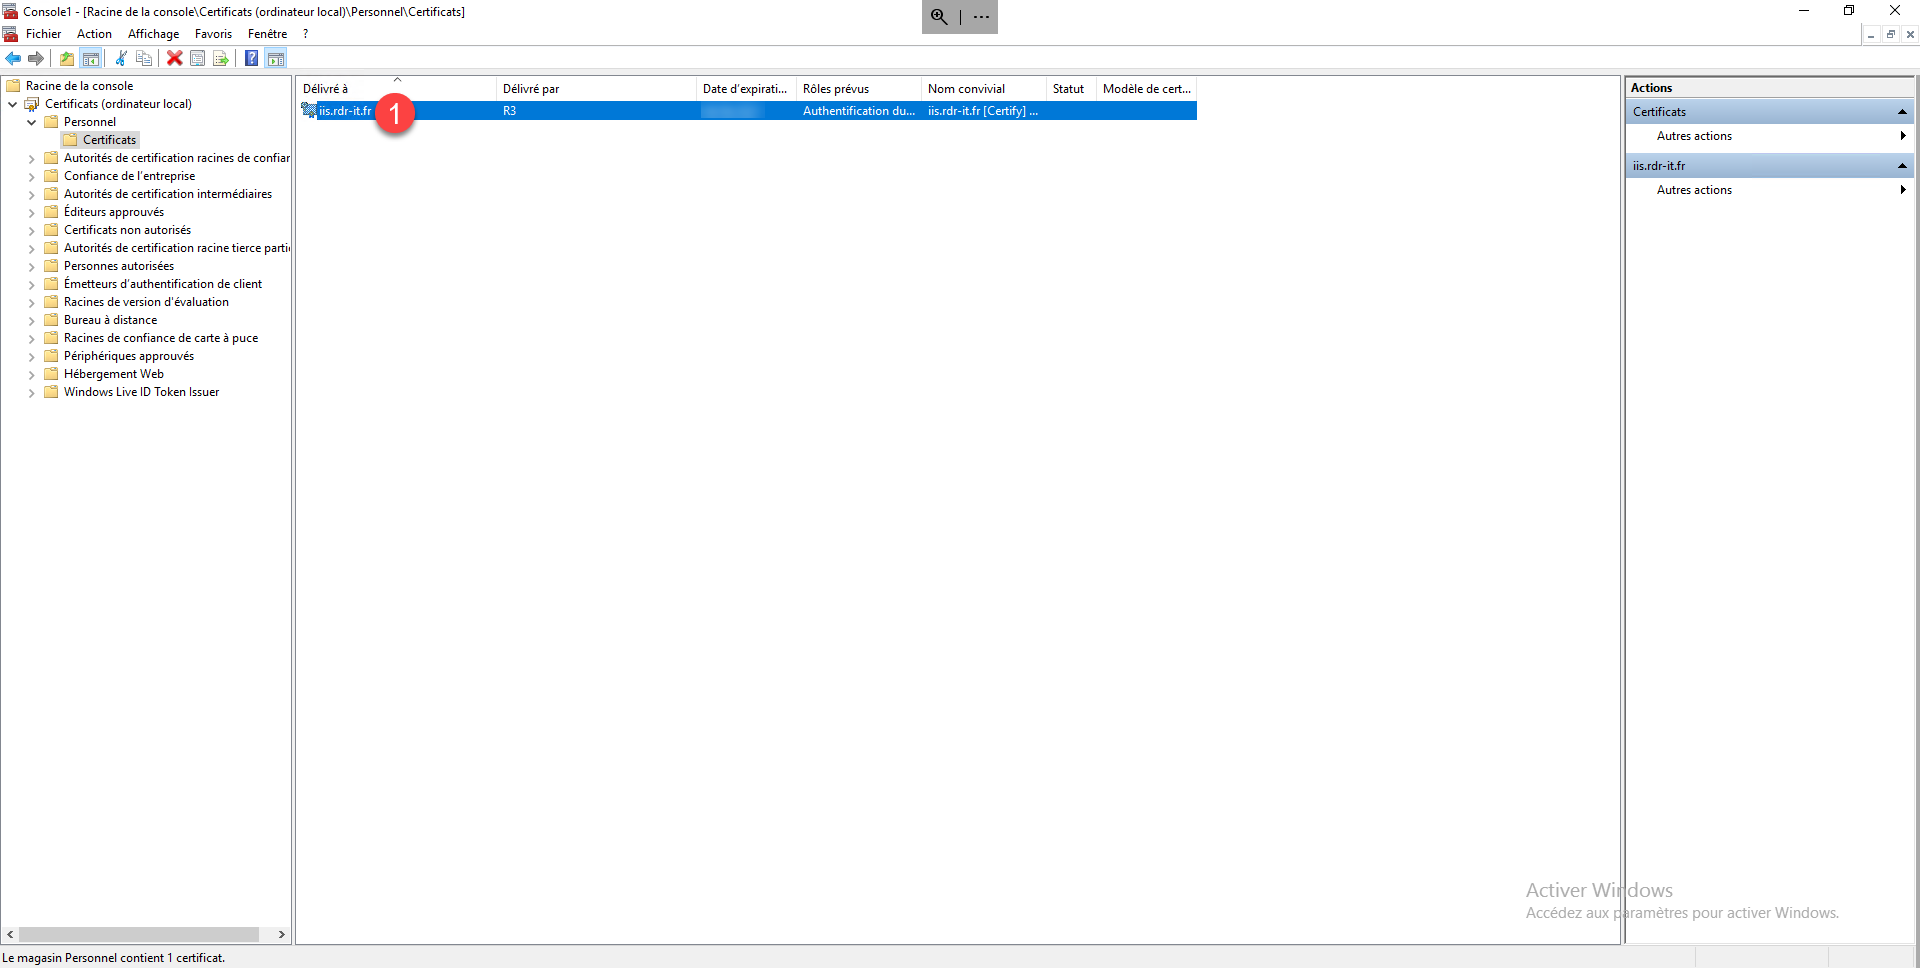
From the Certificate Management MMC in the personal store, we can see that the certificate has the private key icon 1.
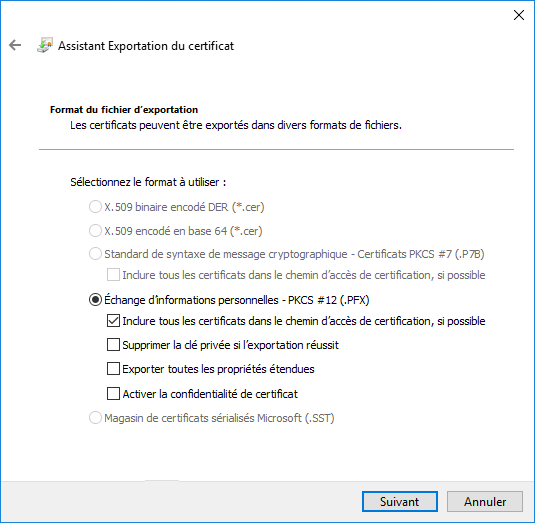
When exporting, choose Yes, export the private key.

Select the PFX format.
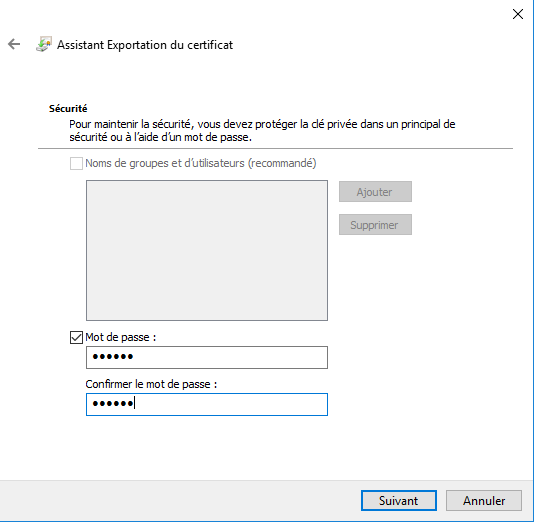
Then enter the certificate protection password
Then continue to follow the wizard to export the certificate.
Conclusion
Certify The Web is a practical software that automates the management of certificates (Let’s Encrypt) on Windows with a graphical interface. It allows management as easy as under Linux with Certbot, in particular for automatic renewal.
