
In this tutorial, we will see how to deploy a certificate to computers and servers that are members of an Active Directory domain using a GPO (Group Policy).
Some cases where you may need to distribute a certificate using Group Policy:
- Internal Certification Authority (ADCS)
- Firewall appliance certificate for SSL filtering
- Self-signed web server / rds certificate
Certificate deployment by group policy allows us to install the certificate on computers directly in the correct store centrally using Active Directory.
Table of Contents
Export the certificate to deploy
Operation to be performed on the server where the certificate with the private key is installed.
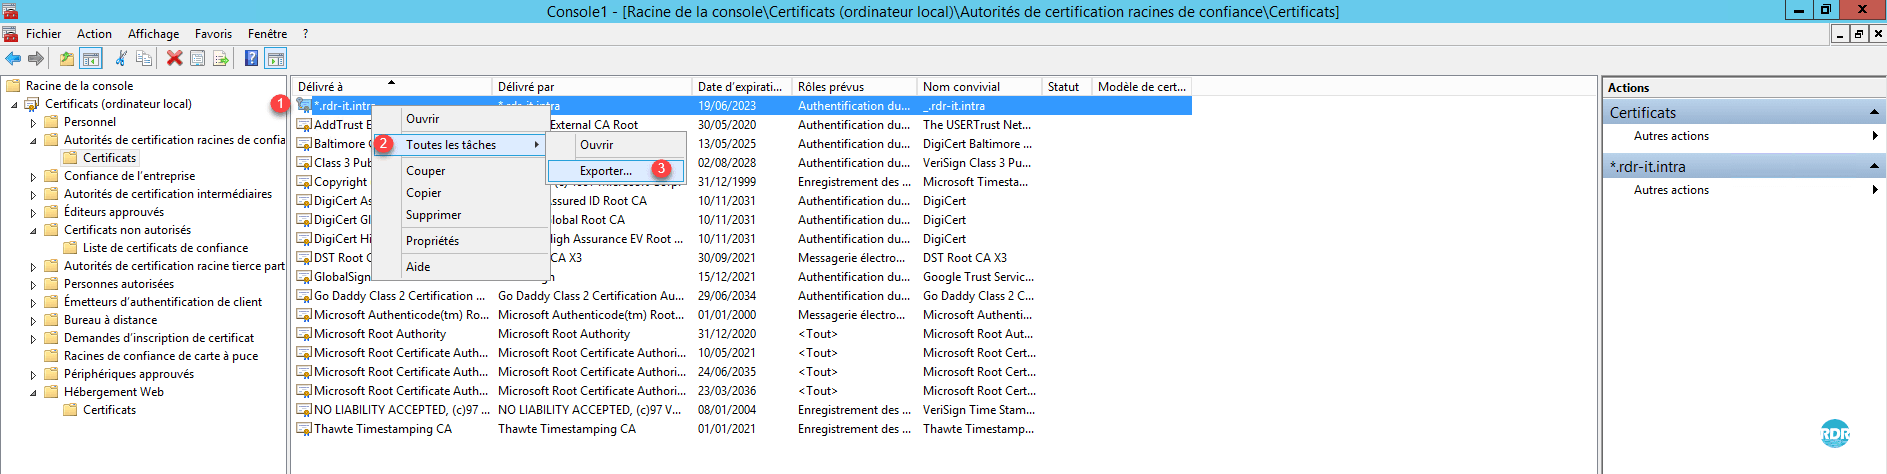
Open the Certificate Management MMC console on the local computer and go to the store where the certificate is stored.
Select certificate 1, right-click on it and go to All Tasks 2 Export… 3.
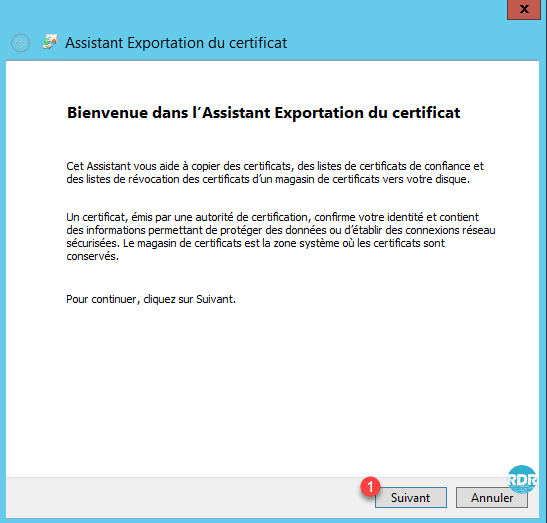
When the wizard opens, click Next 1.
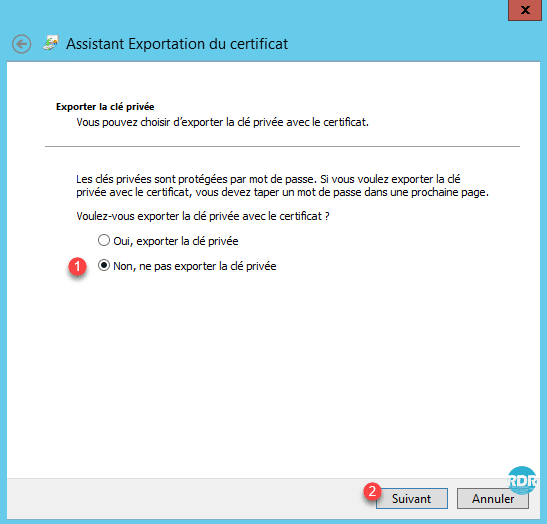
Select No, do not export the private key 1 and then click Next 2.
Select one of the two X.509 formats 1 and click on the Next button 2.

The certificate must have the .cer extension
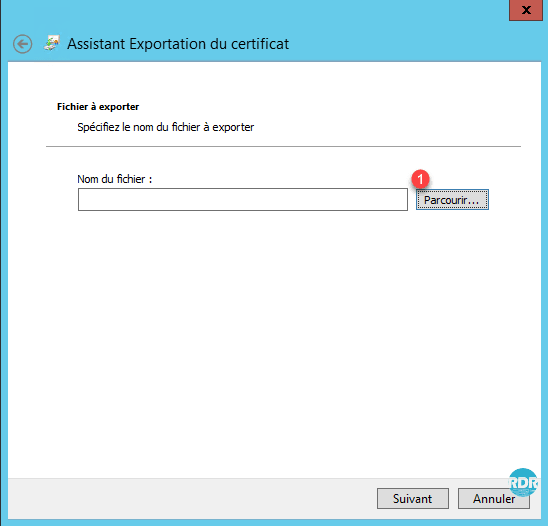
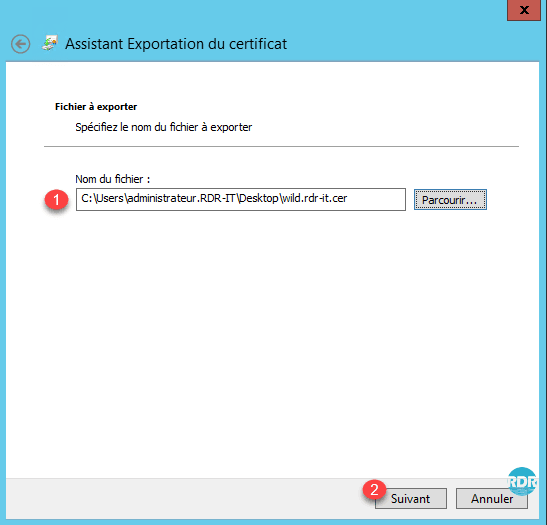
Click the Browse button… 1.
Choose folder 1, enter the file name 2 and press Save 3.

Validate the path and name of file 1 then click on Next 2.
Click the Finish 1 button to close the wizard.
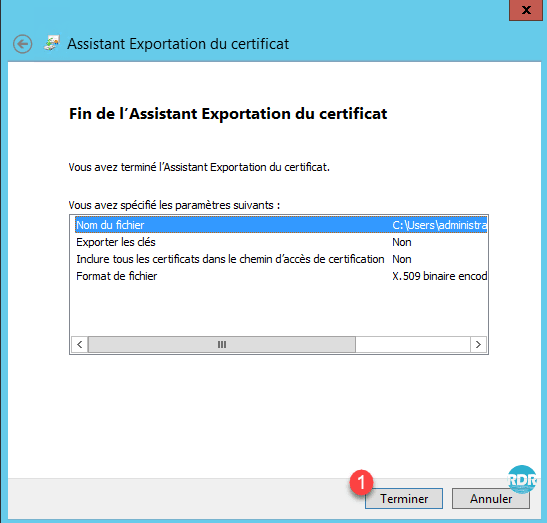
Check the file creation.

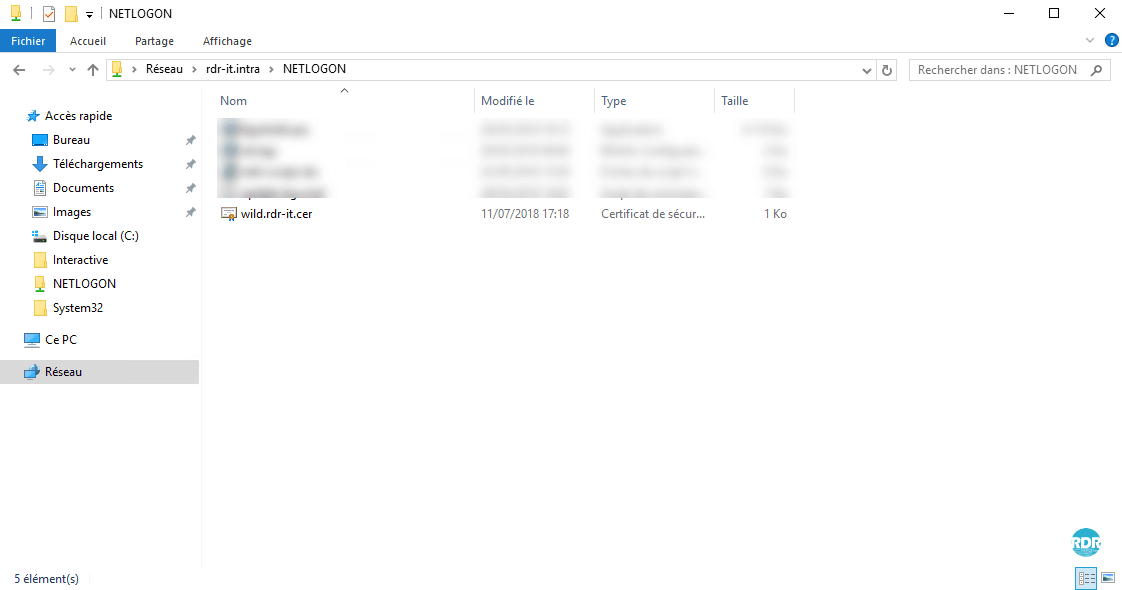
Place the certificate in a location accessible by your domain control.
Creating the policy (GPO) to deploy a certificate
Open the Group Policy Management console.
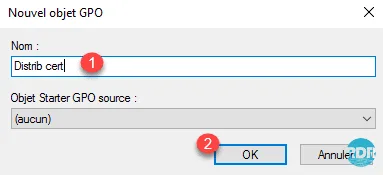
Right click on OU 1 then click Create a GPO in this domain, and link it here… 2.

Name the strategy 1 and click OK 2.
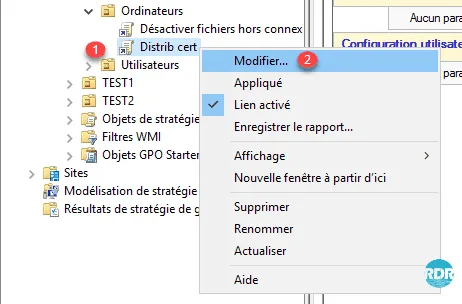
Right-click on strategy 1 and click Edit… 2.
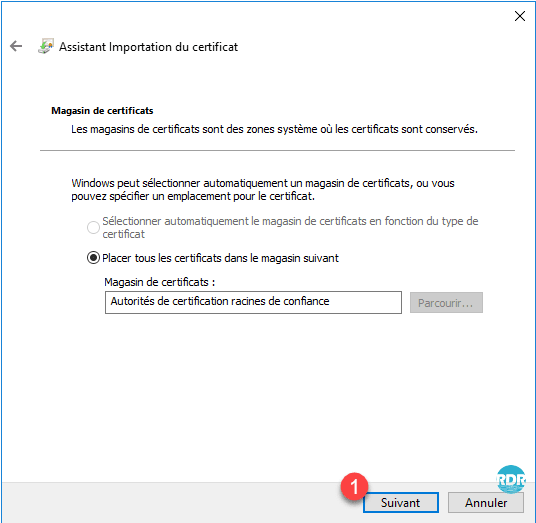
Go to the Trusted Root Certification Authorities setting 1 which is located in: Computer Configuration > Policies > Windows Settings > Security Settings > Public Key Policy. Right-click 2 and click Import 3.

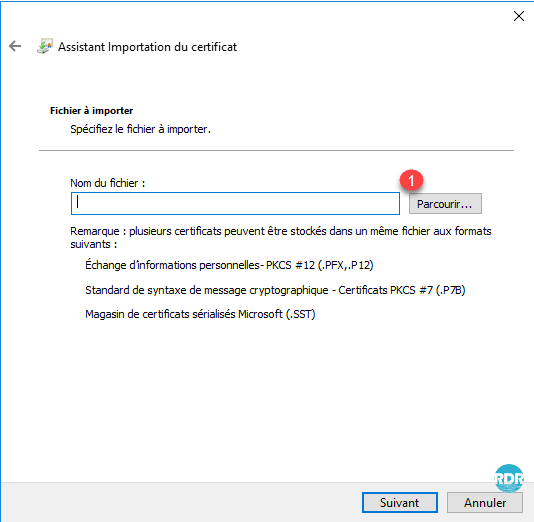
When the wizard launches, click Next 1.

Click Browse… 1.
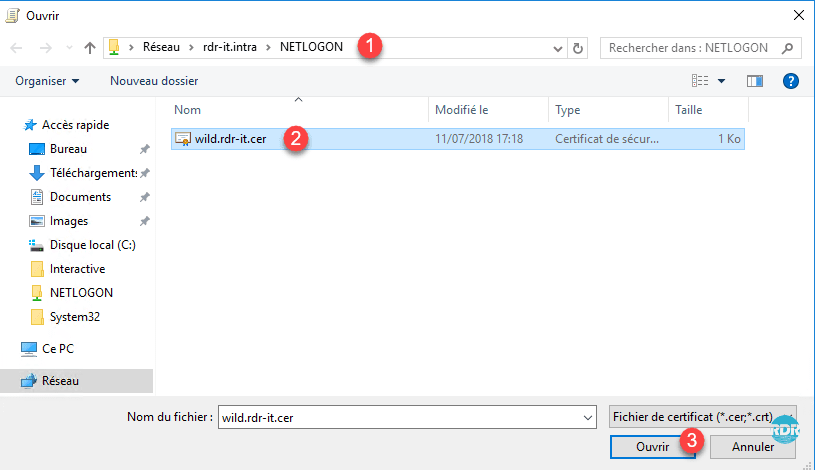
Go to file location 1, select certificate 2 and click Open 3.
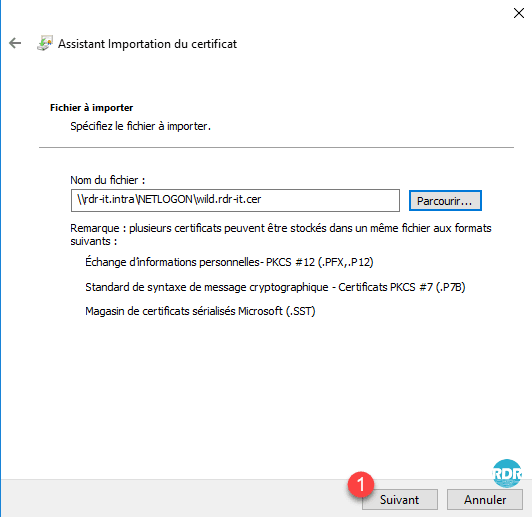
Back on the wizard click on Next 1.
Unable to select the store, click Next 1.
11. Cliquer Terminer 1 pour importer le certificat.
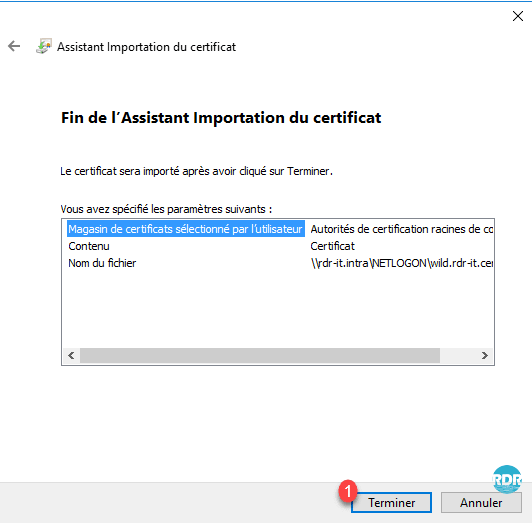
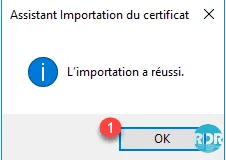
Click OK 1 when confirming the import.
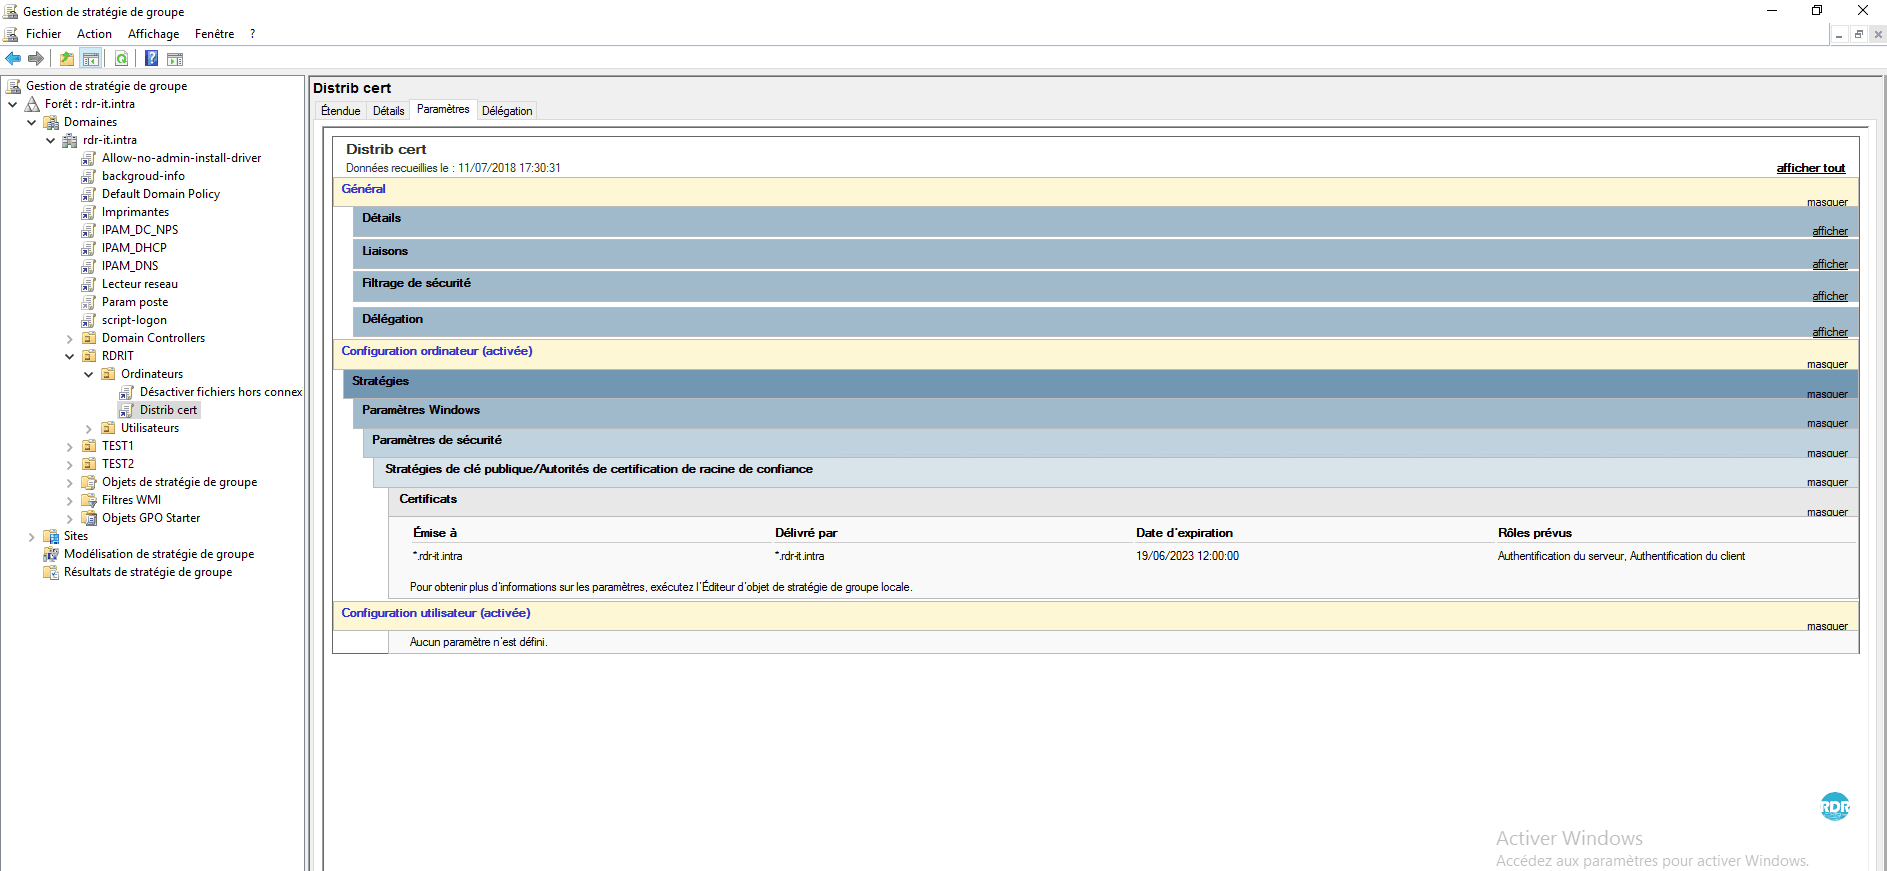
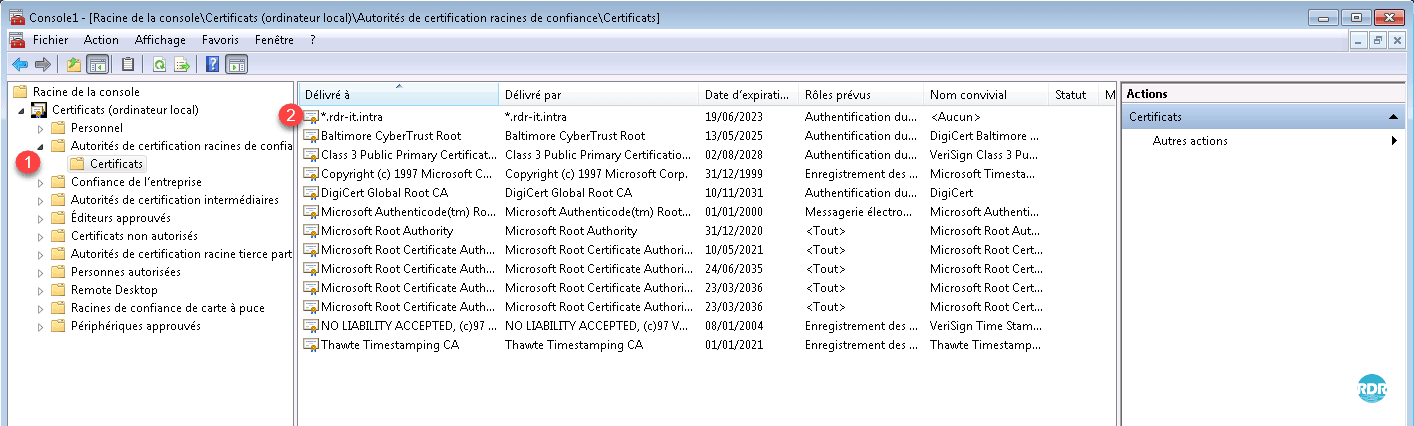
The imported certificate should be displayed in settings level 1.

Strategy settings:
Test the certificate deployment
Restart a computer where the group policy that installs the certificate is applied
Log in to the computer.
Open the Certificate Management MMC console on the local computer and go to Trusted Root Certification Authority 1 and verify the presence of certificate 2.
In this tutorial, we saw how to deploy a certificate using a GPO, but also how to export a certificate from the certificate store of a local computer.
