Table of Contents
Presentation
In this tutorial, I will explain how to install a plugin on GLPI.
A plugin allows you to add additional features such as automatic inventory, adding form, adding fields …. the list is long … You can also develop your own plugin.
Since GLPI version 9.5, there are two ways to install plugins, which I will present in this tutorial.
First method: manual
This is the oldest method, i.e. you have to download the plugin from the Internet and then send it to the plugins folder of the GLPI installation.
With a super-admin account, on the menu, go to Setup 1 and click on Plugins 2.
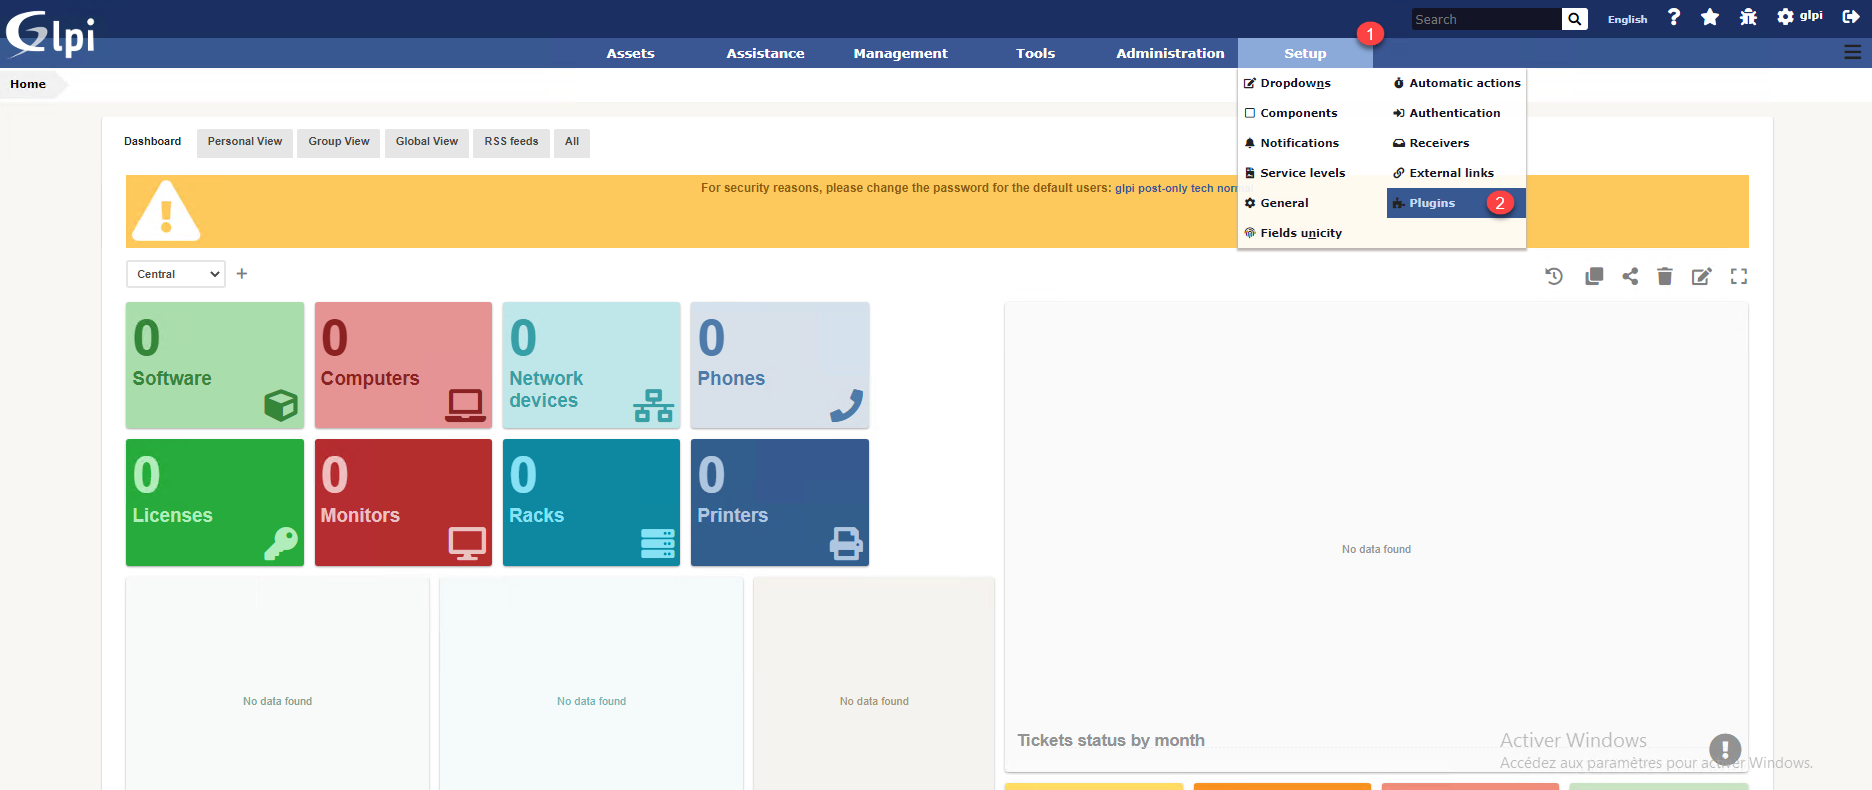
If this is the first time that you are going to this menu on version 9.5, a window is displayed on the marketplace, click on No or later to close it.
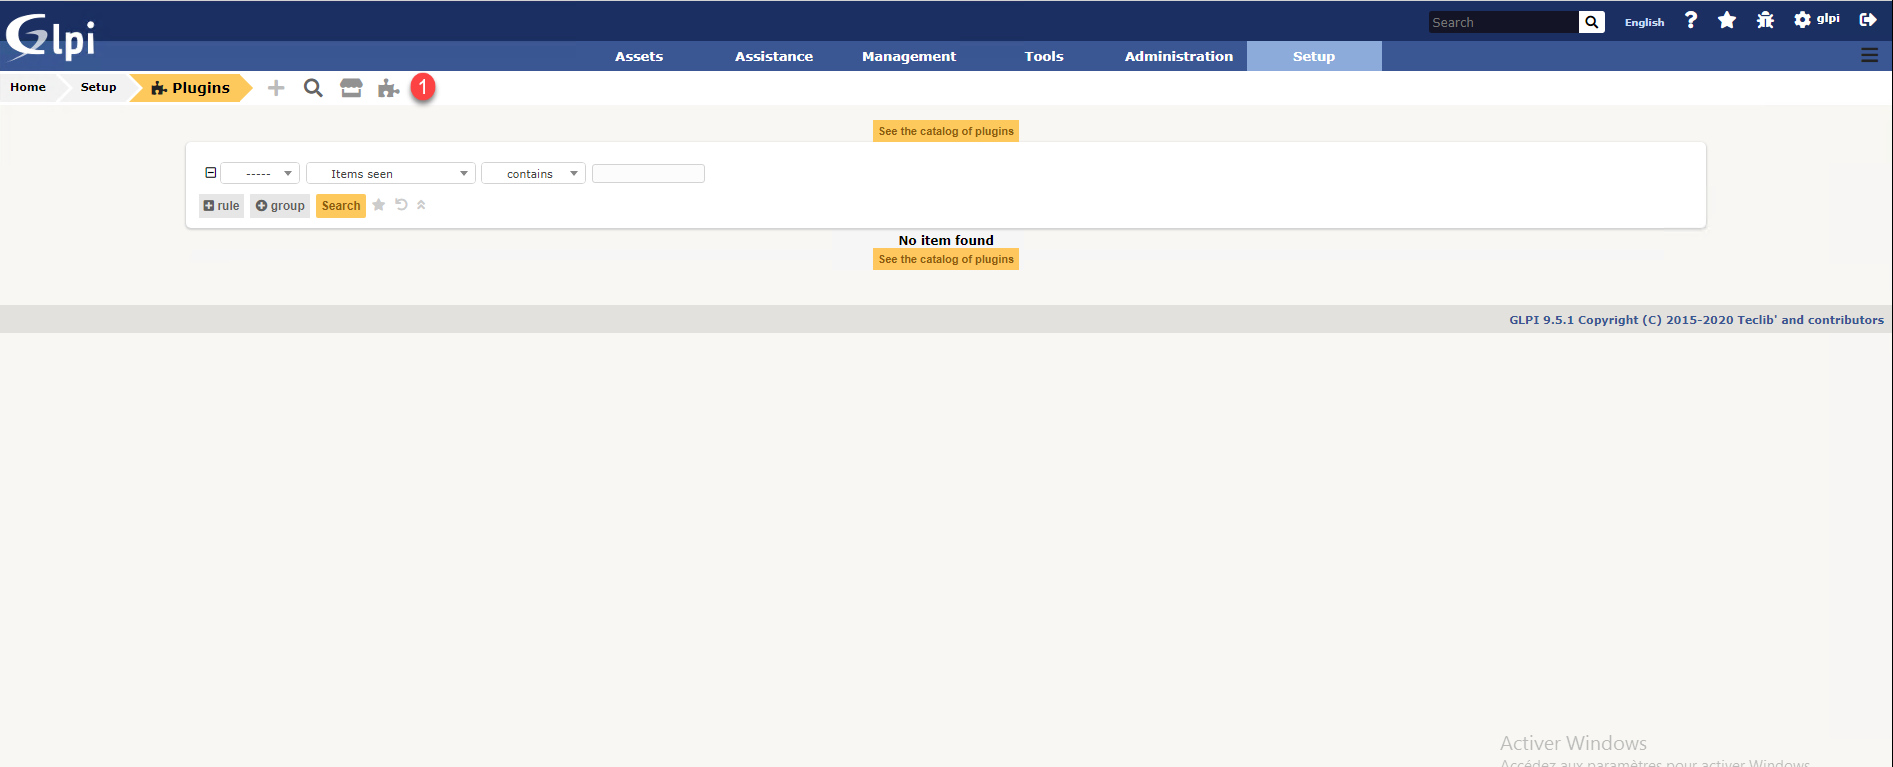
You should arrive on the page below, which displays the list of plugins which is currently empty. If this is not the case, in the breadcrumb trail click on the icon in the form of a puzzle 1.
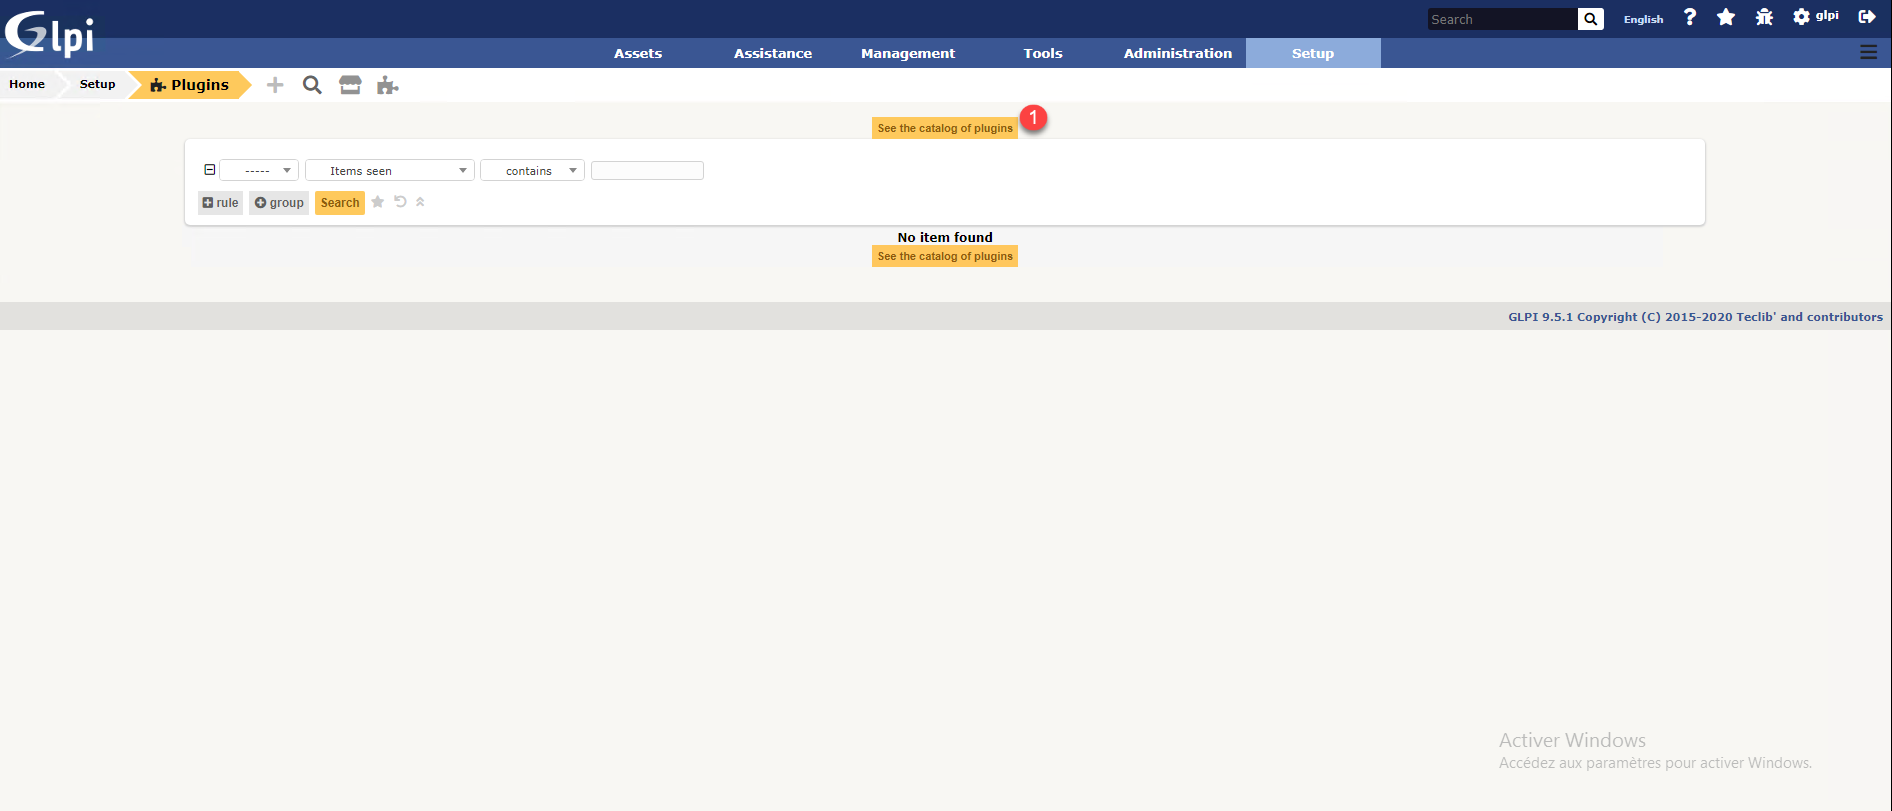
To access the plugin directory, click on View plugin catalog 1.
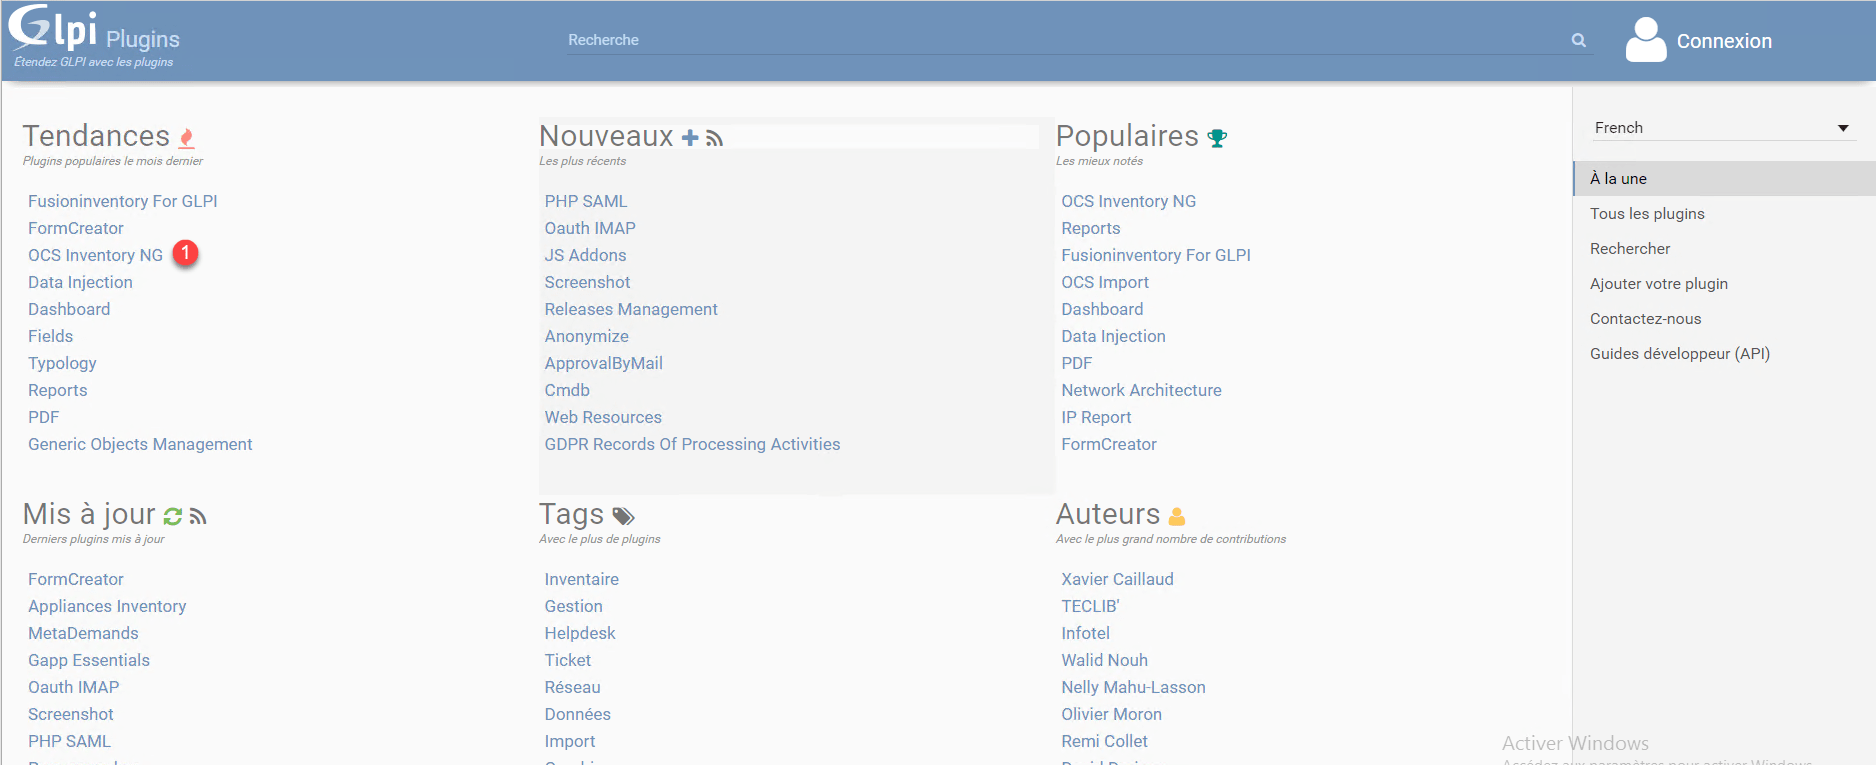
We arrive on the site https://plugins.glpi-project.org, which is the official directory of GLPI plugins. Search for the plugin you want. To illustrate the tutorial, I will install the OCS Inventory NG plugin 1.
Once on the plugin file, check that it is compatible with your version 1, then click on the 2 button to “download” it.

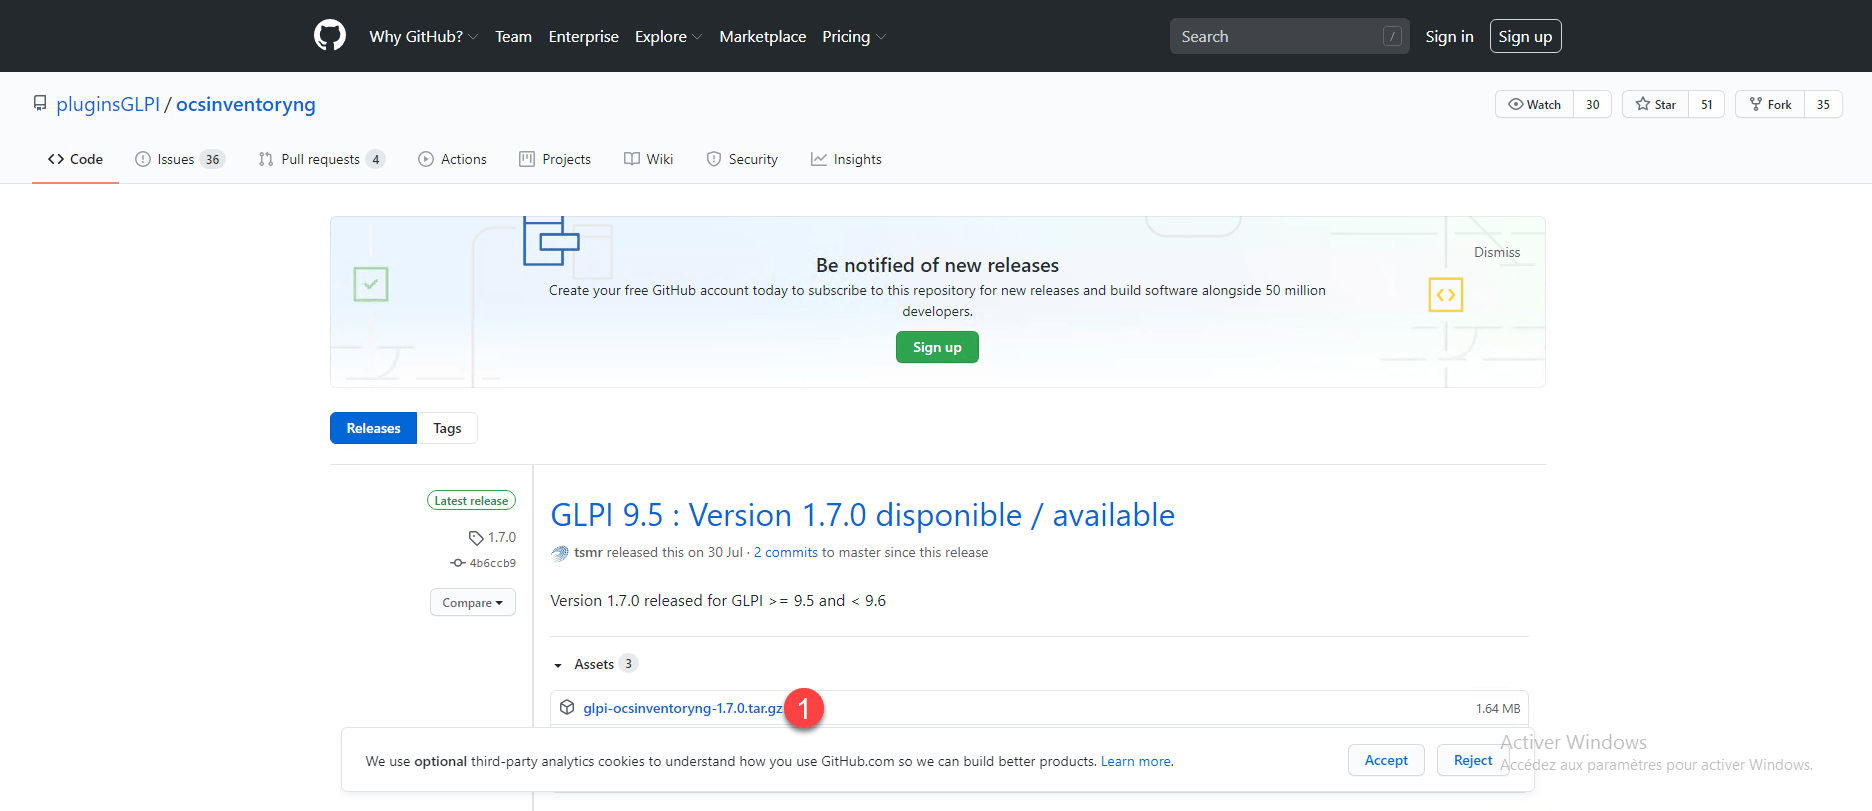
And no, the download does not start, by clicking on the button, we are directed to the author’s repository, here on Github, on the repository find the link to download the latest release, here you have to click on glpi-oceinventoryng -XYZtar.gz 1.
Once the archive has downloaded 1, unzip it there.
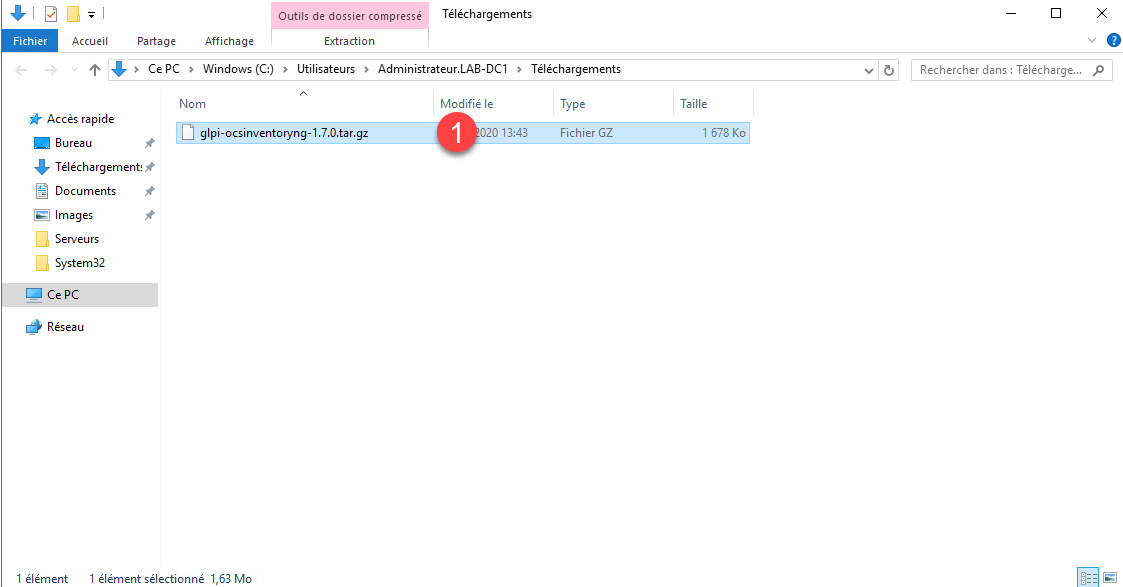
Personally I use 7zip on Windows, you have to do the manipulation twice, unzip the .gz then the .tar
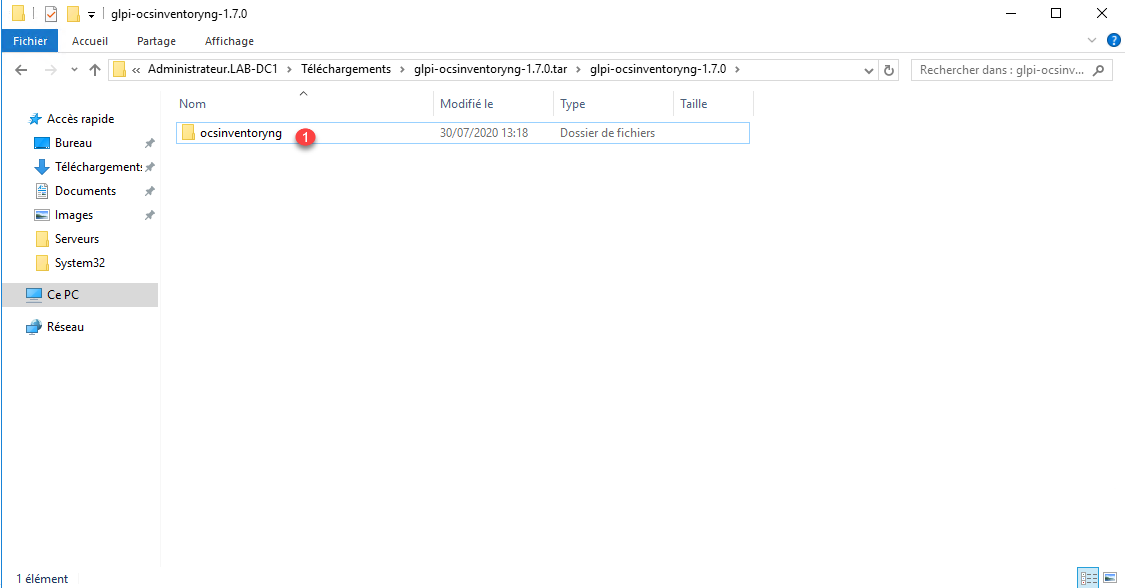
Once the decompression is complete, we have the plugin’s 1 folder.
Now, you have to copy / send the plugin folder, in the plugins directory located at the root of the GLPI installation.
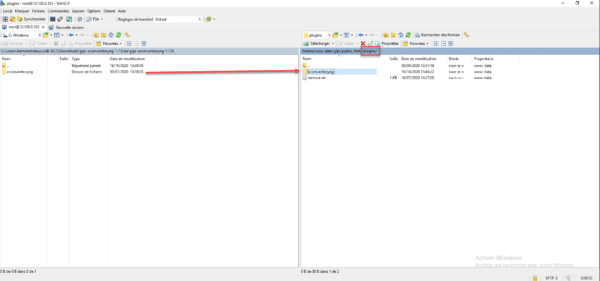
I do not go into detail to deposit the plugin folder in GLPI, because this will depend on your environment, on Windows a copy / paste is sufficient, on linux it must either be done with a transfer in SSH or FTP depending on the accesses that you have at your GLPI server.
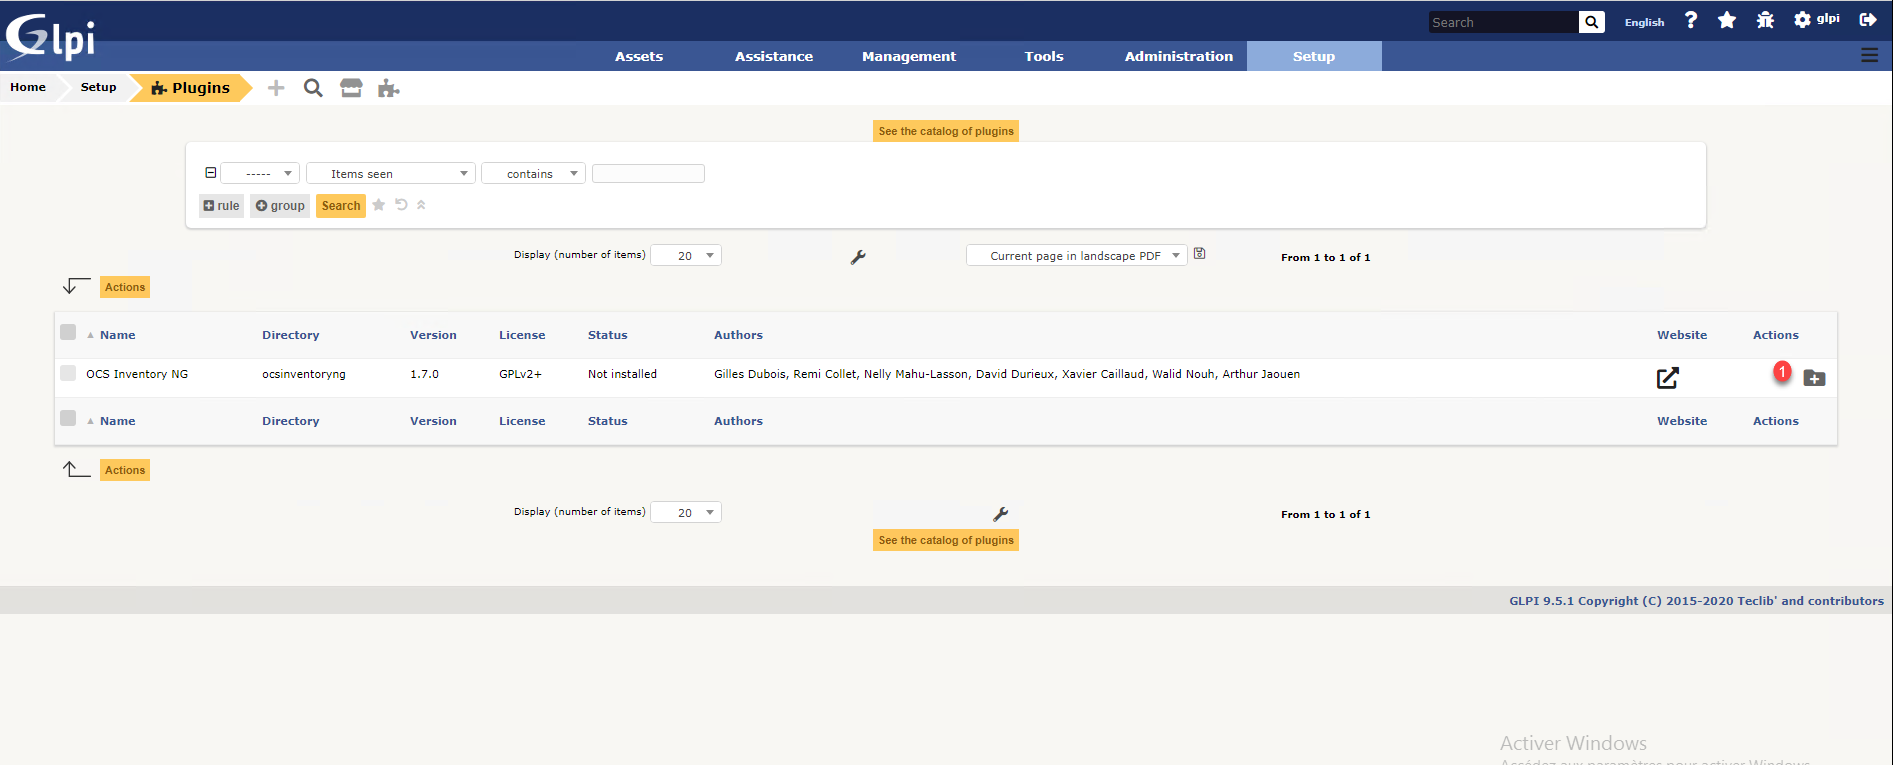
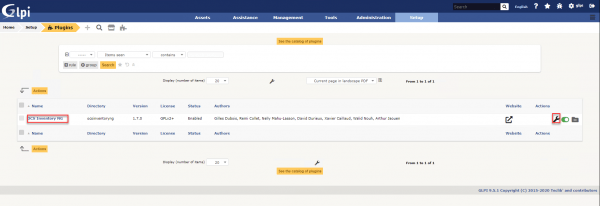
Go back to GLPI on the plugins management page and update (F5), the plugin 1 should appear in the list.
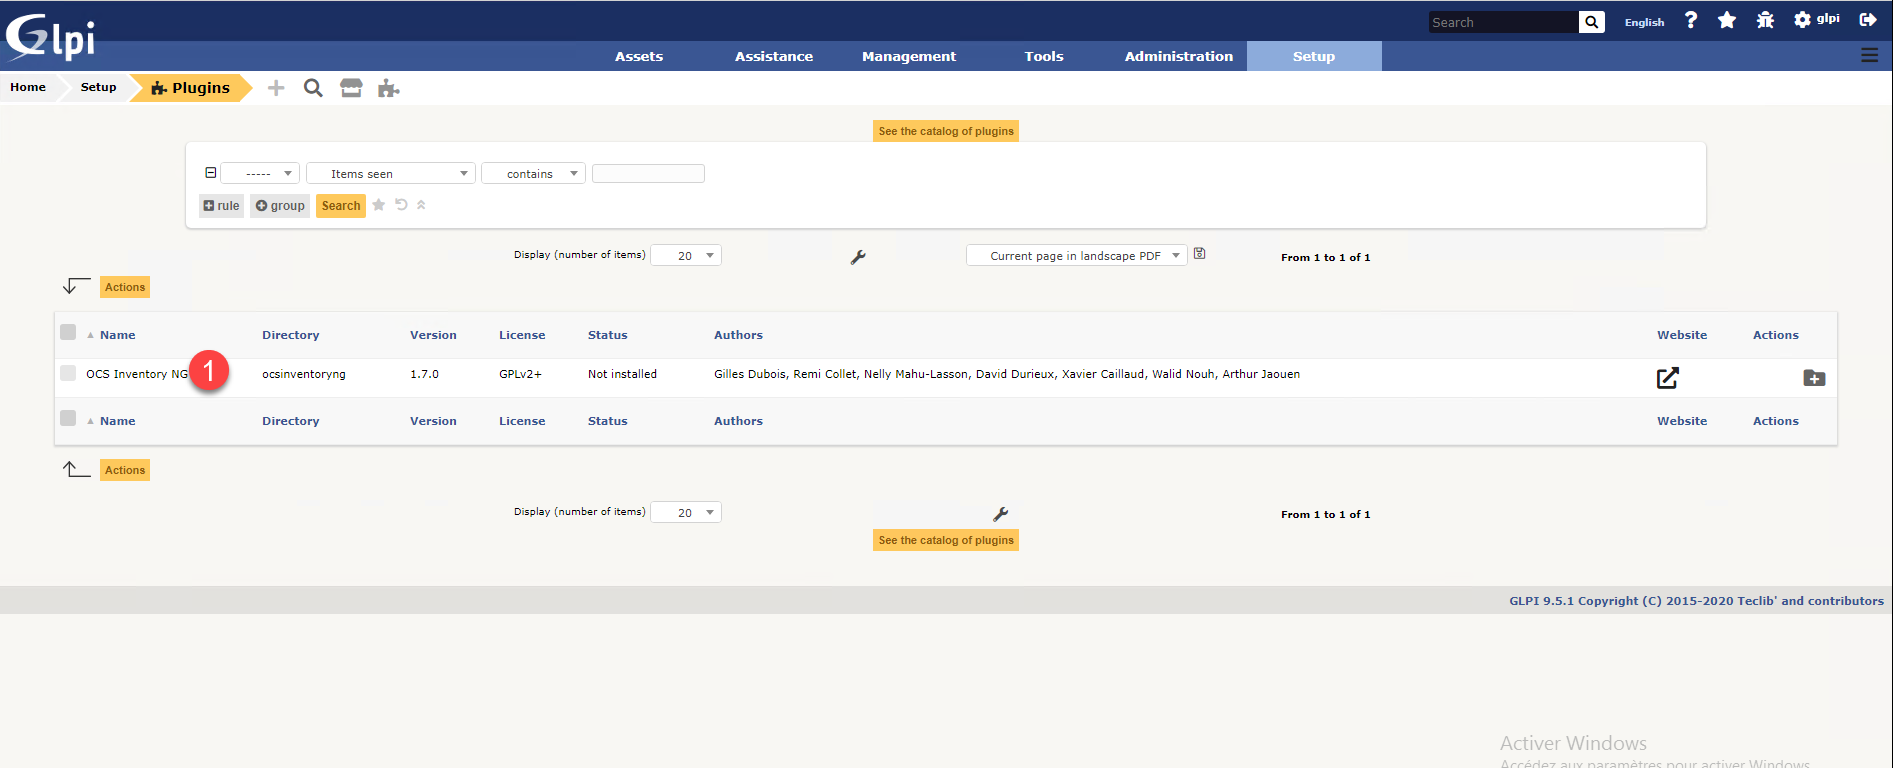
To install the plugin, click on the 1 folder.
Once the page has been reloaded, a notification is displayed at the bottom right, and we can see in the status of the plugin that it is Installed but not activated 1.
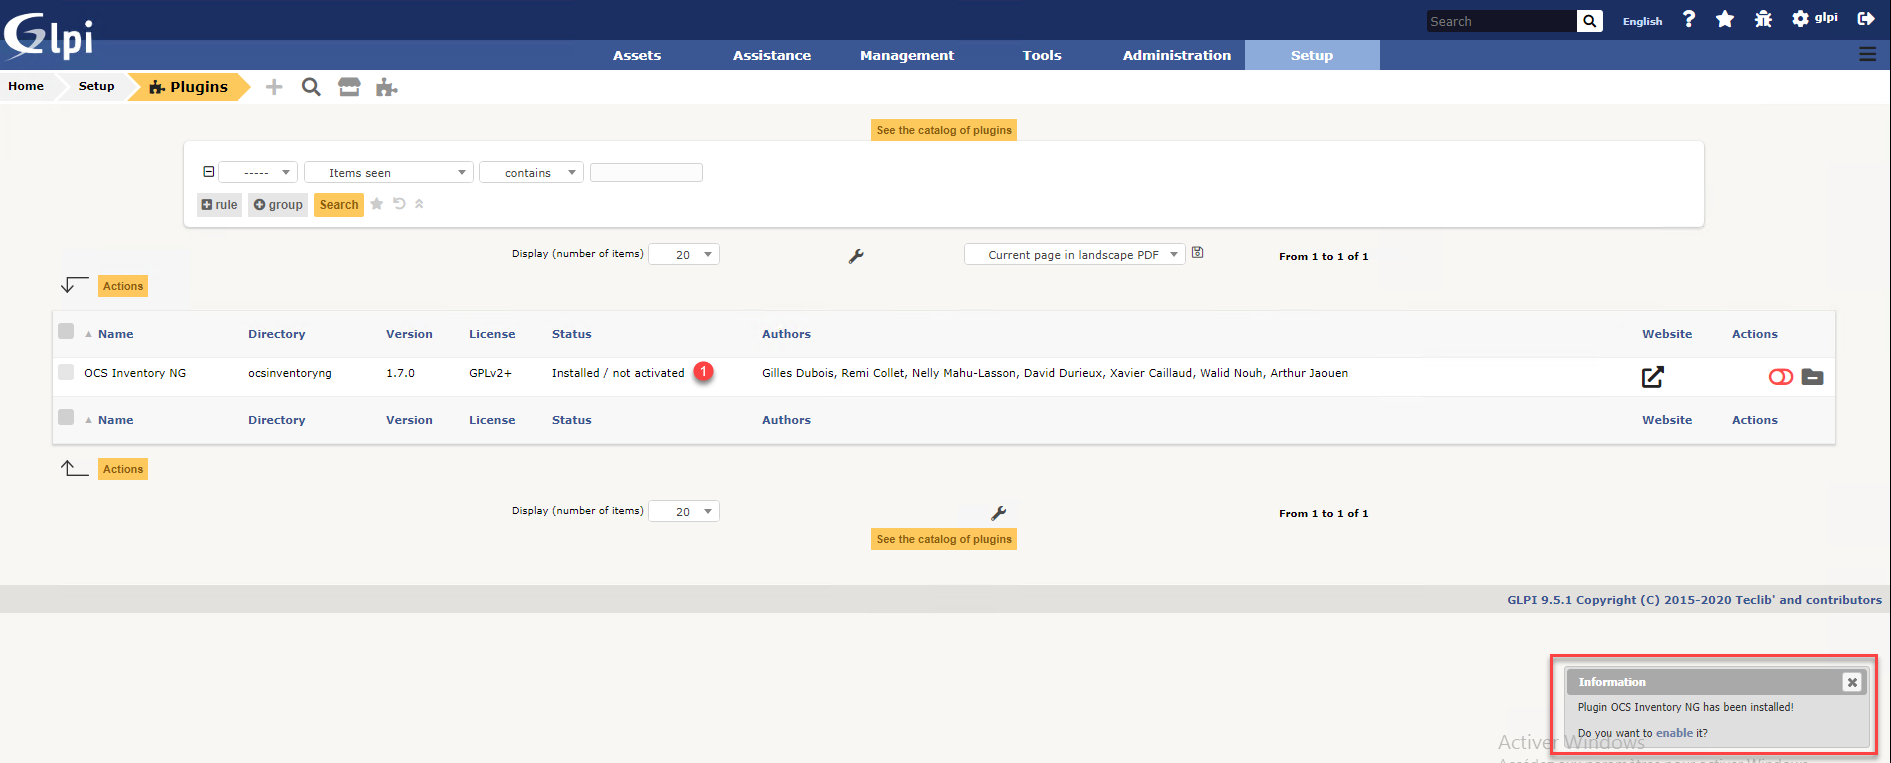
In the action part, click on the red cursor 1 to activate the plugin.

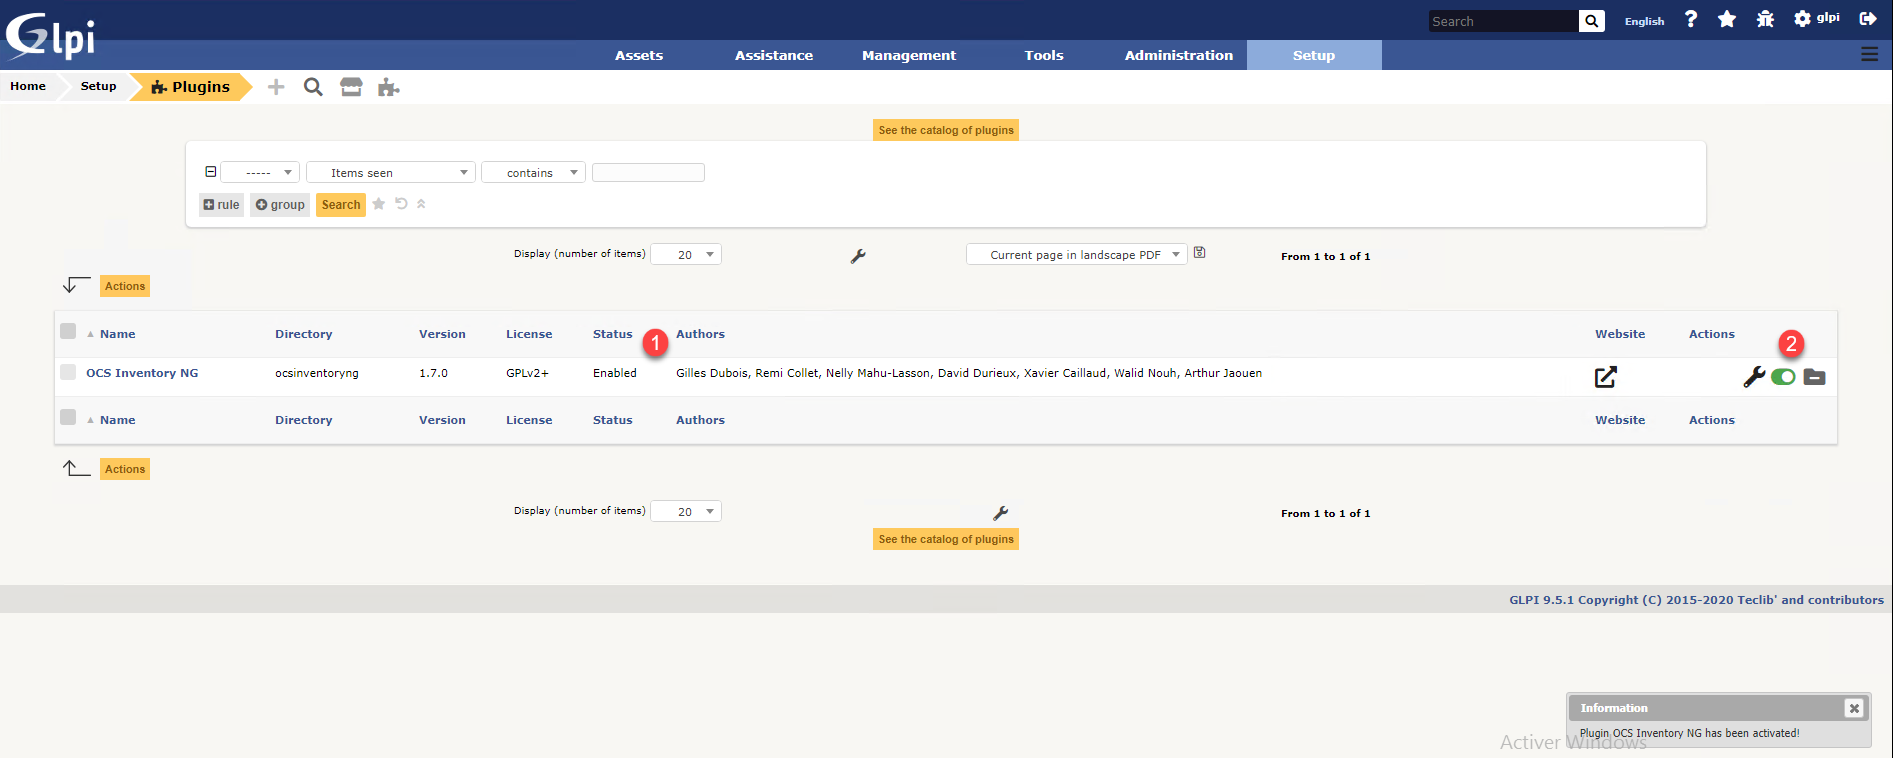
The plugin is now activated, we can see it by the status 1 and by the cursor which is in green 2.
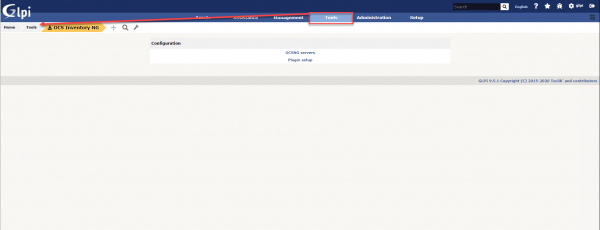
Depending on the plugins, you can access their configuration by clicking on its name, on the key or by looking for it in the menu.
You now know how to install a plugin directly in the GLPI directory.
Second method: marketplace
This new way of managing plugins with GLPI arrived with version 9.5 and to be honest with you, I tested it during the realization of this tutorial.
To my surprise, using the marketplace requires an account at services.glpi-network.com 🙁
In terms of access by GLPI, this is done as for the manual method, to go to the marketplace, click on the icon in the form of walking in the breadcrumb trail.
Create an account
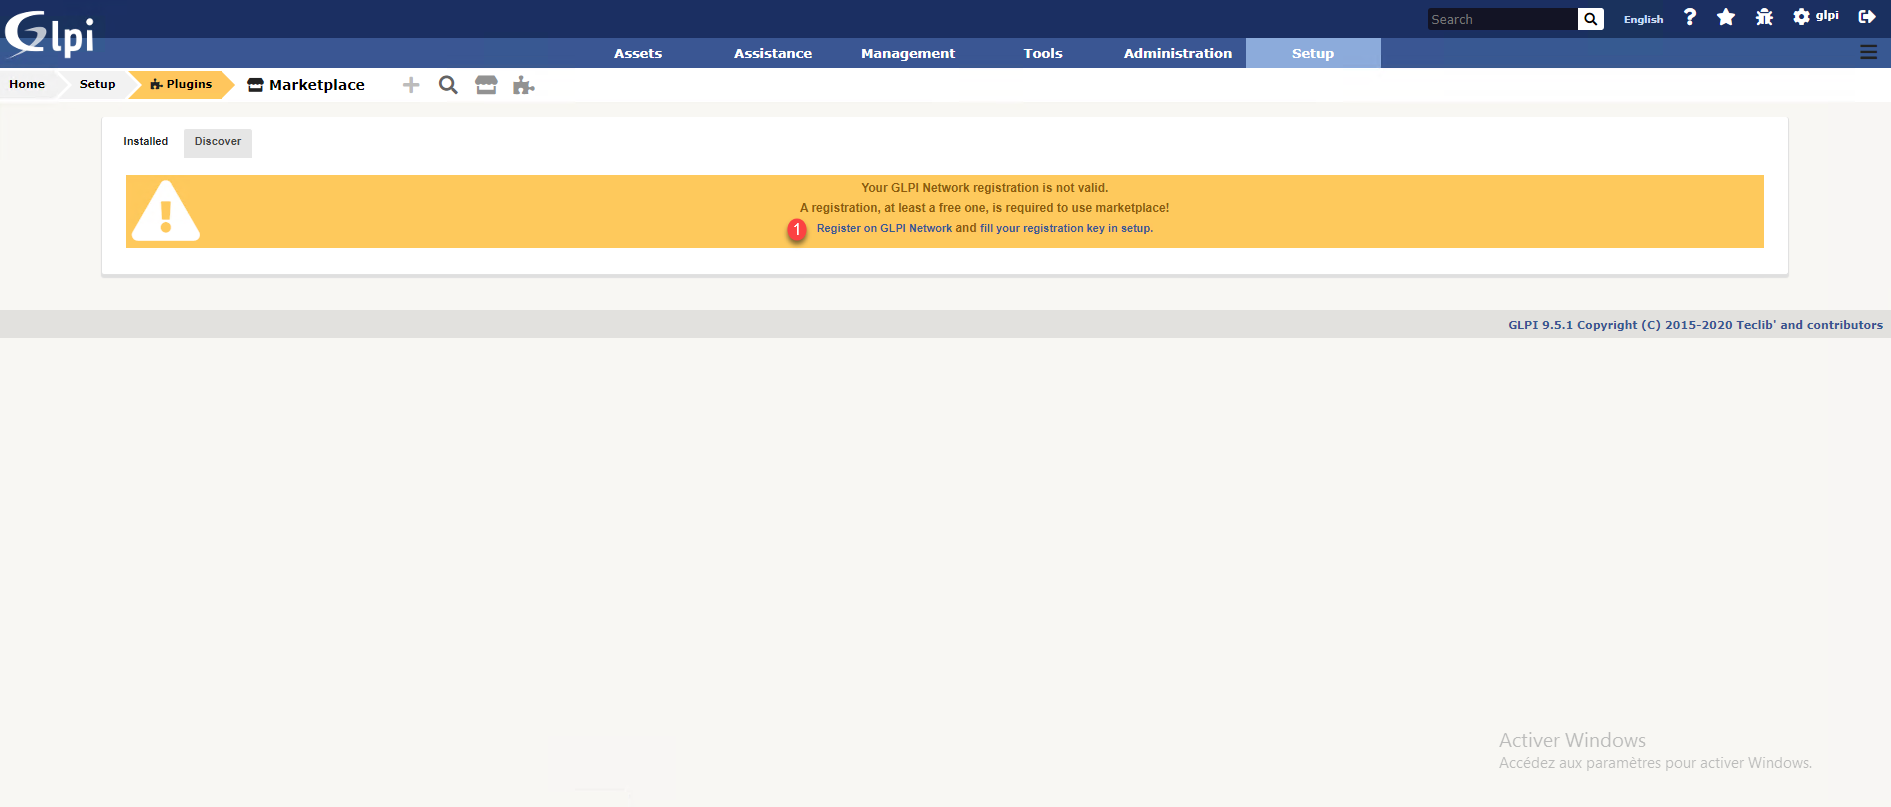
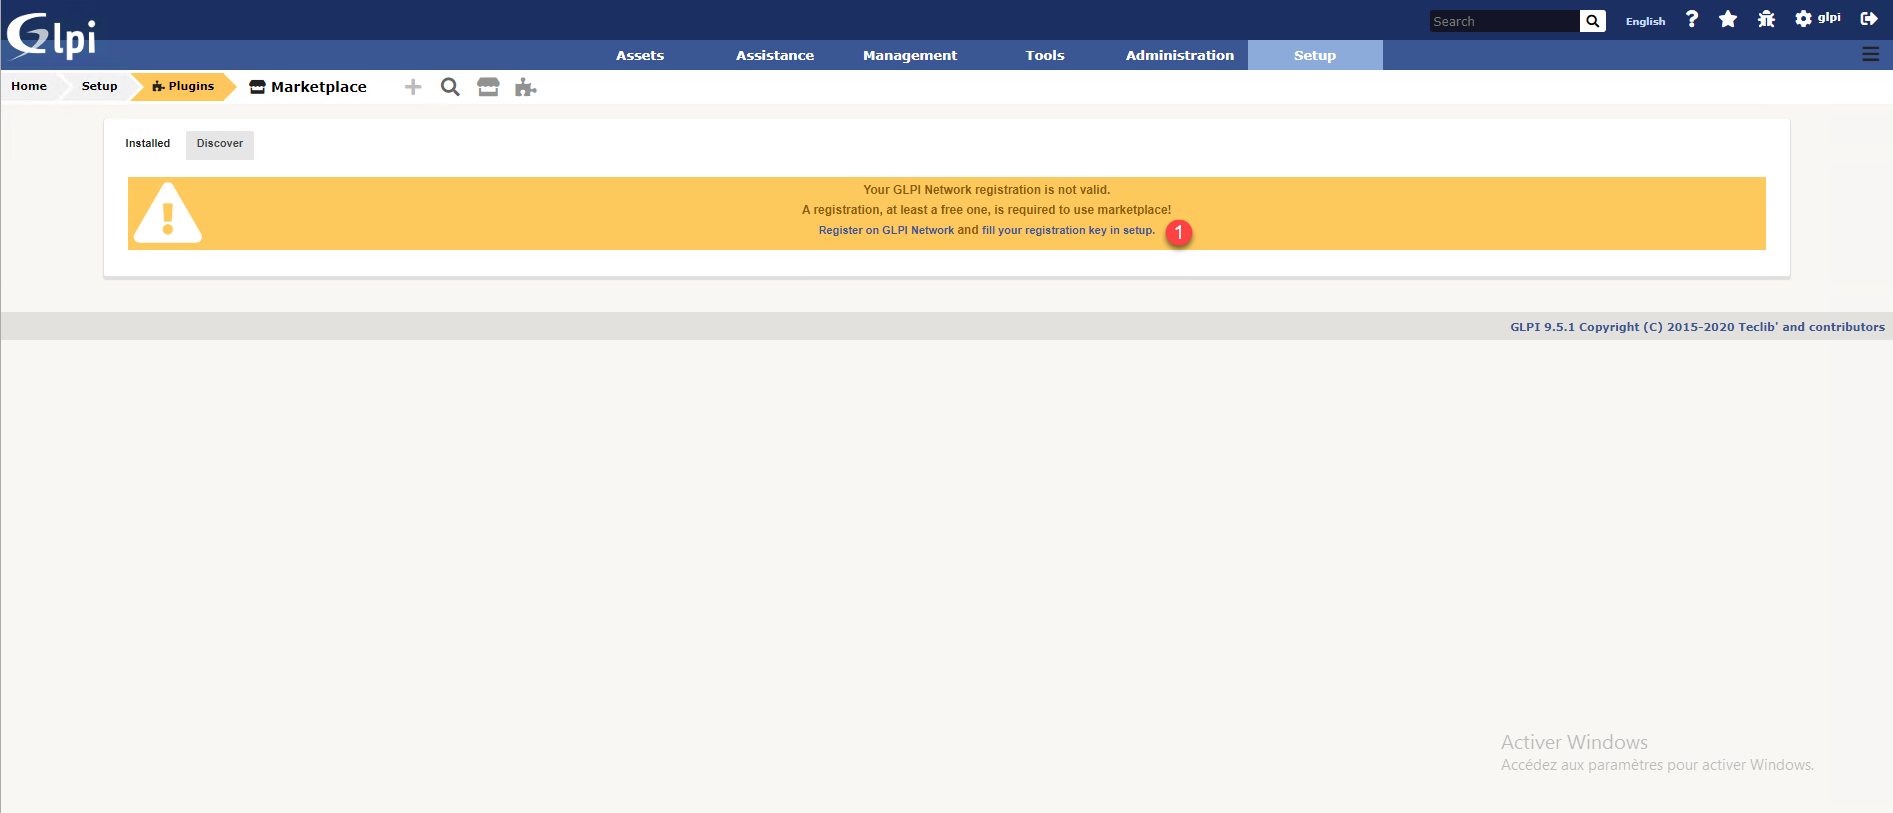
When you arrive on the Marketplace for the first time, a warning message is displayed, click on Register on GLPI Network 1.
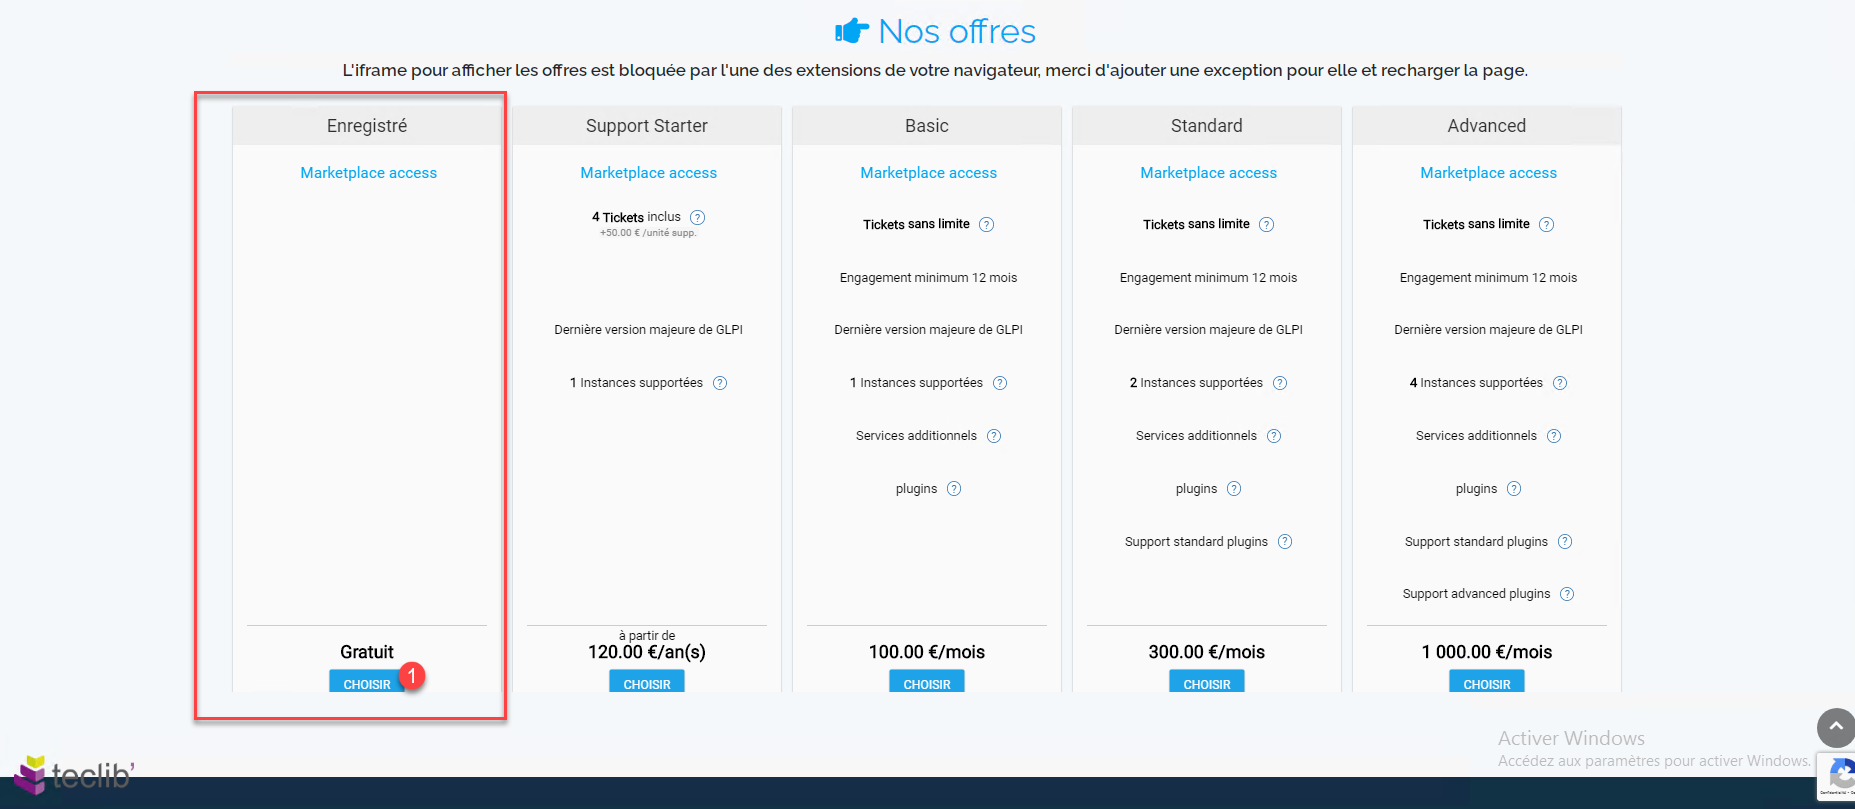
Once redirected to the site, click on VIEW OUR OFFERS 1.

On the Registered offer which is free, click on CHOOSE 1.
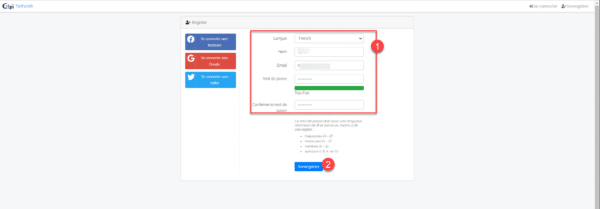
Fill out the registration form 1 and click on Register 2.
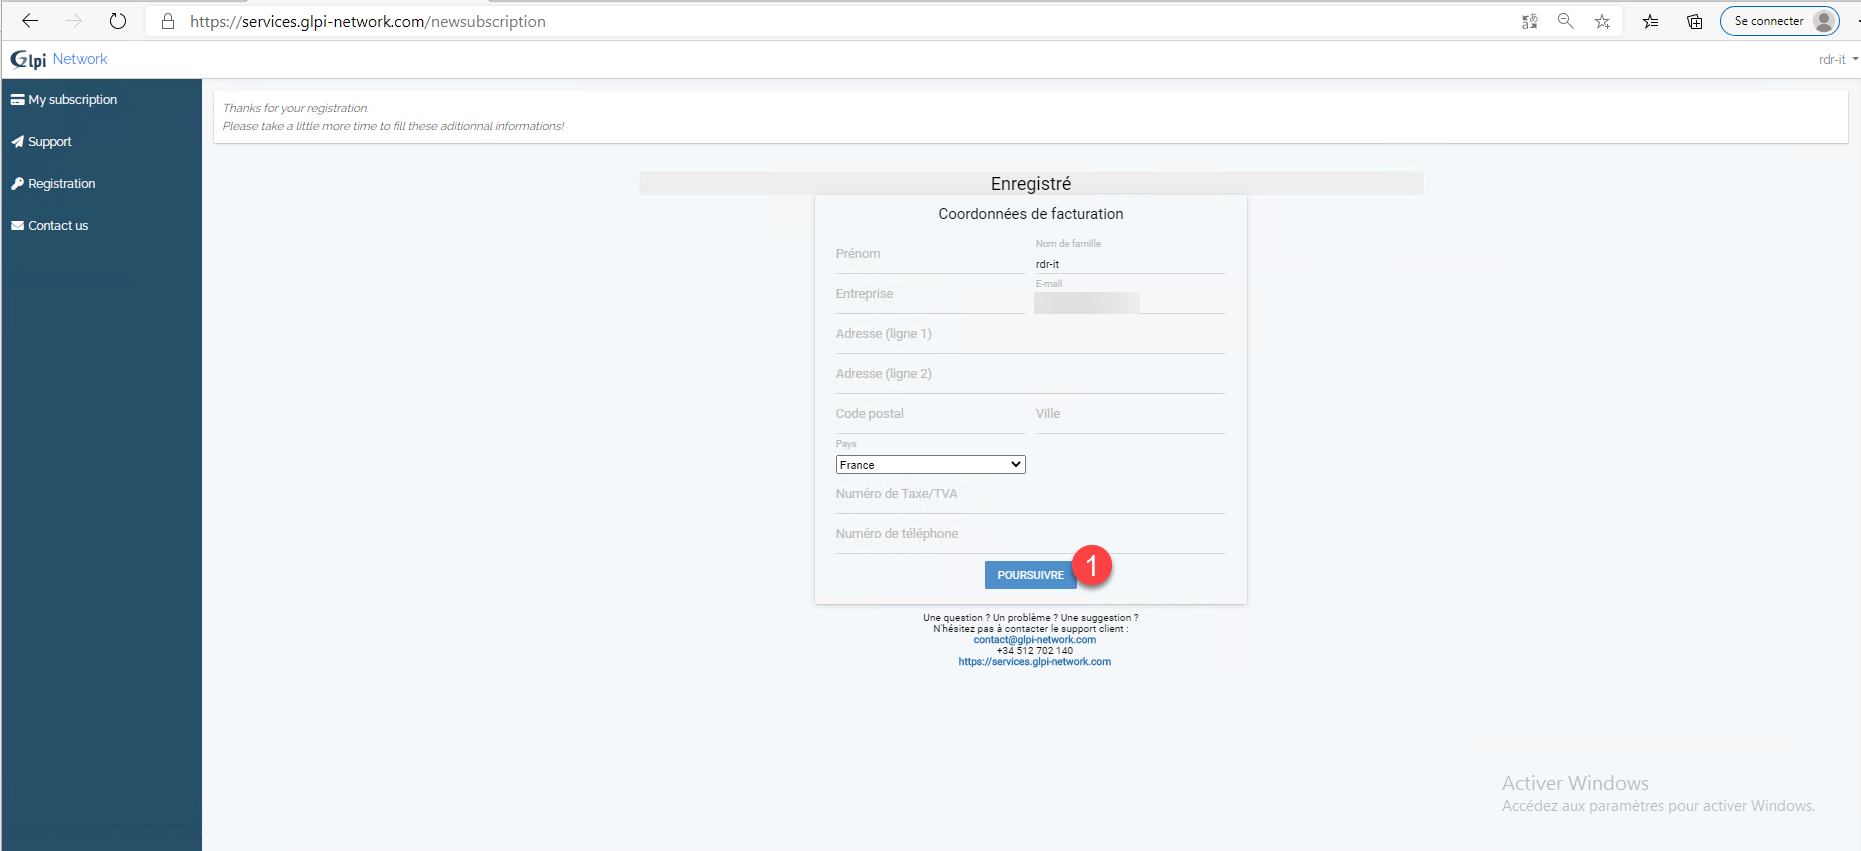
For billing details, click on Continue 1.
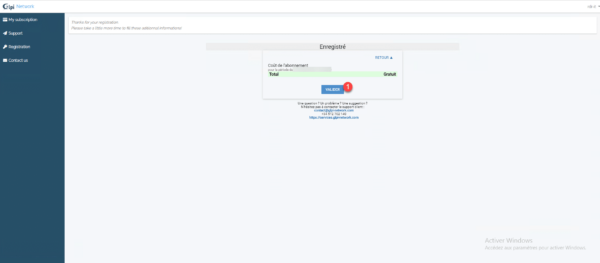
Click on Validate 1.
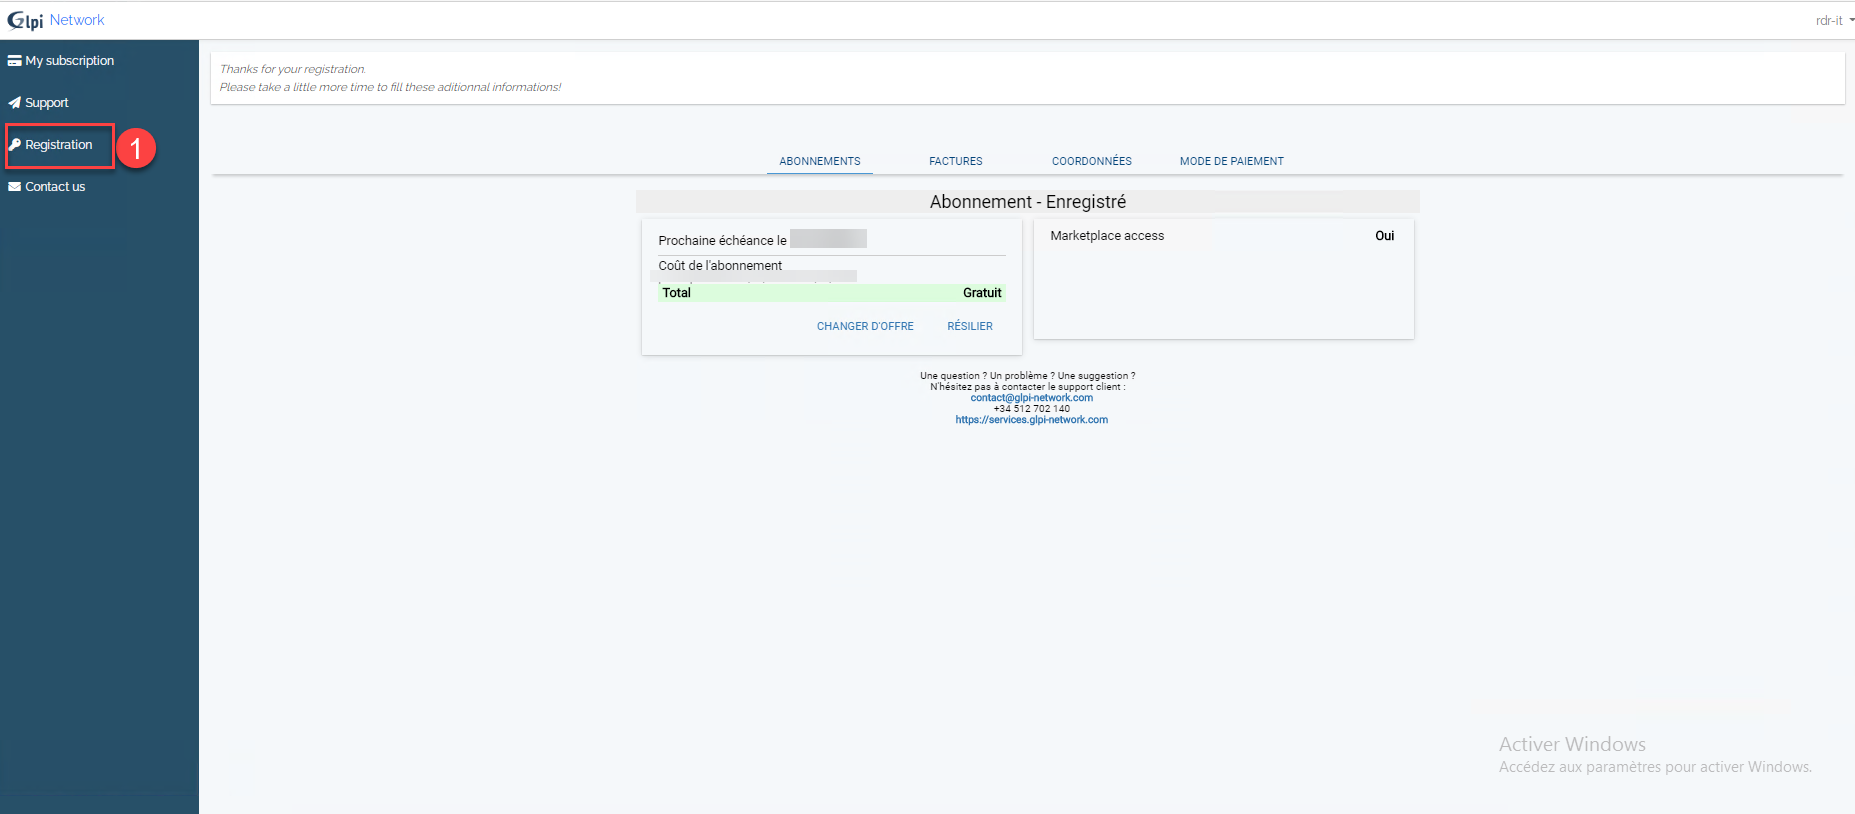
Now that the account is created and validated, click on Registration 1.
Click on the Copy key 1 button.

Return to GLPI and click on fill in your registration key in configuration 1.
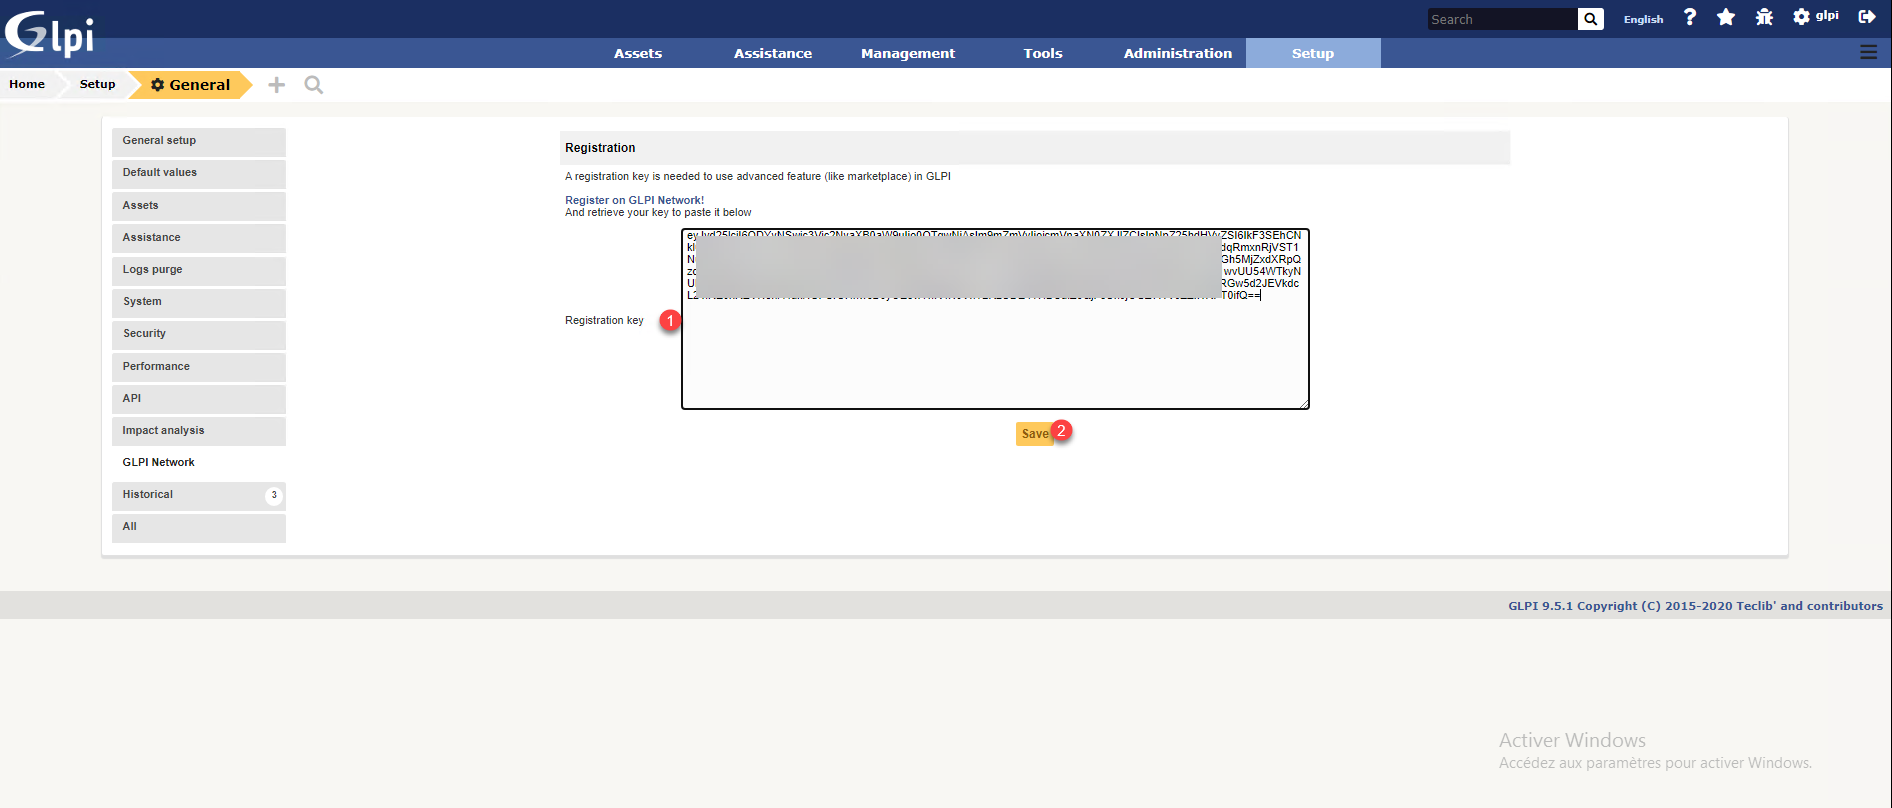
Paste the key in the 1 field and click on Save 2.
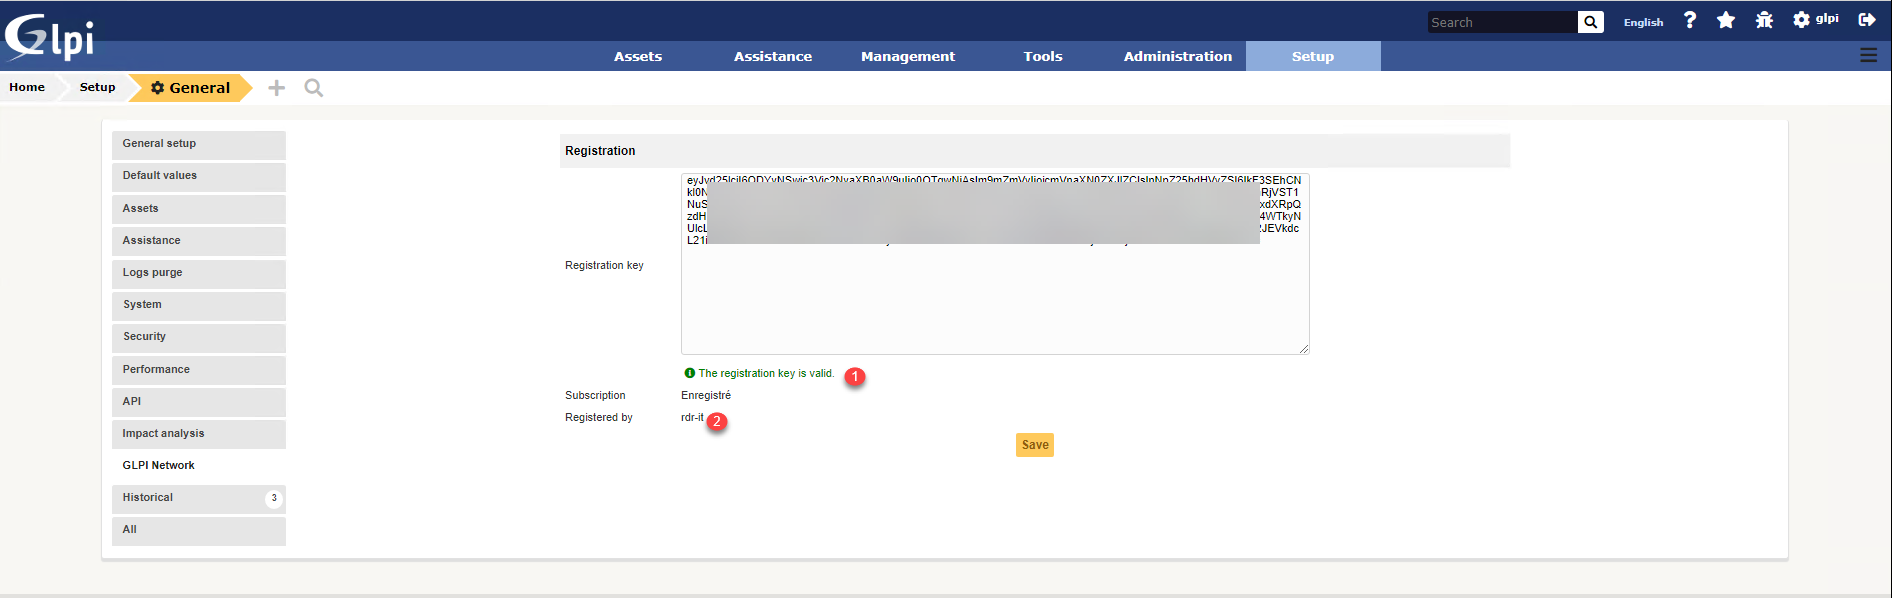
After checking, we can see that the key is valid 1 and the account name should be displayed 2.
We can now use the marketplace
Install a plugin with the marketplace
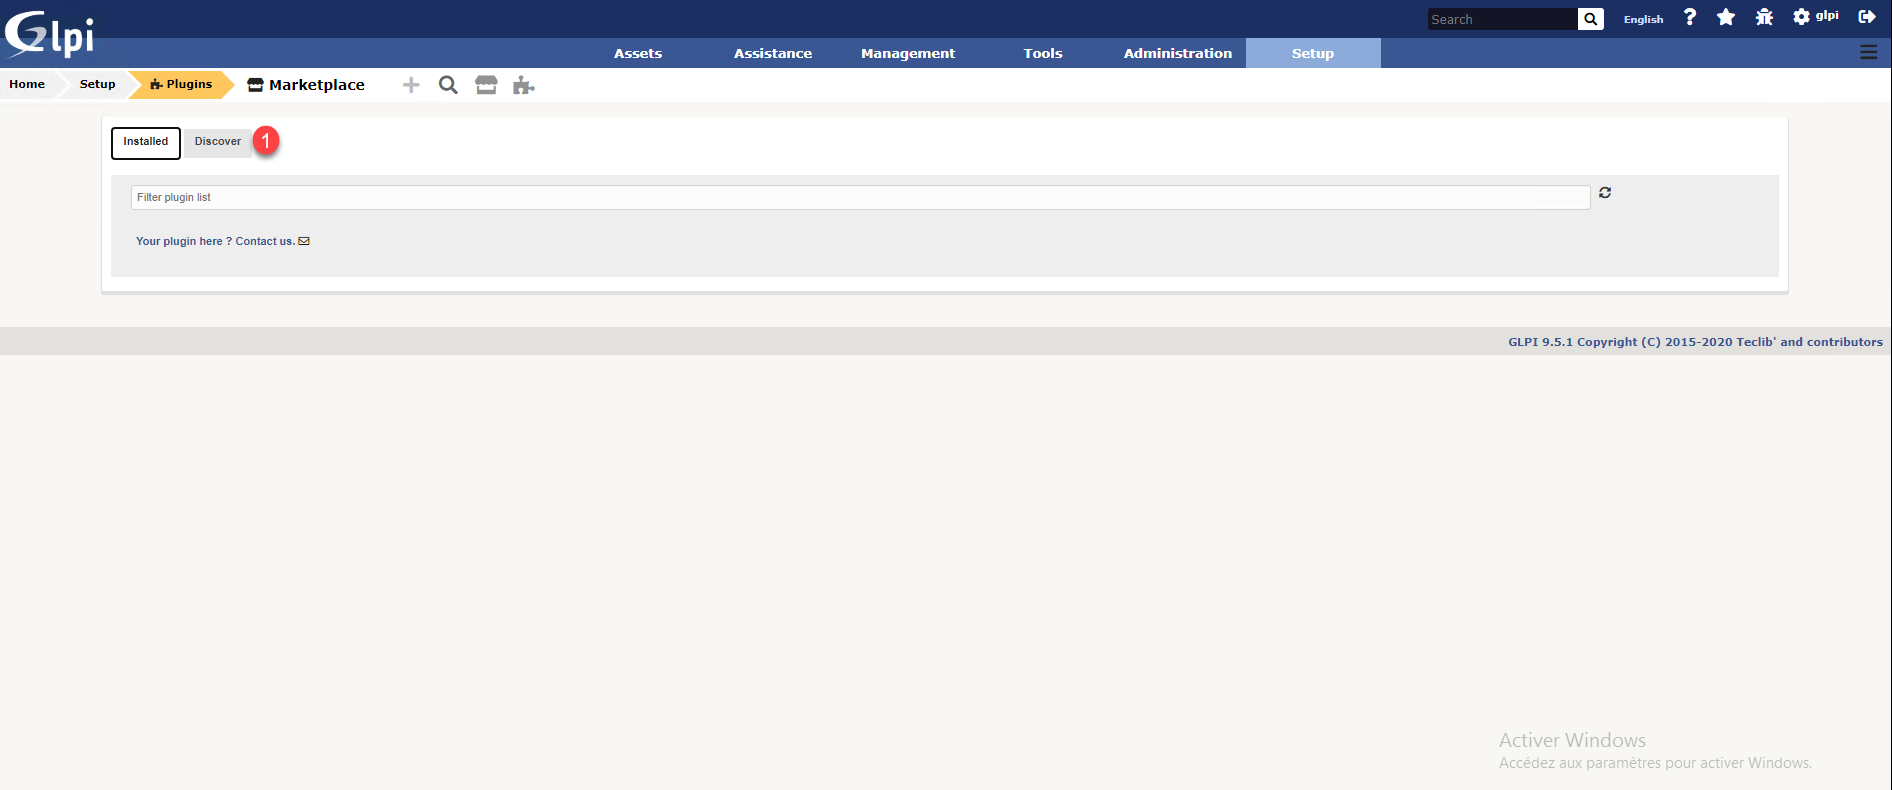
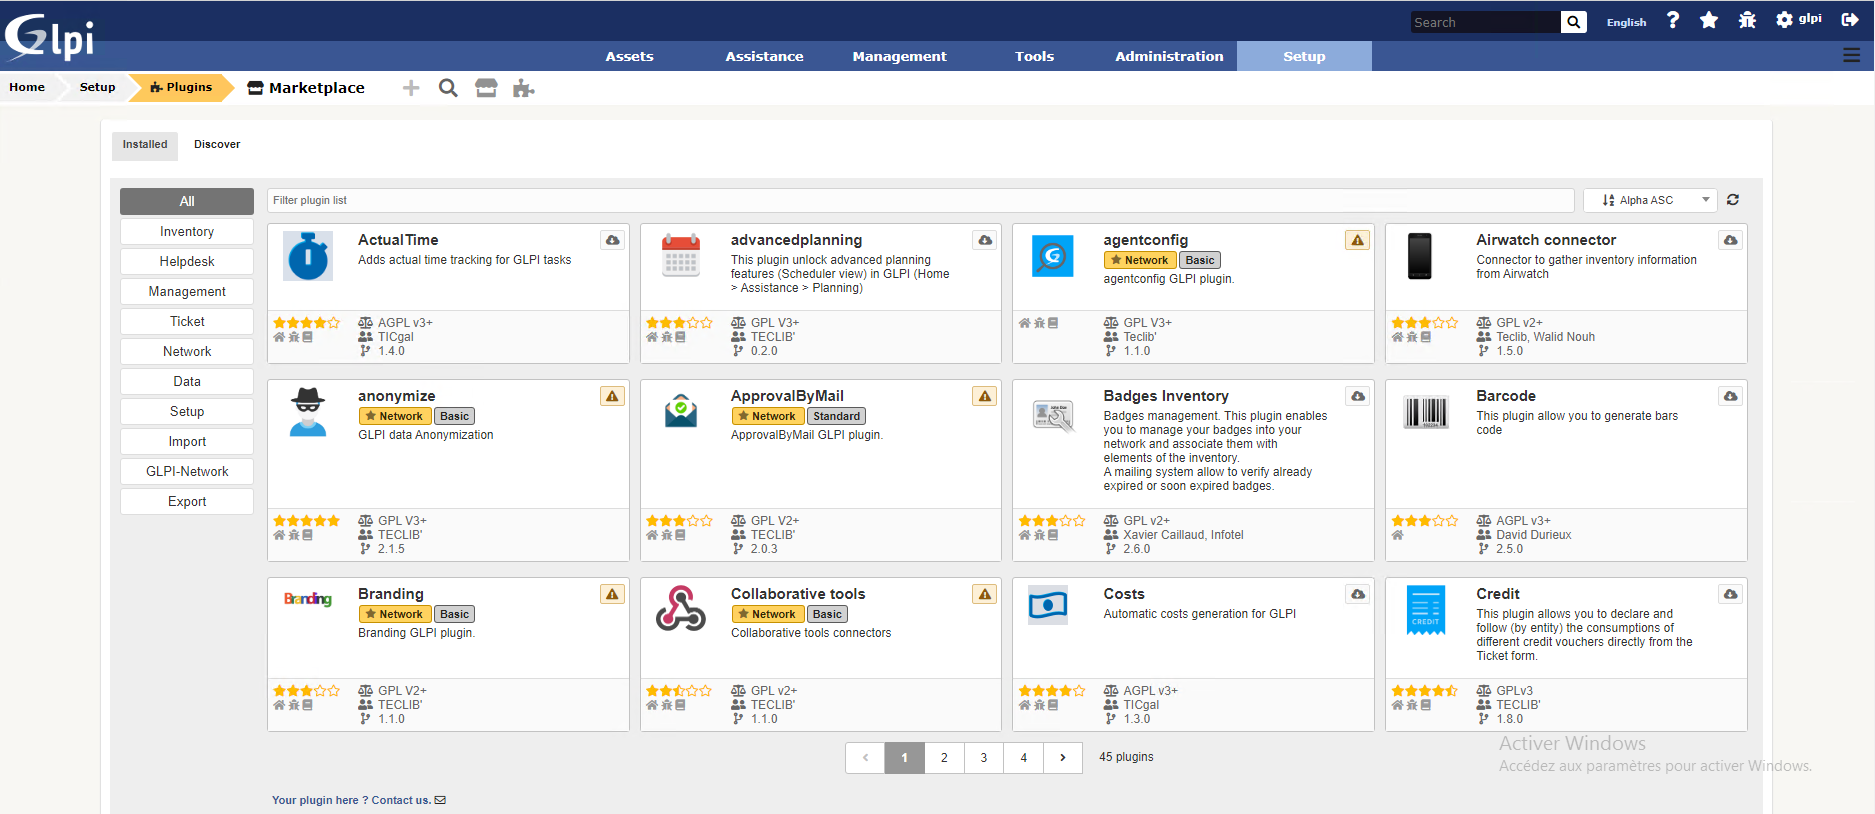
Go to the administration of plugins (Configuration / Plugins), by default we arrive on the tab of installed plugins, go to the tab Discover 1.
The list of available plugins is displayed, there are not all the plugins on the site: GLPi Plugins (glpi-project.org).
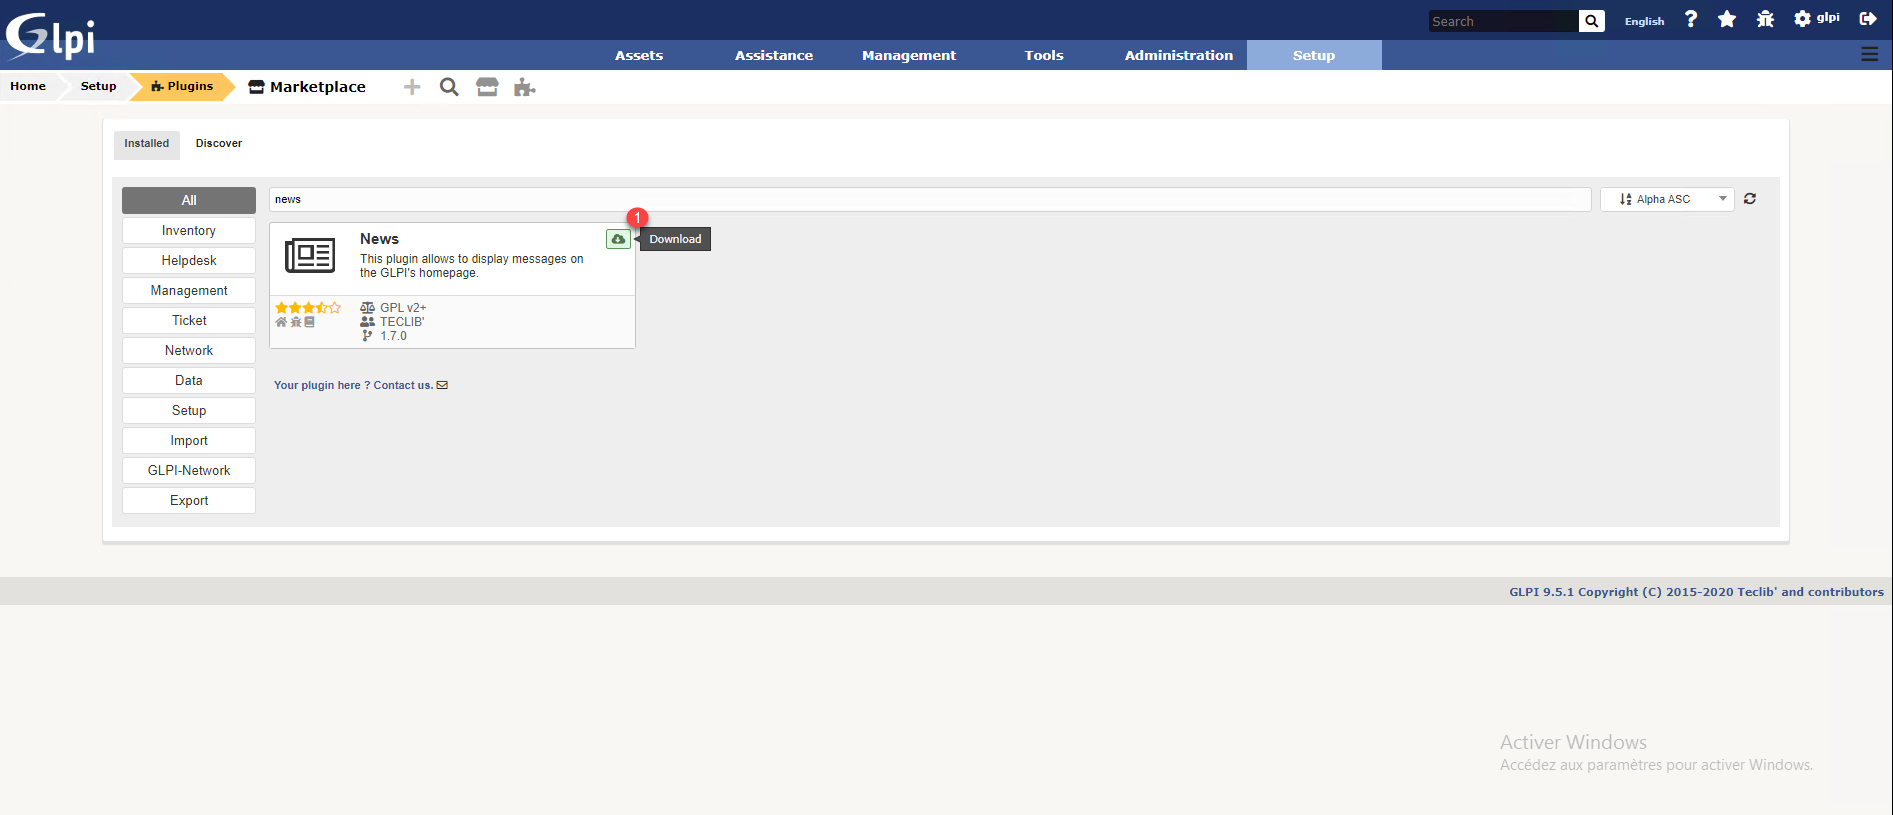
To install a plugin, click on the download icon 1.
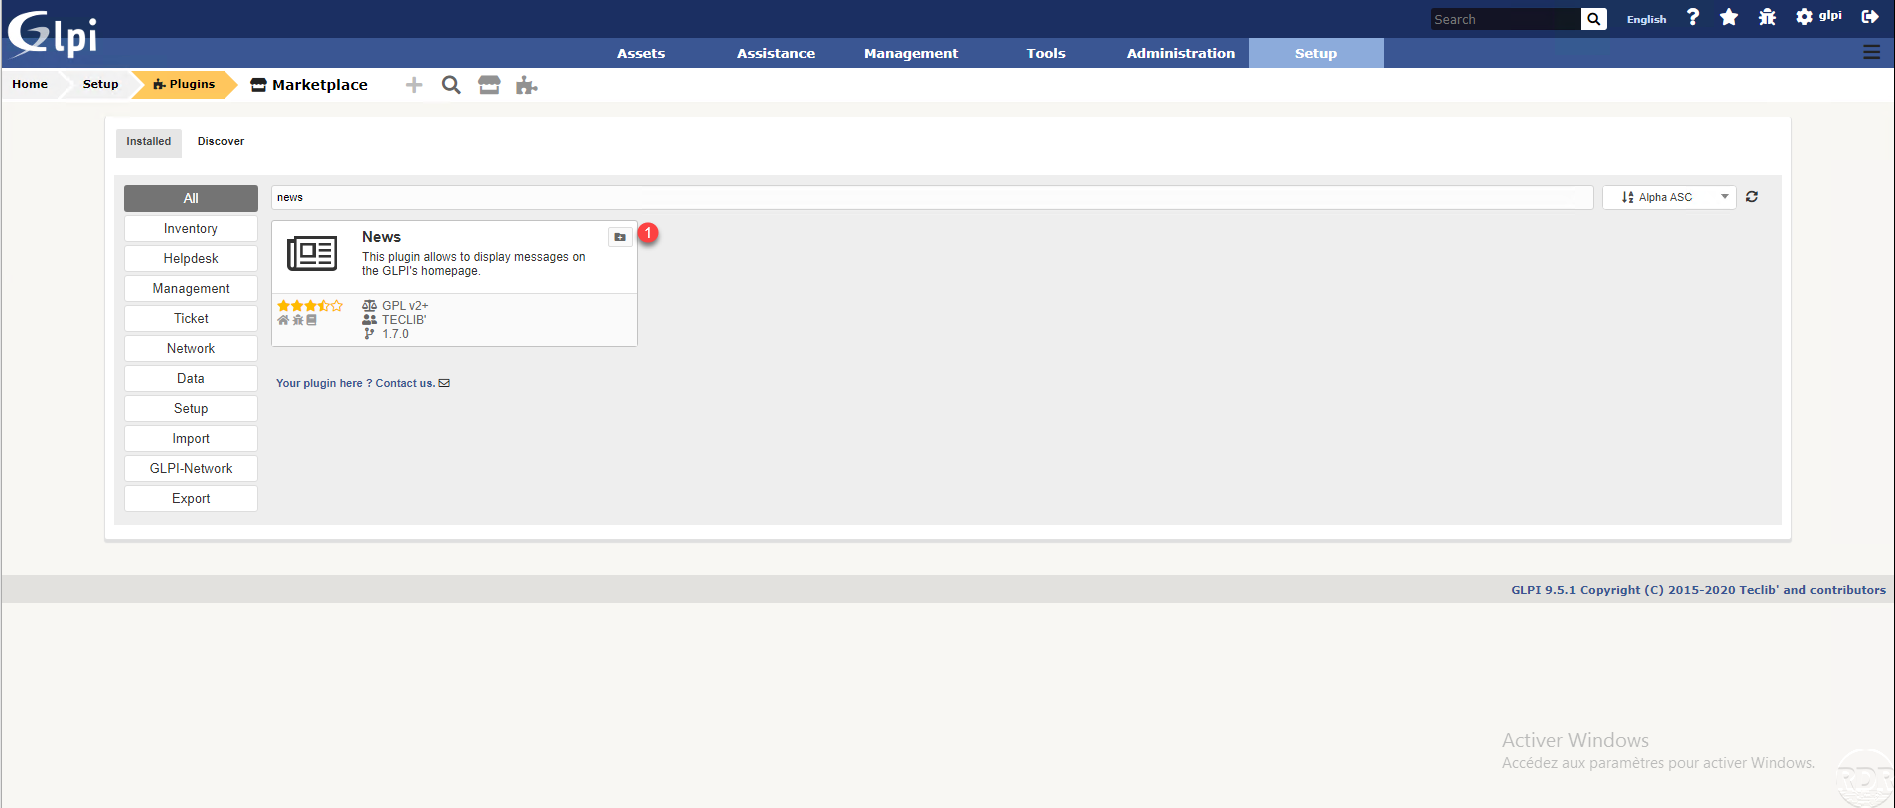
When the plugin is downloaded, click on the folder icon 1 to install the plugin.
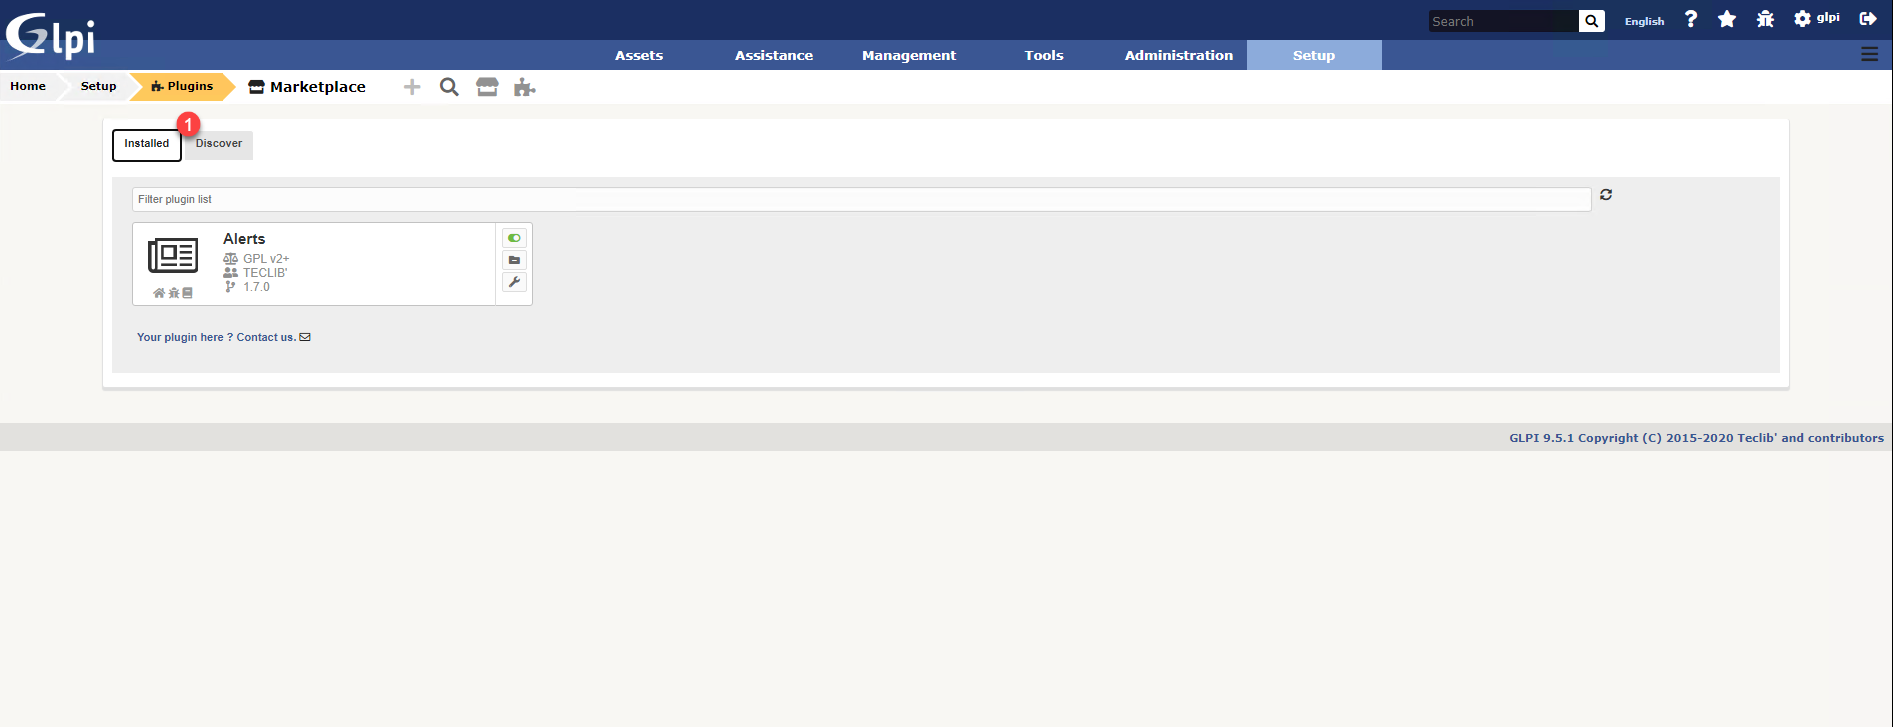
Click on the cursor 1 to activate the plugin.

The plugin is installed and activated, we can see it with the cursor which is in green 1.

We find after the plugin installed in the Installed 1 tab. From here you can disable and uninstall it.
Complement
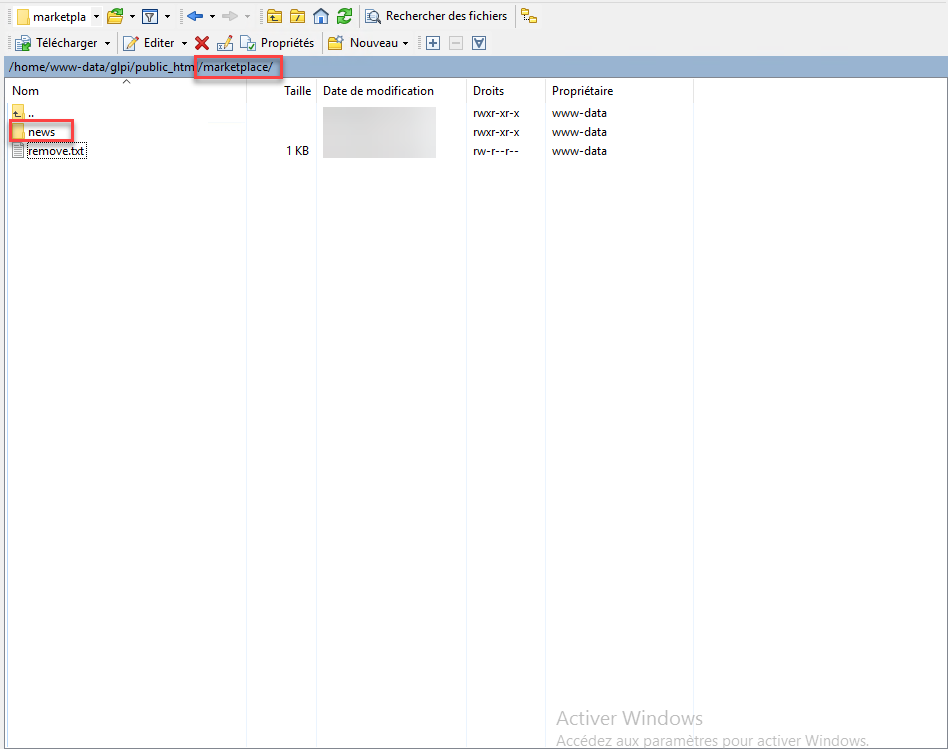
For information, the plugins installed by the marketplace are put in the marketplace folder at the root of GLPI.
Conclusion
As you can see, plugin installation in GLPI is not very intuitive and for updates it’s the same.
