In this tutorial, we will see how to change a database mailbox. This is done regularly in Exchange environments with multiple databases with different quotas (limits).
Moving the mailbox allows it to have the new quotas linked to the database unless the limits have been changed directly from the box settings.
Move the mailbox
1. Go to the Administration web interface (ECP) of the Exchange environment.
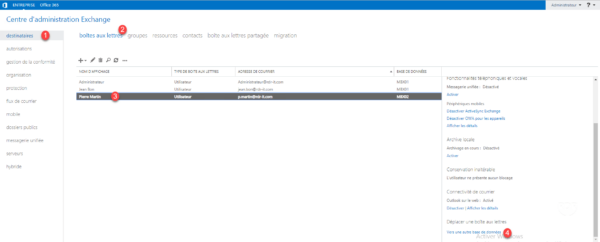
2. Go to recipients 1 / mailbox 2 . Select the box to move 3 and click on To another database 4 in the action menu on the right.
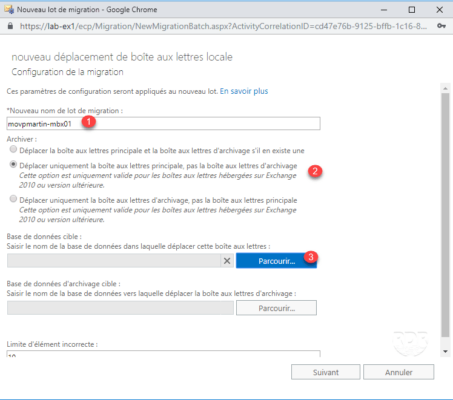
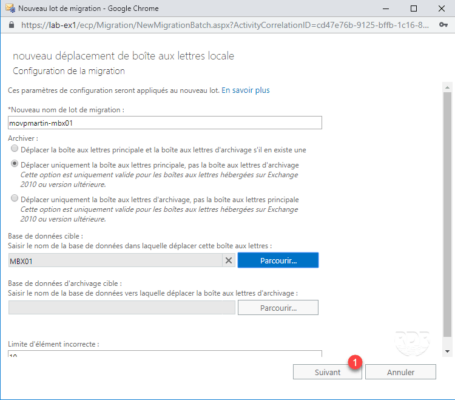
3. Enter a name for the migration batch 1 , select the option Move only the main mailbox 2 and click on Browse 3 .
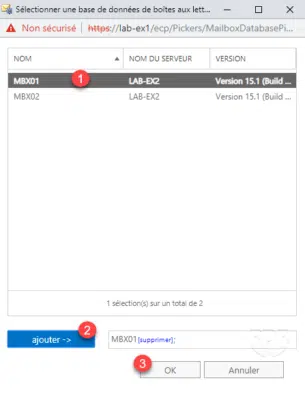
4. Select base 1 , click on add 2 and OK 3 .
5. With the database selected, click Next 1 .
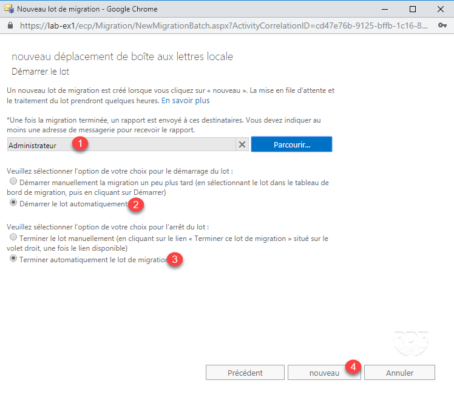
6. Select a box that will receive the report 1 , select Start batch automatically 2 and Finish automatically the migration batch 3 then click on New 4 .
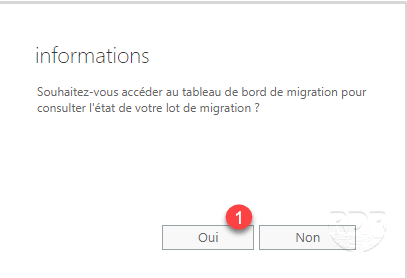
7. Click Yes 1 to display the tracking page.
8. Wait during the migration, this operation can take several hours depending on the volume of the mailbox.
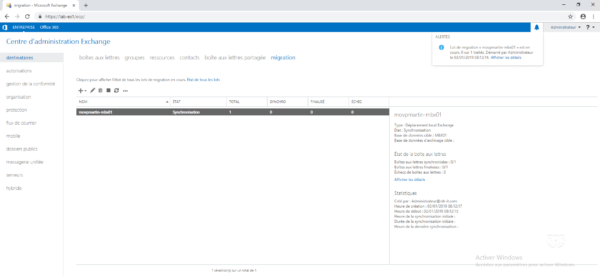
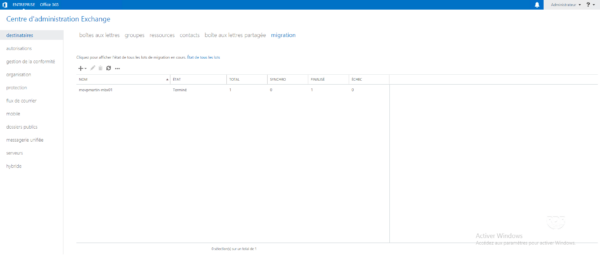
9. When the migration is complete, the status will change to Done.
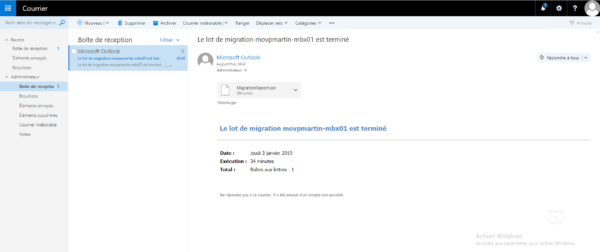
10. An email is also sent on the box configured in the migration batch.
